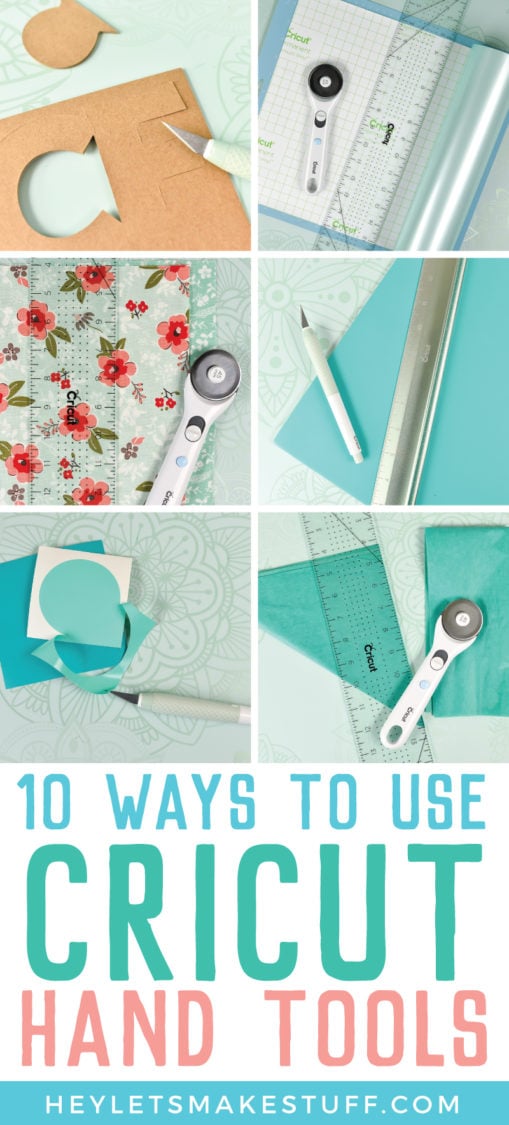
I use Cricut’s hand tools—the rotary cutter, True Control Knife, acrylic ruler, cutting ruler, and self-healing mat—every day in my craft room. But if you’ve never used tools like these before, you might be wondering how useful they really are. So here are ten ways I use Cricut hand tools in my own crafting!
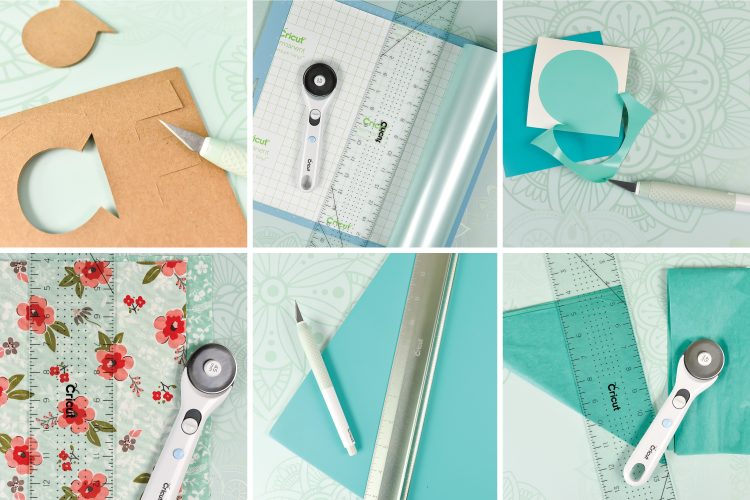
Last week I shared some of my favorite Cricut hand tools—tools that go beyond the cutting machine and make both my Cricut projects and my everyday crafting easier. Today I thought I’d share some real-life examples of the different ways I use the hand tools so you can see how they might benefit you.
If you’ve ever looked at a rotary cutter and wondered, “how would I even use that?” this post is for you.
How to Use Cricut Hand Tools
Here’s what we’ll be covering in this post
- Rotary Cutter
- True Control Knife
- Acrylic Ruler
- Cutting Ruler
- Self-Healing Mat
1. Trimming Materials on the Cutting Mat
Pretty much every time I cut a project using adhesive or iron on vinyl, I use my rotary cutter and acrylic ruler to trim off the excess vinyl after my cut is finished.
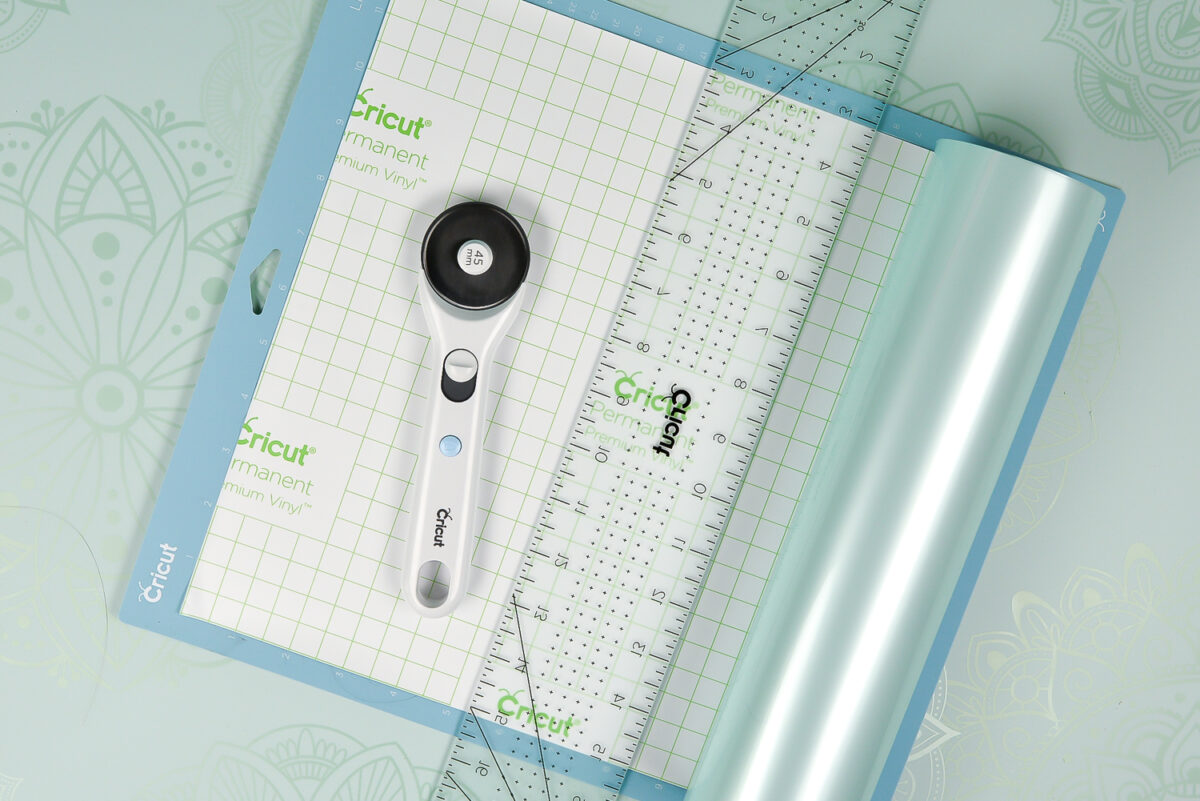
I do this right on top of my machine cutting mat—not pressing hard, but firmly enough to cut through the thin material without damaging my cutting mat. This allows me a straight, even cut when I use the remaining vinyl in a future project—compared to using a pair of scissors to trim the material and ending up with an uneven edge. Not to mention, it’s way faster than scissors!
2. Cutting Basswood and Other Hard Materials
When you buy wood to cut on your Cricut Maker, often it comes in sizes much longer than a standard Cricut cutting mat. This is particularly true with basswood, which is often 24″ long. I wrote a tutorial for cutting basswood, where I noted that it’s best to trim down these longer pieces of wood. The weight of the basswood can cause the smaller pieces of your project to pop out, or it will ever so slightly shift your cut lines, ruining your project.
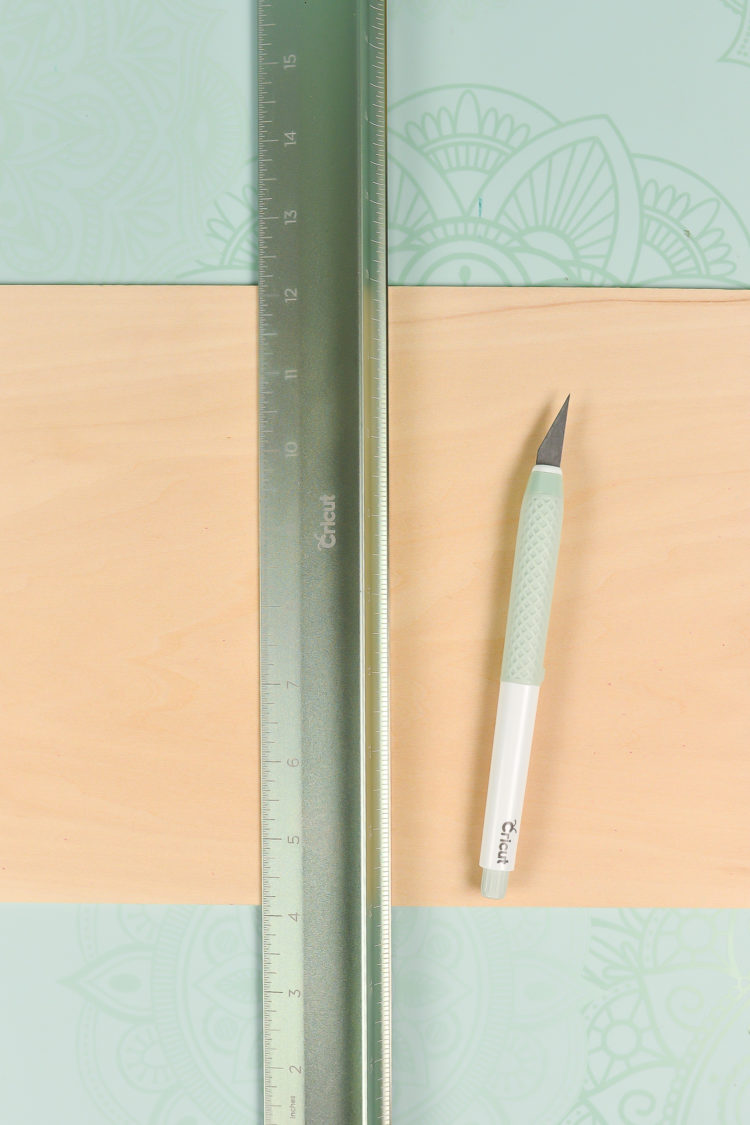
To trim down basswood, I use my True Control Knife and cutting ruler on the self-healing mat. Just run a few light scoring passes where you want to cut, pressing a little harder each time. You don’t need to cut all the way through—after 2 or 3 passes you’ll be able to snap the basswood into two pieces, perfectly along that scored line.
3. Checking Cuts
For thicker materials cut with the Cricut Maker and the Knife Blade, you may want to check if a cut is finished before ejecting your mat. The True Control Knife is perfect for this. Just carefully wedge the blade between the cut line and gently lift up to see if your cuts have gone all the way through.
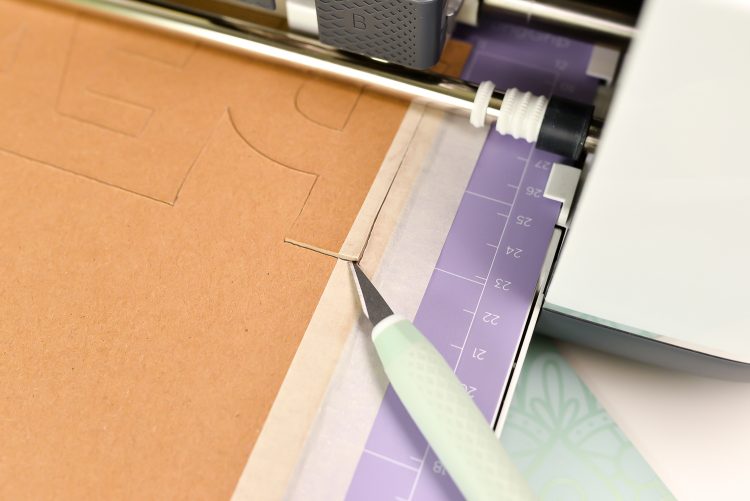
4. Finishing Cuts
For the same thicker materials as above, occasionally a cut won’t go all the way through at the corners. Every other cut is perfect, but there’s a little bit in the corners that is not totally cut. Instead of doing more passes on the project, I eject the project and use the True Control Knife on my self-healing mat to carefully finish the corner cuts.
5. Cutting Materials too Thick for the Cricut
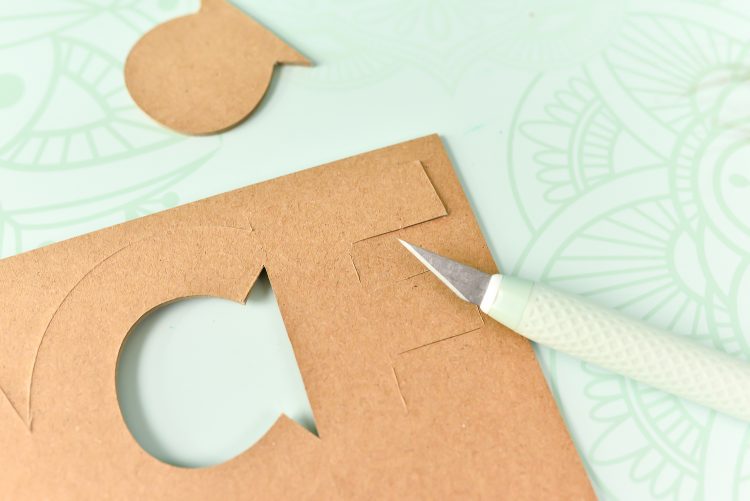
The Cricut Maker can cut materials up to 2.4mm thick, and the Cricut Explore up to 2mm thick. But…there are thicker materials out there. So I use both my True Control Knife and my rotary cutter to do projects with thicker materials, always in conjunction with a ruler (see below) and my self-healing mat.
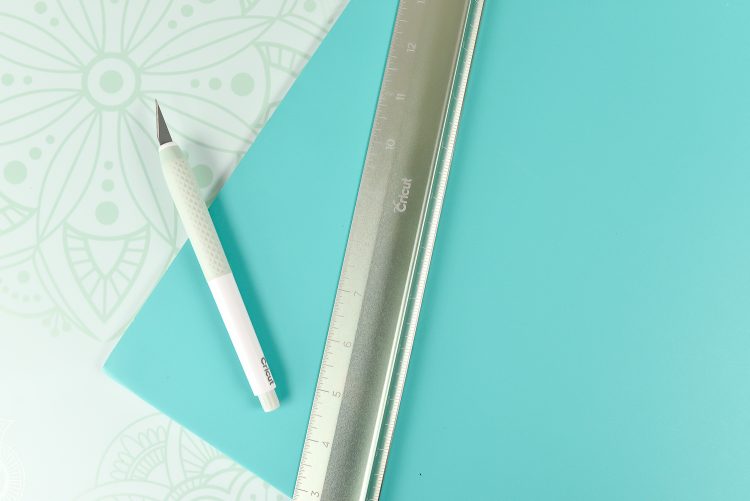
The True Control Knife is great with materials like cardboard and foam core. Start by lightly scoring your cut line and then using multiple passes to cut through the material. You can use the cutting ruler for straight lines, or you can go slowly by hand for curved lines. The key is not to try to cut too much at once. Several light passes are going to be more successful than one or two heavy-handed passes.
For thick fiber materials, get out the rotary cutter—particularly the larger 60mm one—and your acrylic ruler. For instance, it will cut through batting like butter.
6. Cutting Materials too Delicate for the Cricut
There’s one thin material that I’ve struggled to cut on my Cricut—tissue paper. The Cricut Maker actually cuts tissue paper beautifully with the rotary blade, but even an old light grip mat has too much adhesive to release the tissue paper well. I know it’s possible, but it’s just too much of a headache for me to deal with.
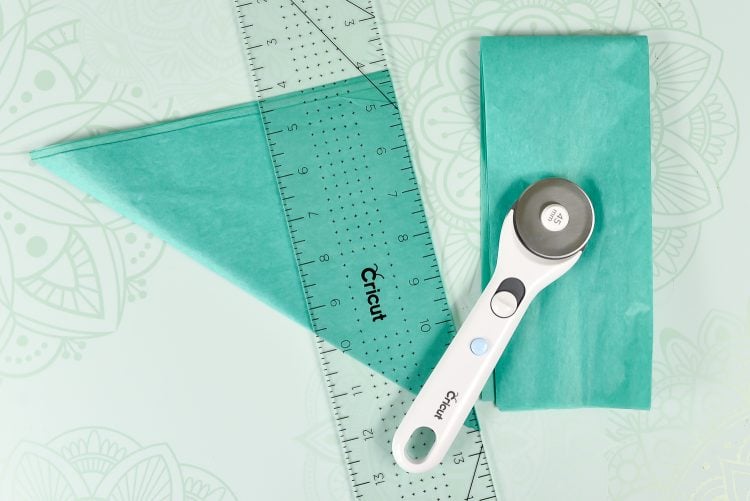
Problem is, I LOVE tissue paper crafts. So for years I’ve used my rotary cutter, acrylic ruler, and self-healing mat for tissue paper projects. I use it to trim off the folded edges of my tissue paper when making tissue paper flowers. I used it to cut all of the tissue paper tassels in my book Paper Party. The rotary cutter cuts through many layers of tissue paper beautifully, making it perfect for these crafts.
7. Cutting Several Layers of Materials
There are tutorials out there for cutting several layers of material with your Cricut Maker and the rotary blade (different than the rotary cutter!). Personally, I advise against it—it requires a lot of spray adhesive, which can damage both your sewing machine and your lungs. I stick to cutting one layer of fabric at a time on my Maker. But if I want to do easy cuts through several layers of fabric, I grab my rotary cutter, acrylic ruler, and self-healing mat.
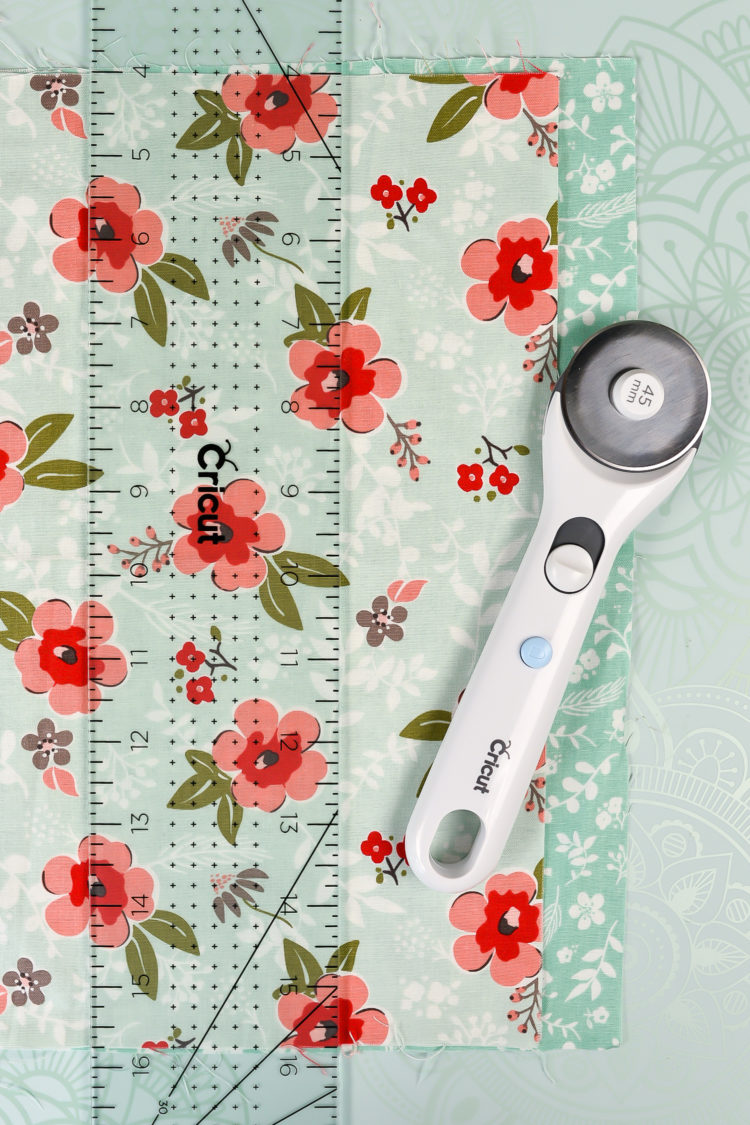
Unlike using scissors, there’s very little if any shift when cutting several layers of fabric using a rotary blade. I find this method makes quick work of cutting 12″ x 24″ pieces of fabric for projects with my Maker, among other things.
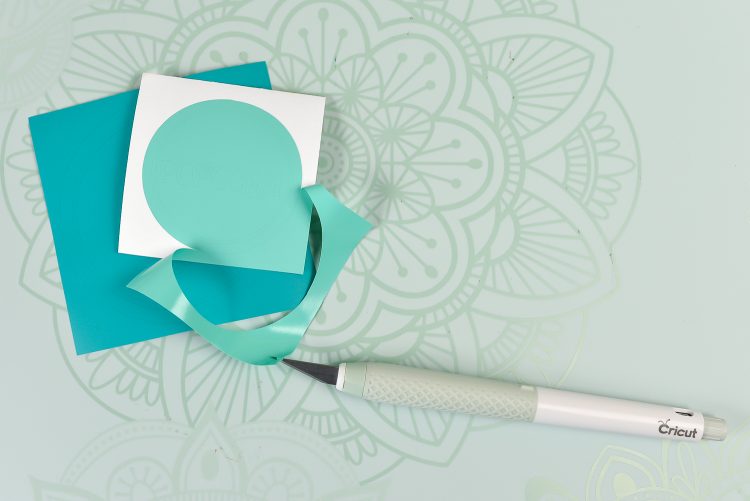
8. Weeding Vinyl
I recently wrote a tutorials for both weeding iron on vinyl and weeding adhesive vinyl. In those posts, I mentioned that people may use a craft knife as a weeding tool. I’ll be honest and say I hadn’t done it until recently. I needed to quickly weed an easy project and my True Control Knife was a lot closer to me than my collection of weeding tools. I just dug the tip of the knife into the corner of my adhesive vinyl and pulled it up! It worked like a dream. I wouldn’t use it for really intricate weeding, but it worked well for my easy project.
9. Protecting My Work Surface
I almost always have my self-healing mat out on my worktable. It protects my table while I’m doing all sorts of crafts, not just cutting. I turn it over to the “pretty” side when working with glue or paint. Then I keep the side with the measurements specifically for cutting—but I don’t mind if I get a bit of adhesive or paint or pen marks on the other side.
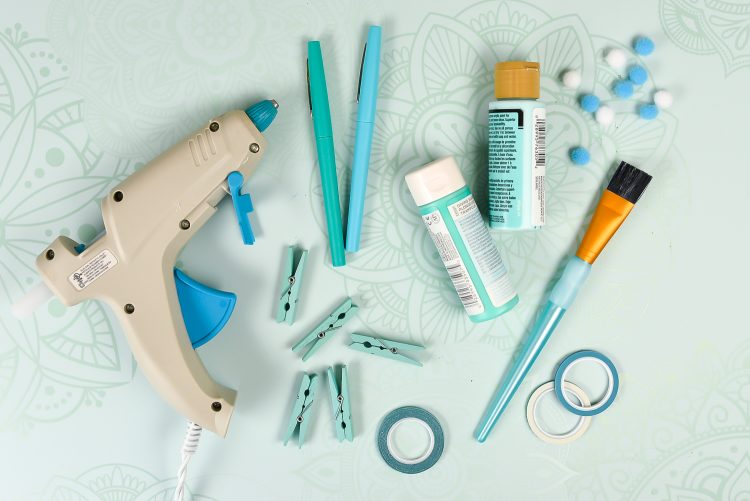
I am a realistic crafter—yes, I’d love for everything to stay neat and tidy and perfect in my craft room. But I also craft HARD. I make a mess. So having the mat protecting my craft table is important to me.
10. General Utility Knife Uses
I not only have a True Control Knife in my craft room, we now have one in our kitchen and one in my husband’s office. More than anything, we use it all the time for opening packages—it slices neatly through tape and is less dangerous than a big box cutter.
I hope you found this list helpful when it comes to ideas to use Cricut hand tools! I know there are even more uses out there—rotary cutters are popular for upcycled clothing (think fringe!) and a craft knife comes in handy when making rubber stamps or working with modeling clay. I’d love to hear how you use these tools in the comments!


Leave A Reply!