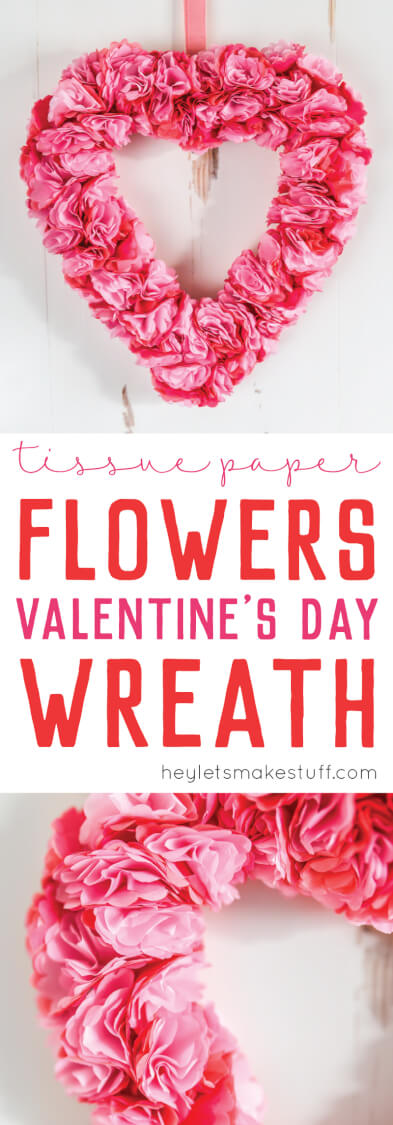
This beautiful tissue paper flower Valentine’s Day wreath is deceptively simple to make! This easy tissue paper craft is perfect for Valentine’s Day decor or for a Valentine’s Day party.
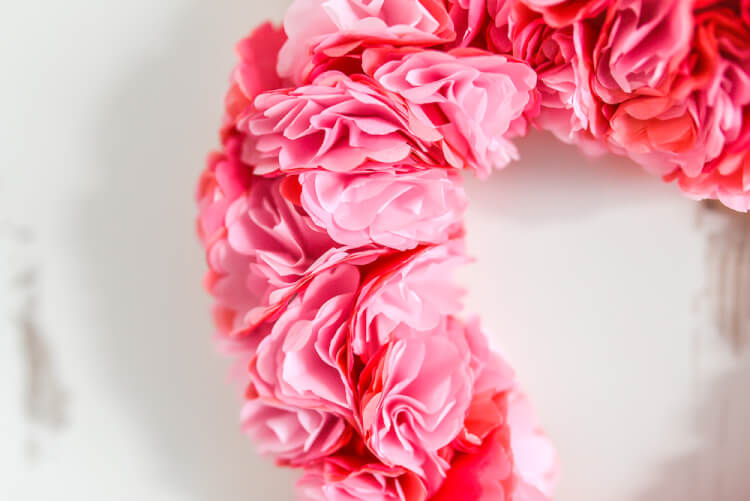
It’s so easy to create a gorgeous tissue paper wreath using just four simple craft supplies that are easy to find at your local craft store or online! This heart wreath has a wow-factor that even beginner crafters can accomplish and wreaths like this make great homemade holiday gifts.
I’m making this wreath for Valentine’s Day, but you could easily switch up the colors and make one for all of the different holidays. I love this tissue paper Christmas wreath from my friend Heidi Kundin, where she used green tissue paper cut into small squares, for example. You could also add optional embellishments like glitter, pom poms, feathers, and more!
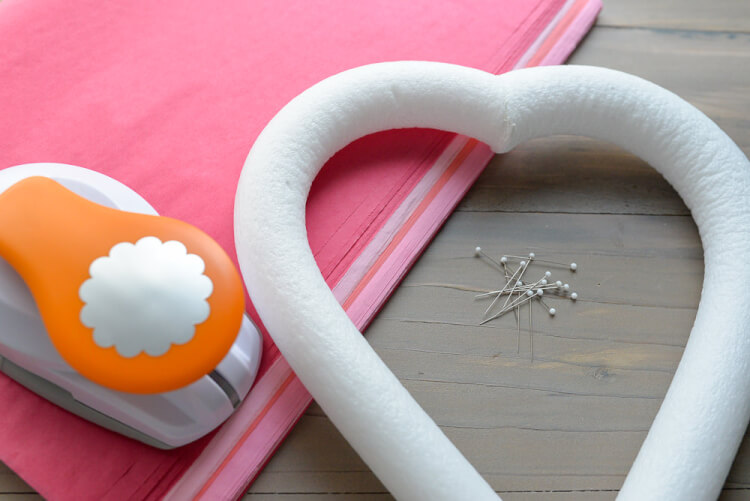
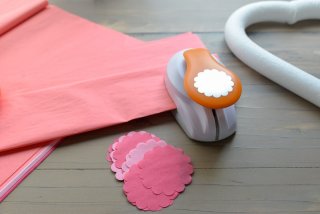
This wreath is particularly easy to make thanks to a scalloped-edge paper punch! You could use tissue paper squares or circles as well, but I love the floral look that the scalloped punch gives. I also used a heart-shaped foam wreath form, but you could use a circle or other shape, depending on the look you’re going for.
Tissue paper is one of my favorite things to work with. Check out my Tissue Paper Jellyfish, How to Make Tissue Paper Flowers Four Ways, and Best Websites To Buy Bulk Tissue Paper.
Let’s make a wreath!
Tissue Paper Wreath Supplies
Get everything you need to make this project in my Amazon Store!
- Heart-shaped foam wreath form
- Straight pins
- Several colors of pink and red tissue paper
- Scalloped-edge paper punch
Tissue Paper Wreath Instructions
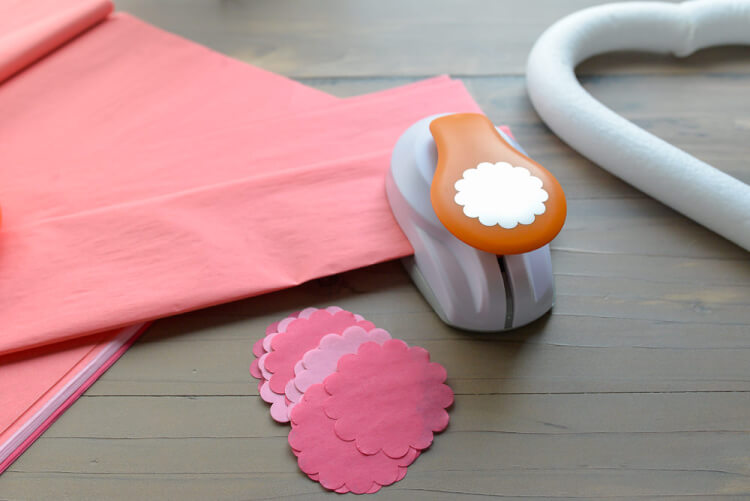
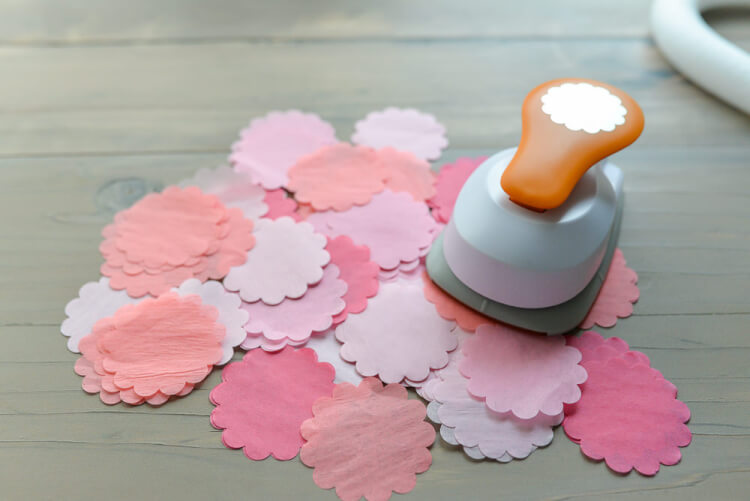
Start by cutting out your tissue paper using the punch. This is a lot of fun for kids, if you’d like to get them involved!
Many tutorials online and in social media will have you use the glue method, which I used with fabric on my Rag Wreath tutorial. You’ll basically fold a square of tissue paper around the end of a wooden dowel or the eraser end of the pencil. Then place a small amount of white glue (or hot glue) on each piece of tissue paper and attach to the wreath.
These types of wreaths are great kids crafts, but I wanted a bit more fullness to my wreath, so I figured out a different way to do it. I wouldn’t necessarily let my young boys do my method, since it involves sharp pins, but older children might enjoy doing it this way.
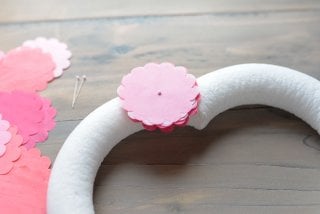
I decided to stack the pieces of tissue paper per flower. Then I pushed a straight pin directly through the center of the stack into the wreath form. It worked great and has held up surprisingly well over the years.
Start with a stack of around eight tissue paper pieces. For mine, I took them time to stack them in an ombre order, but you could also choose to make it random. Then pin the stack directly into the wreath. You want to make sure that your pin is buried in the center of the wreath and not poking out the side. That way you won’t accidentally poke yourself with an errant pin!
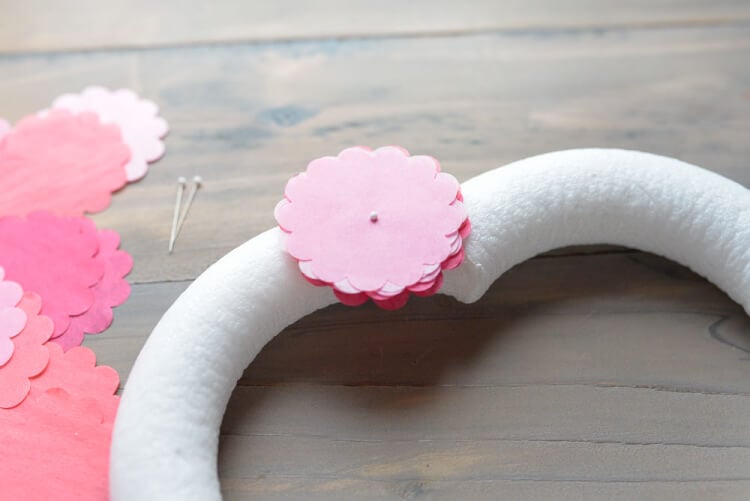
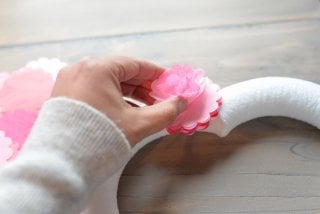
Then fluff each individual layer toward the center.
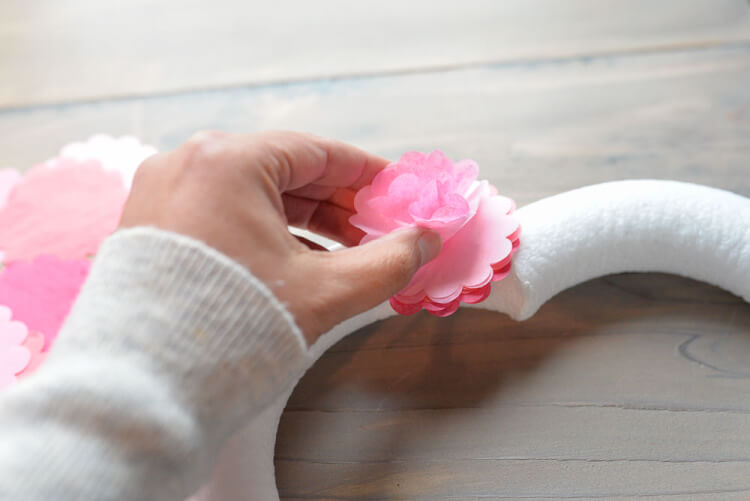
Once you’ve fluffled all the layers, you have a pretty flower!
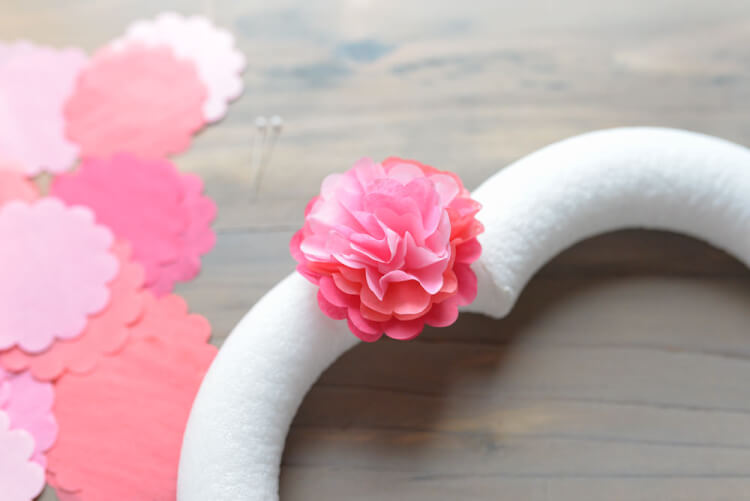
That’s it! Continue making those flowers all the way around the wreath form, working in sections of the wreath. I just did the front and sides instead of covering the entire wreath form. I found no reason to put flowers on the back of the form since it will lay against the door nicely.
I packed the tissue paper flowers pretty tightly because I liked how it looked.
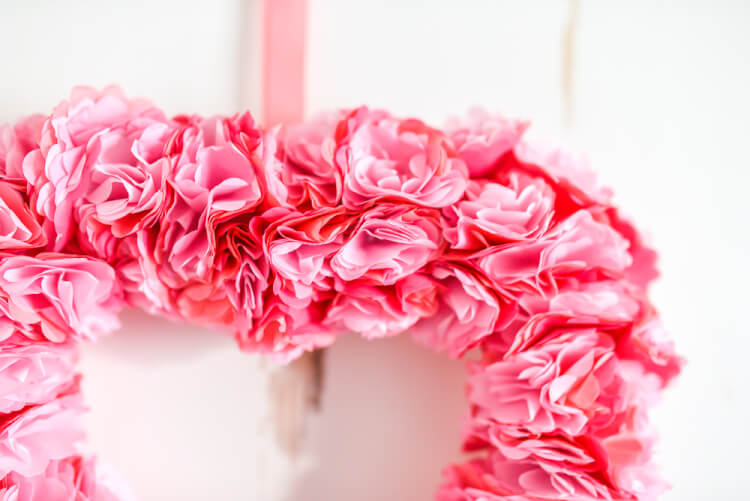
Add a ribbon for hanging on the back (I used four additional straight pins to secure it) and you’re done! It looks so pretty on your front door or above a fireplace to celebrate Valentine’s Day!


TISSUE PAPER WREATH
Equipment
Instructions
- Cut out your tissue paper circles using the punch.

- Stack about eight punched circles and adhere to the foam wreath using a straight pin.

- Fluff the tissue paper to create a flower.

- Add and fluff more flowers on the entire wreath.

Looking for more easy creative ideas to make wreaths? Check out these posts from my blog and from some of my favorite bloggers!




Comments & Reviews
Marianna says
thanks
claraa says
the result is very beautiful, that I might try to make it at home