
Decorate for the 4th of July on a budget with these paper rockets! These paper rockets can be cut on your Cricut or other cutting machine and assembled in minutes. Plus, get a free SVG template!

The 4th of July in 2020 is guaranteed to not look like any we’ve had before! With social distancing and lots of big events canceled, more and more folks will be celebrating from their backyards this year. Break out the barbecue, beer, and sparklers!
If you’re planning a smaller family get-together this year and are looking for ways to decorate using your Cricut on a budget, check out these projects I’ve been making over the years. All of these projects are designed to go together and include free SVG files!

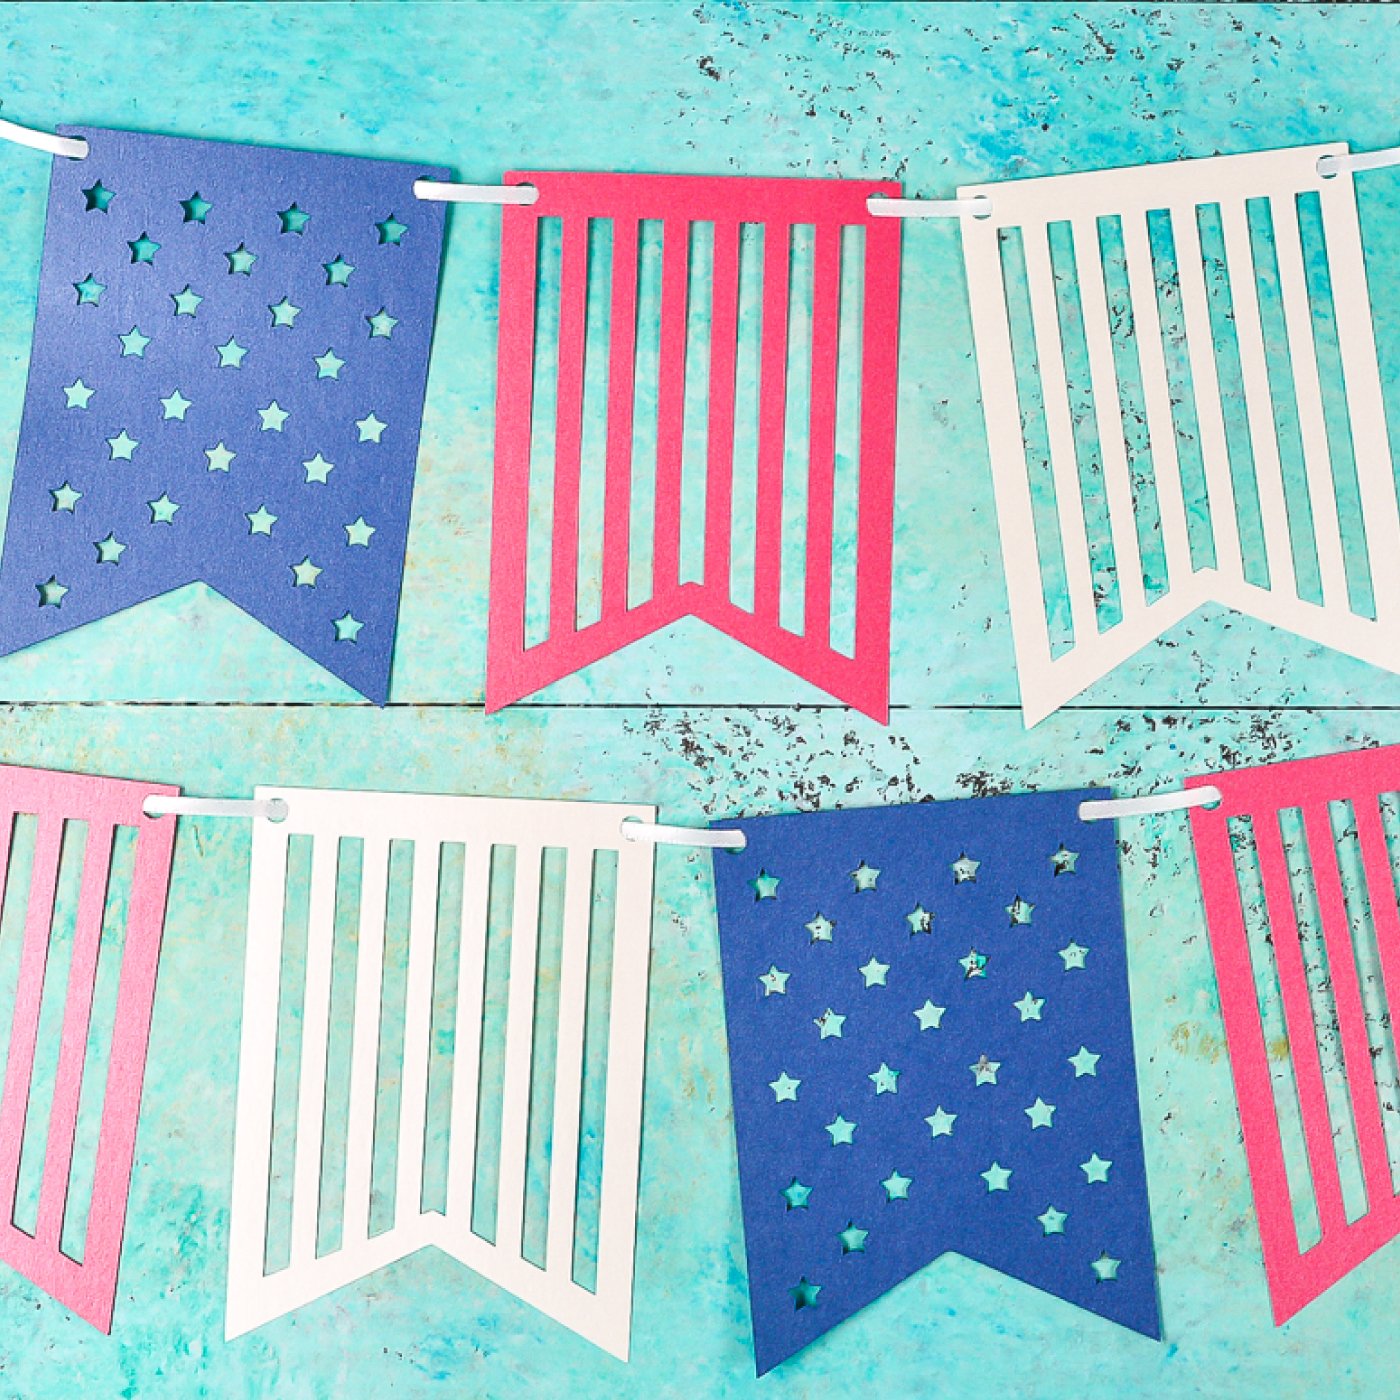

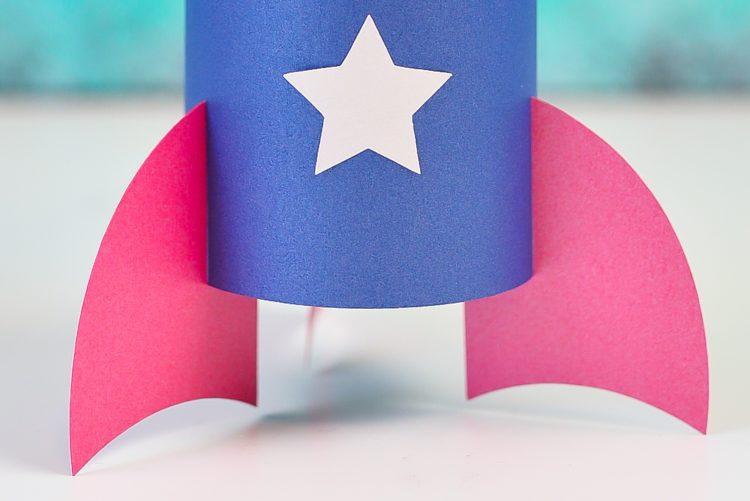
Today I’m adding to this collection with these fun paper rockets! These are perfect for the table or mantel (they aren’t great for play, though!). I’ve used StarDream Metallics paper, but you can use solid or patterned scrapbook paper as well. Cardstock tends to be a little fussier when gluing, but it can work as well.
4th of July Paper Rocket Supplies
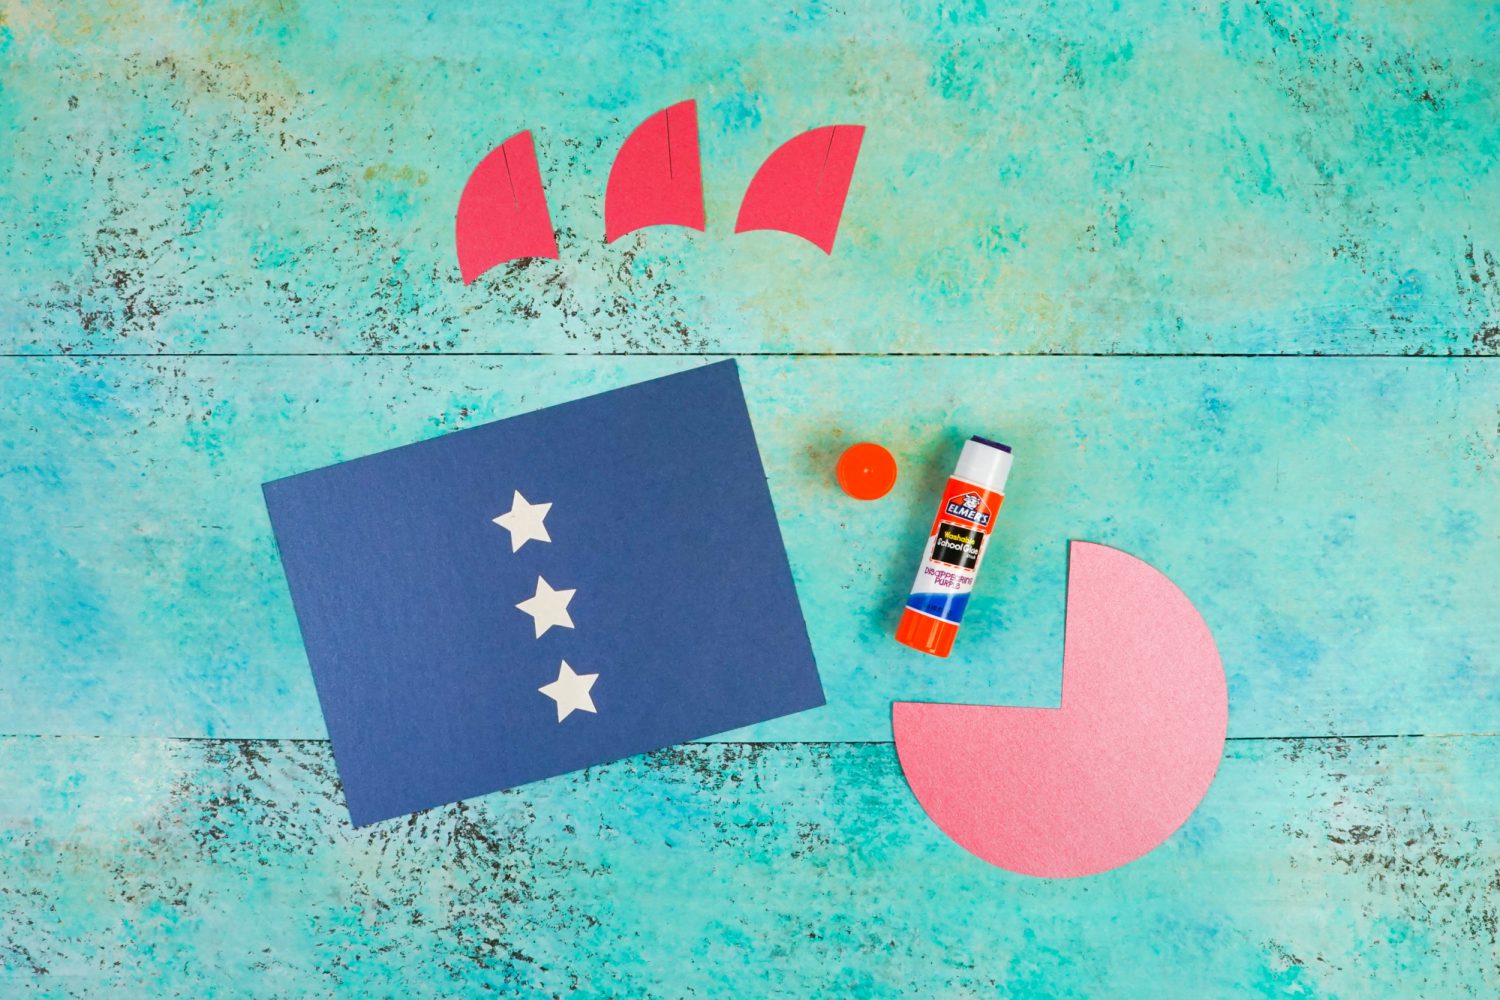
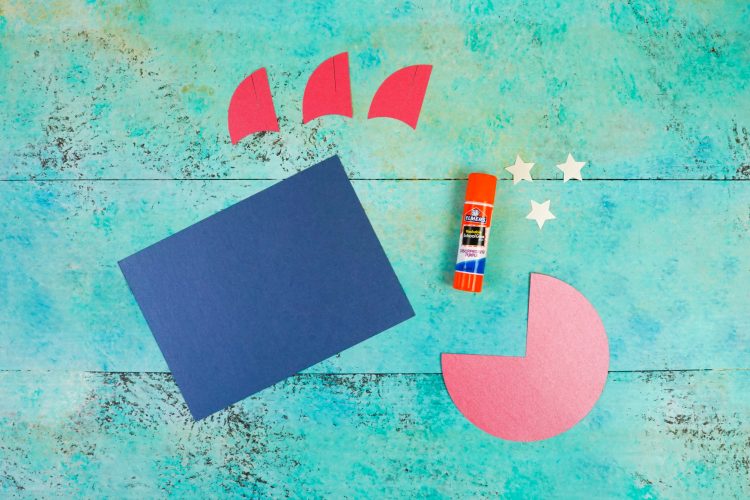
- Red, white, and blue paper
- Glue stick
- Tacky glue
- Cricut Explore or Cricut Maker (this project is too large for the Cricut Joy)
- Blue LightGrip mat
- SVG file (download below)
A note about glue: I find that two different adhesives work best for these rockets. I use a glue stick for the stars, and then tacky glue to actually assemble the rocket. You can also use tape, particularly if you’re going to just set them on a mantel where they won’t be handled. Hot glue might work if you are using cardstock, but tends to ripple thinner paper a bit.
Get the Best Price on Cricut Supplies
Because prices are always changing, make sure to shop around for the best deals! Here are my favorite retailers:
Get the Free File
Want access to this free file? Join my FREE craft library! All you need is the password to get in, which you can get by filling out the form below. The file number is: C440.
4th of July Paper Rocket Instructions
Setting up the Rocket File in Design Space
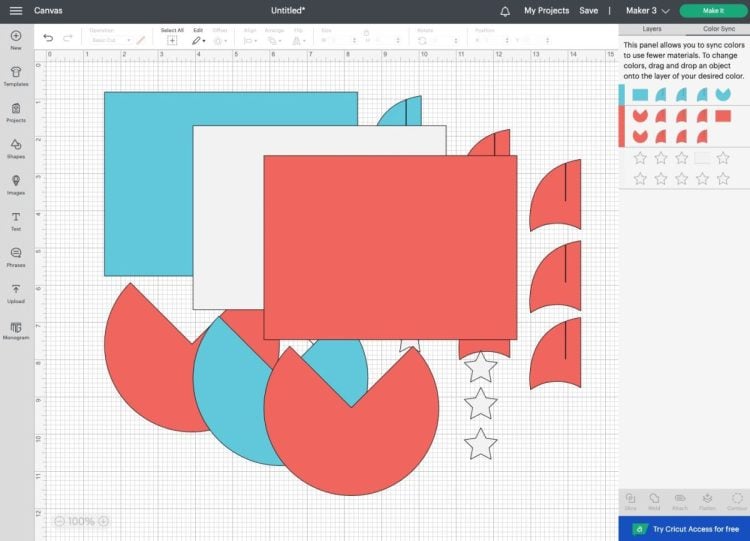
Upload the rocket SVG to Cricut Design Space (see my post Uploading SVG Files to Cricut Design Space for more information).
The file should be ready to cut as is, but you can rework the colors if you’d like. I created a copy of the file and changed the colors around using ColorSync so that I could have a few different versions of the rocket.

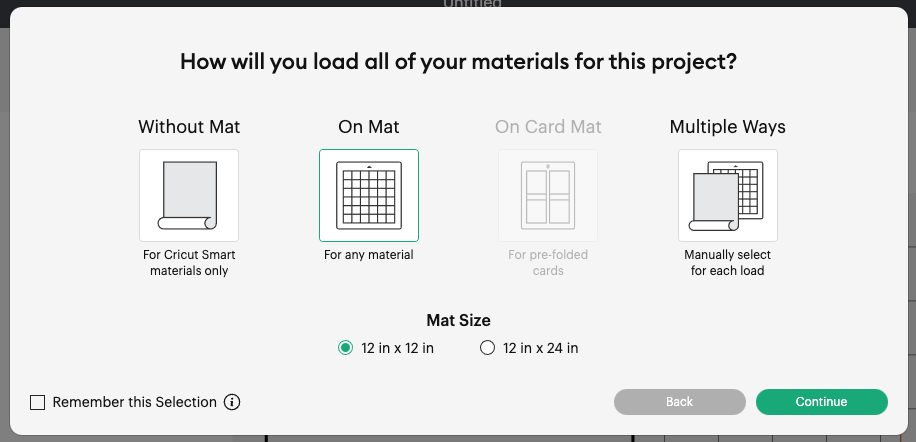
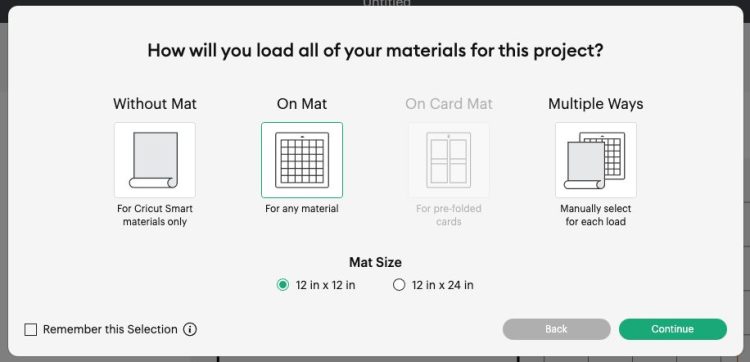
From there, click Make It in the upper right! You’re ready to cut your rockets. You’ll see a pop up to select your mat load type. Choose On Mat because you’re using paper.
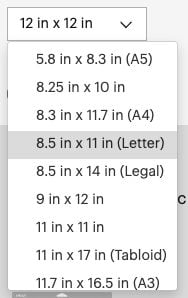
Then change your paper size. For this project, I’m using paper that is 8.5″ x 11″. Cricut Explore and Cricut Maker automatically chooses 12″ x 12″ material, so use the dropdown menu to select the smaller paper size if needed!
Then click Continue.
In the Make Screen, choose your material. I chose Laser Copy Paper because it’s similar to the paper I am using, but make sure you’re selecting the material that you’re cutting.
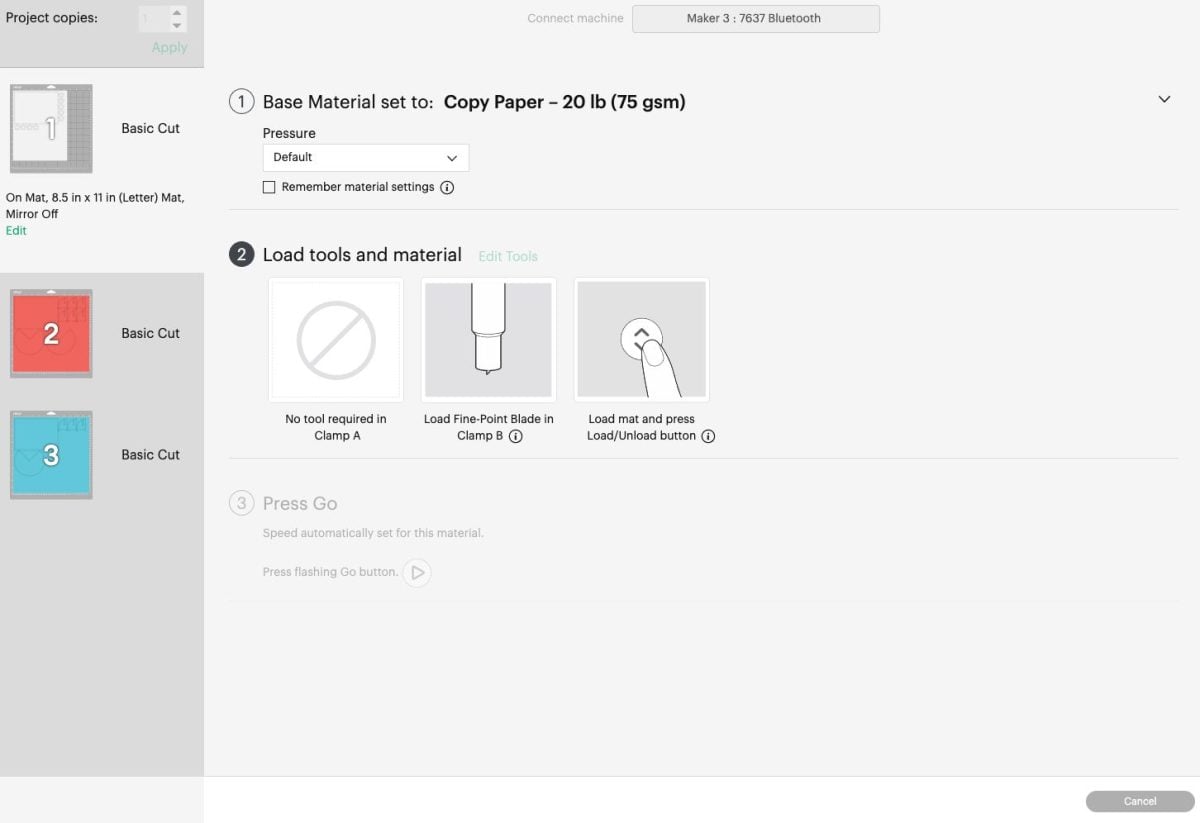
Then place your material on your cutting mat and your Cricut will cut your rockets!

Assembling Your Rockets
To assemble your rockets, I find it easiest to glue on the star windows before creating the body of the rocket. A glue stick is the easiest for this.
Next, roll the rocket body into a tube and use the glue stick to adhere. You can also use a thin layer of tacky glue if you prefer.

To make the roof of the rocket, curl the “Pacman” shaped piece and glue one edge over the other. To attach to the top of the rocket to the body, you can use a bit of tacky glue or even tape up and under the top, where you can’t see it.

For the fins, just slide them on the bottom of the rocket. Again, a small line of glue or a small piece of tape inside the body of the rocket where it touches the fin helps secure it.

Then you’re done! These rockets are super cute for all of your Fourth of July party decor!


4th of July Party Fun

4th OF JULY PAPER ROCKETS
Equipment
- Cricut Maker (this project is too large for the Cricut Joy)
Instructions
- Setting up the Rocket File in Design SpaceUpload the rocket SVG to Cricut Design Space (see my post Uploading SVG Files to Cricut Design Space for more information). The file should be ready to cut as is, but you can rework the colors if you'd like. Create a copy of the file and change the colors around using ColorSync if you want few different versions of the rocket.

- From there, click Make It in the upper right! You're ready to cut your rockets. You'll see a pop up to select your mat load type. Choose On Mat because you're using paper.

- Then change your paper size. For this project, we are using paper that is 8.5" x 11". Cricut Explore and Cricut Maker automatically chooses 12" x 12" material, so use the dropdown menu to select the smaller paper size if needed!Then click Continue.

- In the Make Screen, choose your material. Laser Copy Paper was chosen because it's similar to the paper being used, but make sure you're selecting the material that you're cutting.

- Then place your material on your cutting mat and your Cricut will cut your rockets!

- Assembling Your RocketsTo assemble your rockets, it is easiest to glue on the star windows before creating the body of the rocket. A glue stick is the easiest for this.
- Next, roll the rocket body into a tube and use the glue stick to adhere. You can also use a thin layer of tacky glue if you prefer.
- To make the roof of the rocket, curl the "Pacman" shaped piece and glue one edge over the other. To attach to the top of the rocket to the body, you can use a bit of tacky glue or even tape up and under the top, where you can't see it.

- For the fins, just slide them on the bottom of the rocket. Again, a small line of glue or a small piece of tape inside the body of the rocket where it touches the fin helps secure it.
- Then you're done! These rockets are super cute for all of your Fourth of July party decor!


Leave A Reply!