
4th OF JULY PAPER ROCKETS
Decorate for the 4th of July on a budget with these paper rockets! These paper rockets can be cut on your Cricut or other cutting machine and assembled in minutes. Plus, get a free SVG template!
Equipment
- Cricut Maker (this project is too large for the Cricut Joy)
Instructions
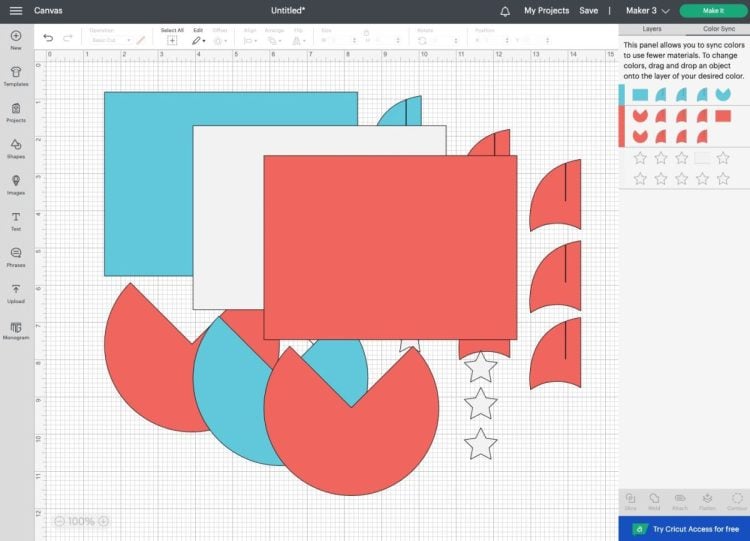
- Setting up the Rocket File in Design SpaceUpload the rocket SVG to Cricut Design Space (see my post Uploading SVG Files to Cricut Design Space for more information). The file should be ready to cut as is, but you can rework the colors if you'd like. Create a copy of the file and change the colors around using ColorSync if you want few different versions of the rocket.
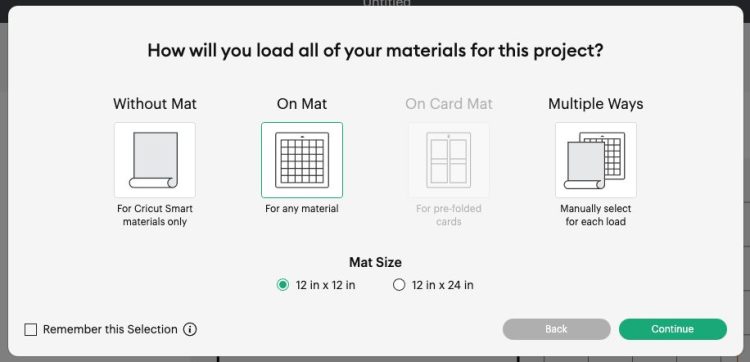
- From there, click Make It in the upper right! You're ready to cut your rockets. You'll see a pop up to select your mat load type. Choose On Mat because you're using paper.
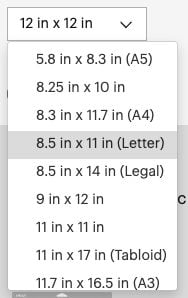
- Then change your paper size. For this project, we are using paper that is 8.5" x 11". Cricut Explore and Cricut Maker automatically chooses 12" x 12" material, so use the dropdown menu to select the smaller paper size if needed!Then click Continue.
- In the Make Screen, choose your material. Laser Copy Paper was chosen because it's similar to the paper being used, but make sure you're selecting the material that you're cutting.
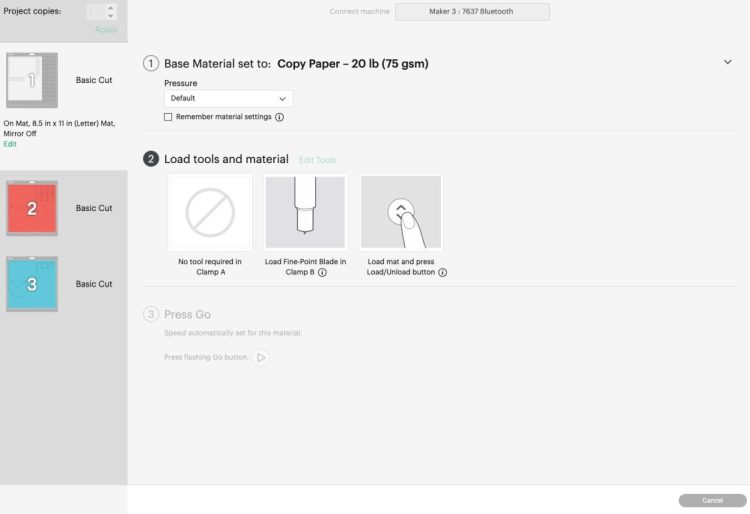
- Then place your material on your cutting mat and your Cricut will cut your rockets!
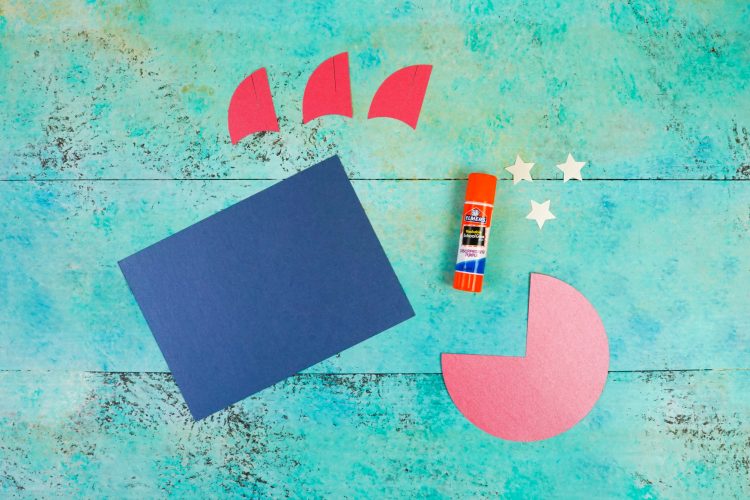
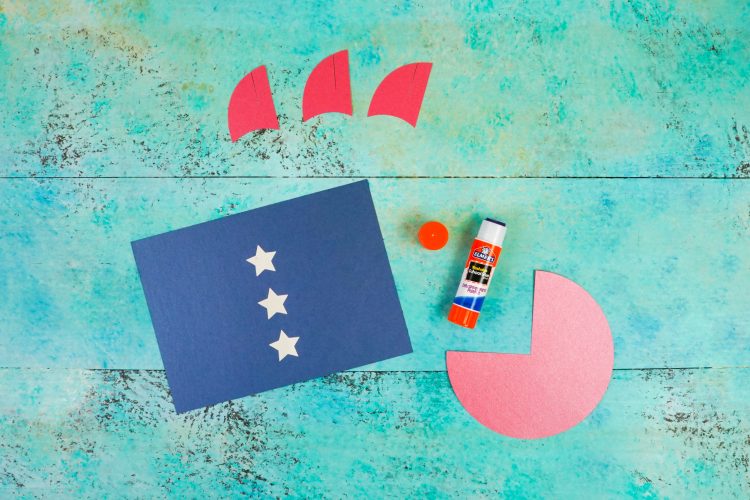
- Assembling Your RocketsTo assemble your rockets, it is easiest to glue on the star windows before creating the body of the rocket. A glue stick is the easiest for this.
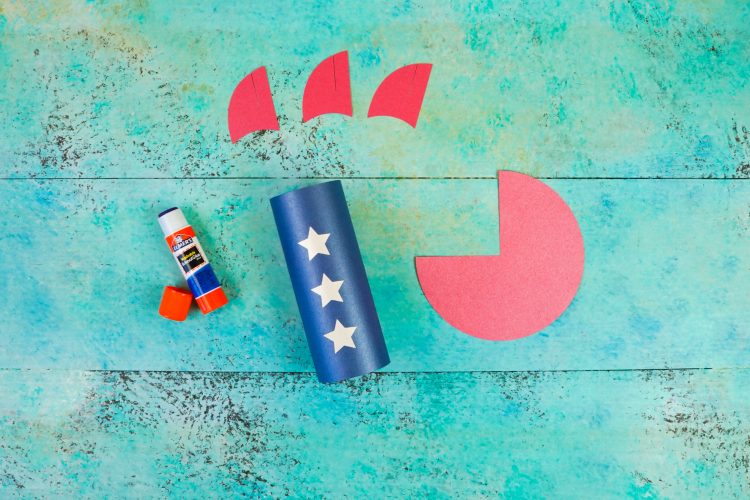
- Next, roll the rocket body into a tube and use the glue stick to adhere. You can also use a thin layer of tacky glue if you prefer.
- To make the roof of the rocket, curl the "Pacman" shaped piece and glue one edge over the other. To attach to the top of the rocket to the body, you can use a bit of tacky glue or even tape up and under the top, where you can't see it.

- For the fins, just slide them on the bottom of the rocket. Again, a small line of glue or a small piece of tape inside the body of the rocket where it touches the fin helps secure it.
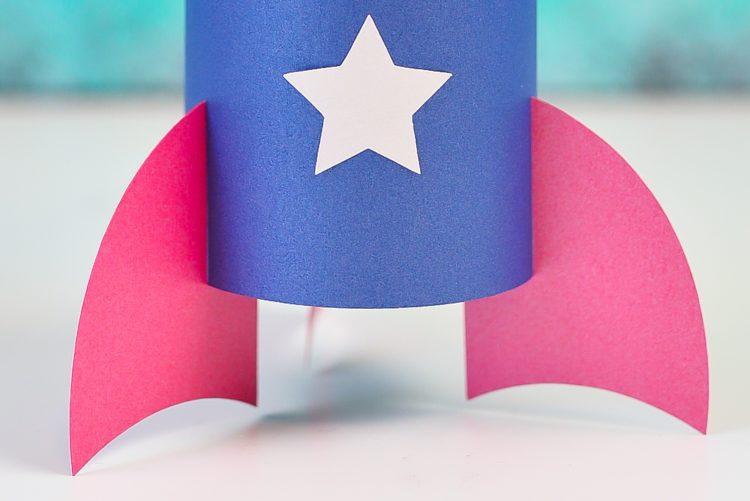
- Then you're done! These rockets are super cute for all of your Fourth of July party decor!