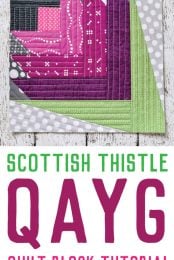
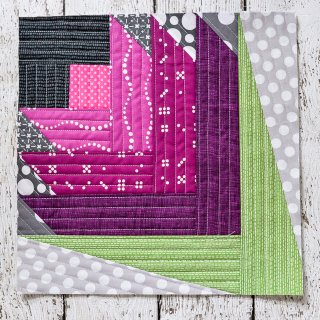
Quilt-As-You-Go is way more versatile than you might think! Here’s how to quilt a Scottish Thistle block. Get this and other quilting and sewing tutorials.
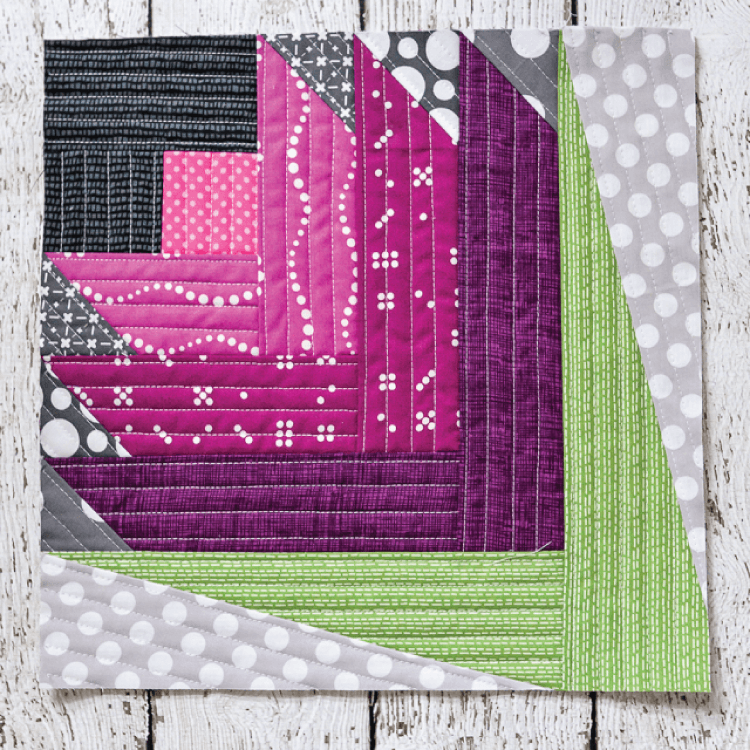
I knew it would probably happen — I got behind on my monthly QAYG blocks. It was to be expected. There’s not a lot of sewing going on when you have two infants to care for!
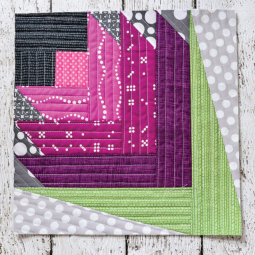
Today I’m sharing the block I made for May, which was inspired by my friend Rebecca’s trip to Scotland. I was just getting around to finishing it when the babies came on May 20, and I was never able to blog it. Maybe I’ll be able to come up with some retroactive blocks for June, July, and August, and September — and then I’ll be caught up! A girl can dream, right?
This block is made using the same technique I use for all my QAYG blocks. Click on the links below, especially the Seaside Boardwalk tutorial, for all the information on how to make these blocks.
IMPORTANT: I always get asked how to combine these blocks. There are a lot of tutorials online for connecting QAYG blocks. I haven’t personally used any of them, but I am sure you can find one that works! I always turn these blocks into pillows or bags — anything with a lining so the ugly back isn’t visible.
Here is the order for placing each of the pieces:
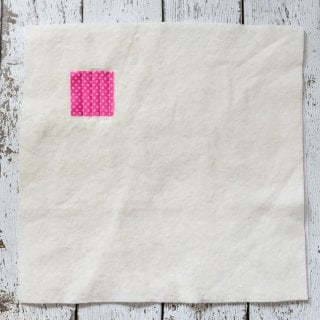
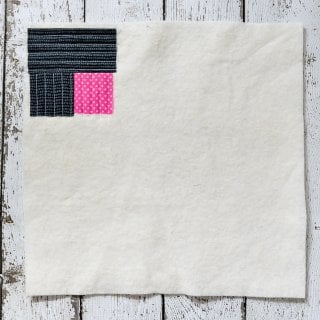
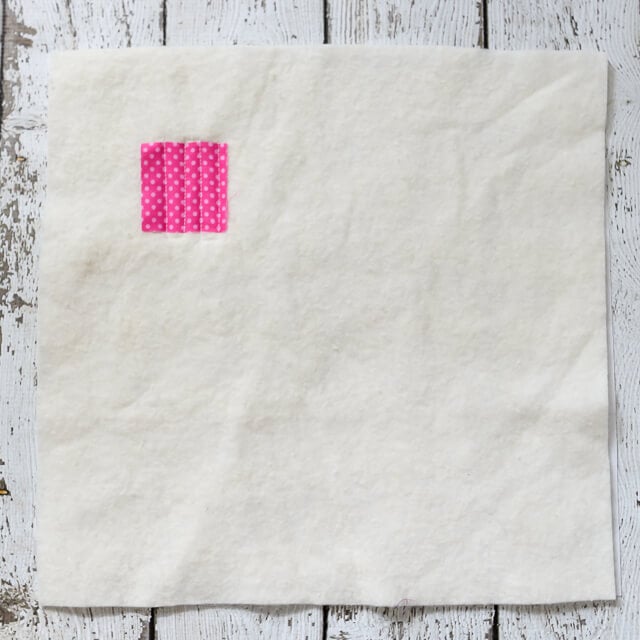
First, start with the center of the thistle, quilted right-side-up, to the batting and backing fabric:
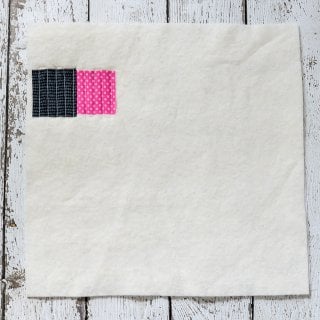
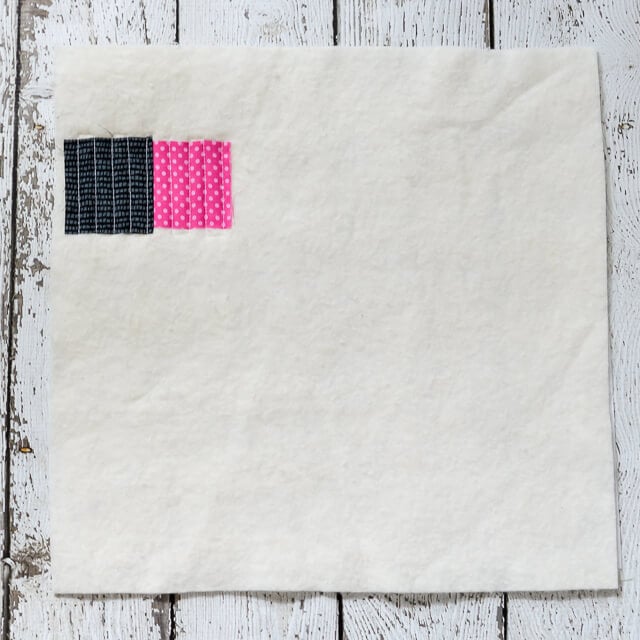
Then add the two darkest gray pieces to the left and top of the first piece:
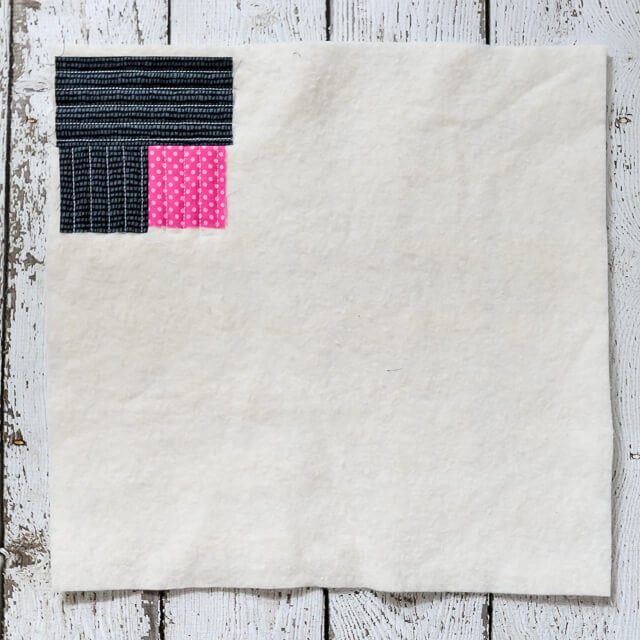
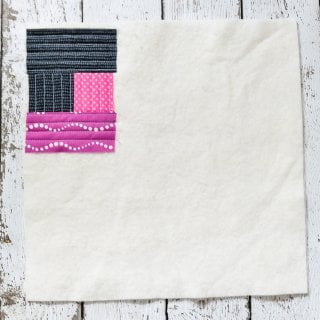
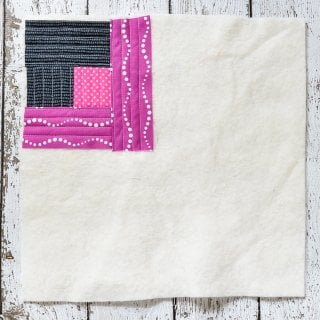
Then the next two pieces of the thistle:
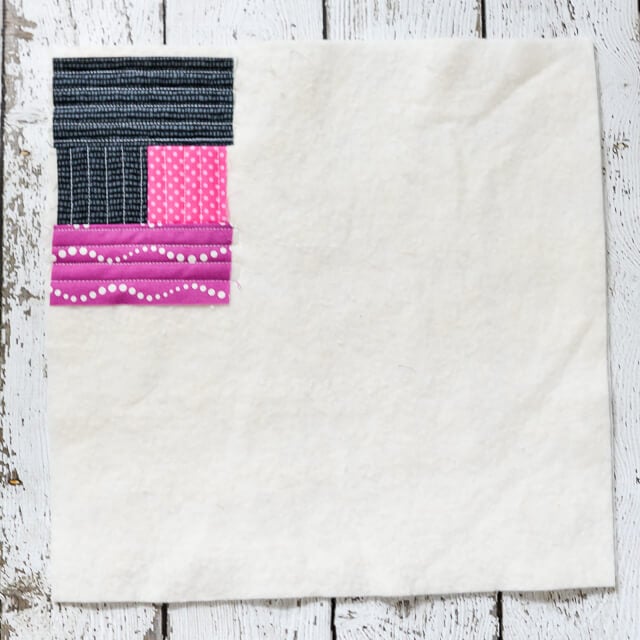
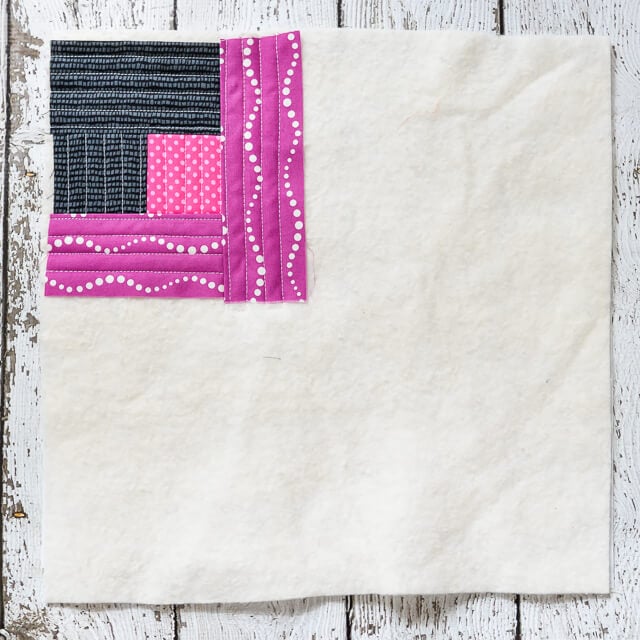
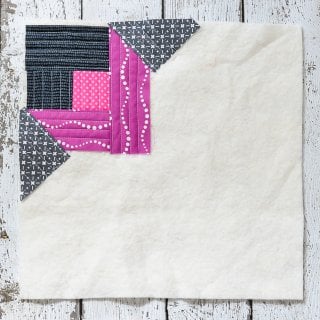
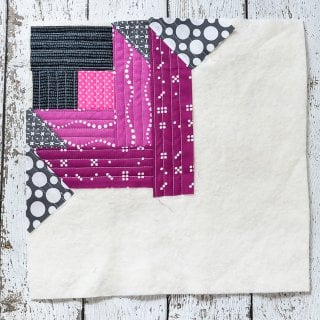
To make the thistle’s ends pointy, add two gray pieces, placed along the diagonal of the purple pieces:
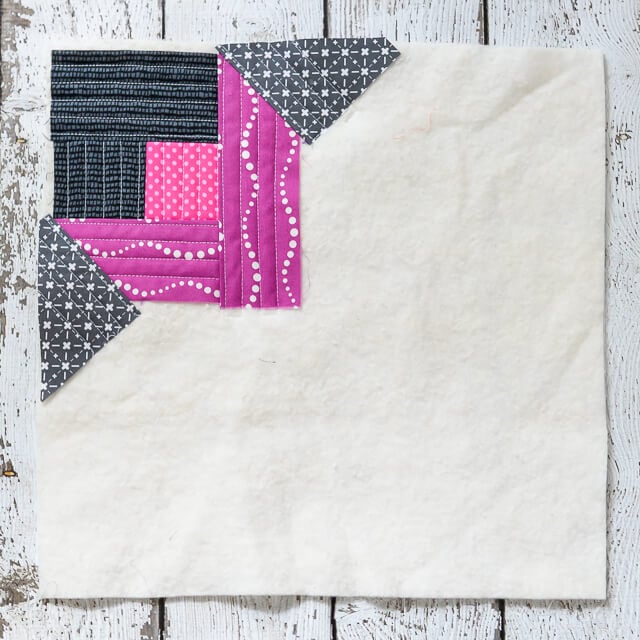
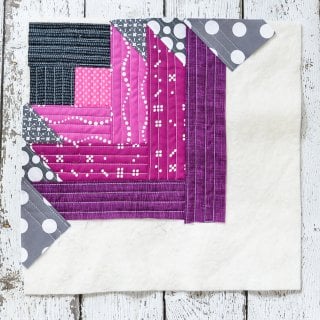
Continue to add layers to the thistle in this manner — first the two purple perpendicular pieces, then the two gray diagonal pieces.
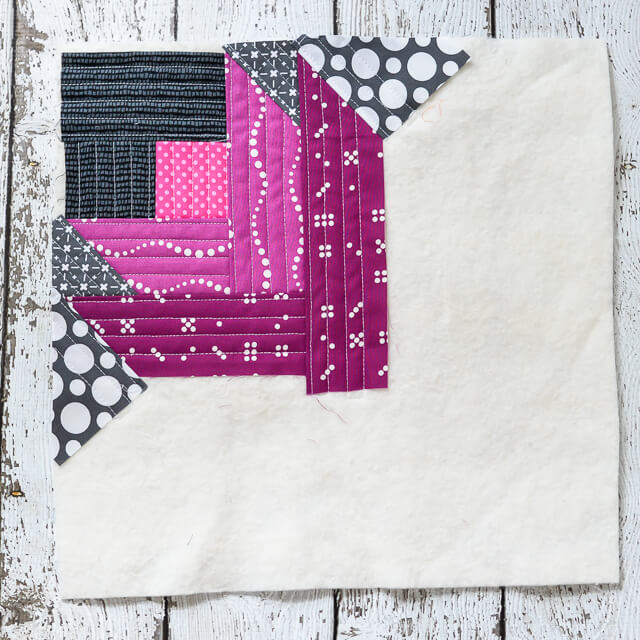
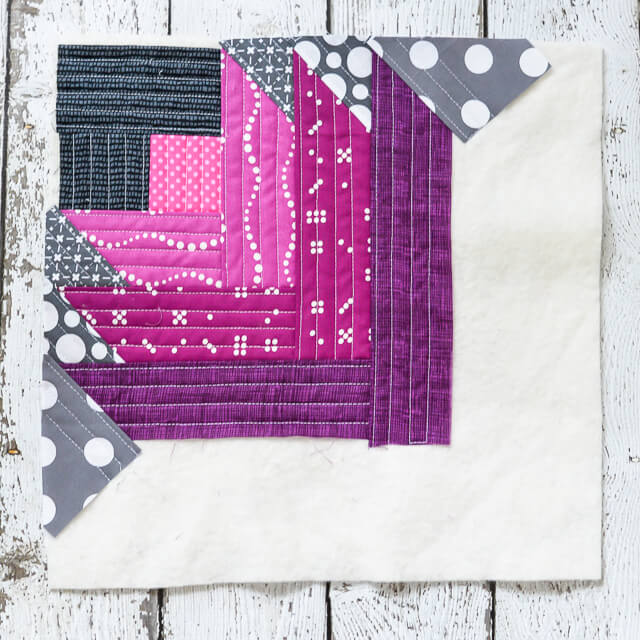
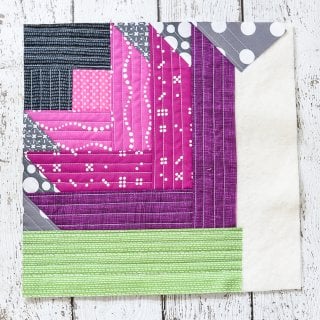
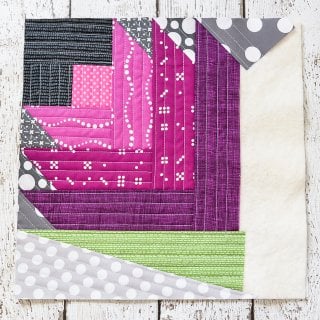
Once you reach the end of your thistle, add green pieces for the leaves and gray pieces to make the leaves pointy. (Do thistles have leaves? Whatever. The poky bits at the bottom.).
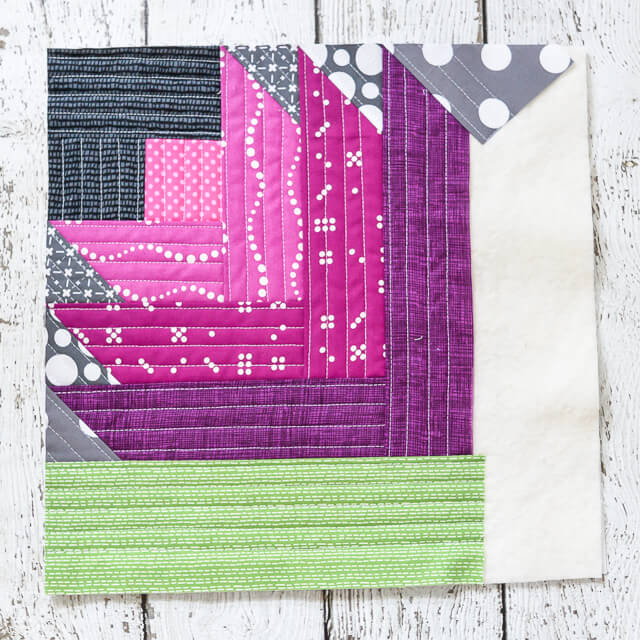
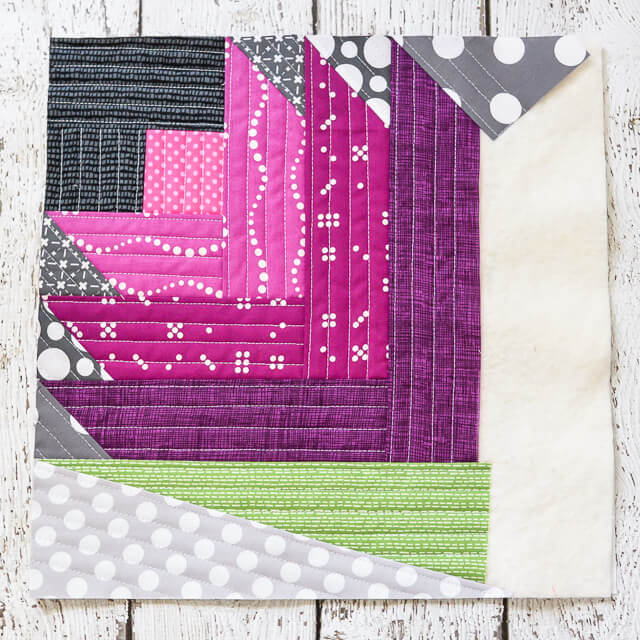
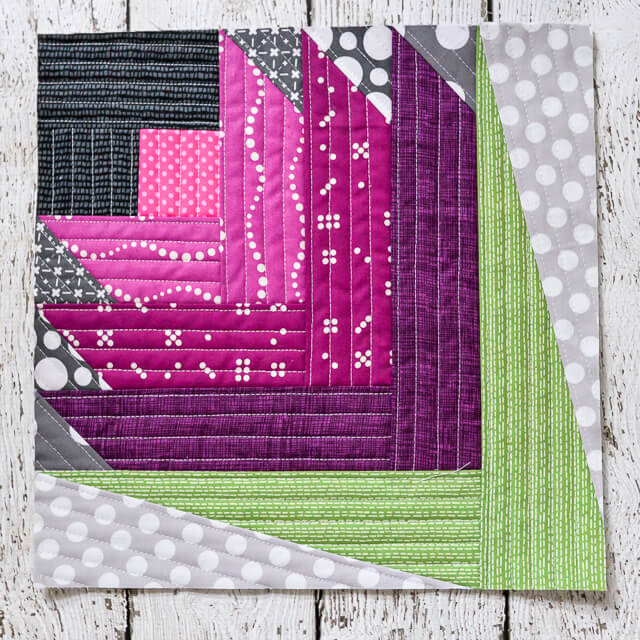
Trim it up, and you’re ready to go!
- Learn Quilt-As-You-Go: Easy Big Stripes Panel
- Bloomin’ Quilt-As-You-Go Tutorial
- Seaside Boardwalk Quilt-As-You-Go Tutorial
- Scattered Geese Quilt-As-You-Go Tutorial
- Go Fly a Kite Quilt-As-You-Go Tutorial
- Step It Up Quilt-As-You-Go Tutorial
- Bear Mountain Quilt-As-You-Go Tutorial
- Scottish Thistle QAYG Block
- North West Quilt-As-You-Go Block Tutorial
Instructions
- Here is the order for placing each of the pieces:First, start with the center of the thistle, quilted right-side-up, to the batting and backing fabric:

- Then add the two darkest gray pieces to the left and top of the first piece:


- Then the next two pieces of the thistle:


- To make the thistle's ends pointy, add two gray pieces, placed along the diagonal of the purple pieces:

- Continue to add layers to the thistle in this manner — first the two purple perpendicular pieces, then the two gray diagonal pieces.


- Once you reach the end of your thistle, add green pieces for the leaves and gray pieces to make the leaves pointy. (Do thistles have leaves? Whatever. The poky bits at the bottom.).


- Trim it up, and you're ready to go!

