Wood can be a tricky base when making vinyl home decor signs and other wood projects. If you’re using vinyl on painted wood, check out these tips for getting the best results!
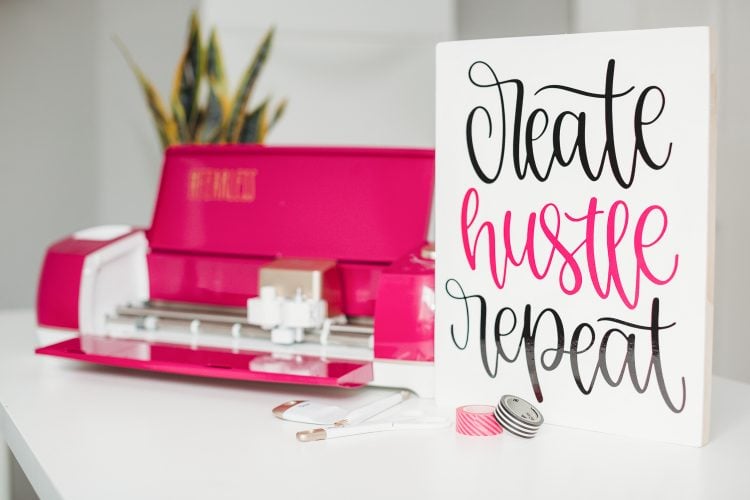
Hey hey friends! Today is a fun day for me because this is the first in a series of three projects I’m making using my new Cricut Explore Air 2. This series also allows me to take you inside my craft space and creative journey a little more than normal—I hope you enjoy getting to know me and my passion for crafting!
In this first post we’ll take a look at this awesome bundle and then you’ll get all my tips and tricks for using vinyl on painted wood with a fun project that’s perfect for your craft room—plus learn why I’m a #fearless creator!
Taking Risks
About two years ago, I decided I was done trying to do what everyone else was doing. My blog had too many topics and zero focus. My style and brand was all over the place. I was running both my blog, and the blogging program for a large retailer. Oh, and I had two toddlers. I was kiiiiinda losing my mind.
So I took a big risk. I stopped doing everything I didn’t like doing. No more recipes. No more long posts about travel. No more interior design (have you renovated a kitchen while you had two babies? I have.). No more modern farmhouse or shabby chic style. I was going to focus on bright, modern, happy crafts using my Cricut, awesome digital files, and fun printables. Everything else? Bye bye.

I’m not sure I was fearless, but I did it despite the fear. And two years later? Zero regrets. I get to do exactly what I want to do every day, and I have built a community that I just love.
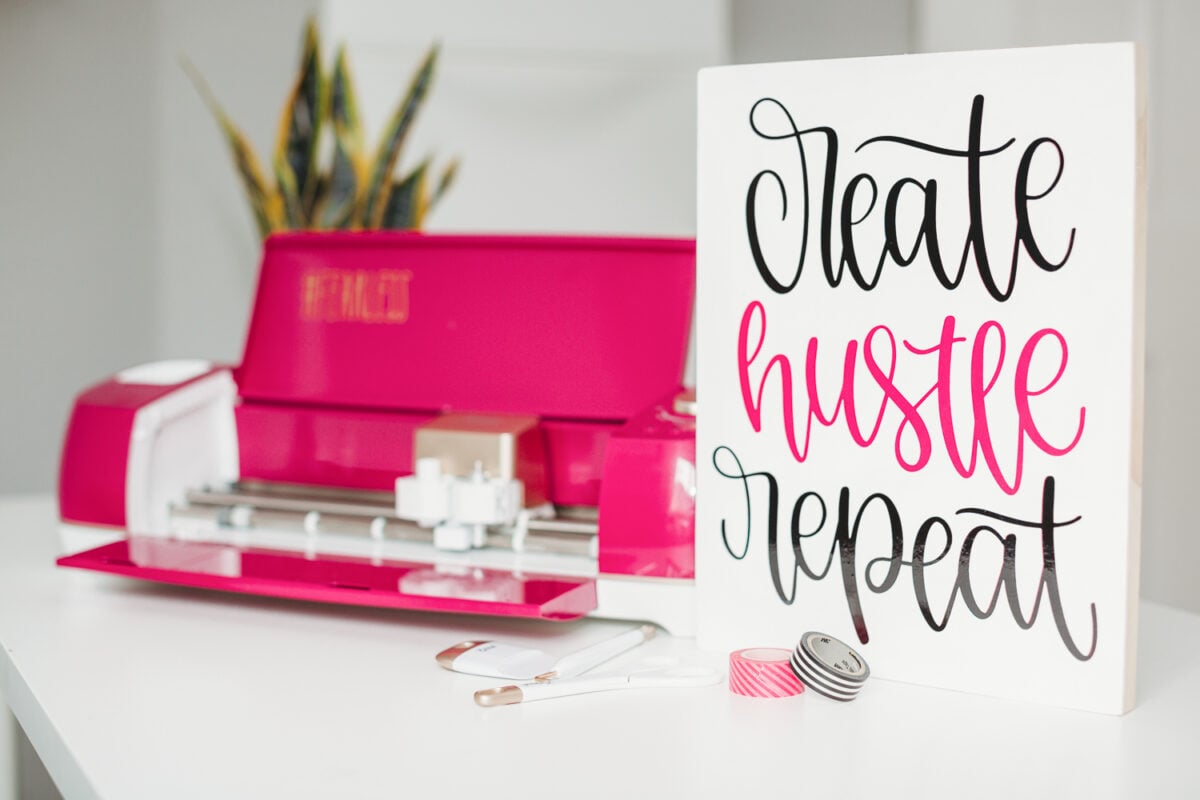
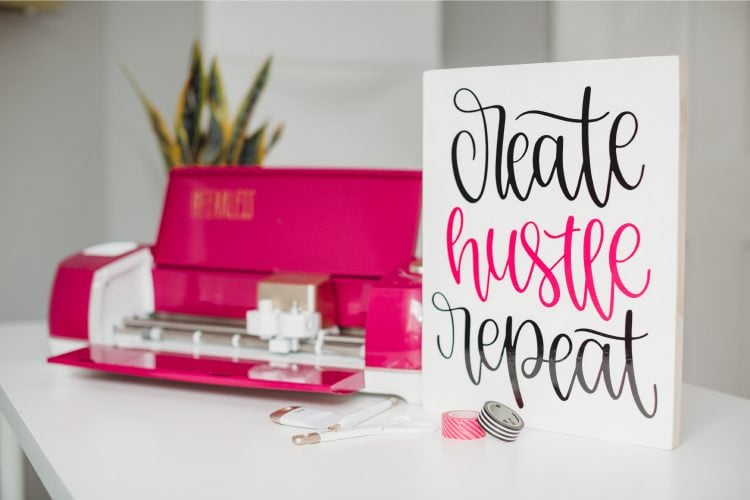
Which is what I’m going to do now—create a fun project with YOU! This Create, Hustle, Repeat sign is perfect for every mom-boss, entrepreneur, or creative shop owner who knows how to get stuff done.
Painted Wood Sign Supplies

- Cricut Explore Air 2
- Black adhesive vinyl
- Pink adhesive vinyl
- Transfer tape
- Weeding tool
- Scraper
- Wood sign
- White paint
- Paint brush
- Clearcoat (optional)
Here’s how to use vinyl on painted wood.
- Paint Your Sign
If your sign is originally raw wood, you’ll want to paint it. If it has a rough surface, make sure to sand it down—the smoother the wood, the better your vinyl will stick. My best advice is to start with the smoothest piece of wood you can find.
Then paint with at least two coats of paint. I used a simple acrylic craft paint in white for my sign. Then let your sign dry, preferably for more than 24 hours so the paint has time to cure.
- Open the Design Space file
Click here to get the Cricut Design Space file to make this project.

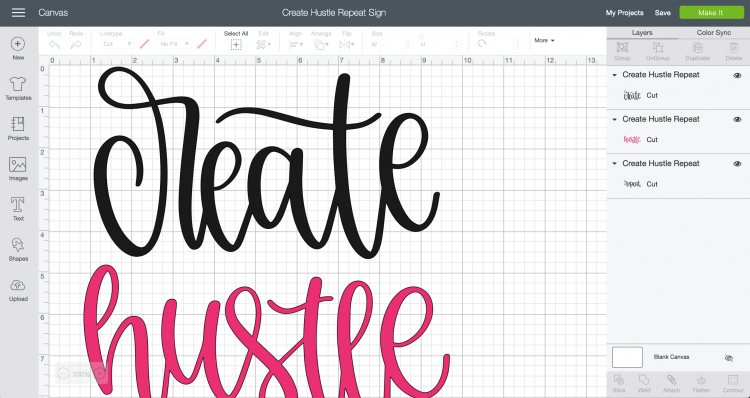
- Resize Your Project
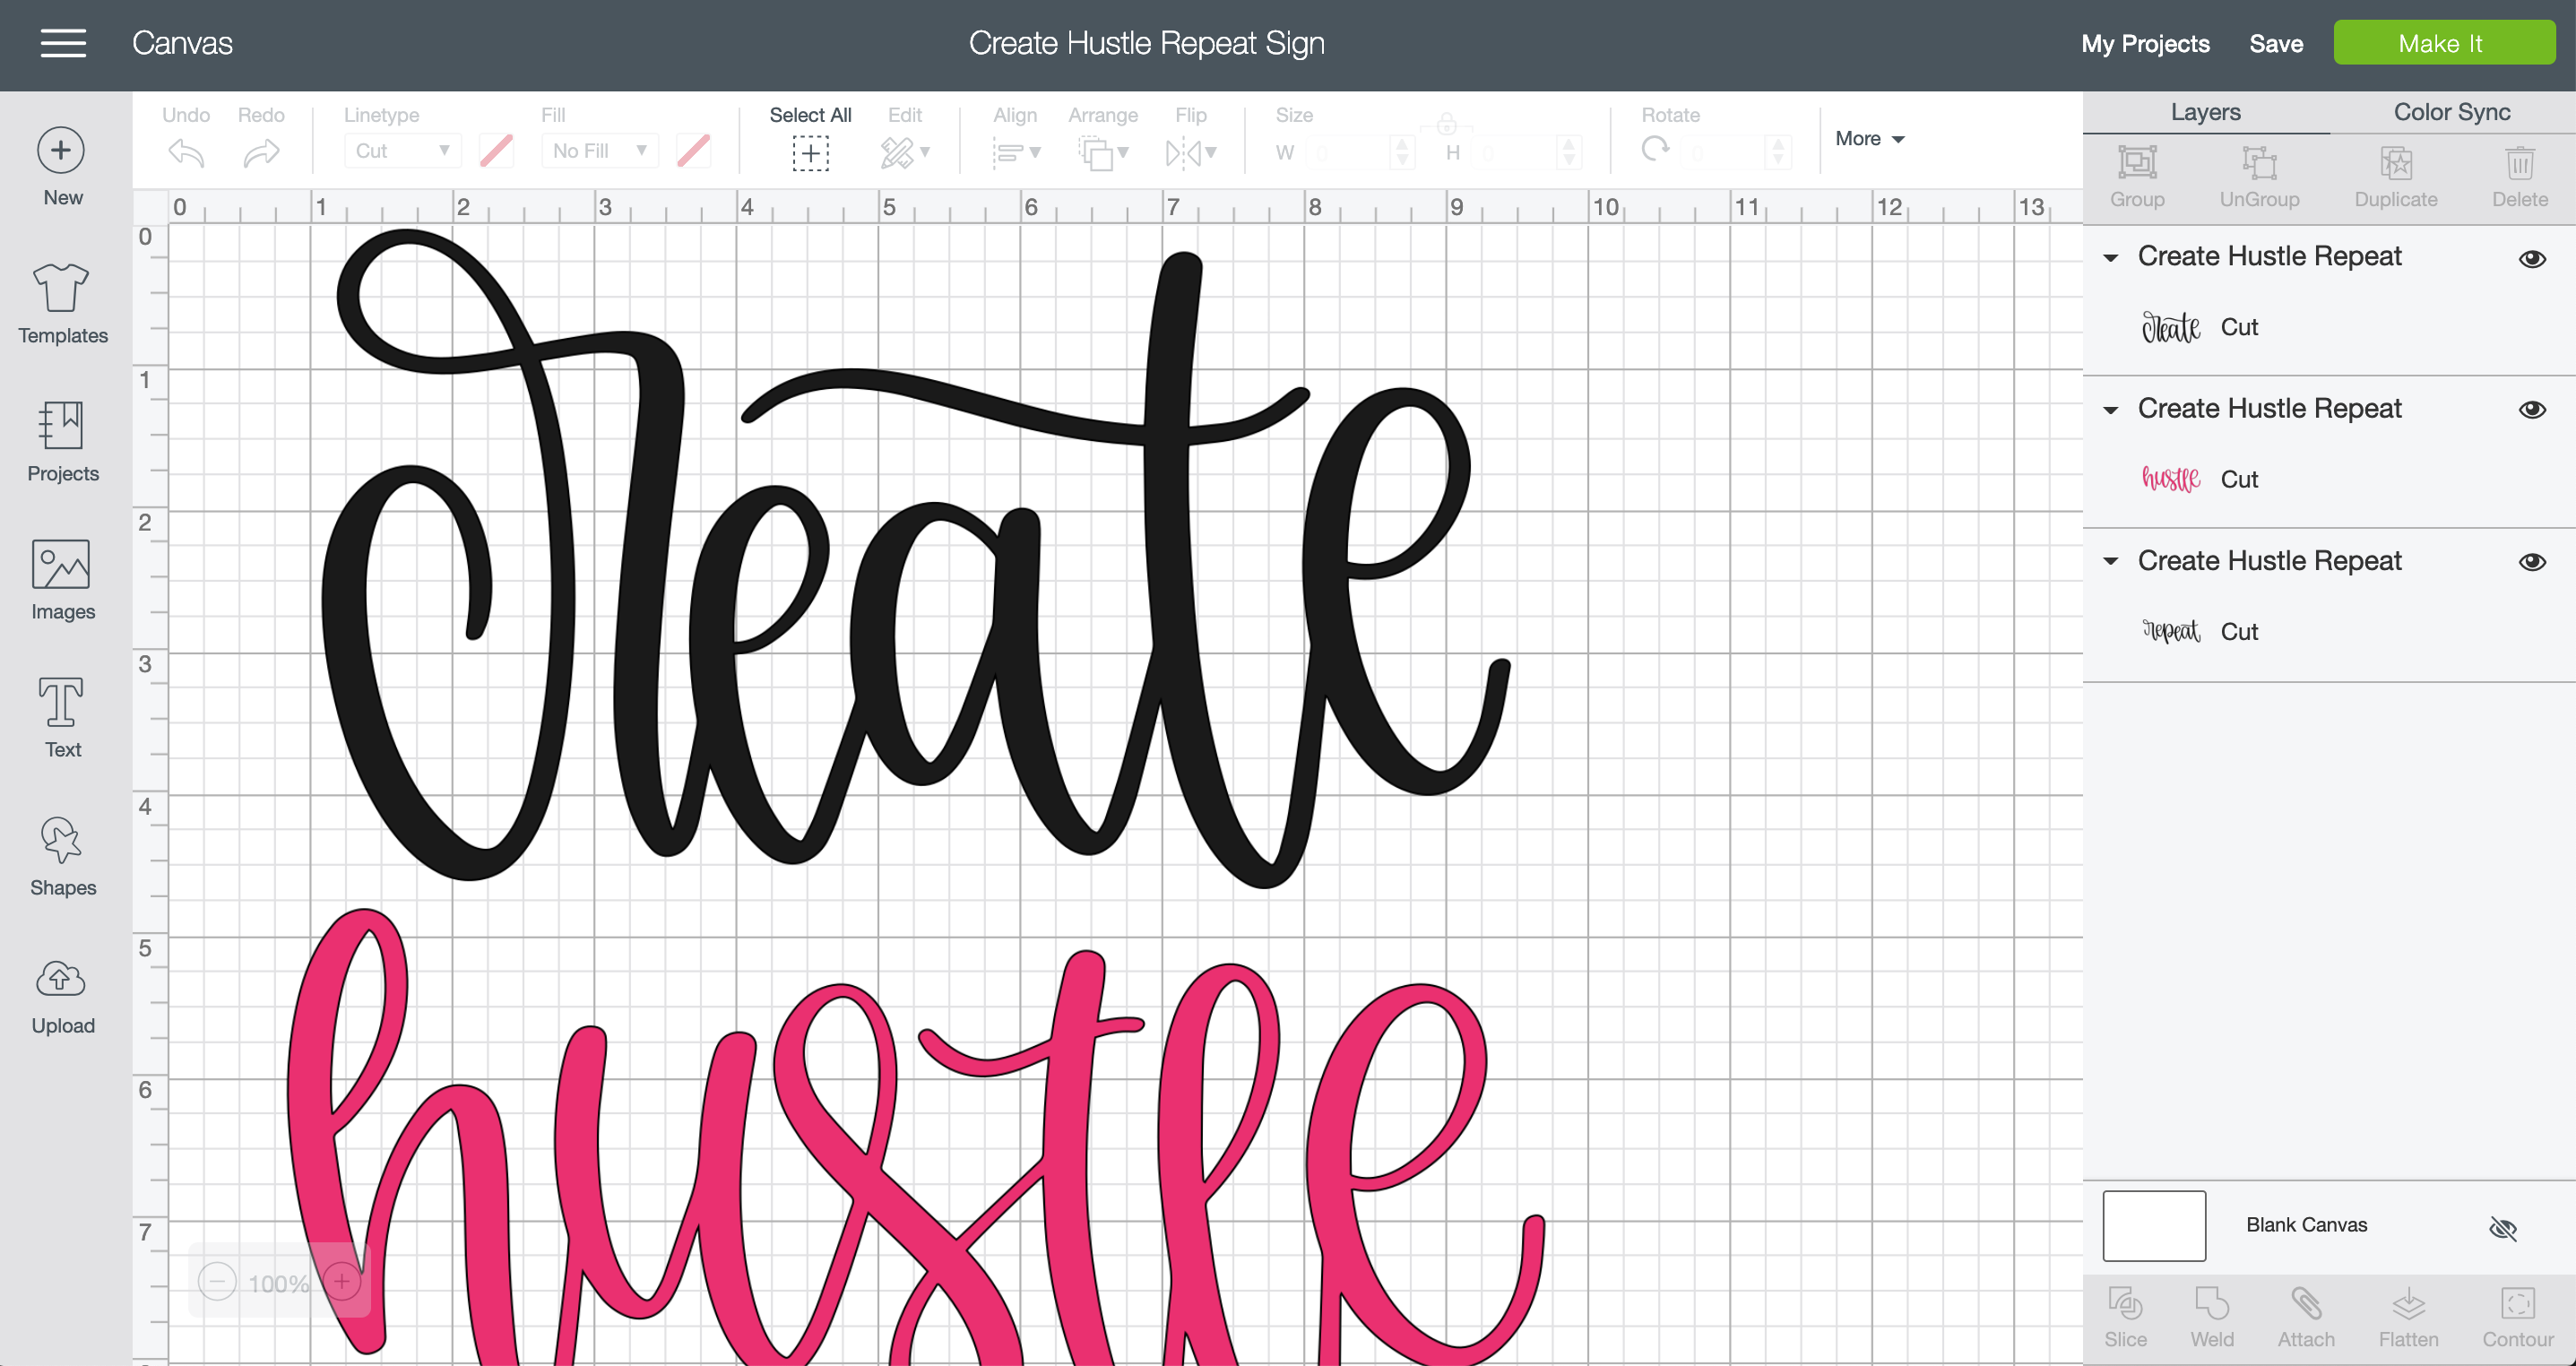
Depending on the size of your sign, use the size tool in the Edit Toolbar at the top to resize your image. I did not end up welding the two black words because I wanted them to fit on a single sheet of black vinyl—welding them would have made it taller than 12″.

- Cut Your Vinyl
Once your project is sized correctly, hit Make It in the upper right corner. You’ll be prompted by Design Space to cut your two colors of vinyl. This is NOT iron on vinyl, so do not mirror your image. Place your vinyl, colored side up on your mat. Then insert into your Cricut and press the blinking C to cut!
- Weed Your Vinyl
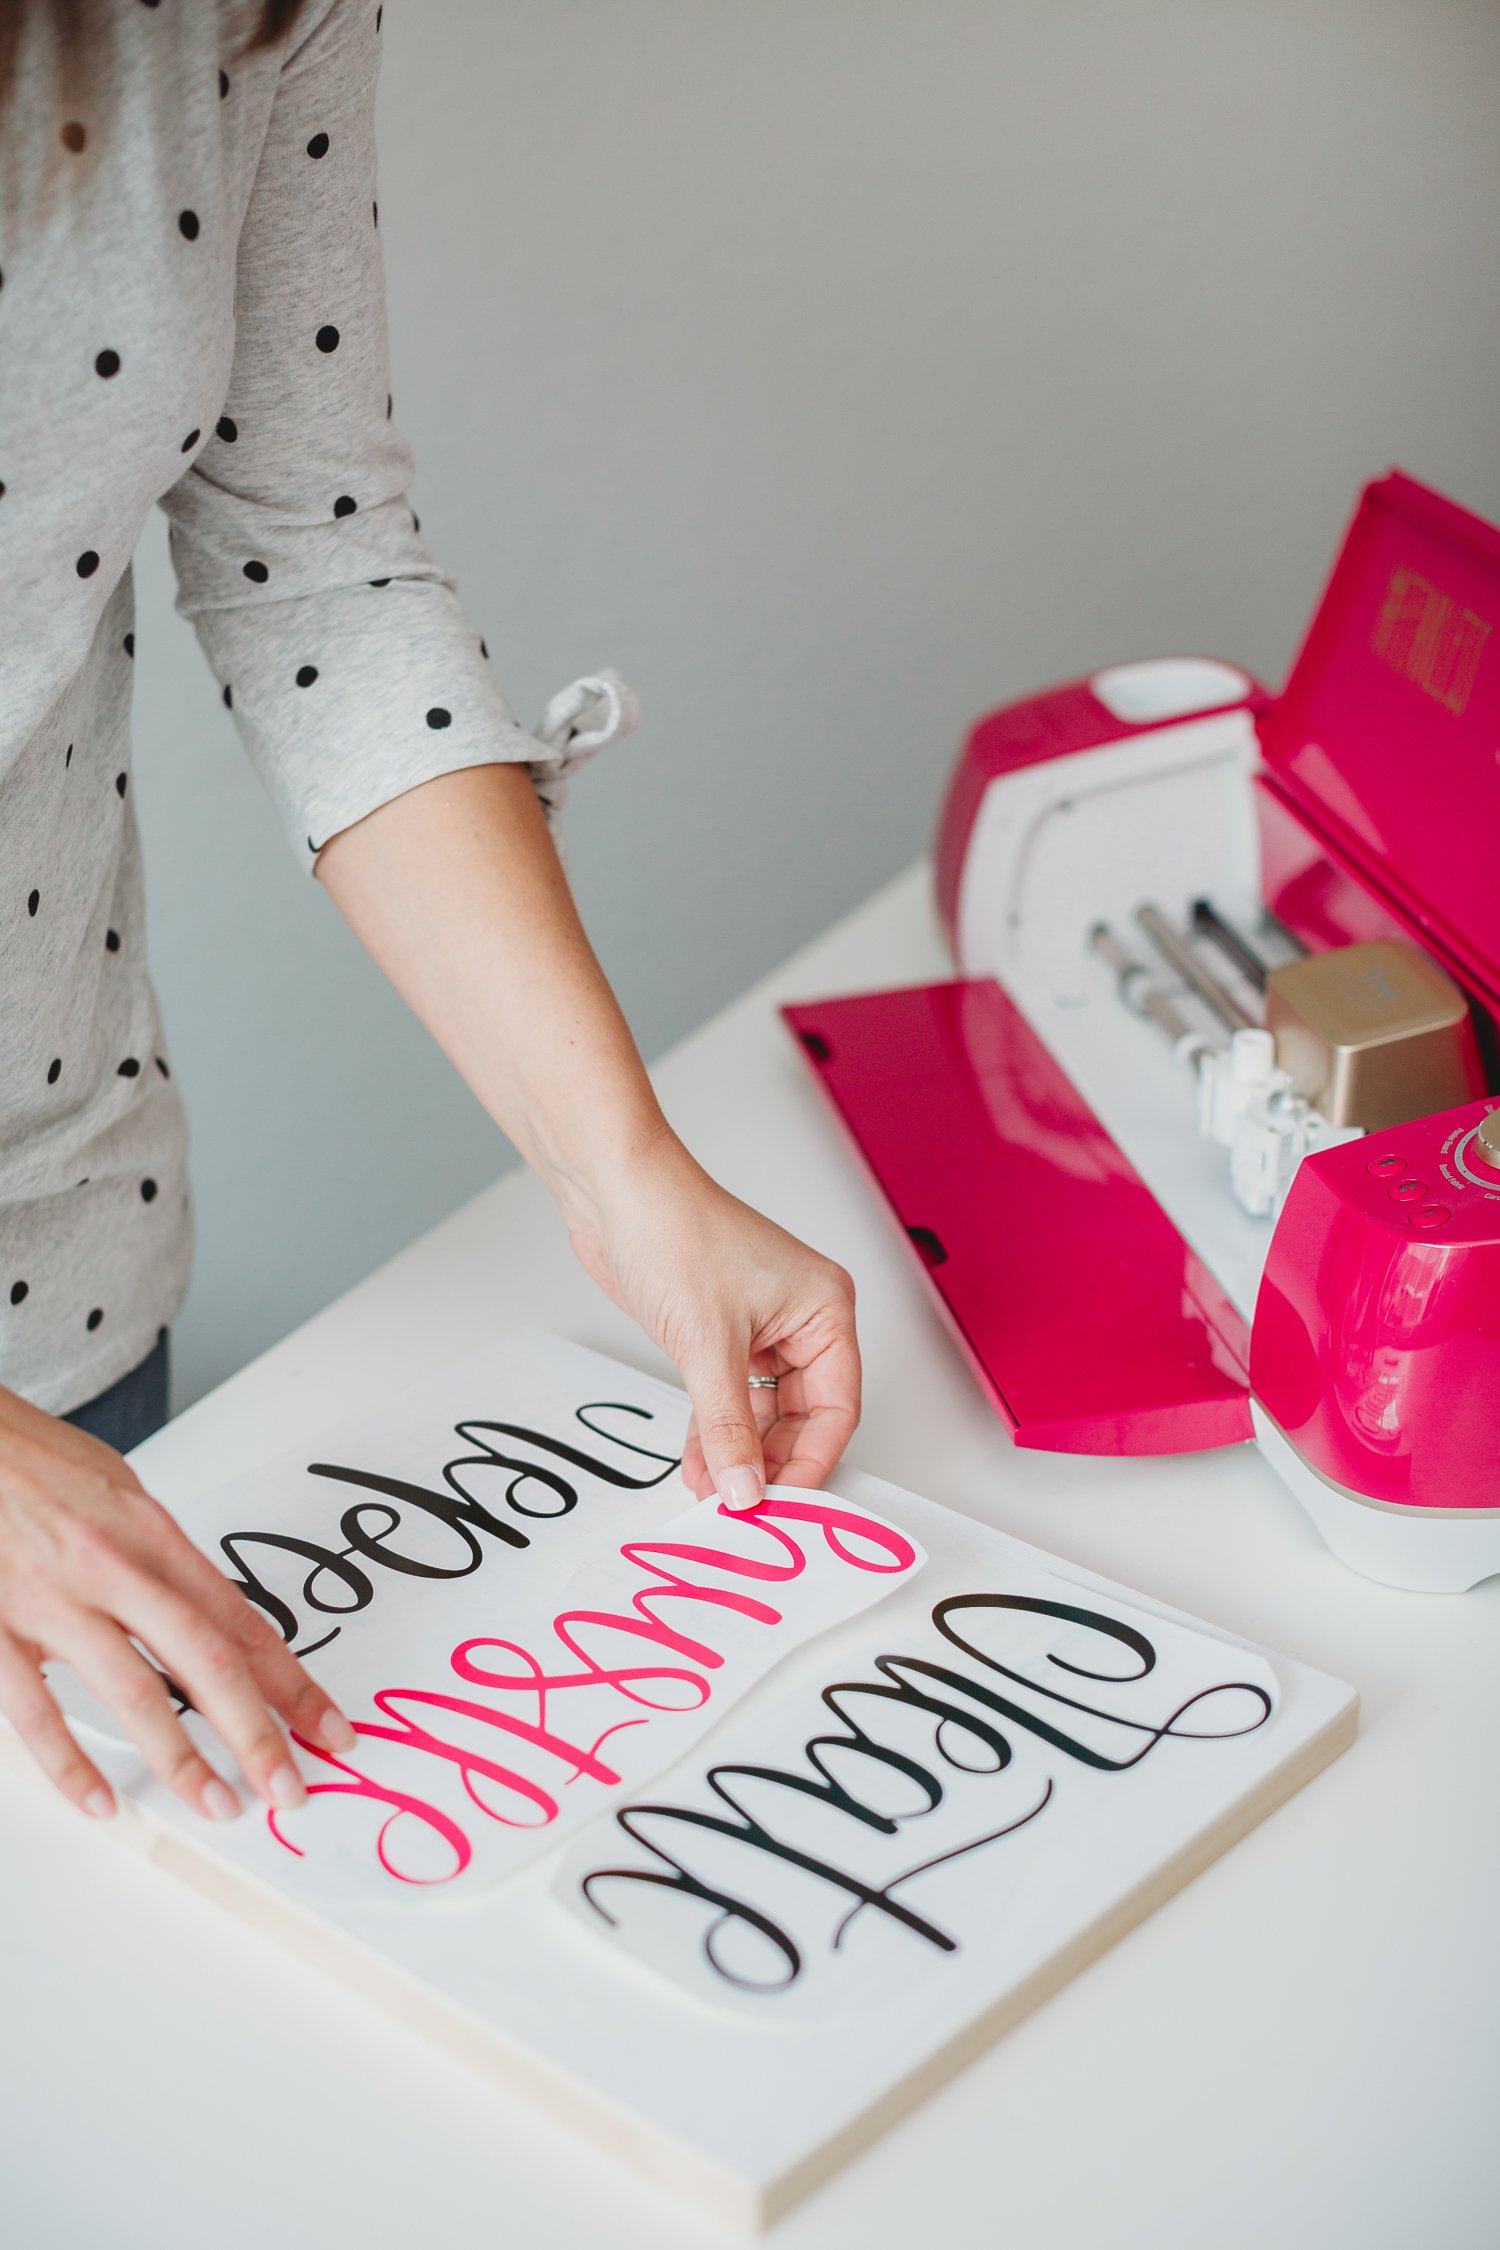
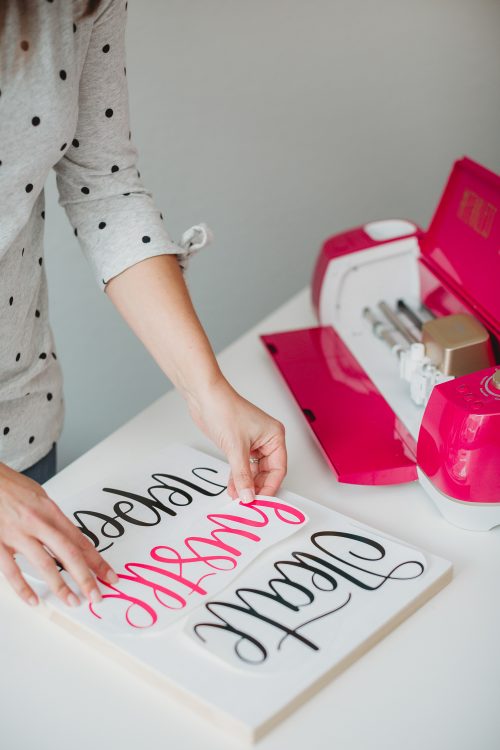
Once your project is cut, use the weeding tool to remove the “negative” vinyl off your project. I have an in-depth post for weeding adhesive vinyl that you should definitely check out—so many tips and tricks to make it easier! Then cut out the pieces to see how they are going to fit on your sign.

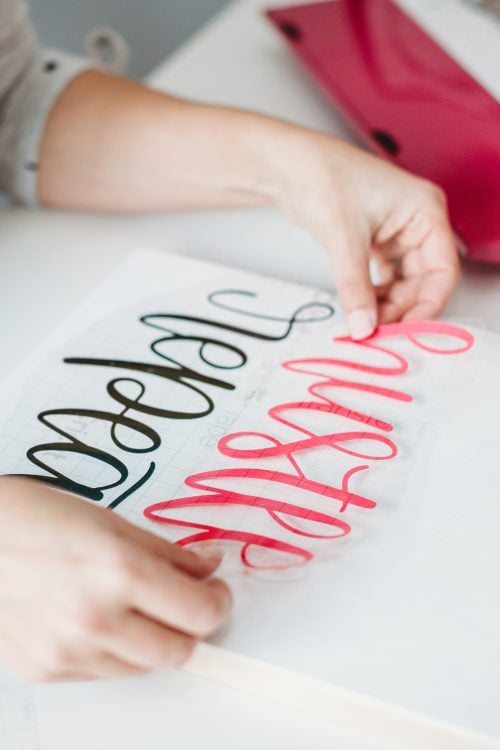
- Apply Transfer Tape to Your Image
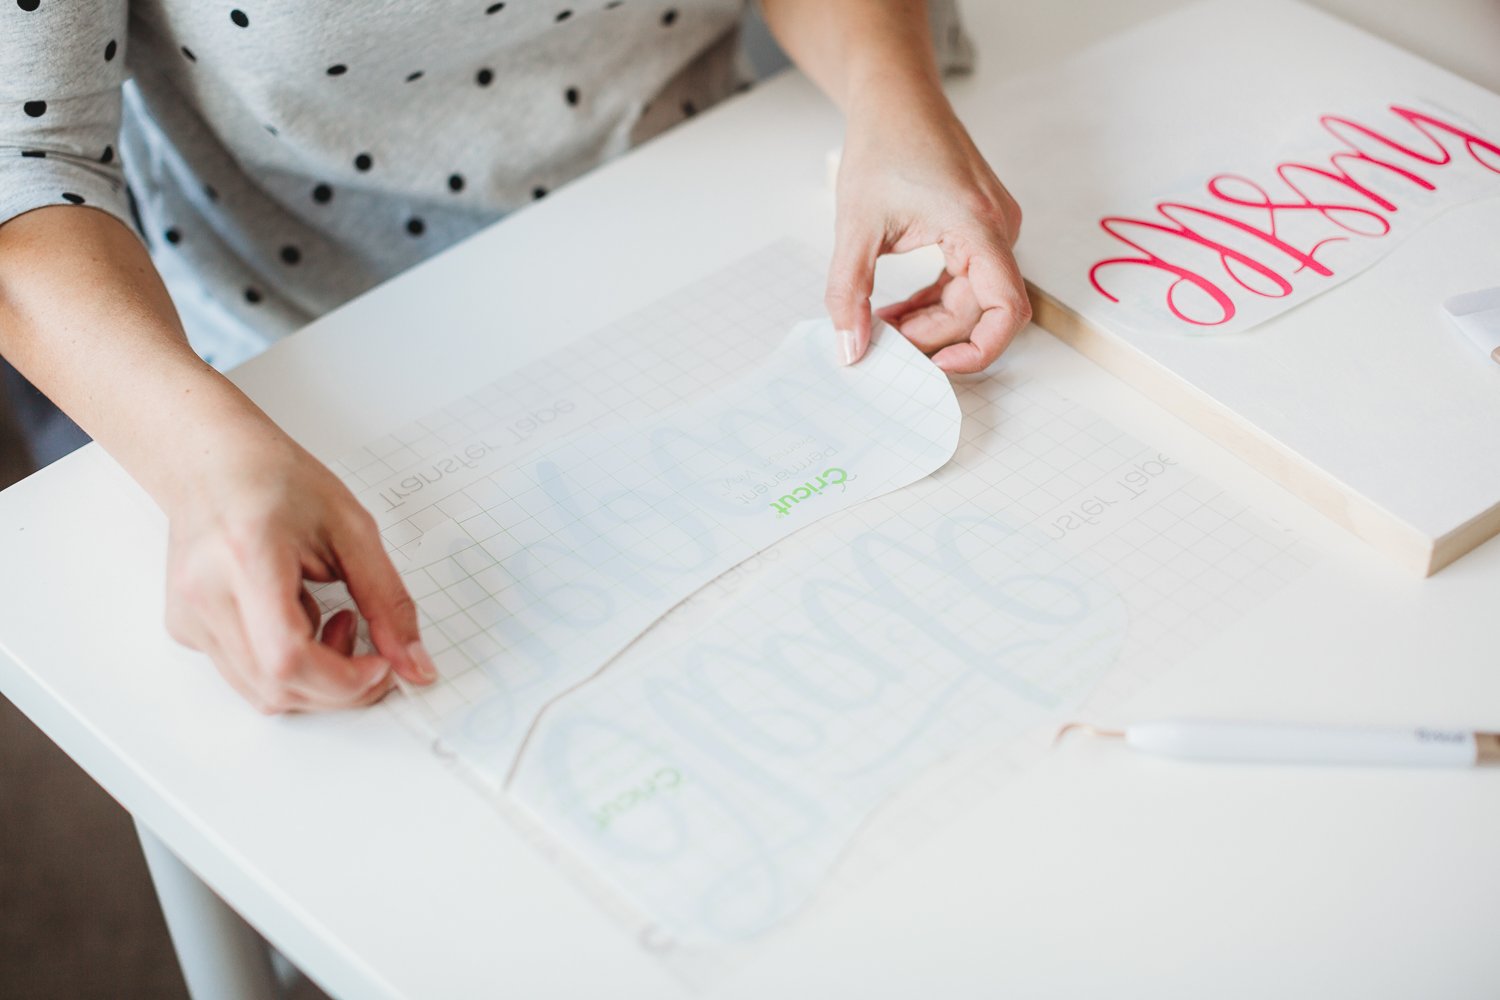
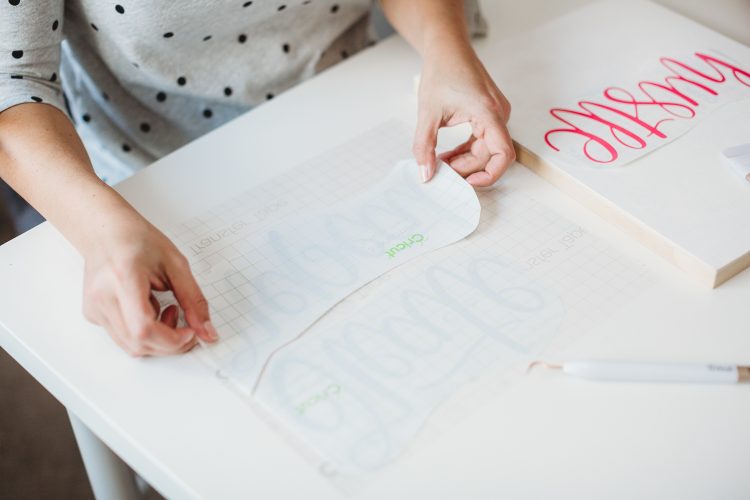
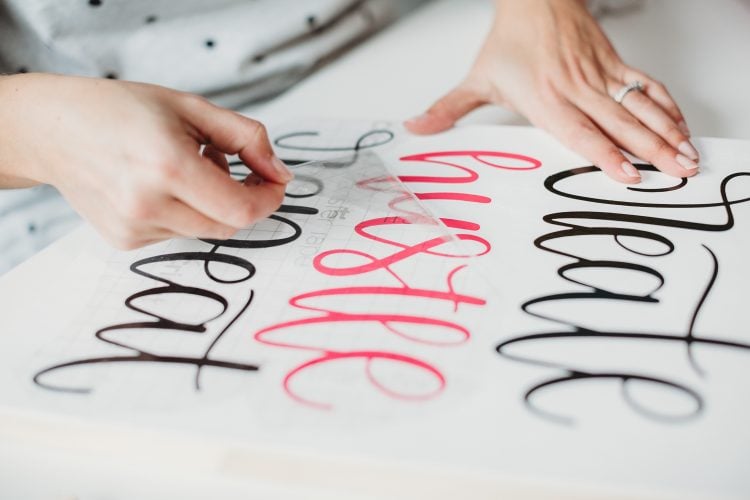
When using transfer tape I usually lay my cut vinyl face up and then put the transfer tape on top of it. But with larger pieces, I will often place the transfer tape sticky-side up and then place the cut vinyl face down. Sometimes larger pieces of transfer tape can be a little staticky, so this makes it easier to apply.

Then use the scraper to burnish the vinyl onto the transfer tape. Cut apart your words, if necessary (I had two words on a single sheet of transfer tape in this instance). Then, when you peel back the white carrier sheet, your vinyl should stick to the clear transfer tape. - Line Up Vinyl on Your Sign
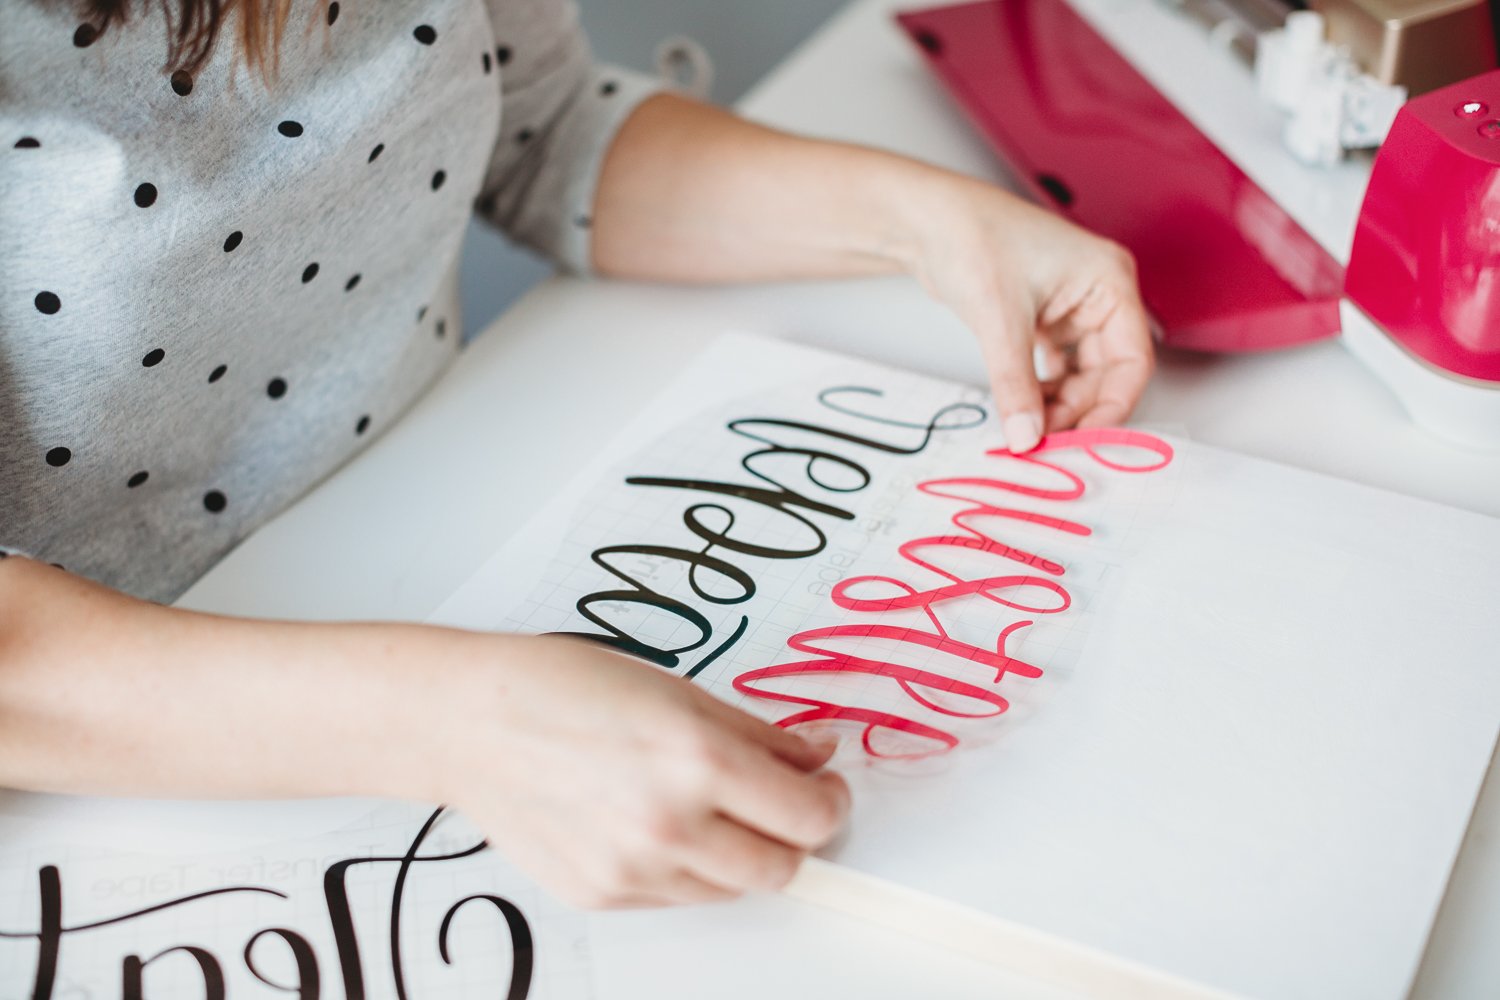
Place your vinyl and transfer tape onto your project. You want to make sure everything fits properly before burnishing.

- Burnish Your Sign
Using the scraper, burnish the words to your wood sign.

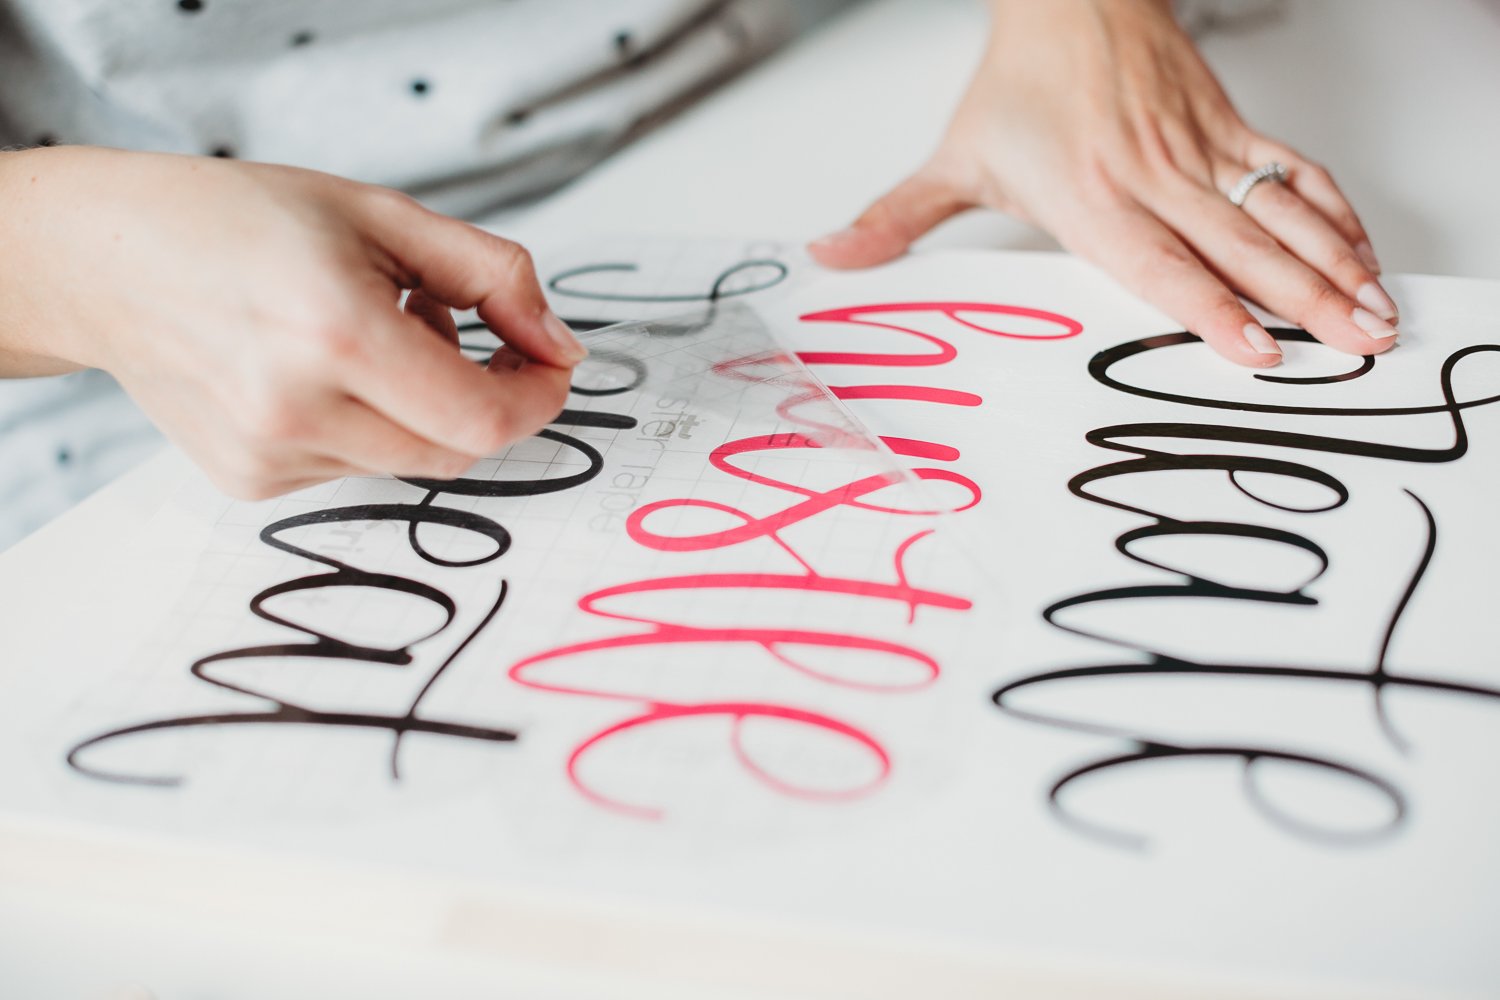
- Peel Back the Transfer Tape
Then peel back the transfer tape. If you find that it’s not sticking (which can be difficult with some painted wood), burnish again. I found the vinyl stuck very well to this particular sign, but I have had to go more slowly on other projects, sometimes using the weeding tool to help release the vinyl from the transfer tape and onto the sign.

- Add a Clearcoat
If you’d like, add a clear coat to your project. I suggest ModPodge Ultra, which is a spray that dries hard and clear.

This sign is now hanging in my craft room—it really is exactly what I do over here on my blog. I create. I hustle. I repeat. Fearlessly!

USING VINYL ON PAINTED WOOD
Equipment
- Cricut Maker or
Supplies
- wood sign
- white paint
- Clearcoat optional
Instructions
- Paint Your SignIf your sign is originally raw wood, you'll want to paint it. If it has a rough surface, make sure to sand it down—the smoother the wood, the better your vinyl will stick. Start with the smoothest piece of wood you can find. Then paint with at least two coats of paint. For this project a simple acrylic craft paint in white was used. Then let your sign dry, preferably for more than 24 hours so the paint has time to cure.

- Open the Design Space fileClick here to get the Cricut Design Space file to make this project.

- Resize Your ProjectDepending on the size of your sign, use the size tool in the Edit Toolbar at the top to resize your image. I did not end up welding the two black words because I wanted them to fit on a single sheet of black vinyl—welding them would have made it taller than 12".

- Cut Your VinylOnce your project is sized correctly, hit Make It in the upper right corner. You'll be prompted by Design Space to cut your two colors of vinyl. This is NOT iron on vinyl, so do not mirror your image. Place your vinyl, colored side up on your mat. Then insert into your Cricut and press the blinking C to cut!
- Weed Your VinylOnce your project is cut, use the weeding tool to remove the "negative" vinyl off your project. Then cut out the pieces to see how they are going to fit on your sign.

- Apply Transfer Tape to Your ImageWhen using transfer tape lay the vinyl face up and then put the transfer tape on top of it. With larger pieces, place the transfer tape sticky-side up and then place the cut vinyl face down. Sometimes larger pieces of transfer tape can be a little staticky, so this makes it easier to apply.Then use the scraper to burnish the vinyl onto the transfer tape. Cut apart your words, if necessary Then, when you peel back the white carrier sheet, your vinyl should stick to the clear transfer tape.

- Line Up Vinyl on Your SignPlace your vinyl and transfer tape onto your project. You want to make sure everything fits properly before burnishing.

- Burnish Your SignUsing the scraper, burnish the words to your wood sign.

- Peel Back the Transfer Tape Then peel back the transfer tape. If you find that it's not sticking (which can be difficult with some painted wood), burnish again.

- Add a ClearcoatIf you'd like, add a clear coat to your project. Suggestion: ModPodge Ultra, which is a spray that dries hard and clear.









Comments & Reviews
Nicki says
Hi Cori – HELP! My iron on vinyl did not stick and peeled off my paint on my wood project. I used acrylic white paint. How can I fix this??
Thanks, Nicki
Crystal Summers says
Hi Nicki,
Did you use iron on or permanent vinyl? I would recommend permanent vinyl for this project. Peel the transfer tape off very slowly. You may want to press it against your hands or clothing before picking up the vinyl so it is less tacky and doesn’t pull right off the wood.
I hope this helps,
Crystal, HLMS Community Manager
Crystal Summers says
Hi Donna,
Honestly, depending on the length of your quote (in this case, prayer), you may need to create it on a bigger piece of wood. Some fonts are also tricker than others to weed, especially when they are really small. It sounds like you may want to increase both font size and the size of your wood to make it more readable from afar and easier to weed.
Happy crafting!
Crystal, HLMS Community Manager
Donna Jones says
Hi Crystal~
I think you are absolutely right, I just hoping there might’ve been a way , but I just didn’t know.
I truly appreciate your response, advice and will proceed with your suggestion.
Donna
Donna Jones says
Love, Love, Love your blog!!!
Question, if you want to do a long quote or poem and you size it to fit the wood frame, how do you then fix the issue of the words being way too small to read from a distance , let along trying to weed. I’ve been trying to do the Lord’s Prayer on a 7×20 frame and I have been struggling and wasting tons of vinyl, with still not getting it right.
Any suggestions?
Thank you,
Donna
Jessica says
Thank you for your blog, where did you buy your curtains?
sheri says
Love this tutorial and very new to cricut. Is painting the wood necessary if it is sanded and smooth?
Crystal Summers says
Hi Sheri,
You do not have to paint the wood. It’s personal preference. Hope this helps!
Crystal, HLMS Community Manager
Tammy D McCracken says
Hello, I’m having problems with the transfer tape peeling off my paint when I put vinyl on my wood signs. I’ve painted the wood rounds with chalk paint. Any ideas?
Crystal Summers says
Hi Tammy,
Your paper may be a bit too sticky and pulling off the paint. I would try and “roughen” it up a bit by pressing on your clothing or something prior to picking up the vinyl you’d like to transfer. Also, make sure you are letting your paint dry for at least 24 hours to ensure a good stick. I hope this helps!
Happy crafting!
Crystal, HLMS Community Manager
Angie says
Love your page! Does the vinyl have to be HTV or permanent vinyl or can it be a removable vinyl if finishing with a a clear coat?
Crystal Summers says
Hi Angie,
Thanks for your sweet comment! You can probably use removable vinyl, but it may be tough to pull the transfer tape up. If it isn’t sticky enough, it won’t stick to the wood and the transfer tape will peel it back. Worth a try – may just require extra patience!
Good luck!
Crystal, HLMS Community Manager
Rebecca says
I have always had an issue getting vinyl to stick to any white acrylic paint. I’ve tried letting cure for a day or two, I’ve tried thin layers of paint, I’ve tried white washing, I’ve even painted white, let dry, sand down…oh and today, I even tried spraying a clear coat on top of the white to maybe give the vinyl something to adhere to. Nope. Nothing works! If the “background” is going to be white; I have to use a reverse stencil. Any tips? Something I’m missing maybe?
Amy Motroni says
Hi Rebecca,
How smooth is the wood? The smoother the better for wood in general. You could also use iron on vinyl, which is Cori’s go-to if regular vinyl isn’t sticking.
Hope that helps!Amy, HLMS Reader Support
Kristi Regnier says
HI Cori,
I love your tutorial on creating vinyl signs on wood. I’ve made a few larger vinyl sayings and put them on larger tile pieces. Very tedious work, but they turned out really nice! I made them and gave as gifts.
I’m going to try putting some on wood now, so wanted to watch your tutorial first. Thank you again!
? for you. I’ve been looking for something to put in my craft room/office to place my 12×12 cardstock paper in and I’m having difficulty finding something. May I ask you where you found yours and what kind it is.
Thank you for the information, Cori! Have an awesome day! :)
Cori George says
Yes! It’s this paper rack and I LOVE it: https://www.tsisupplies.com/Scrapbook-Paper-Rack/30-Slot-Scrapbook-Paper-Rack-Tower-12-X12/