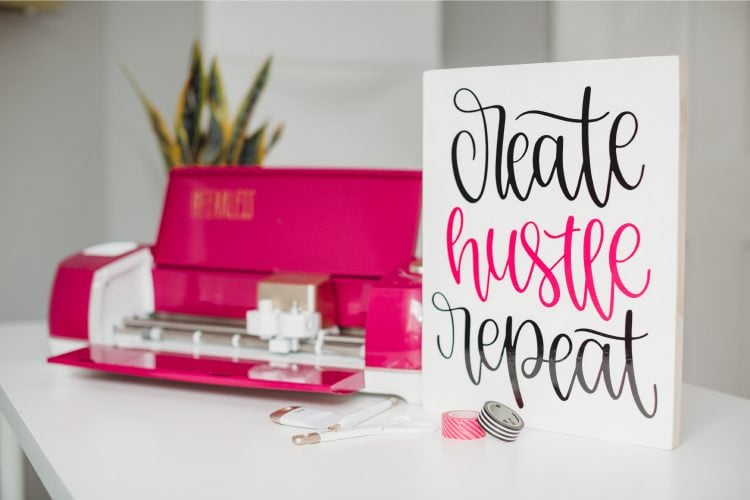
USING VINYL ON PAINTED WOOD
Wood can be a tricky base when making vinyl home decor signs and other wood projects. If you're using vinyl on painted wood, check out these tips for getting the best results!
Equipment
- Cricut Maker or
Ingredients
- wood sign
- white paint
- Clearcoat optional
Instructions
- Paint Your SignIf your sign is originally raw wood, you'll want to paint it. If it has a rough surface, make sure to sand it down—the smoother the wood, the better your vinyl will stick. Start with the smoothest piece of wood you can find. Then paint with at least two coats of paint. For this project a simple acrylic craft paint in white was used. Then let your sign dry, preferably for more than 24 hours so the paint has time to cure.

- Open the Design Space fileClick here to get the Cricut Design Space file to make this project.
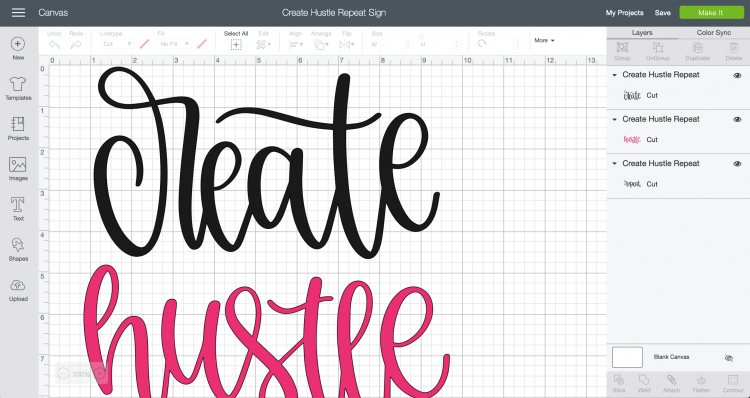
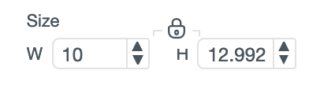
- Resize Your ProjectDepending on the size of your sign, use the size tool in the Edit Toolbar at the top to resize your image. I did not end up welding the two black words because I wanted them to fit on a single sheet of black vinyl—welding them would have made it taller than 12".
- Cut Your VinylOnce your project is sized correctly, hit Make It in the upper right corner. You'll be prompted by Design Space to cut your two colors of vinyl. This is NOT iron on vinyl, so do not mirror your image. Place your vinyl, colored side up on your mat. Then insert into your Cricut and press the blinking C to cut!
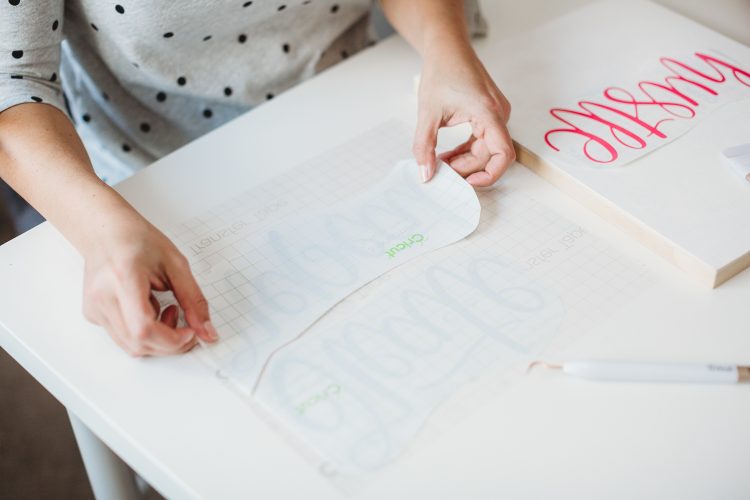
- Weed Your VinylOnce your project is cut, use the weeding tool to remove the "negative" vinyl off your project. Then cut out the pieces to see how they are going to fit on your sign.
- Apply Transfer Tape to Your ImageWhen using transfer tape lay the vinyl face up and then put the transfer tape on top of it. With larger pieces, place the transfer tape sticky-side up and then place the cut vinyl face down. Sometimes larger pieces of transfer tape can be a little staticky, so this makes it easier to apply.Then use the scraper to burnish the vinyl onto the transfer tape. Cut apart your words, if necessary Then, when you peel back the white carrier sheet, your vinyl should stick to the clear transfer tape.
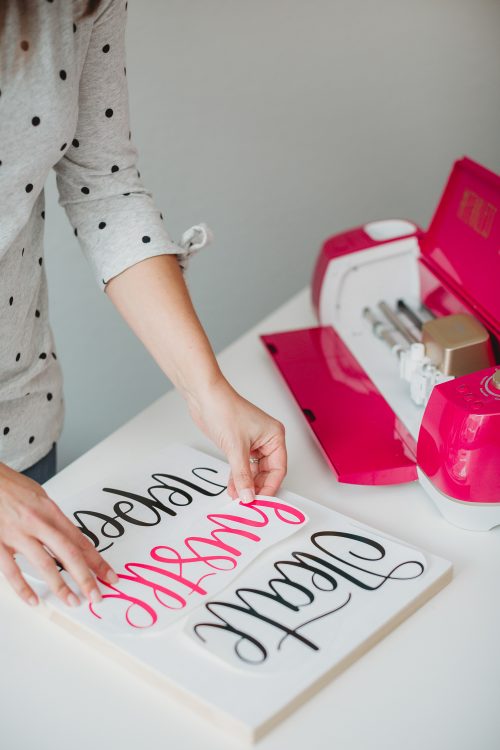
- Line Up Vinyl on Your SignPlace your vinyl and transfer tape onto your project. You want to make sure everything fits properly before burnishing.
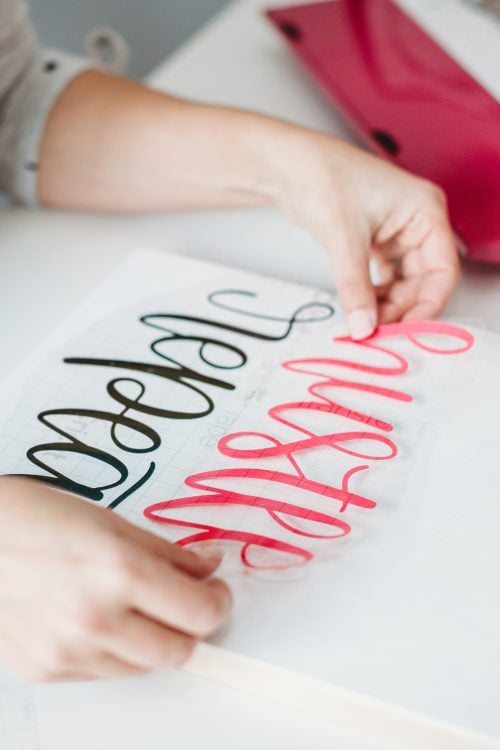
- Burnish Your SignUsing the scraper, burnish the words to your wood sign.

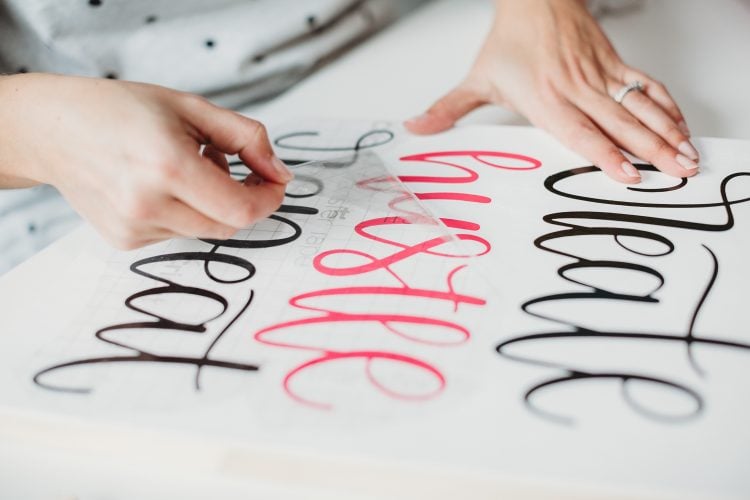
- Peel Back the Transfer Tape Then peel back the transfer tape. If you find that it's not sticking (which can be difficult with some painted wood), burnish again.
- Add a ClearcoatIf you'd like, add a clear coat to your project. Suggestion: ModPodge Ultra, which is a spray that dries hard and clear.