Plastic can be one of the easiest surfaces for adhesive vinyl! This application is perfect for pantry labels and other organization around your home—get all my best tips and tricks for using vinyl on plastic.
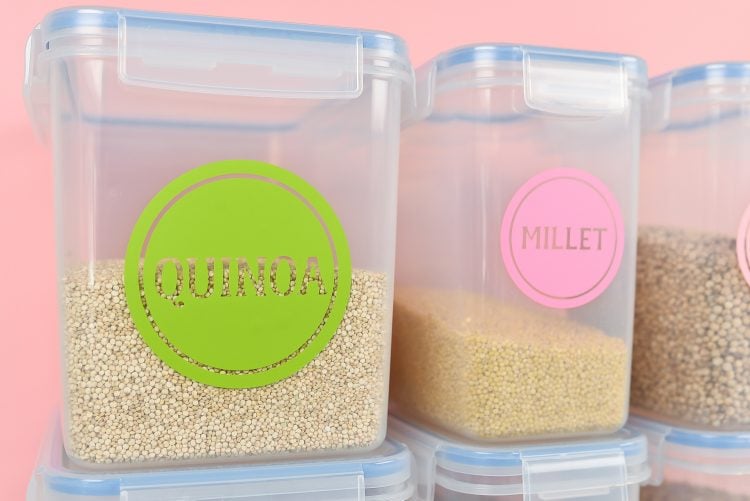
I just recently made over some of my pantry containers. I had been using glass jars, but found them heavy and cumbersome. One of my boys grabbed the quinoa out of the cabinet the other day—a big glass jar—and nearly dropped it.
I do NOT want to clean up a mess of broken glass and quinoa, thankyouverymuch.
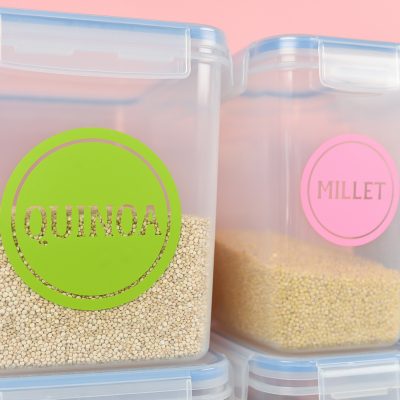
So I moved to plastic, with airtight locking lids. I used my Ultimate Pantry Label Bundle to create these labels. In this post, I’m going to show you how easy it is to use vinyl on plastic. Because plastic is generally a very smooth and non-porous surface, it is perfect for adhesive vinyl.
Preparing Your Plastic for Vinyl
My plastic containers came straight out of the dishwasher after I washed them. If your plastic containers have been hanging out around your house, throw them in the dishwasher or wipe them down with some rubbing alcohol to make sure they are free from any dust or oils. This will help ensure your vinyl sticks well.
Using Vinyl on Plastic
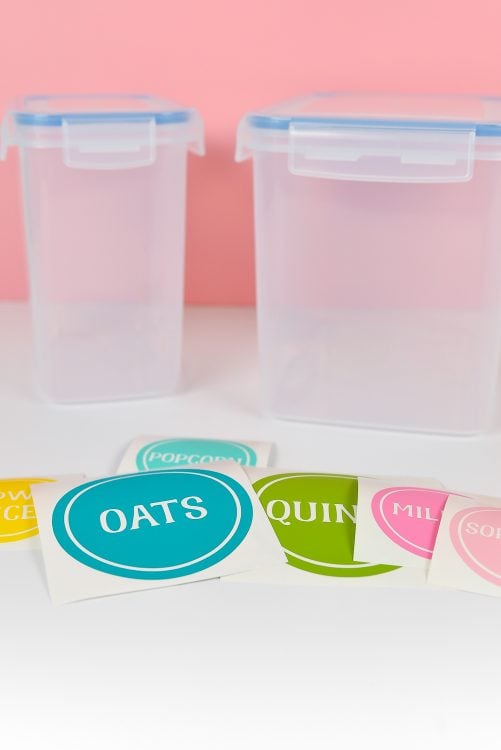
Start by cutting and weeding your labels. I used several colors of adhesive vinyl from Expressions Vinyl, one of my favorite vinyl shops. Unlike iron on vinyl, you do NOT need to mirror adhesive vinyl when cutting it—what you see is exactly what goes on the plastic.
Need more tips and tricks for your Cricut? Check out my Cricut Basics Books: Learn to Love Your Cricut!
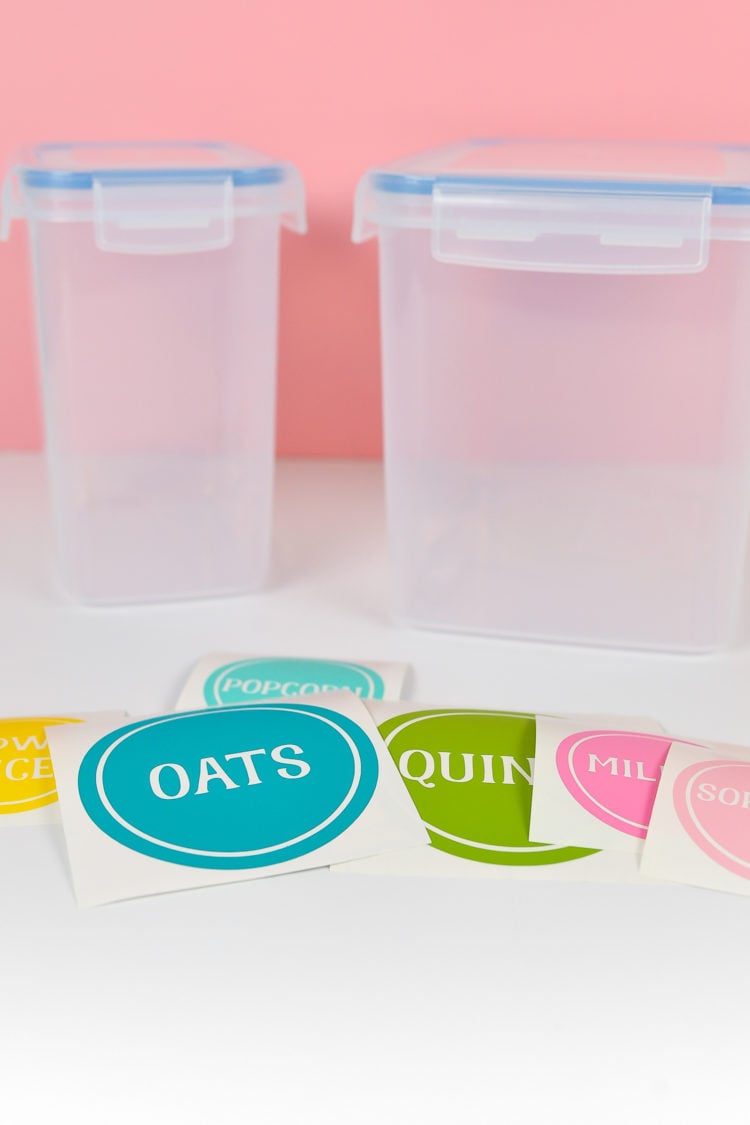
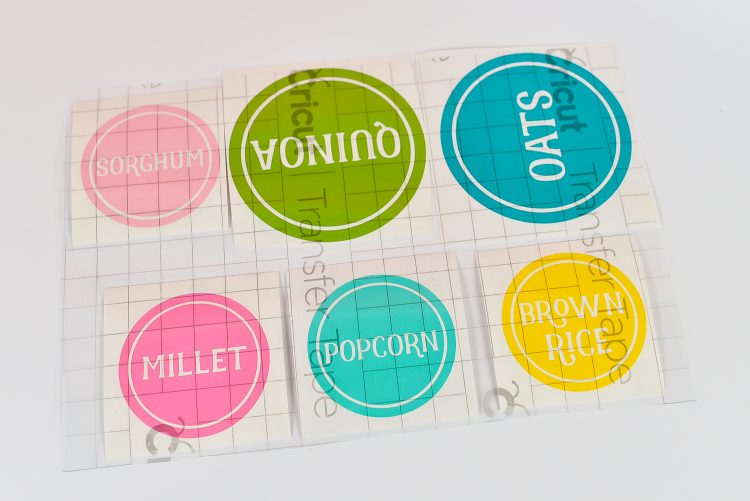
Now you have a choice. You can cut one large piece of transfer tape (my preference when working with single-layer vinyl adhesive labels) or you can cut small pieces of transfer tape the size of your labels.
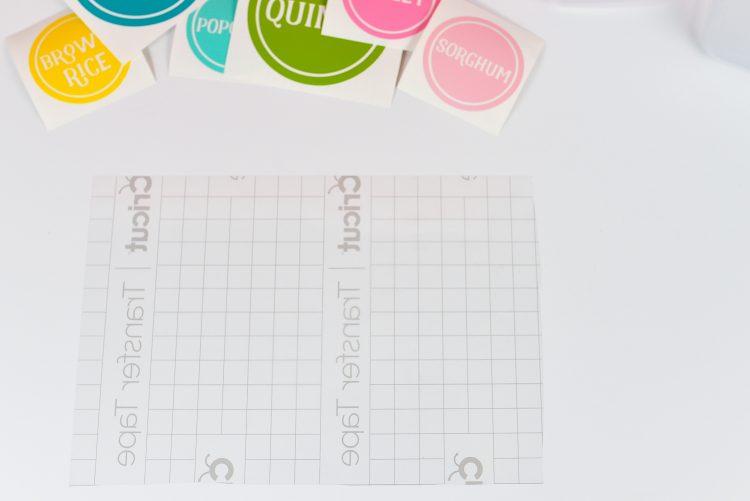
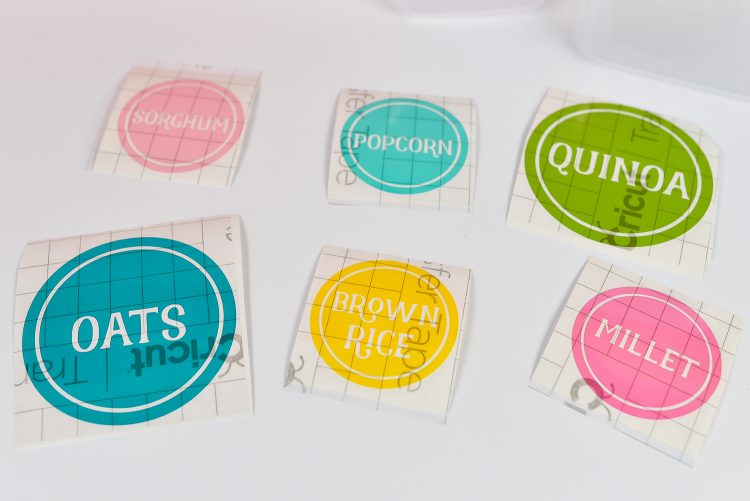
Place all of your labels face-down on the transfer tape and use a scraper (or credit card or even your fingers) to press the vinyl into the transfer tape.
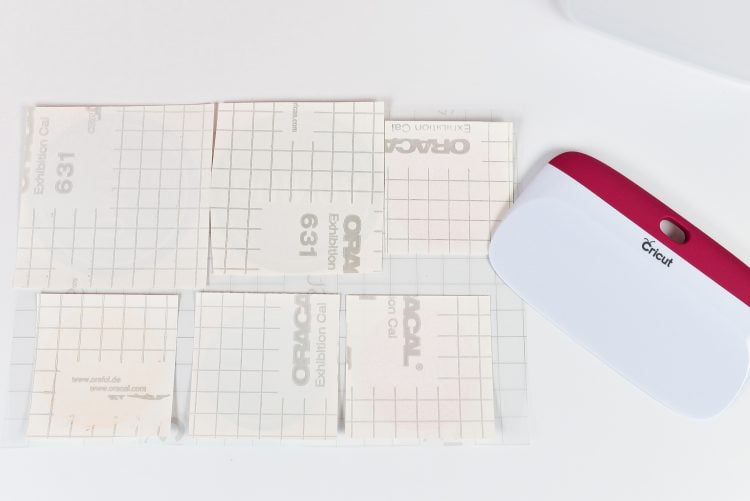
Next, flip over and cut apart each individual label.


Then carefully peel off the white backing carrier sheet. Your vinyl should easily stick to the transfer tape. If it doesn’t, burnish some more.
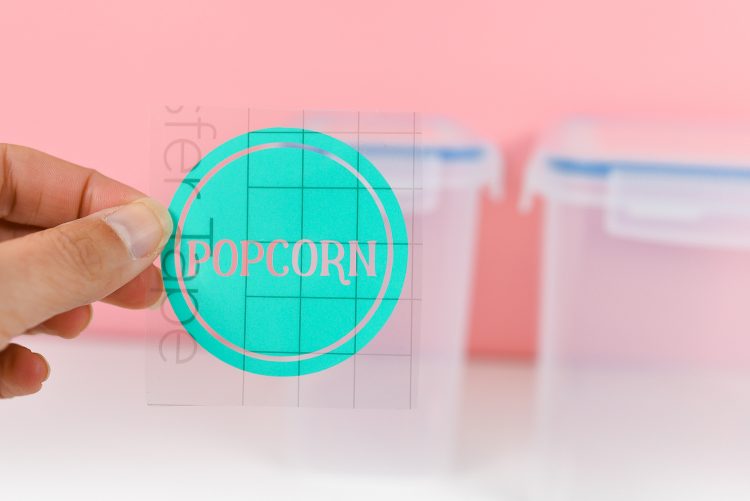
Then carefully align your label on your plastic and press the label on, burnishing with your fingertips (I didn’t want to use the scraper on the plastic, just in case it left a mark).
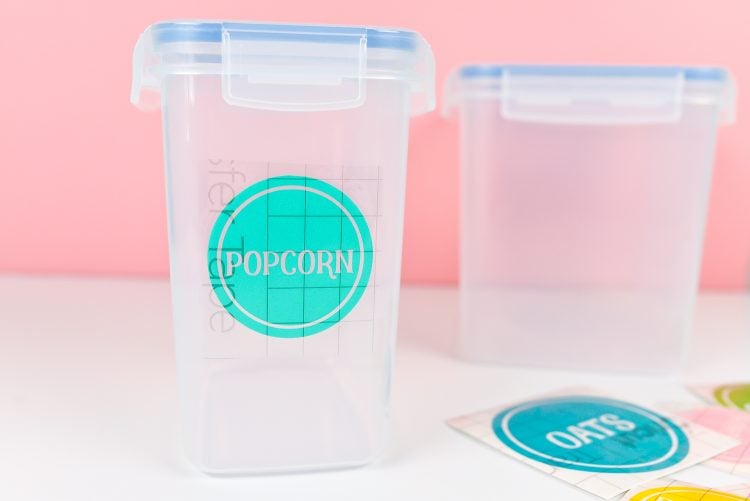
Then carefully peel back the transfer tape at a 45° angle or more. Since the plastic is smooth and nonporous, the vinyl should stick fairly easily. If you are having trouble, burnish again and peel even more slowly, using your fingernail to help “guide” the vinyl off the transfer tape. But really, it should work really nicely on plastic.
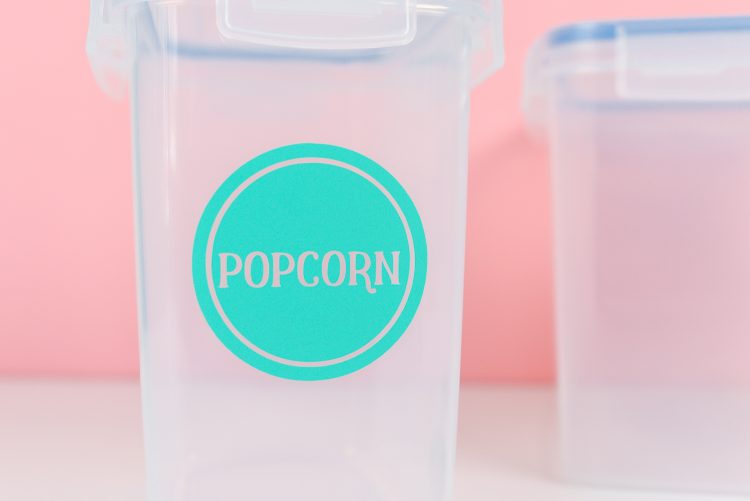
Tada! See how easy using vinyl on plastic is? I was able to re-label a ton of pantry containers in a short amount of time.
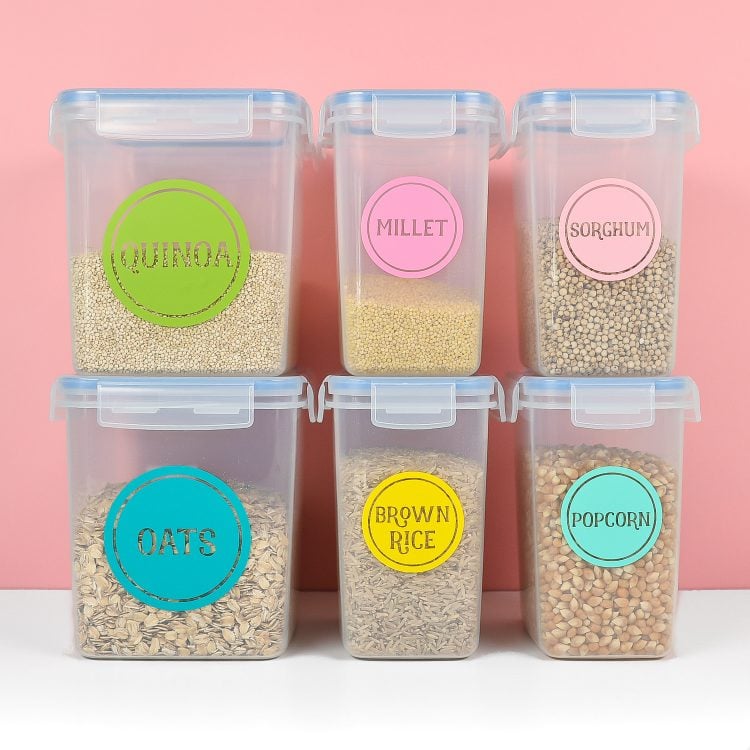
Don’t forget to grab the Ultimate Pantry Label Bundle (with more than 125 labels!) for free!
Get the Free File
Want access to this free file? Join my FREE craft library! All you need is the password to get in, which you can get by filling out the form below. The file number is: C183.
Have any questions about using vinyl on plastic? Leave me a comment and I’ll help troubleshoot! Then check out my round up of 20+ Home Organization Ideas with the Cricut!

USING VINYL ON PLASTIC WITH TRANSFER TAPE
Equipment
- Cricut Maker or
- Cricut Joy or
Instructions
- Preparing Your Plastic for VinylWash your plastic containers in the dishwasher or or wipe them down with some rubbing alcohol to make sure they are free from any dust or oils. This will help ensure your vinyl sticks well.
- Using Vinyl on PlasticStart by cutting and weeding your labels. For this project. several colors of adhesive vinyl from Expressions Vinyl, were used. Unlike iron on vinyl, you do NOT need to mirror adhesive vinyl when cutting it—what you see is exactly what goes on the plastic.

- Now you have a choice. You can cut one large piece of transfer tape or you can cut small pieces of transfer tape the size of your labels.

- Place all of your labels face-down on the transfer tape and use a scraper (or credit card or even your fingers) to press the vinyl into the transfer tape.

- Next, flip over and cut apart each individual label.


- Then carefully peel off the white backing carrier sheet. Your vinyl should easily stick to the transfer tape. If it doesn't, burnish some more.

- Then carefully align your label on your plastic and press the label on, burnishing with your fingertips (I didn't want to use the scraper on the plastic, just in case it left a mark).

- Then carefully peel back the transfer tape at a 45° angle or more. Since the plastic is smooth and nonporous, the vinyl should stick fairly easily. If you are having trouble, burnish again and peel even more slowly, using your fingernail to help "guide" the vinyl off the transfer tape. But really, it should work really nicely on plastic.

- Tada! See how easy using vinyl on plastic is?



Comments & Reviews
Christi Koch says
HI so I am making water bottles for the soccer team and I am using cricuit permanent vinyl. I am doing a soccer bottle and want to put each players number in the center. Will this stay adhered with hand washing?
Crystal Summers says
Hi Christi,
Yes, permanent vinyl is exactly what you need for this kind of project. It will last a long time with hand-washing.
Happy crafting,
Crystal, HLMS Community Manager
Judy Bielik says
I’d like to do this on clear plastic, is the vinyl color visible from both sides???
Ian says
Great post. Very interesting. Do you think permanent adhesive vinyl would stick to a standard bike/cycling plastic water bottle. Like the kind people squeeze with one hand to get a drink water. I’d of course recommend my customers hand wash, but do you think it would work? Screen printing is the only other option, but it’s messy and requires new equipment.
Crystal Summers says
Hi Ian,
Permanent Vinyl, such as Oracal 651 should work well! Hand-washing is a good idea.
Hope this helps,
Crystal, HLMS Community Manager
Crystal Summers says
Hi Rosie,
You can seal them, however, it’s not required. The vinyl should last a long time, however over time, it may wear a bit. It’s personal preference whether you decide to seal them. It won’t hurt if you do!
Happy crafting!
Crystal, HLMS Community Manager
Rosie says
Hey,
I am using cricut permanent vinyl on plastic to make keyrings. Do I need to seal them? As scared the vinyl might scratch off over time?
Thanks
Ariel says
Hi there. I plan to have it sticked onto Tritan Plastic material bottle. Would it be able to stick permanently and smoothly on the surface?
Crystal Summers says
Hi Ariel,
Yes. As long as the surface is smooth, the vinyl will stick and be smooth, as well. Just be careful when peeling back the transfer sheet.
Happy crafting!
Crystal, HLMS Community Manager
Amy Motroni says
Hi Colbie,
Cori recommends using permanent vinyl and then washing by hand.
Don’t use a sealer—it’ll totally show on the cup.
Hope that helps!
Amy, HLMS Support
Colbie Jarrell says
When putting vinyl on a plastic Starbucks cup should I use anything to put over it to seal it and prevent it from coming off when being washed?
cathy says
I cannot get my cricut vinyl to stay on my cozy coupe toy car. Tried 2 different transfer tapes and it wont work. Is there a special vinyl to sue. I am using cricut vinyl.
Cori George says
One of the problems is that particular plastic on the cozy coupe can be difficult to apply vinyl to—it’s just not super smooth. Some ideas—try pressing your transfer tap to your shirt before putting it on your vinyl, so that it’s not quite as sticky. Try using a stronger type of vinyl—Oracal 651 or marine vinyl.