Plastic can be one of the easiest surfaces for adhesive vinyl! This application is perfect for pantry labels and other organization around your home—get all my best tips and tricks for using vinyl on plastic.
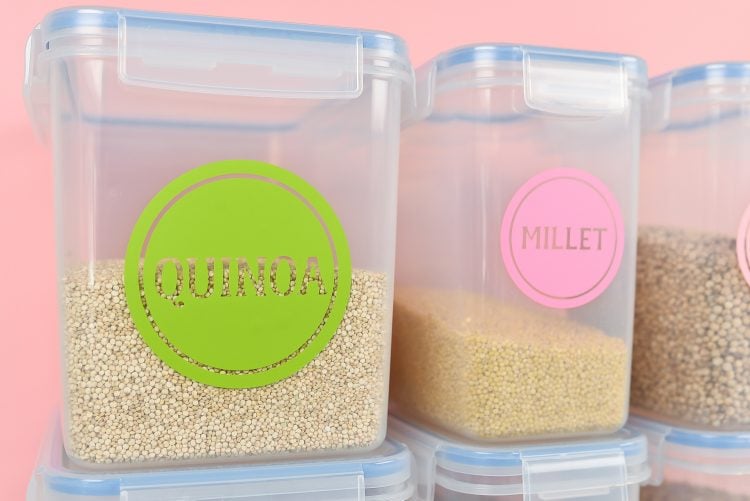
I just recently made over some of my pantry containers. I had been using glass jars, but found them heavy and cumbersome. One of my boys grabbed the quinoa out of the cabinet the other day—a big glass jar—and nearly dropped it.
I do NOT want to clean up a mess of broken glass and quinoa, thankyouverymuch.
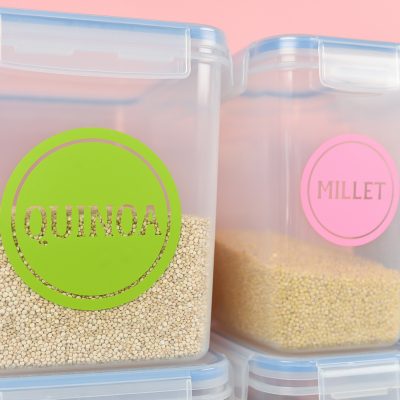
So I moved to plastic, with airtight locking lids. I used my Ultimate Pantry Label Bundle to create these labels. In this post, I’m going to show you how easy it is to use vinyl on plastic. Because plastic is generally a very smooth and non-porous surface, it is perfect for adhesive vinyl.
Preparing Your Plastic for Vinyl
My plastic containers came straight out of the dishwasher after I washed them. If your plastic containers have been hanging out around your house, throw them in the dishwasher or wipe them down with some rubbing alcohol to make sure they are free from any dust or oils. This will help ensure your vinyl sticks well.
Using Vinyl on Plastic
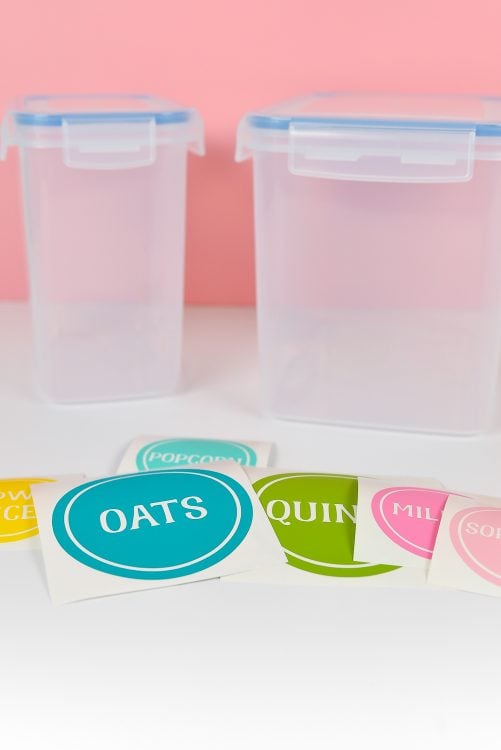
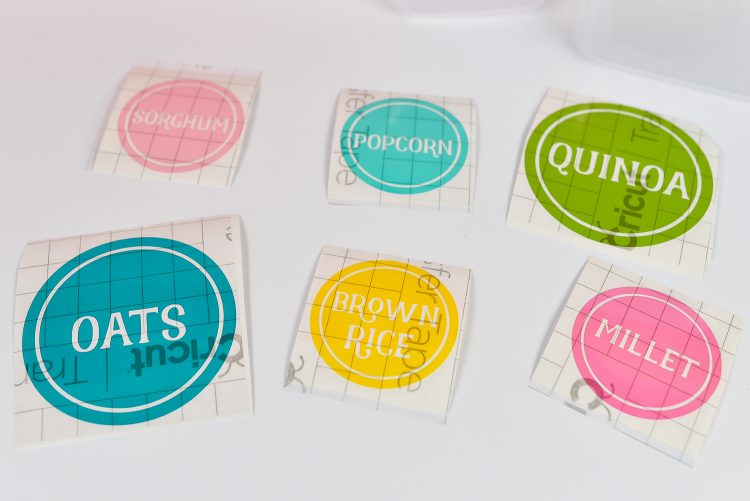
Start by cutting and weeding your labels. I used several colors of adhesive vinyl from Expressions Vinyl, one of my favorite vinyl shops. Unlike iron on vinyl, you do NOT need to mirror adhesive vinyl when cutting it—what you see is exactly what goes on the plastic.
Need more tips and tricks for your Cricut? Check out my Cricut Basics Books: Learn to Love Your Cricut!
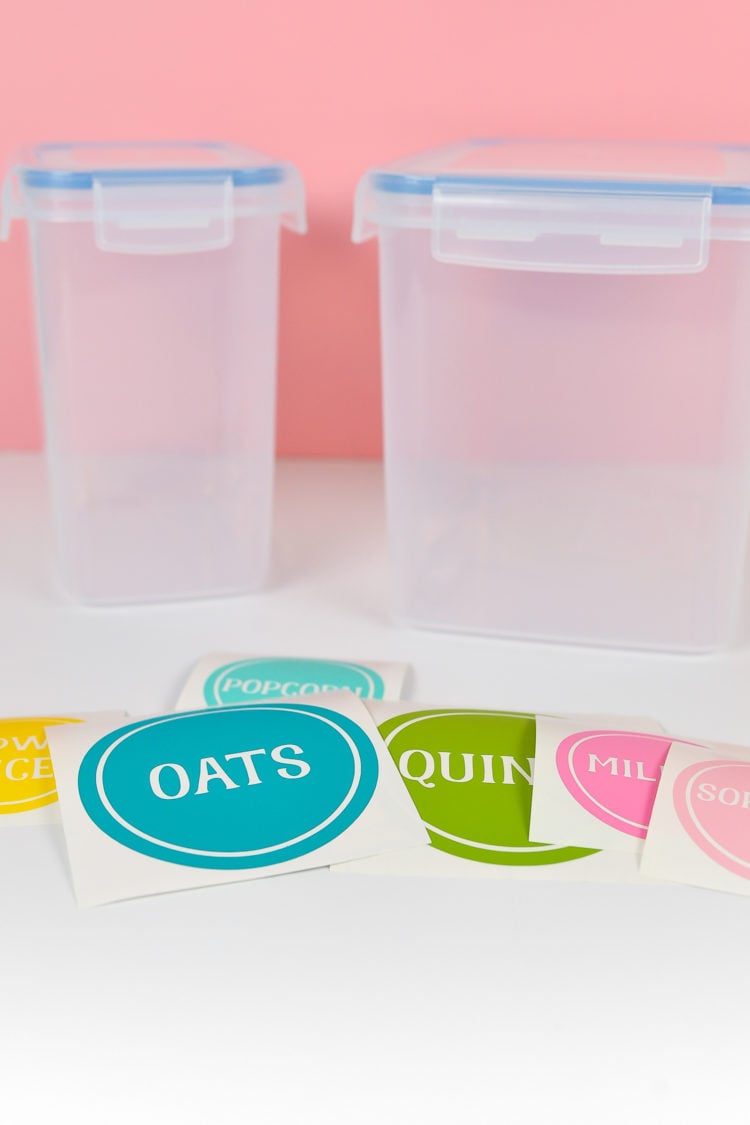
Now you have a choice. You can cut one large piece of transfer tape (my preference when working with single-layer vinyl adhesive labels) or you can cut small pieces of transfer tape the size of your labels.
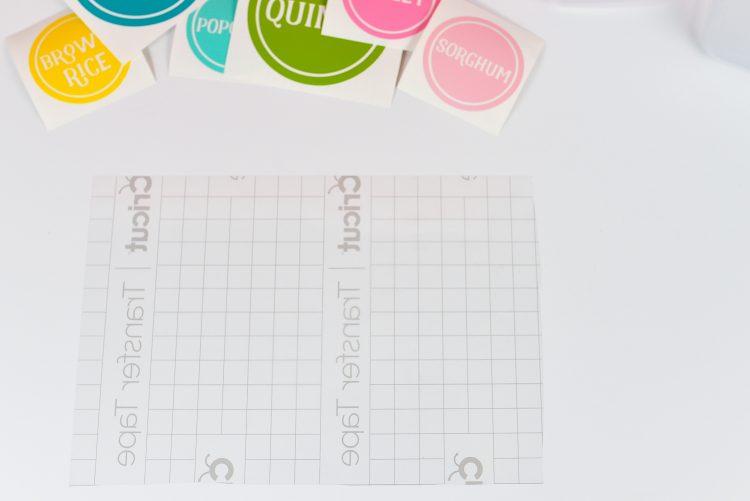
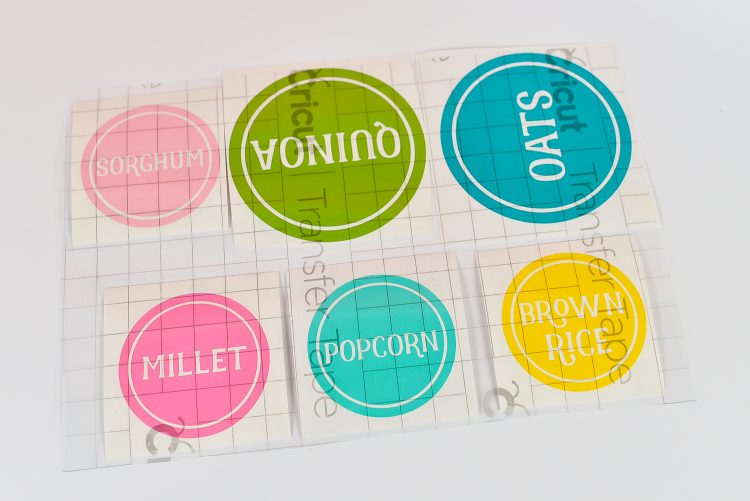
Place all of your labels face-down on the transfer tape and use a scraper (or credit card or even your fingers) to press the vinyl into the transfer tape.
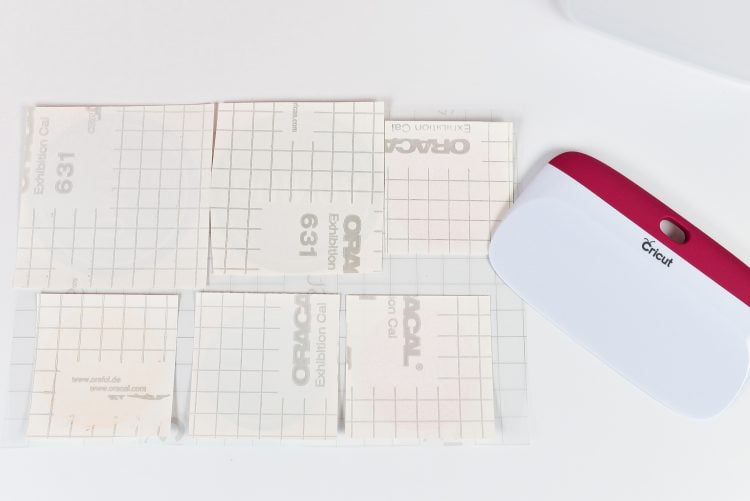
Next, flip over and cut apart each individual label.


Then carefully peel off the white backing carrier sheet. Your vinyl should easily stick to the transfer tape. If it doesn’t, burnish some more.
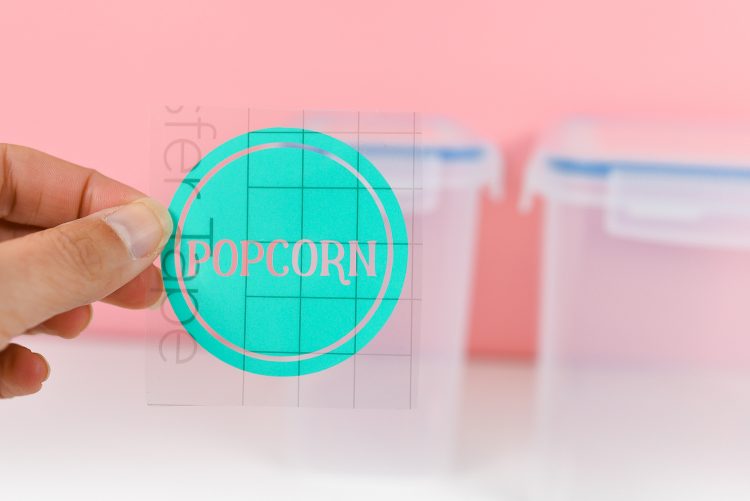
Then carefully align your label on your plastic and press the label on, burnishing with your fingertips (I didn’t want to use the scraper on the plastic, just in case it left a mark).
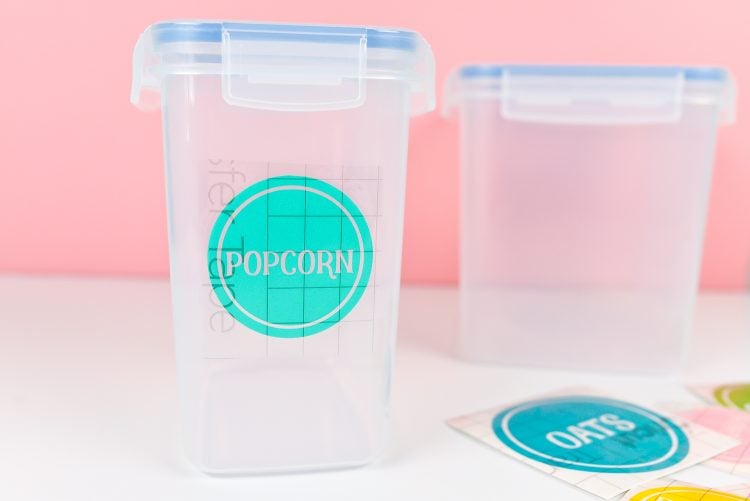
Then carefully peel back the transfer tape at a 45° angle or more. Since the plastic is smooth and nonporous, the vinyl should stick fairly easily. If you are having trouble, burnish again and peel even more slowly, using your fingernail to help “guide” the vinyl off the transfer tape. But really, it should work really nicely on plastic.
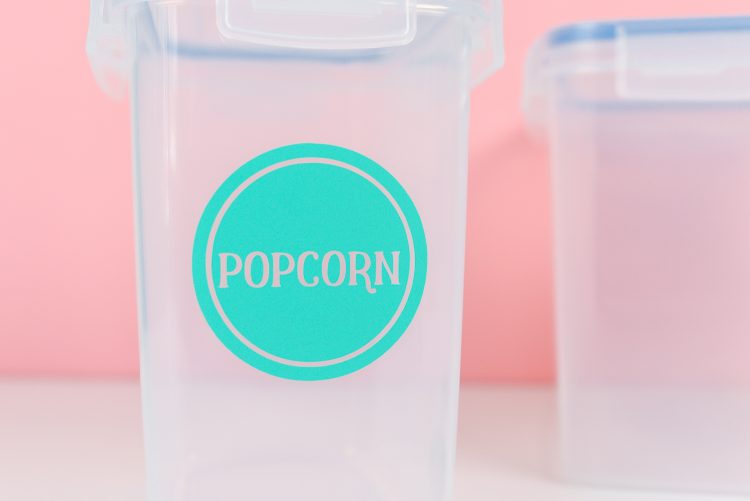
Tada! See how easy using vinyl on plastic is? I was able to re-label a ton of pantry containers in a short amount of time.
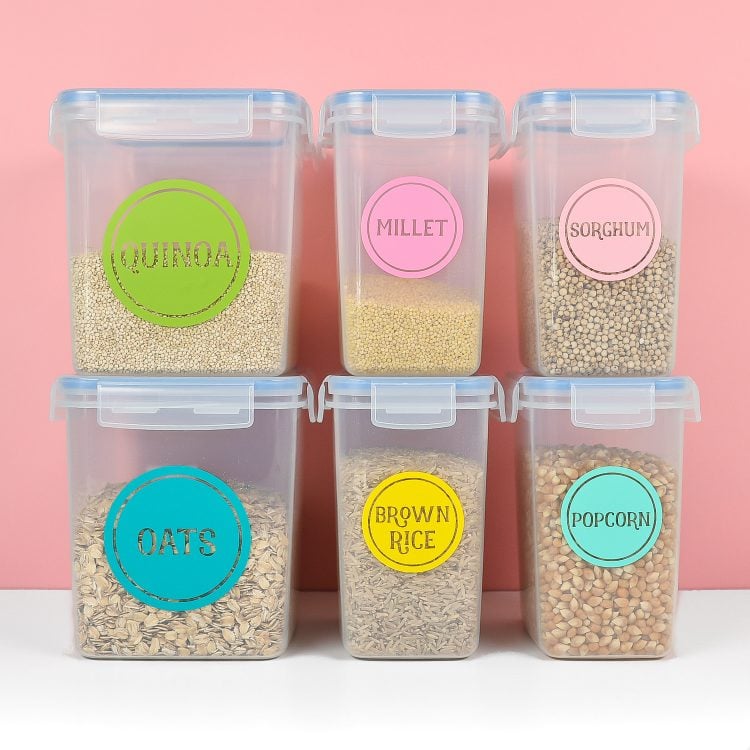
Don’t forget to grab the Ultimate Pantry Label Bundle (with more than 125 labels!) for free!
Get the Free File
Want access to this free file? Join my FREE craft library! All you need is the password to get in, which you can get by filling out the form below. The file number is: C183.
Have any questions about using vinyl on plastic? Leave me a comment and I’ll help troubleshoot! Then check out my round up of 20+ Home Organization Ideas with the Cricut!

USING VINYL ON PLASTIC WITH TRANSFER TAPE
Equipment
- Cricut Maker or
- Cricut Joy or
Instructions
- Preparing Your Plastic for VinylWash your plastic containers in the dishwasher or or wipe them down with some rubbing alcohol to make sure they are free from any dust or oils. This will help ensure your vinyl sticks well.
- Using Vinyl on PlasticStart by cutting and weeding your labels. For this project. several colors of adhesive vinyl from Expressions Vinyl, were used. Unlike iron on vinyl, you do NOT need to mirror adhesive vinyl when cutting it—what you see is exactly what goes on the plastic.

- Now you have a choice. You can cut one large piece of transfer tape or you can cut small pieces of transfer tape the size of your labels.

- Place all of your labels face-down on the transfer tape and use a scraper (or credit card or even your fingers) to press the vinyl into the transfer tape.

- Next, flip over and cut apart each individual label.


- Then carefully peel off the white backing carrier sheet. Your vinyl should easily stick to the transfer tape. If it doesn't, burnish some more.

- Then carefully align your label on your plastic and press the label on, burnishing with your fingertips (I didn't want to use the scraper on the plastic, just in case it left a mark).

- Then carefully peel back the transfer tape at a 45° angle or more. Since the plastic is smooth and nonporous, the vinyl should stick fairly easily. If you are having trouble, burnish again and peel even more slowly, using your fingernail to help "guide" the vinyl off the transfer tape. But really, it should work really nicely on plastic.

- Tada! See how easy using vinyl on plastic is?



Comments & Reviews
Rosa J says
Hi, I love your projects and advice! I’m a Cricut newbie. Done a few projects, ranging from beginner to advanced with quite a bit of headache without your helpful tips! With school coming back around, everything needs to be labeled and I’ve done that with some cheap, personalized labels. However, I refuse to just send my daughter to school with plain colored folders (even if that is what was on her supply list). There has to be SOME pizzazz! So I was wondering if I could add some vinyl designs to them. They are plastic folders, so based on some of your posts I’ve read, it seems like it will be easy peasy, but I just want to make sure before going at it and possibly having to go school shopping at the last minute. EEK! Also, she has a leather pencil pouch that I was wanting to do the same thing to. Would vinyl work on that as well?
Jacinda says
I am trying to decorate my daughters Under Armor big water bottle. Which I believe is a thick plastic material. I am using Cricut permanent vinyl and the decals keep coming off. So I tried again and this time put mod podge over and that didn’t even last a day. The mod podge started flaking off and the decals came off too. What are we doing wrong?
Taylor Simpkins says
Could i just mirror my design so i dont have to use transfer tape? my vinyl never leaves the tspe
Kathleen Ryan says
Which vinyl adheres best to plastic container that will be refrigerated?
Crystal Summers says
Hi Kathleen,
Permanent vinyl is best. Oracal 651 is a great permanent vinyl product.
Hope this helps!
Crystal, HLMS Community Manager
Carly Orlansky says
I am trying to add names to a kids toy but it is bumpy plastic and I’m having trouble getting it to stick. I am using oracle 651. Is there any other kind I can try?
Lynne says
Would I need to use permanent vinyl for a laptop case? Or removable?
Crystal Summers says
Hi Lynne,
I would recommend permanent. It will last longer than regular vinyl. It’s personal preference, really, but I like to use permanent to make sure I don’t get any peeling for as long as possible.
Hope this helps!
Crystal, HLMS Community Manager
Cassy says
Hi there
Can I stick a logo onto a PEVA silicone food pouch?
Cassy
Crystal Summers says
Hi Cassy,
It’s not impossible, but it may not last as long. I would definitely use permanent vinyl to ensure a bit better longevity. It also may be trickier to peel the transfer paper away, so you’ll want to go slowly.
I hope this helps!
Crystal, HLMS Community Manager
Cassy says
I will definitely try this!!