Frustrated with removing materials from your Cricut mat? No need to panic! I have a bunch of tips and tricks for helping to get your mats to release your materials perfectly. A must-read for any Cricut newbie.
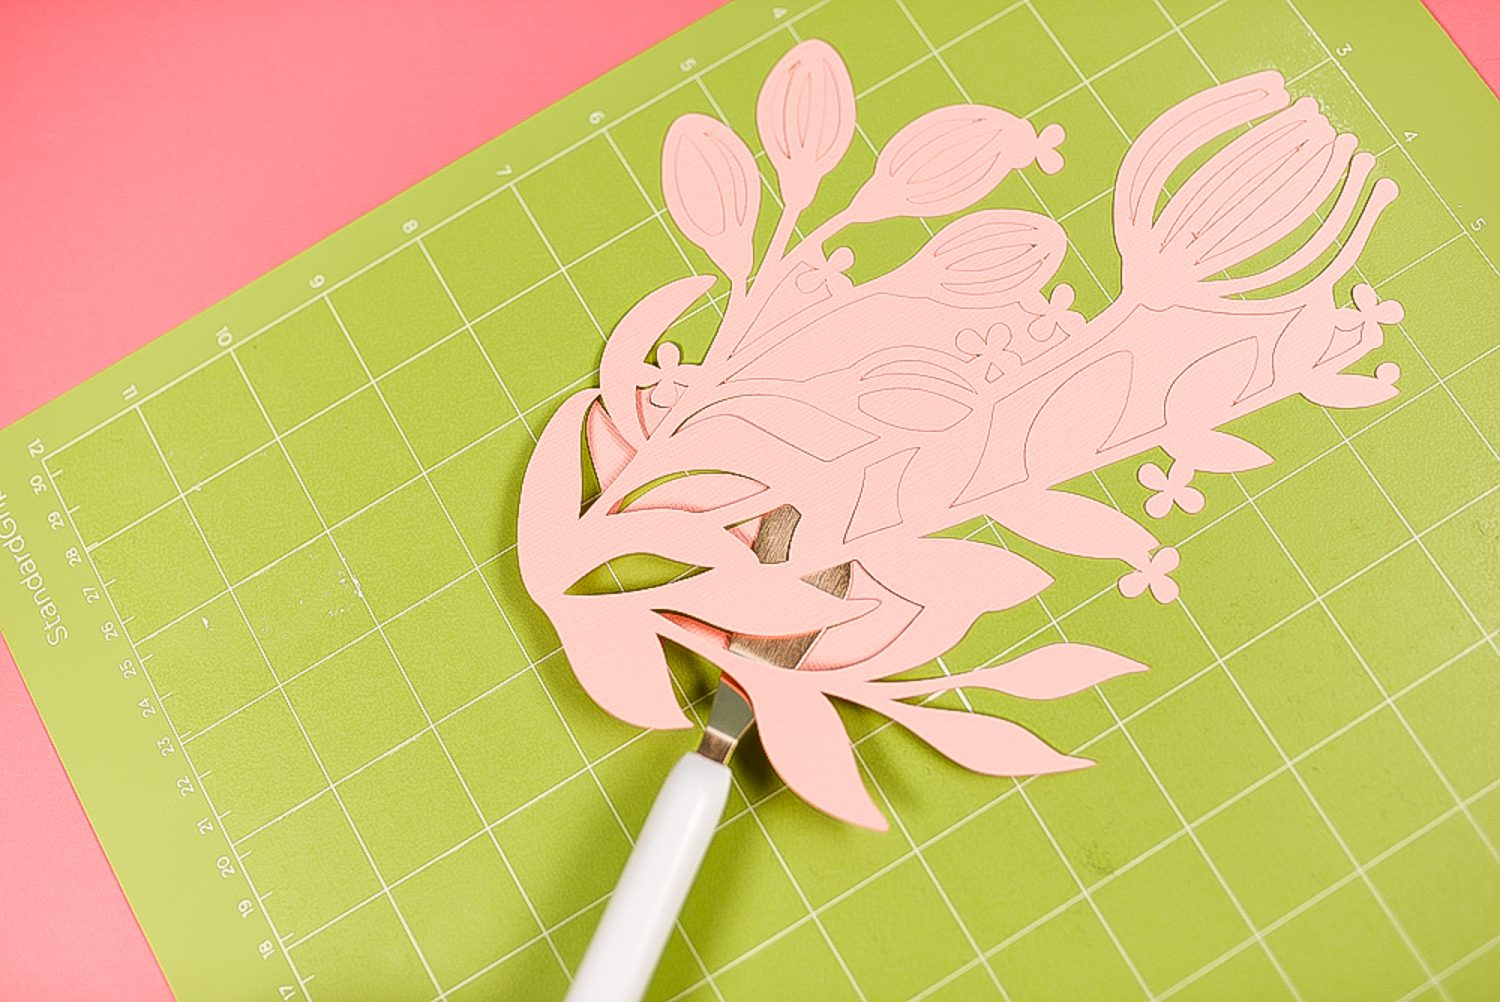
When I first got my Cricut, I decided my first project would be to cut out my logo in paper. I was brand new to the Cricut and had no idea what I was doing. I didn’t even try the sample project that came with my Explore—I just threw my SVG logo into Cricut Design Space and cut.
The Explore cut it beautifully. I was so impressed looking at it on the green mat.
And then…I tried to remove my delicate logo from the mat.
Disaster.
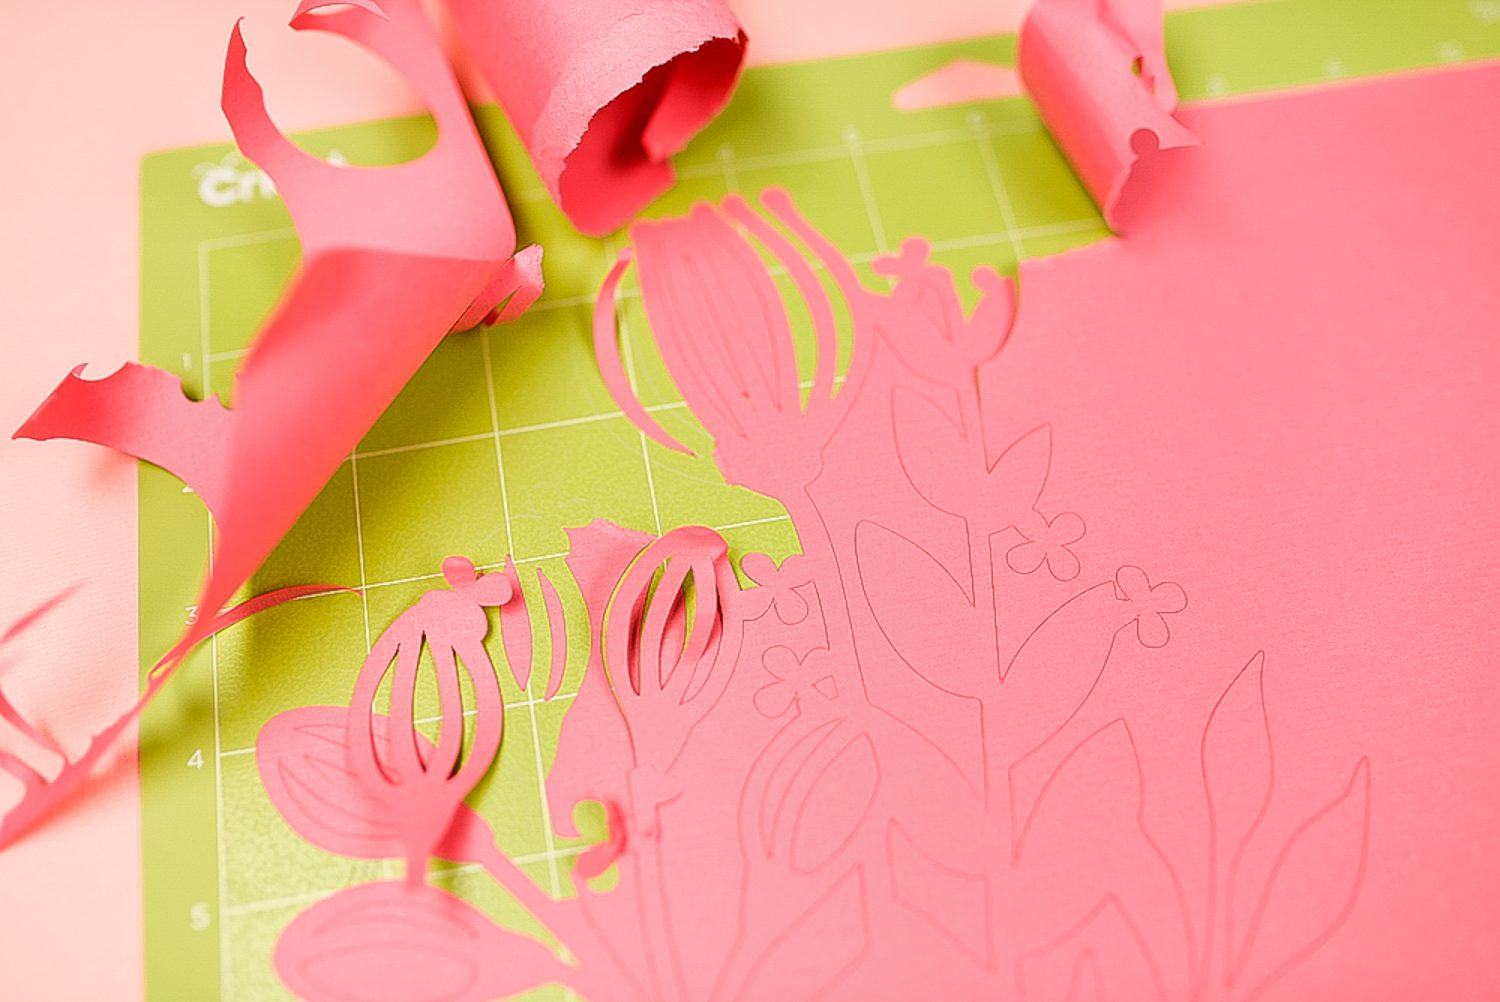
It ripped and curled and stuck to the mat and my project was ruined. If you’re having the same trouble, here are some tips for removing projects from your mats! These tips apply to any Cricut machine, including the Cricut Maker, Cricut Explore Air 2, and Cricut Joy.
Use The Right Mat
Make sure you are using the right mat for your project. You’ll notice that there is some overlap—this can give you some flexibility depending on what mat you have lying around.
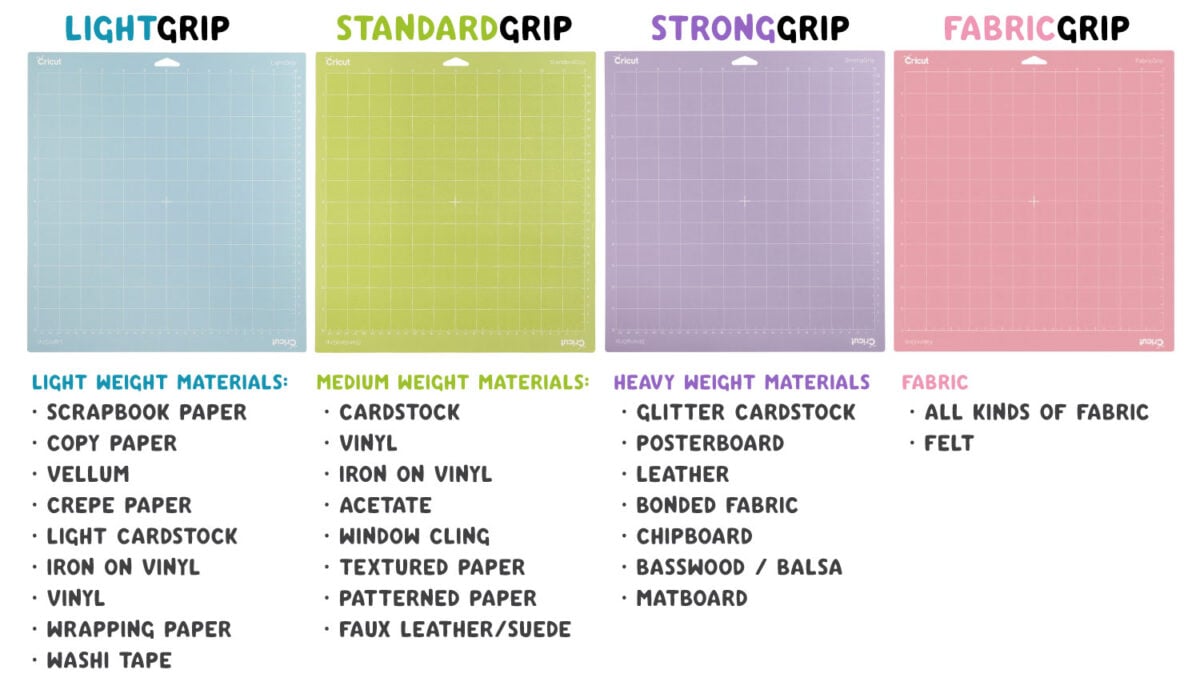
- Blue LightGrip Mat: Scrapbook paper, copy paper, vellum, crepe paper, light cardstock, iron on vinyl, vinyl, wrapping paper, washi tape
- Green StandardGrip Mat: Cardstock, vinyl, iron on vinyl, acetate, window cling, textured paper, patterned paper, faux leather and suede
- Purple StrongGrip Mat: Glitter cardstock, poster board, leather, bonded fabric chipboard, basswood, balsa wood, matboard
- Pink FabricGrip Mat: All kinds of fabric and felt
I used to use the StandardGrip green mat for most of my projects, but lately I’ve been using the LightGrip blue mat more and more. I find that it’s grippier than I think it is, and it releases most projects beautifully.
Prime Your Mat
Everyone wants to know how to keep their Cricut mats sticky! But one thing that you might find is that a brand new mat is TOO sticky. You’re not able to release your projects and end up with a hot, sticky mess on your brand new mat. This is particularly true with paper and other delicate materials.
One trick of the trade is to prepare your Cricut mat before using it the first time. To do this, we’ll use the very technical process of patting a brand new mat directly against the shirt you’re wearing (or ball up a clean t-shirt). Just a few times, picking up a bit of lint (if you have pets that shed, try and find a piece of fabric that isn’t covered with hair—you don’t want it to be overly primed!).
You can also press your hands lightly all over the mat. The oils in your hands will decrease the stickiness ever so slightly and allow your projects to release more easily.
Of course, this sounds counterintuitive—aren’t you supposed to keep your mat clean? Yes, it sounds a bit crazy. But trust me—by adding just a little bit of lint to your mat your projects will release from your mat a million times easier than from a perfectly fresh mat.
Know Your Material
Some materials are much easier to remove than others. The hardest tend to be the thinnest materials with the most delicate cuts. The more you use your Cricut, the more you’ll learn what materials require an extra degree of care. Cardstock, paper, and other fibrous materials are generally the hardest to remove.
Weeding Tips
If you’re looking for tutorials on removing the negative space from your iron on or adhesive vinyl projects, check out these posts:
Peel the Mat, Not the Project
For other materials, like cardstock, instead of peeling your project up off the mat, bend the mat in your hand and curve it away from your project. This will help loosen the project from your mat.
Bend the mat both horizontally and vertically, letting the adhesive move and release your project.
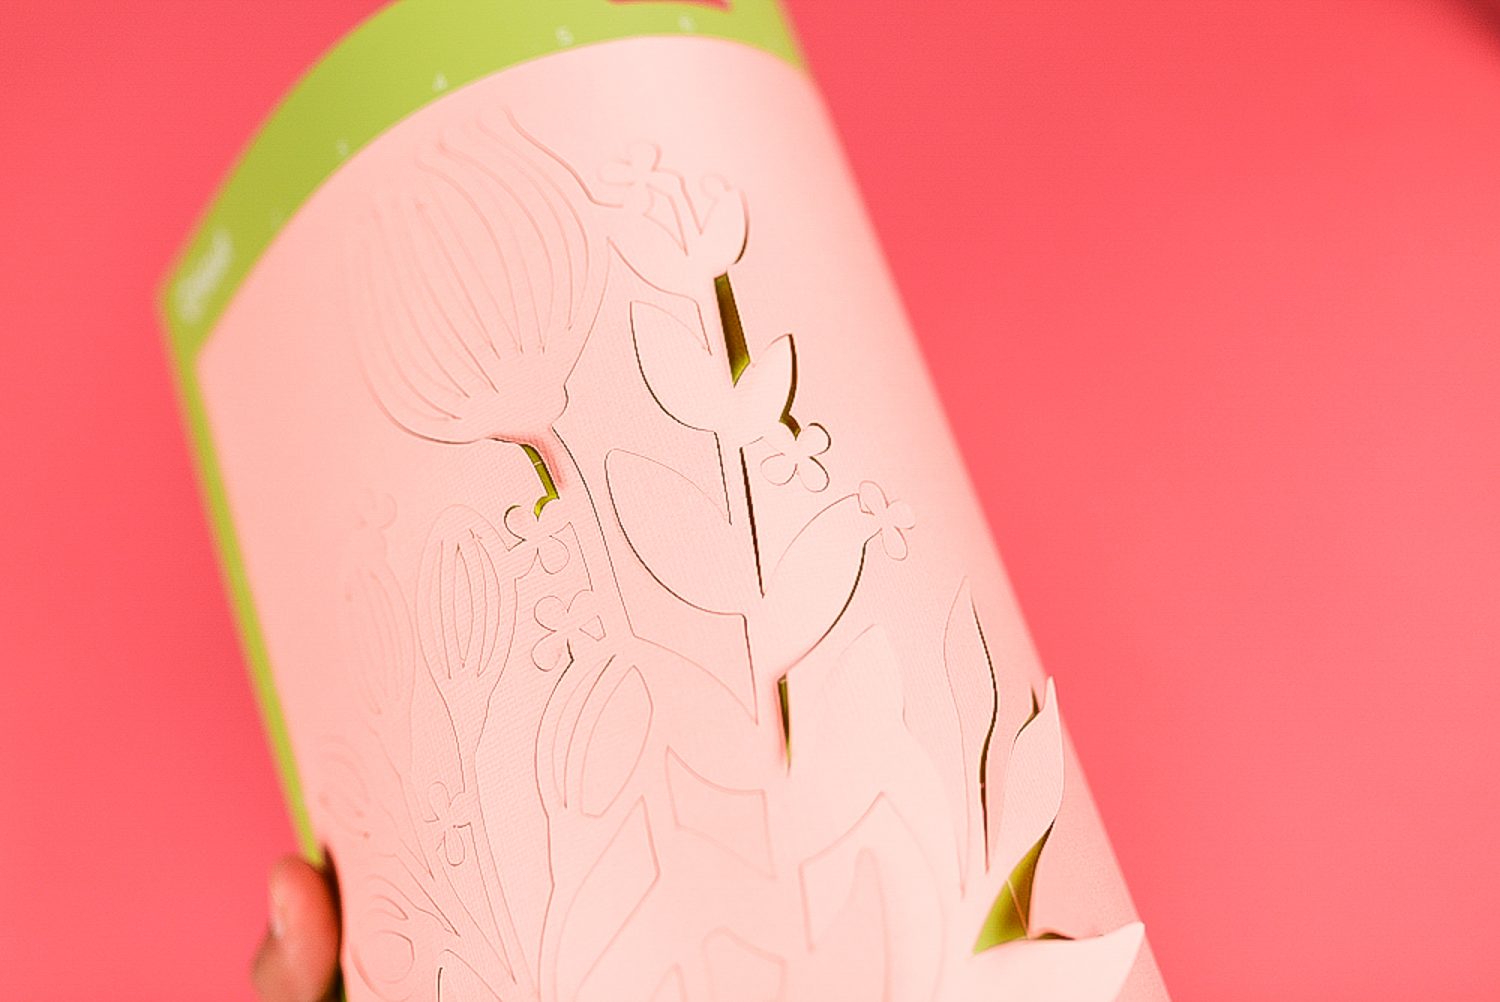
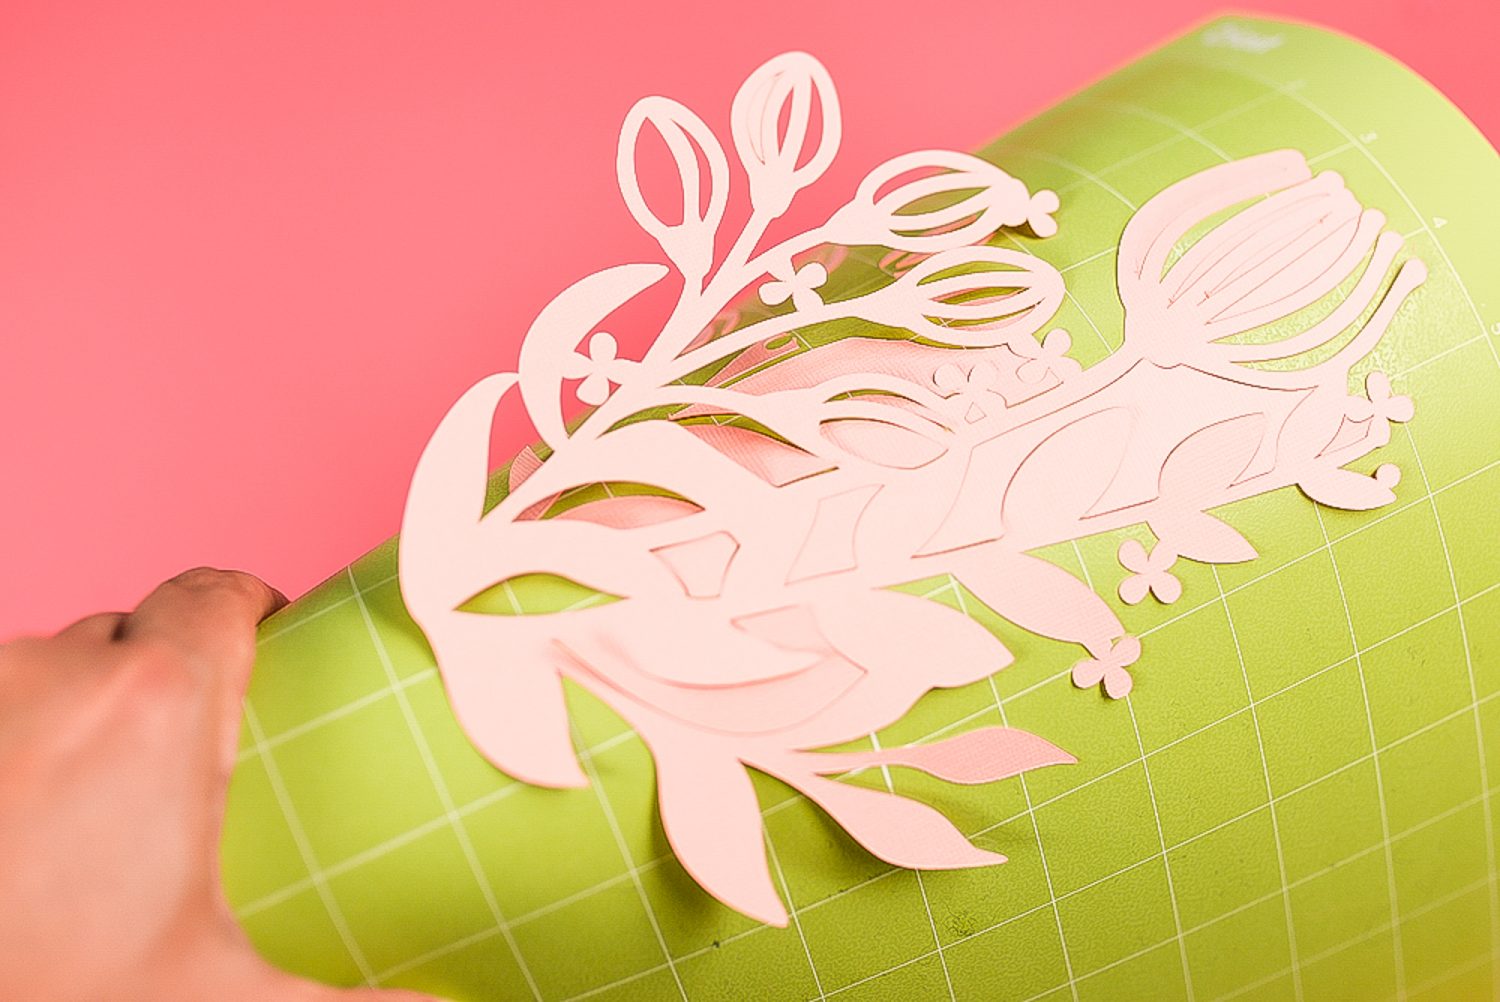
Never grab your project by the corner and try and lift—it will only tear or curl.
Use the Toolset
When I did my first project, I had no way of carefully lifting my delicate paper from the mat (which I hadn’t primed and was super sticky). I tried doing it with my fingers and just ended up with rips and curls.
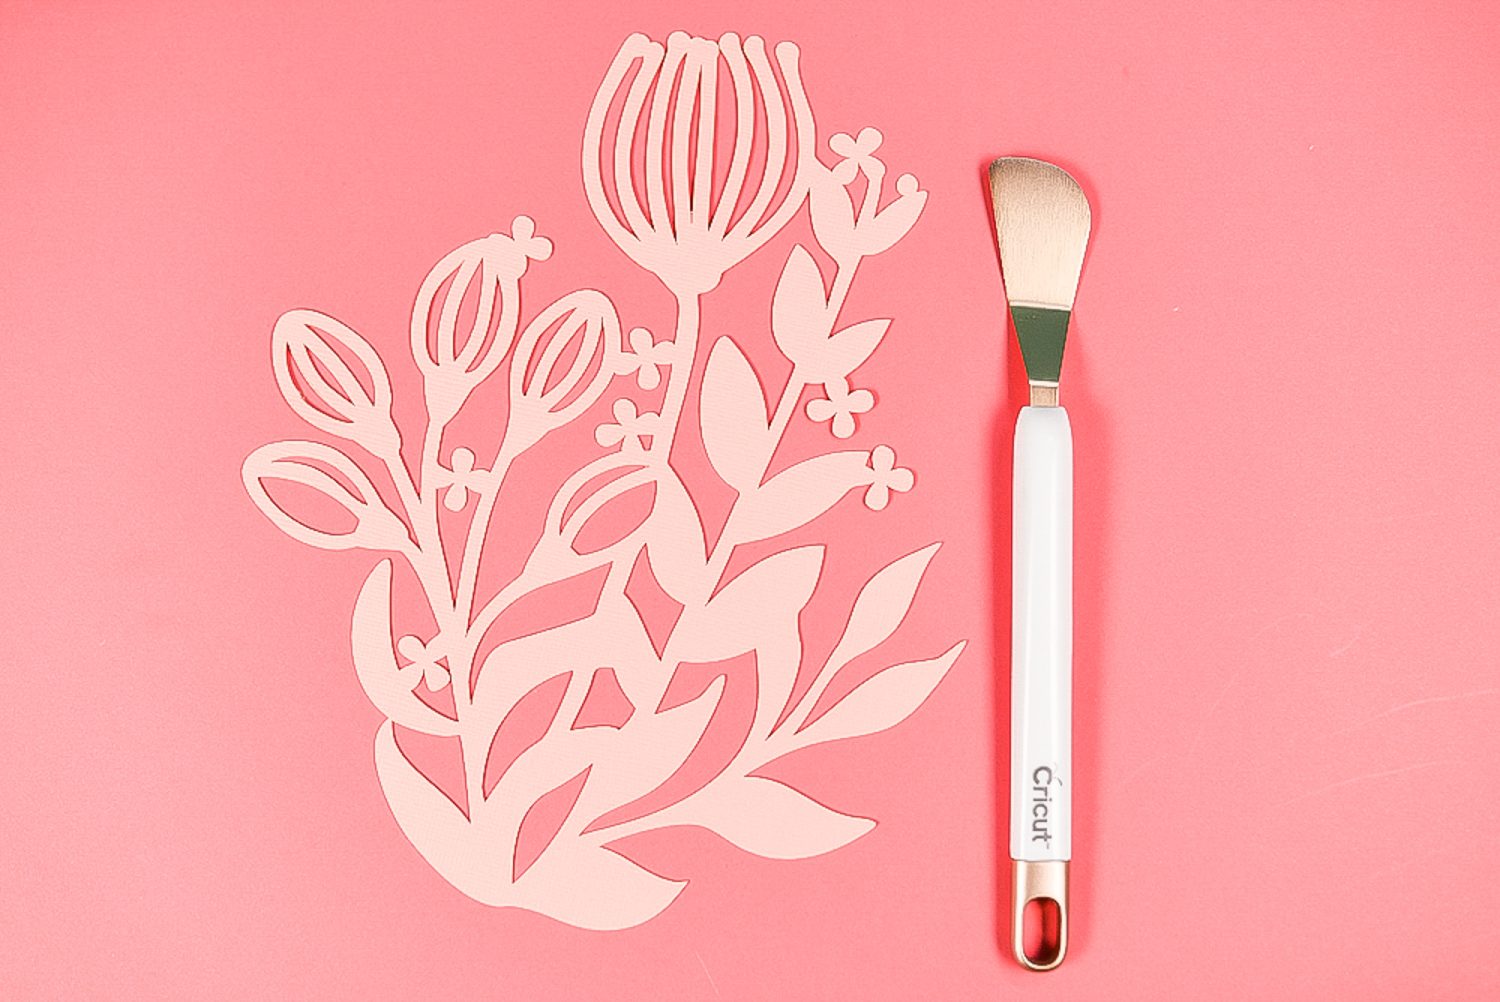
Now I use my spatula and other tools from the Cricut toolset to carefully pry up delicate projects. The tweezers are also helpful to grip tiny pieces. Read all about Using the Cricut Toolset.

Go Slowly. Go Carefully. Breathe.
Sometimes the best thing you can do to get an intricate cut off your mat is to go slowly. I have a tendency to start slowly and then get rushed toward the end and that’s usually when things go downhill. Trust me—taking your time will save you a lot of hassle!
Stop pulling your hair out and start creating confidently with your Cricut! Finally understand how to use your Cricut with my Learn Your Cricut eBooks!


Comments & Reviews
Marcia says
Thank you so much for the tips! This was so helpful.
Staz says
I am new to cricut, and I tried to peel my mat from my material, and it snapped! I wish I had seen your post about priming new mats as I wasn’t aware, and the mat was so sticky.
Cori says
Oh, so sorry that happened to you! Glad you found the tips helpful :)
tammy says
Hi All! My cardstock sticks to the mat, I feel lick the cardstock is very soft? it tears into two layers…one layer stays stuck on mat and the other layer comes off. It tears so easily…the cardstock is the one everyone is using! HELP! any recommendations?
DeeDee says
Can you cut paper and cardstock without a mat on the new cricut 3s?
Crystal Summers says
Hi DeeDee,
No, you cannot. You need to use Cricut’s smart materials which are vinyl rolls.
I hope this helps!
Crystal, HLMS Community Manager
Renee says
Hi everyone! I also have been having a lot of difficulties with removing cardstock from the Cricut mat. It kept ripping or curling whenever I removed it. So I decided to layer 2 pieces of paper on top of each other and glued the corners with Crafter’s Tape (making sure the tape was in a spot that would not interfere with cutting). This allowed my project to be cut out of the top piece of paper while keeping the papers secure during cutting. I did waste the bottom piece of paper in doing this but it was a small price to pay for not getting so frustrated/nervous trying to get the paper off the mat! Hope this helps.
linda says
I am using my Cricut Maker with vinyl and the blue mat to create a poster for my classroom. the larger letters peeled easily (~3″x3″), but the smaller sentences (less than an inch tall) are sticking to the mat and will not come free without lots of effort! In a few cases, I peeled the individual letter and stuck it to the poster rather than leaving it in line with the other letters on the sticky transfer tape strip. Any thoughts or helpful hints? I have the poster only partway done, so I look forward to any help. Otherwise, you will hear me grumbling from VA.
Cori George says
Sorry to hear you’re struggling! Just to confirm, your adhesive vinyl is sticking to the mat (not the transfer tape)? Is the blade cutting all the way through the backing material on the vinyl? You should be able to bend the mat back and forth to remove the backing sheet with the vinyl on it. And then from there you can apply your transfer tape (https://heyletsmakestuff.com/how-to-use-transfer-tape/) to get it to your poster. Note that vinyl sometimes has a hard time sticking to posterboard (that porous paper surface can be tricky).
Tonya says
I am using a Cricut Explore for the first time and when I use construction paper the paper tears when it is cutting, any suggestions on what is going wrong? Any help would be appreciated.
Thanks,
Tonya
Amy Motroni says
Hi Tonya,
Use cardstock instead of construction paper.
Happy Crafting!
Amy, HLMS Reader Support