Using the quilt-as-you-go technique, you can make this Step It Up quilt block! Foundation piecing is a fun quilting technique.
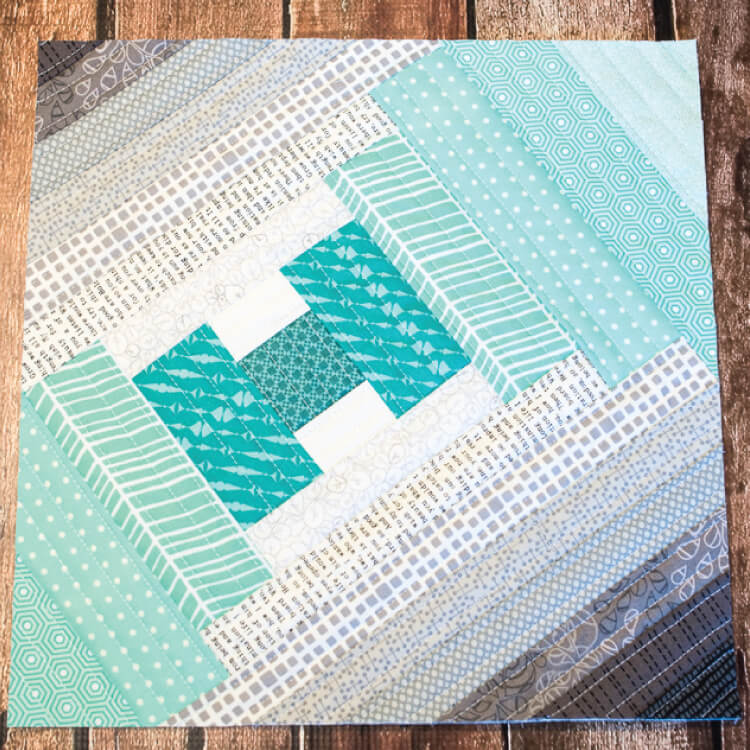
I wanted to do one quilt-as-you-go (QAYG) tutorial each month this year, so let’s pretend it’s still April. My pregnant brain said there were 31 days in April, and no one is going to argue with the lady who is carrying two enormous babies in her, right? April it is.
If you’re unfamiliar with QAYG, it’s a foundation piecing technique. A lot of quilters use it to make a log cabin block. But I think it’s much more versatile than that, so I’ve set out to create some fun tutorials to prove it.
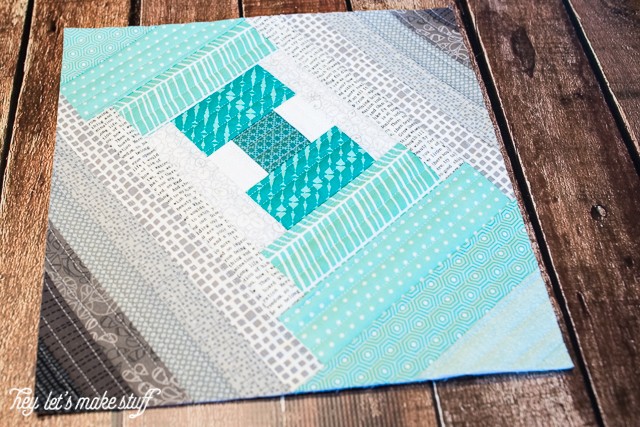
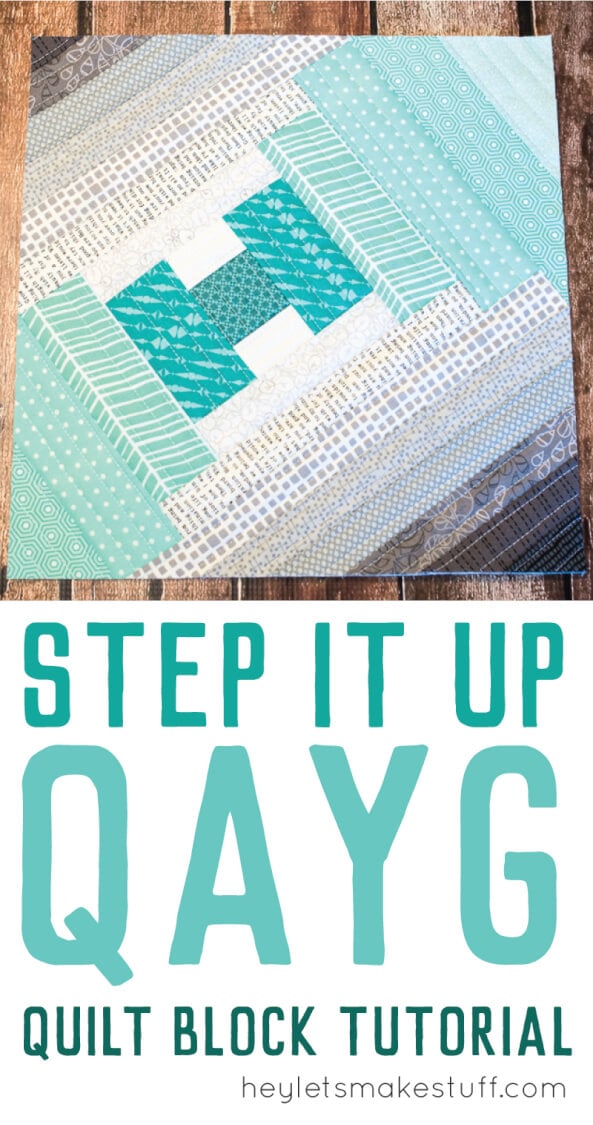
April’s block is an updated Courthouse Steps block, which has been around forever, and is similar to a traditional log cabin block but with some attitude. I’m calling it Step It Up.
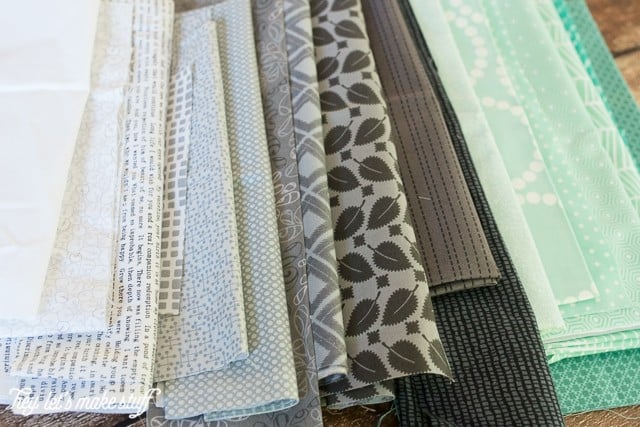
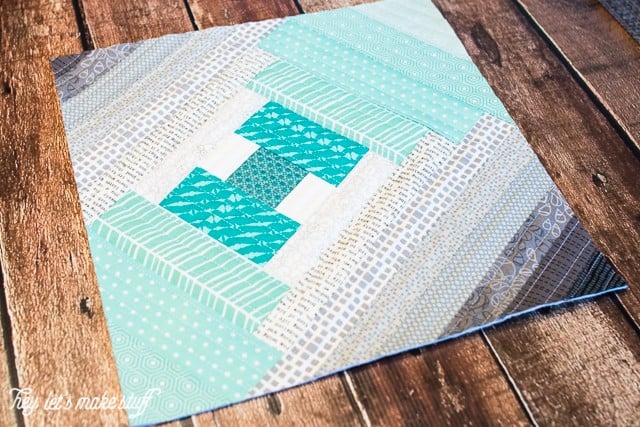
I decided the color of the month should be mint, so I pulled a large sample of fabric in mints and grays to create a nice gradient. I needed about twice as many grays than I did mints.
You will also need 14″ x 14″ squares of batting and backing fabric. The final quilt block is 12.5″, but I like that extra bit for squaring up since QAYG blocks can warp and shift as you build them.
Because I have already written many tutorials on how to do QAYG, this post will be more of an overview for this particular block. If you’re completely unfamiliar with the technique, I created a SUPER easy Big Stripes block that can help teach you the method. My other blocks using this technique are listed at the bottom of this post and also have more detailed instructions.
The cut sizes for this block are simple. The mint strips are 2″ wide and the gray strips are 1.25″ wide. The length depends on each row.
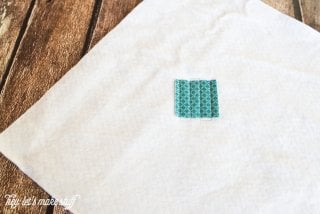
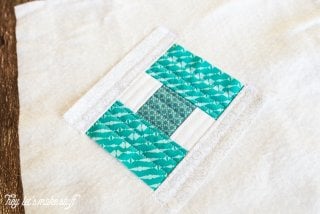
Start by placing a 2″ x 2″ square, off center and at a diagonal, right-side up, and quilt to the batting and backing fabric.
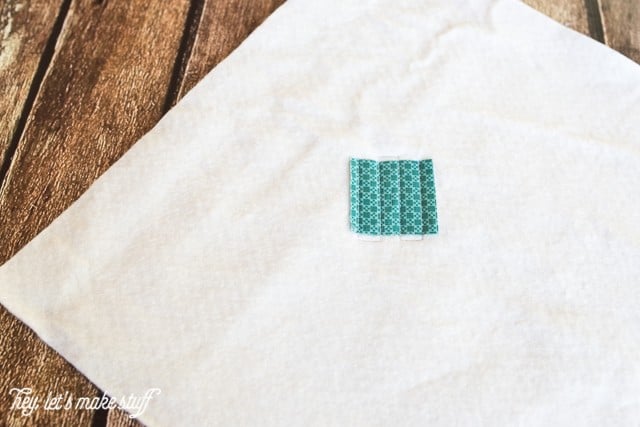
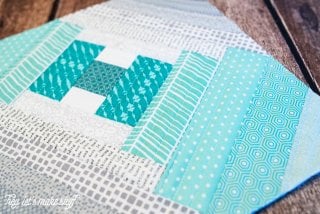
Now you’ll build your block using the technique I outline in my Big Stripes block. After the initial square, add your lightest gray strips above and below it. Then two mint pieces to the side, and another two gray pieces on the top and bottom.
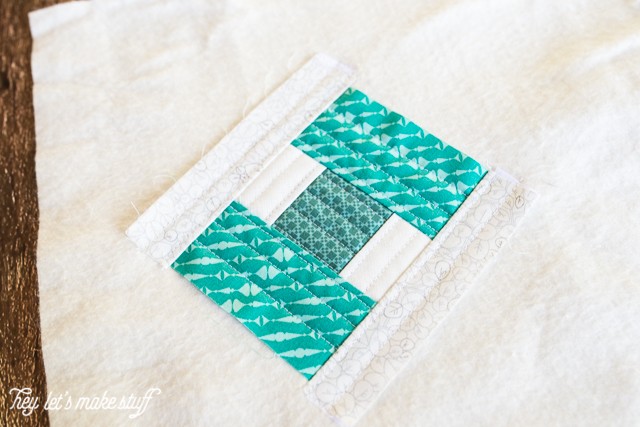
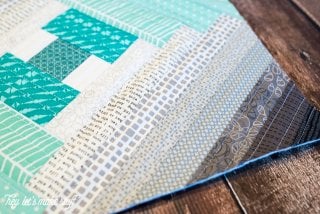
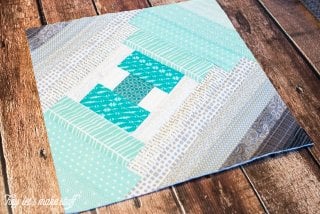
Continue this method of adding pieces until you reach your desired quilt block size! Then square it up and you’re done. You’ll notice I didn’t use all of the fabrics in my original selection — I never do. I use it as a guide and figure out what looks best as I go.
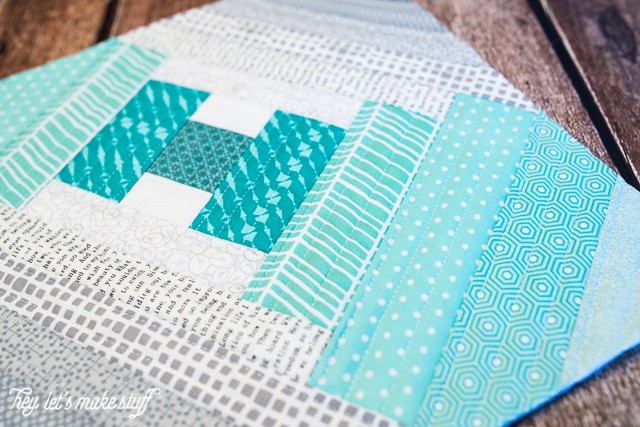
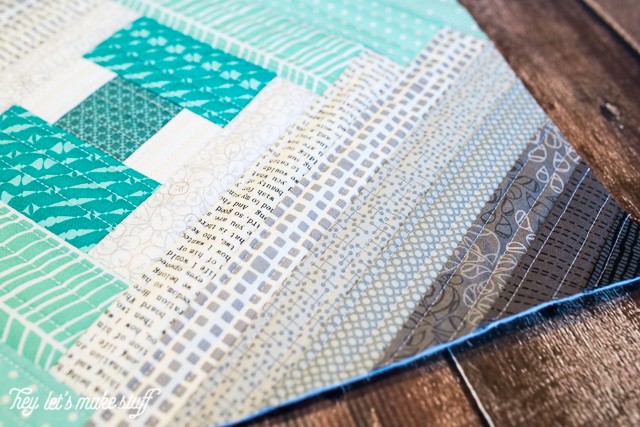
If you want to know how to connect these blocks (the back is ugly, so you definitely need to add another backing fabric), there are tutorials all over the internet about combining these types of blocks. I haven’t used any of them myself (I usually turn my QAYG blocks into pillows or bags), so I can’t recommend any tutorials personally.
If you have any questions, feel free to leave them in the comments. Hope you enjoyed this block! Want to see the others in this series?
- January: Seaside Boardwalk
- February: Scattered Geese
- March: Go Fly a Kite
Quilt As You Go with these tutorials:
- Learn Quilt-As-You-Go: Easy Big Stripes Panel
- Bloomin’ Quilt-As-You-Go Tutorial
- Seaside Boardwalk Quilt-As-You-Go Tutorial
- Scattered Geese Quilt-As-You-Go Tutorial
- Go Fly a Kite Quilt-As-You-Go Tutorial
- Step It Up Quilt-As-You-Go Tutorial
- Bear Mountain Quilt-As-You-Go Tutorial
- Scottish Thistle QAYG Block
- North West Quilt-As-You-Go Block Tutorial
STEP IT UP QUILT-AS-YOU-GO TUTORIAL
Equipment
Supplies
- Fabric in colors of your choice
- 14" x 14" squares batting
- 14" x 14" squares backing fabric
Instructions
- The colors used in this project are mints and grays to create a nice gradient. Needed about twice as many grays than the mint colors.The cut sizes for this block are simple. The mint strips are 2" wide and the gray strips are 1.25" wide. The length depends on each row.Start by placing a 2" x 2" square, off center and at a diagonal, right-side up, and quilt to the batting and backing fabric.

- Now you'll build your block using the technique outlined in the Big Stripes block. After the initial square, add your lightest gray strips above and below it. Then two mint pieces to the side, and another two gray pieces on the top and bottom.

- Continue this method of adding pieces until you reach your desired quilt block size! Then square it up and you're done. You’ll notice not all of the fabrics in the original selection were used. They are just used as a guide and to figure out what looks best as the project progresses.

- If you want to know how to connect these blocks (the back is ugly, so you definitely need to add another backing fabric), there are tutorials all over the internet about combining these types of blocks. I haven’t used any of them myself (I usually turn my QAYG blocks into pillows or bags), so I can’t recommend any tutorials personally.




Comments & Reviews
Bonnie Thiem says
For your Quilt-as-you-go Tutorials January thru May they were great. But where are the rest of them? I love to do these. Seaside Boardwalk, Scattered Geese, Go Fly a Kite, Step it Up and Scottish Thistle. But what’s next?
Akki says
Thanks for the tutorial. It was nice.
Lea says
What a beautiful block. Thank you for sharing this tutorial. I pinned it.
Cori George says
Thank you Lea!
Cheryl says
Love these – so fun and easy to make (I’d forgotten)! Enjoy seeing how you are adding some ‘modern’ twists to these old favourites. I usually use a really heavily patterned backing (bigger than the front) right from the get-go and then the quilting ‘mess’ doesn’t really show up. Can’t wait to try a few more of these.
Nancy McLean says
I love your quilt as you go blocks!! I’m fairly new to this, and I was wondering, when you the blocks together, isn’t it thick with the batting in the sandwich layer?