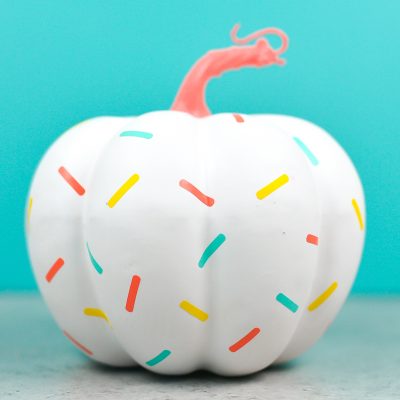
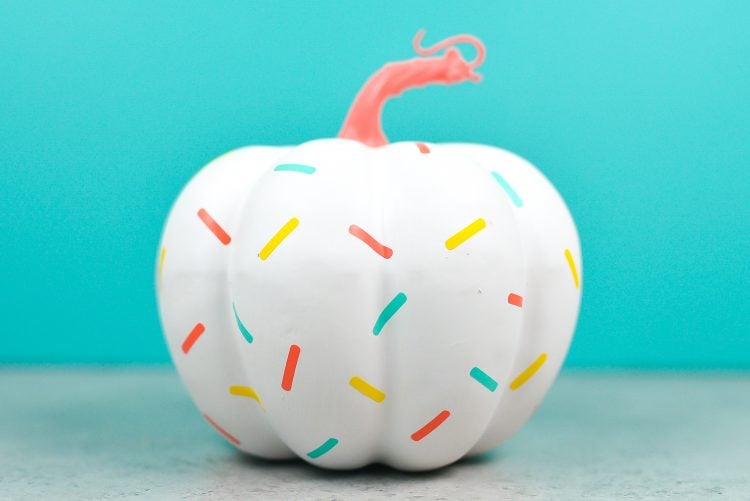
Halloween doesn’t have to be scary! This adorable sprinkle DIY pumpkin is a cute addition to your Halloween party decor. Whip it up in less than 15 minutes using vinyl sprinkles cut on your Cricut!

It’s Day 3 of Craft Lightning—today’s quick and easy project is this adorable sprinkle pumpkin! I’ve been wanting to make a sprinkle pumpkin for years, and Craft Lightning is the perfect excuse. Even with painting time (excluding drying time), this pumpkin took me less than 15 minutes to make and is perfect Halloween decor for my easily spooked little boys.
Check out all the posts in this series (links will be updated throughout the week!):
- Bat Place Cards
- Ghost Luminarias
- Sprinkle Pumpkins
- Felt Halloween Banner
- Graveyard Halloween Cake Topper
This pumpkin is simply painted with adhesive vinyl sprinkles. I used this same Cricut Design Space file for my sprinkle shoes, so make sure to check those out!

DIY Pumpkin Supplies
- Plastic Pumpkin
- Spray Paint (optional)
- Cricut Explore or Maker
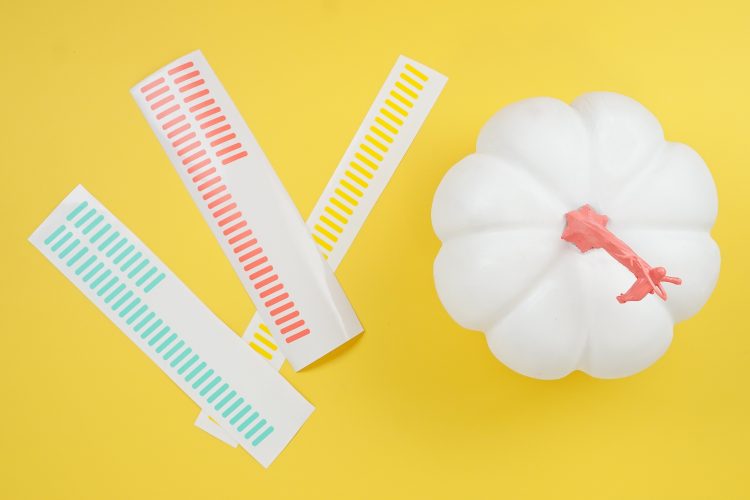
- Adhesive vinyl in pink, yellow, and blue
- Sprinkles file in Cricut Design Space
DIY Pumpkin Instructions
If your pumpkin is a color you’re not fond of (mine was a country chic white with a brown stem), you can paint your pumpkin. I used spray paint—much quicker than craft paint!
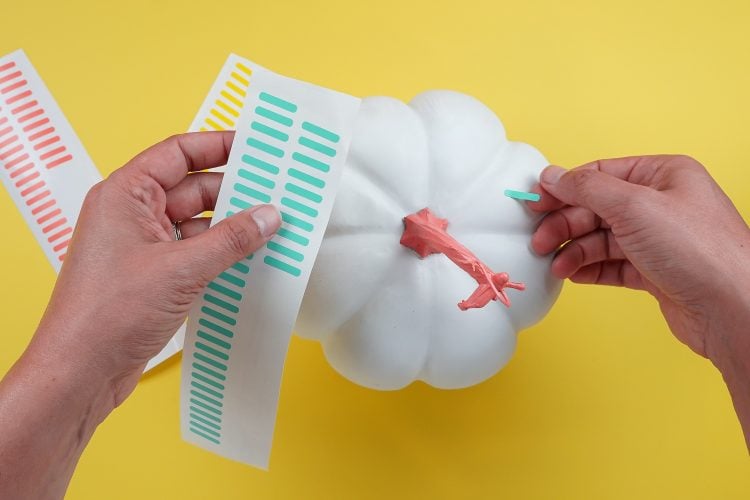
While your pumpkin is drying, cut out the sprinkles on your Cricut Explore or Maker. I think I ended up using 20 of each color for this pumpkin. Weed off the excess—it should come up easily in one piece leaving you with just the sprinkles.

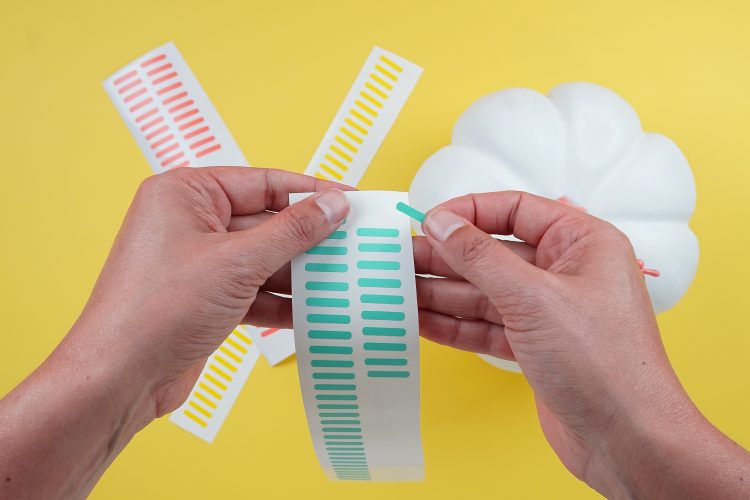
Then just pick up the sprinkles like stickers and place them on your pumpkin. Easy! This DIY pumpkin is so simple to make!


More Easy Party Projects
Check out these other Craft Lightning party ideas, and continue to check back all week for even more simple party ideas that take less than 15 minutes to make!
- Printable Halloween Stickers – Mad In Crafts
- Printable Halloween Bookmarks – Carla Schauer
- DIY Marble Coasters – Country Hill Cottage
- Toy Story Favor Bags – See Lindsay
- DIY Party Blowers – Liz On Call
- Halloween Skull Wreath – Tried & True
- Halloween Pillow Boxes – 5 Little Monsters
- Printable Halloween Banner – Pineapple Paper Co
- Felt Balloon Banner – Creatively Beth
- Ghost Decorations – Everyday Party Magazine
- Pom Pom Pumpkins – Things Small and Simple
- Caramel Apples – Our Crafty Mom
- Boo Cake Topper – Gingersnap Crafts
- Free Birthday Cut File – Happy Go Lucky
- Pumpkin Squishy – A Sweet Berry Designs
- Halloween Candy Bar Wrappers – Happiness is Homemade
- Kindness Favors – Me and My Inklings
- Rustic Wood Slice Cake Stand – Doodlecraft
- Halloween Tote Bags – Burton Avenue
- Paper Halloween Quilt Blocks – Hey Let’s Make Stuff
Also check out my round up of 20 No-Carve Pumpkin Ideas Using A Cricut!

Craft with Your Cricut
EASY SPRINKLE DIY PUMPKIN
Equipment
- Cricut Maker or
Supplies
- Plastic Pumpkin
- Spray Paint optional
- Adhesive vinyl in pink, yellow, and blue
- Sprinkles file in Cricut Design Space
Instructions
- If your pumpkin is a color you're not fond of (this one was a country chic white with a brown stem), you can paint your pumpkin. Use spray paint—much quicker than craft paint!While your pumpkin is drying, cut out the sprinkles on your Cricut Explore or Maker. For this project, used 20 of each color. Weed off the excess—it should come up easily in one piece leaving you with just the sprinkles.

- Then just pick up the sprinkles like stickers and place them on your pumpkin. Easy! This DIY pumpkin is so simple to make!




Comments & Reviews
Pam T says
Still not able to cut the sprinkles on Design Space – still says “this item is not available for sale.” Any ideas?