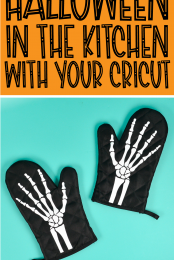
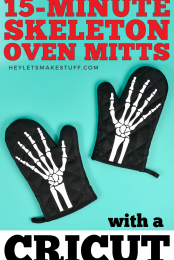
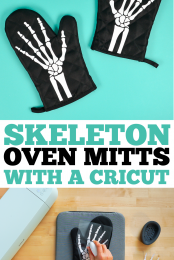
All you need to make this easy Halloween project are your Cricut, oven mitts, iron on vinyl, a weeding tool, and an iron! These skeleton oven mitts come together in less than 15 minutes and are a fun way to celebrate Halloween in your kitchen.
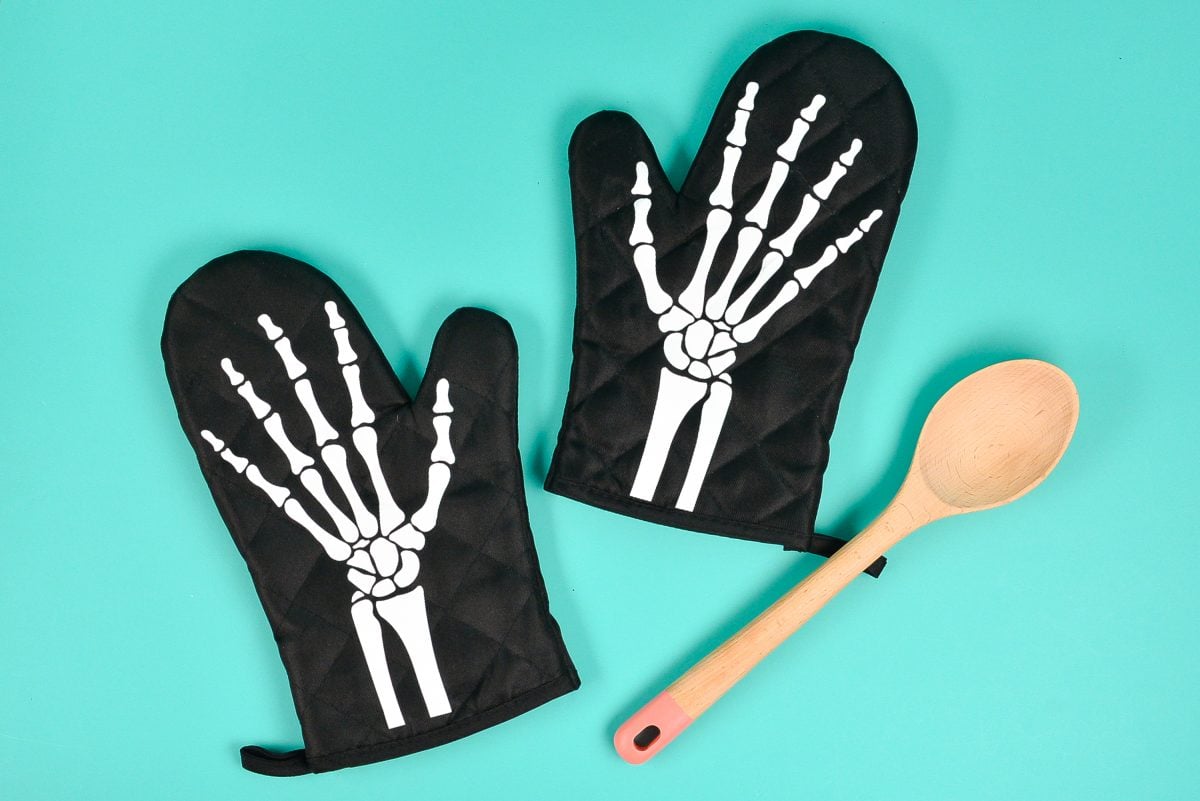
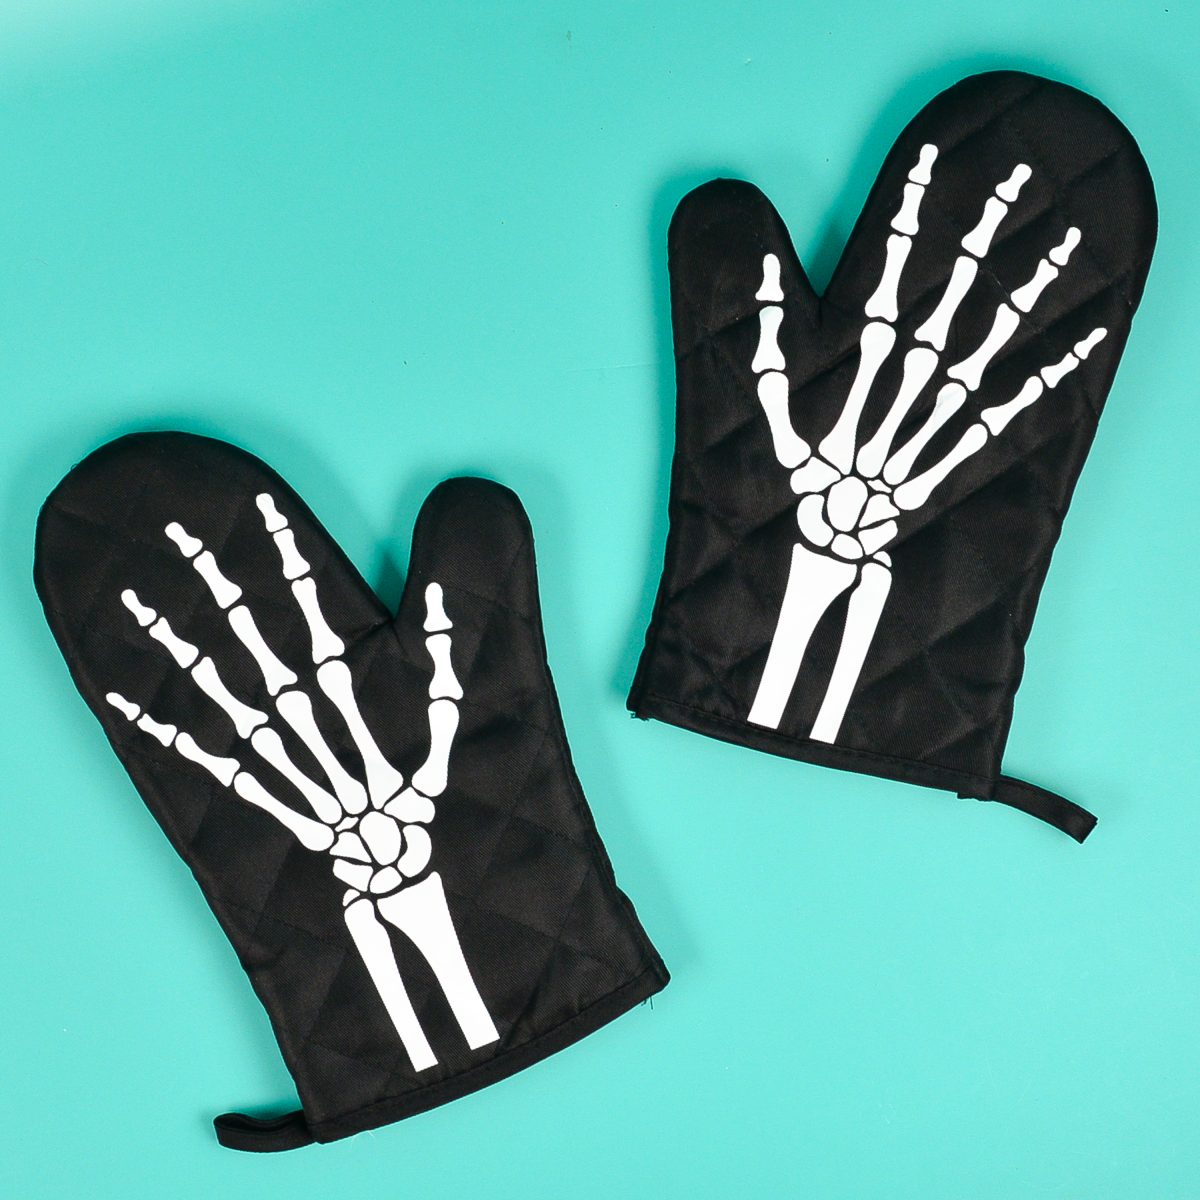
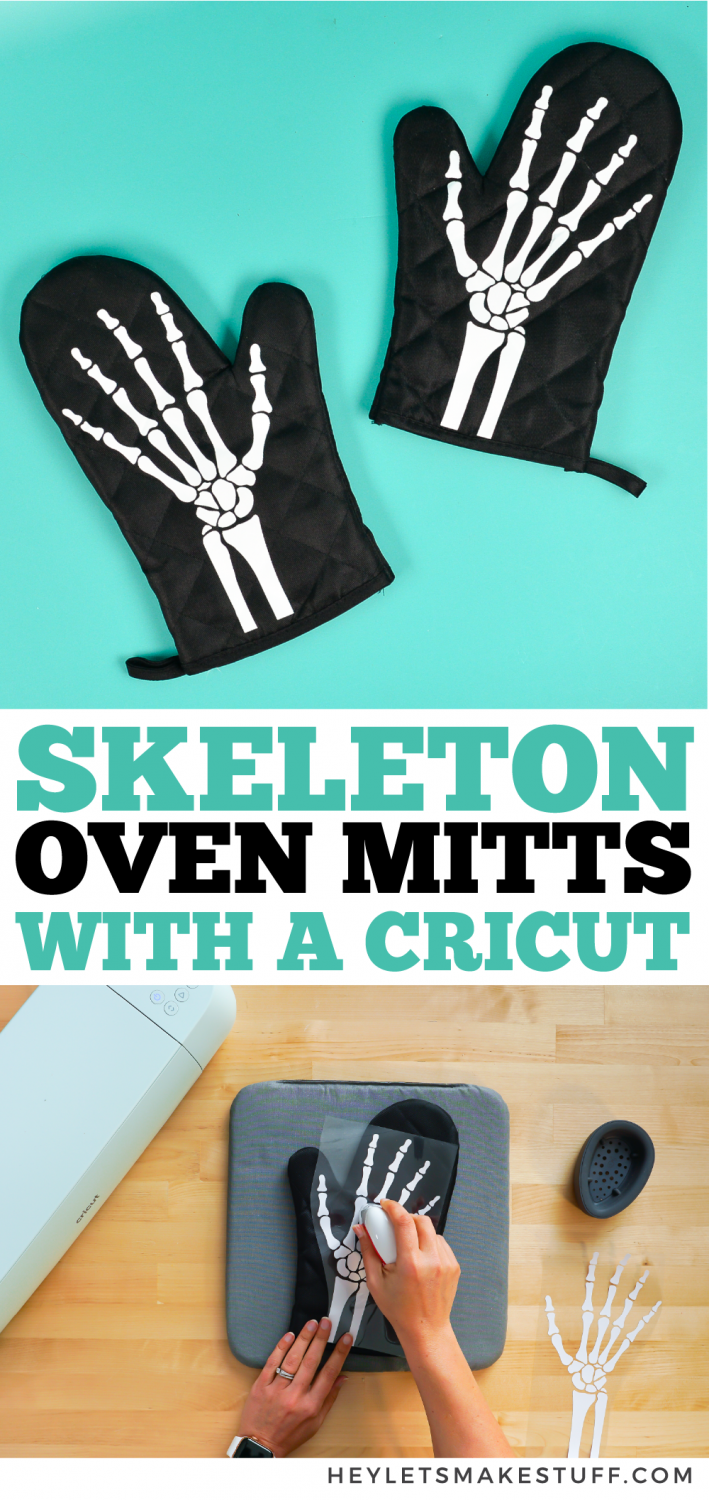
Sometimes I get a random craft idea and I’m super excited with how easily and quickly it comes together! It was that way with these fun skeleton oven mitts. All you need is your Cricut, some iron on vinyl, a weeding tool, an iron, and a set of oven mitts and you can craft this fun and easy Halloween project. I made mine in less than 15 minutes and I know you can too!
This is the second skeleton project I’ve crafted this year—check out my geometric skulls, plus my super fun skull balloons from a few years ago!
I drew these skeleton hands based off of an actual x-ray, which was a challenge for me! I love stretching my Adobe Illustrator skills and this was definitely a fun one. This SVG could be used for all sorts of projects other than oven mitts—Halloween artwork, costume ideas, etc. I even have a super fun Glowforge project in my head…I sure hope I can make it happen!
Skeleton Oven Mitt Supplies
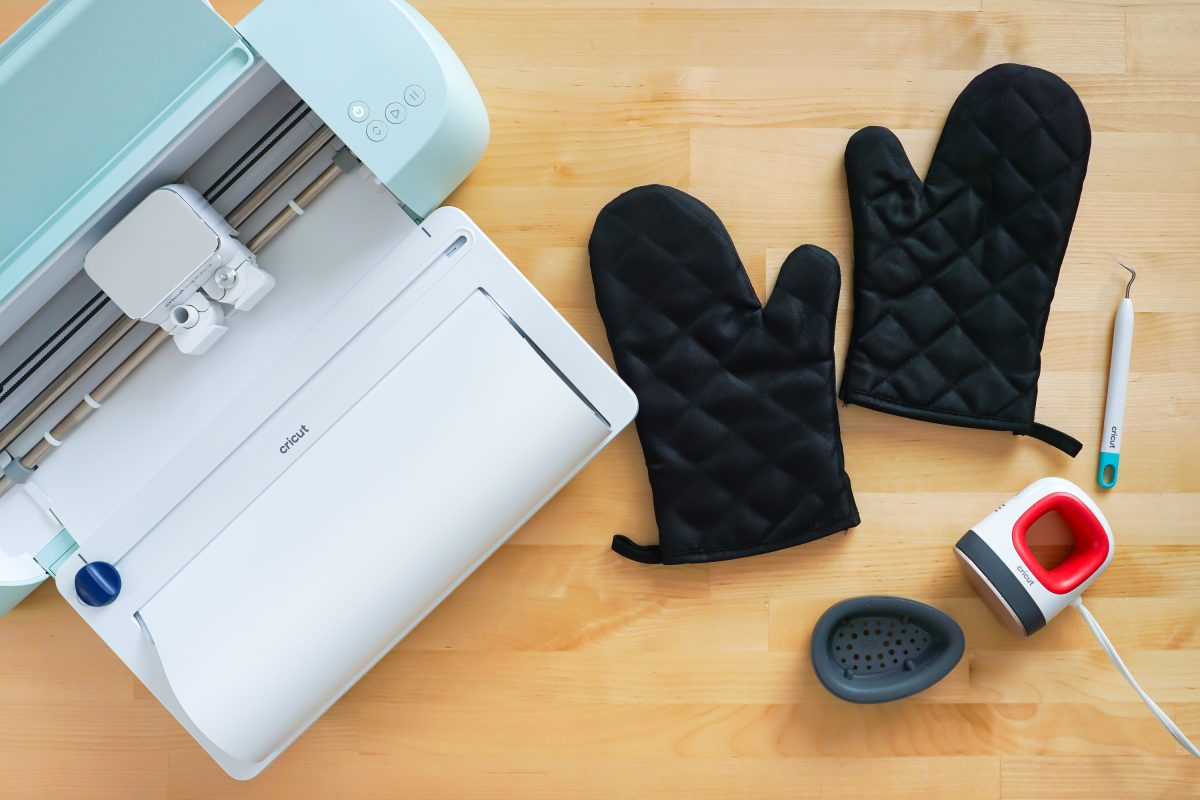
- Cricut Explore or Cricut Maker
- Blue LightGrip or Green StandardGrip mat
- Iron on vinyl
- Weeding tool
- Cricut EasyPress, Cricut EasyPress Mini, or household iron
- Pressing mat or EasyPress mat
- Black oven mitts
- Skeleton Hands SVG (See Below)
Material note: I am using my Cricut Explore 3 with Cricut Smart Iron and no Cricut mat. Learn more about matless cutting.
Get the Skeleton Hands SVG
Skeleton Oven Mitts Instructions
Upload the Skeleton Hands SVG to Cricut Design Space
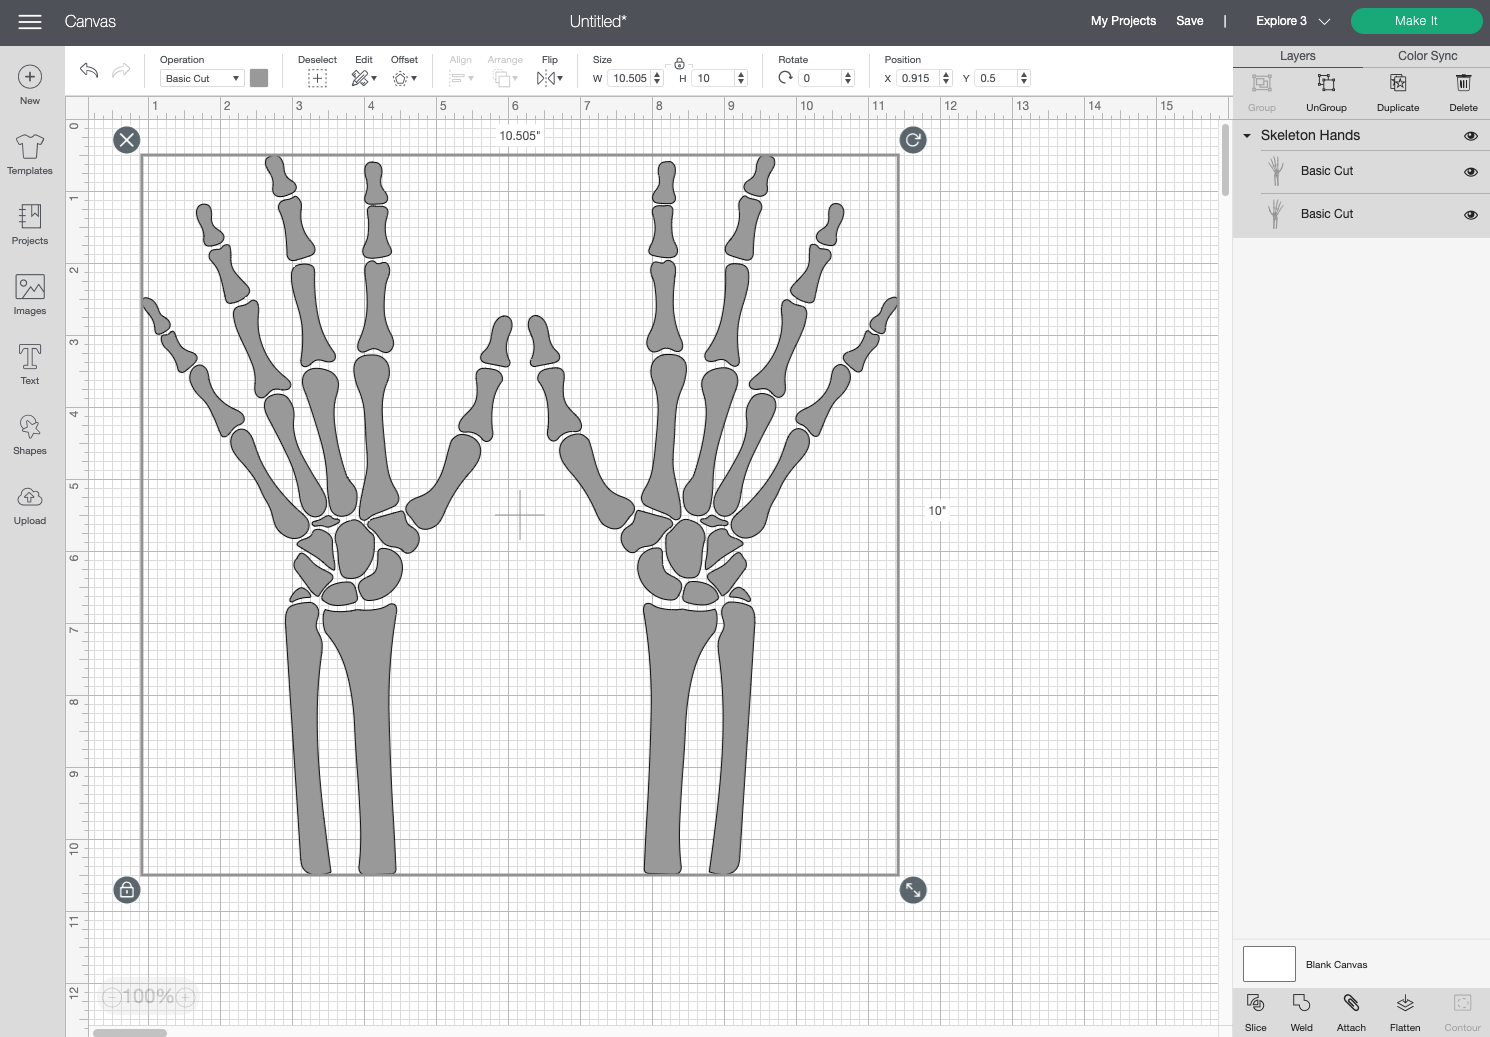
To start, upload the skeleton hands SVG file to Cricut Design Space (see Uploading SVG Files to Cricut Design Space if you need help). Resize the hands to fit on your pot holders. The file is gray, but I’ll be cutting them out of white Smart Iron On with my Cricut Explore 3.
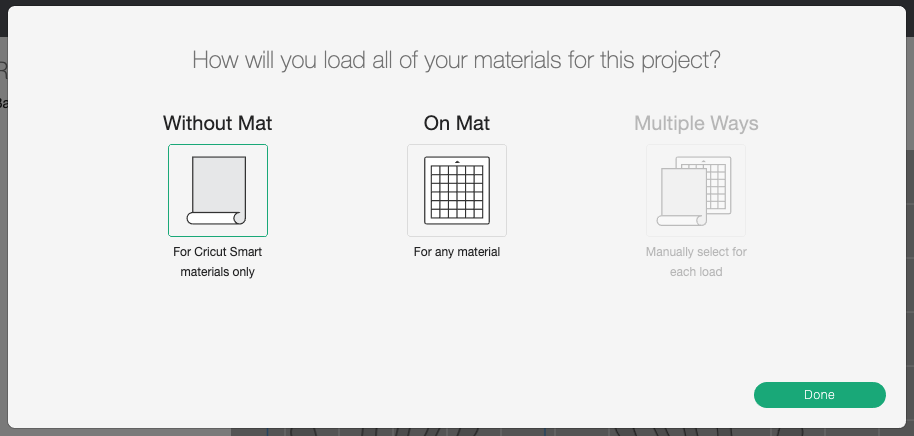
Click Make It. If you have a Cricut Maker 3 or Cricut Explore 3, you’ll see a Mat Load screen. I chose Without Mat because I’m using Smart Iron On. You could also cut on a mat. If you have an older machine, you won’t see this screen and you’ll cut your project on a mat.
In the prepare screen, Cricut Design Space laid out my two images.
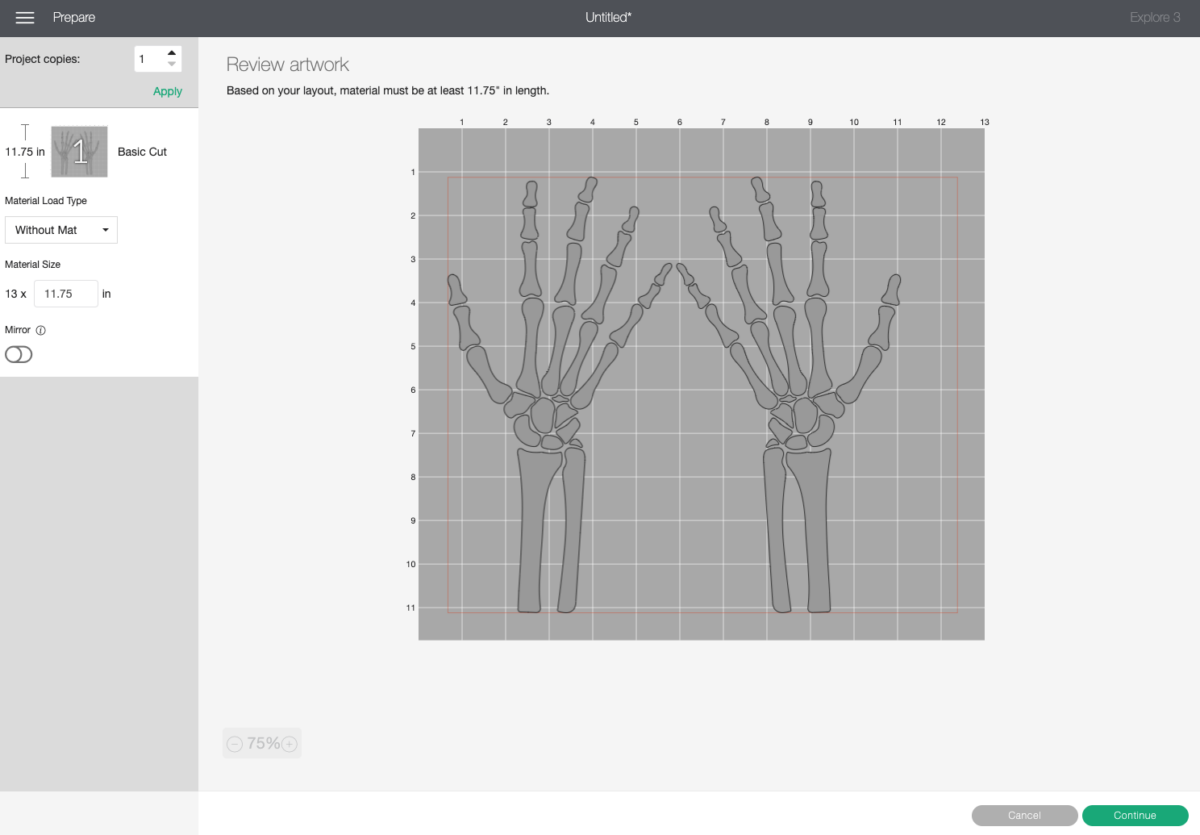
I know I can save more room, so I rotated the second hand and nested it closer to the first. Learn more about How to Fit More on a Cricut Mat and Save Material.
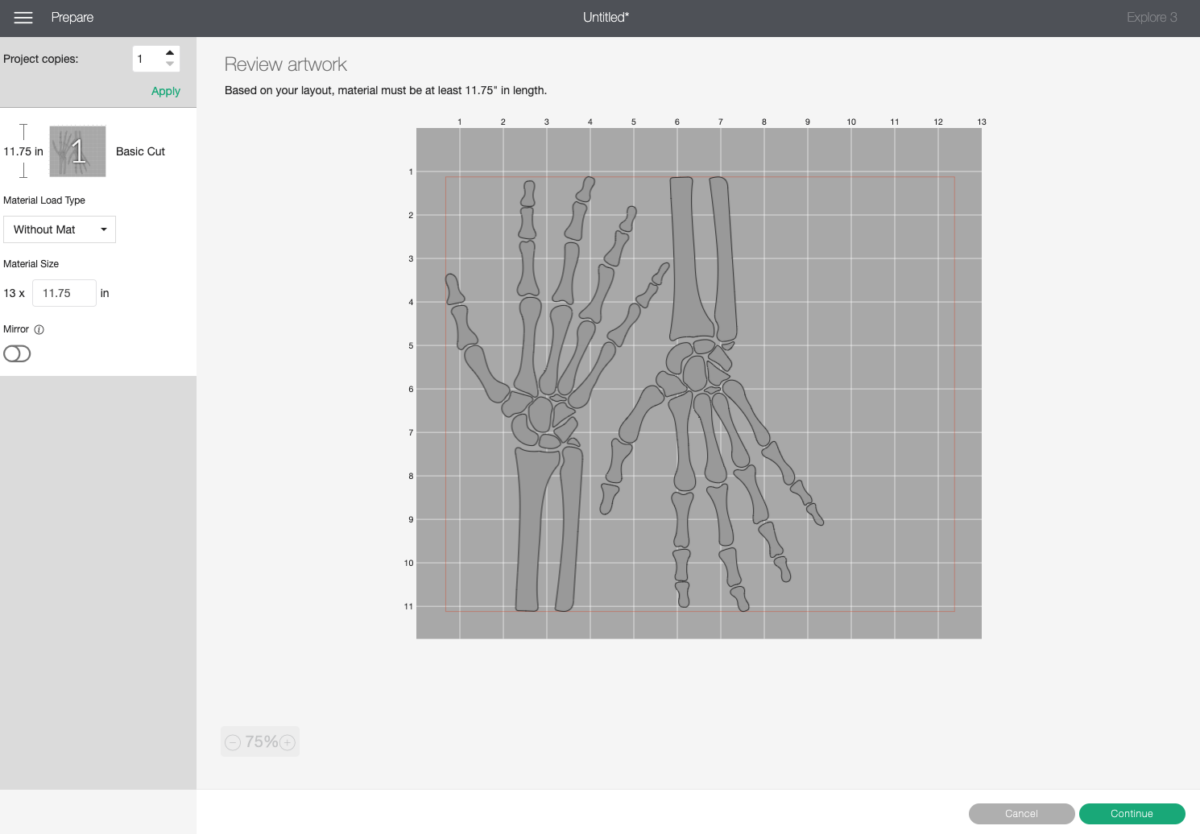
Then click continue.
Cut Your Iron On Vinyl For Your Skeleton Oven Mitts
On the Make Screen, you’ll set your material. I used Smart Iron On but you may be cutting regular Everyday Iron On or another material. Make sure you have your fine point blade in your machine, insert your mat, and your Cricut will cut your project!
Weed Your Iron On Vinyl
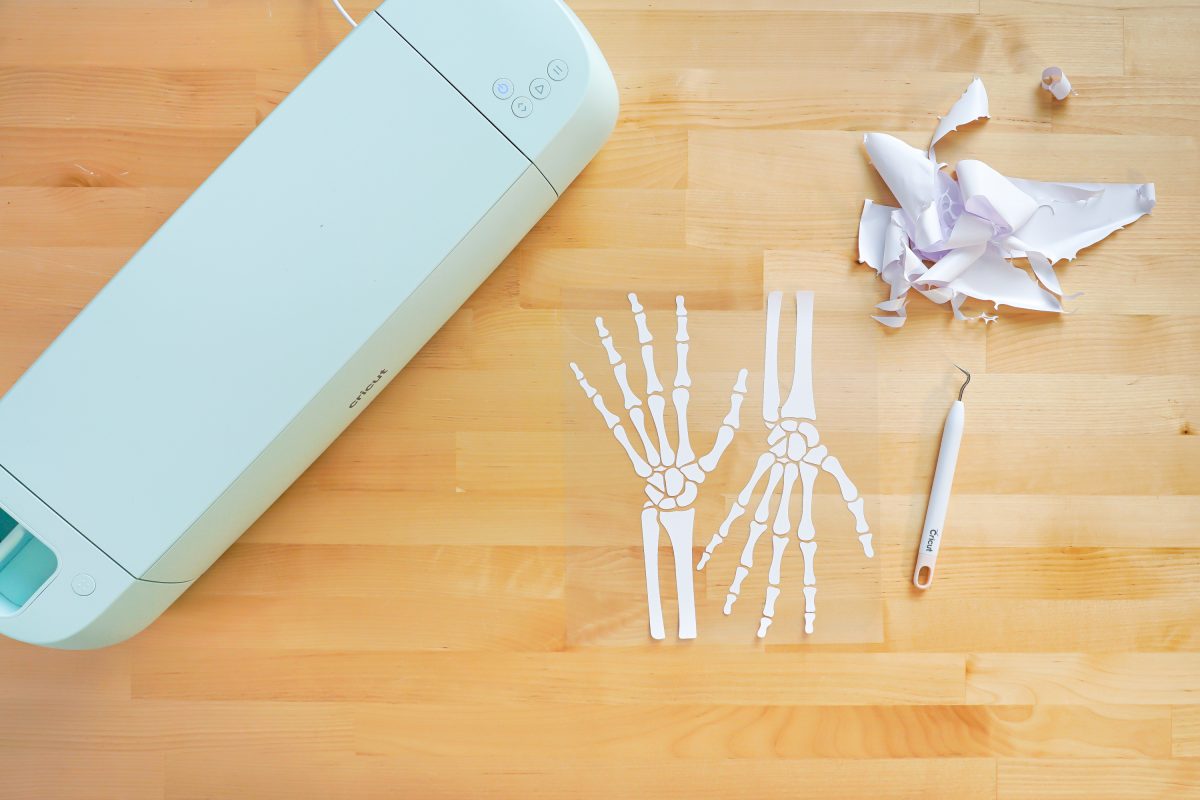
Next we’re going to “weed” the negative space from around our hands. I have an extensive post about Weeding Iron On Vinyl, which you’ll want to read—tons of tips and tricks to making it easier.
Adhere Your Iron On Vinyl
Now we are going to adhere our iron on vinyl to the oven mitts. Place your image onto the oven mitt, so it fits like a hand would.
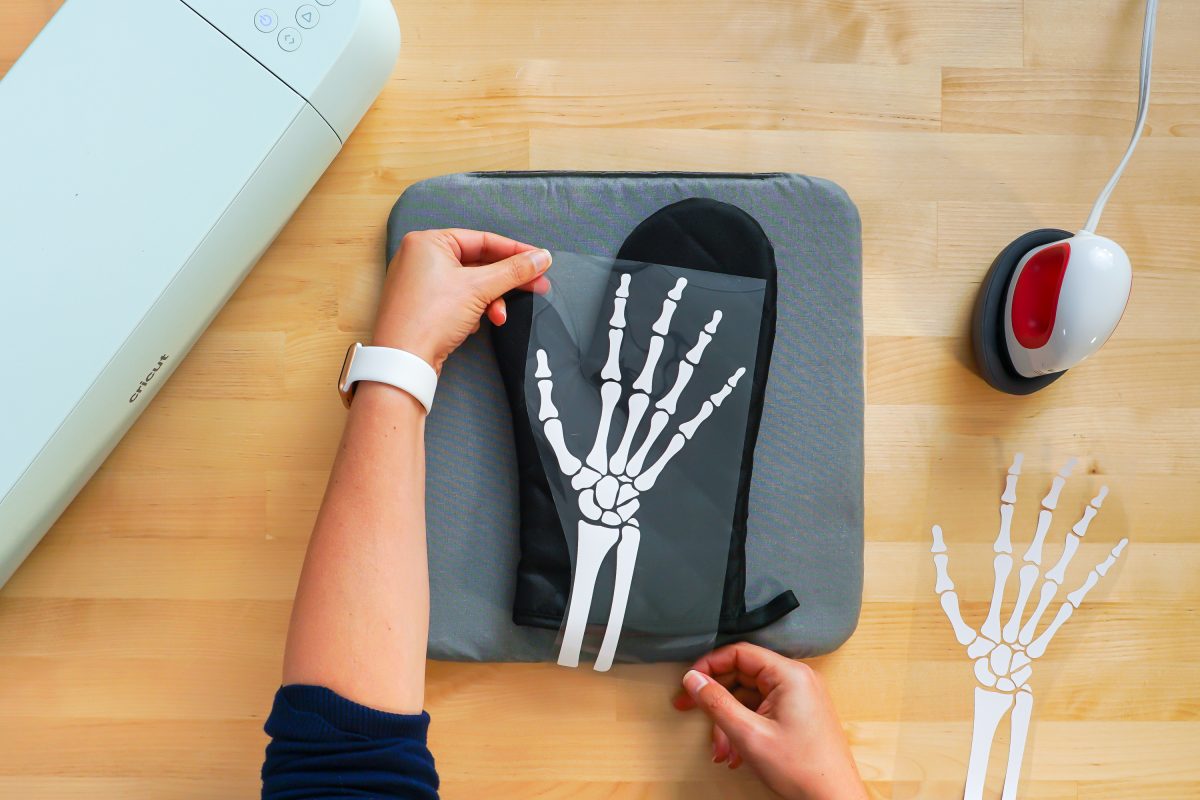
If needed, trim a little bit of the bones off the bottom.
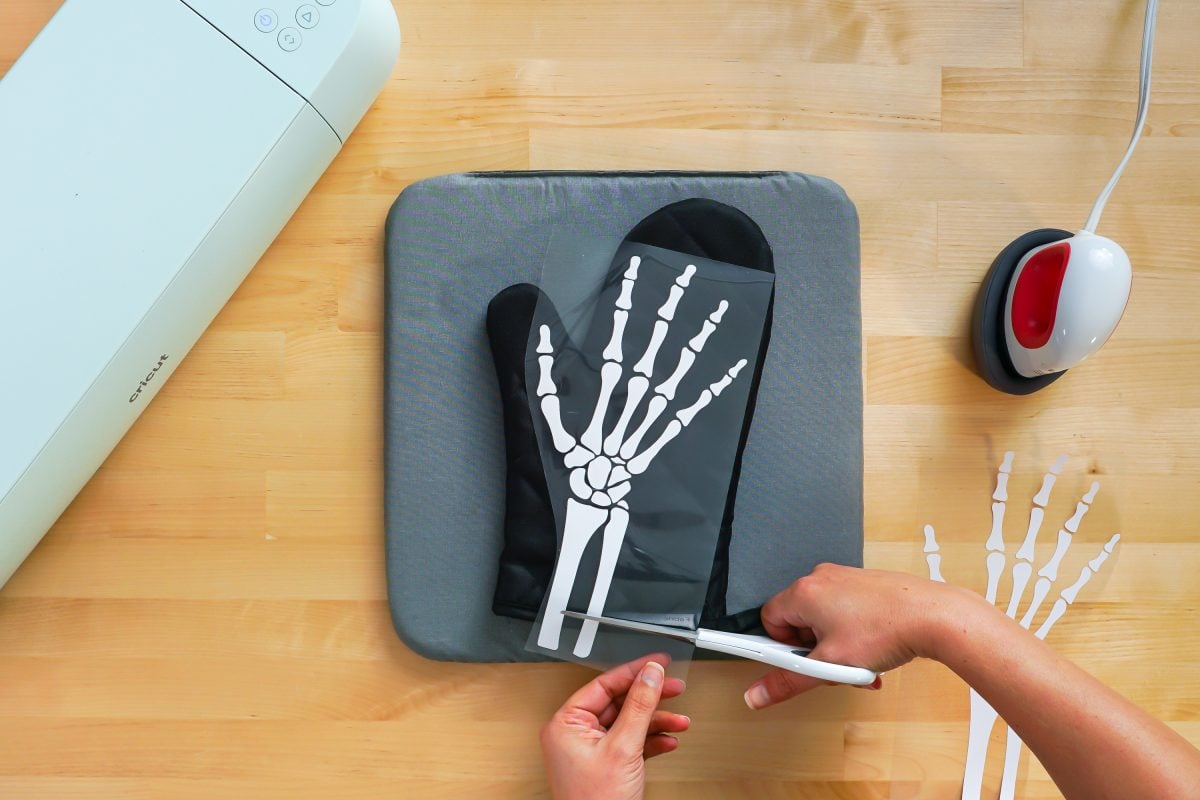
Use your EasyPress or Iron to adhere the iron on vinyl to the pot holder, pressing it well to get it into that quilting. Learn more about Using Iron On Vinyl.
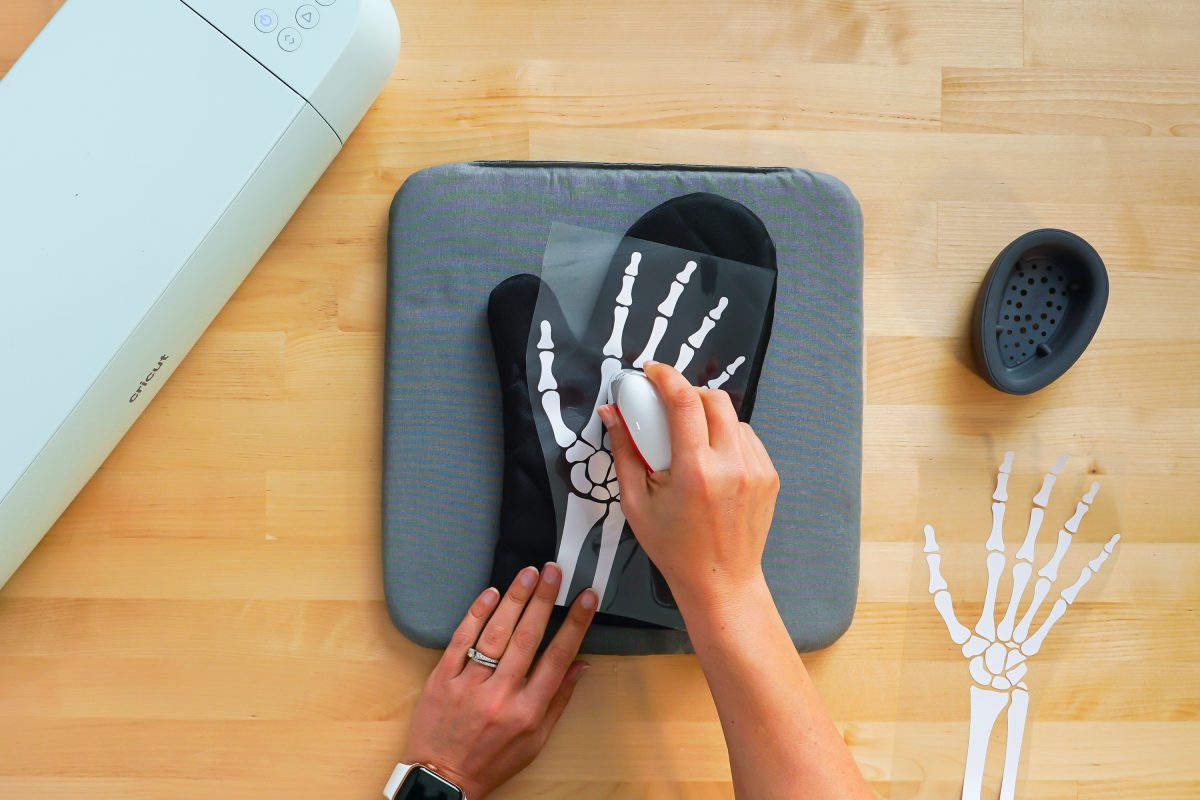
Carefully peel back the carrier sheet, making sure the iron on vinyl is adhered. If you notice that your iron on vinyl hasn’t adhered well in the dips of the quilting, cover with a piece of cotton fabric and iron again until adhered. I find pressing with my fingers once it’s cooled a bit helps as well.
That’s it! When you use the pot holders, keep the skeletons on the backs of your hands so they aren’t coming into contact with your hot dish or pan. That will keep the iron on looking new!
Love this project? Check out my round up of Halloween Crafts and Projects with the Cricut!


Leave A Reply!