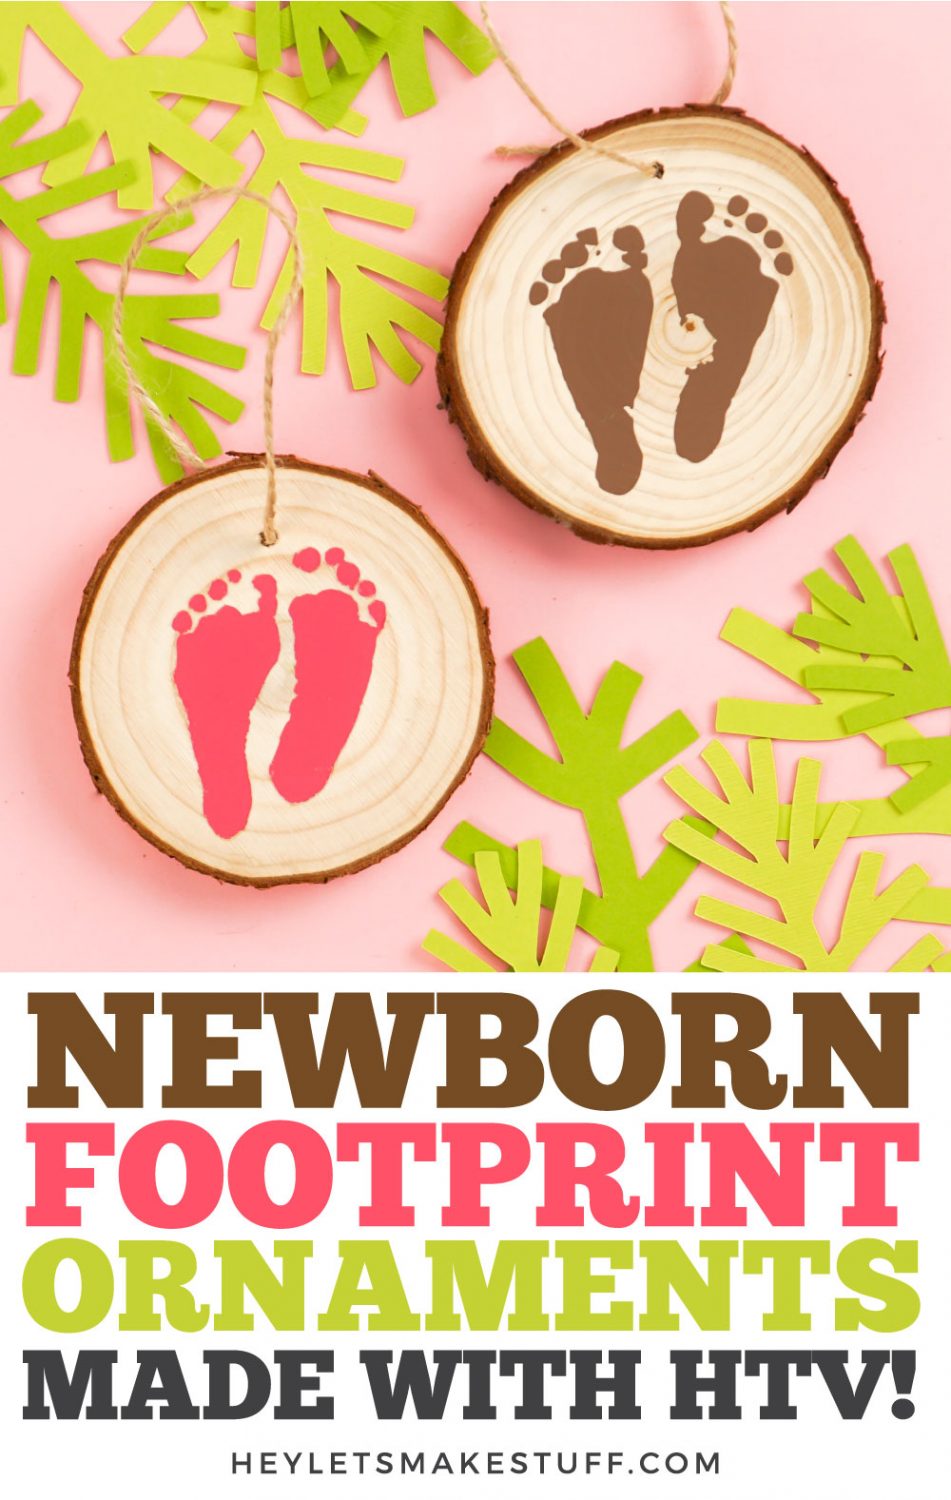
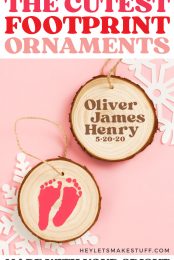
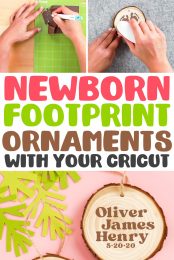
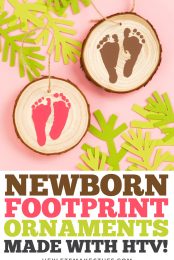
Use your Cricut Explore, Cricut Maker, or Cricut Joy to easily cut your newborn’s footprints out of iron on vinyl (HTV) and make sweet keepsake footprint ornaments.
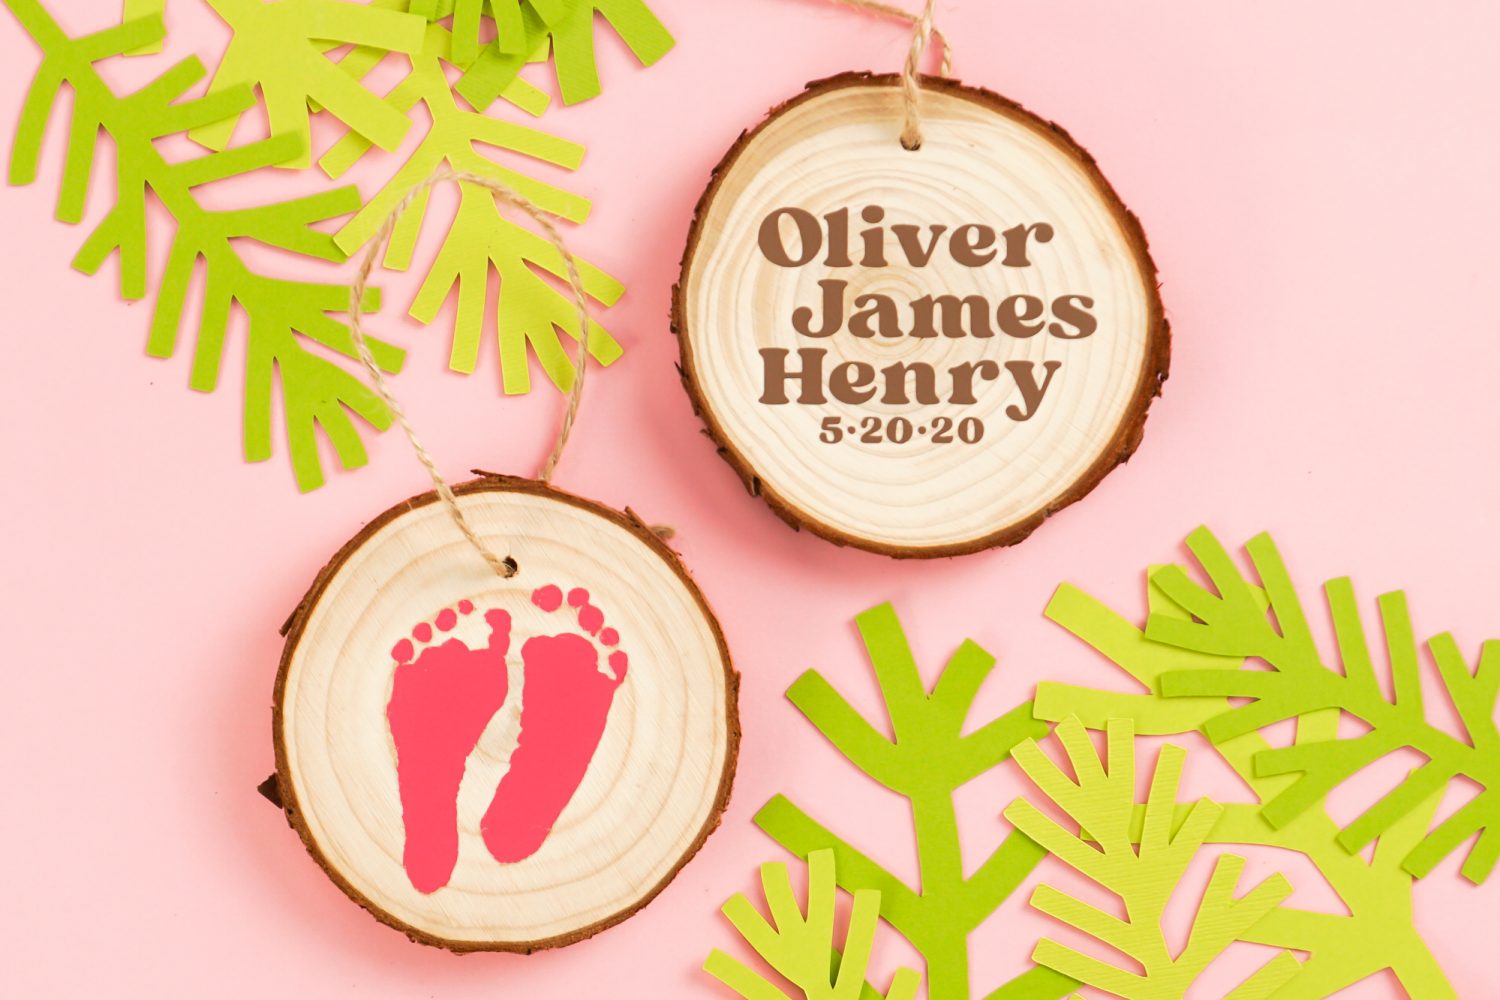
Today is Day 19 of the 25 Days of Cricut Christmas! We crafted ornaments back on Day 12, and we’re at it again today for these newborn footprint ornaments. These are a beautiful reminder of your little one’s first moments, and make a great gift for new parents.
If you’d like to get this series in an ebook format PLUS all of the SVGs needed to make all 25 projects check out the 25 Days of Cricut Christmas eBook Bundle!
I’m actually heading into my own archives today for this post. When I originally made these newborn footprint ornaments a few years ago using my actual boys’ footprints, I used adhesive vinyl. Over the years, the adhesive vinyl has started to peel off the wood ornament.
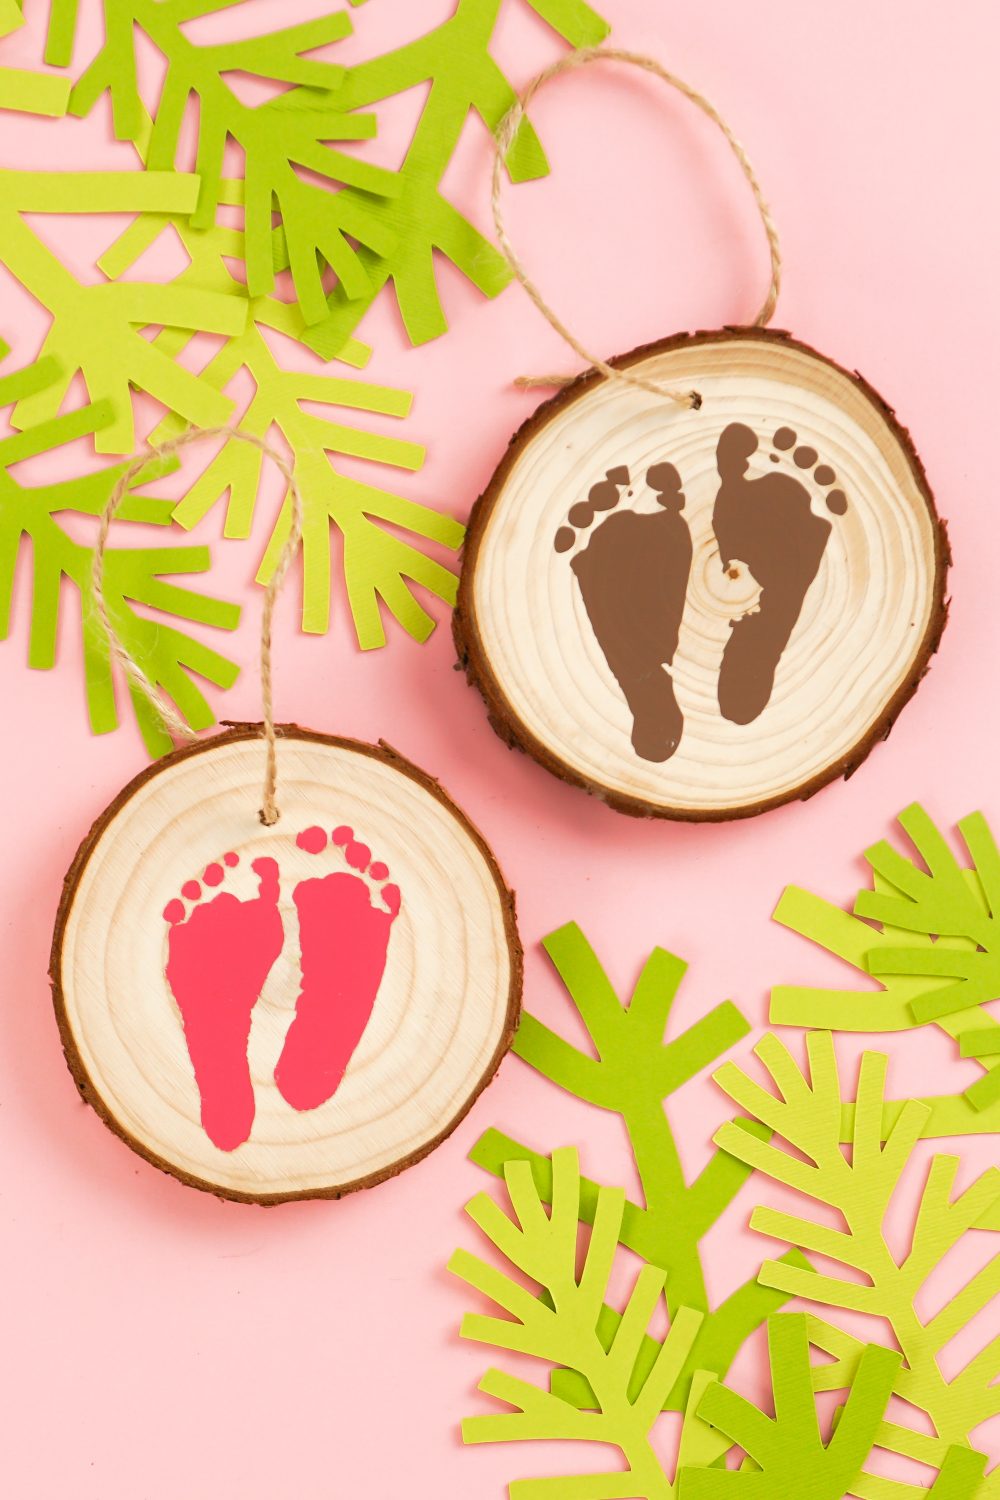
Since then, I’ve started using iron on vinyl on wood—it lasts much longer. In fact, I have several projects using iron on vinyl on wood and none of them have peeled so far. So let’s remake these newborn footprint ornaments with iron on vinyl! I did the original in brown iron on, but this time I’ve also created a pink version so you could see the possibilities with color!
Newborn Footprint Ornament Supplies
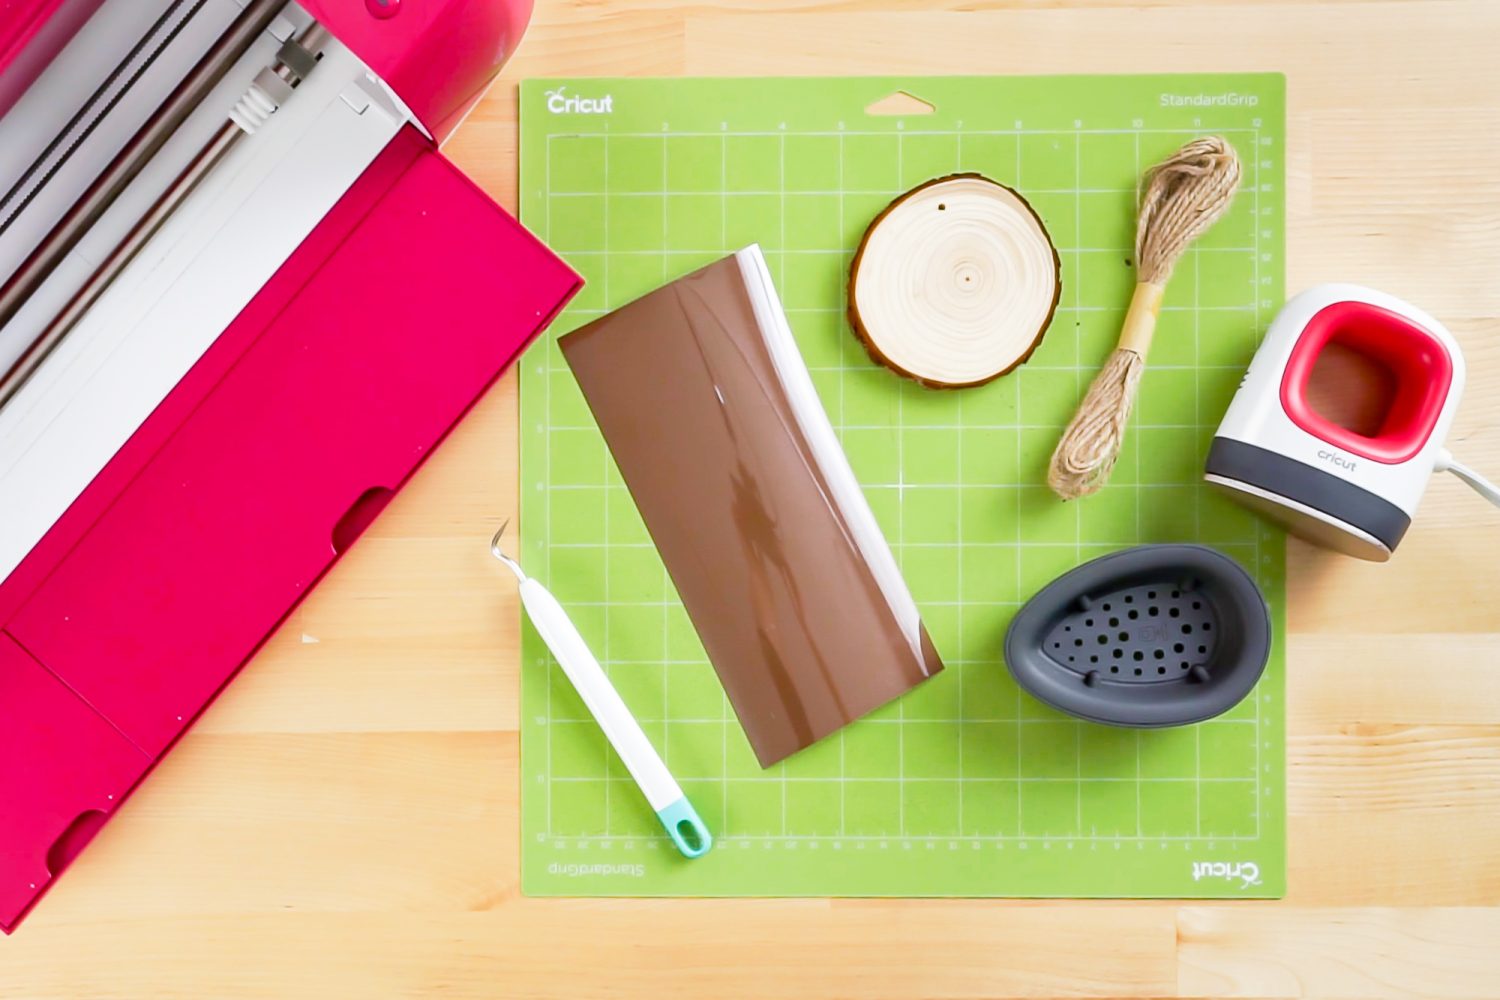
- Cricut Explore, Cricut Joy, or Cricut Maker
- Blue LightGrip or Green StandardGrip mat
- Iron on vinyl
- Weeding tool
- Cricut EasyPress Mini, or mini iron
- Pressing mat or EasyPress mat
- Wood slice ornaments
- Photo of your newborn’s footprints
Newborn Footprint Ornament Instructions
Take a Photo of Your Newborn Footprints
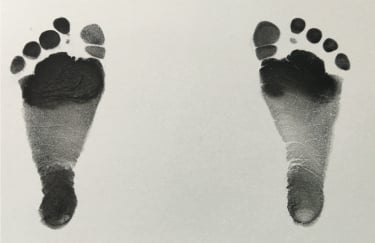
Start by taking a photograph of your baby’s footprints. A phone photo should be fine, as long as it’s bright and clear. These are one of my twin’s footprints—he weighed just 3lbs 11oz when was born! Itty bitty.
If you use a desktop computer, email that photo to yourself so you can access it on your computer. If it’s a HEIC file (newer iPhones use this file format), use this converter to change to a JPG.
Create the Cut File in Cricut Design Space
Open the Cricut Design Space and create a new project. Click Upload Image on the left. Cricut Design Space will ask you what type of image it is. Choose Simple Image.
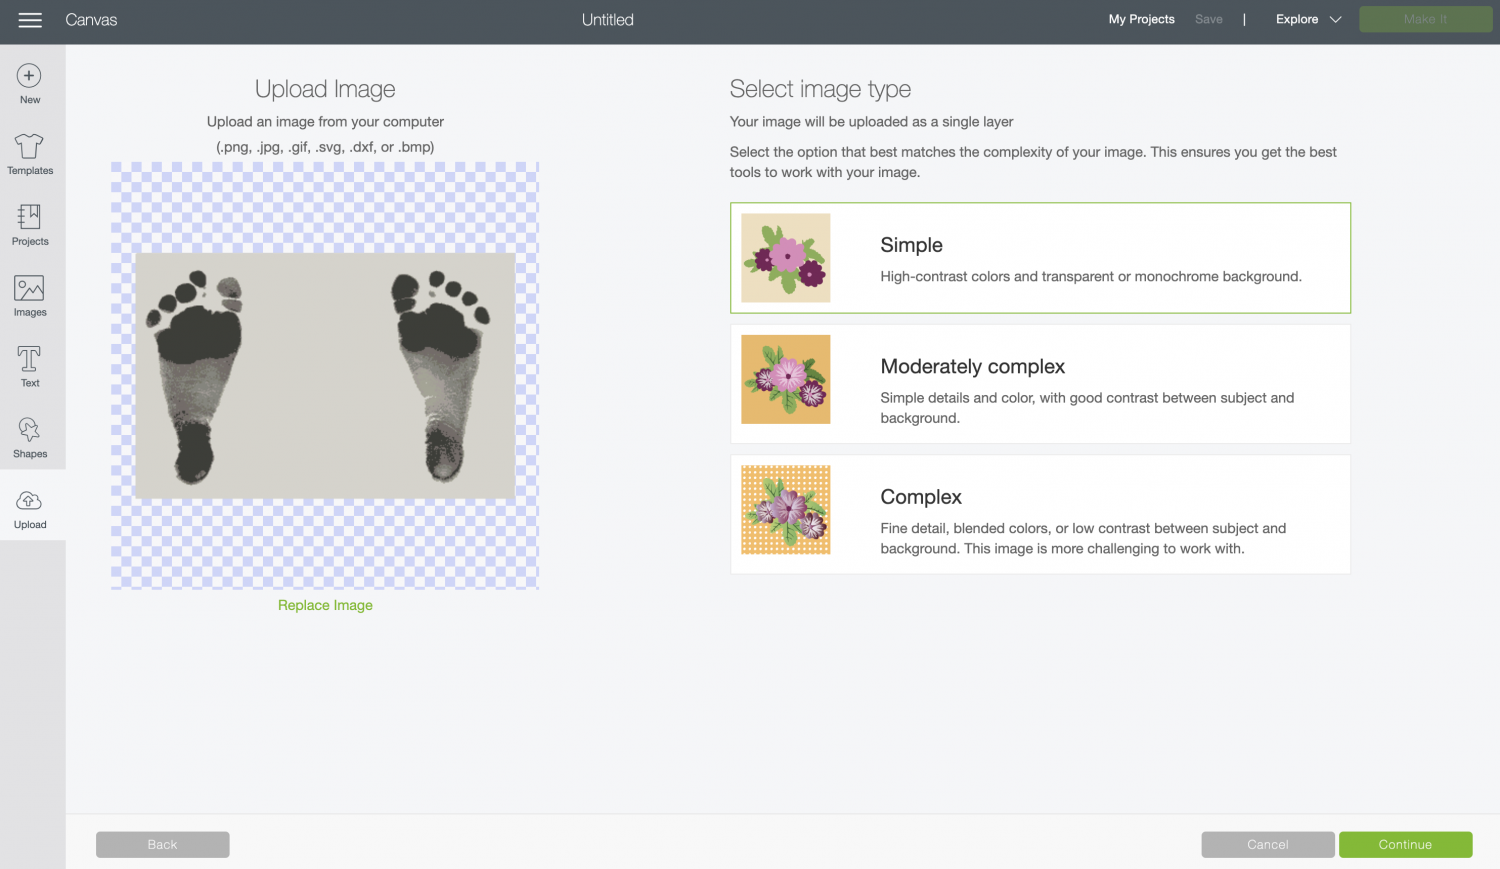
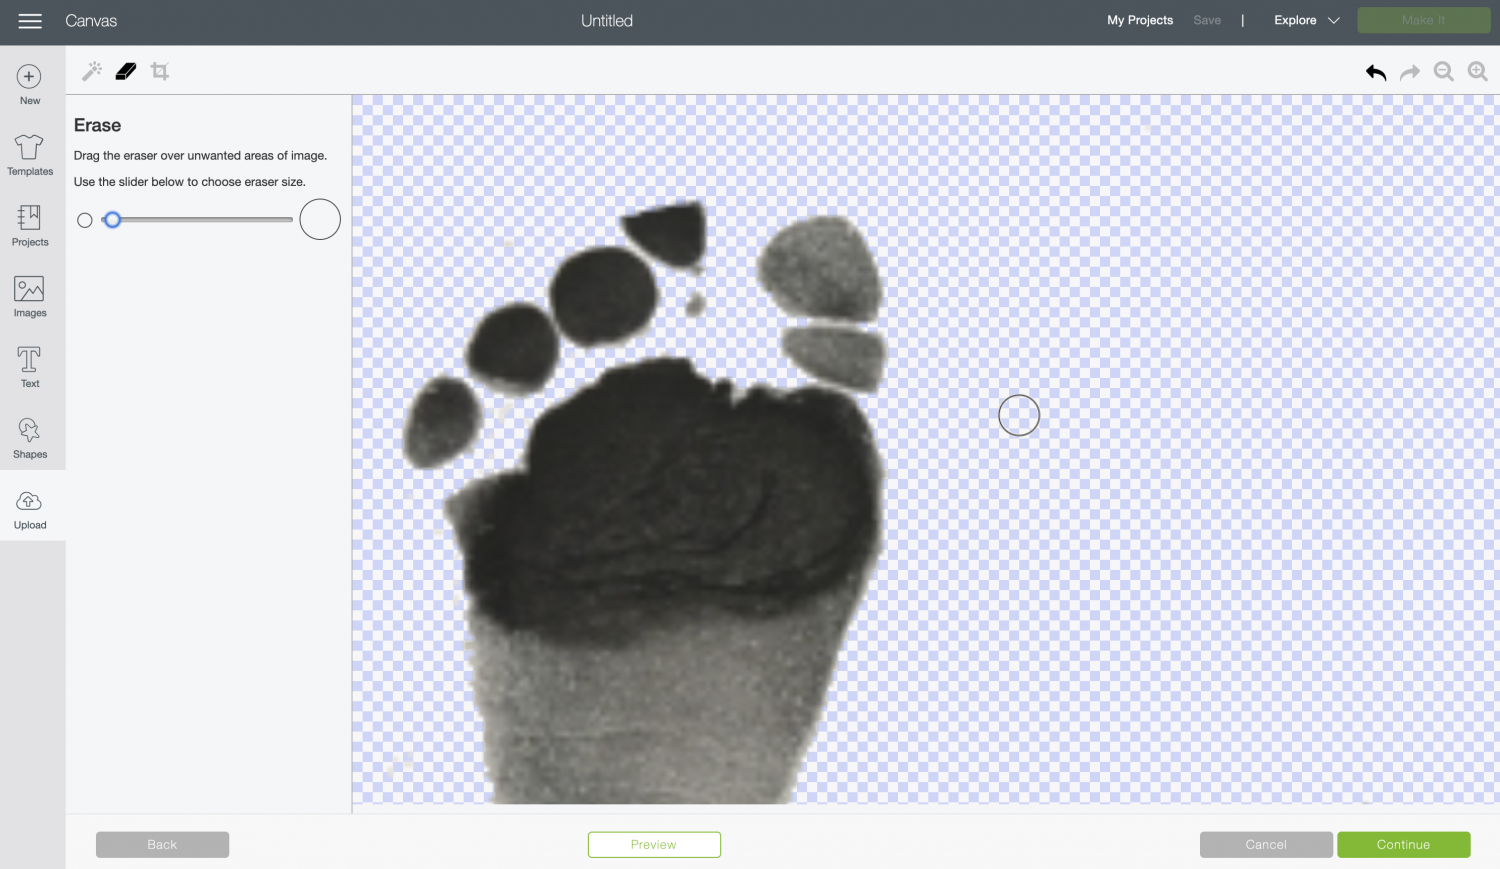
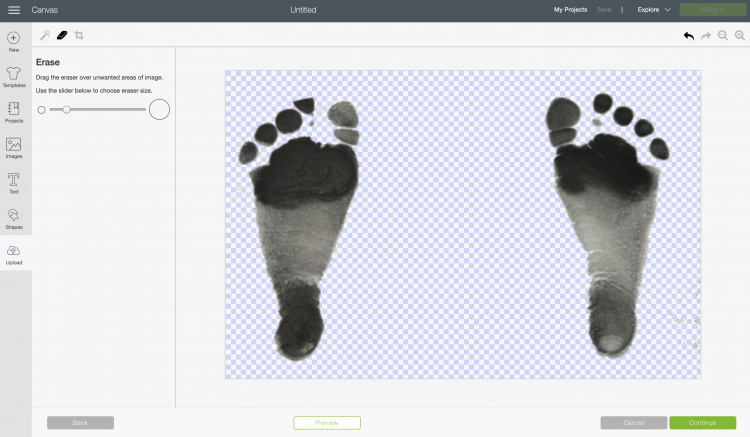
In the next screen, you can use the tools to erase the background of the footprints (zoom in on the bottom left if needed).
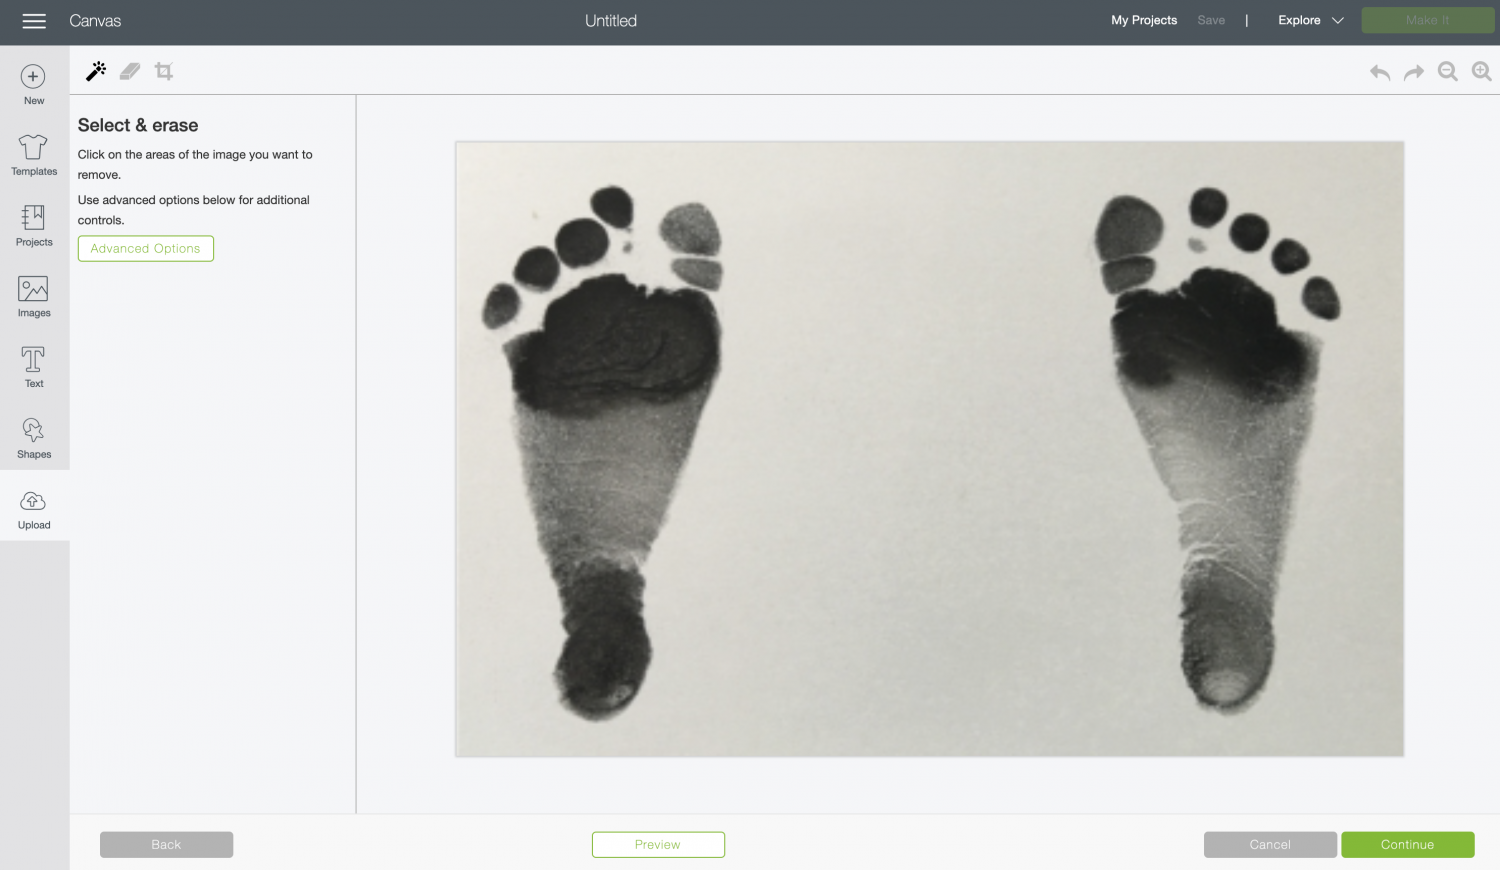
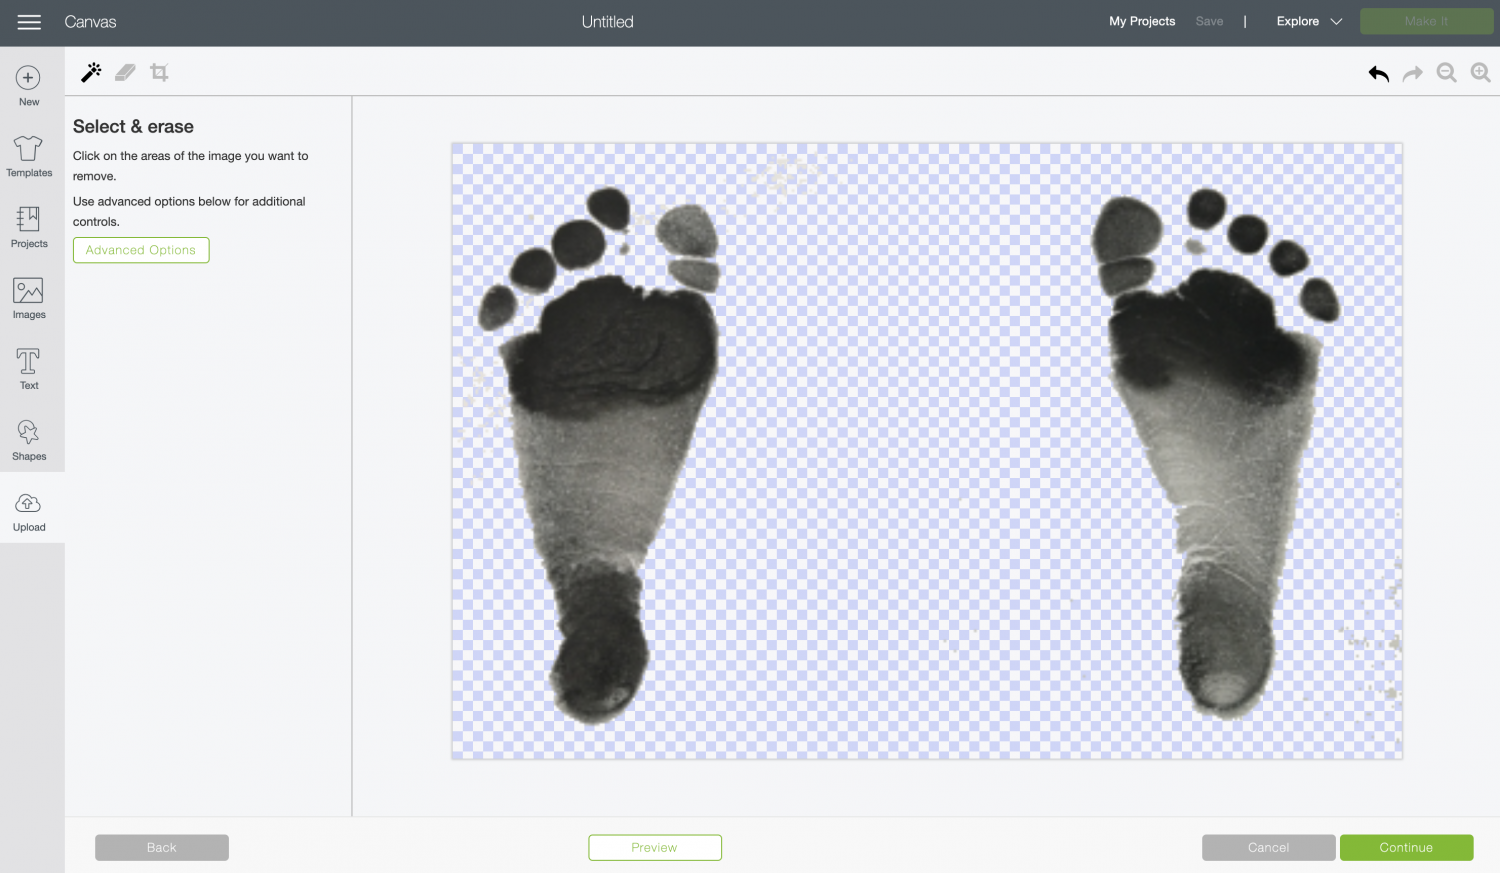
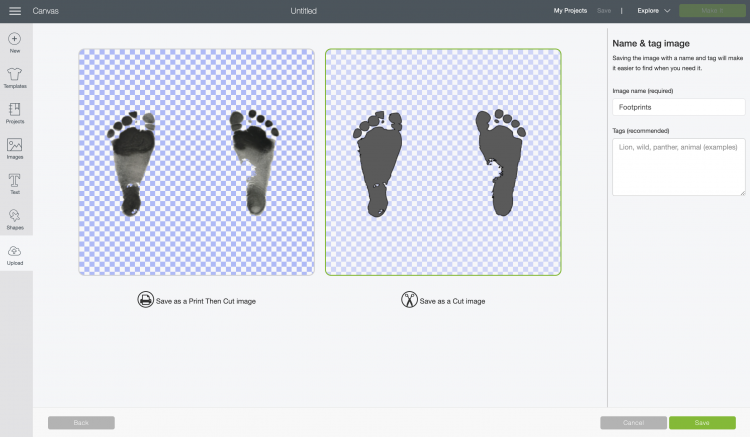
That should erase most of the background, but there still might be other small parts you want to delete. Click on Preview at the bottom and you’ll get a clearer picture of what still exists in your image.
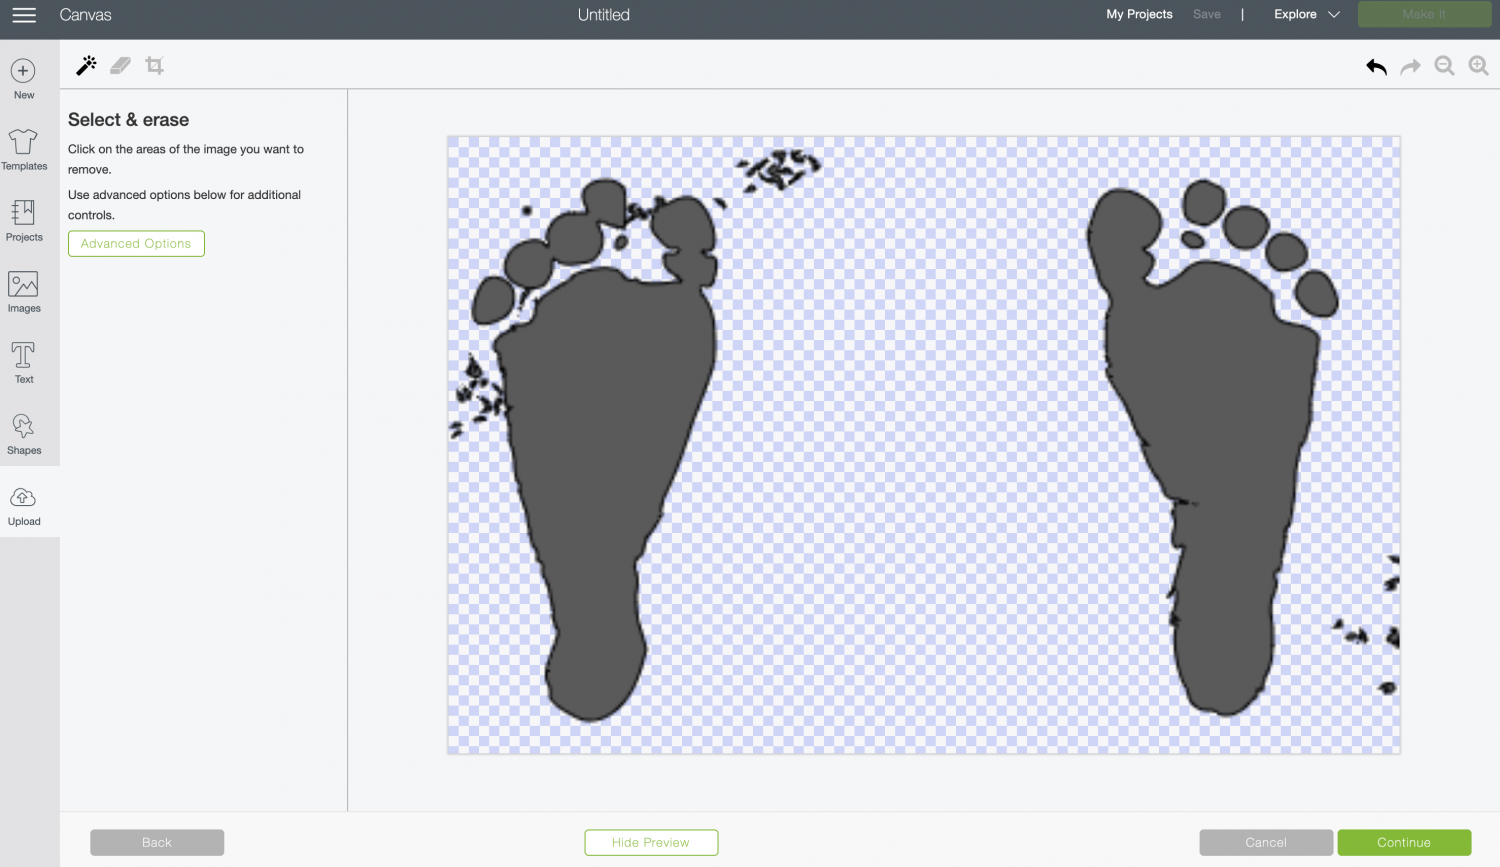
Woah! Lots of things you may not have noticed in the first view. You can use the eraser (the second tab of tools in the top left) to further remove anything you don’t want. Zoom in if needed.
Check the Preview again, and if it’s good to go, click Continue. In the next screen, you’ll choose “Save as a Cut Image.”
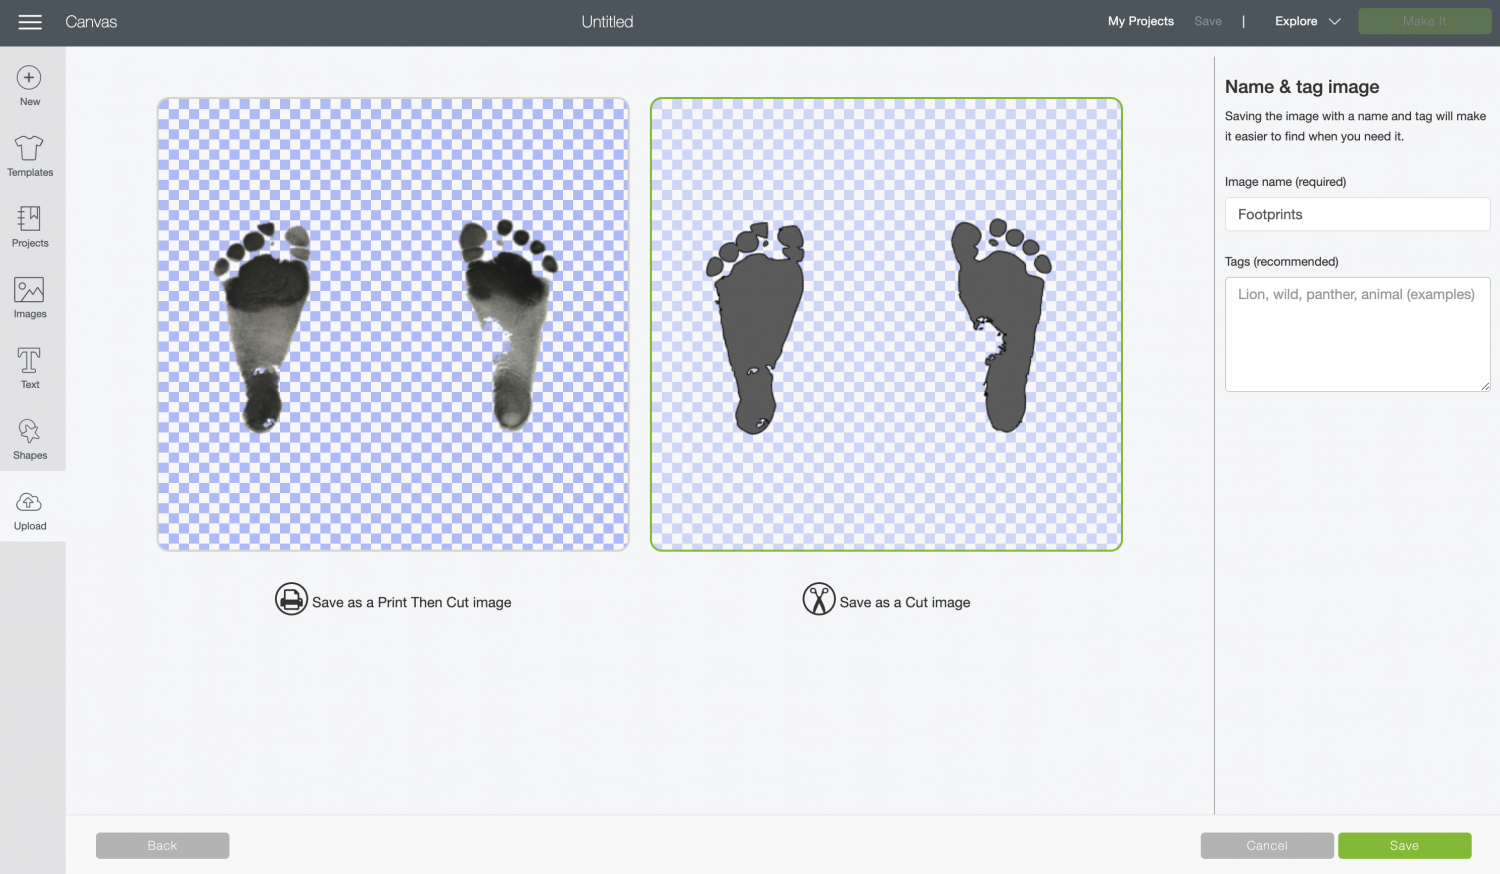
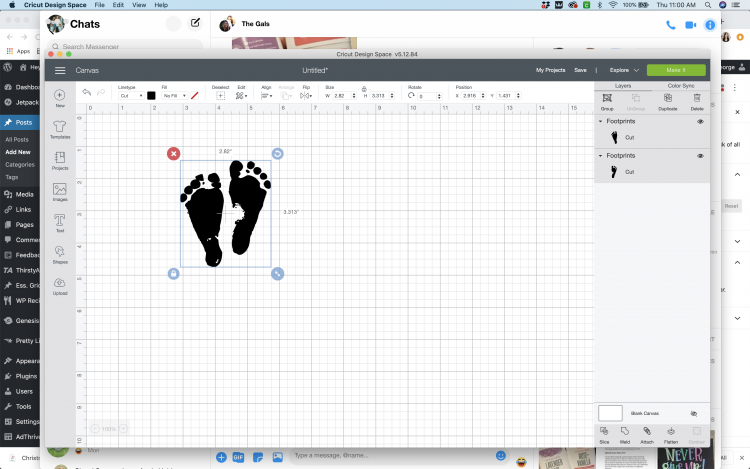
Then you can insert that cut image into your Canvas.
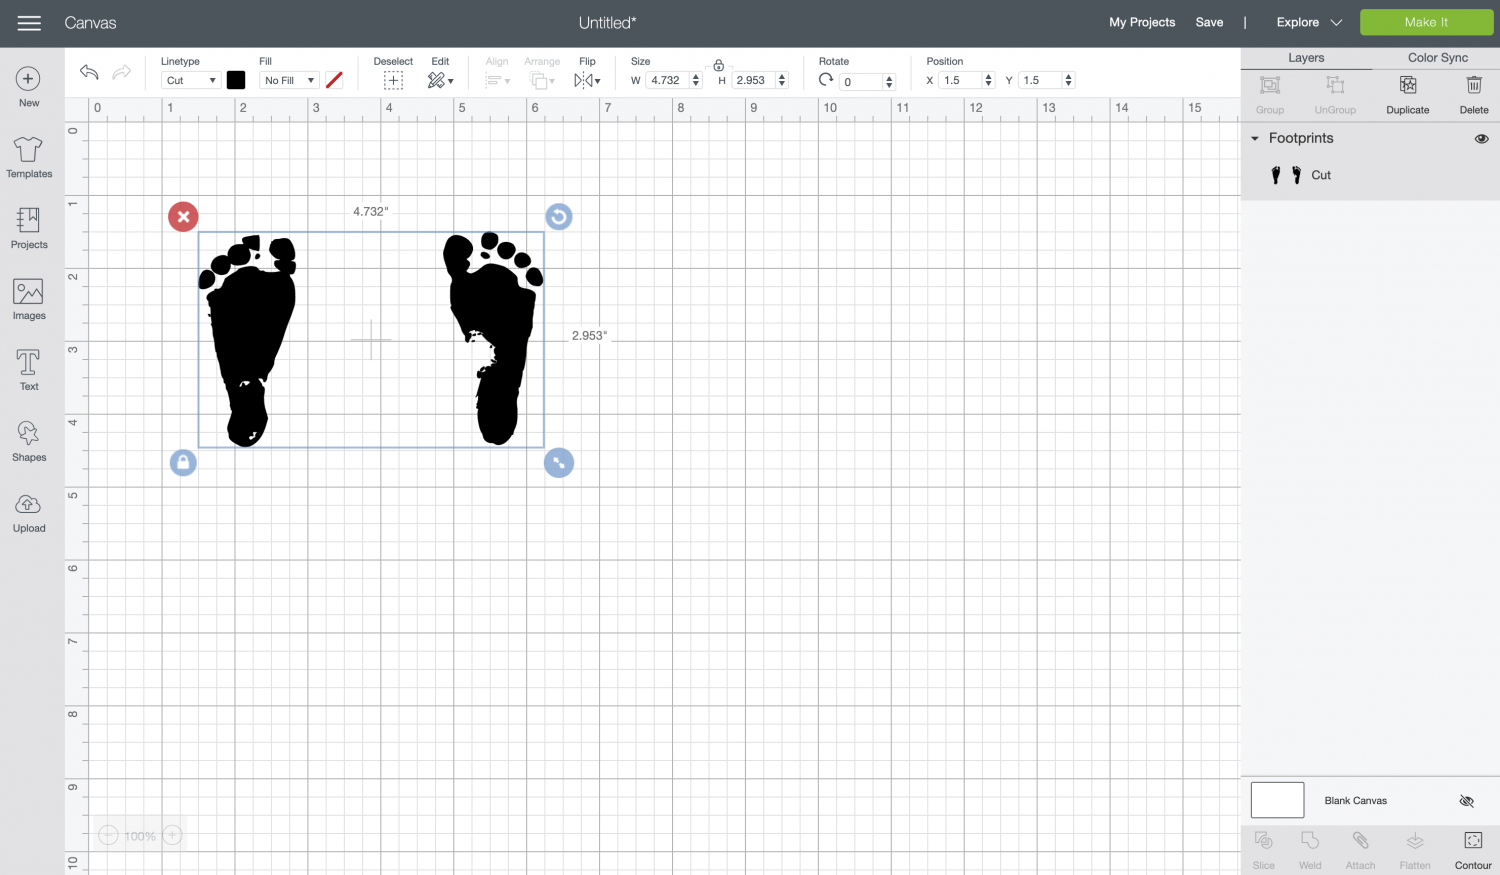
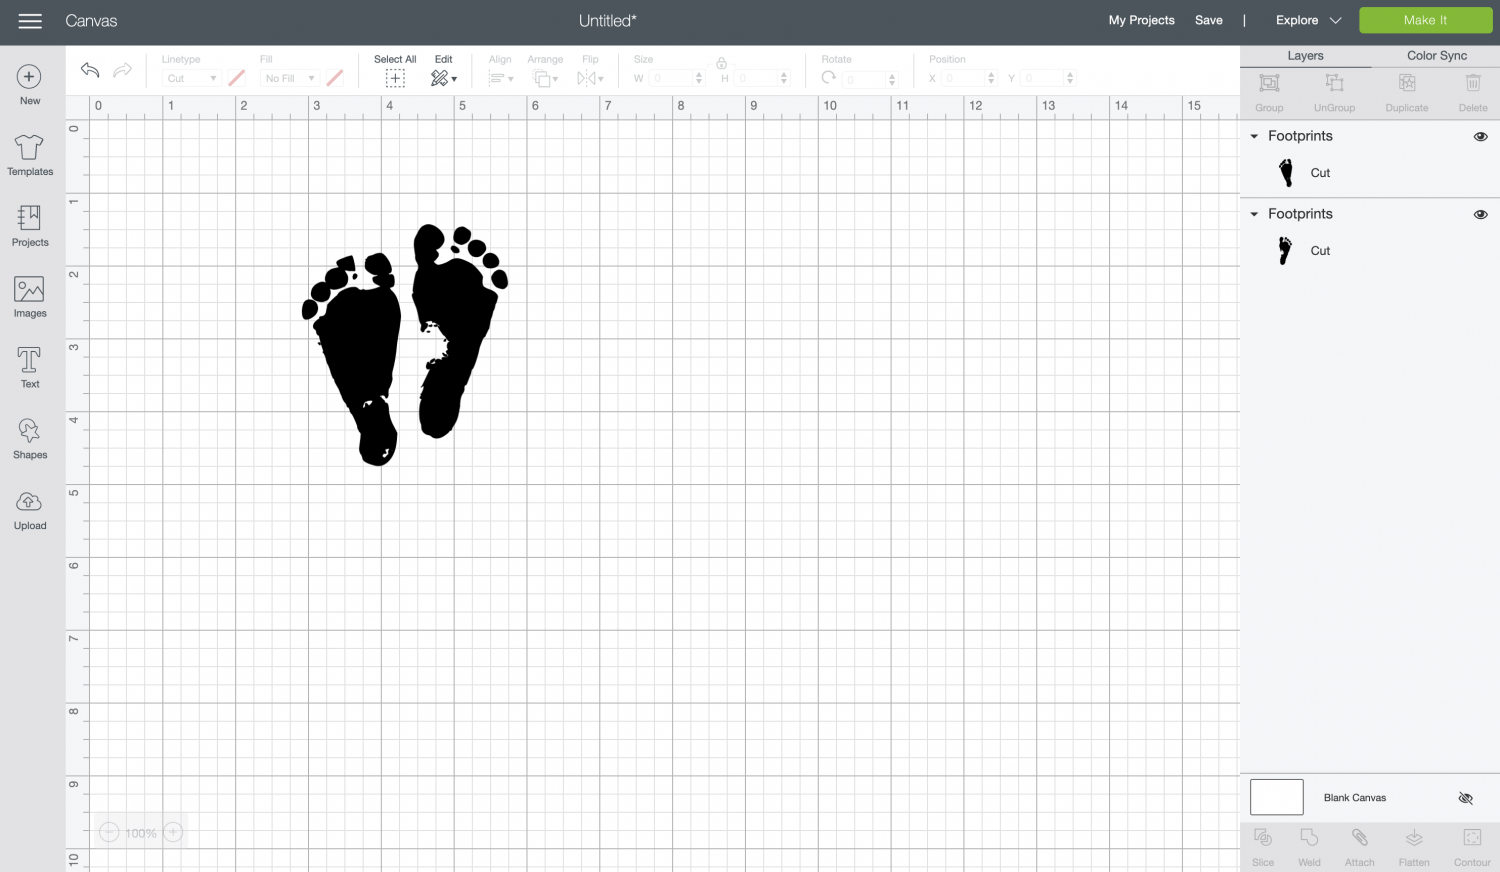
From here, you’ll want to create a copy of the footprints. Then use the Contour tool in the bottom right to hide the left foot from one copy, and the right foot from the other. (Read more about Contouring in Cricut Design Space.)
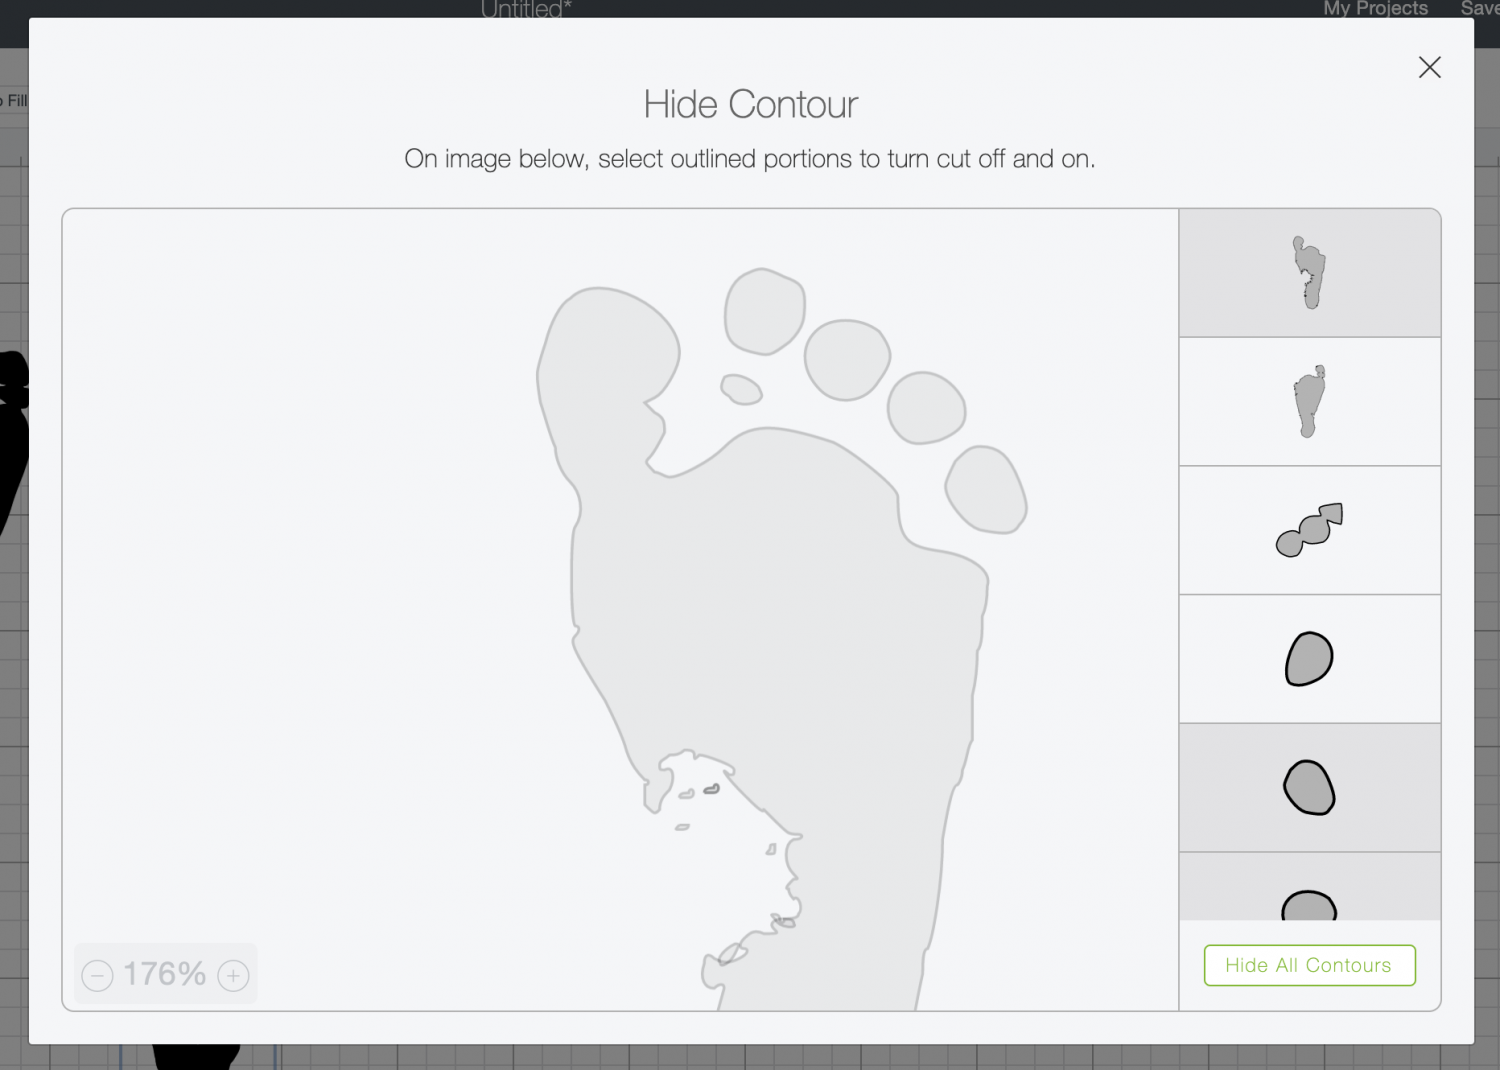
This will give you two separate footprints that you can then position to better fit on an ornament. Rotate them slightly and nest them together.
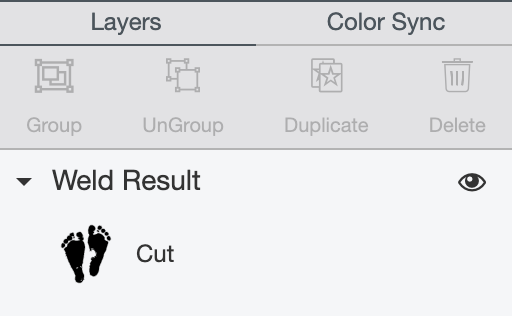
Select both feet and click “Weld” to make it a single cut image.
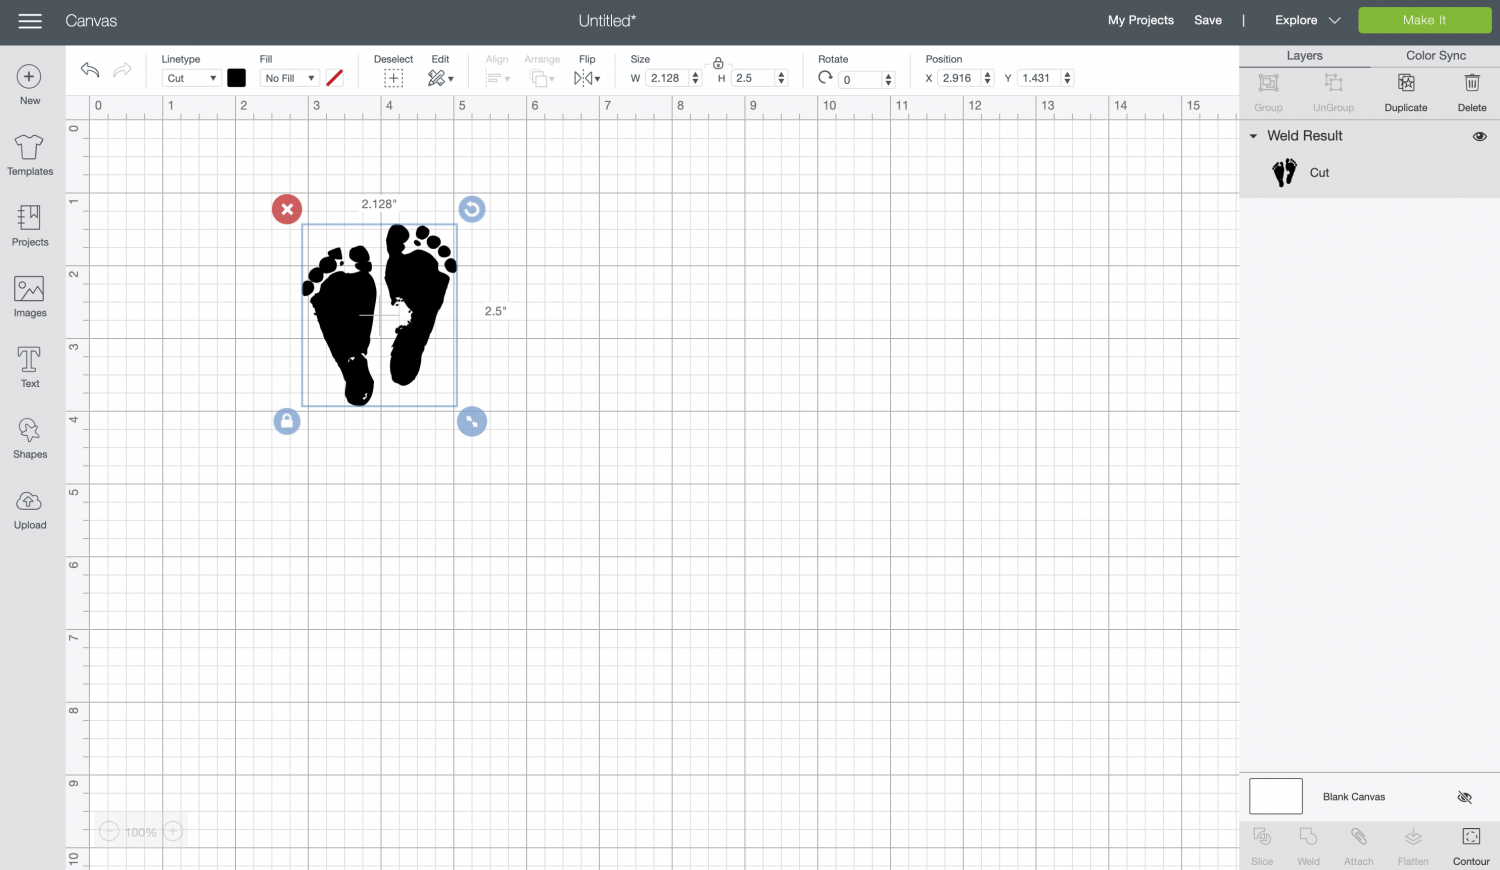
Then measure your ornaments and resize your footprints so they will fit.
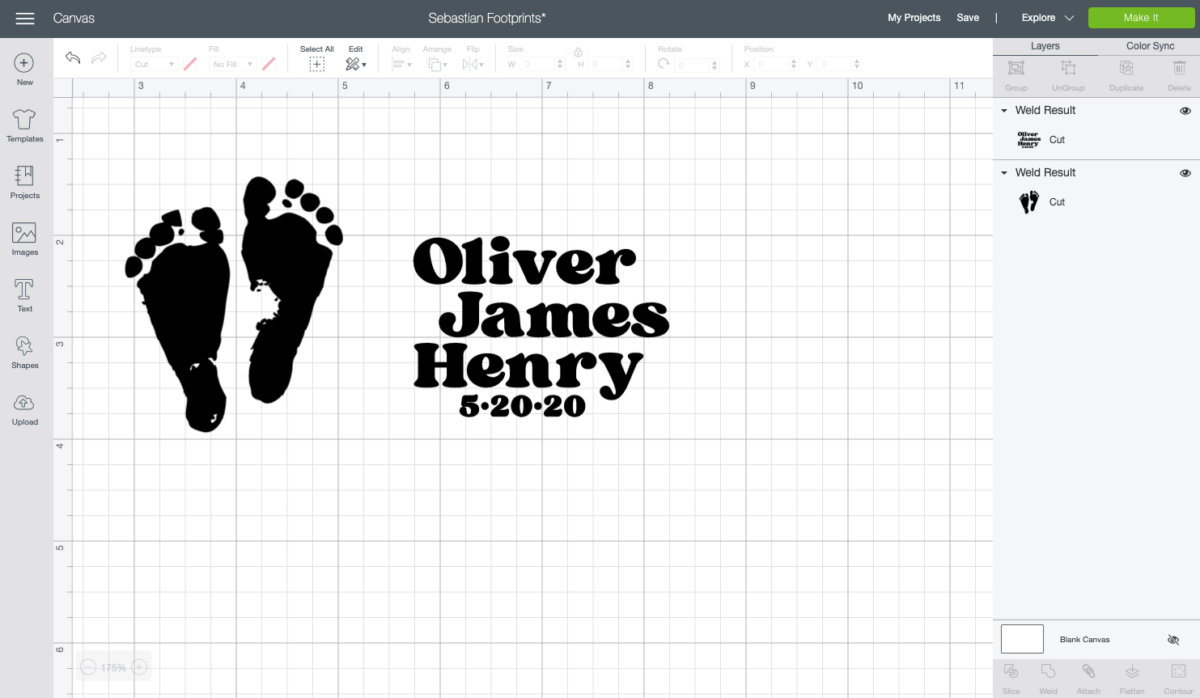
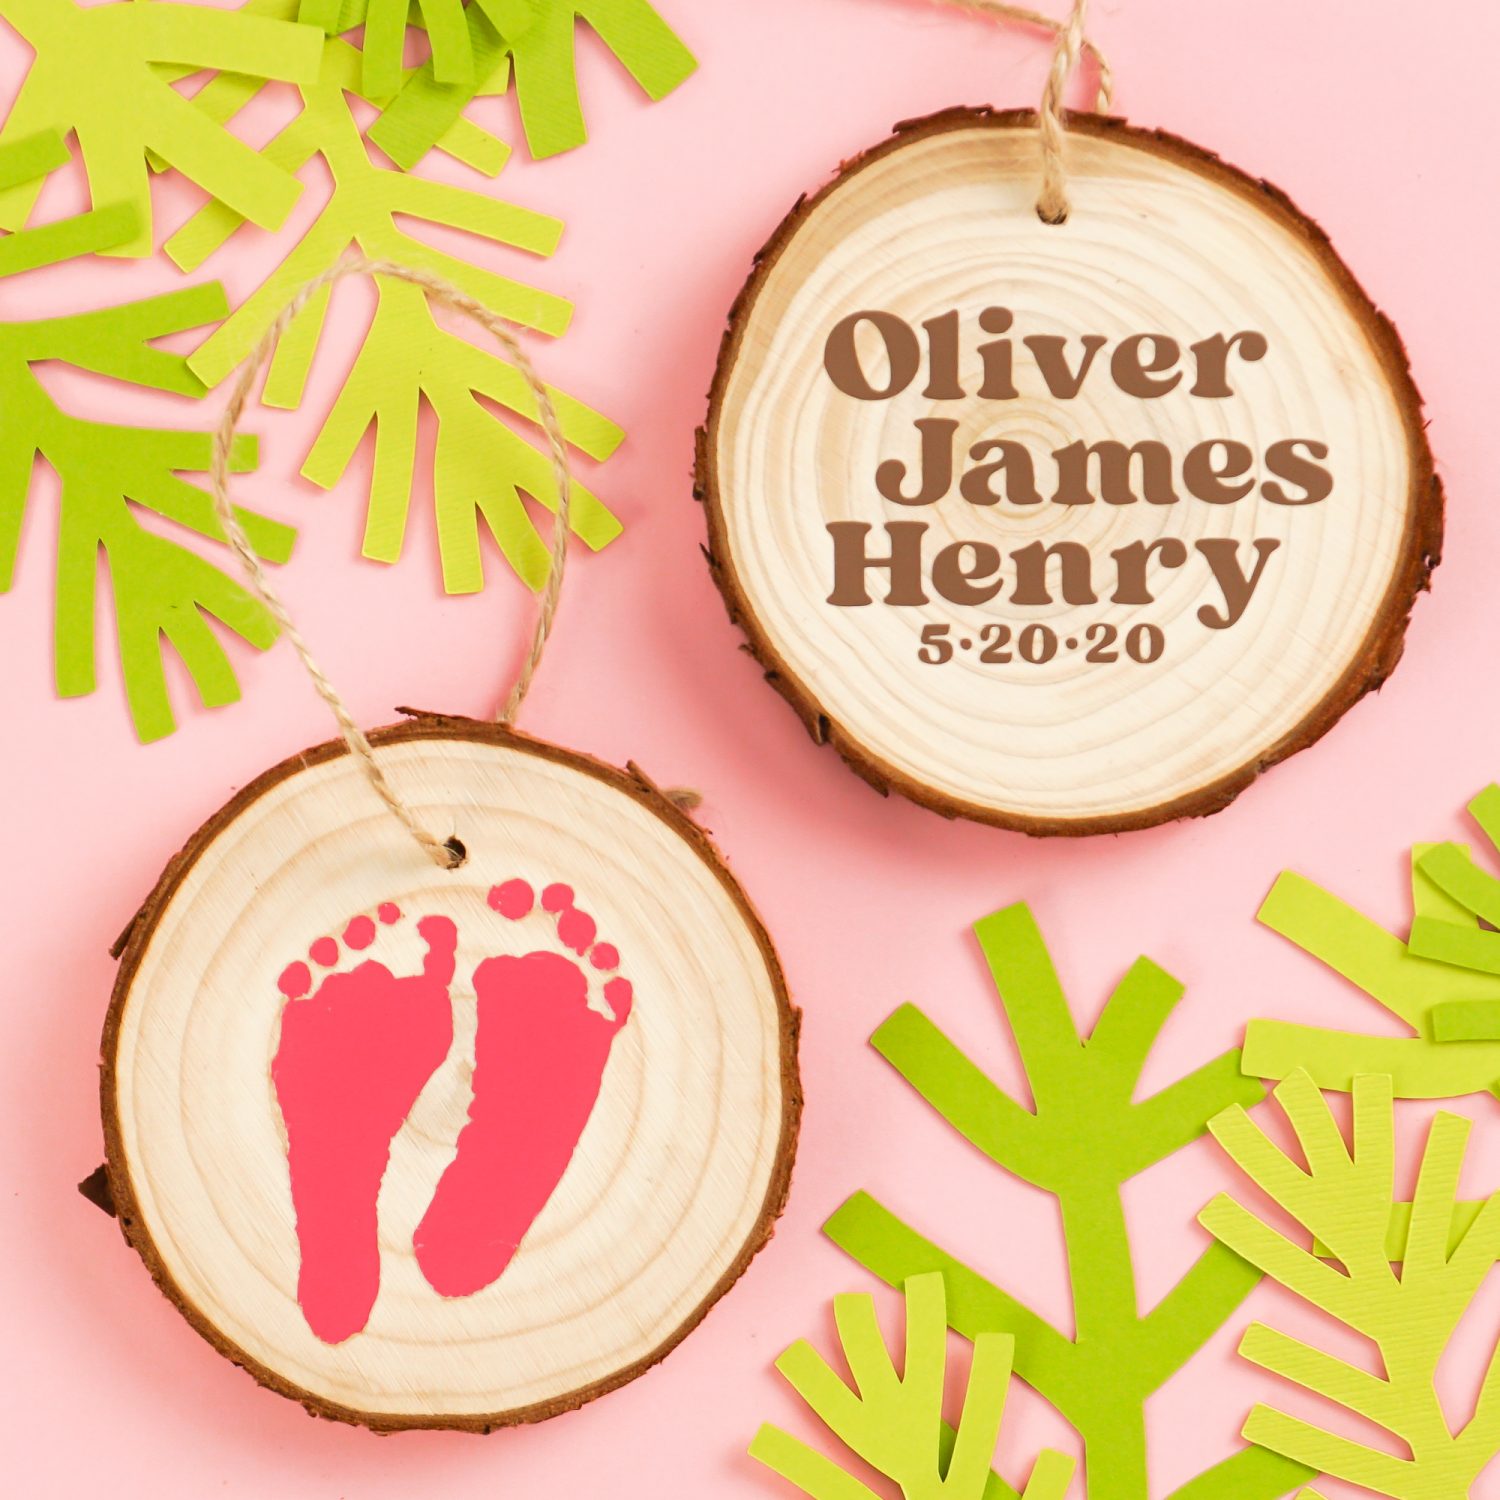
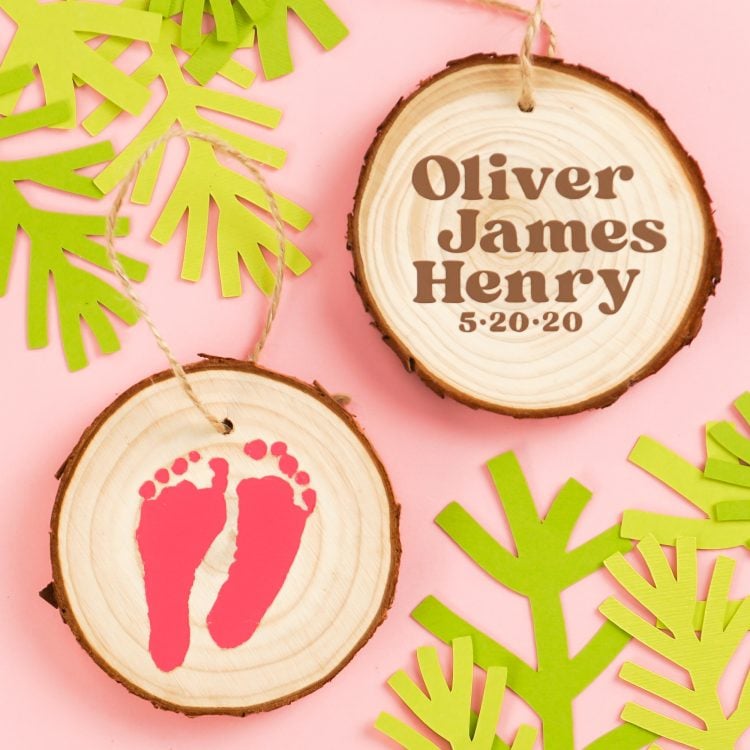
If you’d like, you can also add a name to the other side of the ornaments using the text tool. For these, I used the font Sergio Trendy.
Now we are ready to cut the file! Click Make It in the upper right and you’ll be taken to the Prepare Screen. Here, we want to click the “mirror” slider for each layer. This will ensure that our project faces the correct direction when it’s ironed onto the ornament.
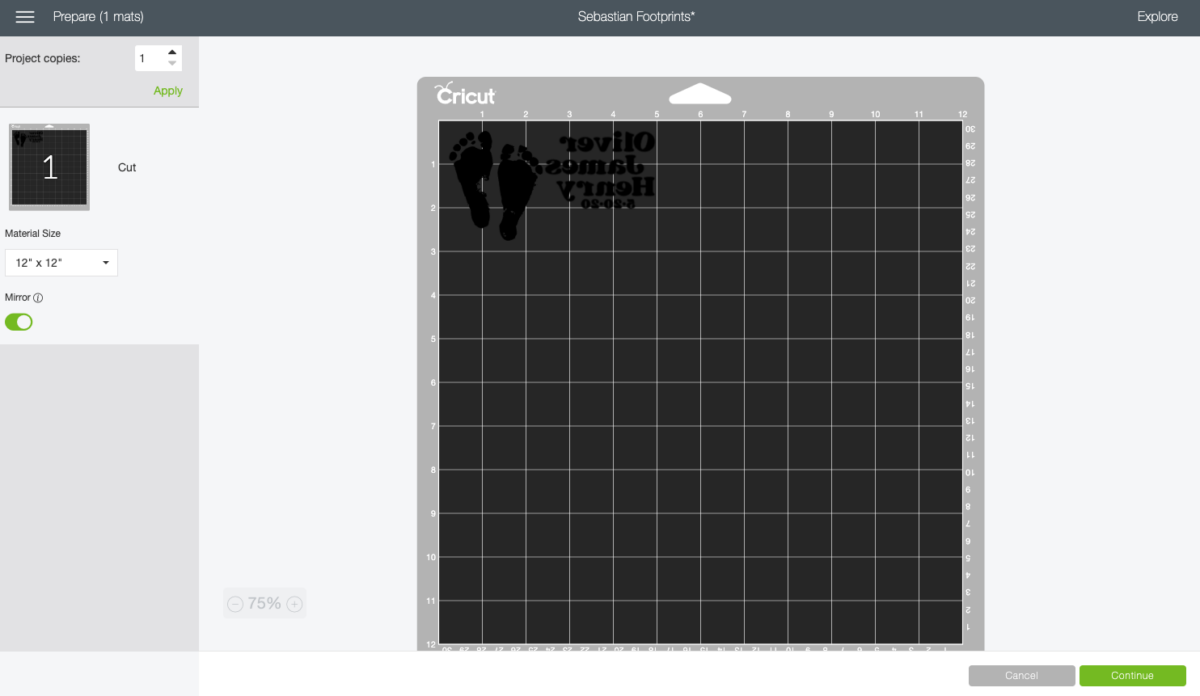
Then click Continue!
Cut Your Iron On Vinyl for Your Newborn Footprint Ornaments
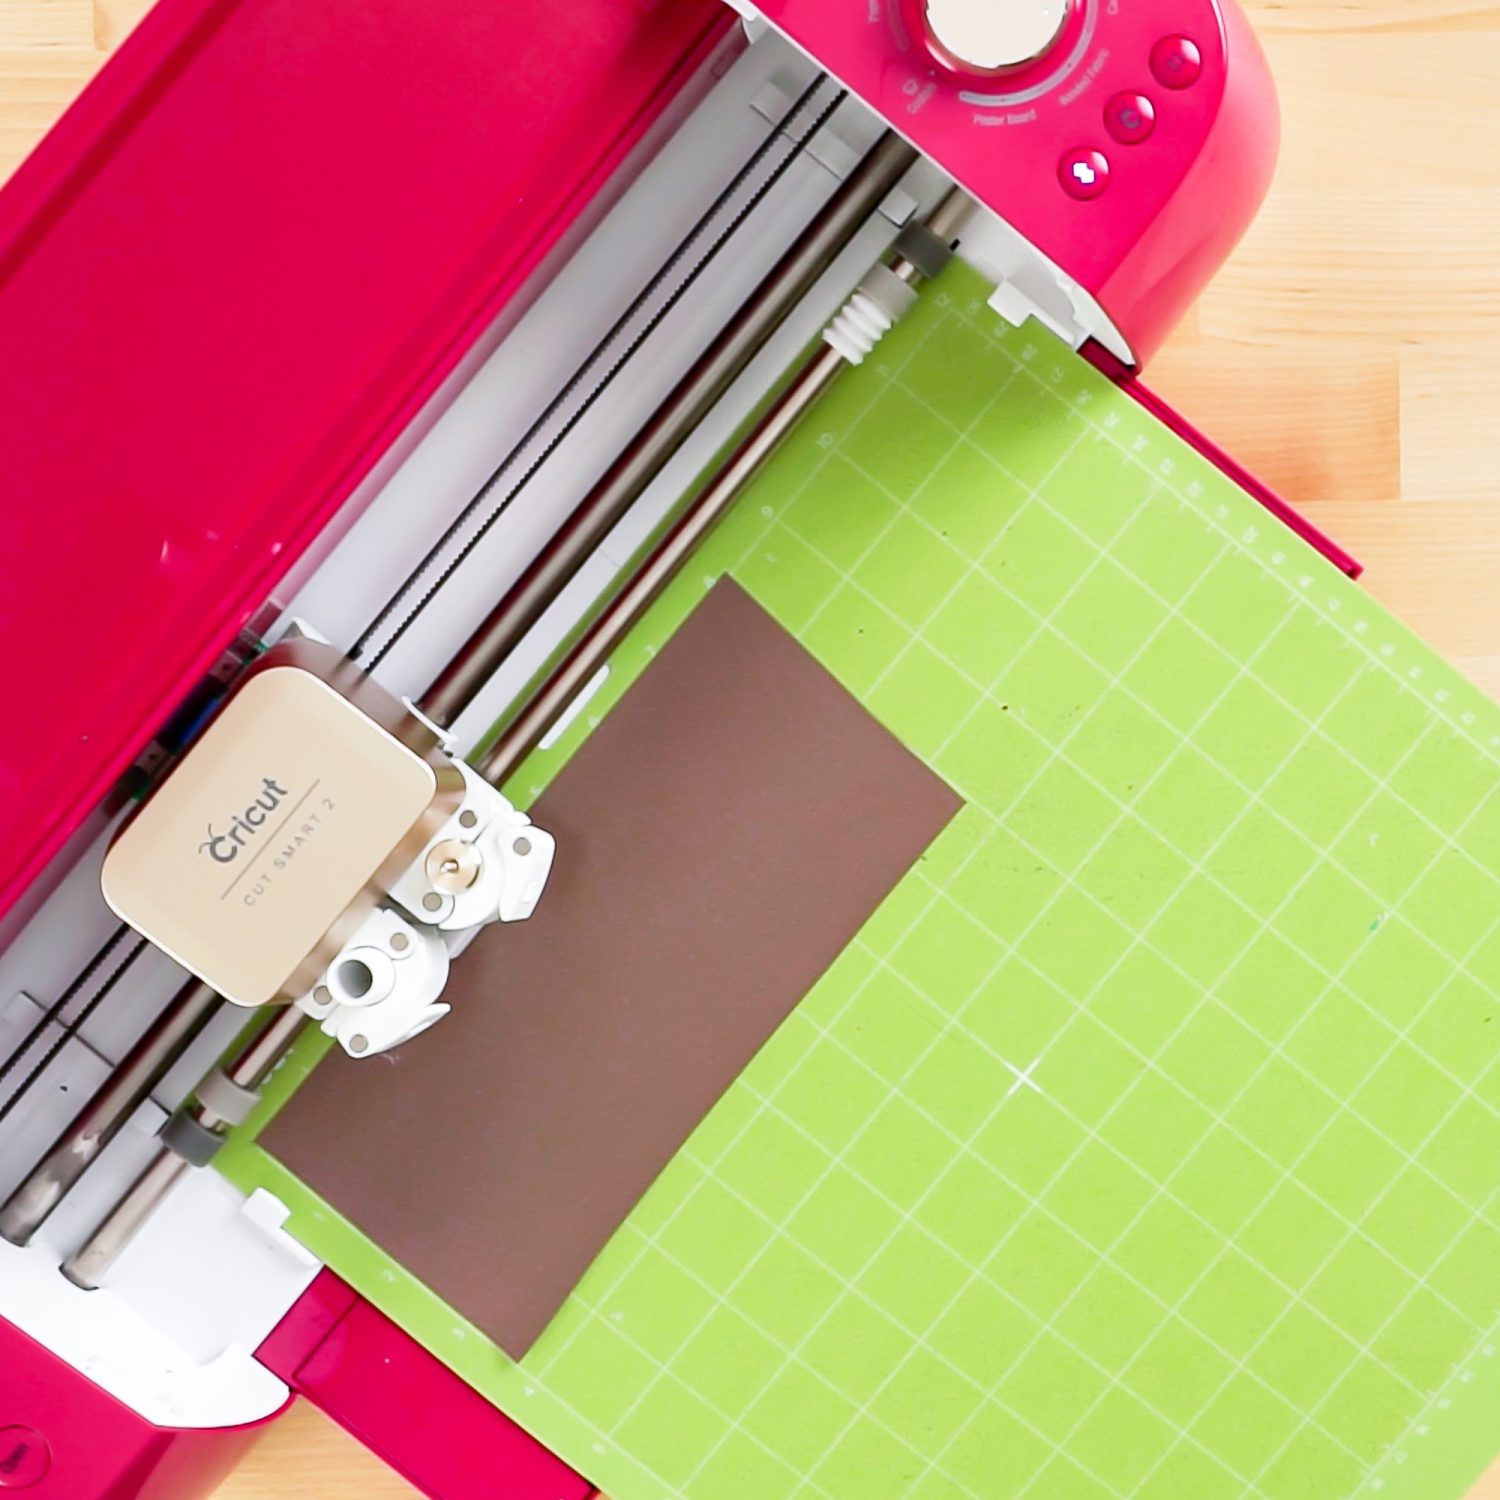
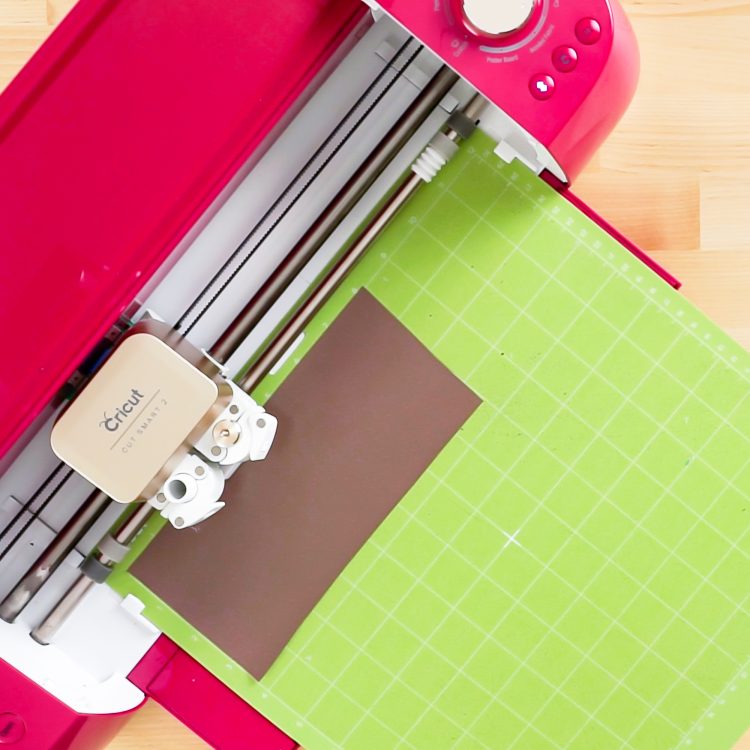
On the Make Screen, you’ll set your material. I am using Siser EasyWeed from Expressions Vinyl, and I’m using the Everyday Iron On setting. Make sure you have your fine point blade in your machine, insert your mat, and your Cricut will cut your project!
Weed Your Iron On Vinyl
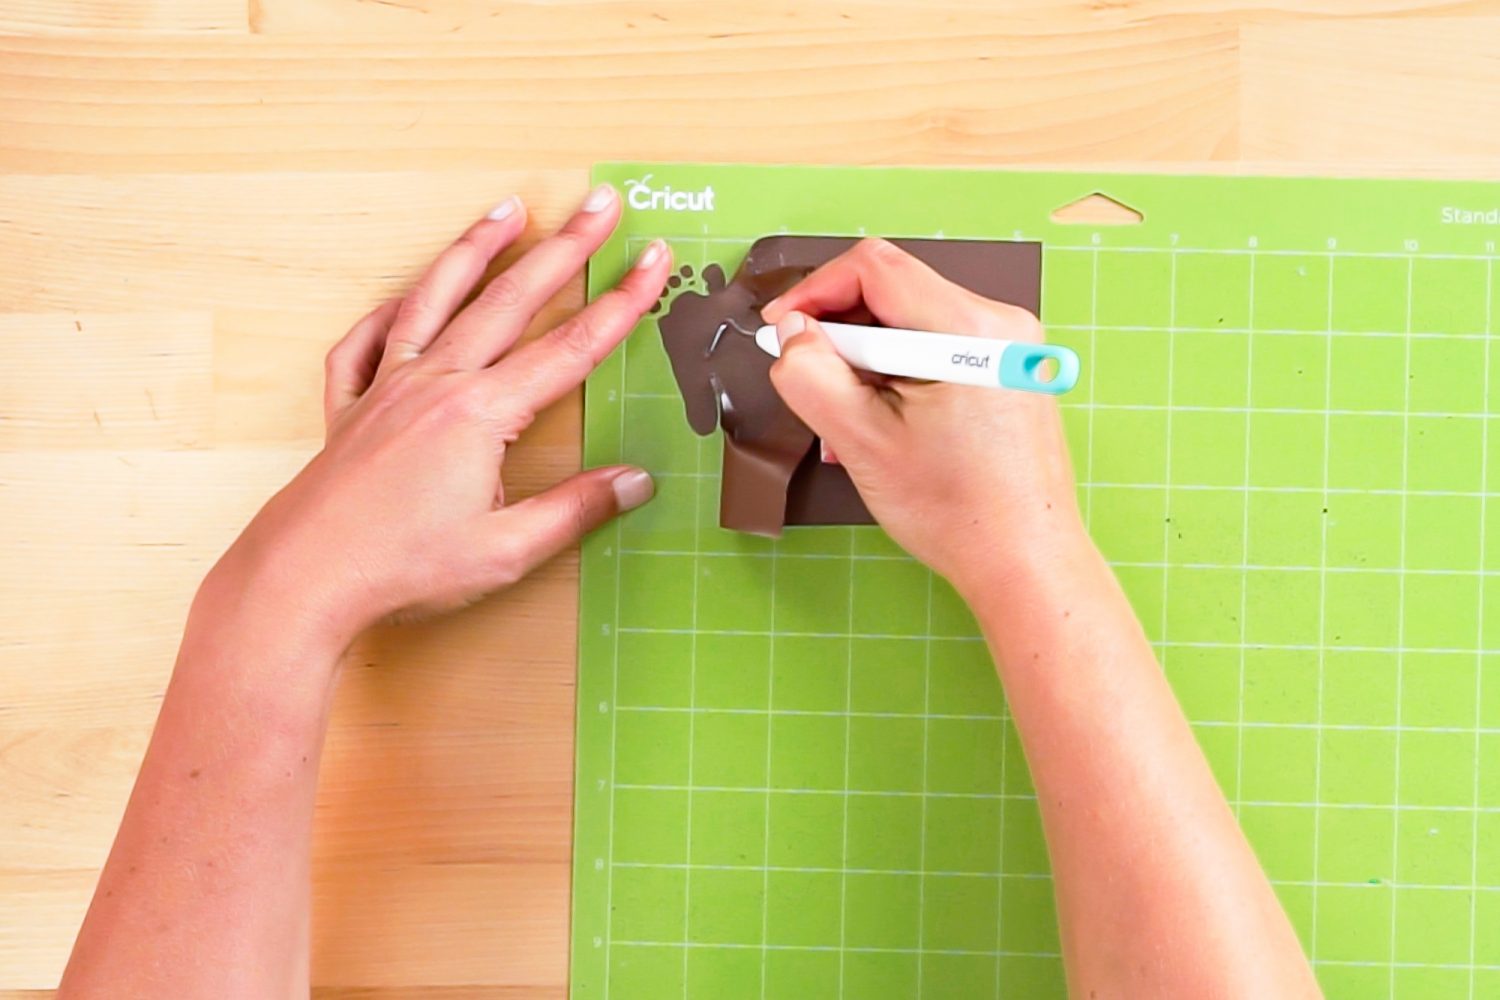
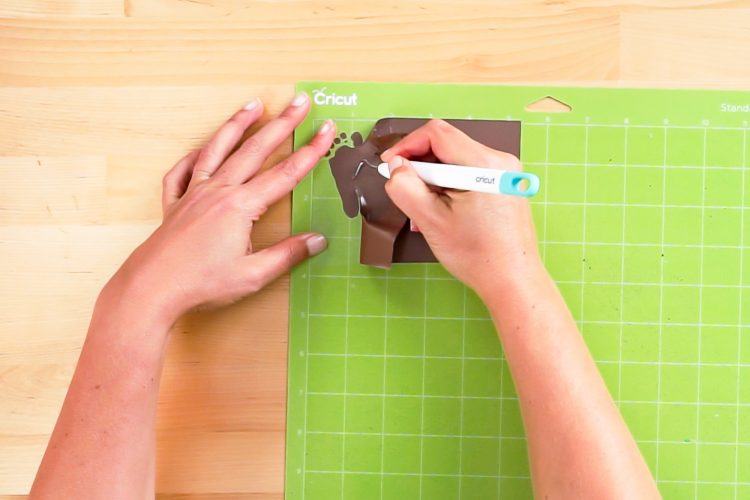
Next we’re going to “weed” the negative space from around our image. I have an extensive post about Weeding Iron On Vinyl, which you’ll want to read—tons of tips and tricks to making it easier.
Adhere Your Iron On Vinyl
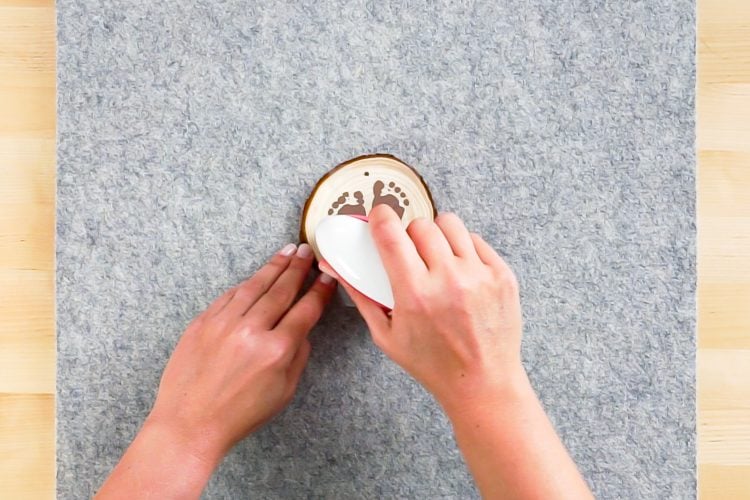
Now we are going to adhere our iron on vinyl to the ornament. The EasyPress Mini is perfect for this—the smaller size really gets into any dips in the wood.
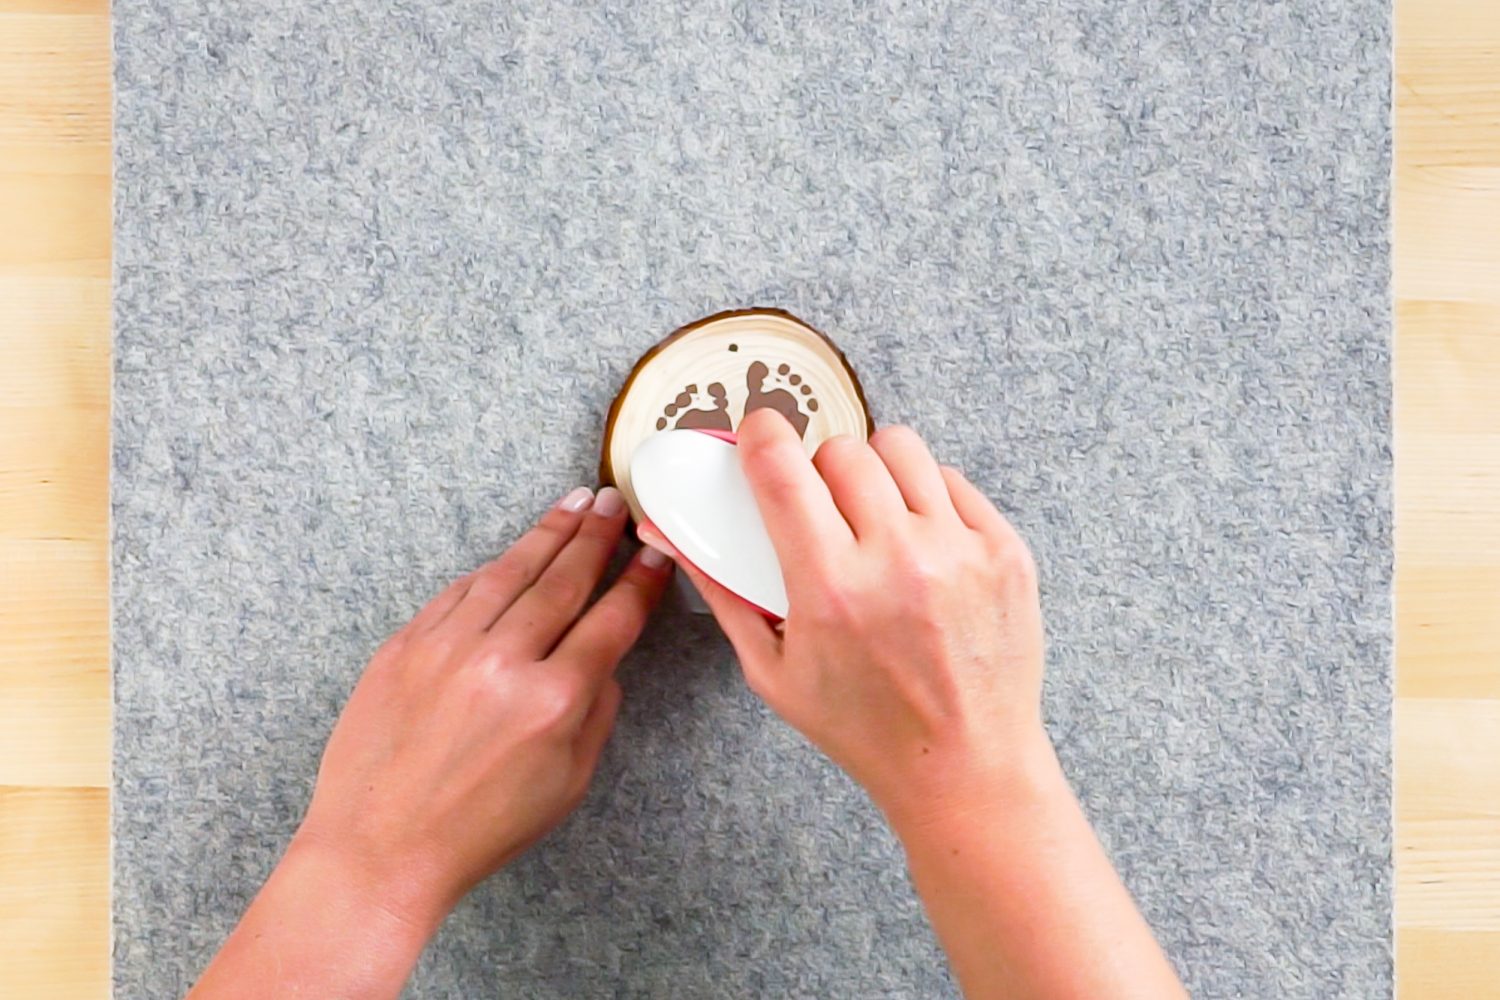
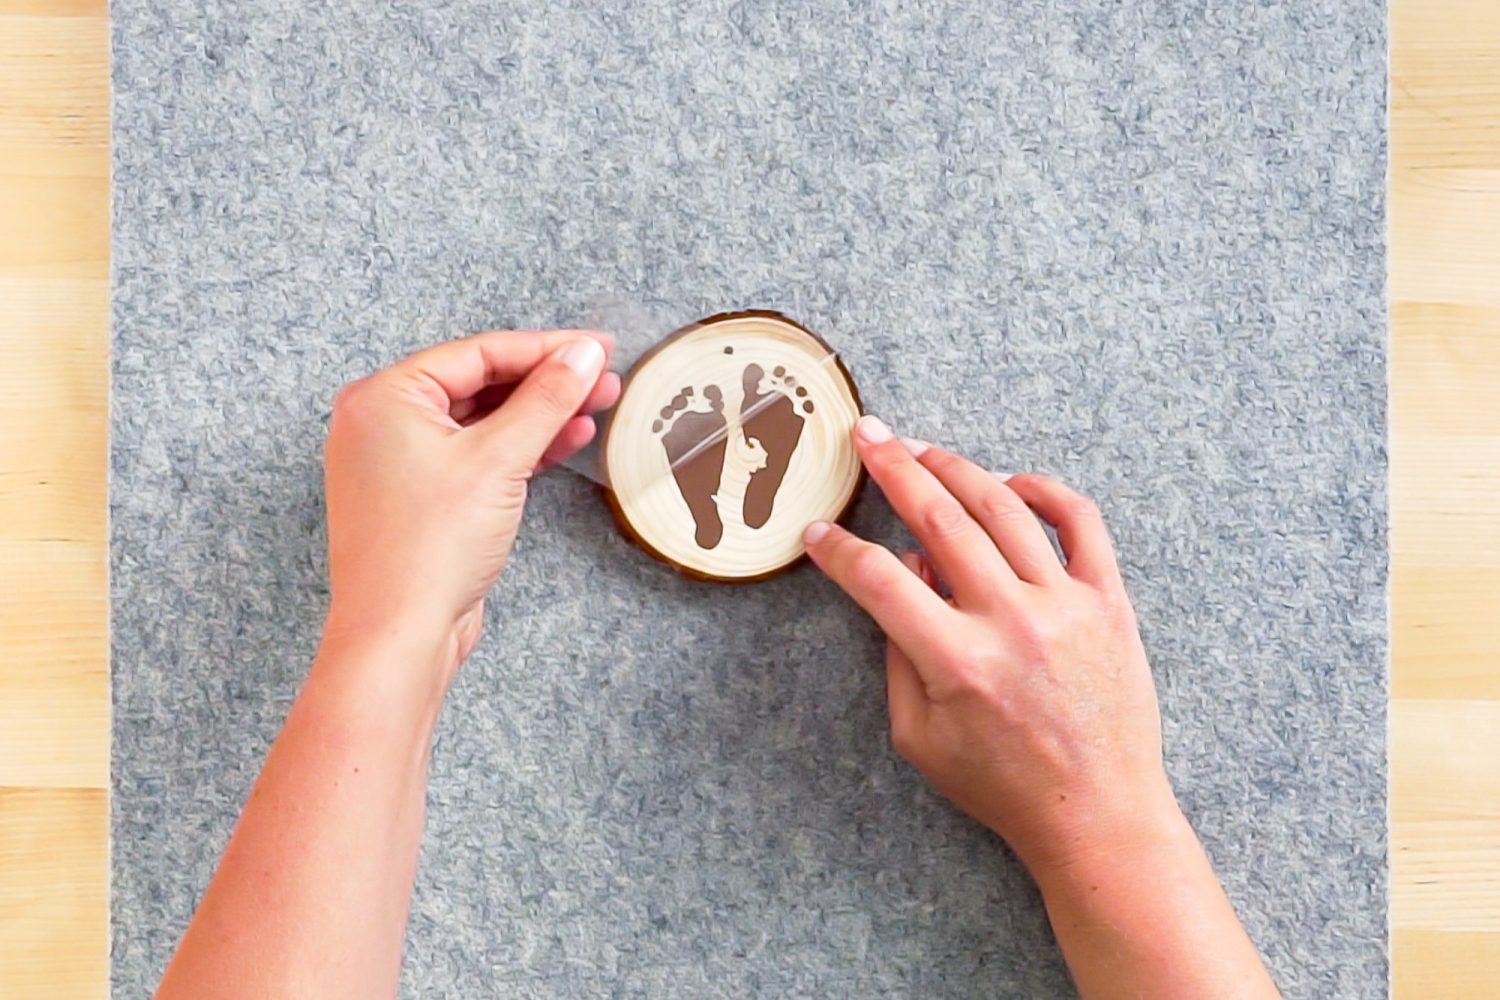
Add your child’s name to the other side in the same way. Then add a string for hanging and you’re done!
NEWBORN FOOTPRINT ORNAMENTS
Equipment
- EasyPress Mini or Iron
Supplies
- Iron On Vinyl brown
- Wood Slice Ornament 3.5" or larger
- Ribbon or Twine
Instructions
- Upload your footprint ornament to Cricut Design Space and use the tools to remove the background.

- Save the image as a Cut File.

- Use the Contour tool to separate the footprints, and re-position to fit on an ornament.

- Cut the pieces from iron on vinyl.

- Weed your iron on vinyl pieces.

- Adhere your iron on pieces to the wood slice ornament.

- Add a ribbon and hang!

Notes
Make All the 25 Days of Cricut Christmas Projects!
We’ll be adding links as each day goes live! Grab the full bundle with all of the projects and SVGs in our 25 Days of Cricut Christmas eBook!
- Day 1: DIY Christmas Countdown Calendar
- Day 2: Snow Globe Shaker Card
- Day 3: Happy Holly Days Christmas Banner
- Day 4: Felt Gnome Pillow
- Day 5: Cookies for Santa Tray
- Day 6: Snowflake Coasters
- Day 7: Customized Christmas Banner
- Day 8: Etched Holiday Baking Dish
- Day 9: DIY Gift Card Holder
- Day 10: Christmas Apron
- Day 11: Christmas Quilt Block Artwork
- Day 12: Constellation Glitter Ornaments
- Day 13: DIY Christmas Card Holder
- Day 14: Papercut Christmas Village
- Day 15: Funny Christmas Socks
- Day 16: Veneer Pinecone Earrings
- Day 17: How to Make Felt Bows
- Day 18: Personalized Santa Sacks
- Day 19: Newborn Footprint Ornaments
- Day 20: Layered Christmas Mandala
- Day 21: Customized Pot Holders
- Day 22: Sleigh Rides Christmas Sign
- Day 23: Hot Cocoa Mug Gift
- Day 24: Print then Cut Gift Tags
- Day 25: Matching Christmas Pajamas


Comments & Reviews
geometrydash says
What a great list! So cute and fun for the kids.
@Geometry Dash
lisa says
You have done a great job on this article. It’s very readable and highly intelligent. You have even managed to make it understandable and easy to read. You have some real writing talent. Thank you.
ornamentsbyelves says
Such an awesome list. So adorable and fun for the kids. Thanks so much for sharing.
Maureen says
What is the name of the font you used for name?
Amy Motroni says
Hi Maureen, I used the font Sergio Trendy: https://heyletsmakestuff.com/recommends/sergio-trendy-font-creative-market/