Using Iron On Vinyl on wood is an easy way to add style to any project! Get tips and tricks for making your wood and iron on project a success!

I love finding new applications for different materials I cut using my Cricut. Today I want to share one of my favorites—using iron-on vinyl on wood! It’s perfect for making all sorts of home decor signs, coasters, ornaments, and other projects like my Scrabble tiles and these cute Christmas houses.
Before we get to making this actual project, let’s talk a bit about materials.
What is Iron On Vinyl?
Iron on vinyl, also referred to as heat transfer vinyl or HTV, is a special type of vinyl that is adhered to materials, generally fabric, using heat. There is an adhesive on the back of iron on vinyl that activates when it reaches a certain temperature, generally by iron, heatpress, or, my particular favorite, the Cricut EasyPress.
If you no longer have the packaging, you can tell the difference between iron on vinyl and regular vinyl because there is a very shiny side to iron-on vinyl, and the back is matte. Conversely, on regular vinyl the front colored side is most often matte and there’s usually a white backing sheet.
Why Use Iron On Vinyl instead of Adhesive Vinyl On Wood?
In the past, I would have used regular adhesive vinyl on wood. It works, but I find that wood is not the perfect surface for adhesive vinyl. Because it’s not perfectly smooth, it takes quite a bit of effort and patience to get the vinyl to stick to the wood. And often, after time, the vinyl will start to peel up because it’s not adhered perfectly to the rough surface.
Iron on vinyl, however, adheres to wood like a dream. And you don’t have to bother with transfer tape, because the pieces are already adhered to the transfer sheet. I also like that iron on vinyl is less shiny than other vinyls, so it feels a bit more like it could have been a hand-painted stencil. It also conforms to the imperfections in the wood instead of sort of floating above it, giving it a more paint-like appearance (you can see that a bit in the “g” below).

How to Use Iron On Vinyl on Wood
Let’s make this simple wood sign! I’m using this fun Love Grows Here SVG I posted a while back—I think it’s the perfect fit with the unfinished edges of this wood plaque.
Supplies / Tools
- Wood Plaque
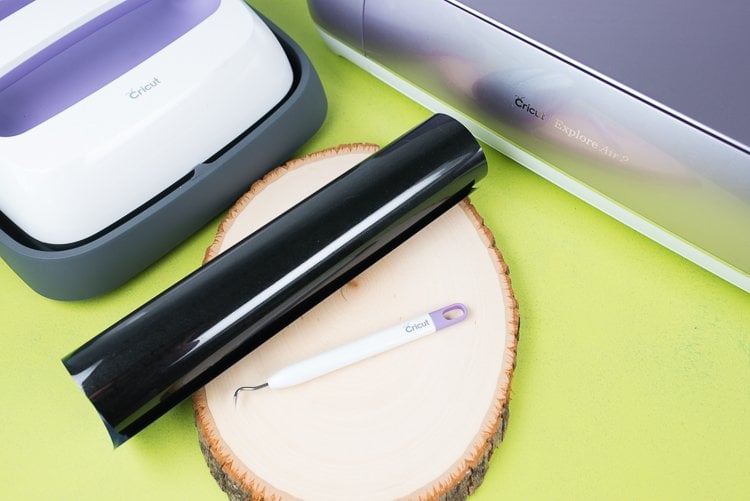
- Iron On Vinyl
- Weeding Tool
- Cricut Explore Air 2 or other Cricut
- Cricut EasyPress
- Love Grows Here SVG
Instructions
Start by downloading the SVG file by clicking the link in the supplies list, or creating your own design in Cricut Design Space or another design program. Cut out the file on your Cricut Explore, making sure to do three important things:
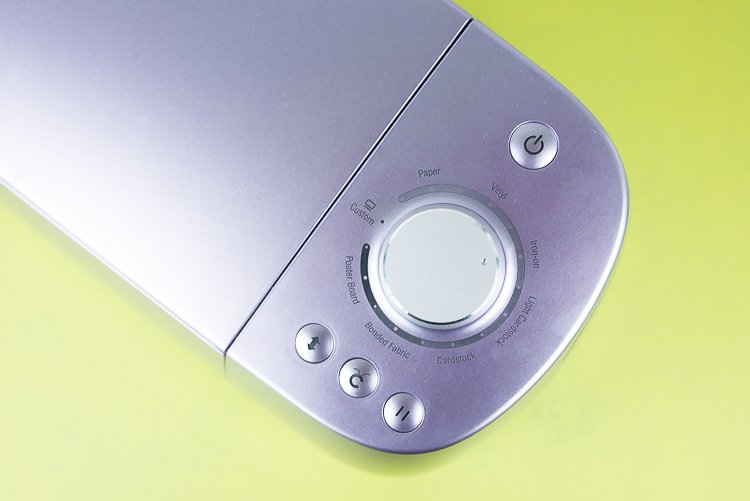
- Set your machine to iron on
- Place your iron on vinyl shiny side down on the mat
- Mirror your image
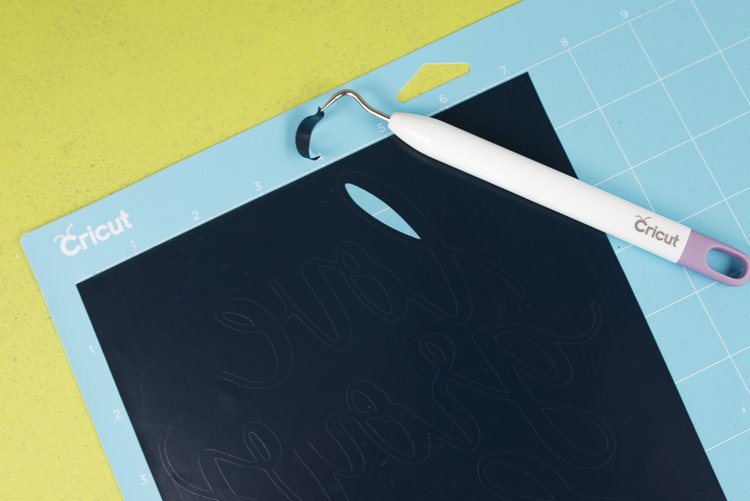
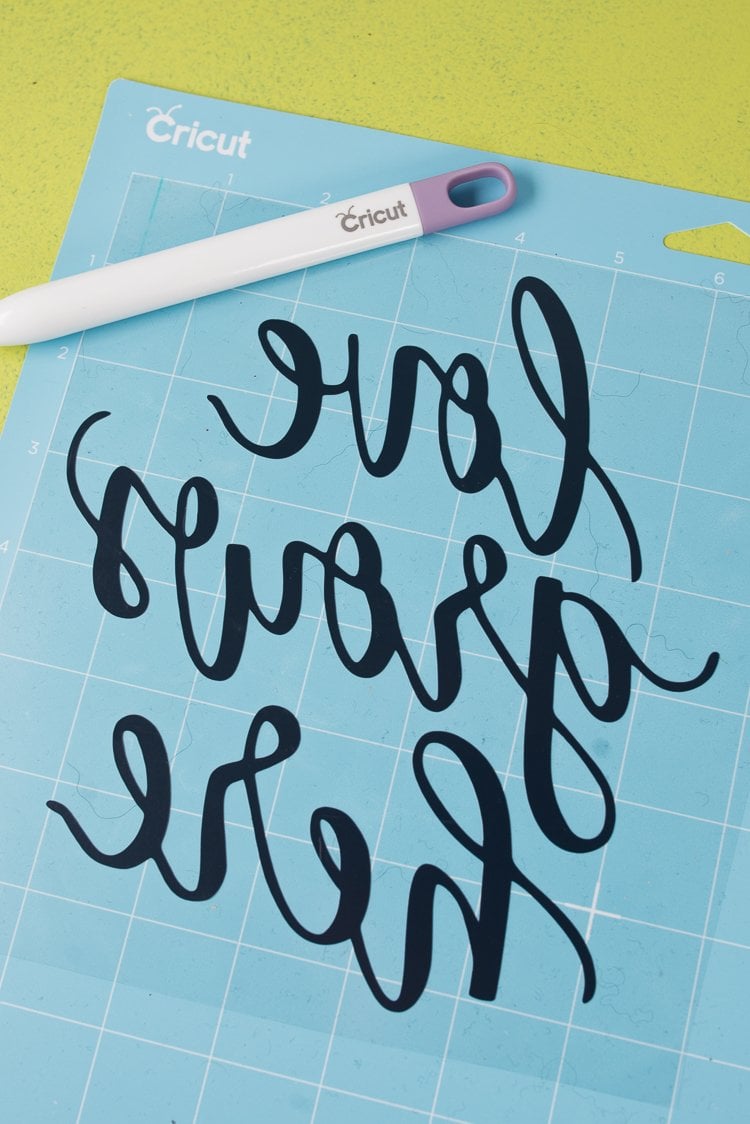
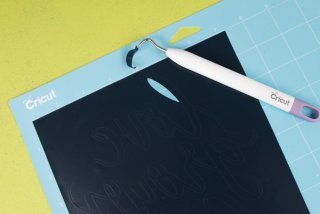
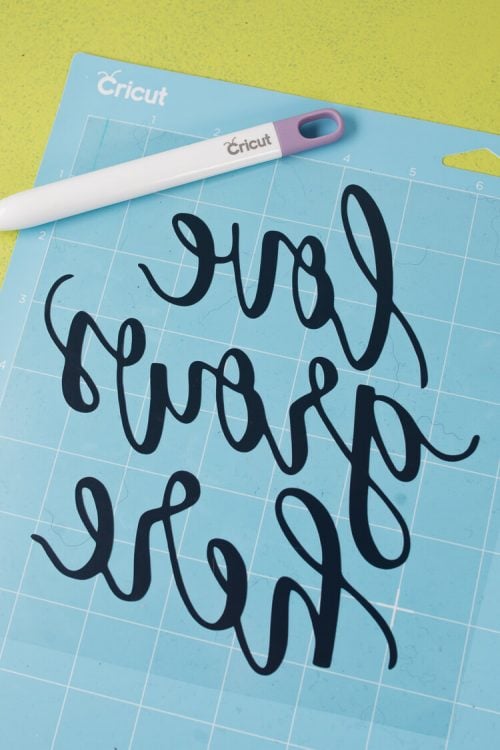
Once your file is cut, weed out the excess vinyl. You’ll see that my image is backward, but once I flip it over to put it on the wood it’s facing the right way.
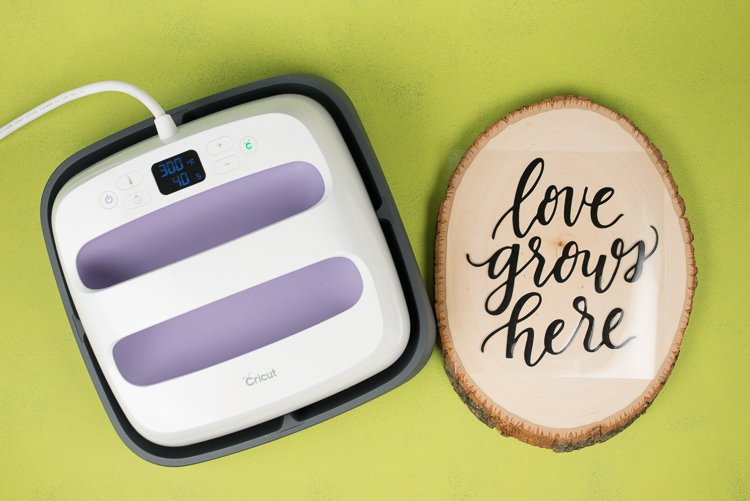
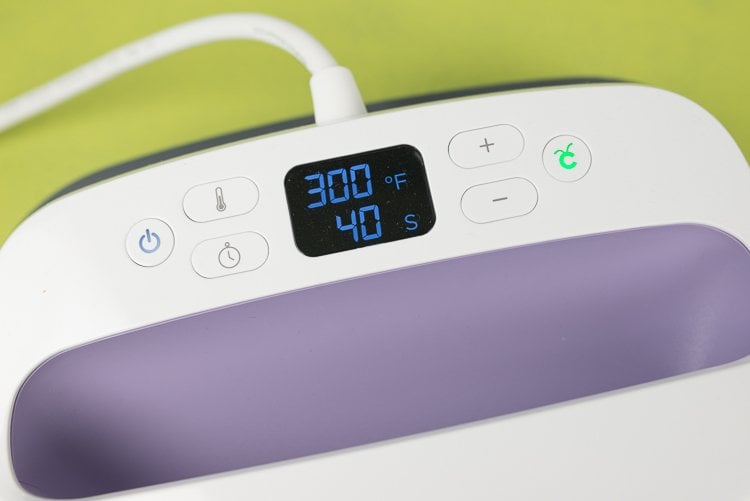
Turn on your EasyPress and set it to the proper wood setting for iron on vinyl (download a heat settings chart here)—300° and 40 seconds.
Then press down your vinyl using the EasyPress. Normally I don’t use a pressing cloth, but I decided to once I found that my wood was just ever-so-slightly bowed. Using a piece of cotton fabric between my EasyPress and the vinyl meant that I could easily slide my EasyPress around, making sure I got all of the pieces of my transfer.
Then carefully peel off the backing plastic. If parts of your vinyl haven’t adhered to the wood, just give them an additional press. That’s it! It’s so easy to adhere iron on vinyl to wood that you’ll find yourself making all sorts of projects using this technique.



USING IRON ON VINYL ON WOOD
Equipment
- Cricut Maker or
Instructions
- Start by downloading the SVG file by clicking the link in the supplies list, or creating your own design in Cricut Design Space or another design program. Cut out the file on your Cricut Explore, making sure to do three important things:Set your machine to iron onPlace your iron on vinyl shiny side down on the matMirror your image

- Once your file is cut, weed out the excess vinyl. You'll see that this image is backward, but once it is flipped over to put it on the wood it's facing the right way.


- Turn on your EasyPress and set it to the proper wood setting for iron on vinyl (download a heat settings chart here)—300° and 40 seconds.

- Then press down your vinyl using the EasyPress. Normally a pressing cloth is not used, but found that the wood was just ever-so-slightly bowed. Using a piece of cotton fabric between the EasyPress and the vinyl meant that the EasyPress could easily slide around, making sure all of the pieces of the transfer were pressed.Then carefully peel off the backing plastic. If parts of your vinyl haven't adhered to the wood, just give them an additional press. That's it! It's so easy to adhere iron on vinyl to wood that you'll find yourself making all sorts of projects using this technique.




Comments & Reviews
Mary OConnell says
I’m using HTV on flat wood but its leaving glue residue around all the letter. Any suggestions ?
Crystal Summers says
Hi Mary,
You may be applying too much pressure or heating for too long. Try pressing in 10 second intervals to be sure you aren’t over-pressing. Let us know if this helps!
Good luck!
Crystal, HLMS Community Manager
Haley says
I am putting htv on a wooden tray. I want to seal it with polycrylic since items may be set on the tray occasionally. Does polycrylic react well with the htv or will htv be fine by itself
Crystal Summers says
Hi Haley!
The HTV should be fine by itself, but if you are painting the wood or worried about it getting wet from time to time, I would go ahead and seal with the polycrylic. It won’t hurt the HTV!
Happy crafting!
Crystal, HLMS Community Manager
Amy Motroni says
Hi Carol,
You can use a heat press if the wood is flat. The flatter the better—the heat press can’t get into the “dips” of the wood.
Happy Crafting!
Amy, HLMS Reader Support
carol says
can you do this with a heat press?
Emma says
I never would have thought to use iron-on vinyl on wood! I’ve been using the regular sticky vinyl – I didn’t realize that in time it would start to peel off. Grr! Good to know for future projects, though!
Megan says
Do you suggest any sealants?
Amy Motroni says
Hi Megan,
It sticks really well and doesn’t need a sealant.
Happy Crafting!
Amy, HLMS Reader Support
Brandi says
Help! I’ve tried this multiple times on painted wood and each time – whether I peel it hot or cool- the image peels off along with a bit of surrounding paint….I’ve tried different lengths of time….what am I doing wrong?
Brittany says
I have been having the same issue on painted would. Are there any suggestions to help resolve this issue?
Cori George says
Unfortunately, applying such high heat to a painted surface is likely to damage the paint. You might be better of with adhesive vinyl: https://heyletsmakestuff.com/vinyl-on-painted-wood/
Merry says
Is there any way to remove the iron on vinyl from wood? One of my words is crooked :-( Could I scrape it off maybe?
Cori George says
I haven’t done it, but I have a friend who puts iron on on everything. Here’s what she said:
For anything that’s uneven, I just choose a piece with the least texture, and then if it IS really uneven, just work from one side to the other as you press so that you can try to accommodate the texture!
Hope that helps!
Rachel McCracken says
Would this work on slate? I bought some slate coasters that I wanted to decortate, but the surface is slightly uneven