
USING IRON ON VINYL ON WOOD
Using Iron On Vinyl on wood is an easy way to add style to any project!
Equipment
- Cricut Maker or
Ingredients
Instructions
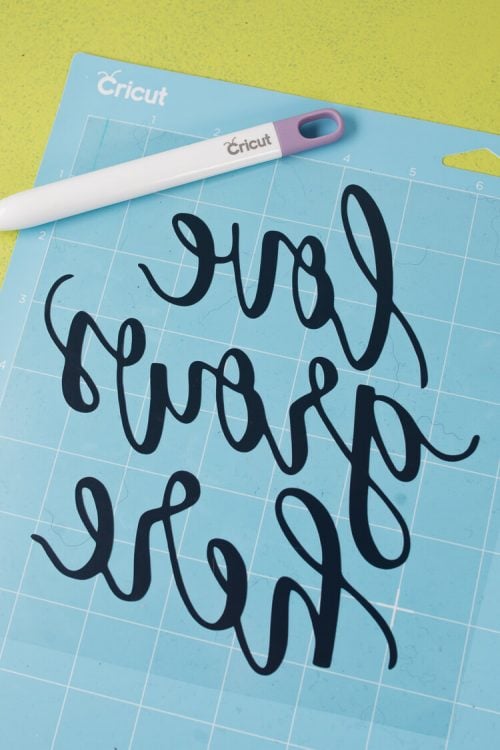
- Start by downloading the SVG file by clicking the link in the supplies list, or creating your own design in Cricut Design Space or another design program. Cut out the file on your Cricut Explore, making sure to do three important things:Set your machine to iron onPlace your iron on vinyl shiny side down on the matMirror your image

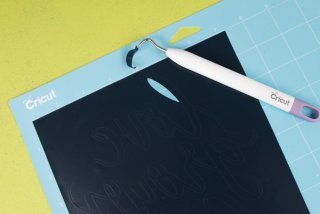
- Once your file is cut, weed out the excess vinyl. You'll see that this image is backward, but once it is flipped over to put it on the wood it's facing the right way.
- Turn on your EasyPress and set it to the proper wood setting for iron on vinyl (download a heat settings chart here)—300° and 40 seconds.

- Then press down your vinyl using the EasyPress. Normally a pressing cloth is not used, but found that the wood was just ever-so-slightly bowed. Using a piece of cotton fabric between the EasyPress and the vinyl meant that the EasyPress could easily slide around, making sure all of the pieces of the transfer were pressed.Then carefully peel off the backing plastic. If parts of your vinyl haven't adhered to the wood, just give them an additional press. That's it! It's so easy to adhere iron on vinyl to wood that you'll find yourself making all sorts of projects using this technique.