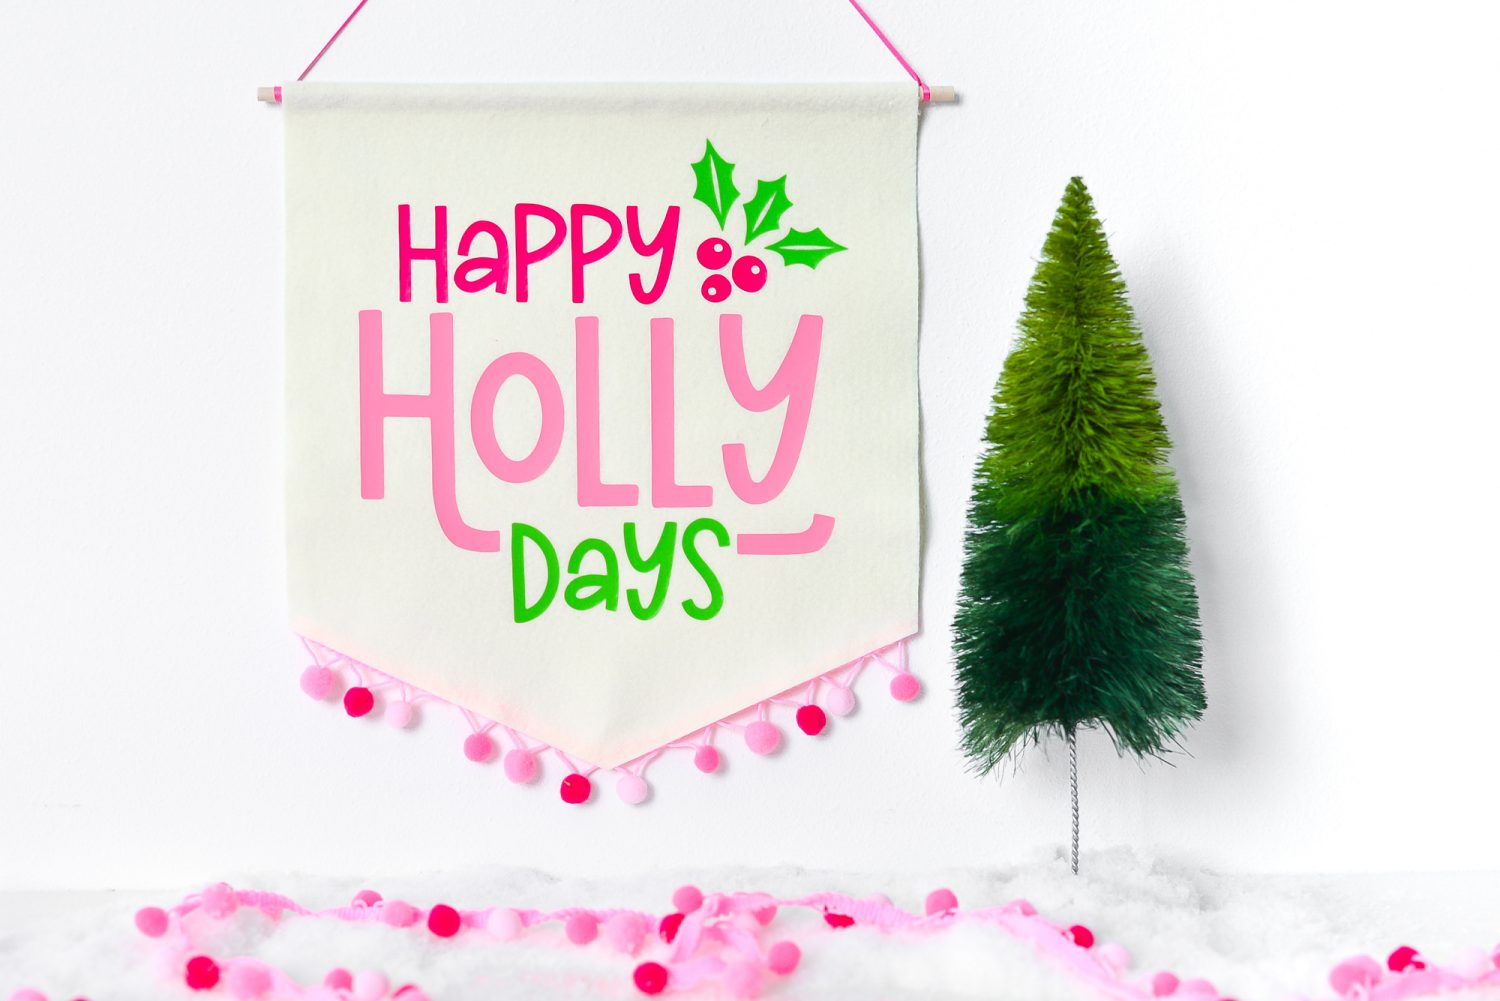
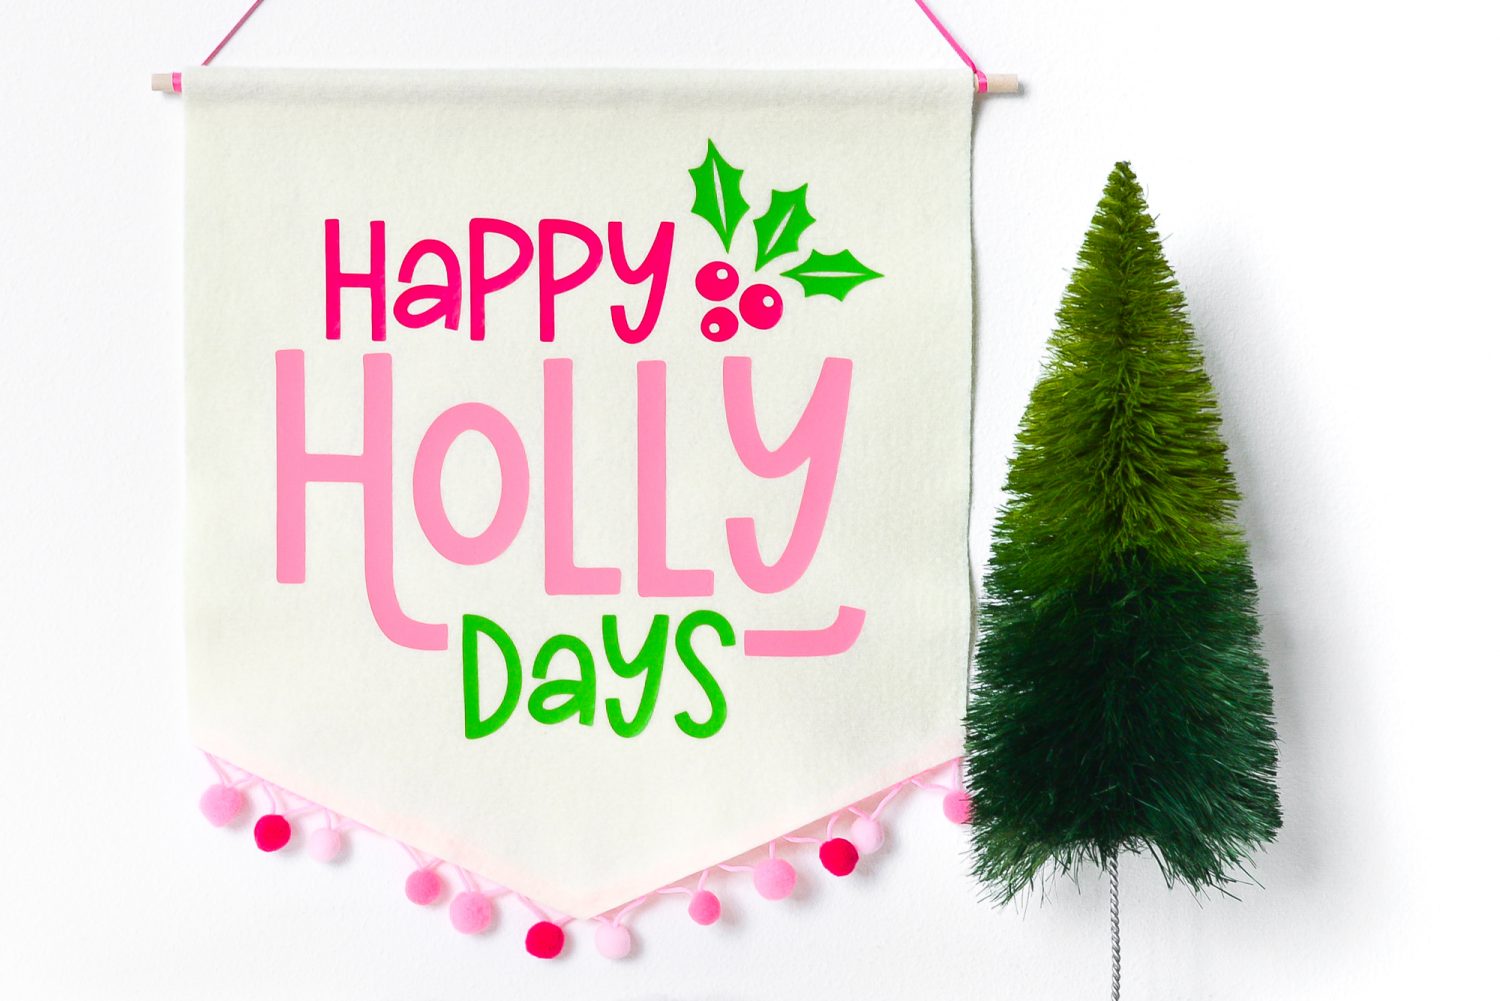
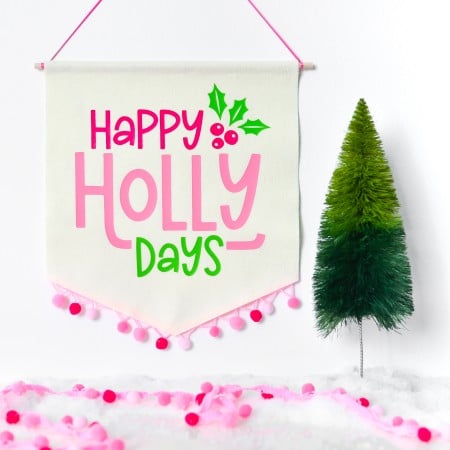
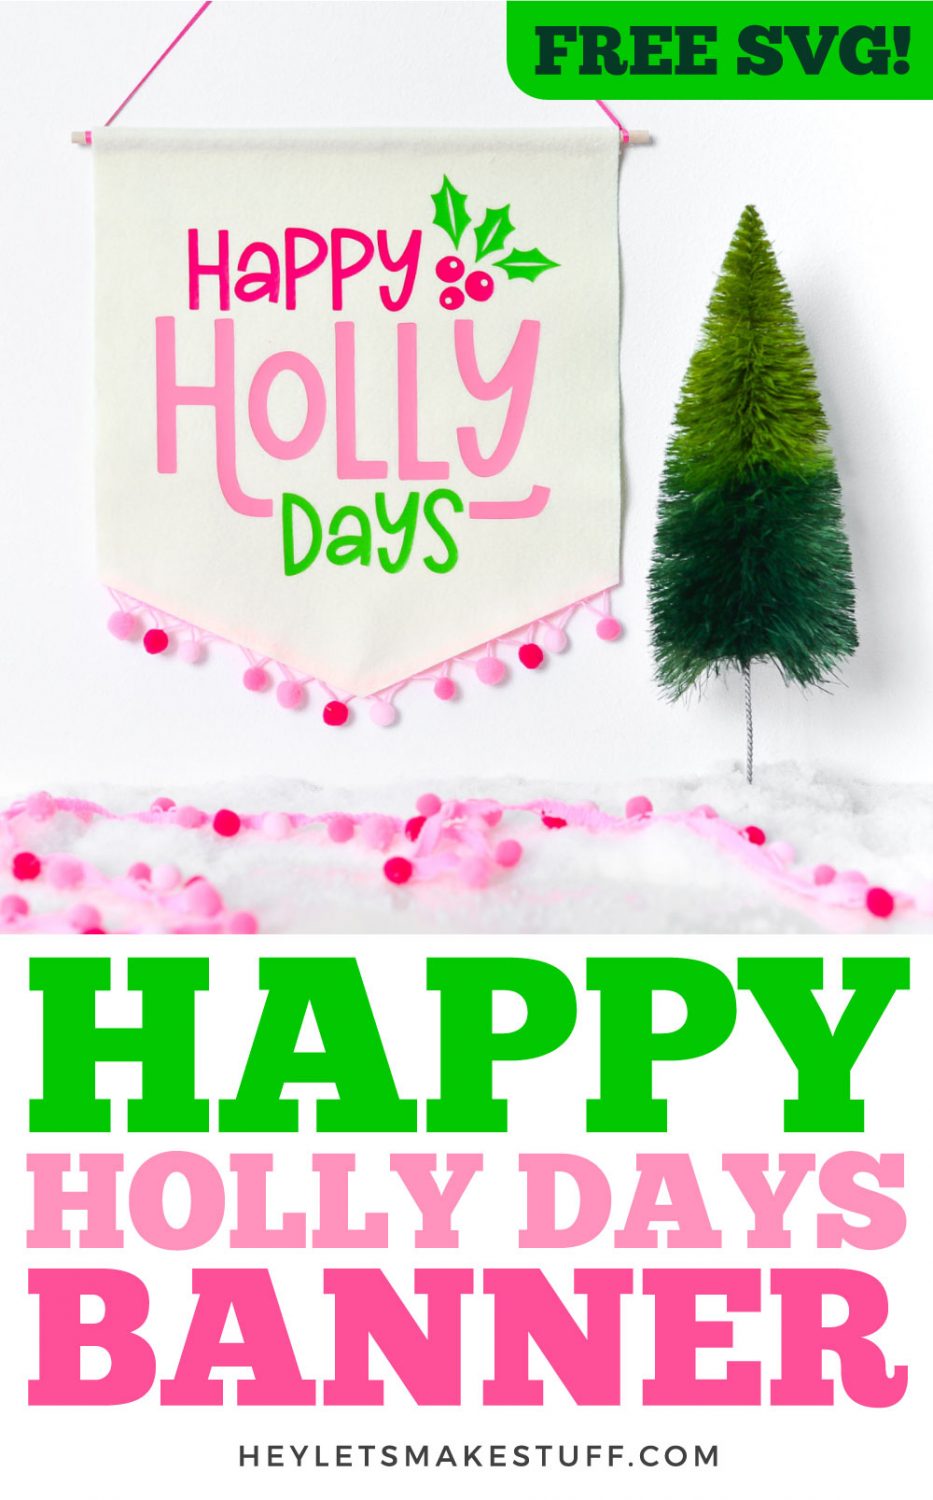
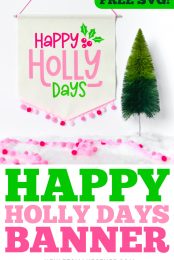
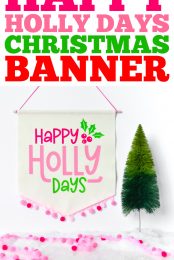
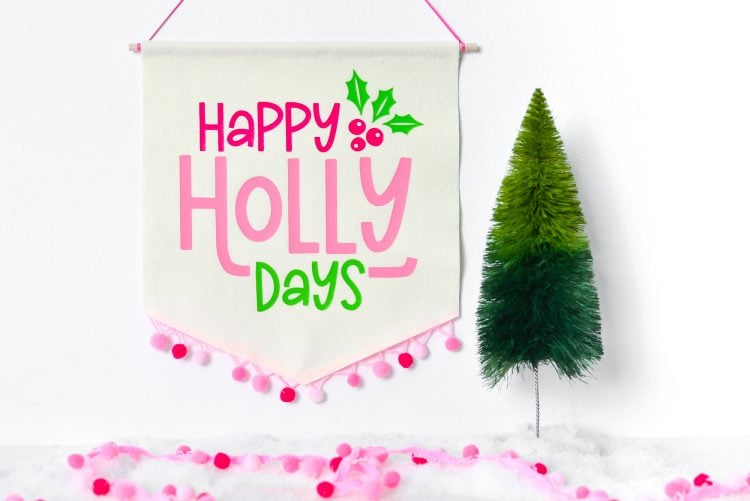
Deck your halls with this cute Happy Holly Days Christmas banner! Grab the free Happy Holly Days SVG file and make this banner with your Cricut or other cutting machine!
Today’s post is a double header! It’s both Day 3 of the 25 Days of Cricut Christmas AND it’s Totally Free SVG day!
For 25 days, we are crafting with our Cricut machines for Christmas. It’s Day 3, so we’re just getting started!
If you’d like to get this series in an ebook format PLUS all of the SVGs needed to make all 25 projects check out the 25 Days of Cricut Christmas eBook Bundle!
Today we’re making a Happy Holly Days Christmas banner using a FREE cut file, which you can get below! This banner is perfect for decking your halls and bringing the spirit of the season to your home.
Also make sure you look toward the bottom of this post for the links to all of the other free Christmas SVG files from my blogging friends!
Christmas Banner Supplies
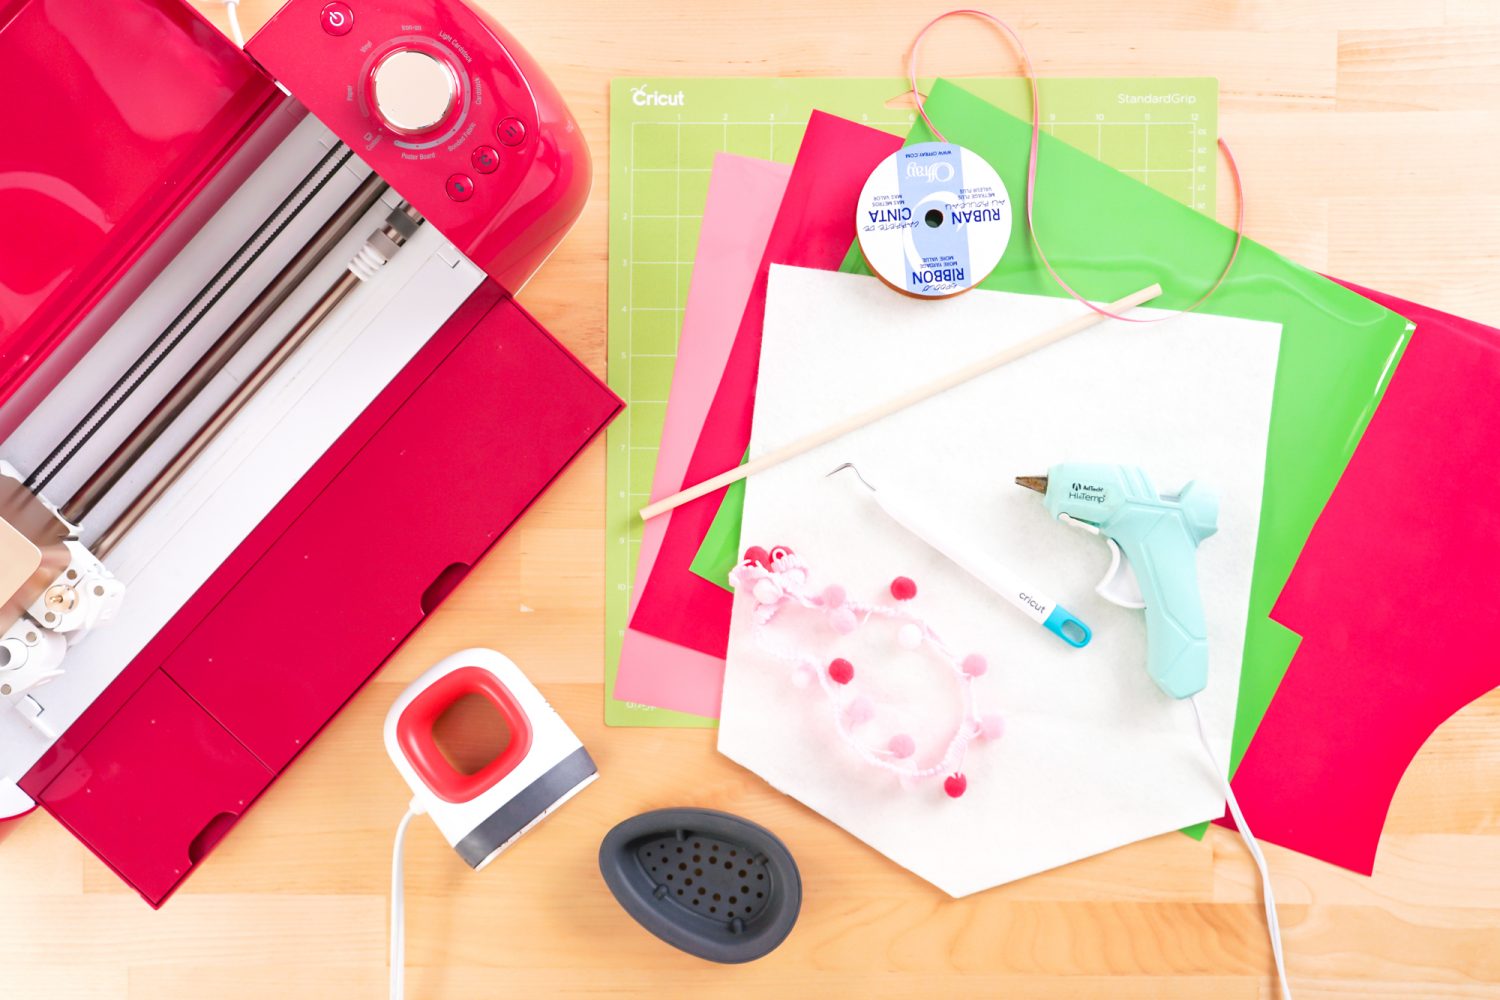
- Cricut Explore or Cricut Maker
- Blue LightGrip or Green StrongGrip mat
- Red, pink, and green iron on vinyl
- Weeding tool
- 11″ x 13″ piece of white felt
- Cricut EasyPress, Cricut EasyPress Mini, or household iron
- Pressing mat or EasyPress Mat
- Pom pom trim
- Hot glue gun
- Happy Holly Days file
Get the Free File
Want access to this free file? Join my FREE craft library! All you need is the password to get in, which you can get by filling out the form below. The file number is: C336.
Christmas Banner Instructions
Make the Felt Banner
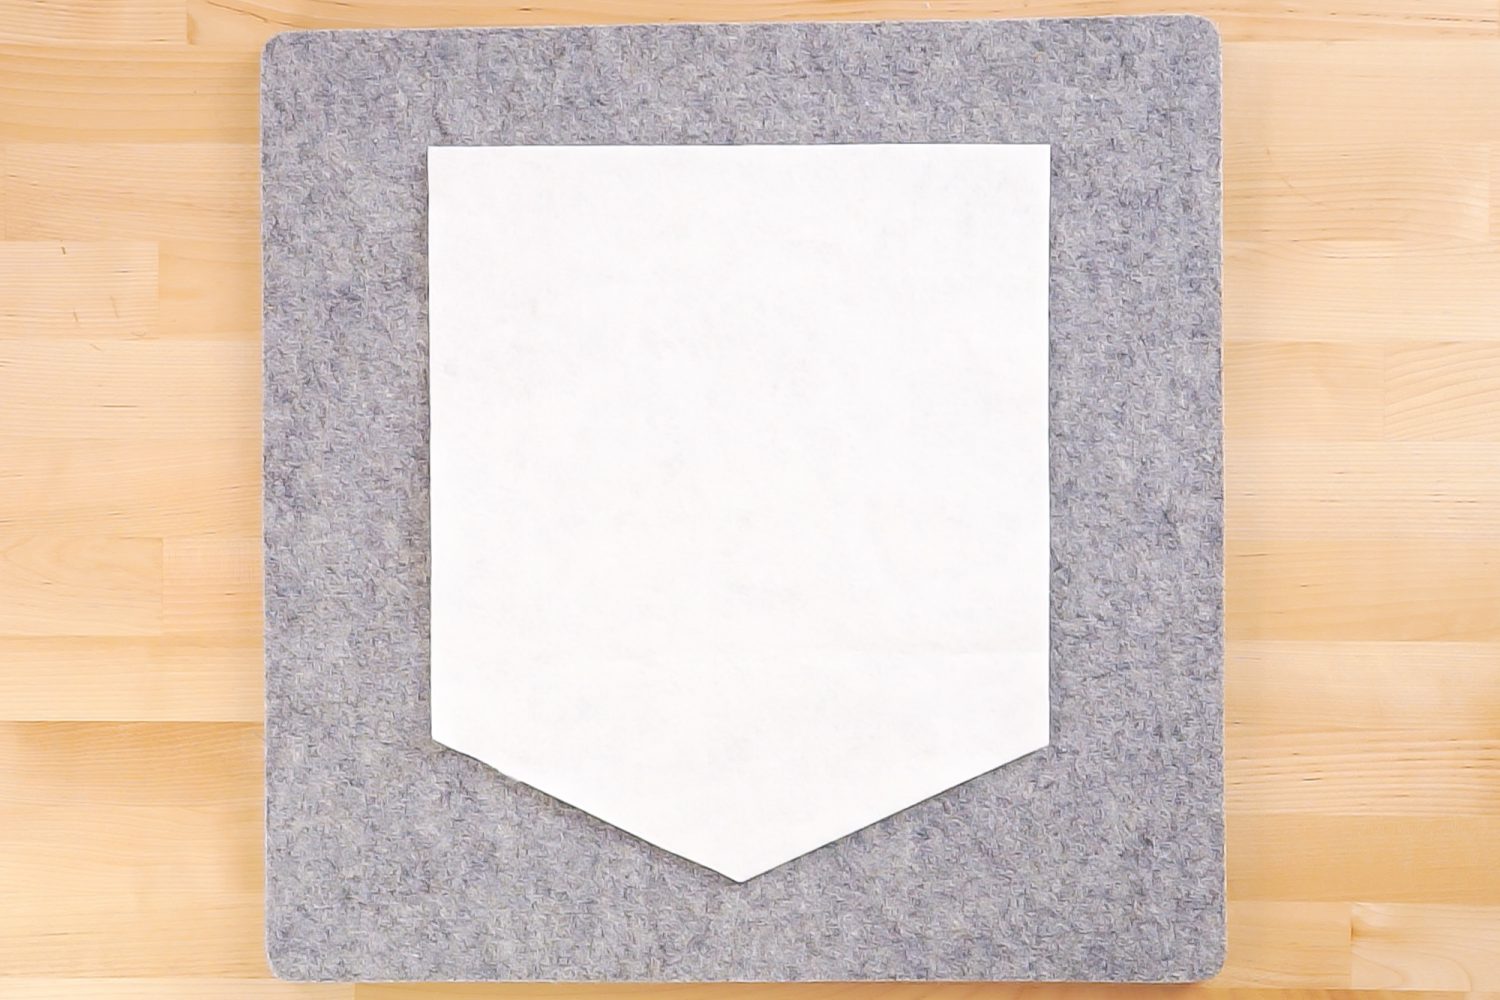
Let’s start by making the felt banner. You could technically cut this on your Cricut, but I find it much faster to just cut it by hand. I buy my felt from Benzie felt and often order a half yard or yard off the bolt—it gives me plenty of felt for crafts. You can also find large felt rectangles or felt on the bolt at your favorite craft store.
Start with a rectangle that is 11″ wide and 13″ long. On the bottom edge, find the center and make a tiny mark. Then from the bottom edge, measure up each side 2.5″ and make a mark. Then cut from the center of the bottom edge, to the mark on one side, and then the other. You have a pennant shape!
Upload the Happy Holly Days File to Cricut Design Space
Next, we are going to upload the free Happy Holly Days file to Cricut Design Space (see Uploading SVG Files to Cricut Design Space if you need help).
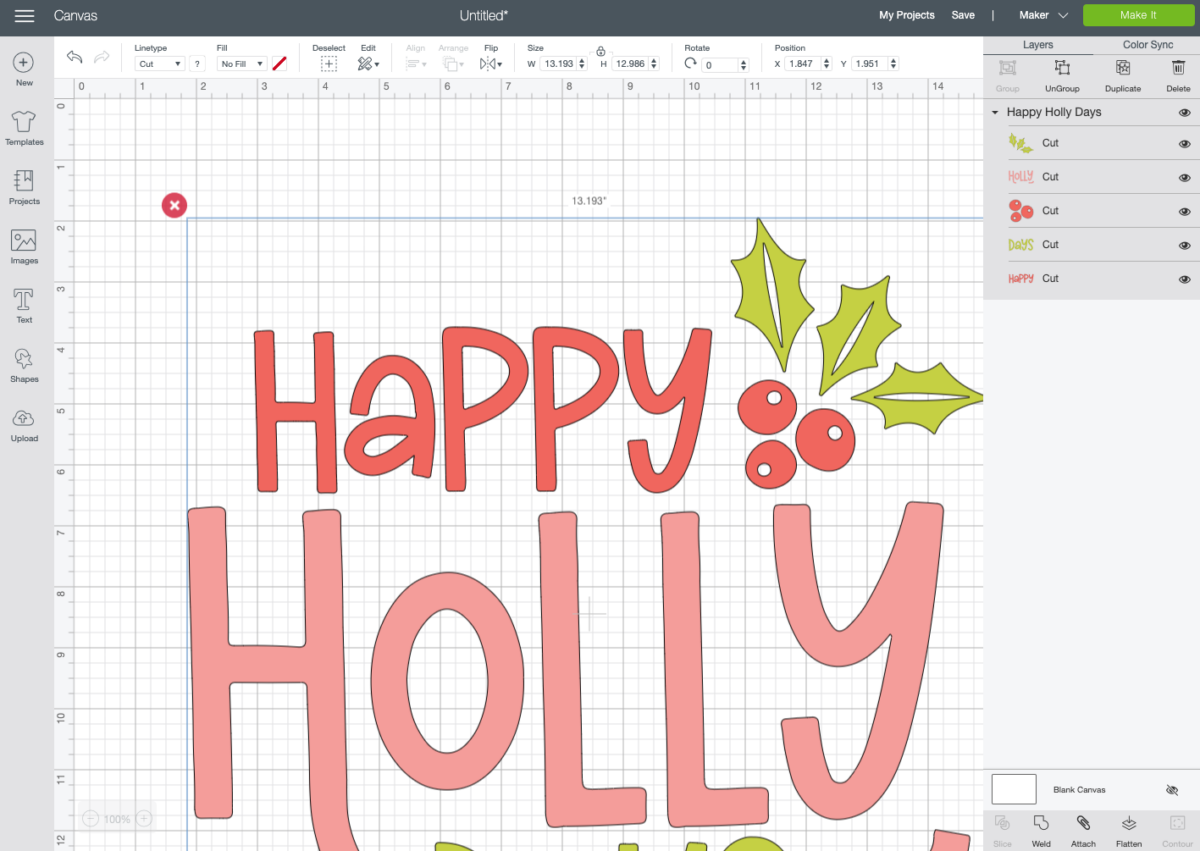
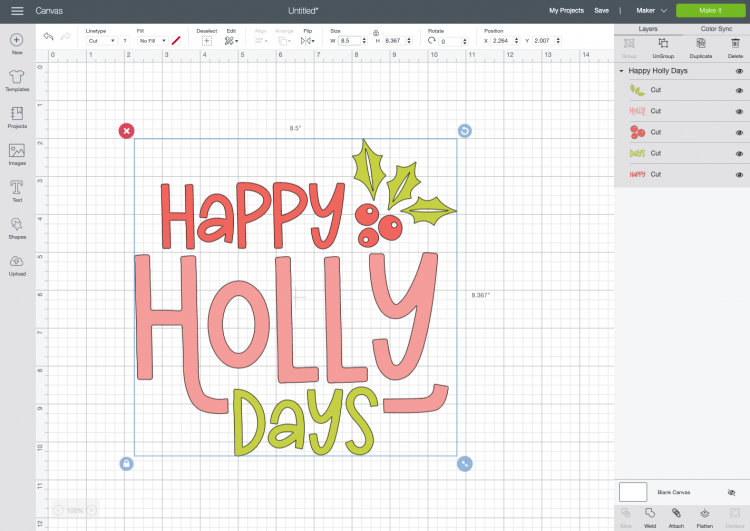
Once the file is onto our canvas, we need to resize it for our banner in the Edit Toolbar at the top. The banner is 11″ wide, and I found that 8.5″ wide is a good width for this project.
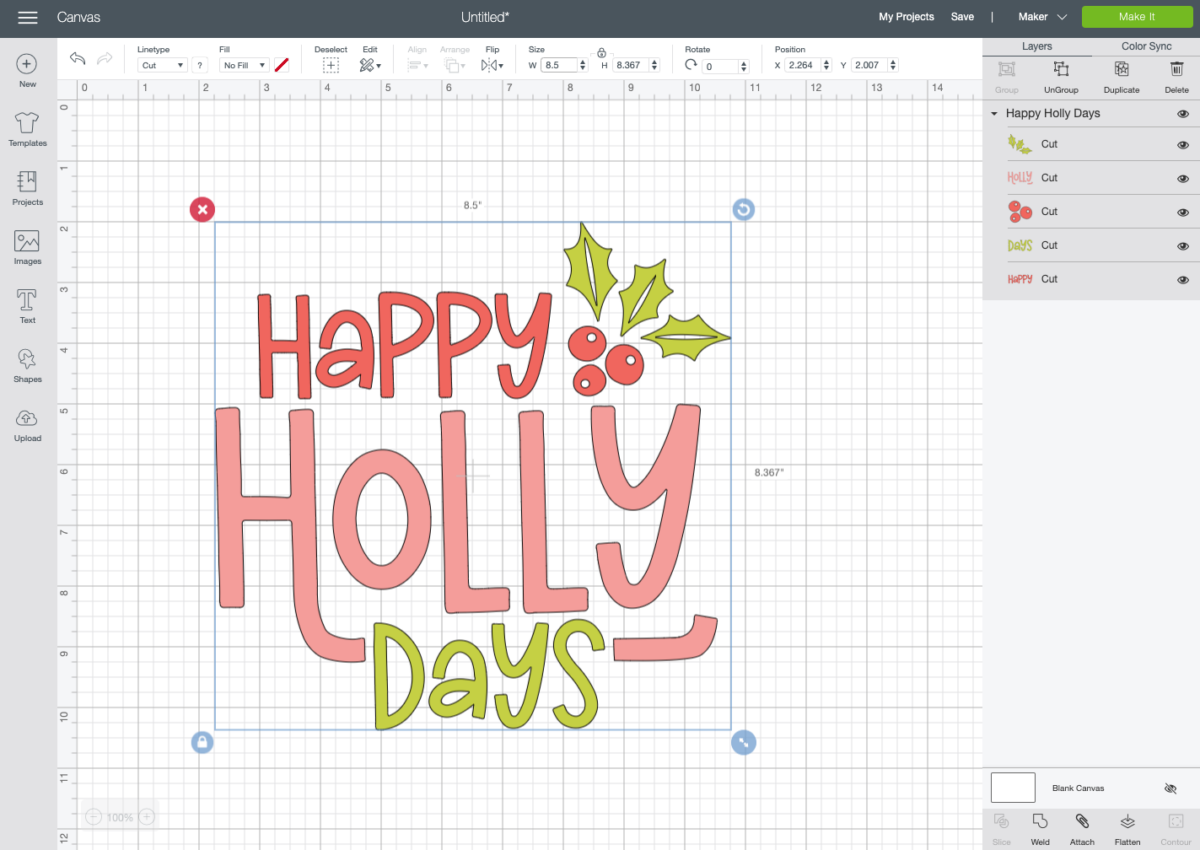
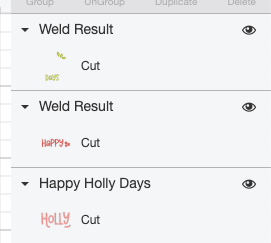
When I created this file, I kept the holly and the words separate, just in case you want to use more or different colors. But to make it easier, let’s weld the berries with the word “holly” and the leaves with the word “days” so they cut at the same time. Learn more about Welding in Design Space if you are not sure how to do this.
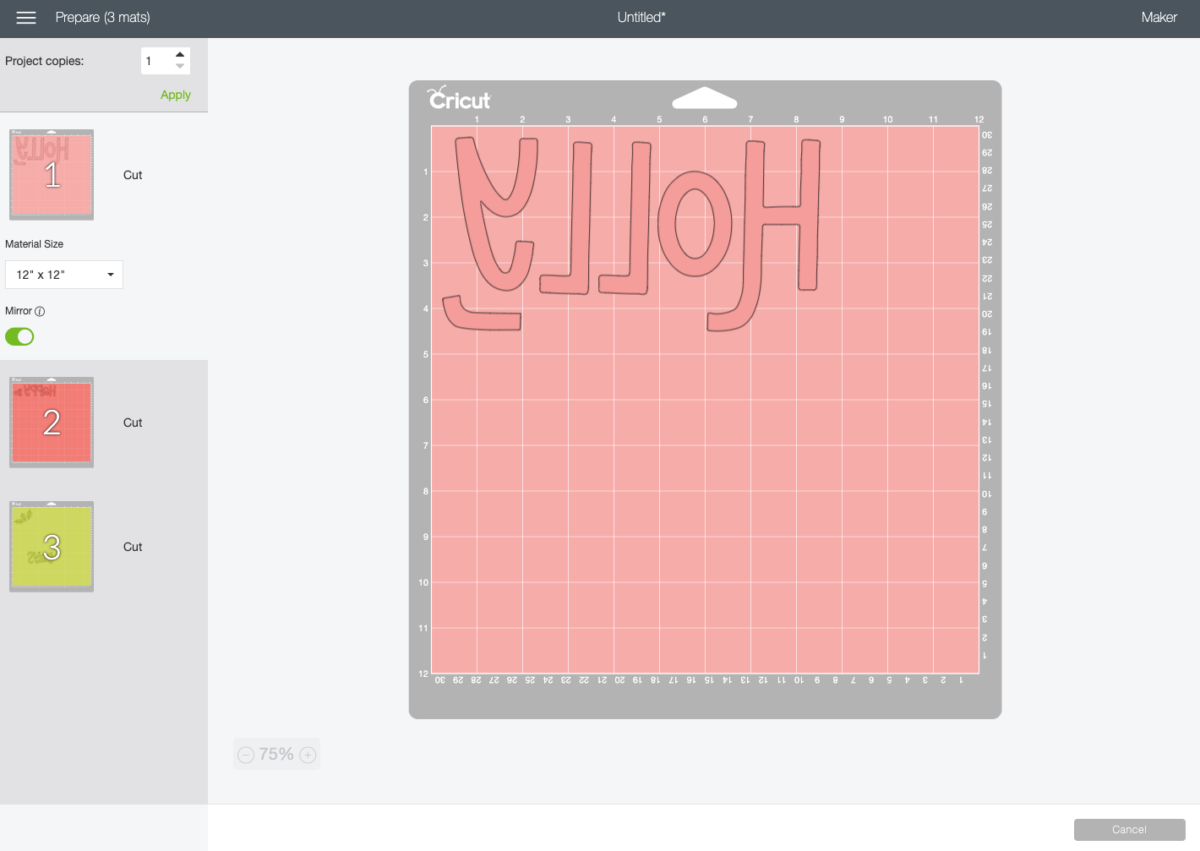
Now we are ready to cut the file! Click Make It in the upper right and you’ll be taken to the Prepare Screen. Here, we want to click the “mirror” slider for each layer. This will ensure that our project faces the correct direction when it’s ironed onto our banner.
Then click Continue.
Cut Your Iron On Vinyl for Your Christmas Banner
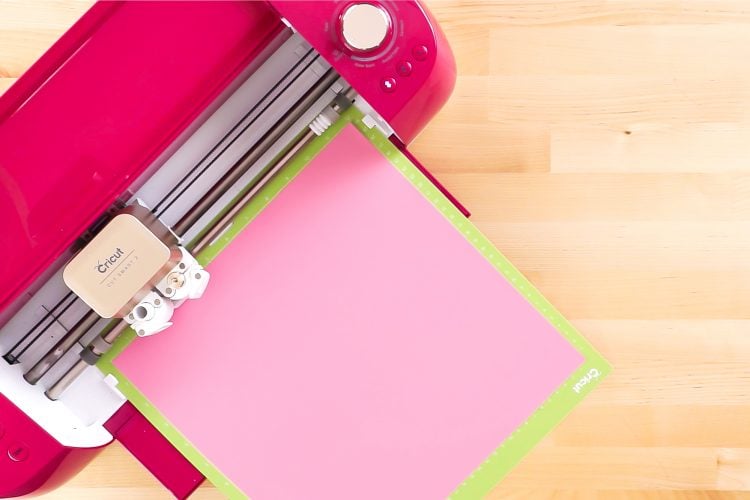
On the Make Screen, you’ll set your material (I am using a few different brands of iron on for this, but the Everyday Iron On setting works for them all). Make sure you have your fine point blade in your machine, insert your mat, and your Cricut will cut your project!
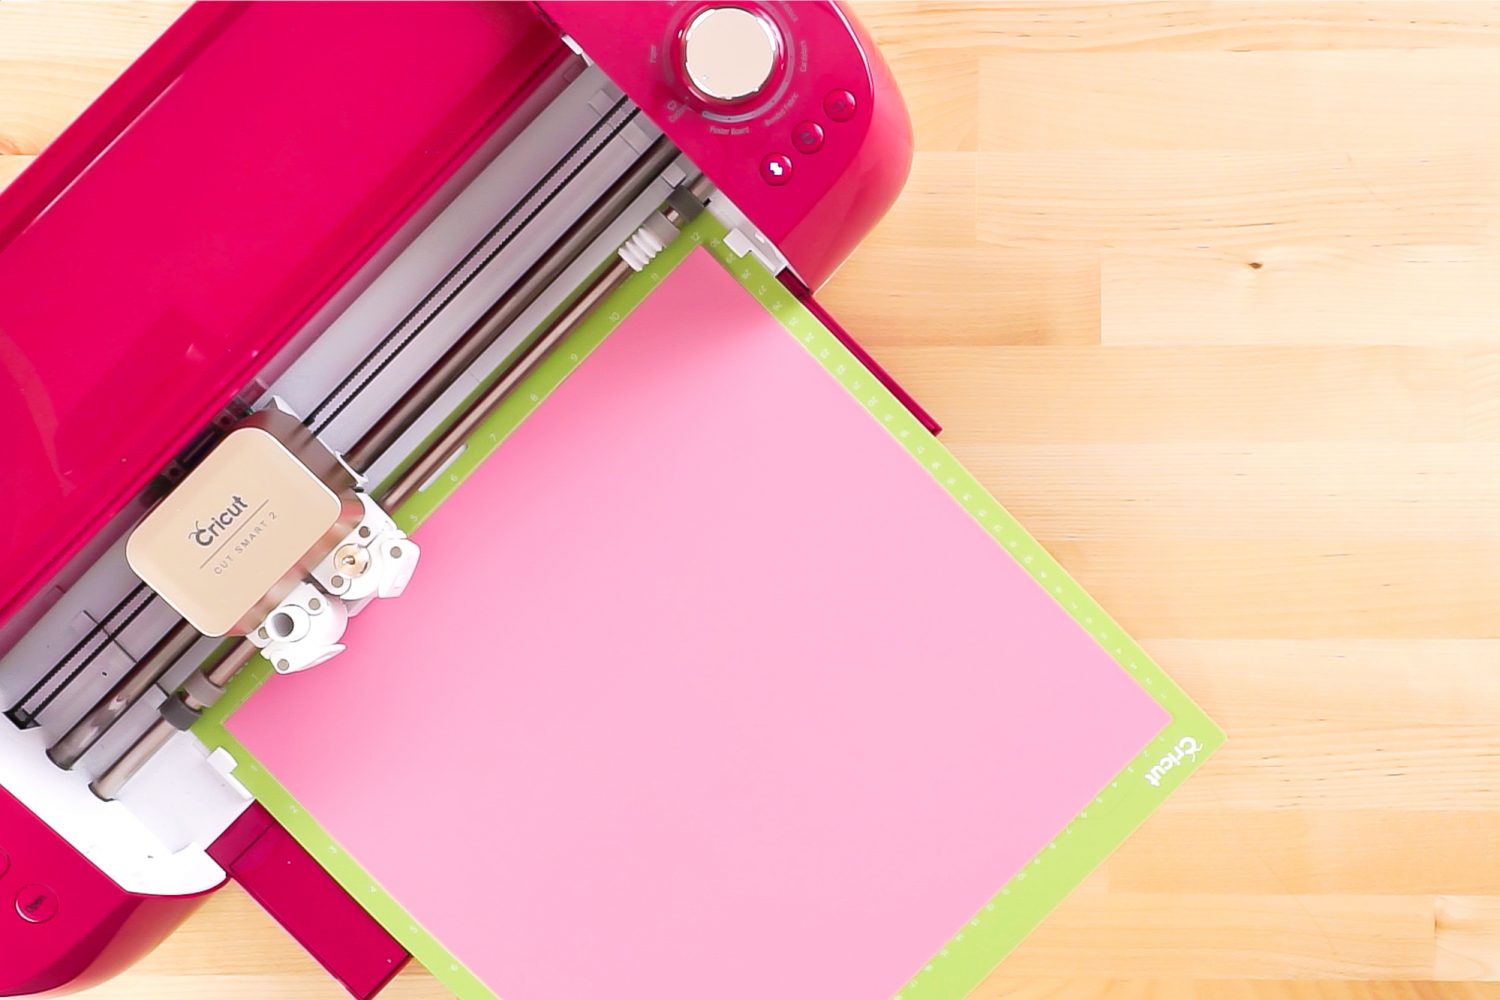
You’ll want to cut all three layers of iron on vinyl, making sure that each layer is mirrored.
Weed Your Iron On Vinyl
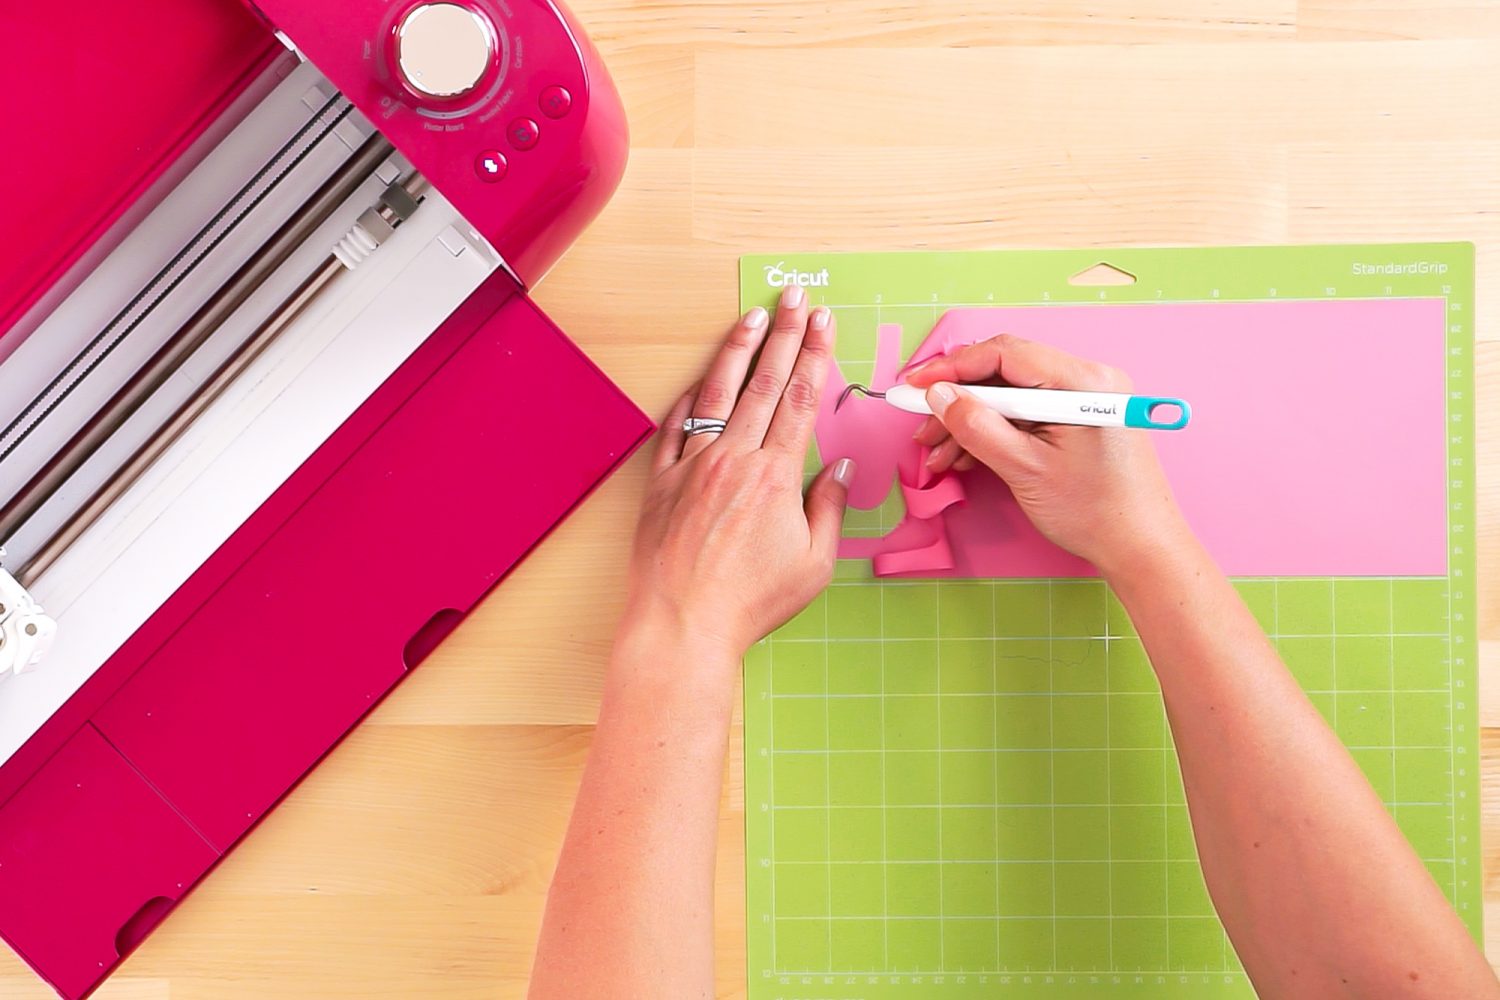
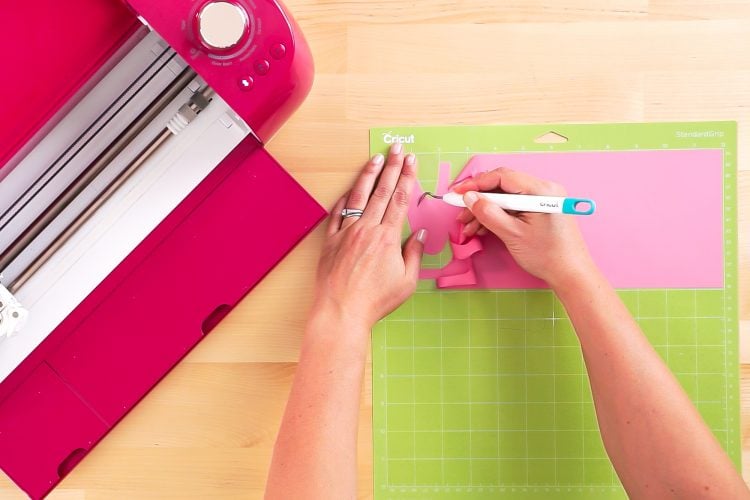
Next we’re going to “weed” the negative space from around our image. I have an extensive post about Weeding Iron On Vinyl, which you’ll want to read—tons of tips and tricks to making it easier.
Adhere Your Iron On Vinyl
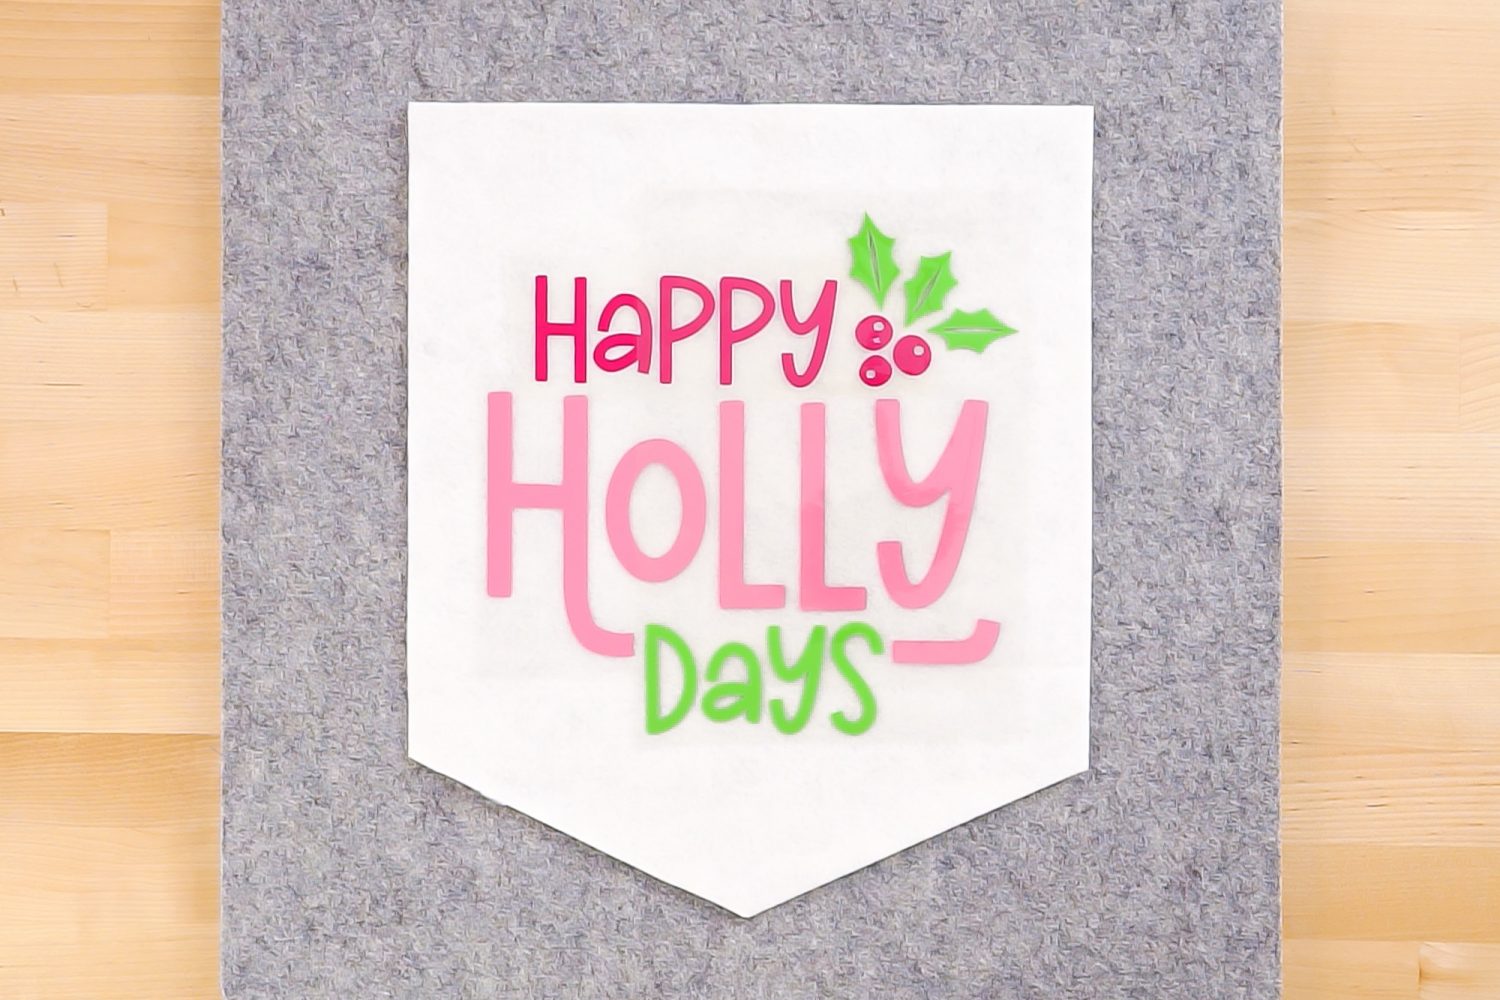
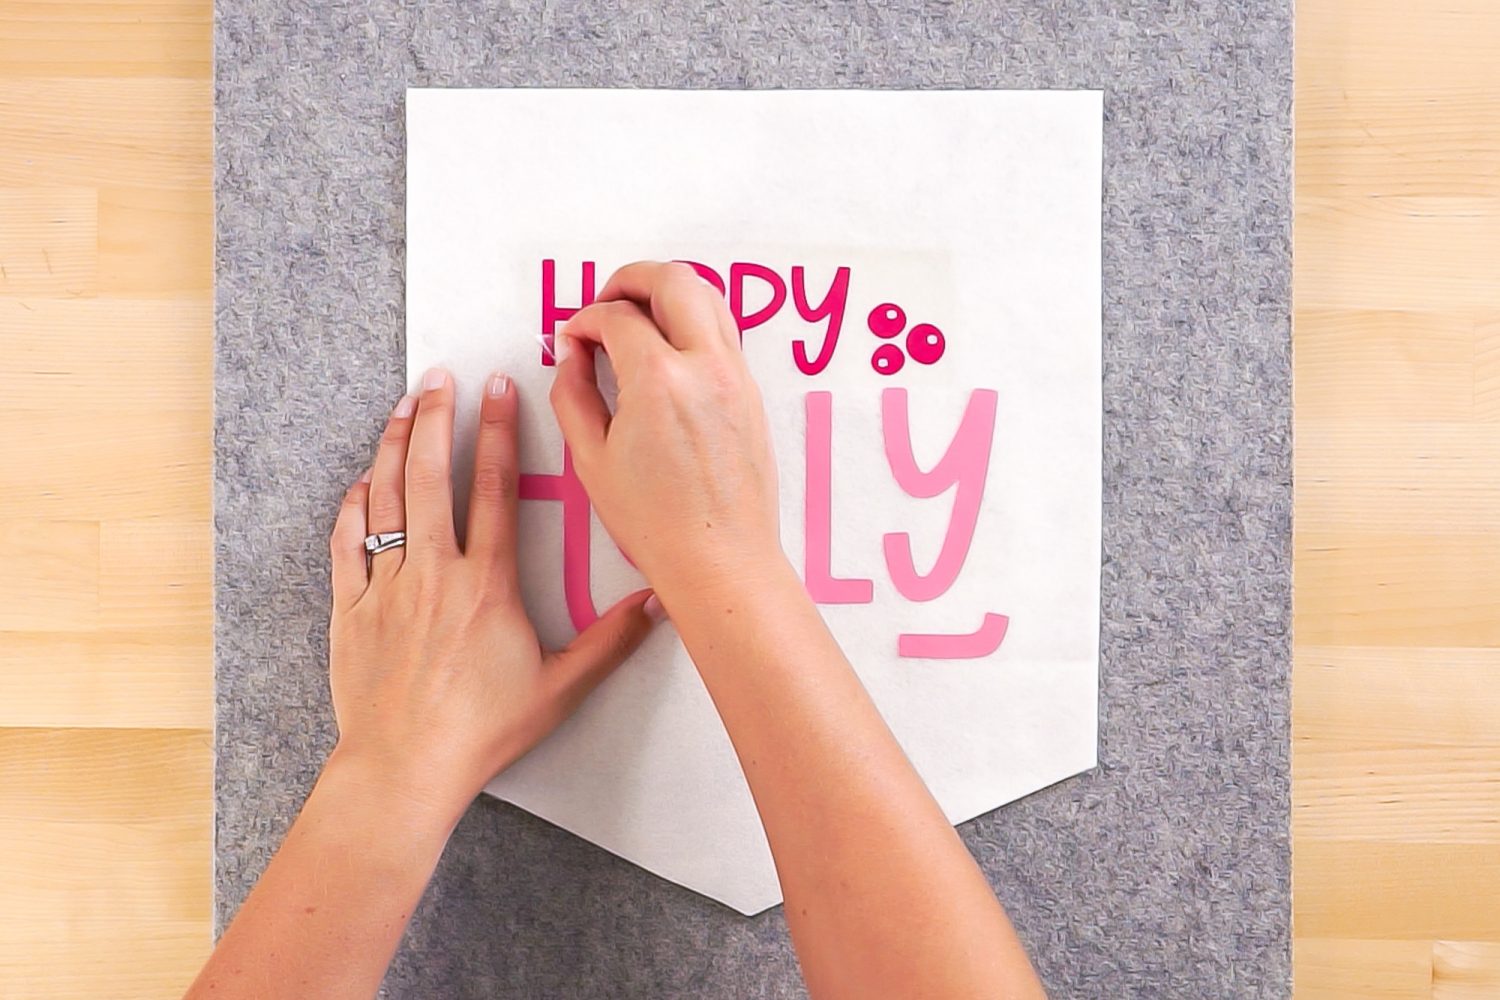
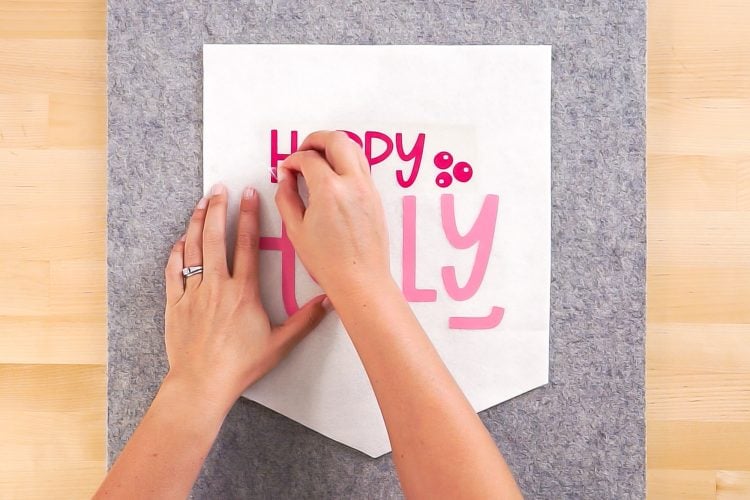
Now we are going to adhere our iron on vinyl to the felt pennant. I like to layer my three decals so I can make sure I like how it looks when it’s finished, and then carefully peel away the two top layers, just leaving the bottom layer to start. Make sure you subtract an inch off the top—that will get folded over the dowel and glued.
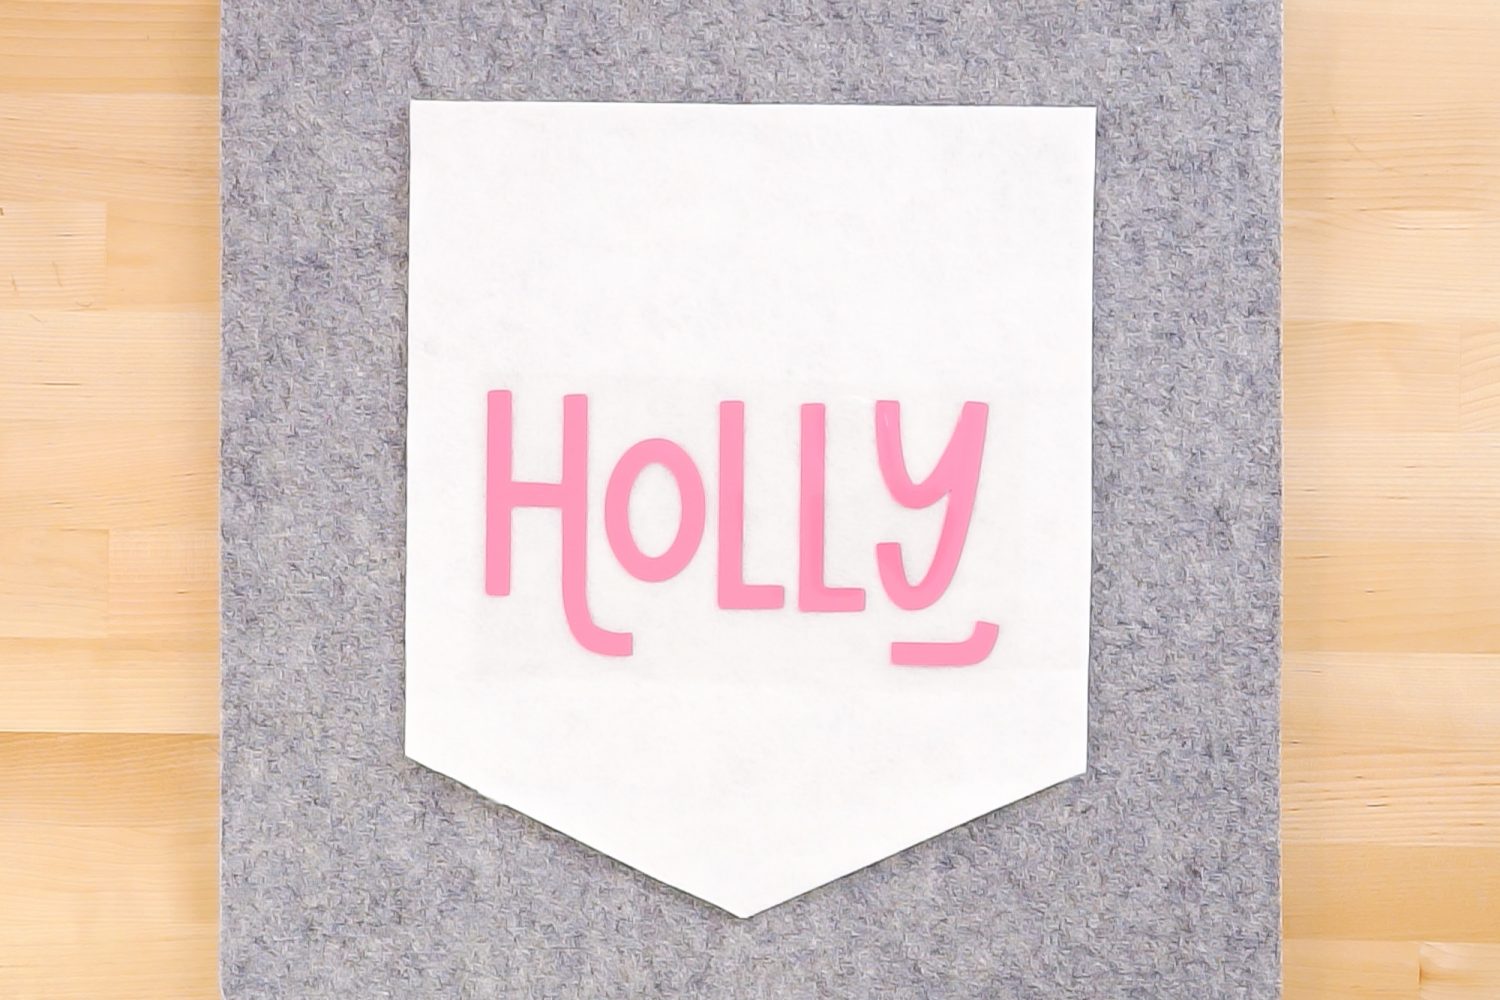
Use your EasyPress or Iron to adhere the iron on vinyl to the banner. Learn more about Using Iron On Vinyl.
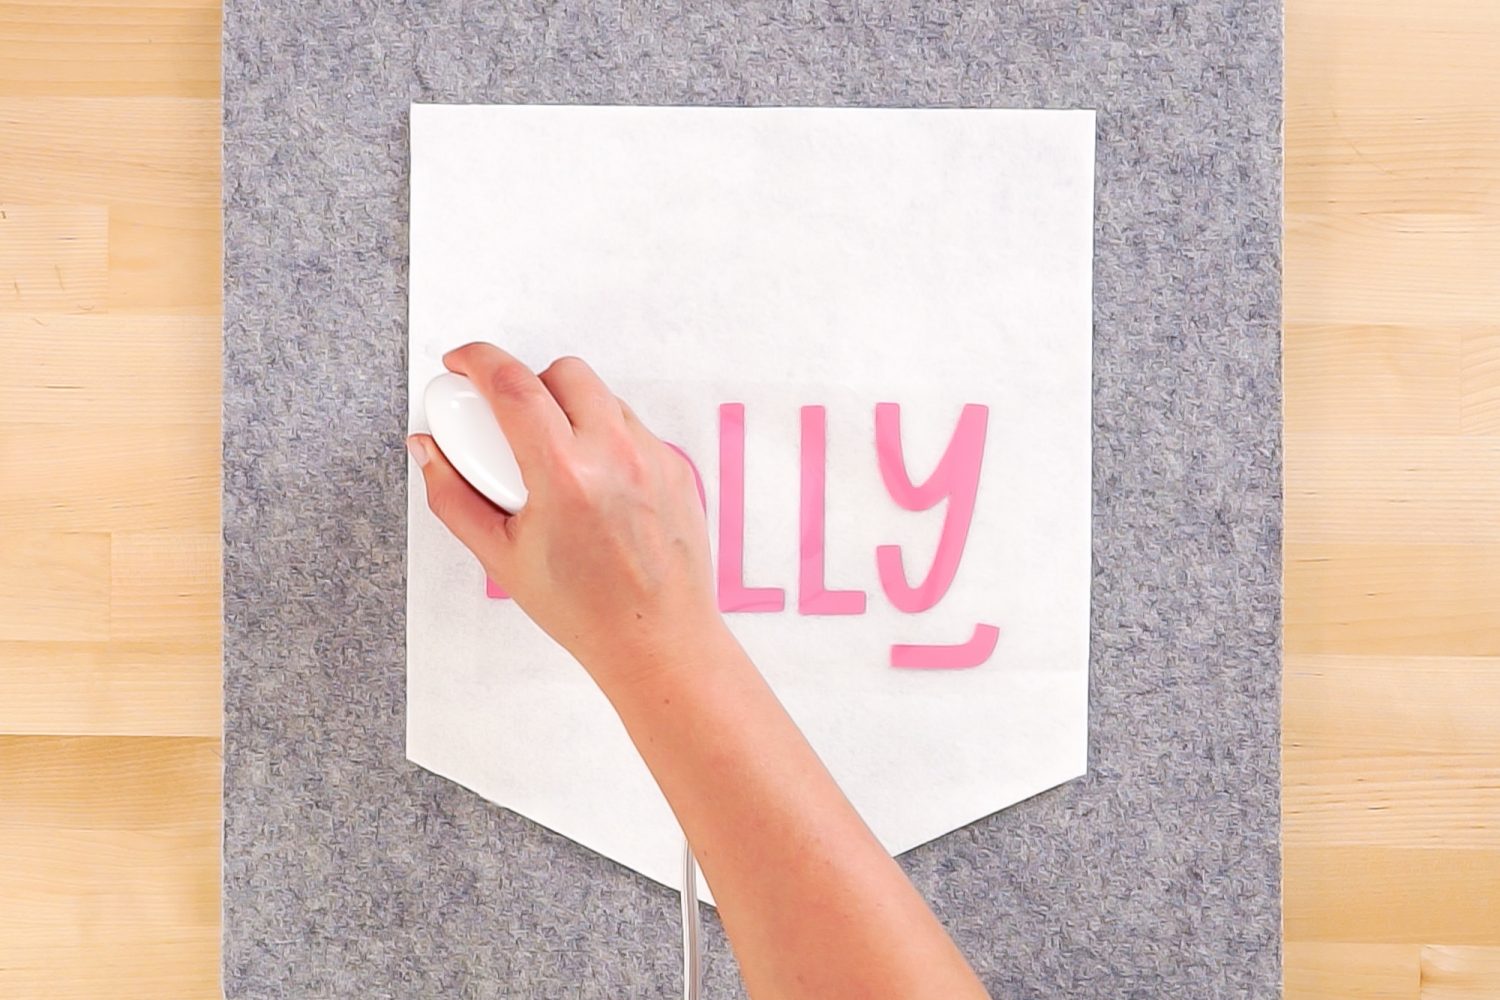
Continue with the other two layers, until your entire image is adhered to the banner.
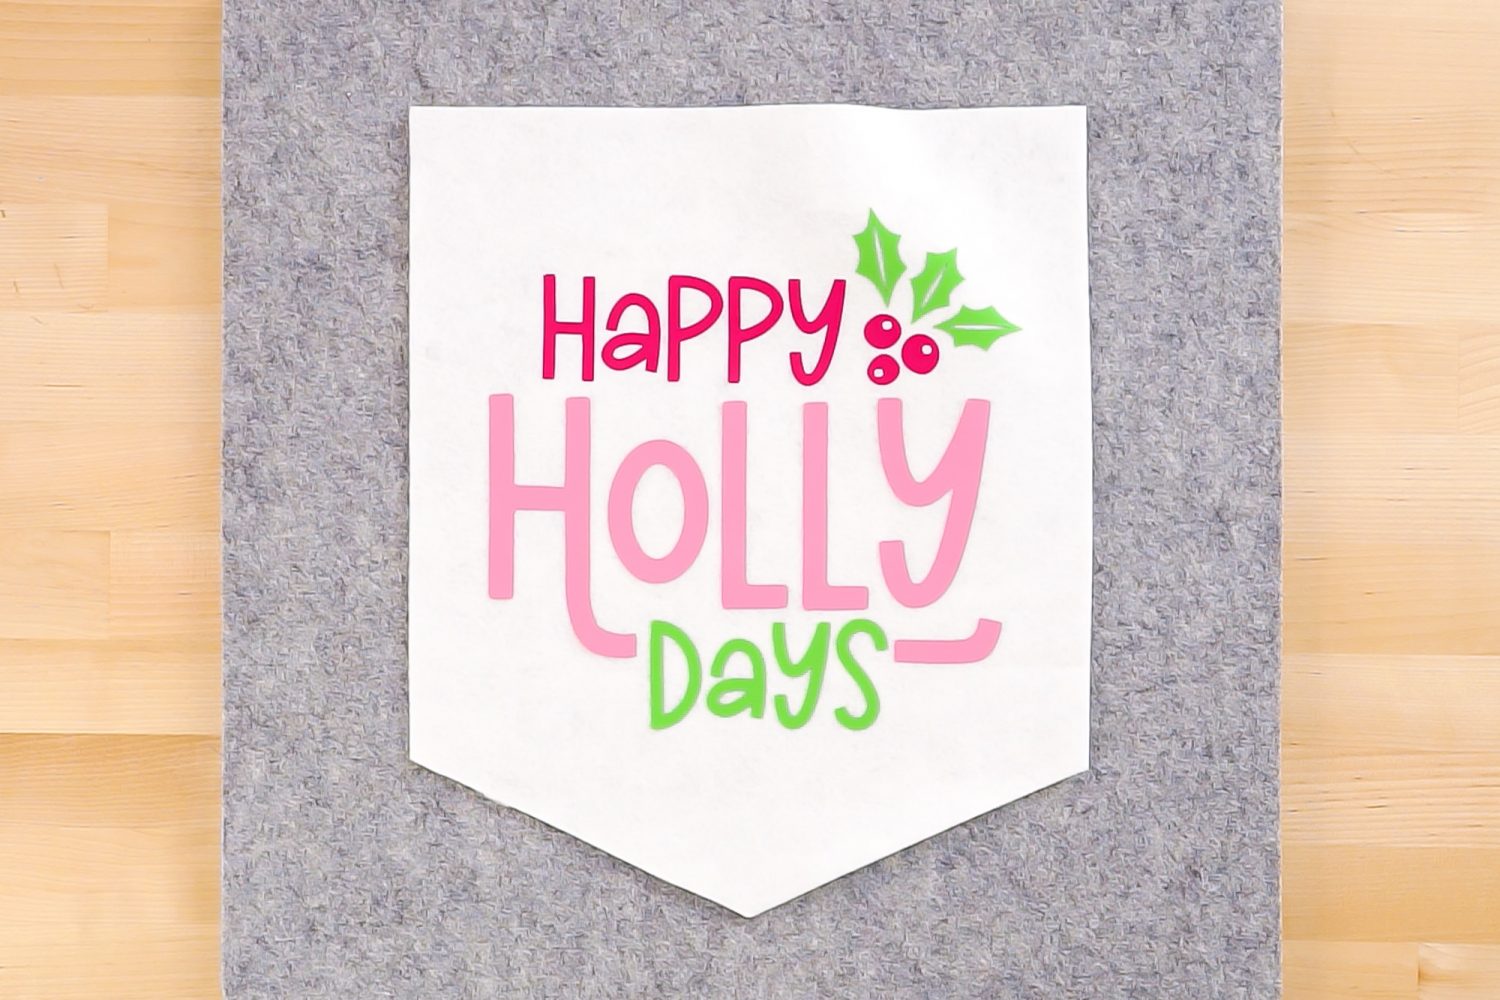
Finish Your Happy Holly Days Christmas Banner
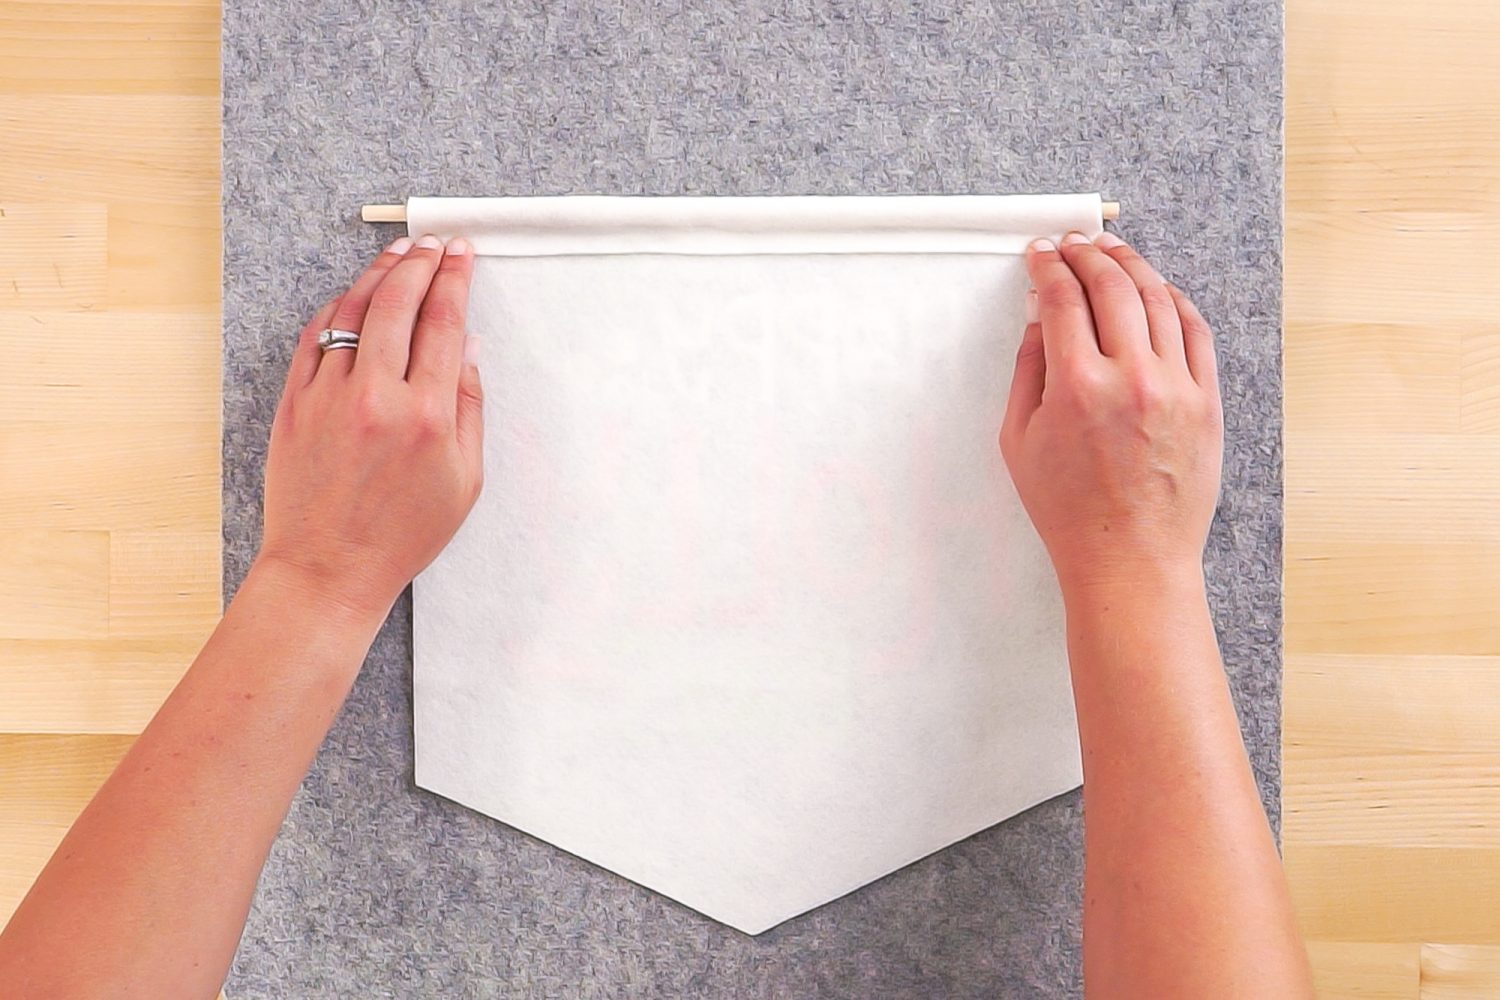
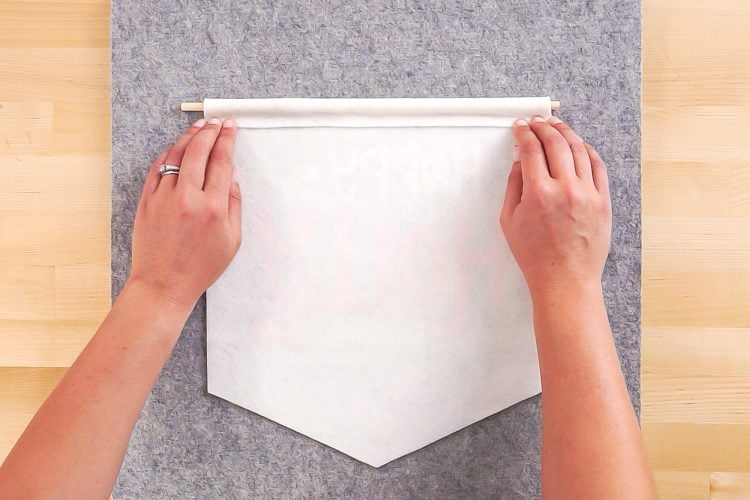
We’re almost done! Flip your pennant over, and fold over the top of the banner, encasing the dowel. Use your hot glue gun to secure the fold.
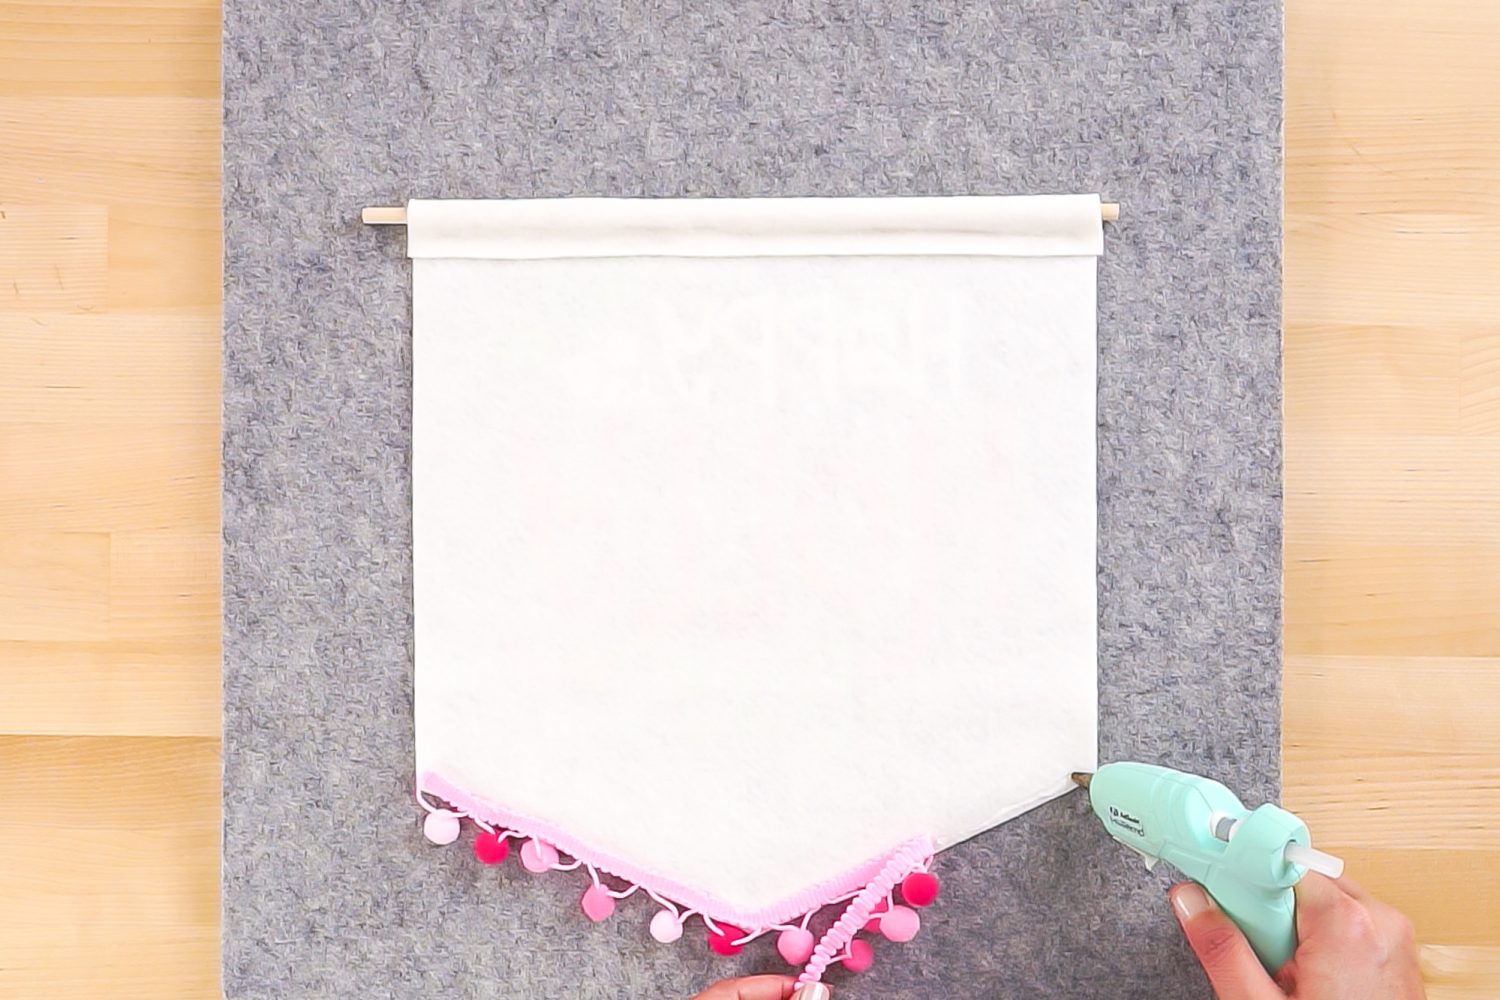
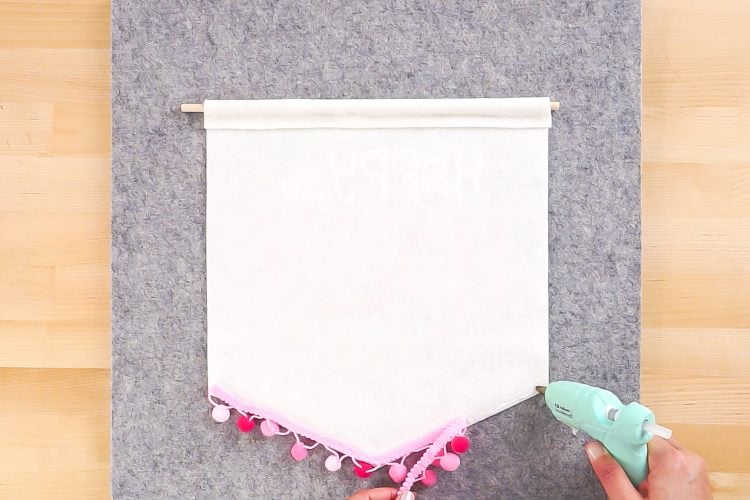
Glue the pom pom trim to the back of the bottom of the banner using the hot glue gun.
Then tie a ribbon or twine to the ends of the dowels, and your adorable Happy Holly Days Christmas banner is complete!
Love Christmas banners? Check out my Merry & Bright banner, too!
HAPPY HOLLY DAYS CHRISTMAS BANNER
Equipment
- EasyPress Mini or Iron
Supplies
- Iron On Vinyl Pink, red, green
- Felt White
- Pom Pom Trim Pink, red, white
- Wooden Dowel
- Ribbon
Instructions
- Upload the file to Cricut Design Space and resize.

- Cut the pieces from iron on vinyl.

- Weed your iron on vinyl pieces.

- Adhere your iron on pieces to the felt banner.

- Glue the felt over the dowel on the back.

- Add the pom pom trim.

- Add a ribbon to the dowel and hang!

Notes
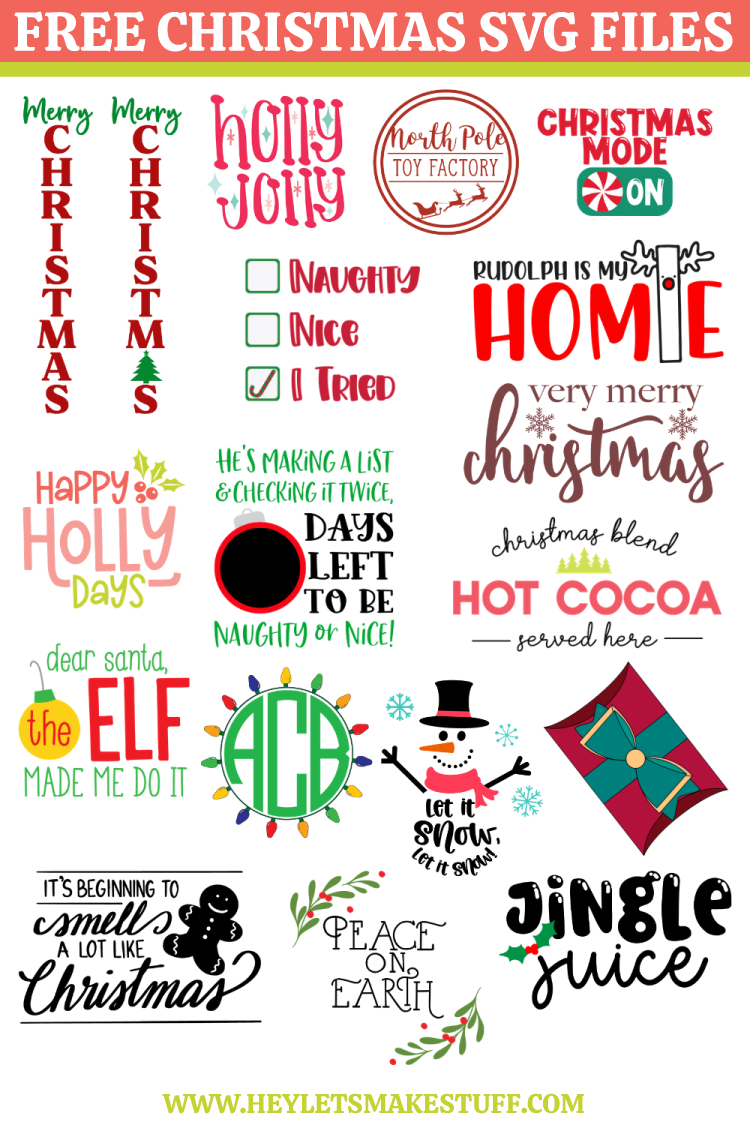
Totally Free Christmas SVGs!
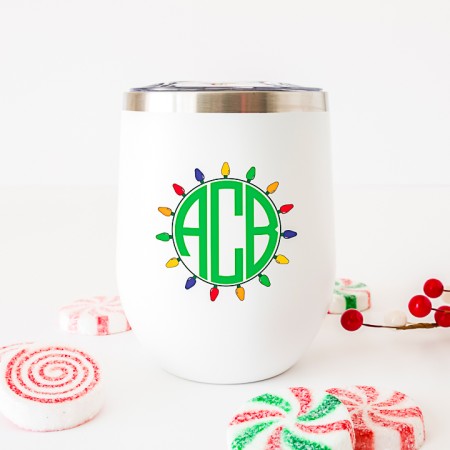
CHRISTMAS LIGHTS
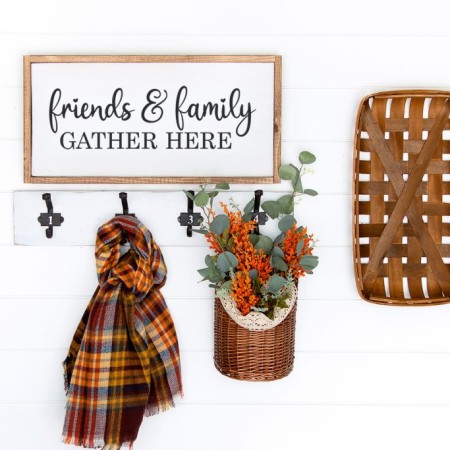
FRIENDS AND FAMILY
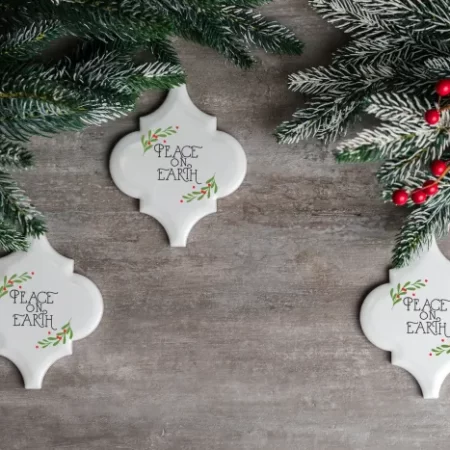
PEACE ON EARTH
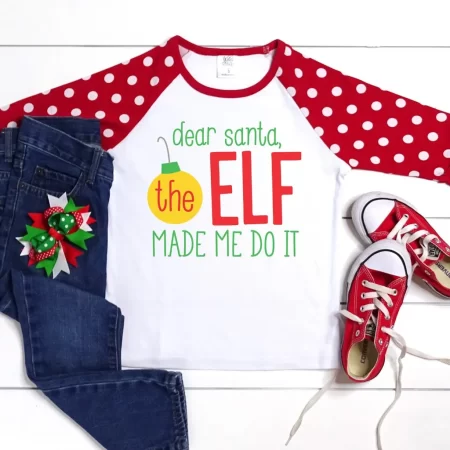
THE ELF MADE ME DO IT
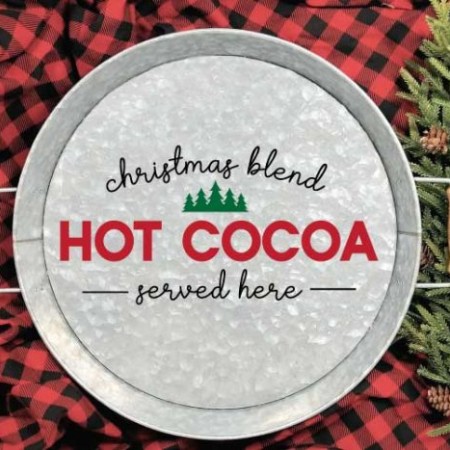
HOT COCOA
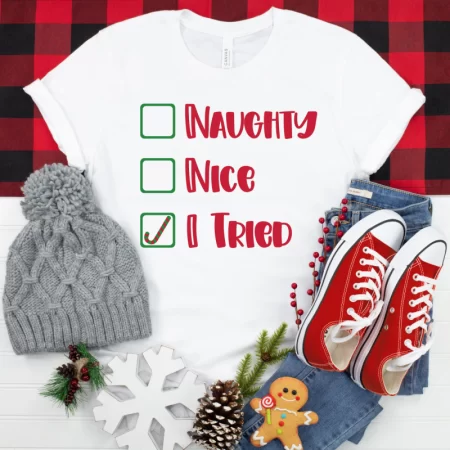
NAUGHTY NICE I TRIED
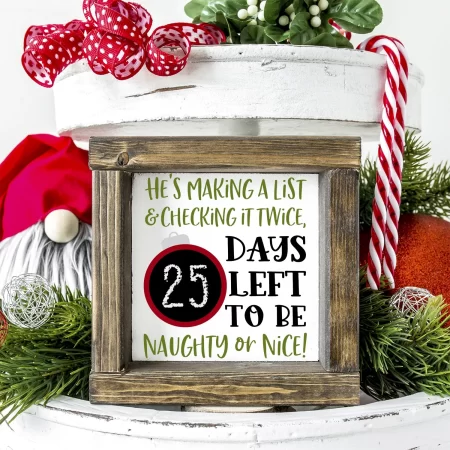
CHRISTMAS COUNTDOWN
MINI CHRISTMAS GIFT BOX AND BOW
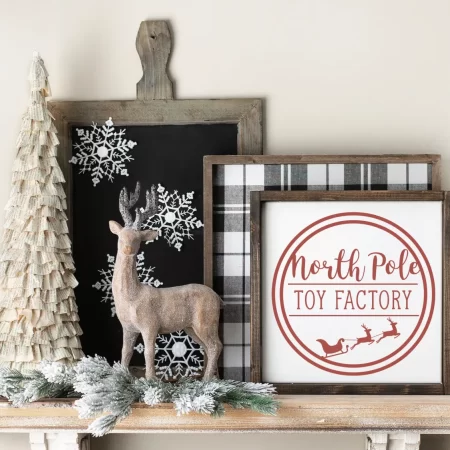
NORTH POLE
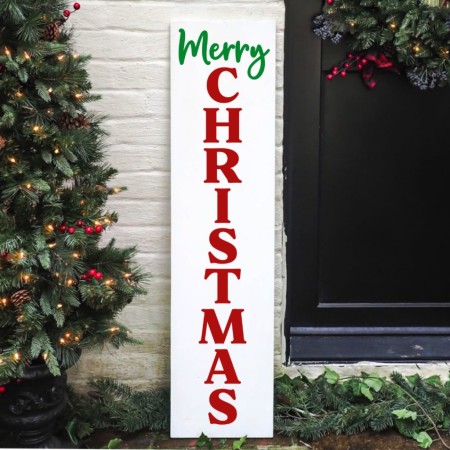
CHRISTMAS PORCH SIGN
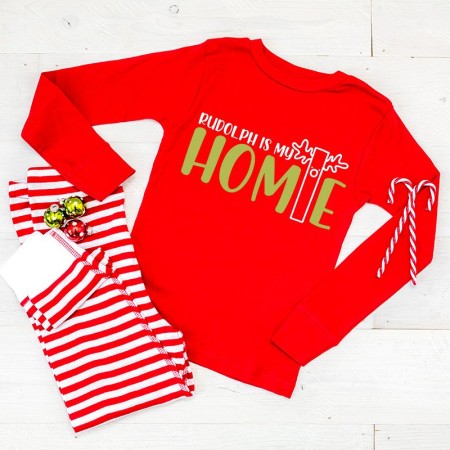
RUDOLOPH IS MY HOMIE
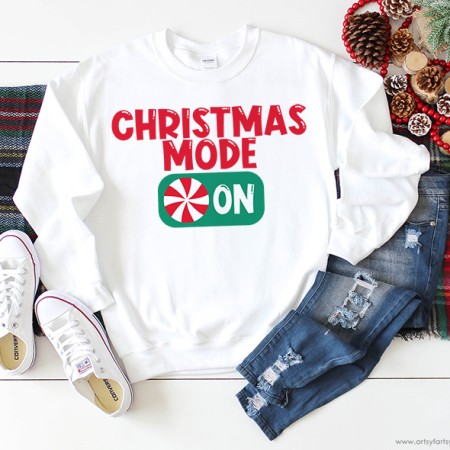
CHRISTMAS MODE: ON
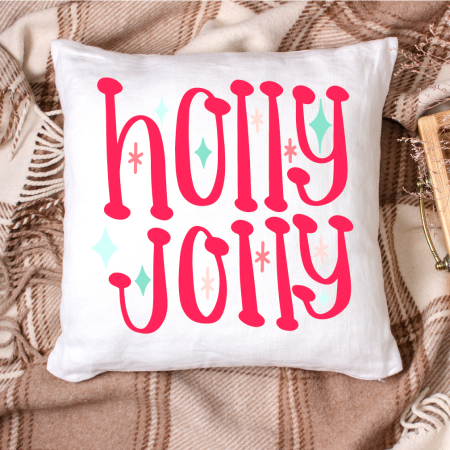
HOLLY JOLLY
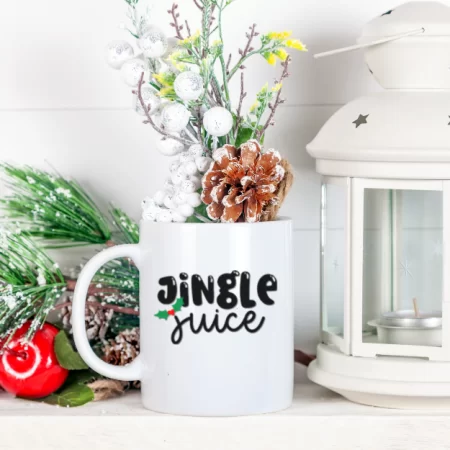
JINGLE JUICE
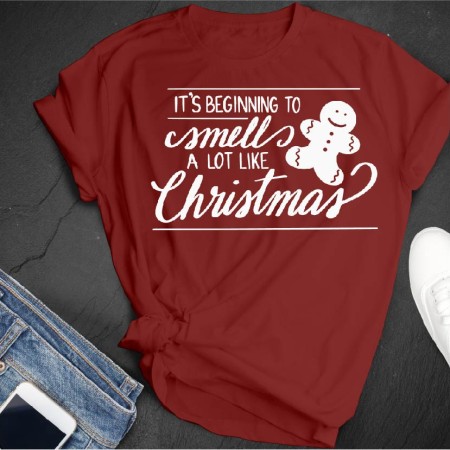
IT’S BEGINNING TO SMELL
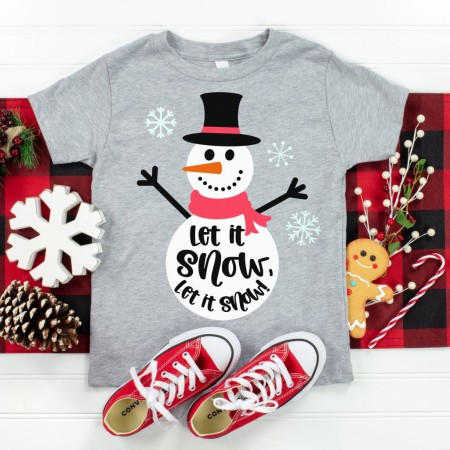
LET IT SNOW
Make All the 25 Days of Cricut Christmas Projects!
We’ll be adding links as each day goes live! Grab the full bundle with all of the projects and SVGs in our 25 Days of Cricut Christmas eBook!
- Day 1: DIY Christmas Countdown Calendar
- Day 2: Snow Globe Shaker Card
- Day 3: Happy Holly Days Christmas Banner
- Day 4: Felt Gnome Pillow
- Day 5: Cookies for Santa Tray
- Day 6: Snowflake Coasters
- Day 7: Customized Christmas Banner
- Day 8: Etched Holiday Baking Dish
- Day 9: DIY Gift Card Holder
- Day 10: Christmas Apron
- Day 11: Christmas Quilt Block Artwork
- Day 12: Constellation Glitter Ornaments
- Day 13: DIY Christmas Card Holder
- Day 14: Papercut Christmas Village
- Day 15: Funny Christmas Socks
- Day 16: Veneer Pinecone Earrings
- Day 17: How to Make Felt Bows
- Day 18: Personalized Santa Sacks
- Day 19: Newborn Footprint Ornaments
- Day 20: Layered Christmas Mandala
- Day 21: Customized Pot Holders
- Day 22: Sleigh Rides Christmas Sign
- Day 23: Hot Cocoa Mug Gift
- Day 24: Print then Cut Gift Tags
- Day 25: Matching Christmas Pajamas




Comments & Reviews
Kathi says
ThankYou from Alaska for all the great ideas and files.
Lori Lidle says
Cori
I just have to say thank you for all your great ideas and free SVG’s. I love your site!
Lori
Y says
Thanks