Frustrated that your HTV / iron on doesn’t last long before peeling up? By following these steps, you can get your iron on to stick the first time and last longer through many washes!
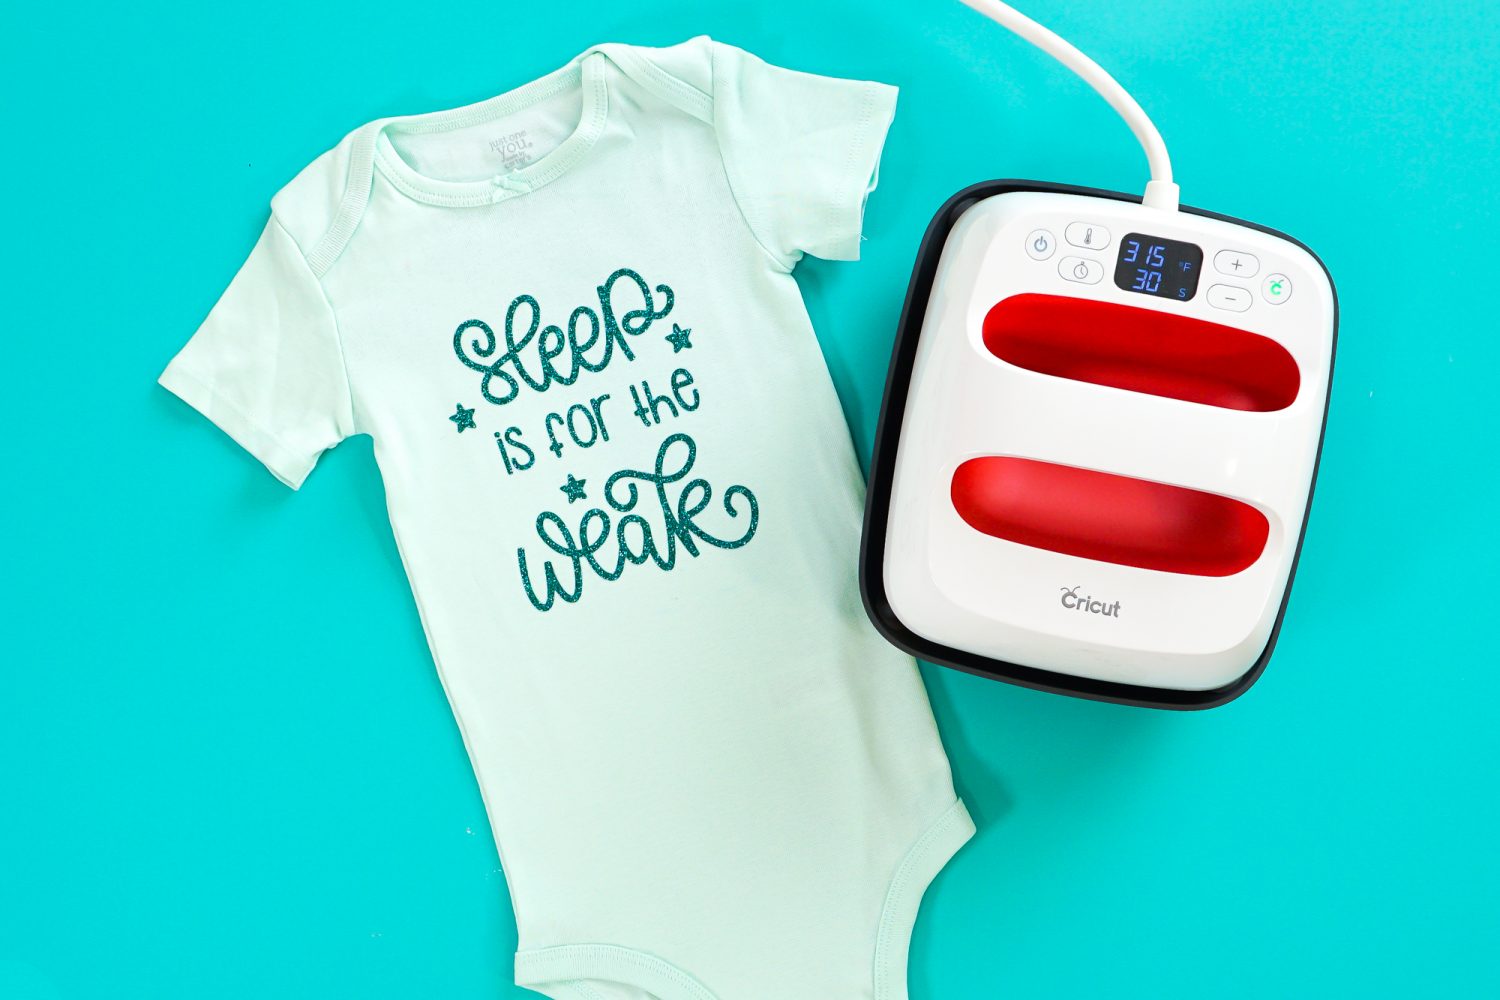
Help! My iron on won’t stick!
One of my least favorite things is when I make a shirt using my Cricut and iron on…and after just a few washes, my iron starts to peel or crack! I think every Cricut crafter has experienced this. If you’re wondering why your iron on won’t stick, you’re not alone!
In this post, I’m going to share my best tips for getting iron on to stick permanently so that you can wear and use your Cricut creations for a long time to come.
For the purposes of this post, I’m going to use the term “iron on,” but this synonymous for heat-transfer vinyl or HTV.
Before we begin, you may want to check out my iron on overview post: How to Use Iron On. This is a great place to start if you’re new to iron on!
Steps to Get Iron On to Stick Permanently
If you go through the following steps, you can help ensure good adhesion for any type of iron on vinyl you might use on any base!
Know Your Base/Blank Material
To start, check out your base/blank. This is the thing you are going embellish with the iron on. It could be a shirt, hoodie, towel, tote bag, hat, pair of canvas shoes, etc.
Figure out what type of material by looking at the tag. Knowing what material will help you decide which type of iron on is right for your project in the next section.
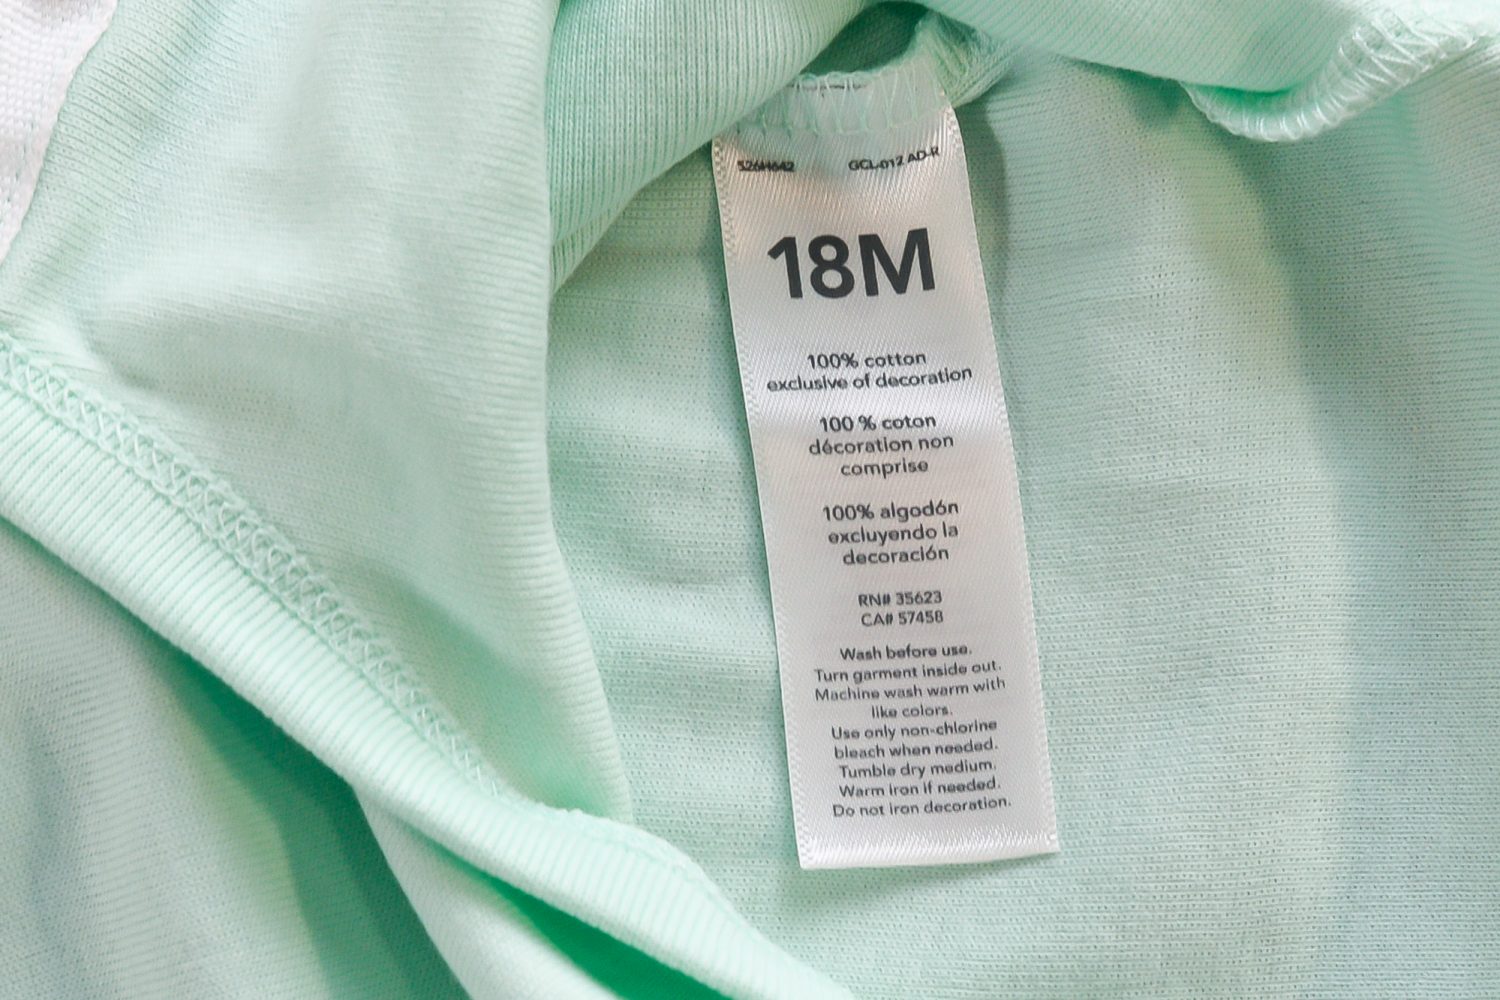
You’ll also want to be aware of seams, buttons, zippers, snaps, etc. These things can affect how well your iron on presses. If a zipper, for instance, is getting in the way of your heat press getting full contact with your iron on, your project won’t stick well. In that case, you may want to select a smaller heating tool, like the small Cricut EasyPress.
Choose the Right Iron On
Once you know your base, you’ll want to choose the right iron on. Cricut Everyday Iron on or Siser EasyWeed are good picks for most bases. You can also use foil, patterned, or glitter versions of these materials.
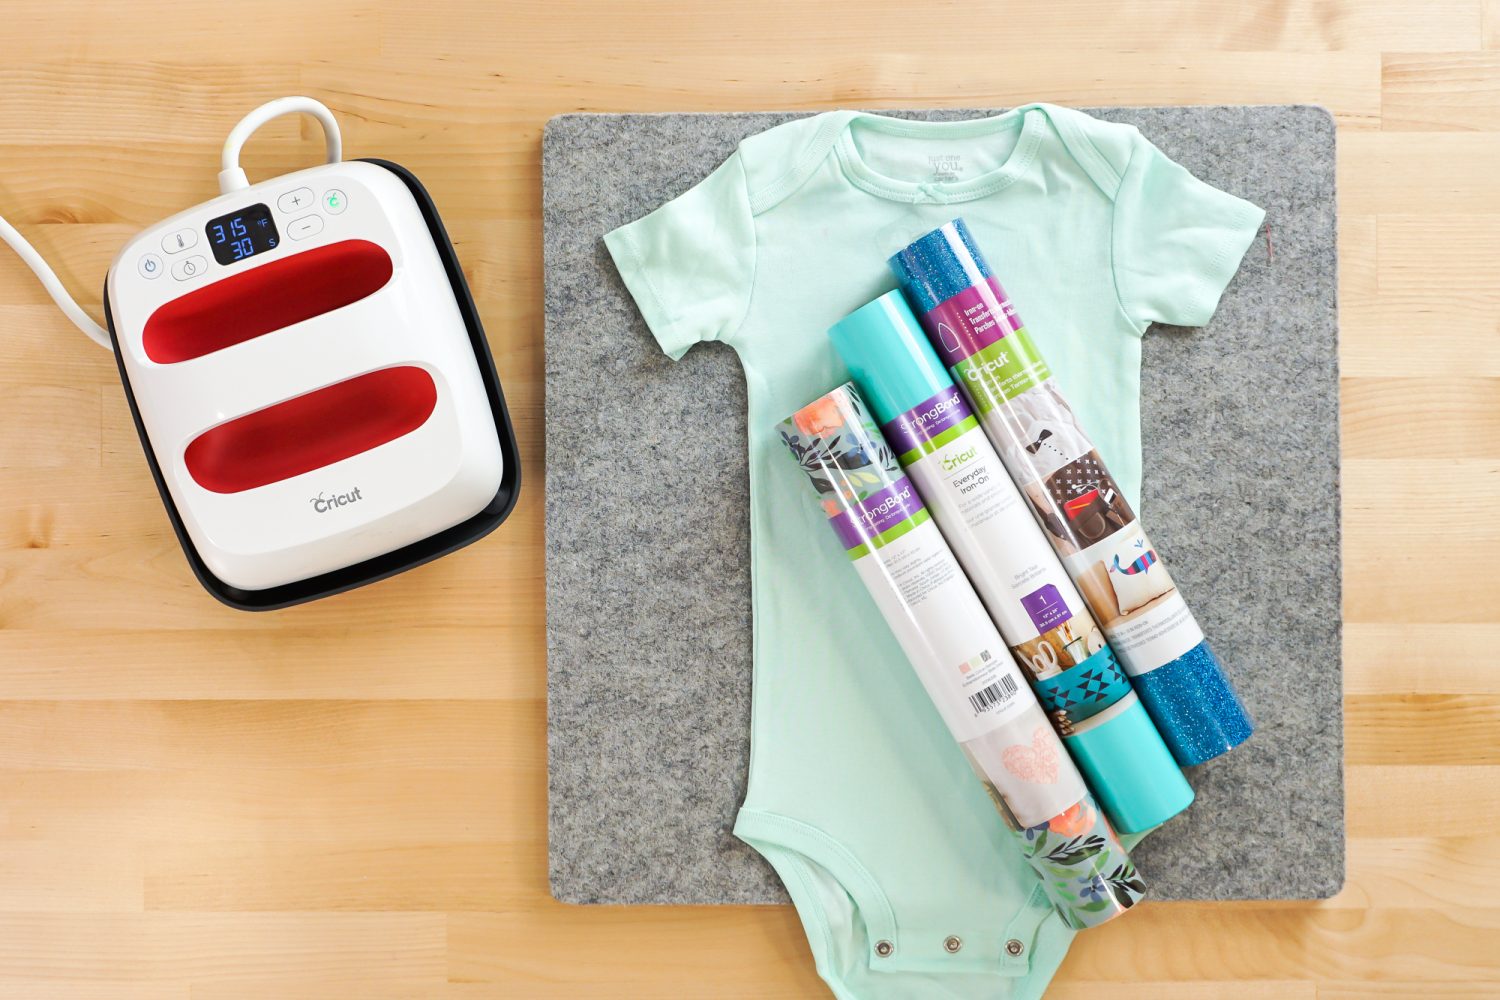
If your base is stretchy, like nylon or other “sporty” materials, you will want to choose a stretchy iron on material, like Cricut SportFlex or Siser EasyWeed Stretch.
If you want to layer more than one type or color of iron on, check out my post on How to Layer Iron On. There are rules when it comes to layering iron on (like you shouldn’t layer anything on top of glitter iron on), so make sure to check out that post.
Generally, I stay away from cheap iron on that you may purchase on Amazon that comes from a no-name brand overseas. I have found those are much more likely to peel than the big brands.
Iron on also has a shelf life, so if it’s been sitting in your craft room for more than a year or two, it’s probably time to toss it for some new iron on.
Here are a few places I love to buy iron on:
Pre-Wash Your Base
If possible, pre-wash your base before you use iron on. You want your base to shrink BEFORE you adhere the iron on, so pre-washing is a must.
Do not use fabric softener or a dryer sheet—these things can add a coating on your base that will keep the iron on from adhering properly.
Choose Your Heating Method
You generally have three heating choices when it comes to adhering your iron on.
I have a long comparison post, Cricut EasyPress vs. Heat Press vs. Household Iron, that can help you decide which press is best for your project. You may have one or more of these heating methods to choose from—so go with what you have and/or choose what’s most appropriate for your project.
For instance, if you’re doing a onesie, the seams can get in the way with the larger EasyPress. Using the smallest EasyPress, an iron, or having the high pressure of a heat press are all better choices in this instance.
You can also use the EasyPress Mini for some projects. Check out my post What is the Cricut EasyPress Mini? for more information.
Set Your Temperature
The nice thing about using a Cricut EasyPress or a heat press is that you have more control over the temperature of your press.
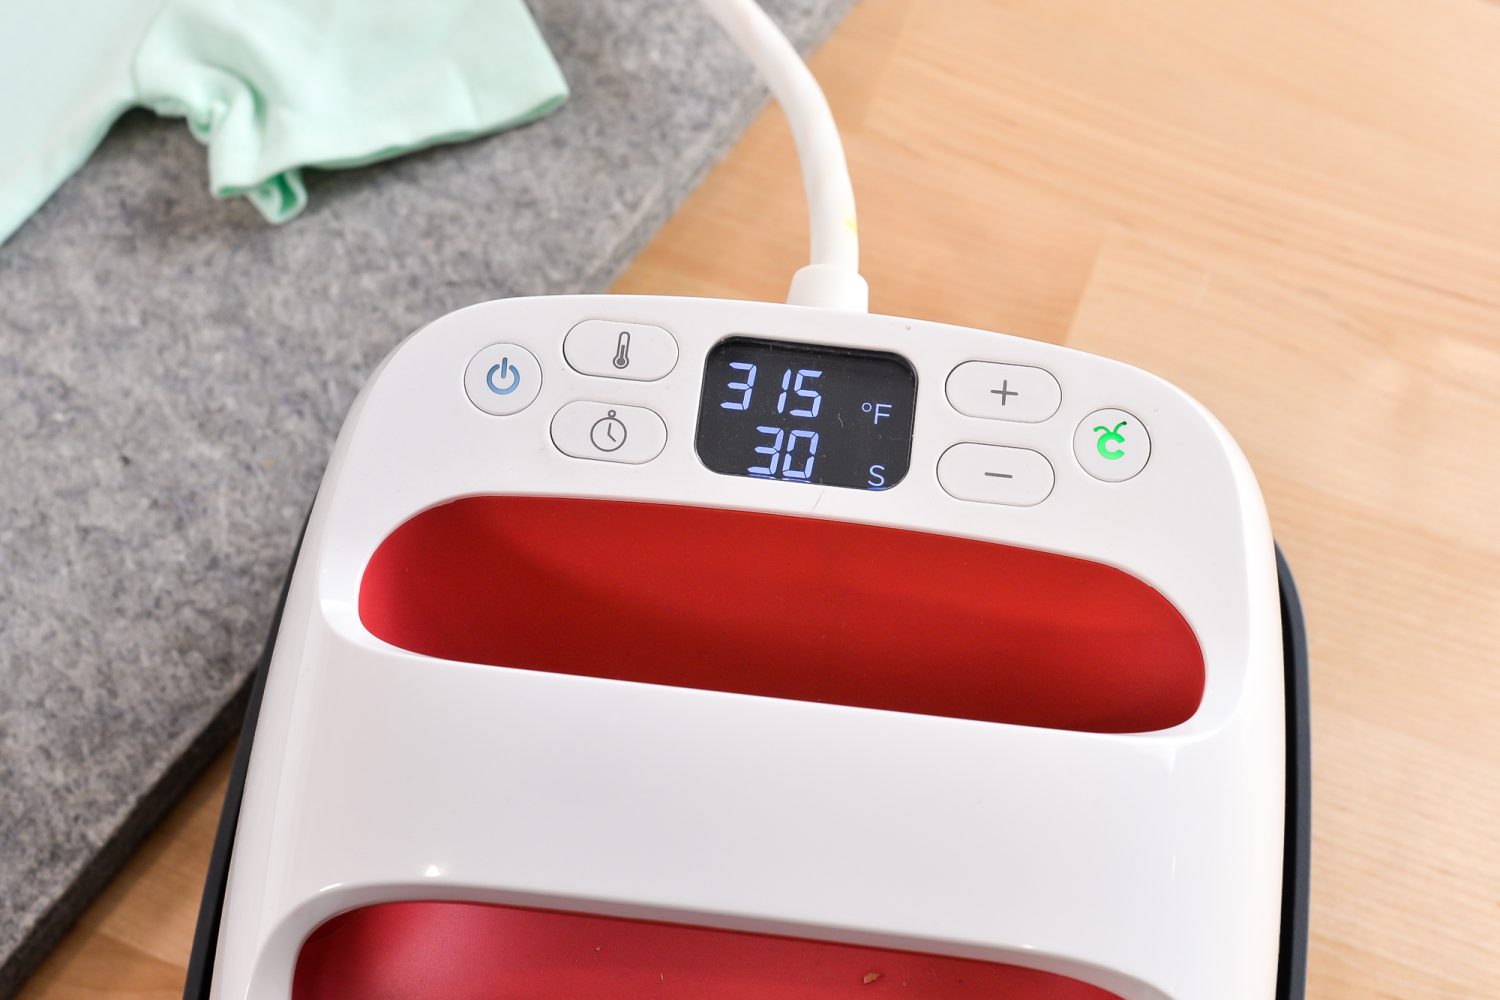
With an iron, you have to make your best guess—just make sure that your iron has no water, since steam can wreck a project. Usually the linen or cotton setting is good for most iron on.
Check the packaging for your material or the Cricut Heat Settings Guide to see what temperature is recommended for your project. If possible, set your heat press or EasyPress to that exact temperature recommended on the packaging.
Choose the Right Pressing Surface
Ideally, you’ll want to chose a pressing surface that will help retain the heat from your press. If you’re using a heat press, the surface is just the bottom part of your heat press.
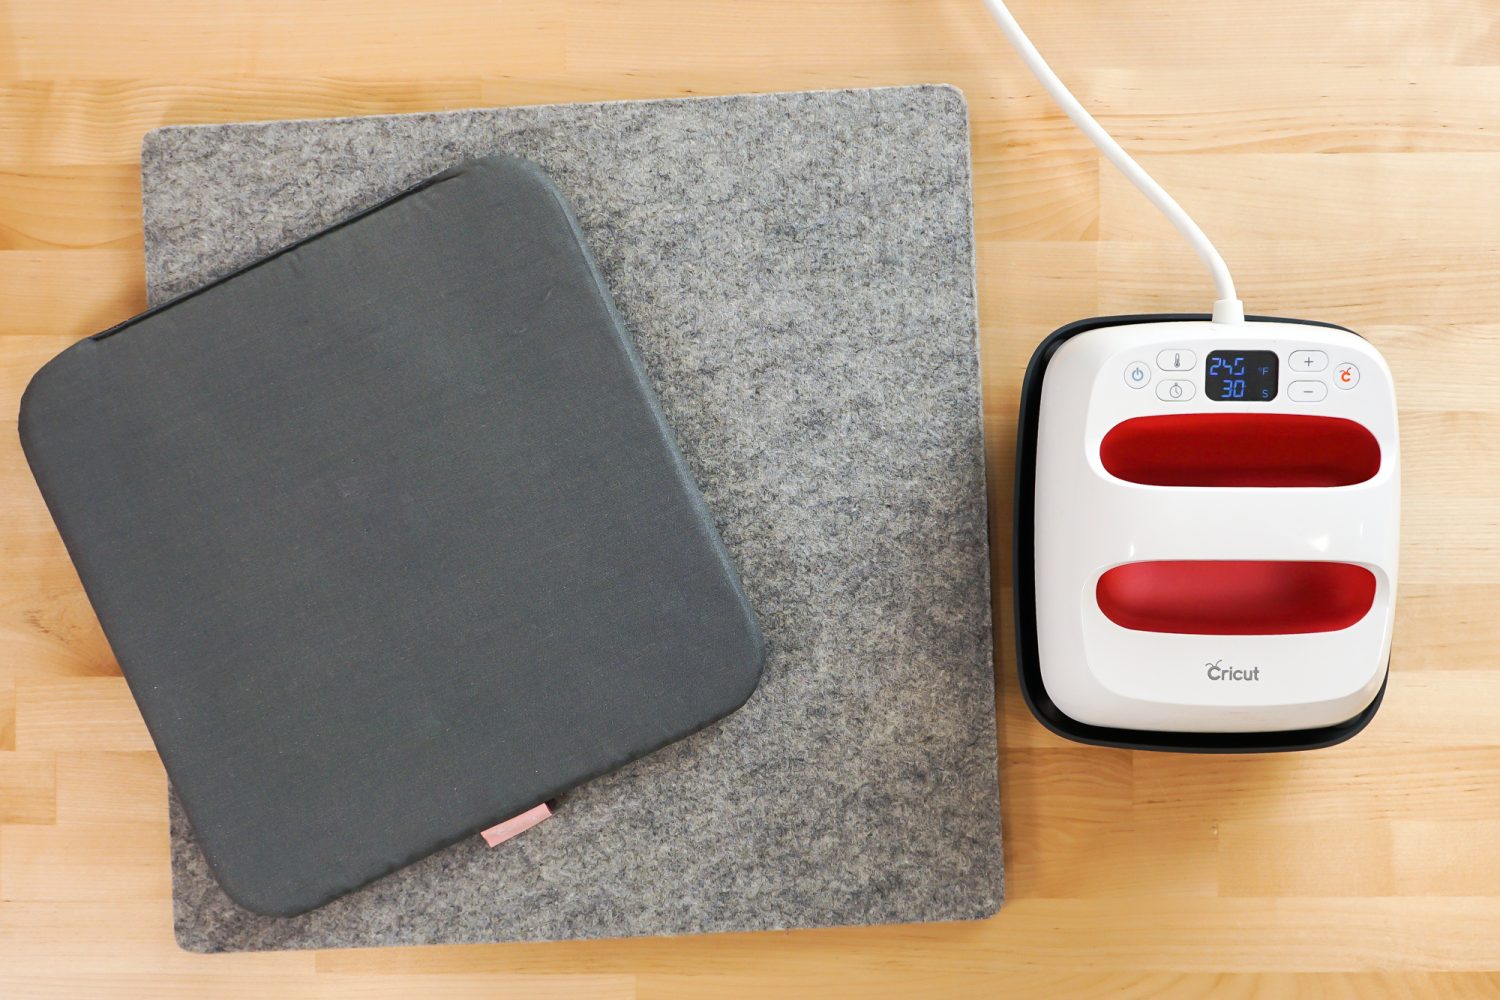
But for an iron or EasyPress, you’ll want a pressing surface that is strong and solid. An ironing board leaches a lot of heat, so it’s not a great choice. Instead, try a pressing mat on a sold table or counter. This will help keep all of the heat in your project. The EasyPress Mat is a good choice, but I also love my wool pressing mat.
Pre-Heat Your Base
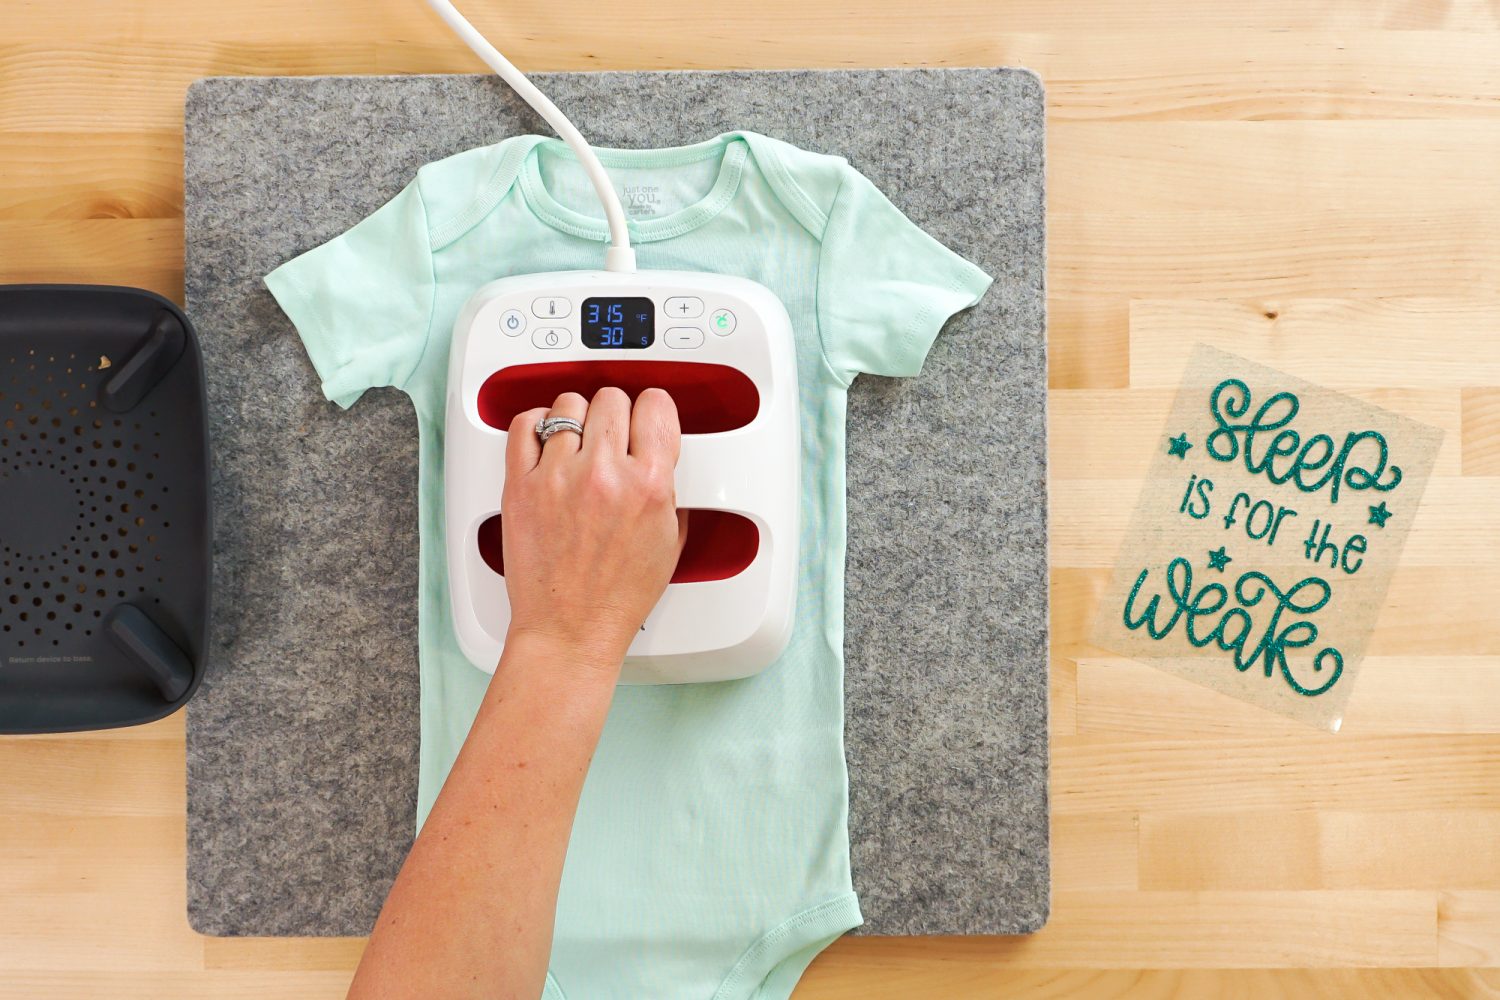
Before you add your iron on to your project, do a “pre-press” of the base for about 15 seconds. This will pre-heat your base and also evaporate any moisture in the material, allowing it to adhere better.
Press Your Project
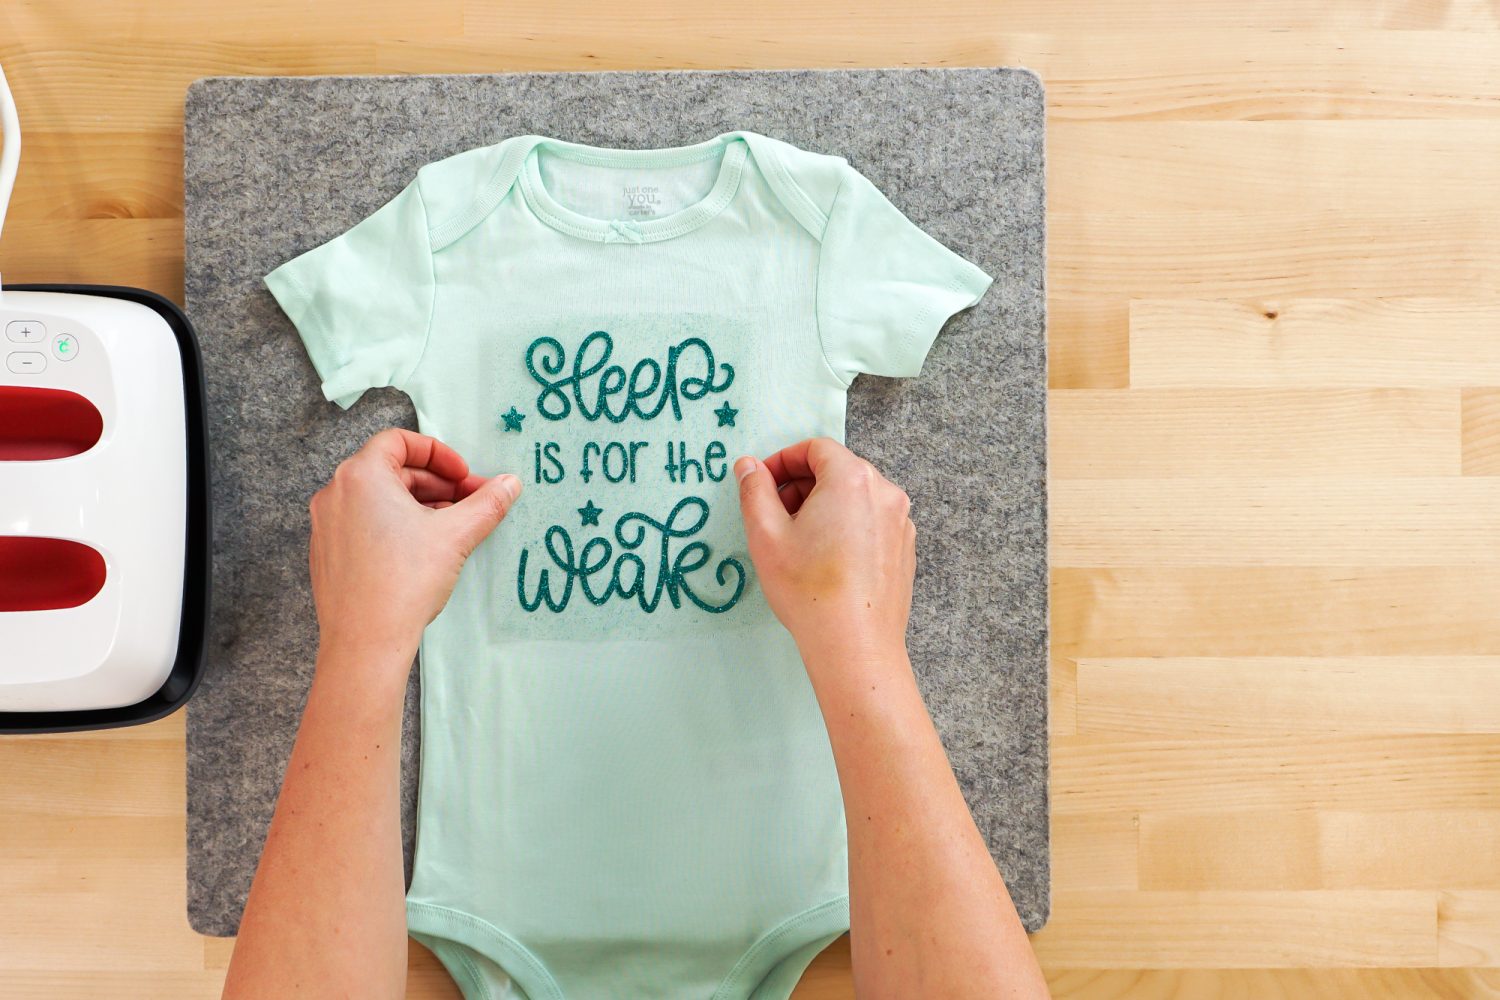
Okay! It’s finally time to press your project. Most iron on materials don’t require a pressing sheet, but you can use one if you’d like. You can use a teflon sheet or even a scrap of cotton fabric.
Press your project for the amount of time on the iron on packaging. Pressing less may mean your iron on won’t have time to fully heat up and adhere. But pressing for too long can actually burn the adhesive totally off the iron on! So try to aim for the time recommended on the packaging.
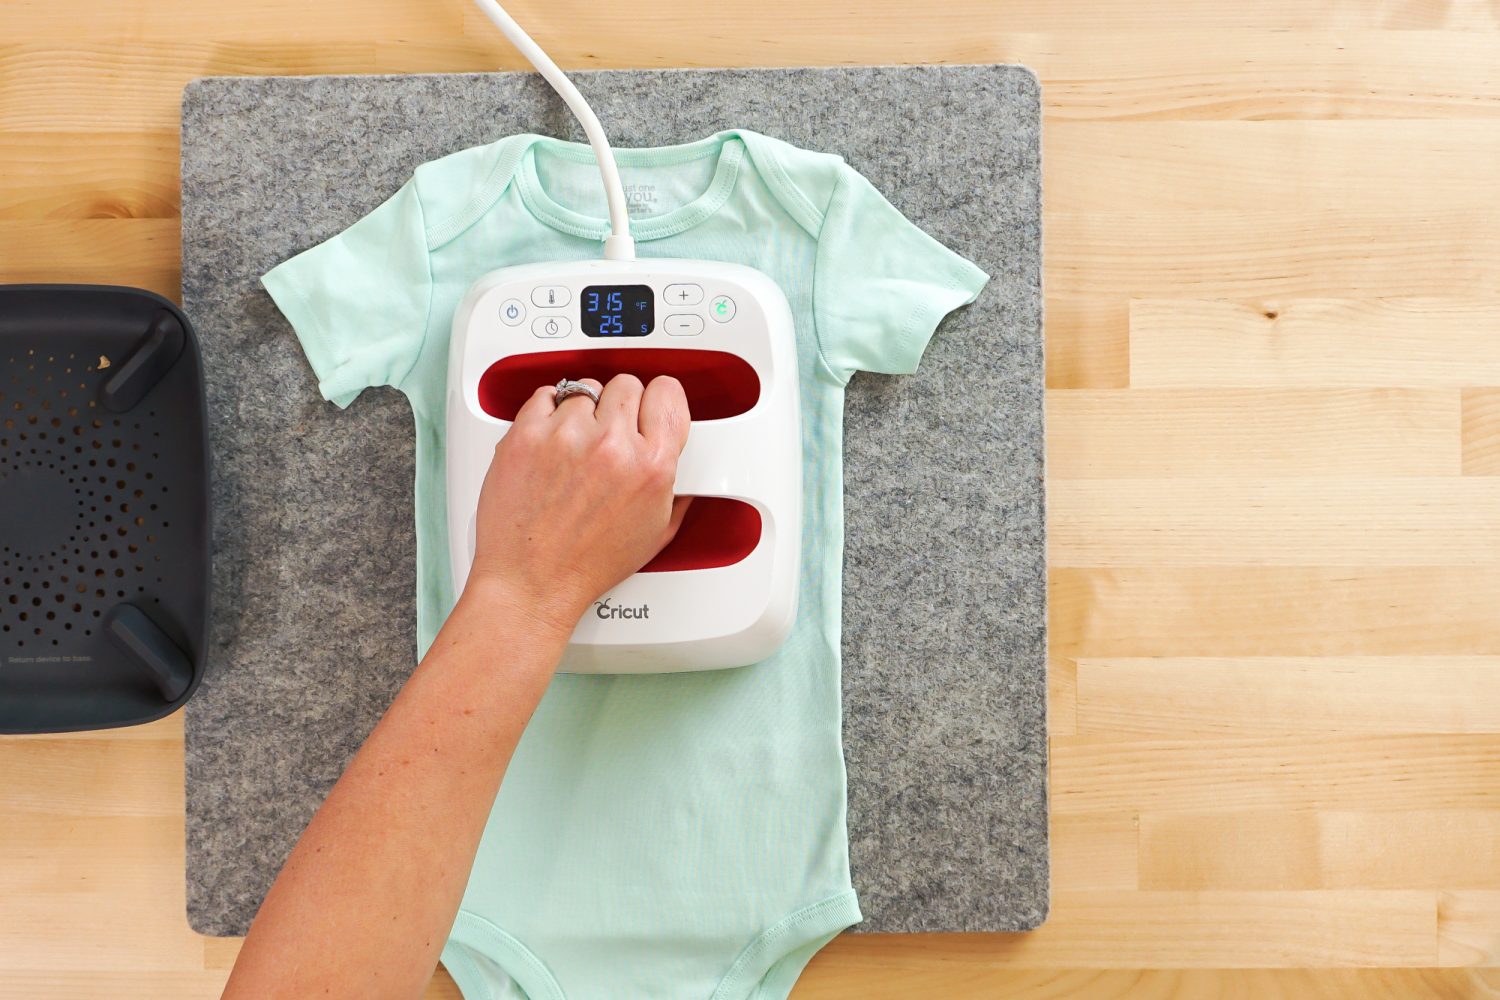
If you’re using a heat press, the pressure you will need to press your project will be built-in. If you’re using an EasyPress or an iron, press with consistent strong pressure. Do not move the EasyPress or iron around like you were pressing shirt, but lift your EasyPress/iron between presses if it doesn’t cover the entire pressing area in one go.
Warm Peel vs. Cool Peel
Before you go to peel the plastic carrier sheet off the base, check whether or not your iron on is warm peel or cool peel.
If it’s warm peel, allow it to cool a bit so you don’t burn your fingers when you peel back the carrier sheet. In most cases, you can also peel warm peel iron on after it’s fully cooled.
If it’s cool peel, you’ll want to wait until the project is completely cooled before removing the carrier sheet (most foil iron on is cool peel!).
I have a whole post on this, so make sure to check out HTV: Warm Peel vs Cool Peel.
Peeling Your Carrier Sheet
Whether your iron on is warm peel or cool peel, try to peel off the carrier sheet in one smooth go. Pausing in the middle of a peel can create a crease, which can be a weak point for further cracking or peeling down the line.
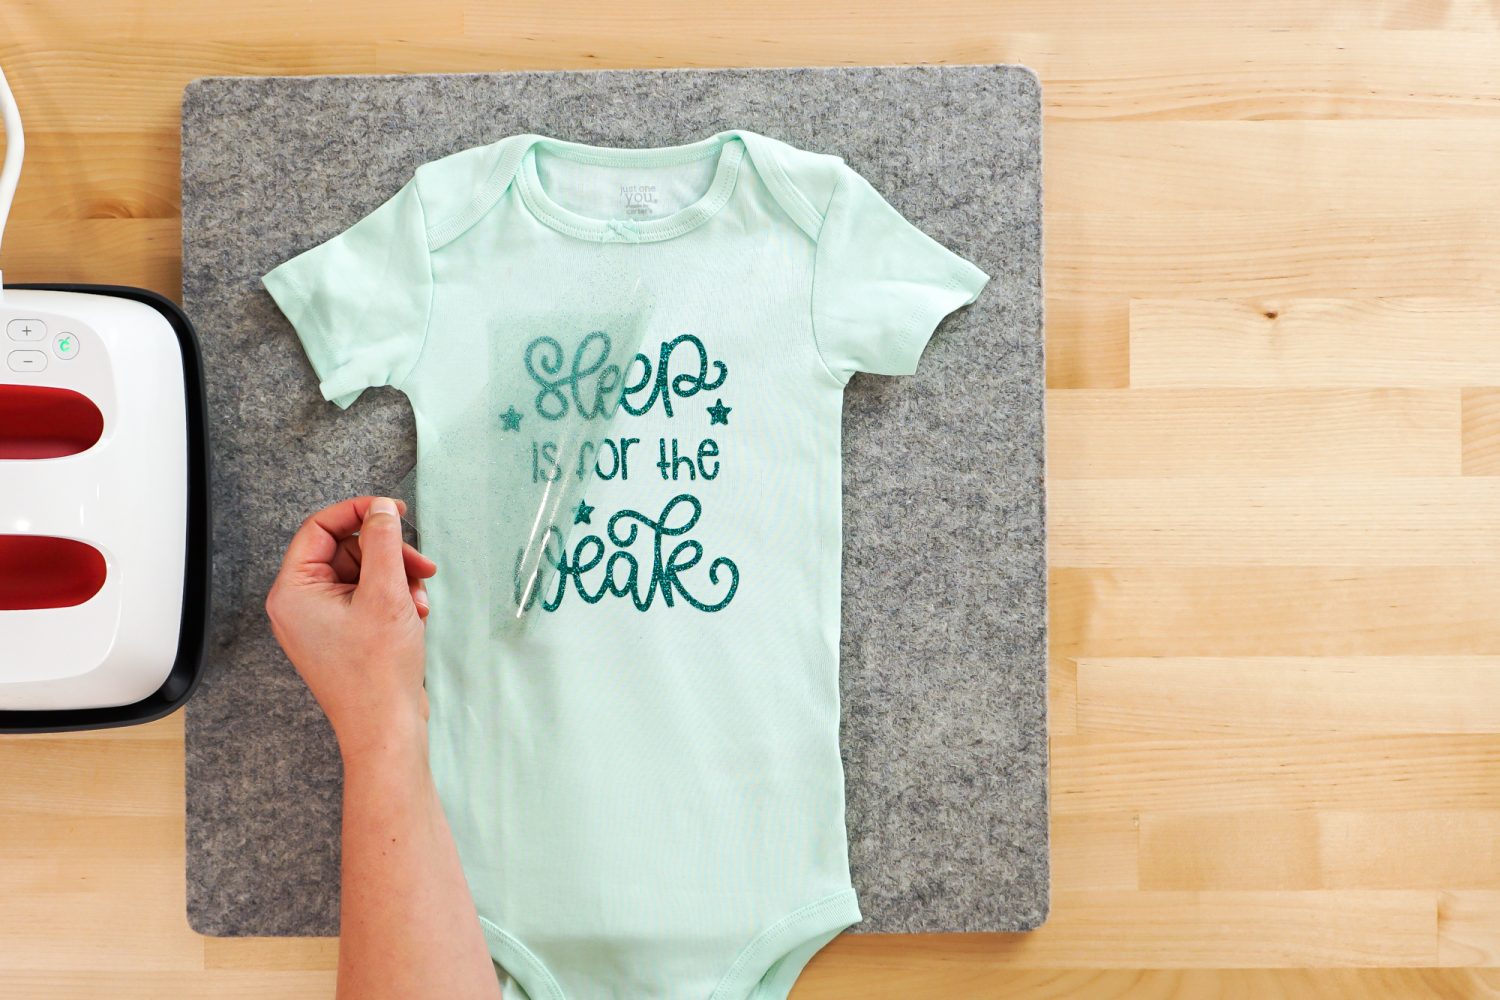
Set Your Iron On
Finally, after you’ve peeled your carrier sheet off, place a piece of cotton or a pressing cloth over your design and press again for 15 seconds. Then, if possible, flip your project over and press for another 15 seconds from the back. This will help set your iron on.
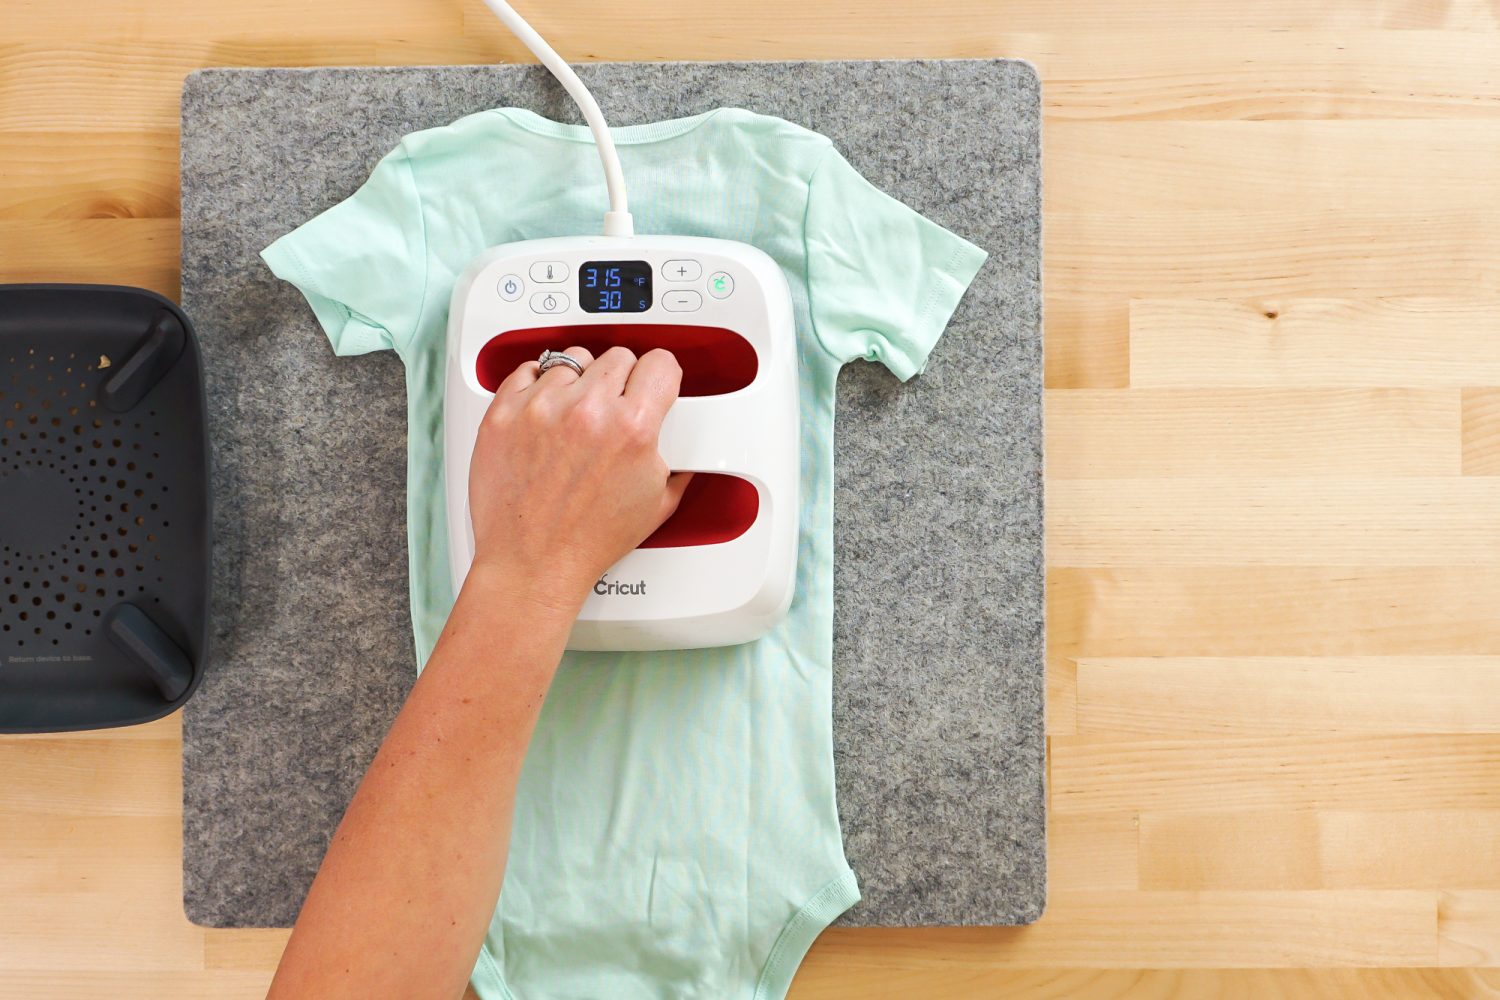
Wait Before Washing
Finally, wait at least 24 hours before washing your project. This will give more time for the adhesive to set before being exposed to water and detergent.
Stop pulling your hair out and start creating confidently with your Cricut! Finally understand how to use your Cricut with my Learn Your Cricut eBooks!


Leave A Reply!