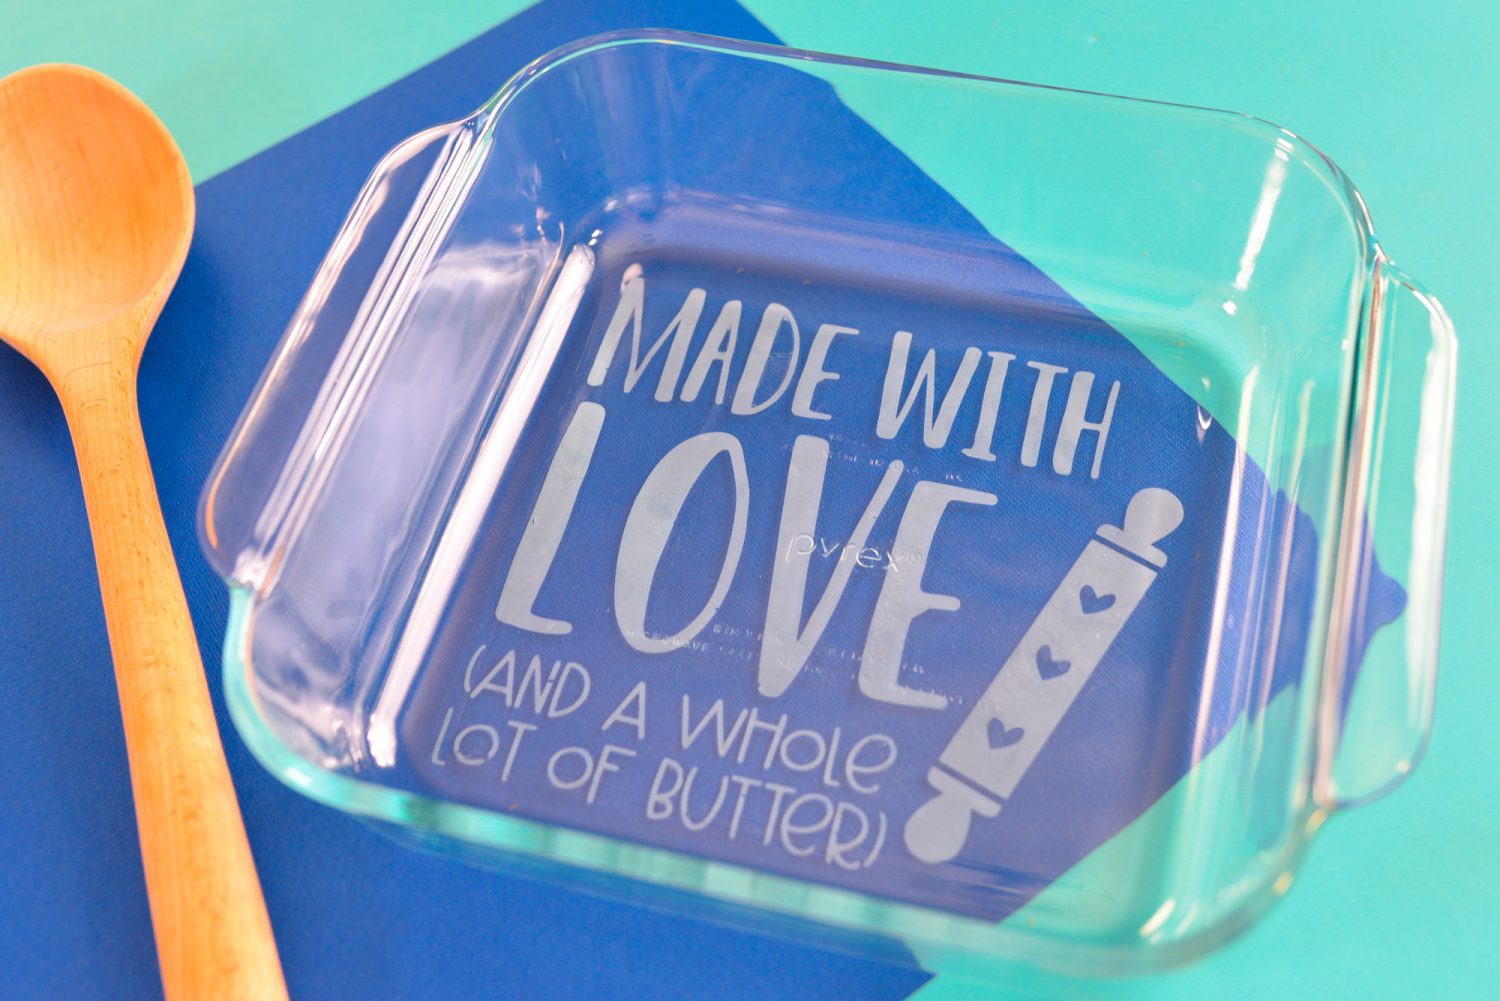
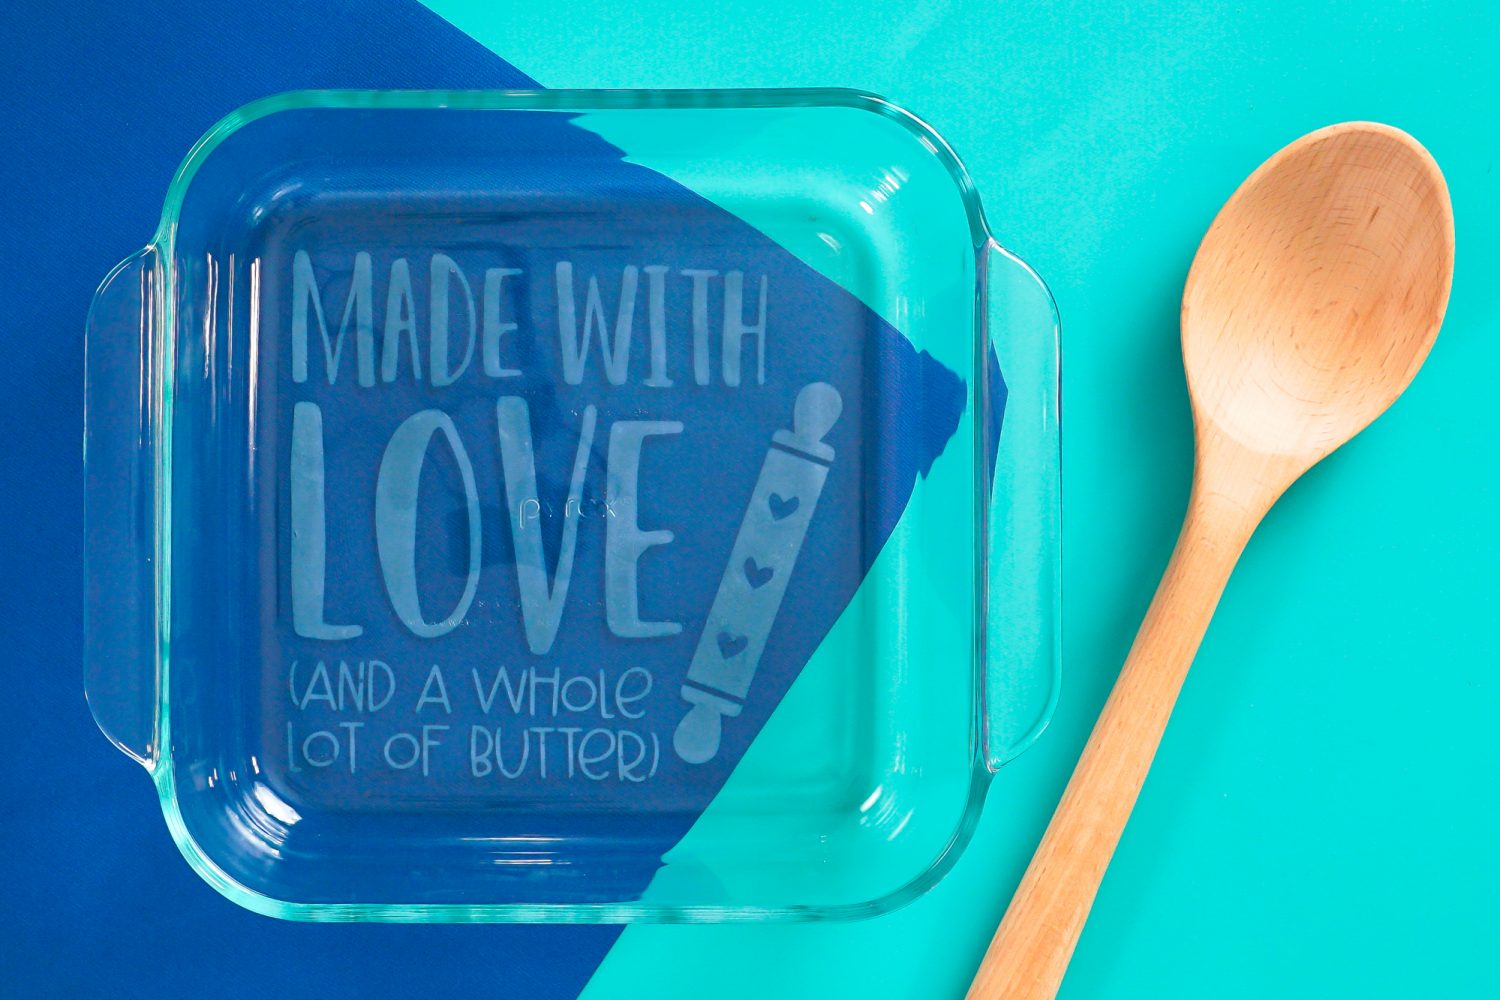
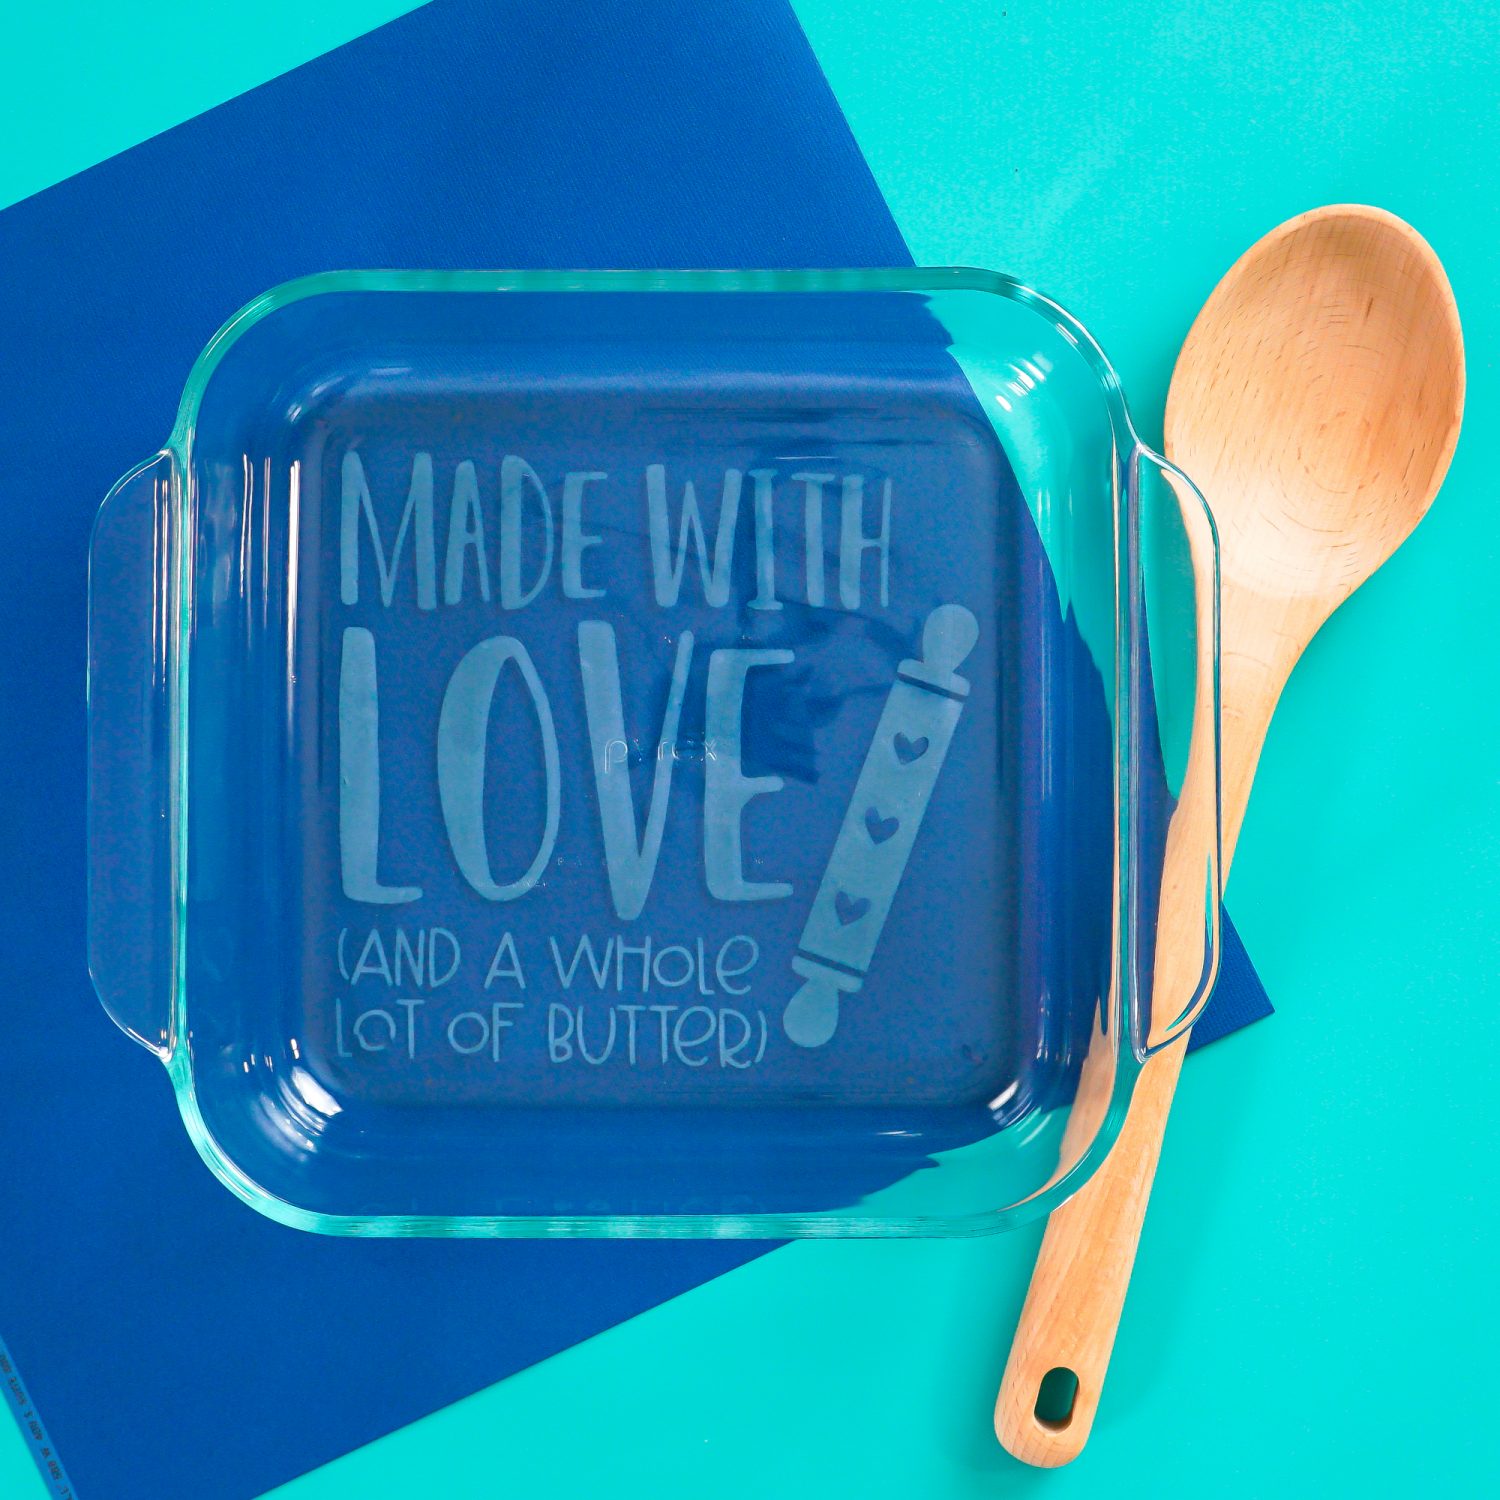
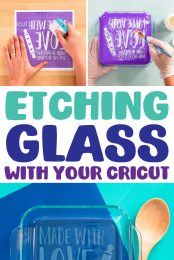
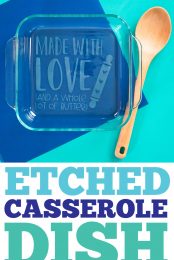
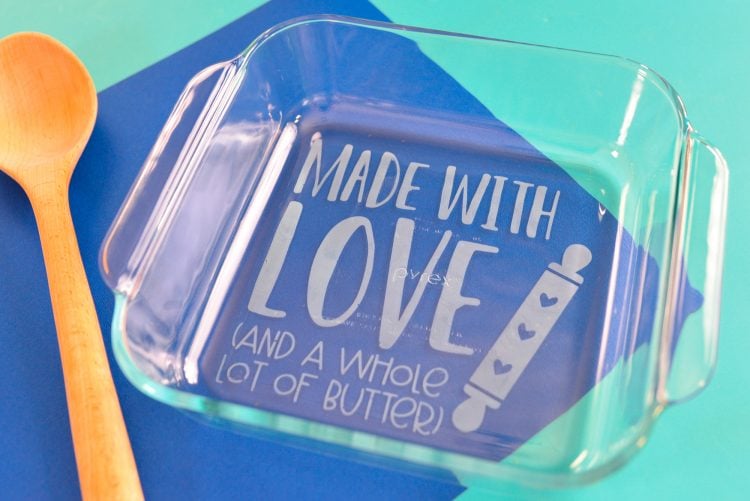
Learn how to etch with your Cricut! Make this etched casserole dish with your Cricut to bring your signature dish to all the holiday festivities. A perfect gift for the one who loves to bake!
Welcome back to the 25 Days of Cricut Christmas! If you’re just joining us, we’re crafting for the holidays and today is Day 8. I hope you’re enjoying this series so far—I am!
If you’d like to get this series in an ebook format PLUS all of the SVGs needed to make all 25 projects check out the 25 Days of Cricut Christmas eBook Bundle!
Christmas baking is a favorite for so many people! If you love sharing your baked goods with your family and neighbors, you’re going to love this etched casserole dish. We’ll use the Cricut to cut the stencil and then etch the glass using etching cream. This is a great gift idea, or it an also help you recognize your dish after a holiday potluck!
[adthrive-in-post-video-player video-id=”4Zv0ymXX” upload-date=”2022-05-29T19:48:00.000Z” name=”Adhesive Vinyl Projects to Make with a Cricut” description=”Make all sorts of amazing adhesive vinyl projects using your Cricut, including tumblers, signs, mugs, ornaments, and more. ” player-type=”default” override-embed=”default”]
I’ve designed the “made with love (and a whole lot of butter)” SVG file for this project for a square casserole dish, but I also have a wide version for 9″ x 13″ dishes.
Once you have this tutorial down, you’ll be able to etch wine glasses, glass blocks and tiles, and more!
Etched Casserole Dish Supplies
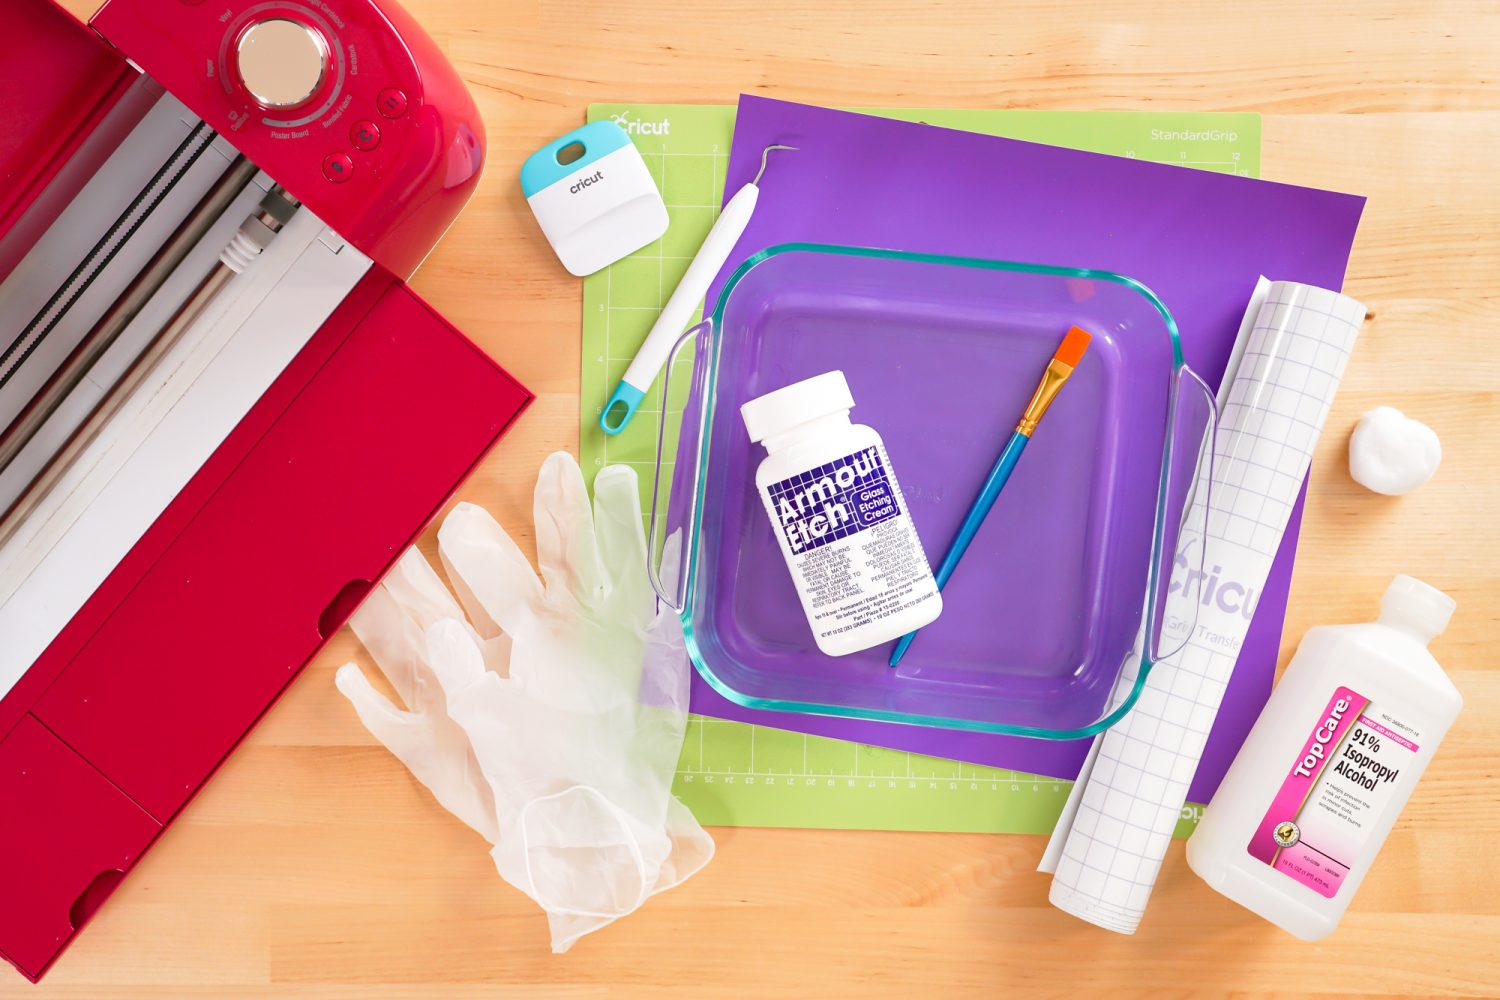
- Cricut Explore, Cricut Maker, or Cricut Joy
- Blue LightGrip or green StandardGrip mat
- Fine Point Blade
- Adhesive vinyl (I prefer permanent for this project)
- Weeding tool
- Transfer tape
- Scraper
- Glass baking dish (do not use borosilicate glass)
- Rubbing alcohol + cotton ball
- Etching cream
- Paint brush
- Disposable gloves
- Made with Love SVG
Get the SVG for this Project
Etched Casserole Dish Instructions
Upload the Made with Love File to Cricut Design Space
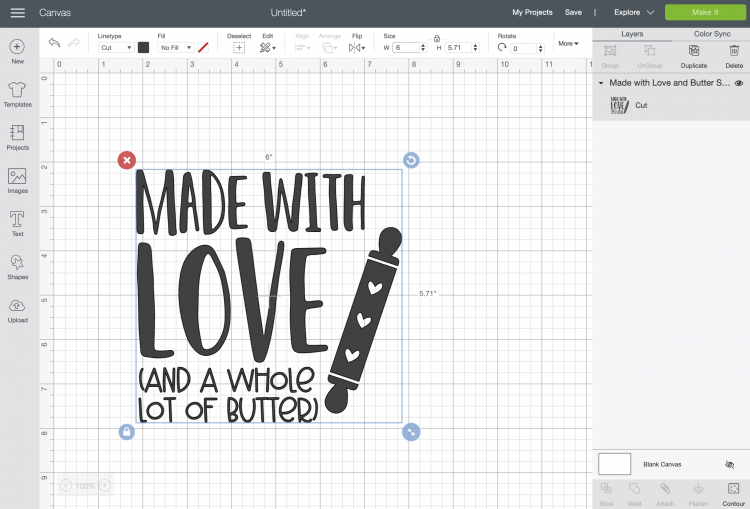
We will start by uploading the Made with Love file to Cricut Design Space (see Uploading SVG Files to Cricut Design Space if you need help).
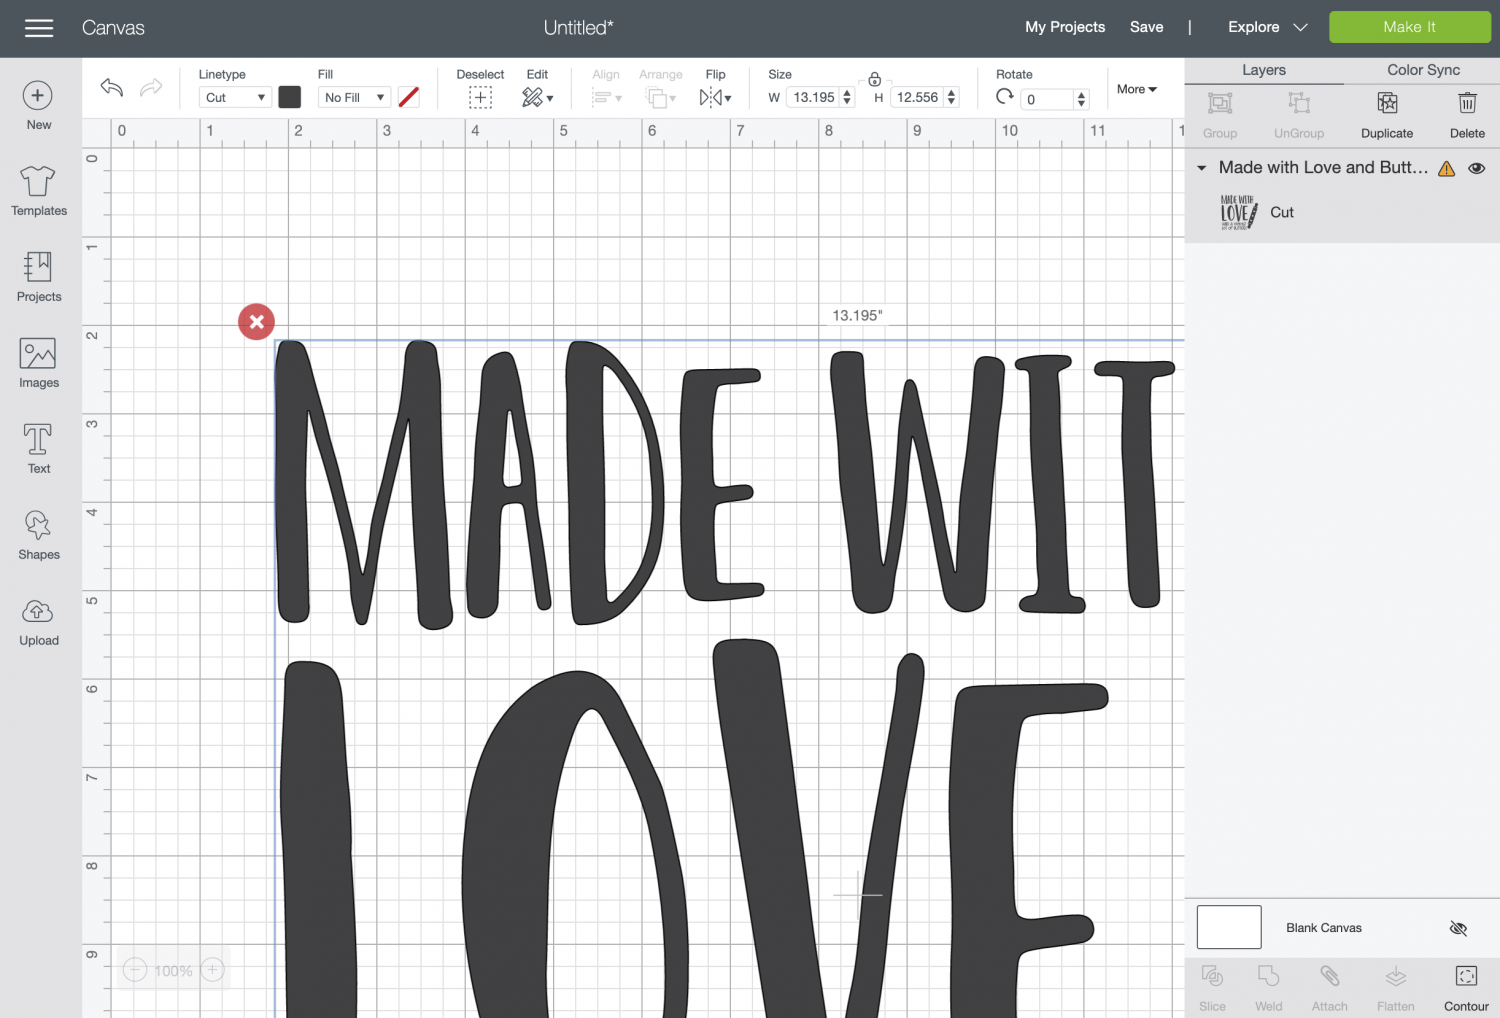
Resize the file to fit on the base of your baking dish. I made my 6″ wide.
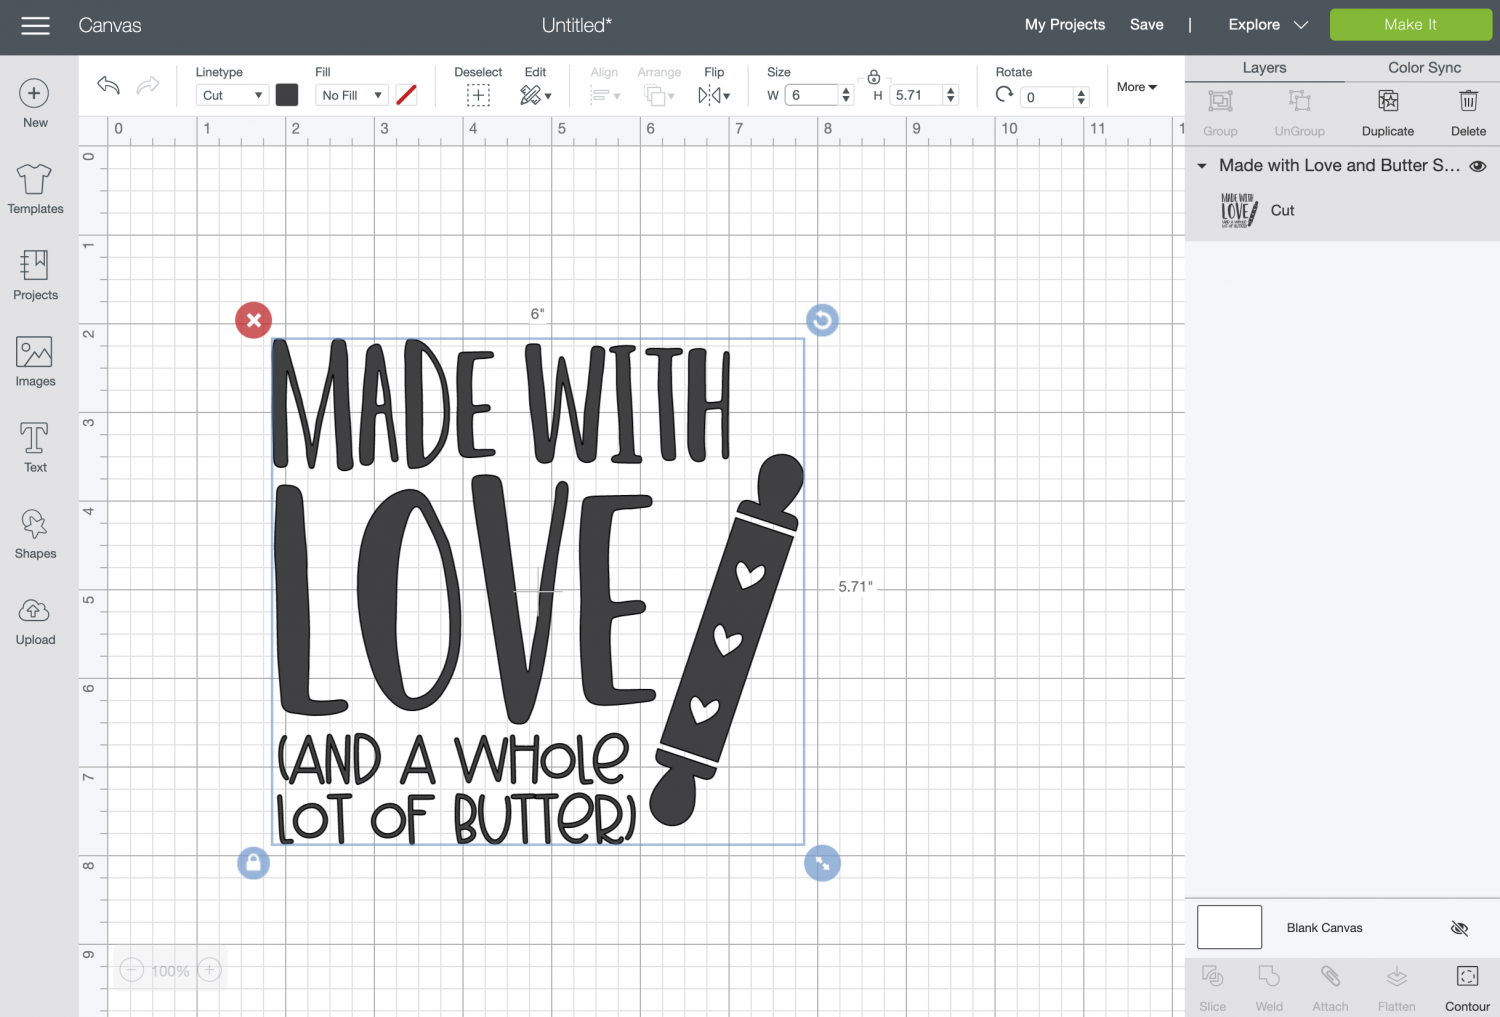
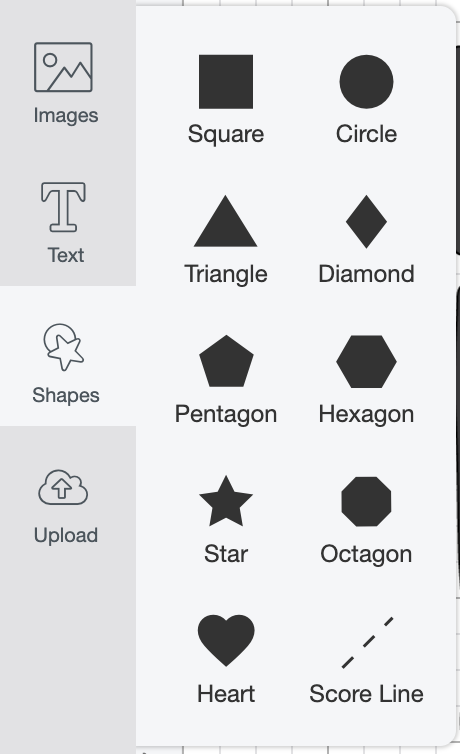
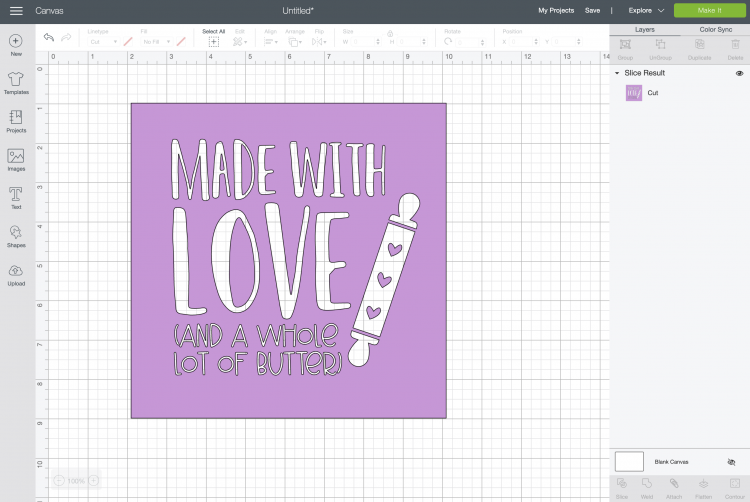
Now let’s turn this into a stencil. Using the Shapes tool on the left, insert a square onto your canvas.
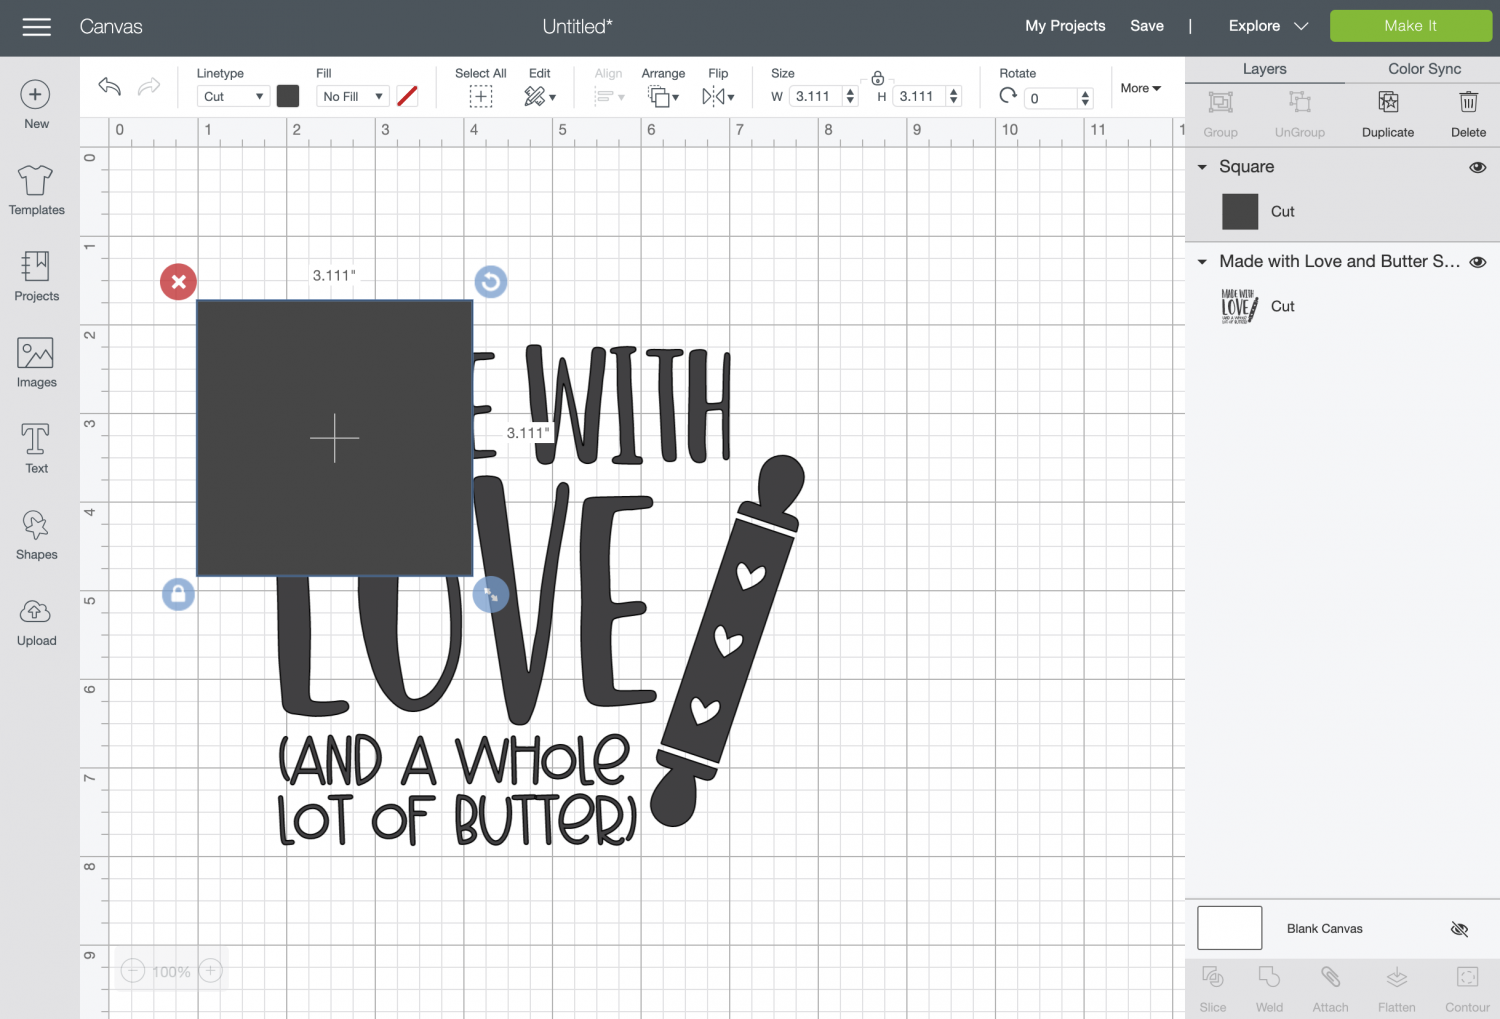
Resize the square so that it will be 1″ larger than your image on all four sides. My image is 6″ wide, so I made my stencil 8″ wide. I also colored the square purple to make it easier to see against the image.
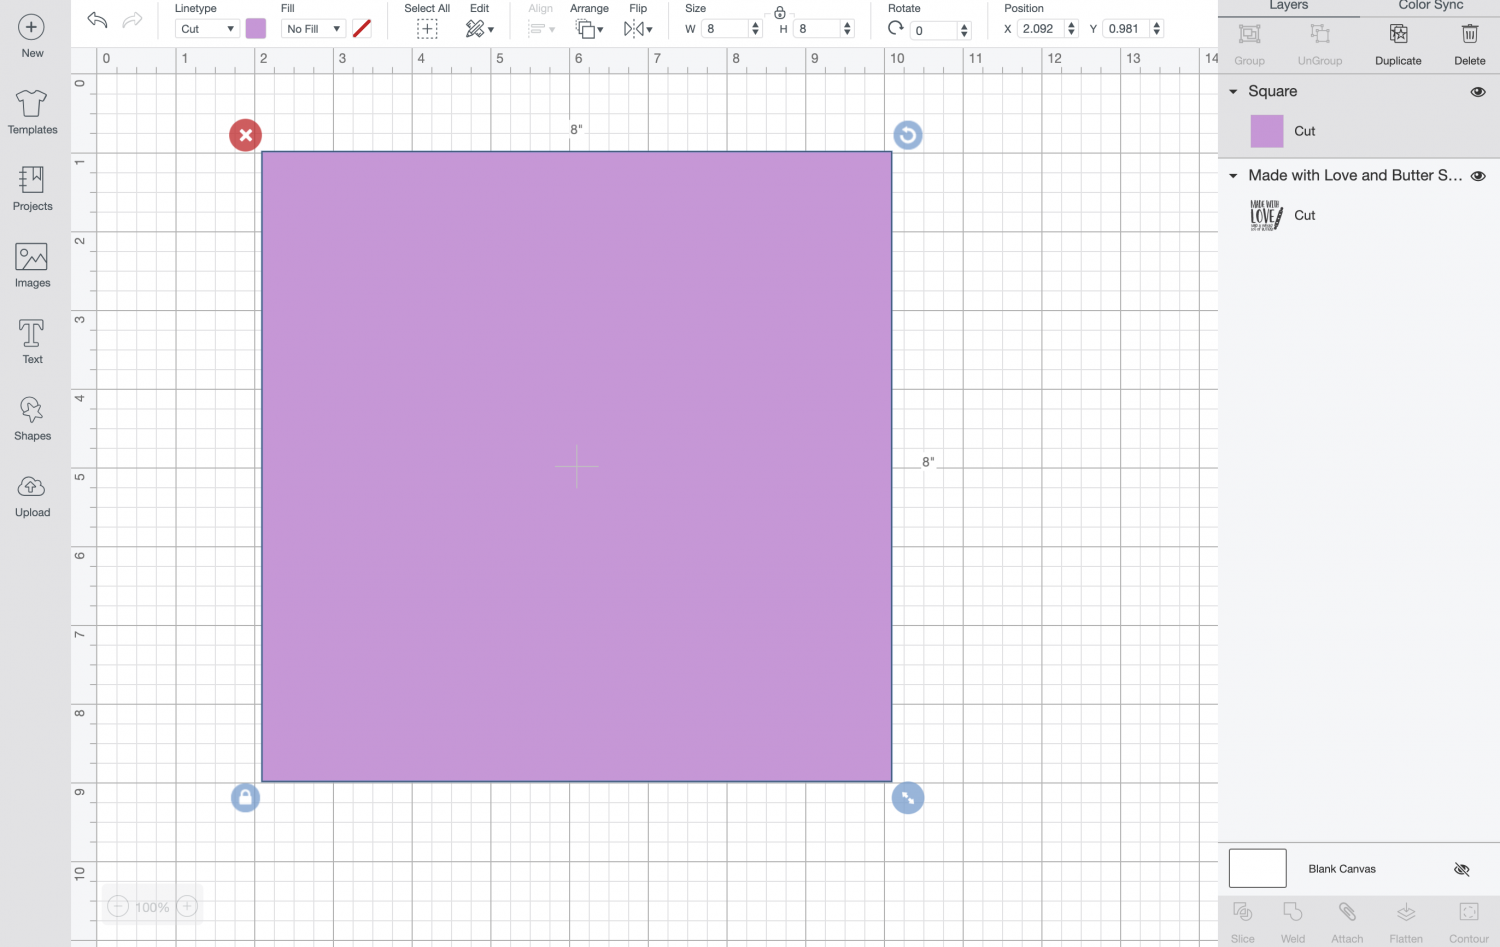
Send the square to the back using the Arrange tool at the top.
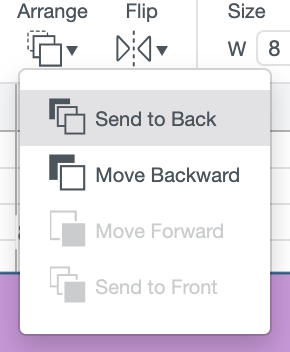
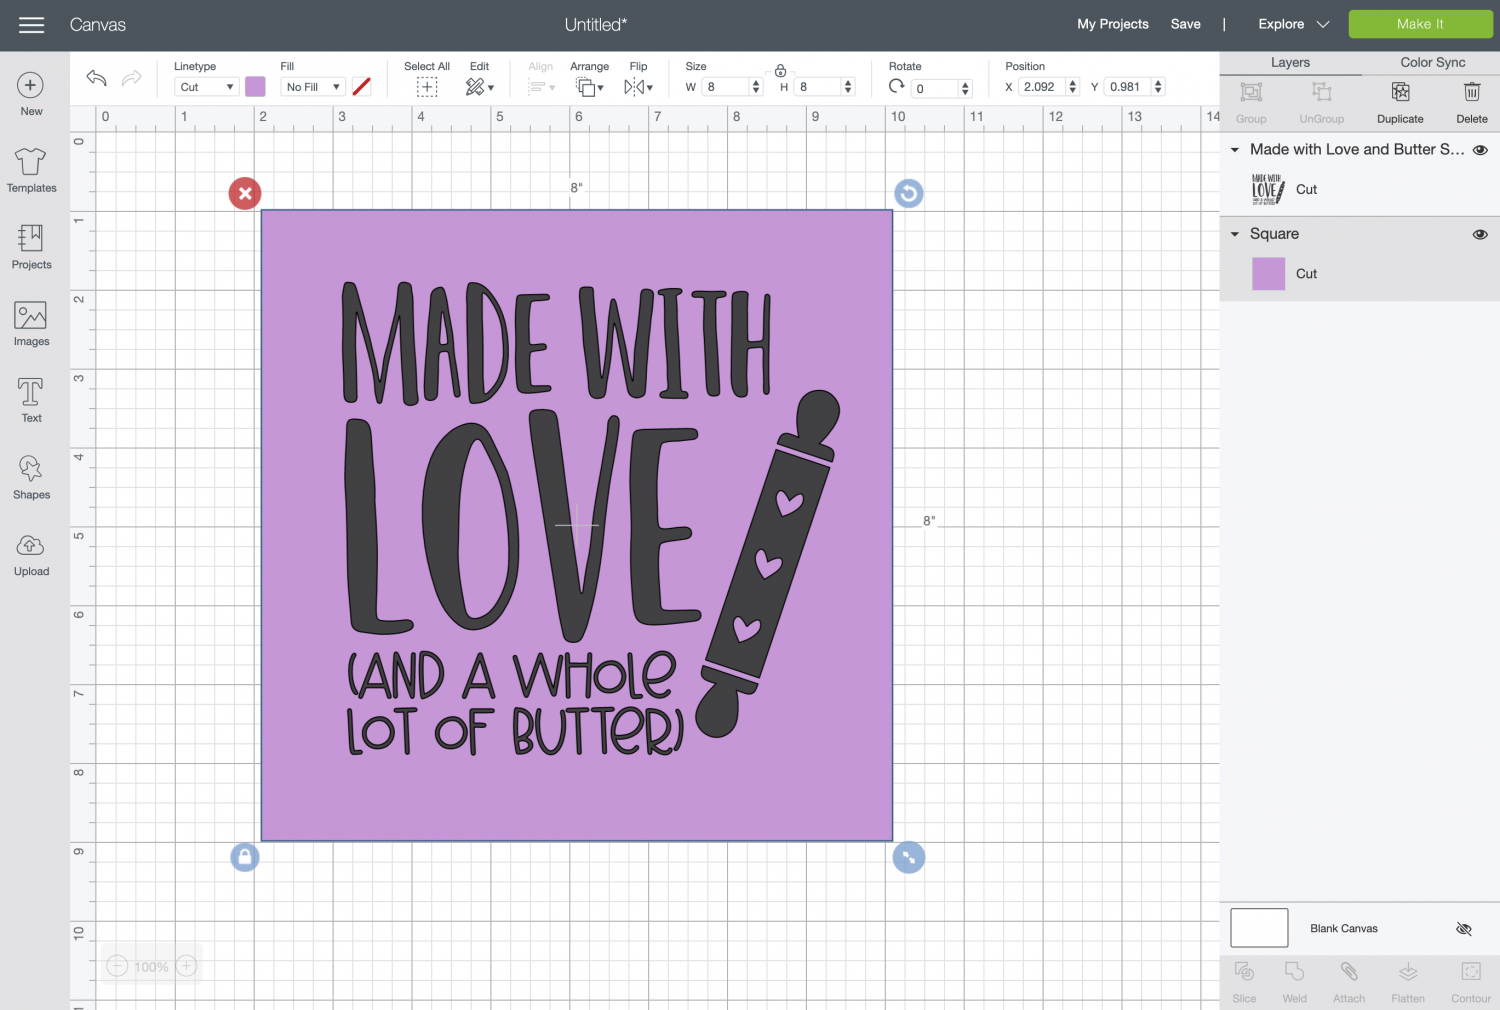
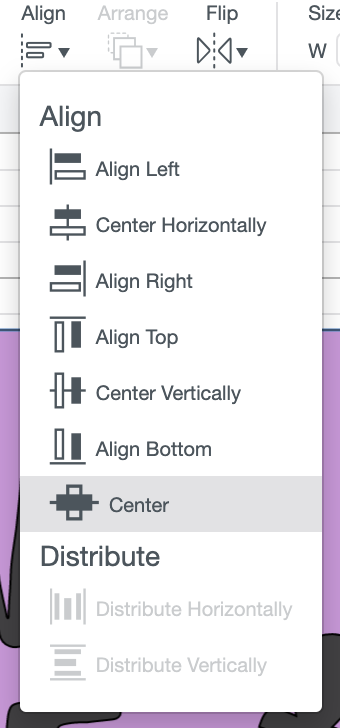
Then select both the image and the square and use the Align > Center tool so that your image is directly centered in your square.
Next, make sure you have both the image and the square selected and click Slice at the bottom of the Layers Panel. This will give you three different pieces:
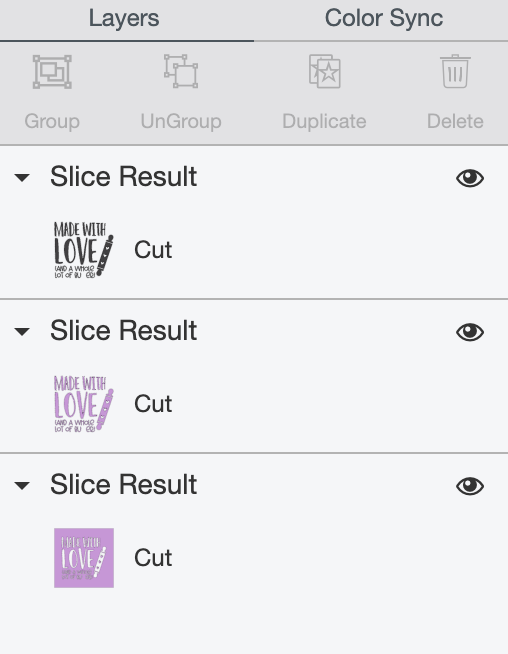
Delete both the “interior” pieces and you’re left with your stencil.
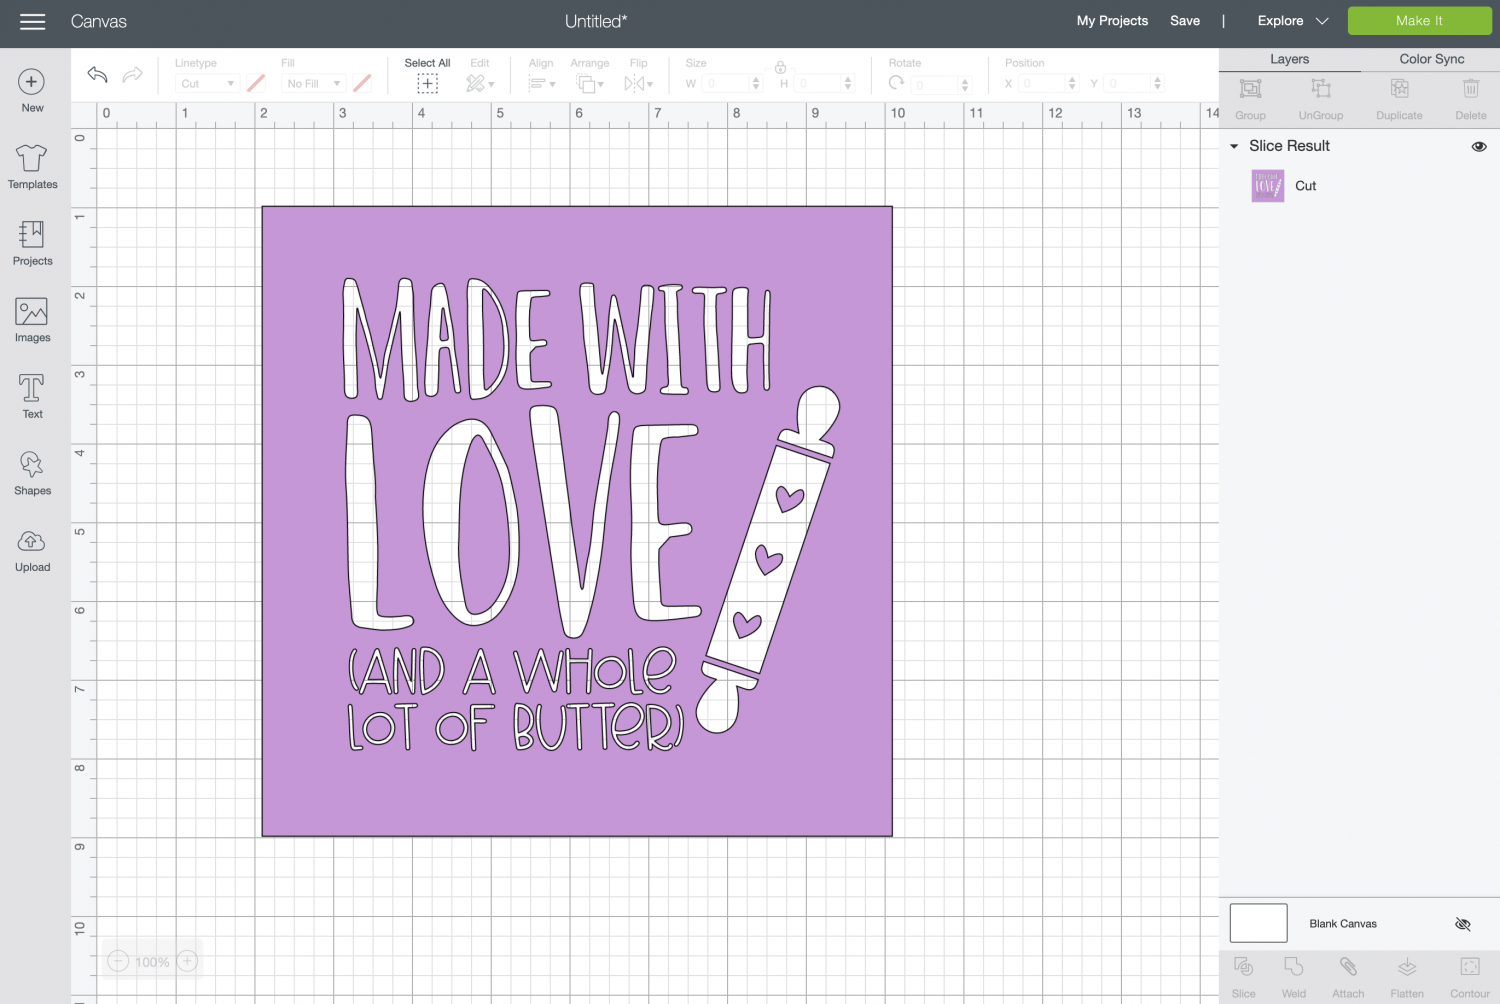
Click Make It in the upper right.
In the Prepare Screen, you want to mirror your image. Normally we don’t mirror adhesive vinyl projects, but because we are putting this on the bottom of the dish, it will be backward if we don’t mirror it.
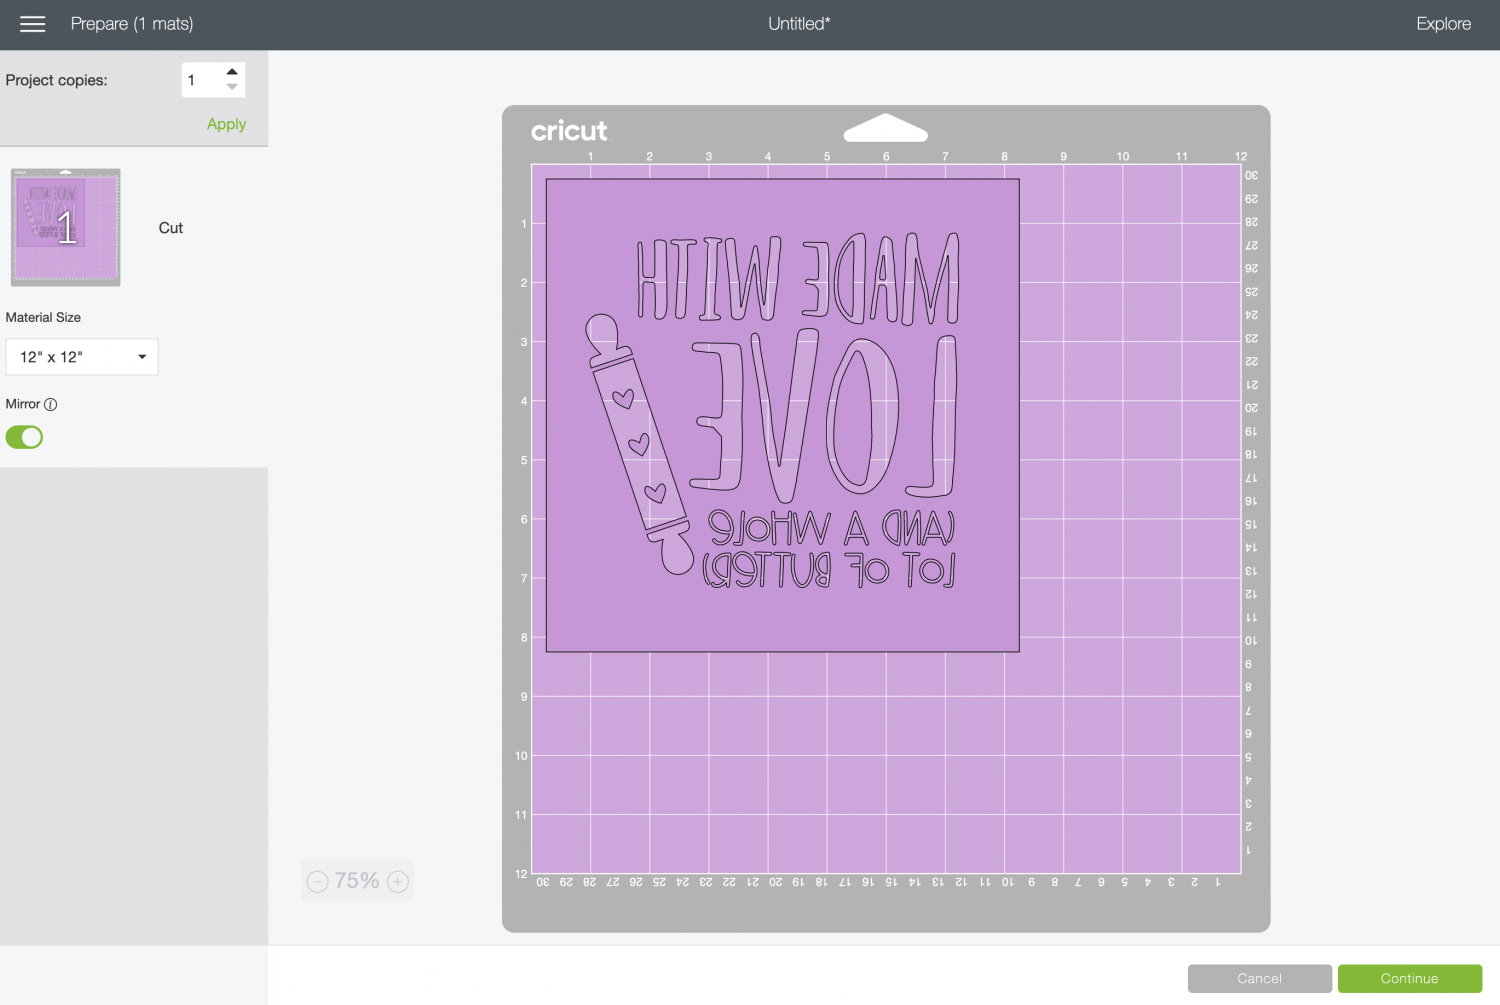
Click Continue and you’re ready to cut!
Cut Your Adhesive Vinyl for Your Etched Casserole Dish
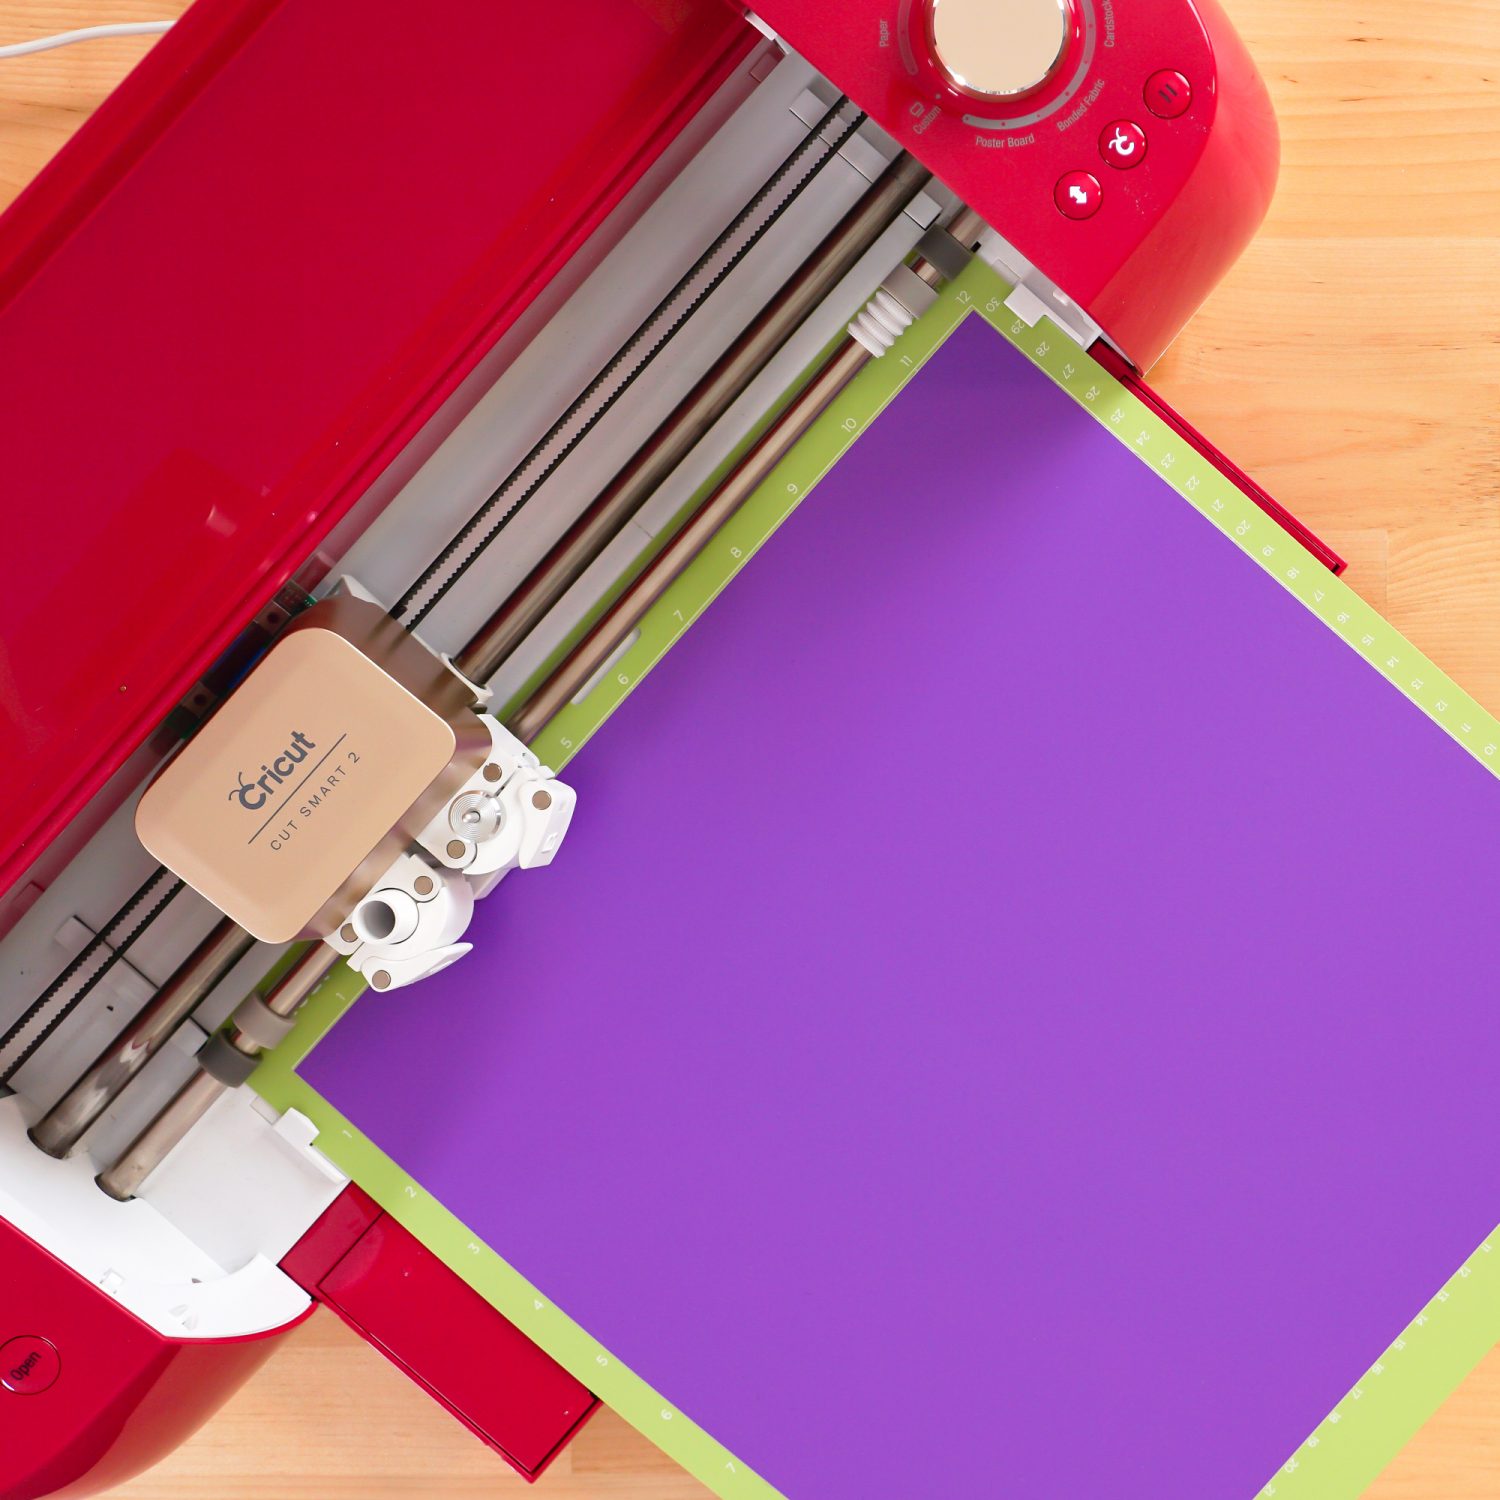
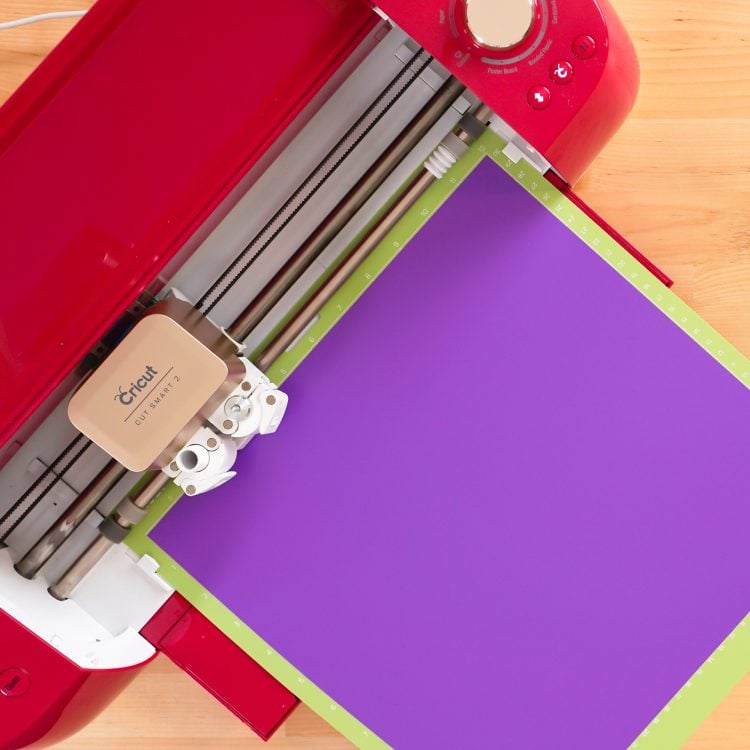
On the Make Screen, you’ll set your material to vinyl. Make sure you have your fine point blade in your machine, insert your mat, and your Cricut will cut your project!
Weed Your Adhesive Vinyl
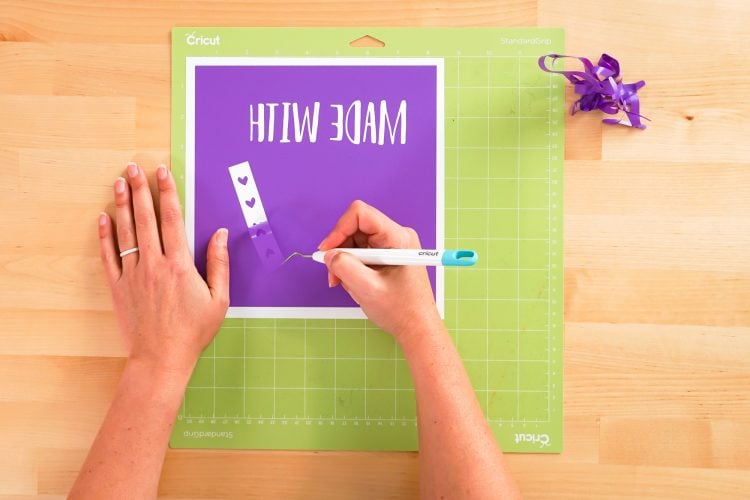
Next we’re going to “weed” our image. Normally, we’d weed the space around the image, but for this project we are creating a stencil, so we need to weed the actual words themselves, along with the rolling pin. Make sure not to lose the insides of the letters while you’re weeding the letters themselves.
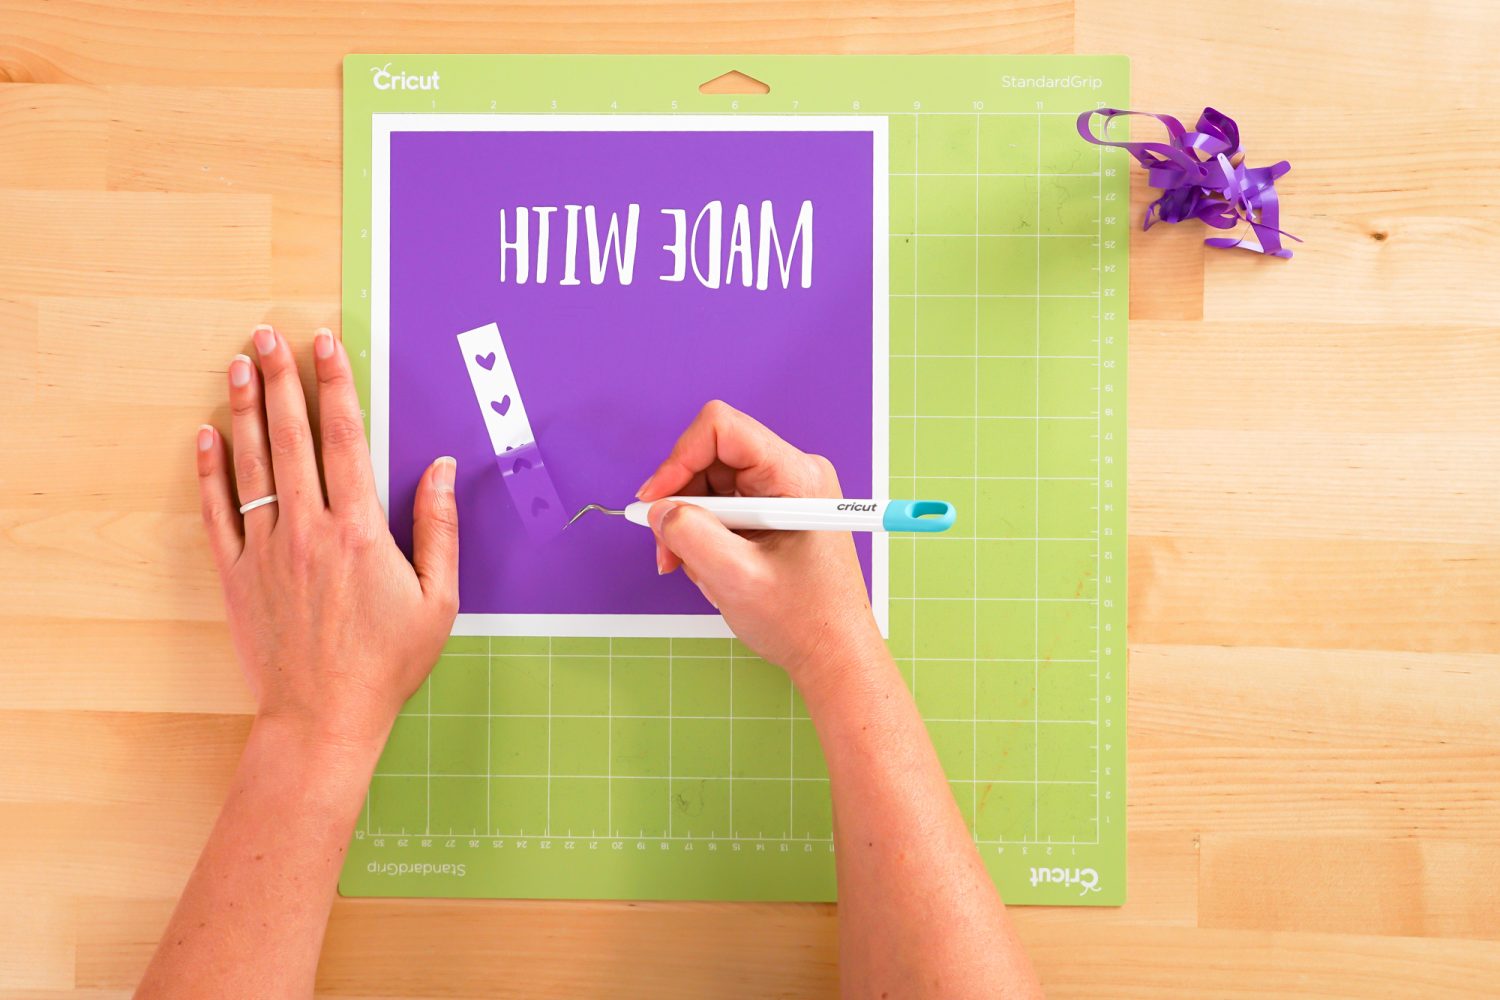
I have an extensive post about Weeding Adhesive Vinyl, which you’ll want to read—tons of tips and tricks to making it easier.
Adhere Your Adhesive Vinyl Stencil
Once all of your adhesive vinyl is weeded, it’s time to use transfer tape to adhere it to your dish. You can see an in-depth tutorial about Using Transfer Tape if you need it (plus troubleshooting tips if you’re struggling!).
Cut a piece of transfer tape that’s slightly larger than your stencil. Peel the backing sheet off the transfer tape and place the sticky side of the transfer tape down on your vinyl. I like to start in the middle and work my way to the outer edges.
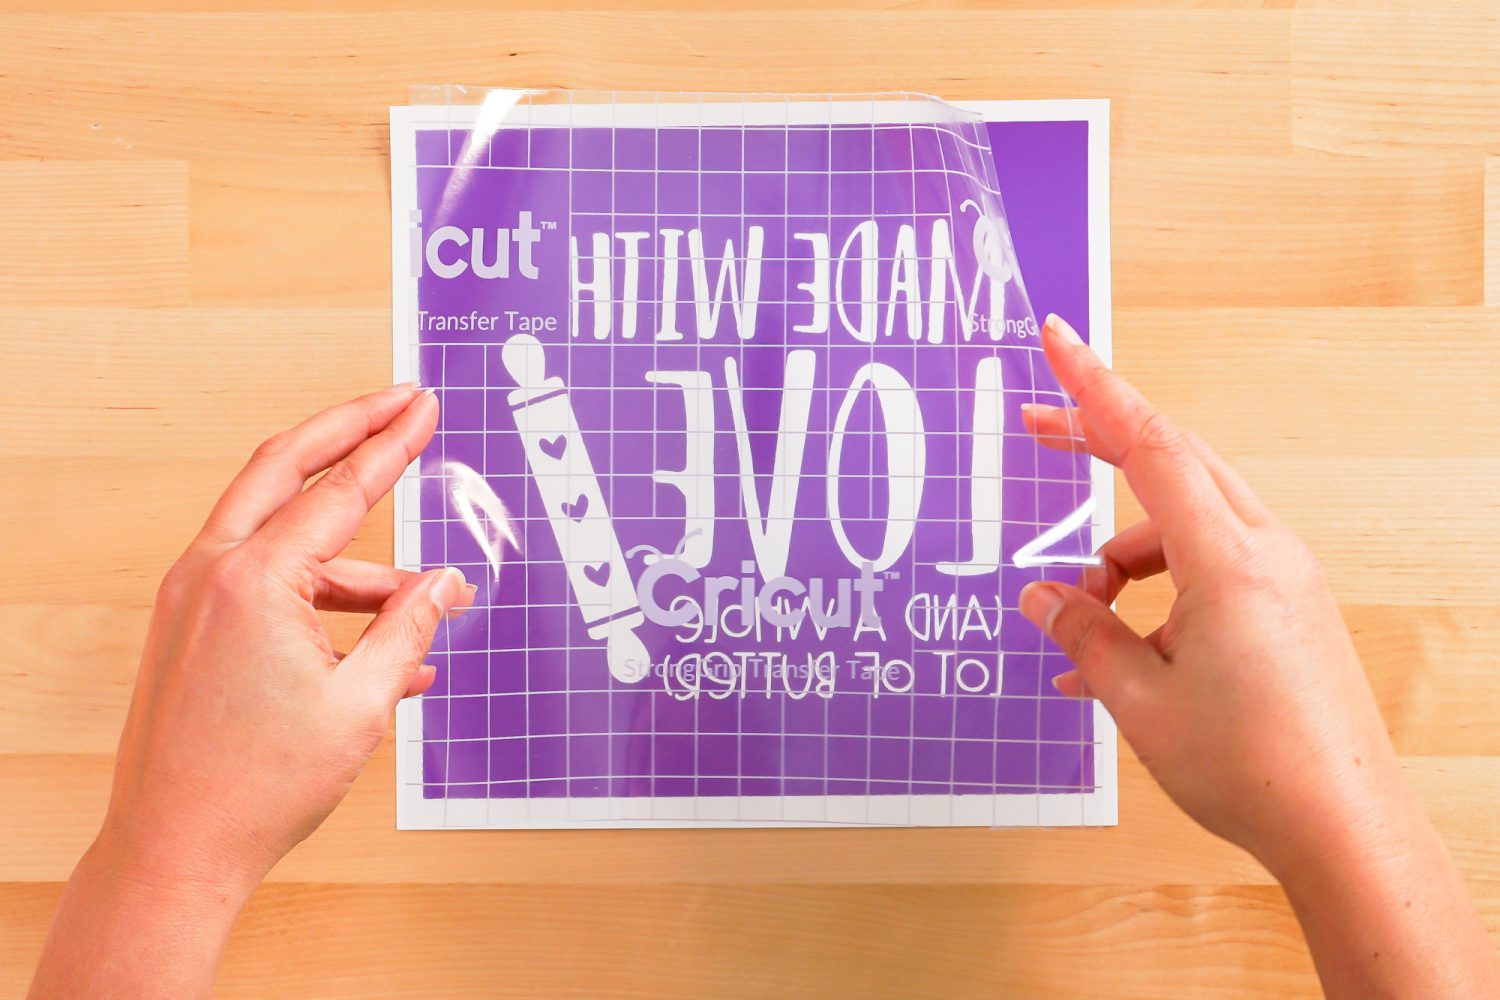
You can use your hands or a scraper to burnish the transfer tape down on top of the vinyl.
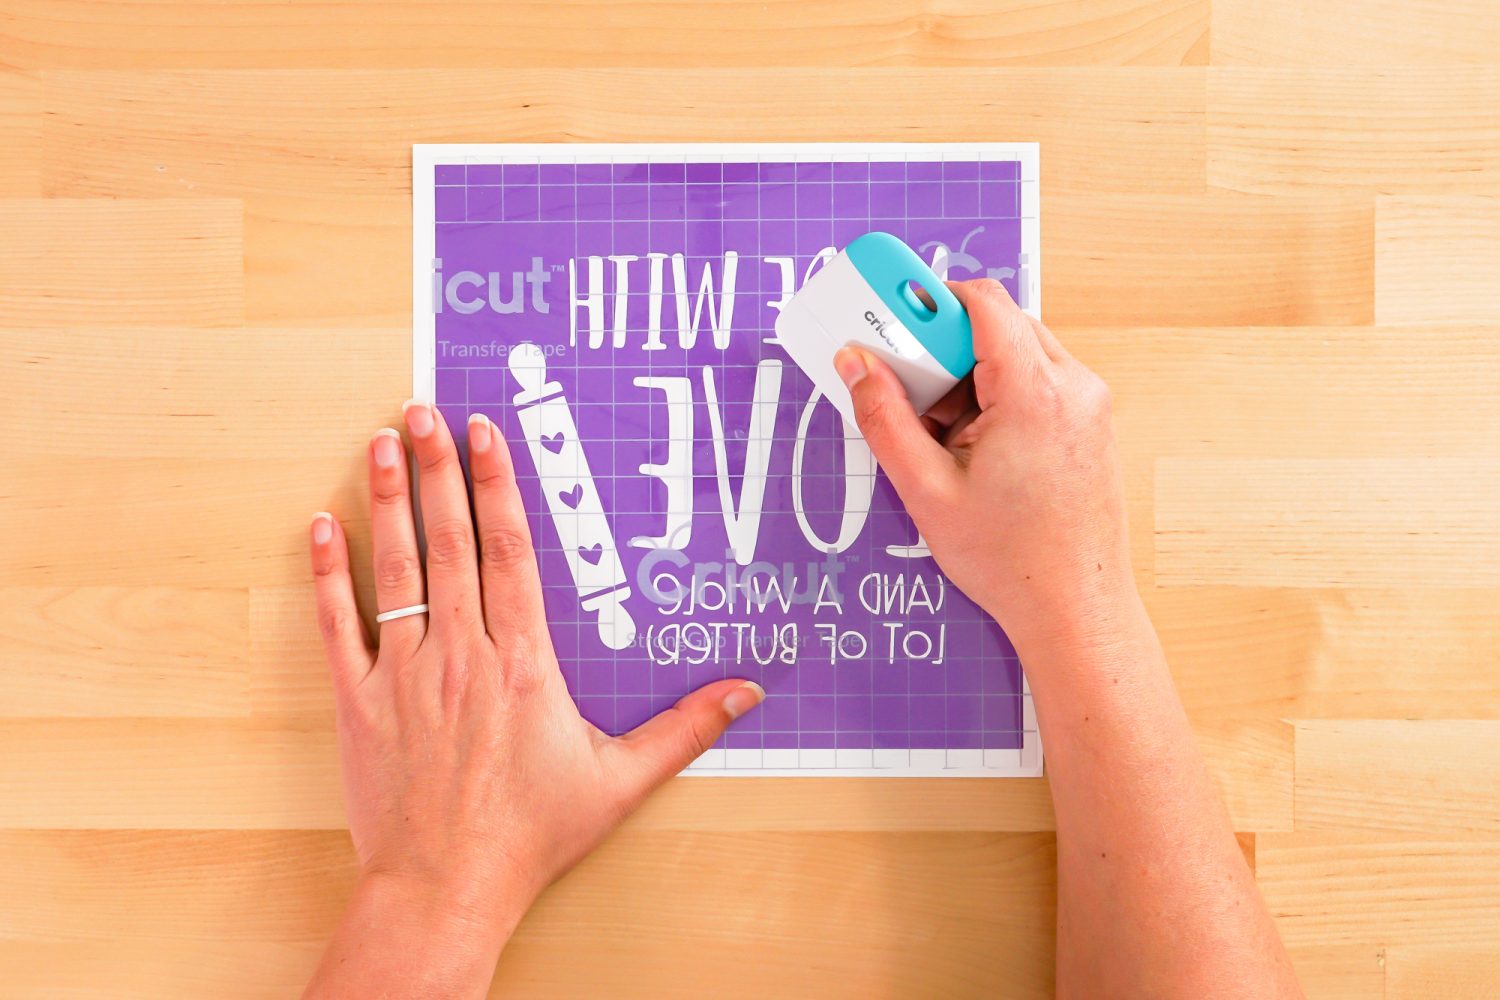
Then flip it over, and peel the backing sheet away from the transfer tape. Your stencil should stick to the transfer tape—you can use your fingernail to catch anything that isn’t sticking cleanly.
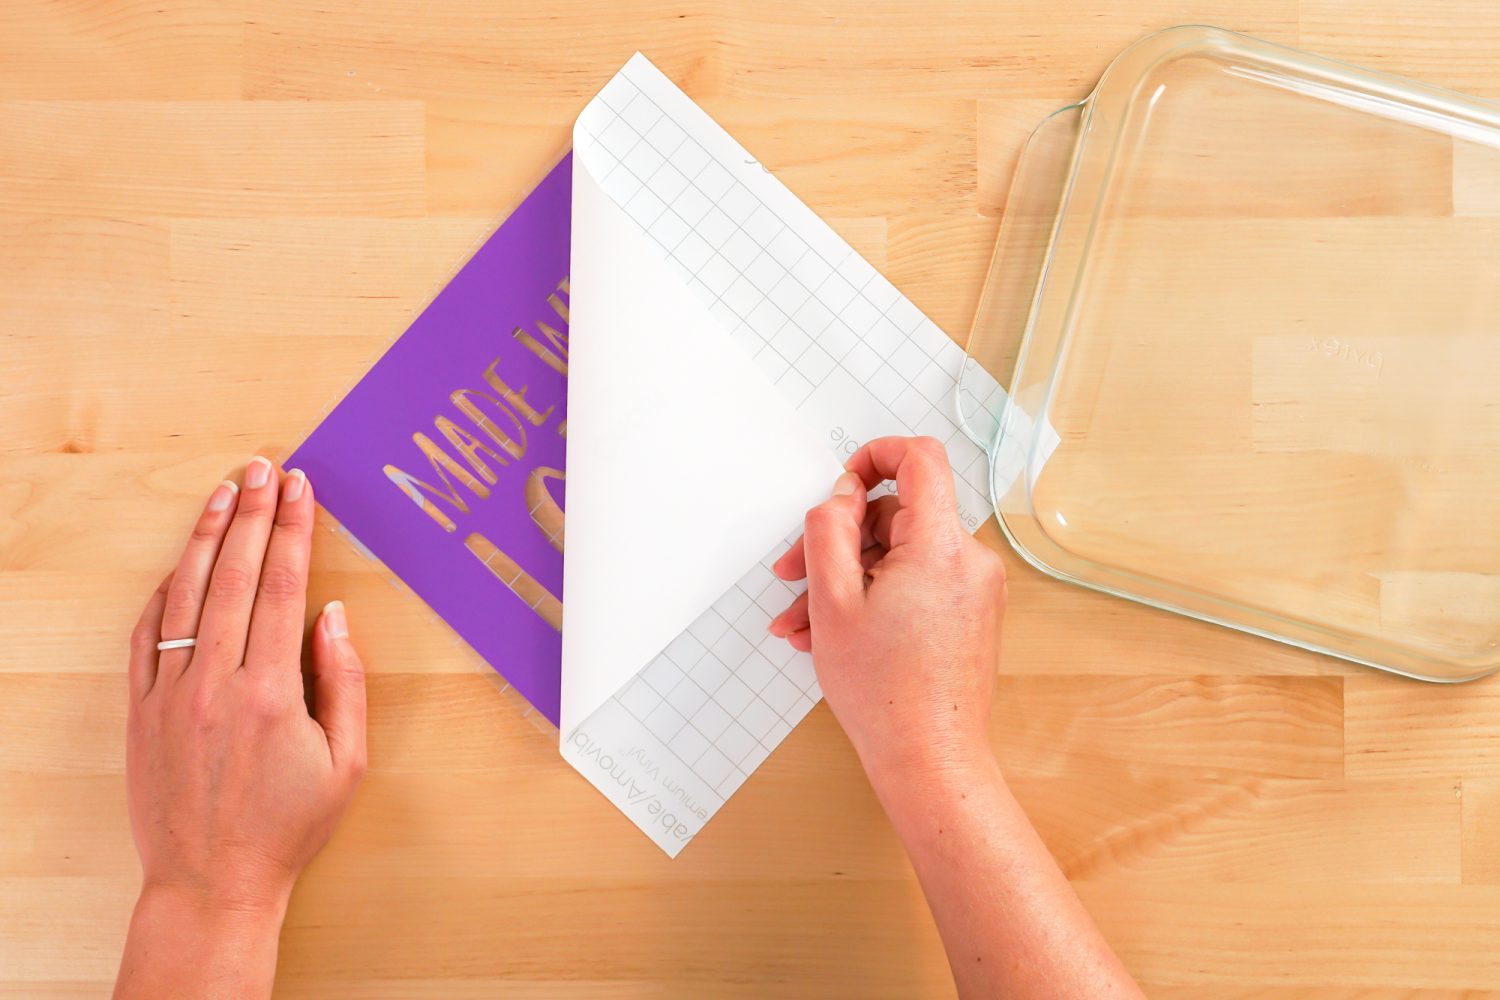
Adhere the Stencil to Your Dish
Wipe down the bottom of your dish with the rubbing alcohol so that it’s perfectly clean.
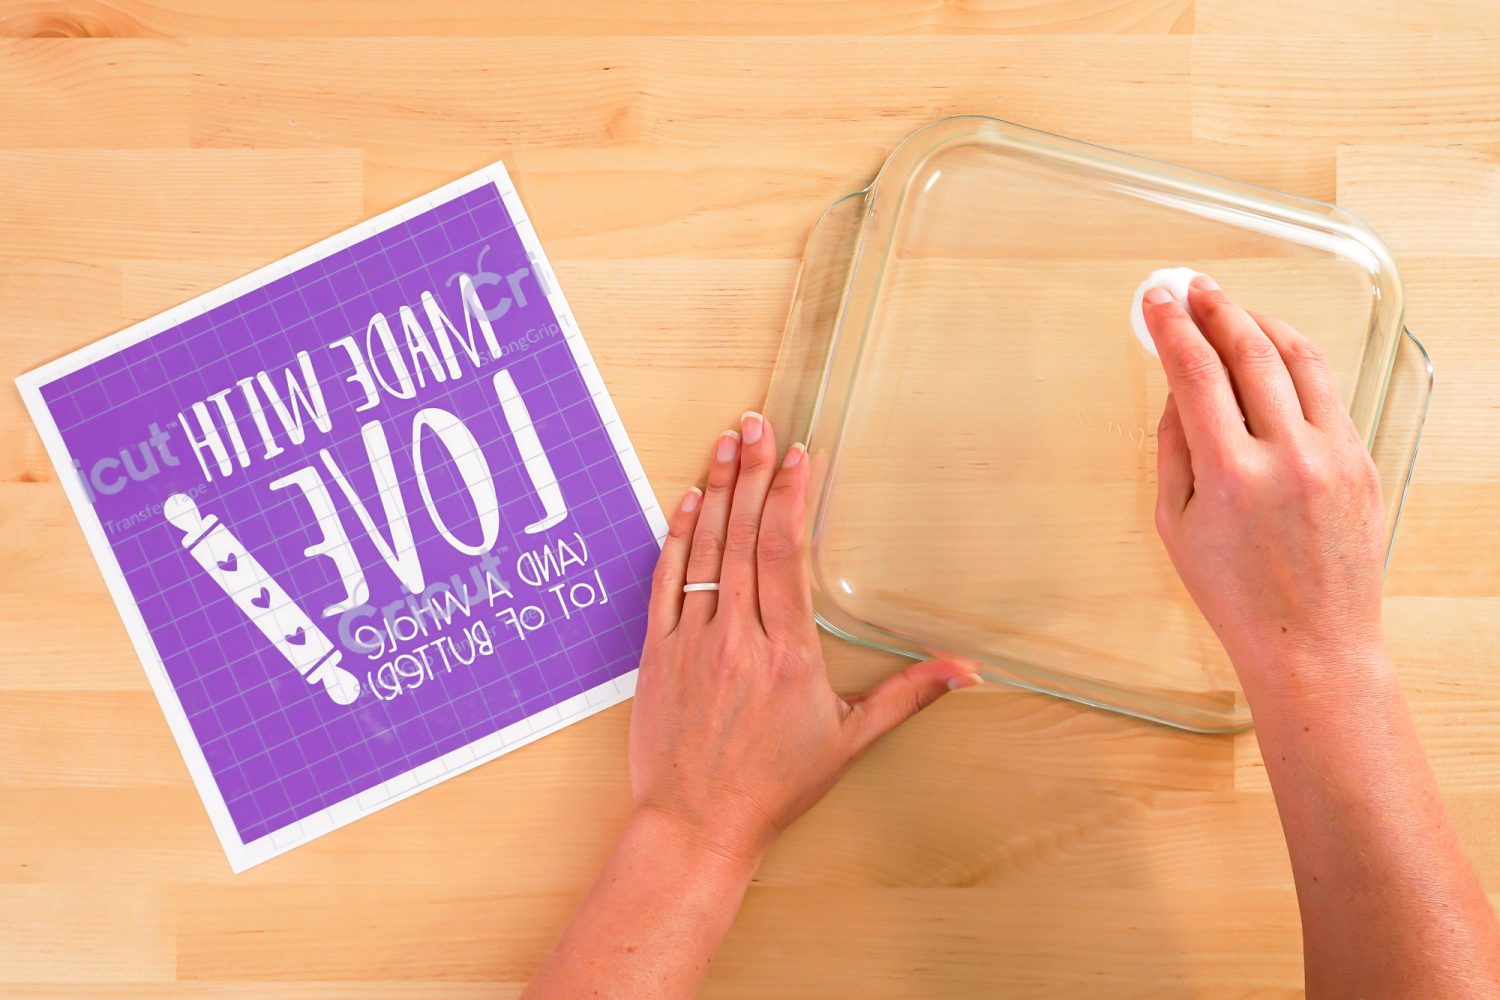
Then flip your stencil over and press it onto your dish. I like to work from the center out—you really don’t want bubbles if possible!
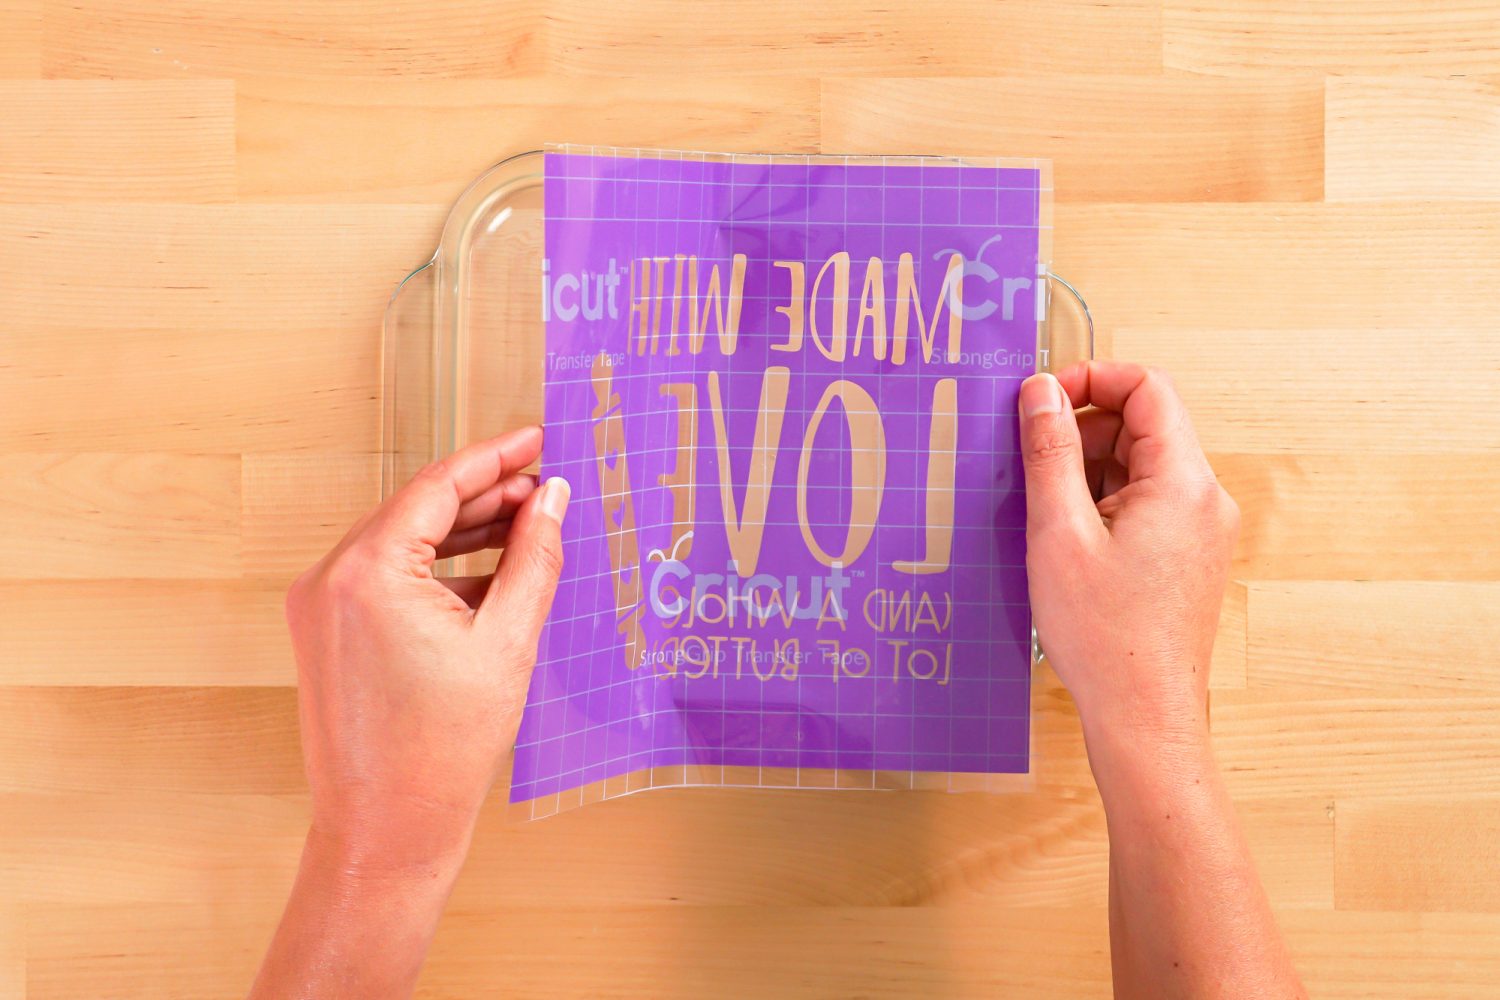
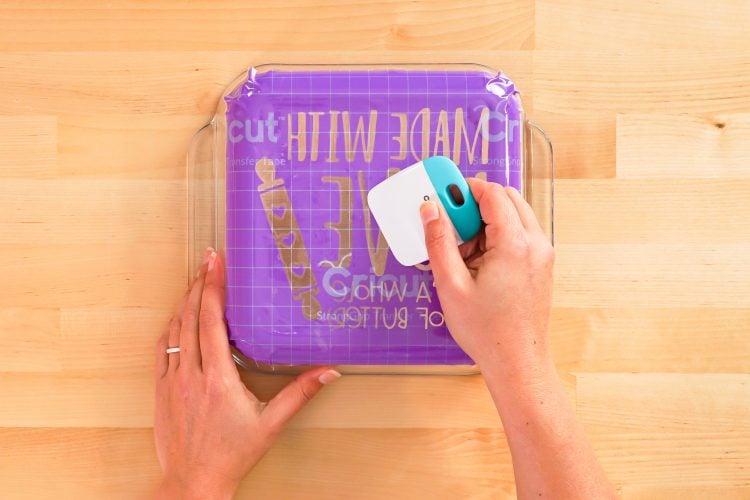
Use the scraper to really burnish the stencil onto the dish.
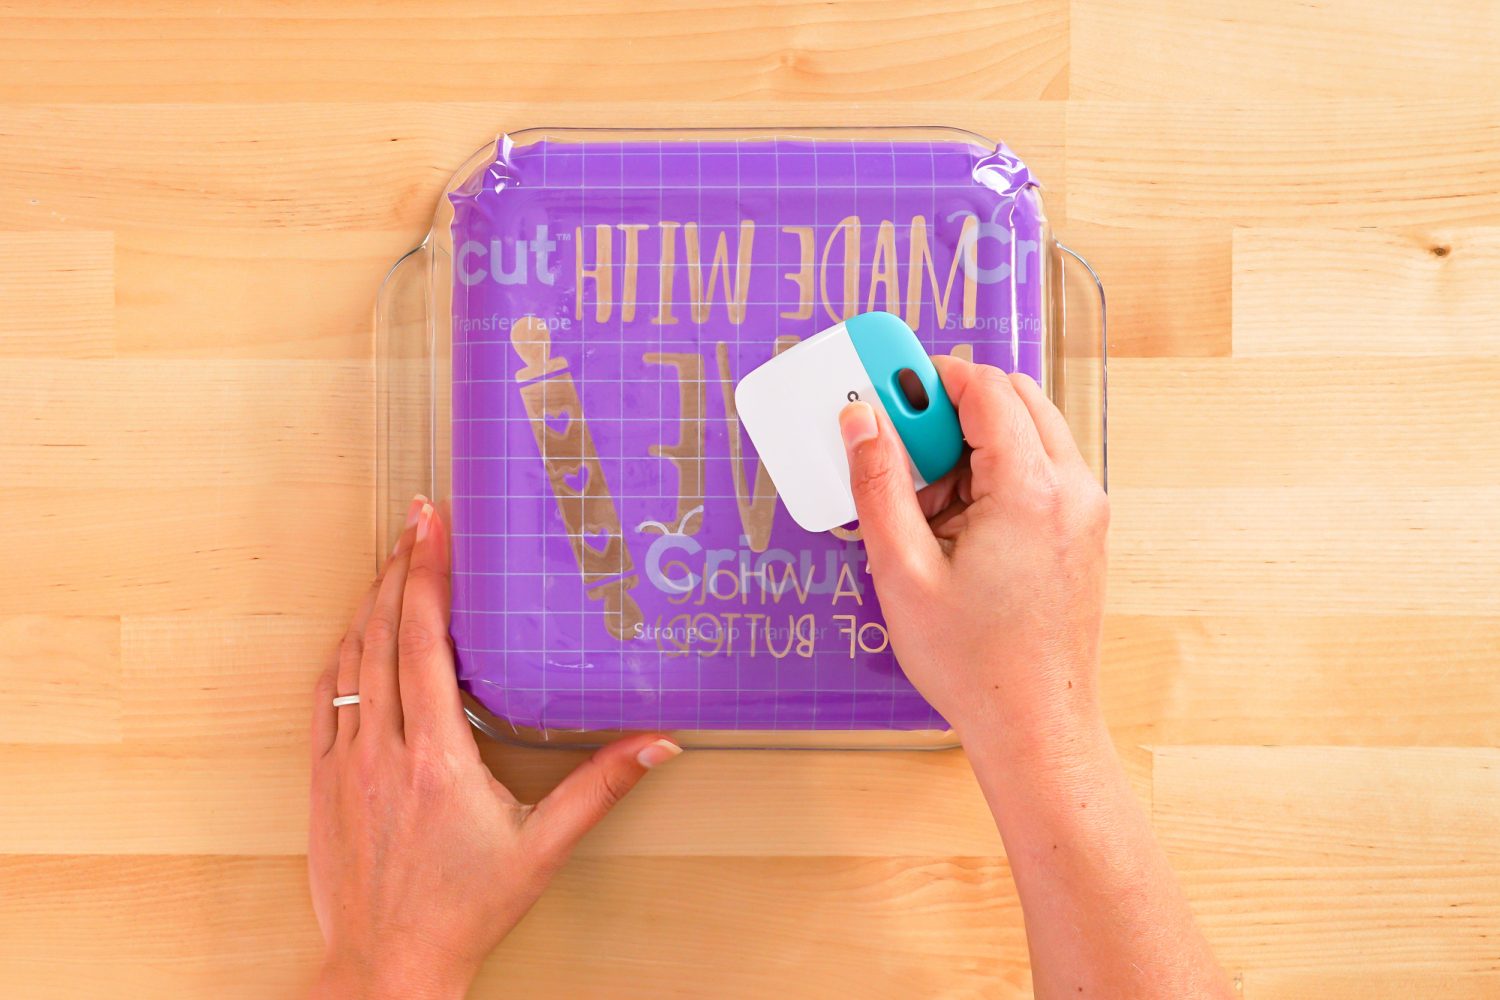
Then peel back the transfer tape and your vinyl should stick. This is a bit of a process since you’re not working with a perfectly flat image. I find using my weeding tool to help the smaller bits works well, and keeps your finger oils off the glass.
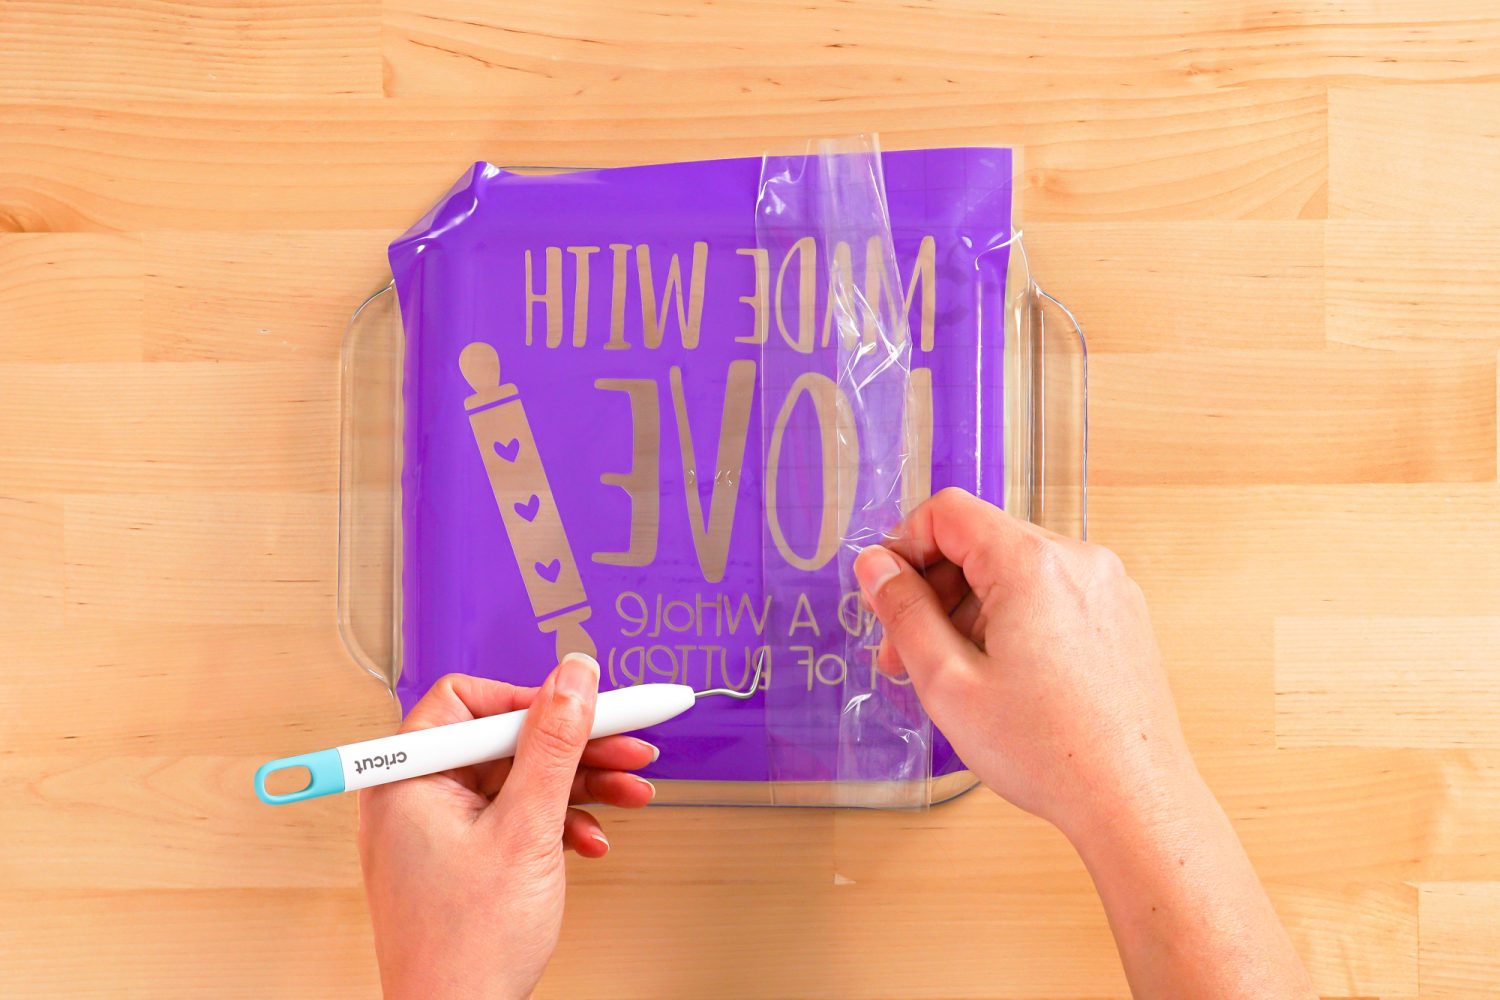
With gloved hands, really press down anywhere there might be bubbles in your image. If you want to, use masking tape around the edges of your stencil so you don’t accidentally get etching cream where it shouldn’t be.
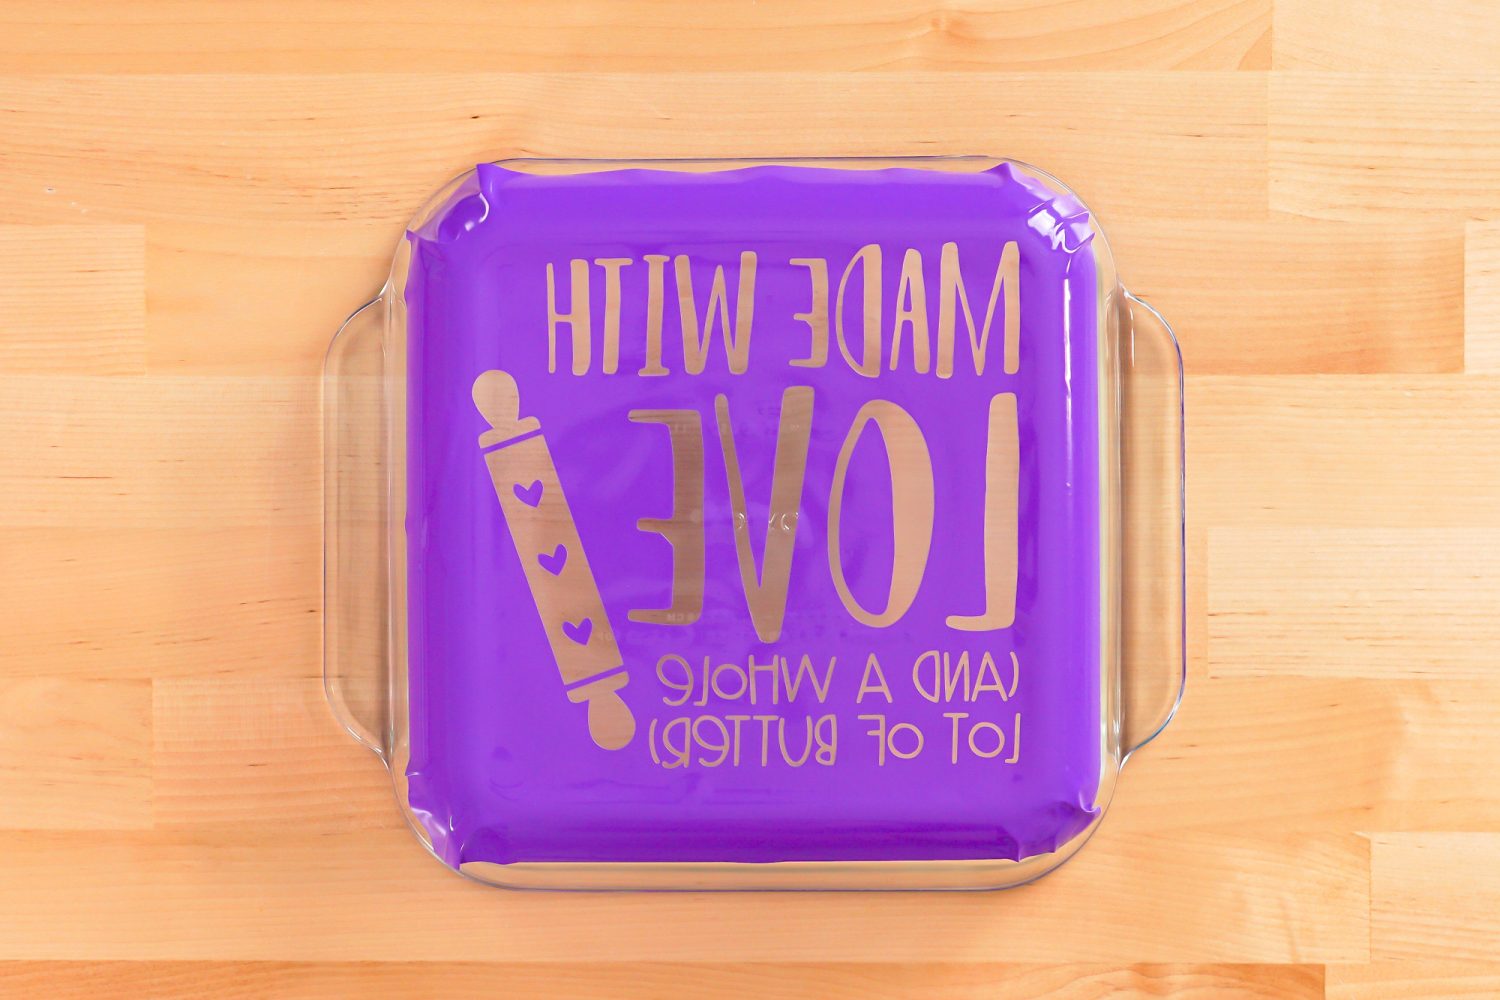
Etch the Glass Dish
Protect your work surface. I’m using an old Cricut cutting mat.
Read the directions on your etching cream. This is the process I used for this particular cream. Your etching cream might be different!
Make sure to wear disposable gloves so that you don’t get etching cream on your hands! Shake the etching cream if directed on the bottle.
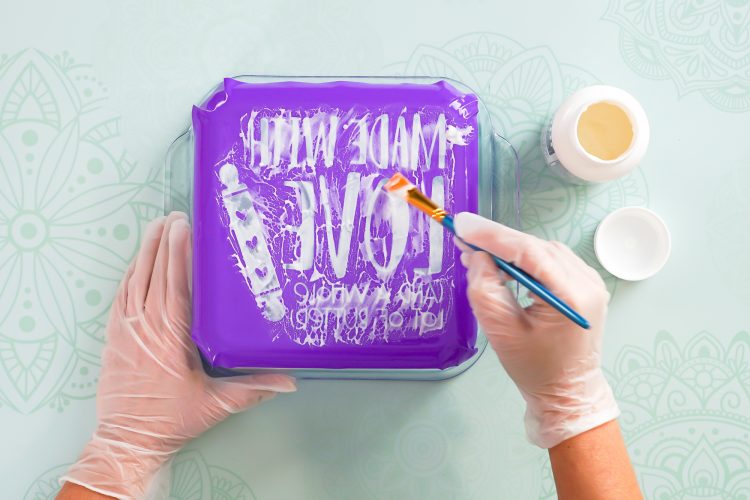
Using the paint brush, brush on a good layer of etching cream.
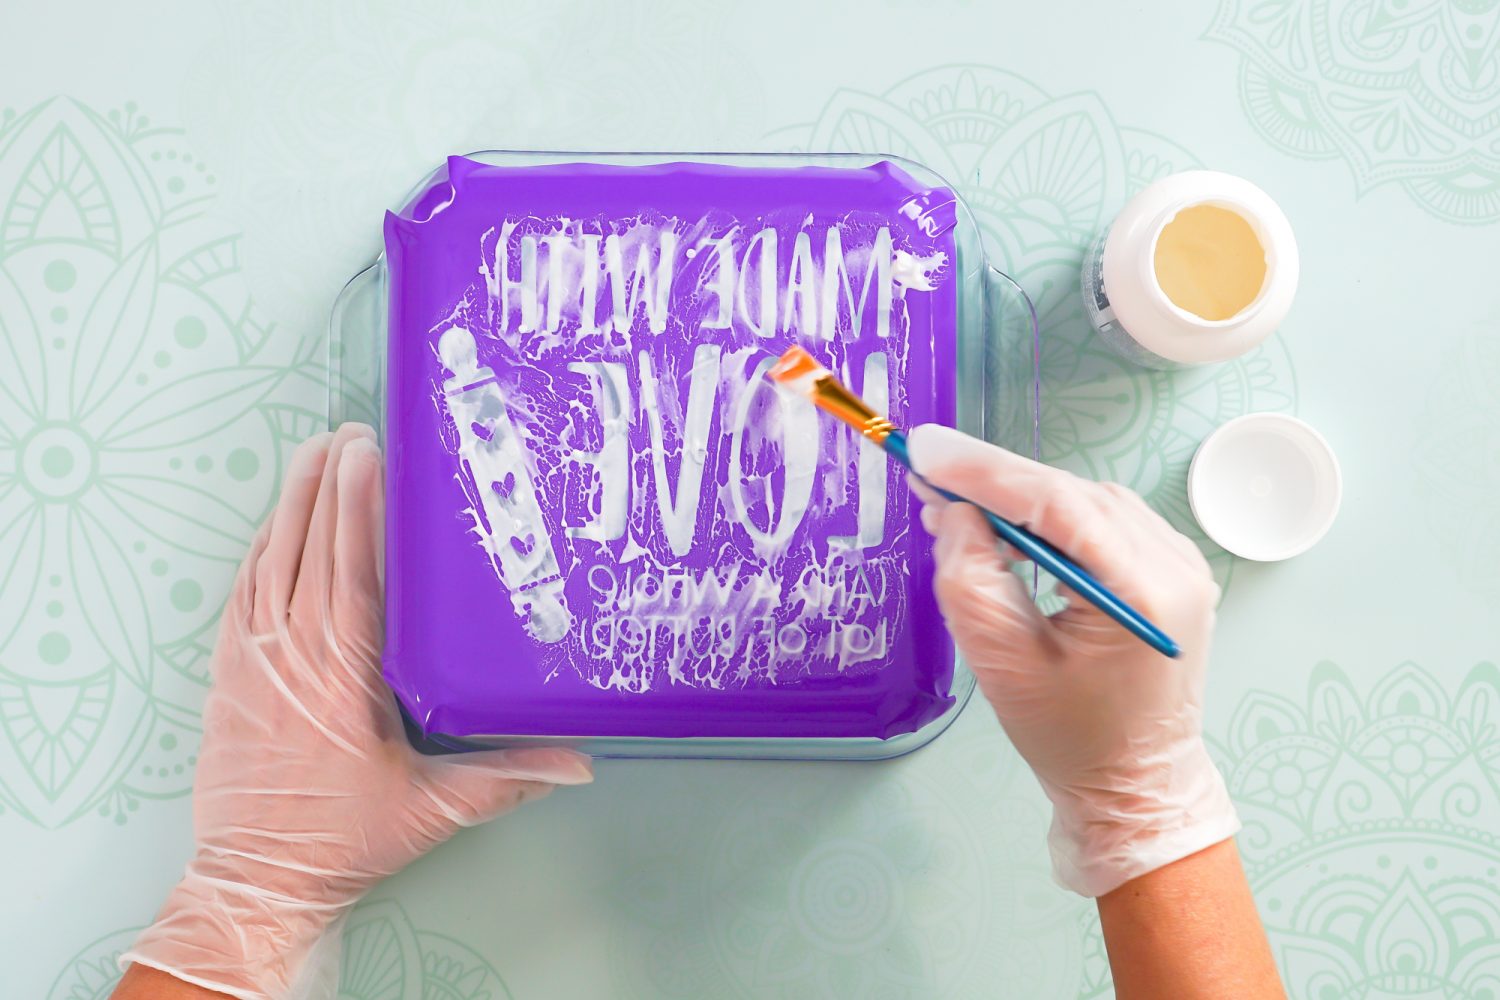
Then continue to brush the etching cream around your project for 10 minutes or however long your etching cream directions say, adding more as you brush it around. I ended up with quite a bit more etching cream than the above photo.
My instructions said to leave the cream on for 1 minute, but I know after doing quite a few etching projects that 10 minutes is better for getting an even etch.
When the time is up, rinse off your dish in the kitchen or utility sink, making sure that it’s rinsed well (I used a sponge to get all of the etching cream off…and then I threw the sponge away because I didn’t want etching cream on anything else!).
Once the cream is washed off, peel back the stencil and used the scraper to get the small vinyl pieces off. Wash once more to make sure you have all the etching cream off (also rinse off your scraper AND make sure you have cleaned out the sink of any extra etching cream).
Then run your dish through the dishwasher to get it clean and ready to use in your holiday baking!
ETCHING GLASS WITH A CRICUT
Supplies
- Adhesive Vinyl permanent
- Transfer Tape
- Glass Baking Dish
- Rubbing Alcohol
- Etching Cream
- Disposable Gloves
Instructions
- Upload the file to Cricut Design Space.

- Use a square to create a stencil using the file.

- Cut the stencil from adhesive vinyl.

- Weed your adhesive vinyl stencil.

- Use transfer tape to adhere the stencil to your glass dish.

- Use etching cream to etch the image into the bottom of the glass dish, according to package instructions.

- Wash the etching cream off the dish, run the dish through the dishwasher, and serve up some yummy baked goods!

Notes
Make All the 25 Days of Cricut Christmas Projects!
We’ll be adding links as each day goes live! Grab the full bundle with all of the projects and SVGs in our 25 Days of Cricut Christmas eBook!
- Day 1: DIY Christmas Countdown Calendar
- Day 2: Snow Globe Shaker Card
- Day 3: Happy Holly Days Christmas Banner
- Day 4: Felt Gnome Pillow
- Day 5: Cookies for Santa Tray
- Day 6: Snowflake Coasters
- Day 7: Customized Christmas Banner
- Day 8: Etched Holiday Baking Dish
- Day 9: DIY Gift Card Holder
- Day 10: Christmas Apron
- Day 11: Christmas Quilt Block Artwork
- Day 12: Constellation Glitter Ornaments
- Day 13: DIY Christmas Card Holder
- Day 14: Papercut Christmas Village
- Day 15: Funny Christmas Socks
- Day 16: Veneer Pinecone Earrings
- Day 17: How to Make Felt Bows
- Day 18: Personalized Santa Sacks
- Day 19: Newborn Footprint Ornaments
- Day 20: Layered Christmas Mandala
- Day 21: Customized Pot Holders
- Day 22: Sleigh Rides Christmas Sign
- Day 23: Hot Cocoa Mug Gift
- Day 24: Print then Cut Gift Tags
- Day 25: Matching Christmas Pajamas
How about another etching idea? Check out my blog on How to Etch Tumblers with CitriStrip + Tips for Intricate Details!



Comments & Reviews
Laurie Fletcher says
I have tried etching a casserole dish in the past, and apparently it was not the correct type of glass because it didn’t etch AT ALL. This was a lot of work and very disappointing! Can anyone tell me the brand name of a casserole dish that they are sure will work? Would love to try it again.
Crystal Summers says
Hi Laurie,
Darn! That’s frustrating! Did you try leaving the etching cream on for longer than the directions? Cori noted that her cream said it only takes 1 minute to work, but she had MUCH better results by leaving it on for 10 minutes. I would personally try a longer etching time, and spread it around with the brush while adding more as you brush. Hope that makes sense!
Let us know how it goes!
Crystal, HLMS Community Manager
Betsy Phillips says
Great project and tutorial! I am curious if you had difficulty removing the permanent vinyl. Hints?
Jodi Caraccio says
Really cute casserole dish! I do etching as well and believe it is important to mention that if you rinse the etching cream off in a sink, it should be a stainless steel sink.
Thank you for all of your wonderful crafting ideas!