Make vibrant, long-lasting garments with DTF printing! This process prints an image onto film, which you can then transfer to t-shirts and other soft substrates, regardless of their color. Here’s how it works!
If you’re looking to take your garment decoration methods to the next level and move beyond HTV and sublimation, then a DTF printer might be next on your list! DTF stands for “direct-to-film” and it’s a step up from other methods I’ve shared here on my blog and YouTube channel.
In this series on DTF printing, I’m going to introduce you to this printing method and share why it might be a good fit for you. Today I’ll give you an in-depth overview of DTF printing, and then in future posts we’ll go into the actual DTF printer setup and maintenance, using your DTF prints to make all sorts of projects, as well as tips and tricks for making your DTF projects even better. We’ll even test DTF prints on some blanks they weren’t designed for to see if they work!
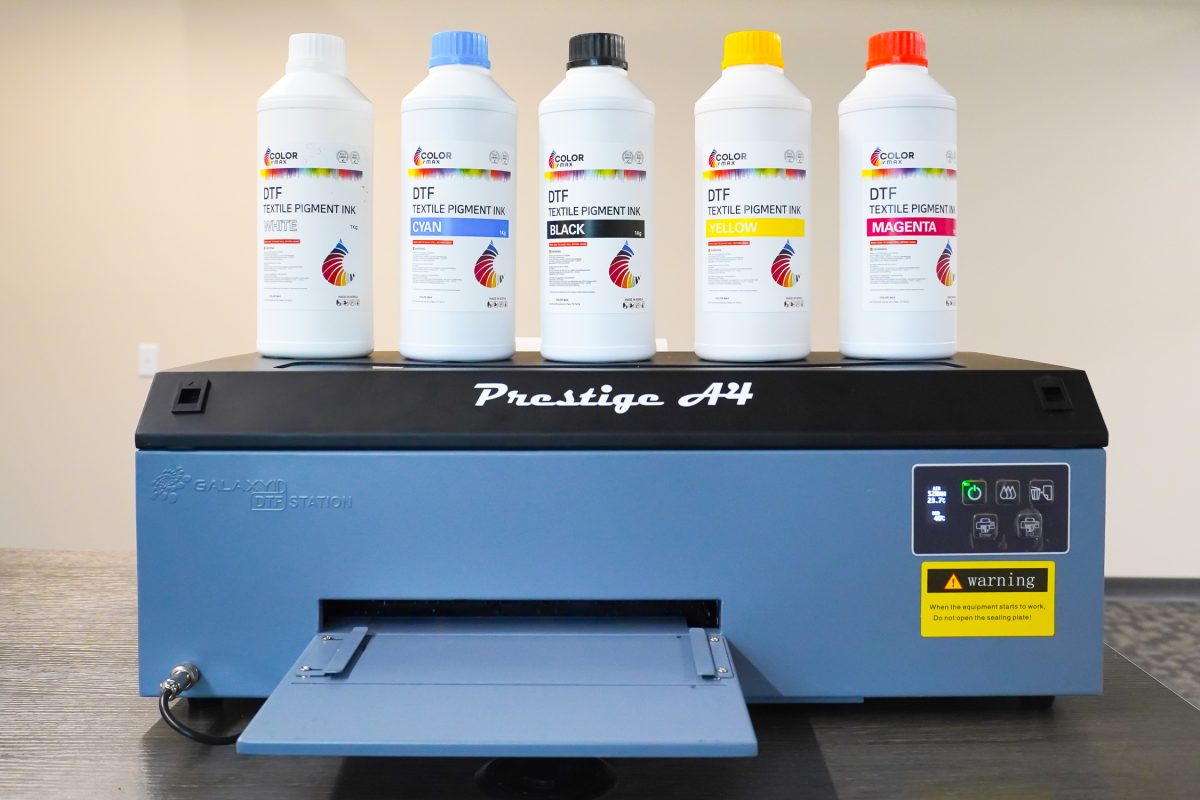
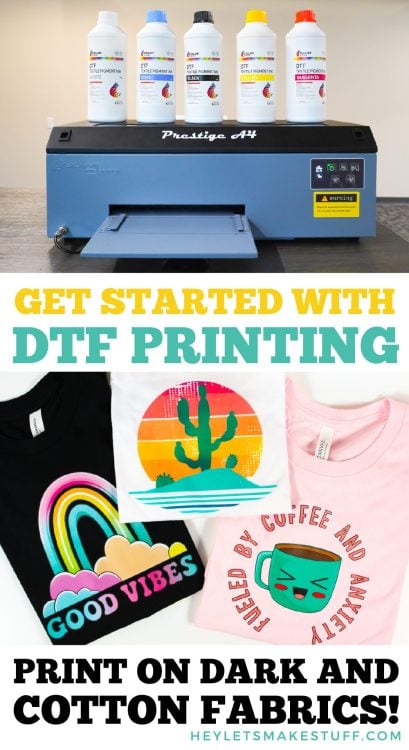
The DTF printer I’m sharing is the DTF Station Prestige A4 printer from Heat Transfer Warehouse. This is a smaller DTF printer, perfect for crafty small businesses who don’t need a huge print-shop set-up. Still, it’s a big step up in price compared to other garment decoration methods I’ve talked about here before—but it might be worth it for you!
Watch the Video
Would you rather watch a video outlining DTF printing? Just hit play below! Or keep reading for a written overview of this printer process.
What is DTF Printing?
DTF printing (direct-to-film printing), is a printing method for transferring full color designs onto a variety of substrates, like t-shirts, tote bags, hats, and more. It involves printing your design onto a special film, applying and curing a powder adhesive, and then transferring the design onto your blank using a heat press.
DTF allows you to create vibrant, detailed, and durable custom apparel and other projects. The direct-to-film transfers are thin and soft and are really nice to the touch. I was very impressed when I pressed my transfers to different garments. It’s a super easy press, the peel is easy, and the feel of the transfers is so soft compared to so many other transfer methods.

There are five DTF ink colors. The normal CMYK colors (cyan, magenta, yellow, and black)…and also white! This means you can use DTF transfers on all sorts of colored garments, unlike sublimation. It also doesn’t require any cutting or weeding, like HTV, or “marrying” like a white toner printer.
That being said, DTF technology is still in its infancy in the printing industry. Think of it like an early iPhone—revolutionary for its time, but when you look back now, there’s a long way to go to get where we are today. Getting into DTF printing now means you’re getting in on the ground floor of this printing method—but the technology can still be a bit rough, as you’ll see in upcoming posts. But I imagine that in a few years, we’ll be seeing even better printers and processes that are easier to use.
I had friends at Printing United, the country’s largest printing trade show, and they said DTF printing was everywhere on the show floor. This means that more and more companies are recognizing the potential of DTF printing. And the more companies that get in the game, the faster the technology will advance.
So it’ll depend on whether or not you are an early adopter who wants to take advantage of getting to know this process early…or if you’d like to wait a bit for the industry to level out a bit!
Who is DTF Printing Good For?
Because the cost of entry for DTF printing is higher than something like a cutting machine or sublimation printer, most DTF printer buyers are small business owners, not hobbyists. A DFT printer is good for a smaller print shop making custom clothing because the smaller machines (like the Prestige A4) max out printing about 9 square feet per hour. So depending on the size and complexity of your images, you may be able to print 40 to 50 high-resolution prints a day.
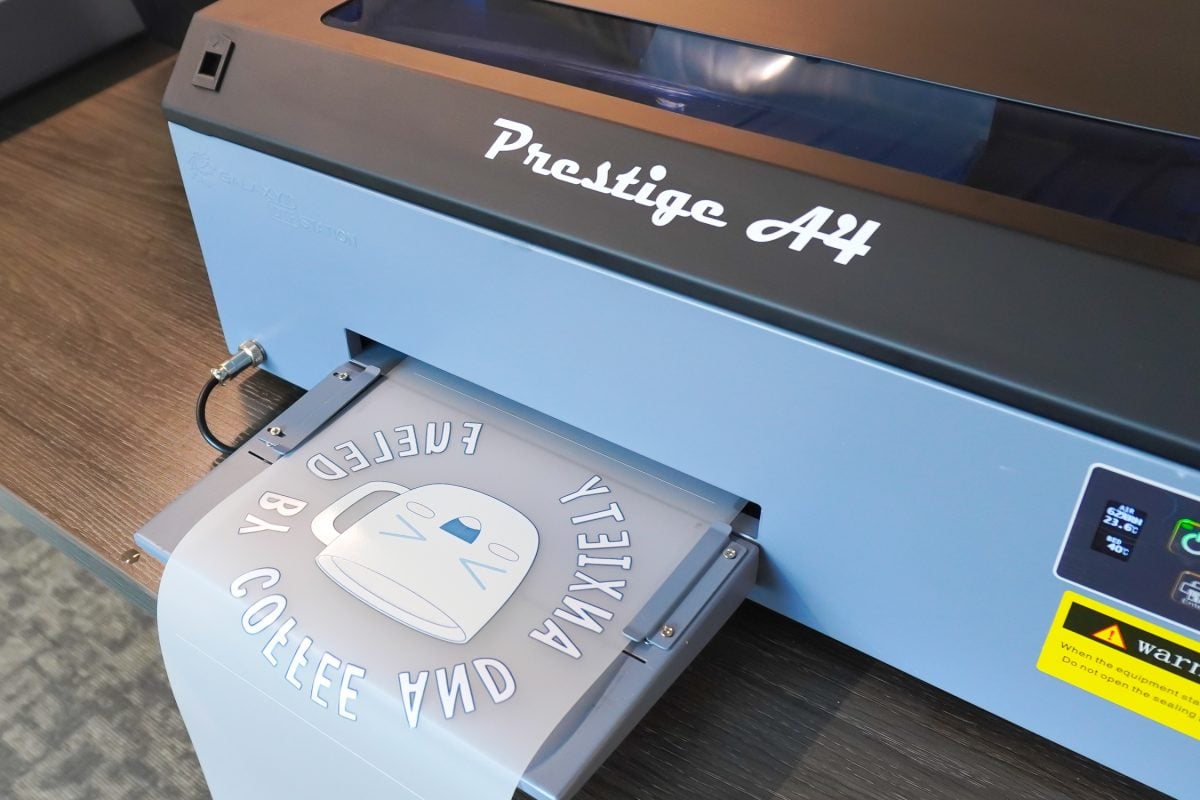
And because DTF printers require regular maintenance, the best customers for a DTF printer are those printing regularly. I’ll talk more about maintenance in an upcoming post.
Perhaps you already have a sublimation business and you’re looking to expand your product line to dark and cotton garments. Or maybe you want to open a small t-shirt shop for your local craft fairs and boutiques. Or maybe you want to just sell the long-lasting prints to other people on Etsy or locally for them to apply to their own garments. These are all examples of users who might want a DTF printer.
This also means that I’m not the ideal customer for this printer! I don’t personally make products to sell and if I had this printer, I know it would end up as a clogged brick because I wouldn’t use it enough.
So instead of buying this printer for myself, I decided to head to Heat Transfer Warehouse in Fargo, ND to spend a few days with my friend Angie Holden learning how to use this printer with the help of the Heat Transfer Warehouse pros. We spent several days working with the DTF Station Prestige A4 printer so that we could accurately share our experience with it with you!
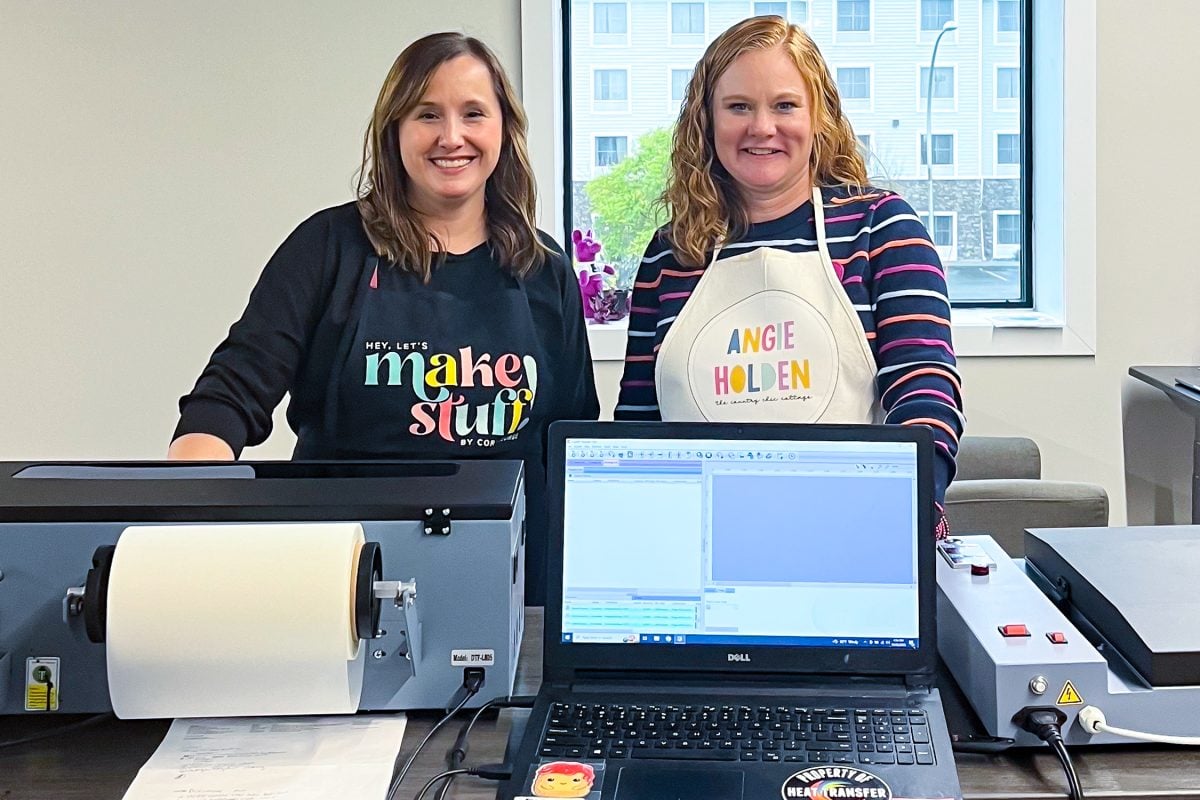
This is also why you’ll notice that my photos aren’t in my normal colorful studio!
The Basic DTF Process
I’ll go into this process in depth in upcoming posts, but here’s the basic process you’ll use for making DTF transfers.
- Set up your printer: Get your printer all set up with the inks in the tanks.
- Upload your design to the software: Upload a PNG file to the RIP software and choose the settings that best work with your garment.
- Load the film: Load the DTF film into the printer, making sure it’s straight.
- Print the design: Send the design from the software to the printer and the printer will print the transfer.
- Apply the adhesive: After the transfer finishes printing, dust the back with the hot-melt powdered adhesive.
- Shake off excess adhesive: Dump any extra adhesive powder back in the bin where you applied it, and flick your transfer to remove any excess adhesive.
- Cure the adhesive: Heat up the adhesive using either a curing oven or your heat press (see my notes on safety below).
- Apply the transfer using a heat press: Press your transfer to your garment for 15 seconds at 325° using firm, medium pressure.
- Peel back the film: Peel back the film—you can do this while the transfer is warm or cool.
- Final press: Using a pressing cloth, give the garment one final press to fully adhere the transfer.
What Types of Blanks Work with DTF Transfers?
Generally high quality soft blanks, like garments, will get the best results with DTF. You can transfer a DTF print onto cotton, polyester, or a blend of those two fabrics, and you can use any color you’d like, including dark colors. My favorite blanks are BELLA+CANVAS blanks!
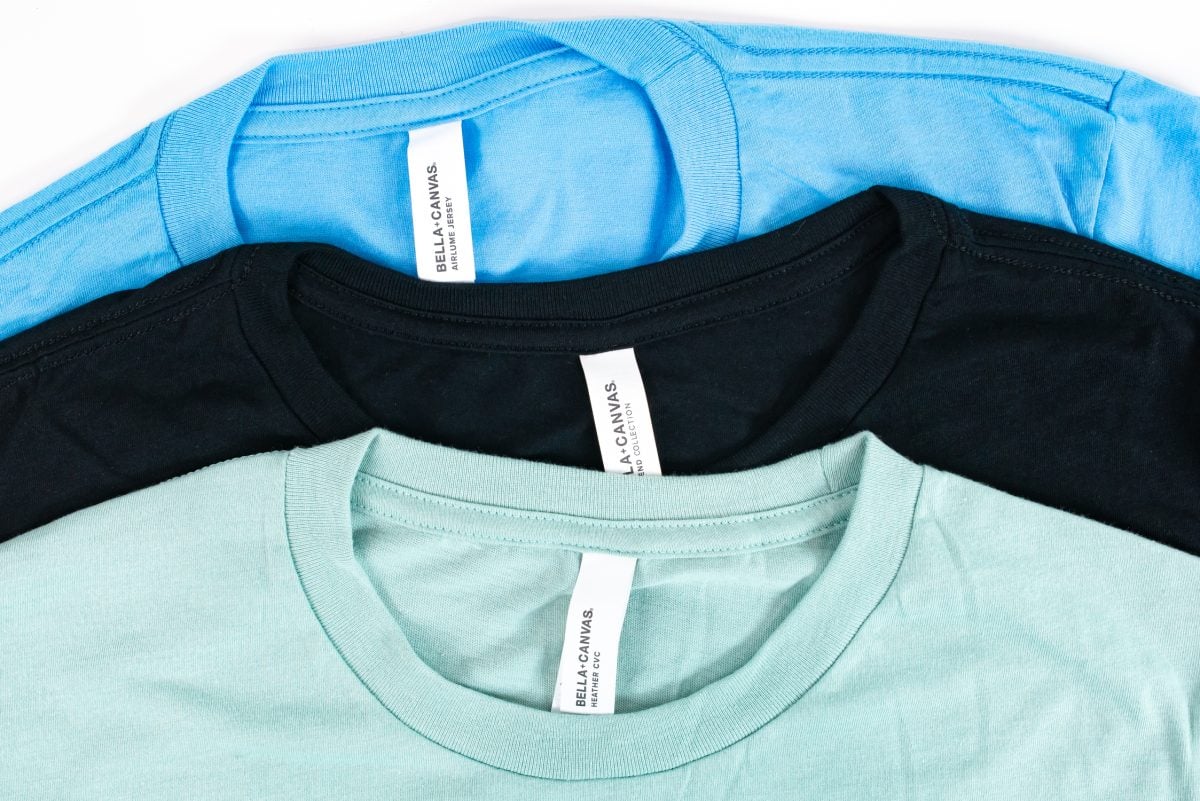
BELLA+CANVAS blanks have been my go-to brand of blanks for a long time now because they have such a wide selection of colors, silhouettes, and sizes.
They even have a FWD Fashion line that has a lot of trendy and modern garments that you won’t find with other retailers. They are perfect for making really unique DTF projects! Think cropped hoodies, baby tees, tie dye tees, raw-neck tees and more.
Did you know you can buy BELLA+CANVAS garments at wholesale pricing without a reseller license? Get a BELLA+CANVAS Maker’s Account! This account allows you access to the wholesale side of their business without the need for any permits or licenses. Even better? It’s free! Learn more in my post Buying Wholesale Blanks without a Resale License!
I will also be doing some testing of DTF on hard blanks, including glass, wood, and metal, but after chatting with the folks at DTF Station, I have my doubts about the durability of DTF on hard blanks. We’ll see how those tests go in the future!
What DTF Software Do I Need?
You’ll need a RIP software for any type of DTF printer. This is a type of software that turns (“rips”) your regular image into the type of image needed for DTF printing. The Prestige A4 machine comes with RIP software called DigiRIP, which is great, since it can be several hundred dollars to purchase on its own.
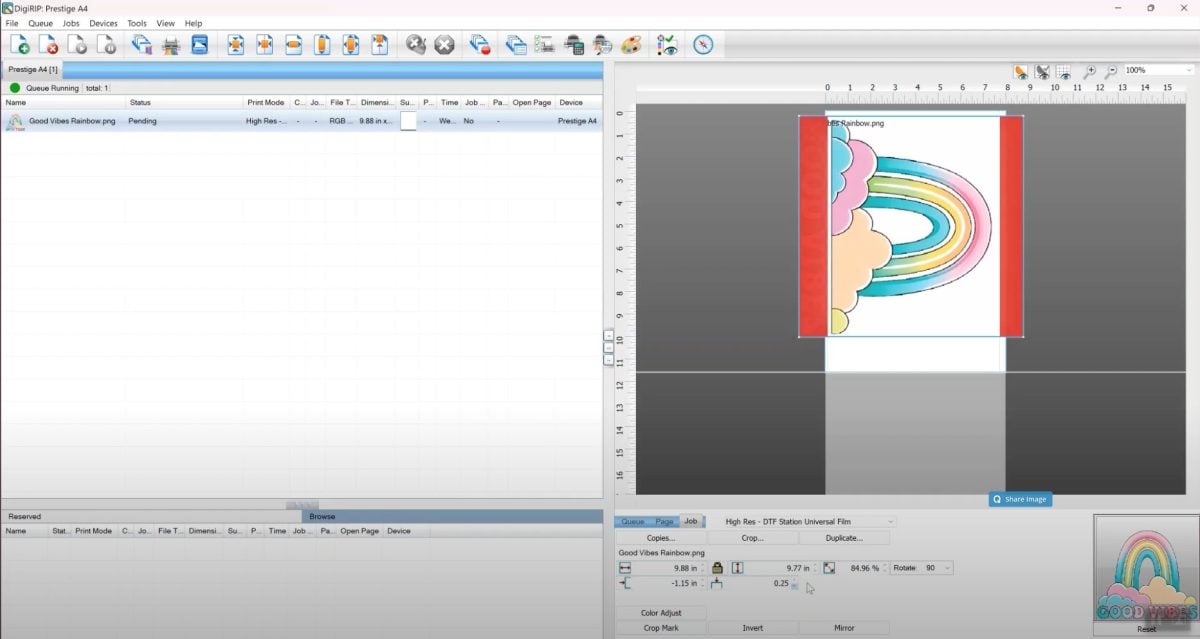
You’ll want to upload PNG files with a transparent background to the software. This means you can either purchase designs somewhere like Etsy, or you can design your own using software like Photoshop, Affinity Designer, or Silhouette Studio. If you’re familiar with sublimation images, these are often great for DTF printing.
The biggest problem is that the DigiRIP software for the A4 is only for PCs. As a Mac user, this is…not my favorite. If you want to get into DTF printing and you have a Mac, you will need to purchase a small PC laptop so you can run the software. The software runs really light, so you can choose an inexpensive PC, but again, that’s comes at a price.
How Do DTF Prints Wash?
When printed and applied correctly, DTF prints can last 50 to 100 washes. You can use standard washing and drying for DTF garments—no need to use a delicate cycle or line dry. I’ll be doing a wash test, so stay tuned for that.
How Much Does a DTF Printer Cost?
Getting started with DTF printing isn’t cheap, so make sure it’s the right process for you before investing in your equipment.
There are lots of DTF printers out there but I can only speak to this Prestige A4 machine. Heat Transfer Warehouse sells machine bundles with the Prestige A4. To start, I’d recommend the printer and curing oven bundle, which just under $4000 and includes DTF inks, hot melt powder, and some other essentials I’ll go into using in an upcoming post. This is what we used at Heat Transfer Warehouse and it’s a great setup to get started.
You can also level up with things like an automatic powder shaker or dryer unit, which can speed up your workflow.
You can find cheaper DTF printers from China on Amazon or Alibaba, but I have to say that the service you get with DTF Station makes it worth the extra cost. These printers are not the easiest to maintain and if you choose a printer from a company that doesn’t offer support, you honestly might be screwed if you have a difficult clog or a printer head issue. The support we’ve gotten from DTF station has been fast and helpful, plus they have weekly classes to help you make the most of your DTF printer.
How Does DTF Compare to Other Methods?
If you’re familiar with other methods of decorating garments, let’s look at how they compare to DTF printing.
DTF Printing vs. HTV
HTV (heat transfer vinyl or iron on vinyl) is a heat-activated adhesive-backed vinyl that is cut on a cutting machine (like a Cricut or Silhouette), weeded, and applied to a blank with a heat press. HTV is generally one color, though you can layer it or buy patterned HTV. While DTF is also transfer applied with a heat press, it’s a four-color printed process that is much thinner, nicer to feel, and lasts longer. A cutting machine and HTV is much less expensive than DTF printing, so it’s perfect for hobbyists.
DTF Printing vs. Sublimation
If you have a small sublimation business and are currently turning down orders because you can’t do dark or cotton fabrics, DTF printing may be the solution. And it will last longer than sublimation hacks like glitter HTV or EasySubli. Sublimation inks actually bond to the surface of your blank…provided it’s polyester/poly-coated and a light color, limiting your substrate options. But you don’t feel the transfer at all. Sublimation can be used on a wider variety of hard and soft blanks, including apparel, drinkware, home decor items, and more, whereas DTF is best for garments and others soft blanks. Sublimation is generally less expensive than DTF.
Learn more about sublimatiom printing
DTF Printing vs. Screen Printing
Screen printing is another popular way to decorate garments that involves squeegeeing ink over design screens to create an image. Screen printing can be great for large batches (especially if you have the right equipment) and screen prints wash and wear really well. And you can screen print on most fabrics, as well as a variety of other blanks, including some hard blanks like signs.
But screen printing often has a limited number of colors (you’ll need a separate screen for each color in your image), while DTF gives you four-color transfers. Screen printing also has a lot of set-up—you have to cut and make the screens using one of a few processes, whereas DTF printing is just a print. That being said, once you have the screens, you can move a lot faster than a DTF printer can print, so screen printing is often better for larger orders. Screen printing is generally less expensive than DTF printing, depending on your set up.
Learn more about screen printing
DTF Printing vs. White Toner Printing
White toner printing is yet another way to decorate garments, and like DTF printing you can print vibrant full-color images. Instead of liquid ink, it uses powdered toner to print the designs. Because it contains white toner in addition to the normal toner colors, you can use white toner prints on many fabrics and dark colors. You can also use white toner prints on hard blanks like mugs as well as unique blanks like mylar balloons.
White toner printing does require a “marrying” process for the adhesive which can be a bit complex and time-consuming. White toner printers are generally more expensive than DTF printers, but require significantly less maintenance because there is no ink that can clog the printhead. You can let a white toner printer sit for months without an issue.
I am planning on getting a white toner printer (I think it’s a better choice for my particular needs!) so I should have a review soon.
DTF Printing vs. DTG Printing
There’s one other type of full-color printing that is common for some print shops and that is DTG printing—Direct to Garment. This means you literally put your shirt or other blank inside the printer and the image is printed directly on the garment, allowing you to skip the powdering and curing steps of DTF printing. You can also print to film using these printers, like DTF.
DTG garments require a pre-treatment before printing and is best on cotton since polyester can repel the ink. DTG printers are generally the most expensive of the options here (think the price of a starter car). I doubt I’ll ever get into DTG printing personally, but it’s an option that you may want to look at if your small business is growing.
DTF Printing vs. Supacolor
I recently did a review of Supacolor transfers, which are similar to DTF transfers. But instead of printing them yourself, you order them from Supacolor and they send them to you. The transfers are pretty similar—both are full-color transfers that can be used on a variety of fabrics in any color and both are easy to use. Supacolor transfers have a slightly thicker feel, but they should wear similarly to DTF. Of course ordering them is more expensive per print than if you were printing them on your own printer, but there’s no cost for the printer itself.
EcoTank DTF Printer Hack
There’s also a hack where you can put DTF ink in an Epson EcoTank printer, similar to hacking the same printer for sublimation. You’d use the same powdering and curing process as described above. You can then use the prints on cotton fabrics.
The problem is…those printers don’t have a tank for white ink. Which means, as far as I understand, that you’re still limited to using light colored fabrics since the inks aren’t opaque and you really need that white ink to get images that pop on dark fabrics. I’m not sure this hack is worth it just for light cotton garments, plus I have safety concerns because most crafters using this hack use their heat press to cure the adhesive.
DTF Printer Safety Concerns
One of the reasons I haven’t written about DTF printing until now is that I had some real safety concerns and I wasn’t comfortable exploring it until I knew a bit more, and the folks at DTF station helped me prepare. My main safety concerns are with the adhesive. The adhesive is a “hot-melt” powdered adhesive that you have to pour and shake over the printed transfer.
To cure it, you have to heat it.
My concern was two-fold:
- When powdering the transfer, how bad is it to breathe in the powder?
- When curing the powder, how bad is it to breathe in the fumes?
The answer is—neither is good. This is adhesive we’re talking about. While the adhesive is OEKO-TEX Standard 100 certified (which means it’s been tested to make sure it doesn’t contain certain harmful substances), no one wants adhesive micro-plastics in their lungs. So I took several safety precautions that I’d recommend to anyone using a DTF printer.
The first is to wear proper safety gear when powdering your transfer. I wore an N95 mask (you could also wear a respirator), safety glasses, and gloves. I also washed my hands regularly and showered when I got home after testing the printer because that powder does tend to drift and settle. After a day of printing I felt a bit…gritty.
Second, I highly recommend getting the curing oven with your DTF printer. Yes, the cost is higher but with a charcoal filter, it’s so much safer than curing your adhesive by hovering it under a heat press. There’s nothing to stop all those adhesive fumes from escaping into your craft space with a heat press (not to mention, it’s so much faster with the oven—60 seconds compared to three or four minutes under a heat press). I also recommend running an air purifier and/or opening windows while you’re working.
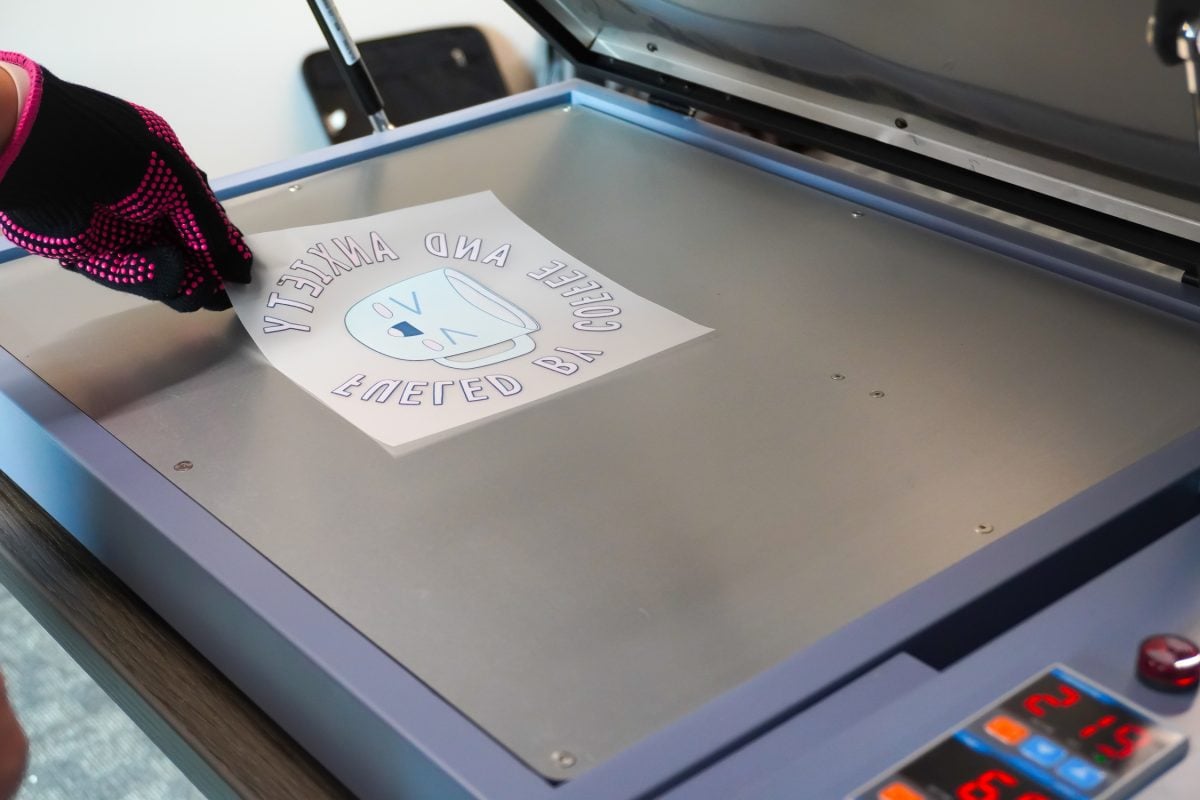
I think sometimes we think we’re invincible—oh, I can’t really see it so it won’t hurt me. But really, we need to be taking safety precautions any time we’re working with anything that could harm our health.
Buying DTF Transfers
After seeing my next few posts about setting up a DTF printer and printing and using transfers, you decide that a DTF printer ISN’T for you, I’ve got good news! Heat Transfer Warehouse recently started selling custom DTF transfers.
So if you don’t want a printer or if you want to try out the vibrant colors of a DTF transfer before you invest in a printer system, you can do so through Heat Transfer Warehouse. And unlike something like Supacolor, they do not currently have a minimum order quantity, so you can order a single transfer if you’d like!
I hope you found this overview of DTF printing helpful. In my next post, we’ll go over the setup and maintenance required for the DTF Station Prestige A4 machine, and then after that I’ll show you how to print and press these high-quality prints!


Comments & Reviews
Mark King says
Thanks for the excellent “onboarding”, it was a pleasure to read, just the right amount of jargon density, no hand holding and baby talk, and the sadly elusive bravery butressed by respect for your audience – you actually said I don’t know and went on to explain what part of it was a work-in-progress as a curious human being exploring new ideas and tech/methods. Wow! No mansplaining! (I saw your photo, yes women mansplain plenty [And fill plenty of formerly porcine old white dudes, Janet Yellen, Meg Whitman, Hilary, Elen, T. Swift, and the swarm of nameless rod ragin’ Ms. Evila Knievel. The only thing women don’t do is particle physics and grandmaster level chess. [I pictured a secret meeting, maybe after last call at a Brooklyn lesbian bar, “Ladies, we have a lot to do, what do you say we let the guys hold onto their silly patriarchal game, for a few years, siri sort of took it from them anyway, right? LOL! Silly attempts at humor aside, I really did enjoy the excellent job you did organizing the messy info that resisted my earlier glances and ran back in the shadows. This time I got it.
I will try to offer something useful in exchange, since besides a proud BFA recipient, I also followed my other calling, chemistry. Yes, I tend to favor arty chemistry and techy art. The advice I will offer is more in line with how to tame a powder and how to decrease the stinky VOC off-gassing like a cement truck driver after Taco-Bell [Damn!] The first part is a powder, so I will explain how to tame the “fines” (the tiny banjo-scale bits that broke off of larger microscale clay-like powdery adhesive. I would hit it with Cabosil (a fumed silica made by boiling silica gel at crazy heat then catching it as it tries to float away with 2 defibrillator plates so close they almost touch, and charged to neon sign voltages. You can buy this product of macho nerdiness at any fiberglass supply, or boat repair shop, it’s almost weightless. It literally adds little fluffy clouds of air to your powder, making it dance where it used to stumble about. Cabosil is a glidant and also an anti-caking agent. It will help mi’s your powdery adhesive and help you use way less of it. Your total addition is a half of 1% total weight. The other 2 ingredients are more tricky. You need MCC [microcrystalline cellulose] and carnauba wax, these must be mixed 2 – 5 parts to 1 part wax. You can mix these in a coffee grinder and sift it through 200 mesh screen, or dissolve the wax in some pure rubbing alcohol as it boils, add the mcc and stir, pour it out onto a Pyrex casserole dish and keep stirring. Pass it through a mesh screen 200 mesh. You buy the metal mesh screen on Amazon or ebay, and you need a short section of plastic pipe, abs 4 inch drain pipe, about 4 to 8 inches of it. Get your too stretched hair rubber band and use it to clip the ears of a square piece of mesh film around the cylinder section if abs pipe. Using a clothing iron set just below or right at cotton. Wrap the iron in aluminum foil for only the front pointed end. Start melting some plastic through your mesh sheet, tack it down in 3 places in a tight drum firmness. Alternately a fork and a creme brulee torch will do a fine job, but go outside for that! Thick sooty smoke from burning plastic is not how you want to infuse your work space, and be up a ladder for days scrubbing soot off the walls and ceiling. Outside is fine, and with practice you can do one without the industrial accident vibe. You can’t glue it, don’t ask. Although using another vert short cylinder to hold it and melt that to join the bottom is an improvement. So a half inch tall black ring then silvery ss mesh then a taller black tube about 4 or 6 ” diameter. Melt the black plastics together to hold the screen in place like a trampoline. A soldering iron on 225° works very well, hearing a screwdriver with a torch then using it for 3 second spurts sucks royal ass! The iron is easiest. You can use a disposable pie dish on an electric stove, heat it medium until it warms up, test it by melting a black ring onto the pie dish, quickly slap down your mesh screen, and flatten it with a potato masher or gloved hands. Install the longer tube and you should have a very soft almost hot peanut butter viscosity for the first quarter inch, twist back and forth to get a good weld, slide the whole business pie dish and tower to a cool part of the stove and place your copy of infinite jest on top, or 5 cookbooks. Go do something else for a half hour. Once it dries, and you have your carnauba wax/MCC beautifully existing as a hybrid of the two, and smelling like a surfer beach in Brazil, then you can add 2% to your adhesive. Buy a cheap coffee grinder and spin up your performance mixture. You can convince yourself it was worth it by spinning some naked adhesive first, see how much smoky powder it makes? Next your Gucci blend. The grinder purrs, not wails like a wounded animal, give it a slap on top and tap the sides on a table or with a spoon..Aha! See that? No dust! How about that? Now when you add it by sifting, it will fall like it’s magnetized, not linger like sand over the Mediterranean ocean [from Sahara]. Heat it with a paranoid hatred of heat! Get a temperature sensor and place it on the part that melts the powder, your goal is to undershirt the melt by 10%, looking for the sintering temperature. It will take 3x longer, but I promise you will only smell the delicious wax and not need a full face respirator. Doind this close to the kitchen vent on low is all good. You will see. It’s not mysterious, if it smells, it’s too hot. You don’t actually want to melt it, just almost melt it. Like ice cubes freezing together in above freezing temperatures of your kitchen. So why one big mycelium looking chunk? Sintering. Google that. DM any questions. I am happy to help.