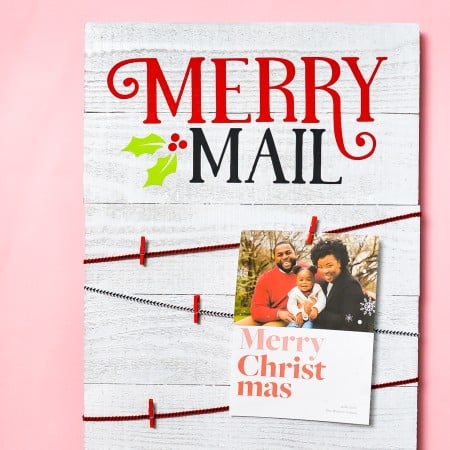
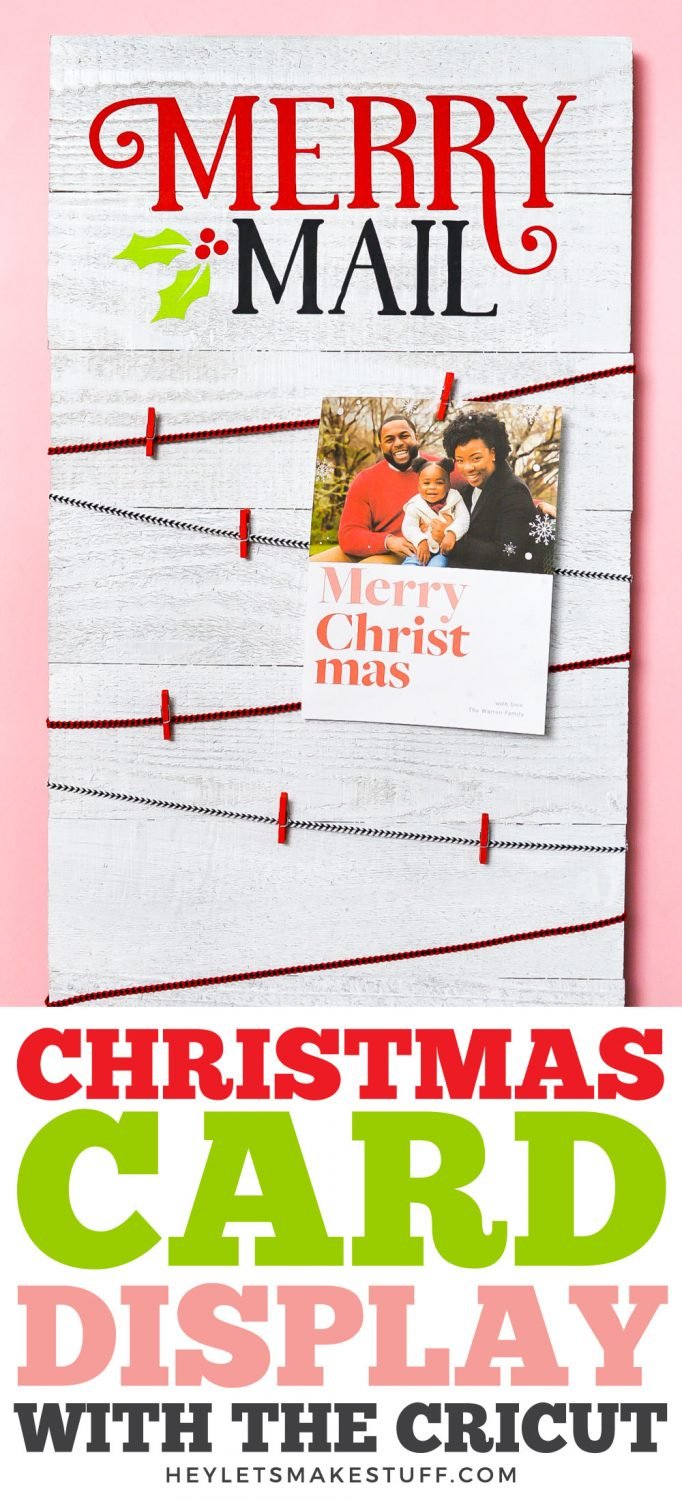
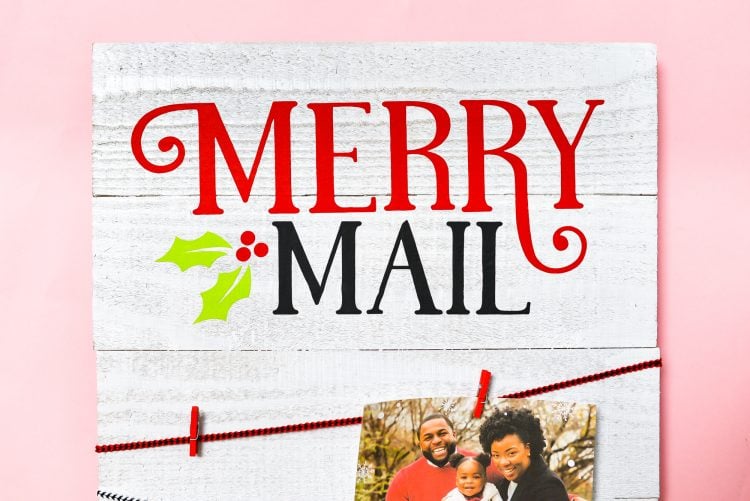
Display all of your Christmas cards and other merry mail with this DIY Christmas card holder! Use your Cricut to craft this Christmas card board, and then use ribbon and mini paper clips to display your cards!
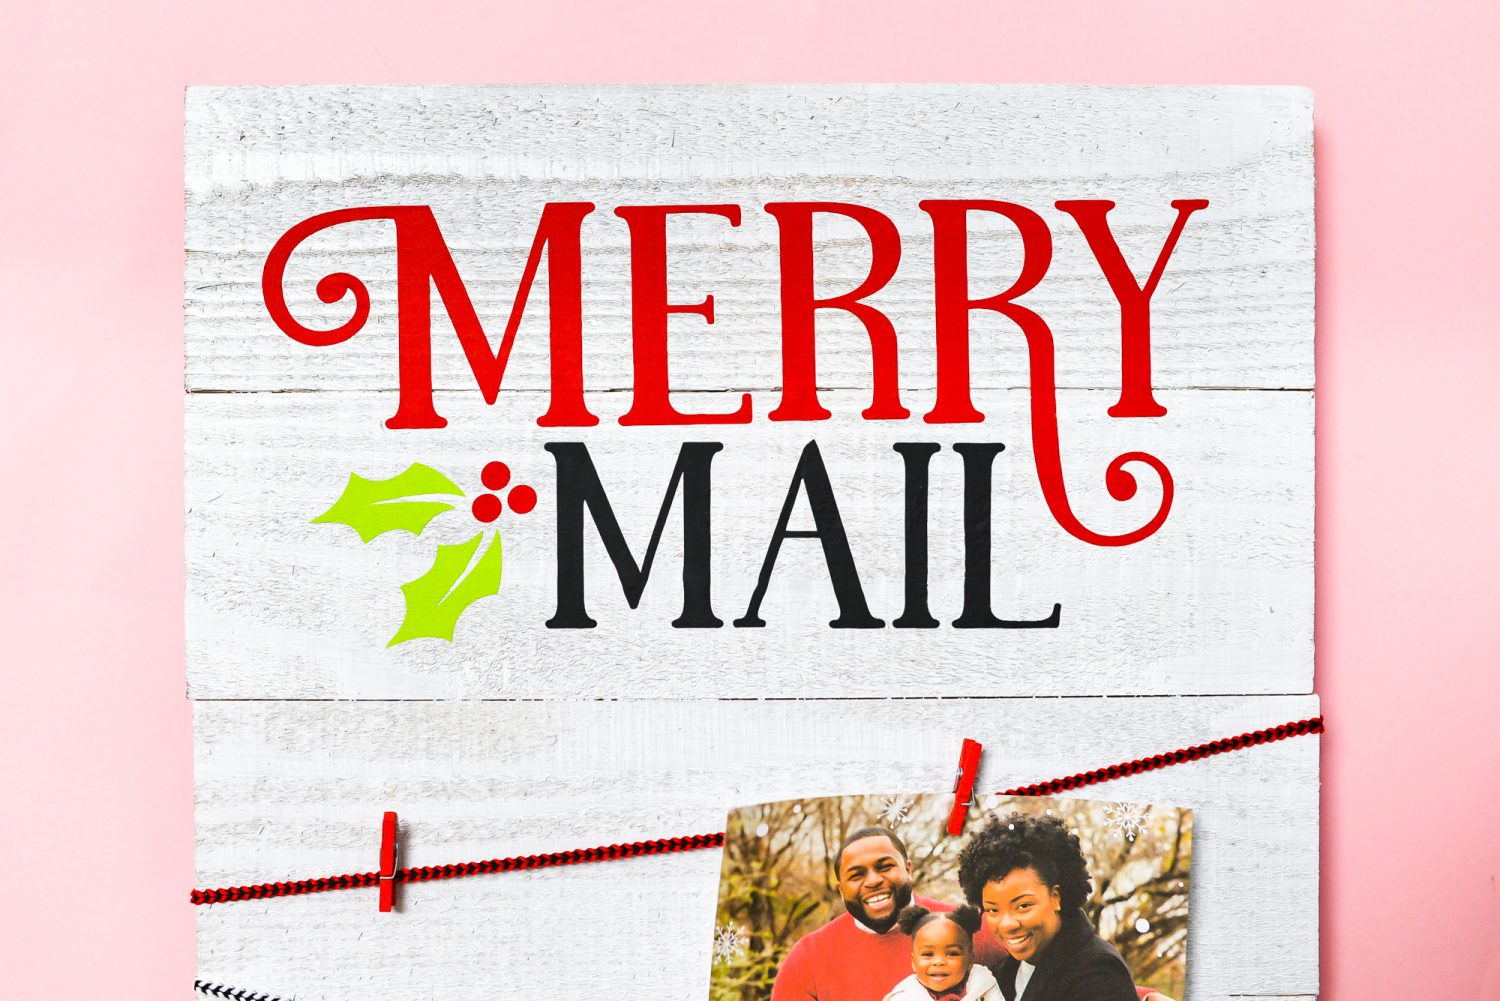
We’re on Day 13 of 25 Days of Cricut Christmas and today we’re crafting a handy way to display all of your merry mail—a DIY Christmas card holder! This fun board is perfect for displaying all of the cards you receive during the holidays and can be used year after year.
If you’d like to get this series in an ebook format PLUS all of the SVGs needed to make all 25 projects check out the 25 Days of Cricut Christmas eBook Bundle!
This tutorial, in particular, is helpful for projects you want to make using rough wood. The board I purchased was very rustic with a gray wash. The wood is very fibrous and crafters can find it frustrating to use with Cricut materials. In this post I’ll share my favorite tip for getting iron on vinyl to stick to rough wood surfaces!
I also gave the sign a coat of white paint with a sponge brush, which didn’t cover it fully but made it a little brighter and more my style. Normally I wouldn’t recommend using iron on vinyl on a painted surface (it tends to bubble), but because this rough wood soaked up so much of the paint, it was no problem.
Christmas Card Display Board Supplies
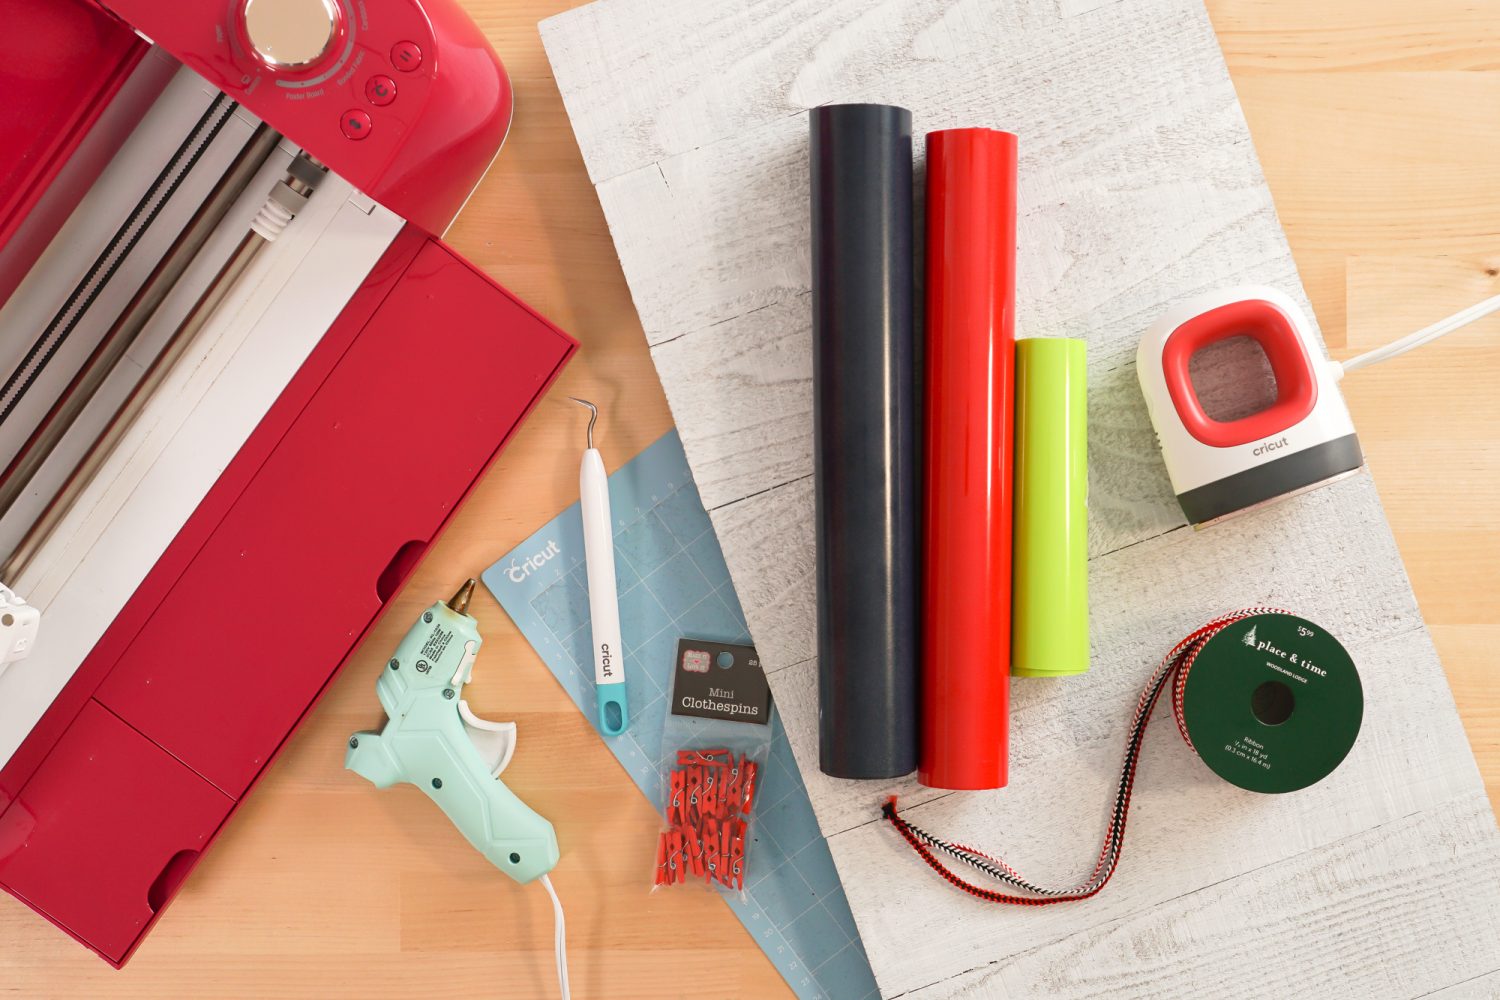
- Cricut Explore or Cricut Maker
- Blue LightGrip or Green StandardGrip mat
- Iron on vinyl (three colors)
- Weeding tool
- Cricut EasyPress Mini or mini iron
- Wood pallet sign
- Piece of fabric or thin towel
- Ribbon
- Mini clothespins
- Merry Mail SVG
Grab the SVG for this Project
Christmas Card Display Board Instructions
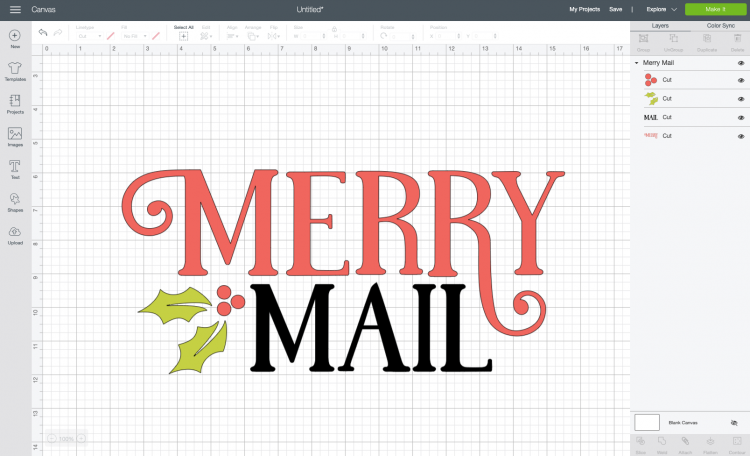
Upload the Merry Mail file to Cricut Design Space
To start, upload the Merry Mail file to Cricut Design Space (see Uploading SVG Files to Cricut Design Space if you need help).
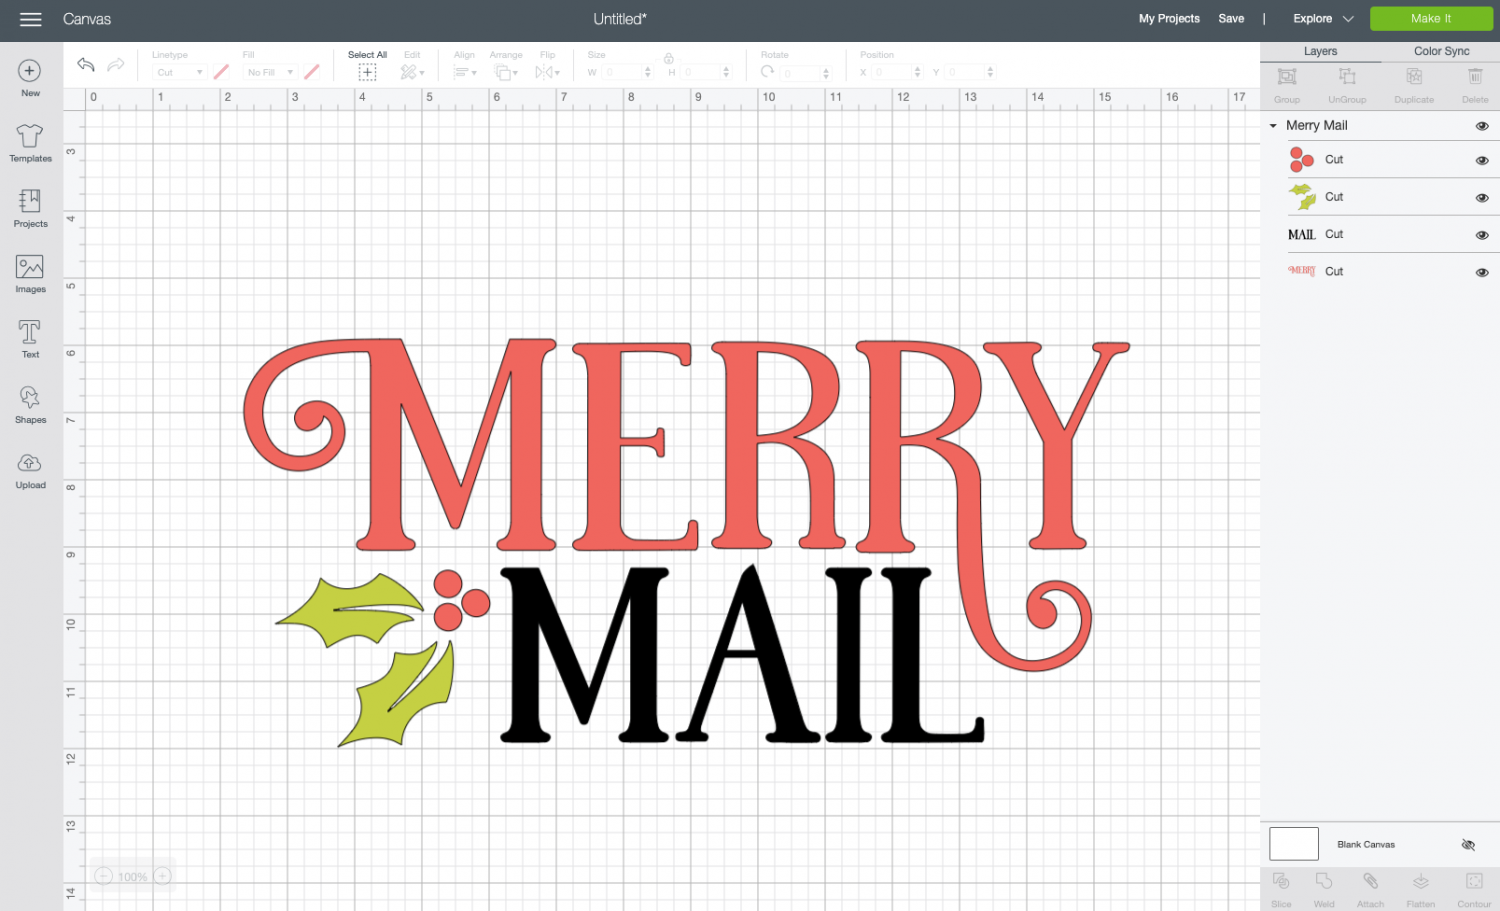
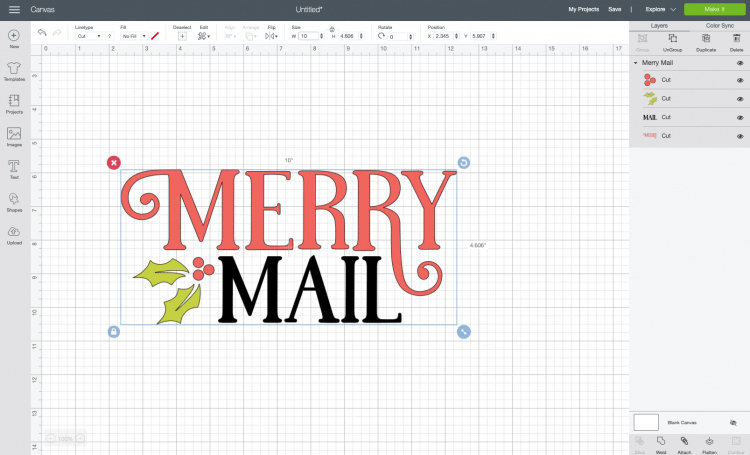
I am making this file as is, but if you need to change the colors to use different iron on vinyl, do that now. Then resize to fit onto your board.
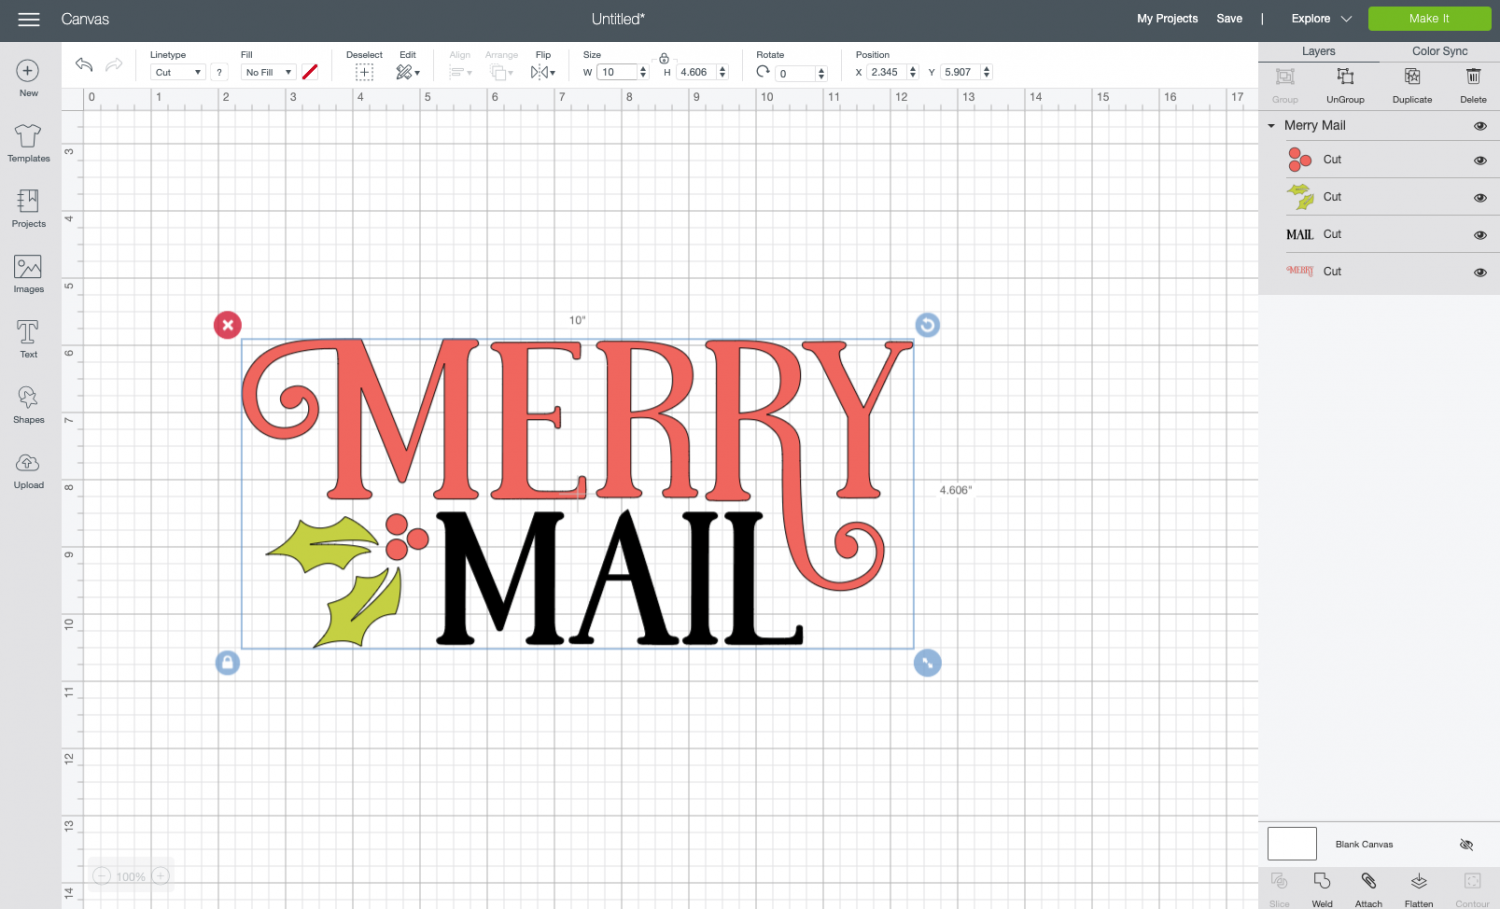
Now we are ready to cut the file! Click Make It in the upper right and you’ll be taken to the Prepare Screen. Here, we want to click the “mirror” slider for any and all mats you are using. This will ensure that the words face the correct direction when ironed onto the board.
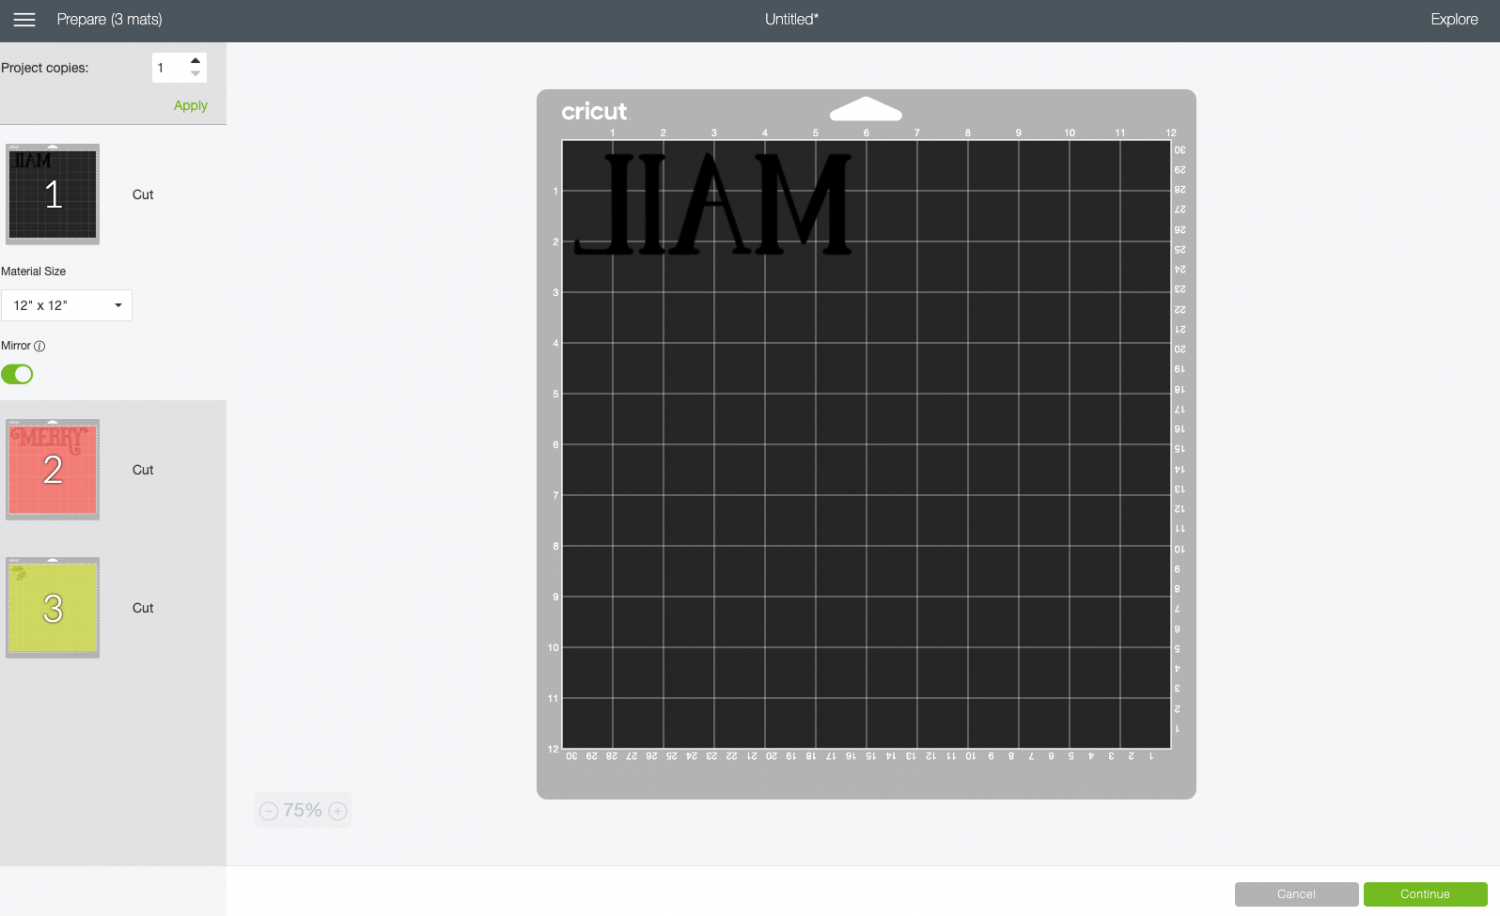
Then click Continue.
Cut Your Iron On Vinyl for Your Christmas Card Display
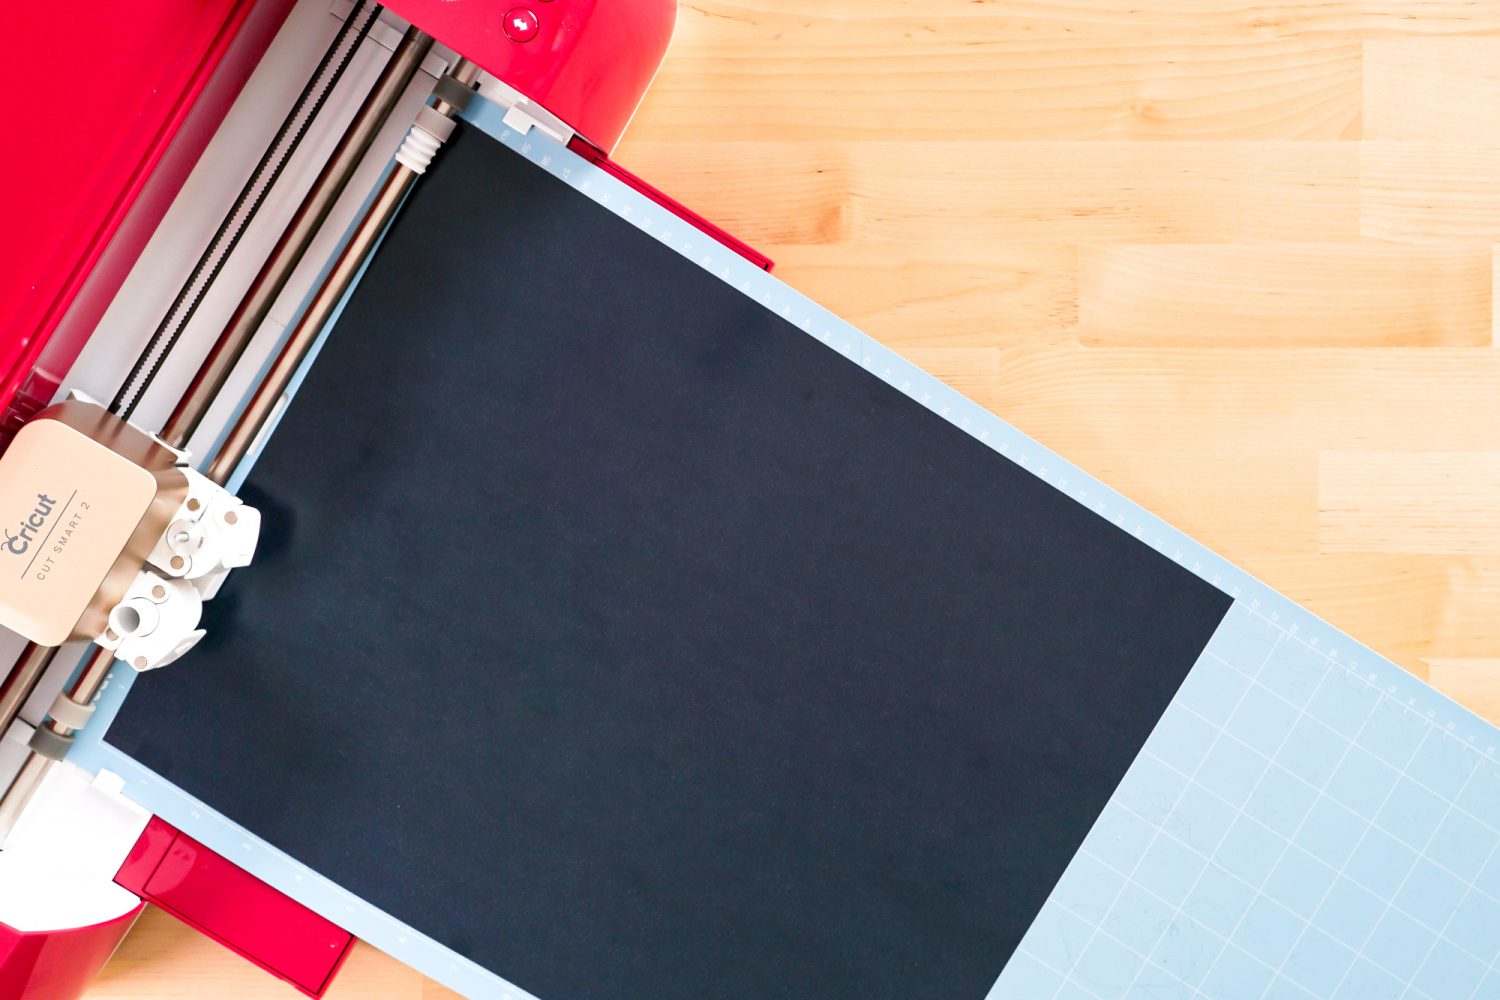
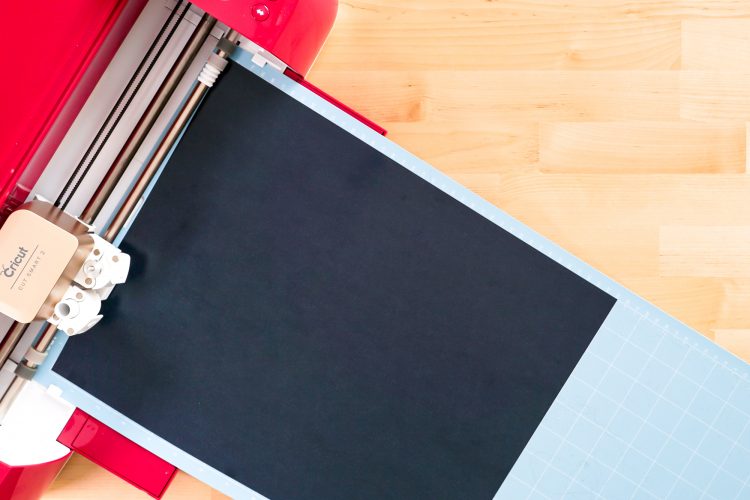
On the Make Screen, you’ll set your material to iron on. Make sure you have your fine point blade in your machine, insert your mat, and your Cricut will cut your project!
Weed Your Iron On Vinyl
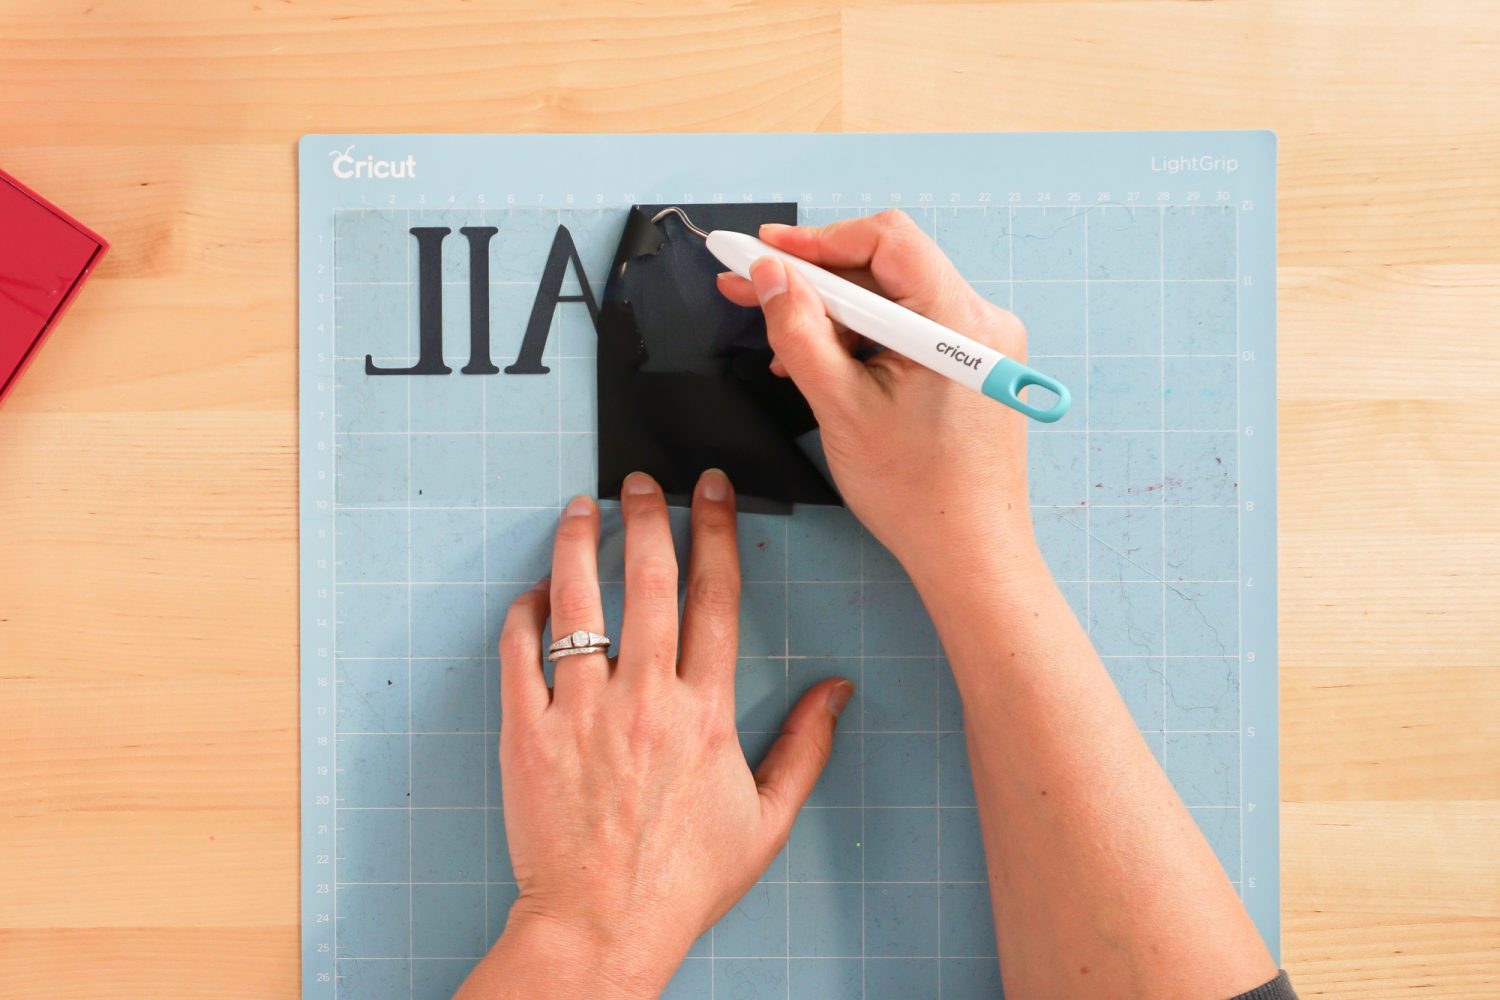
Next we’re going to “weed” the negative space from around our images. I have an extensive post about Weeding Iron On Vinyl, which you’ll want to read—tons of tips and tricks to making it easier.
Adhere Your Iron On Vinyl
Now we are going to adhere our iron on vinyl to the board. I like to start by placing all of my decals on top of each other to make sure I have the placement correct.
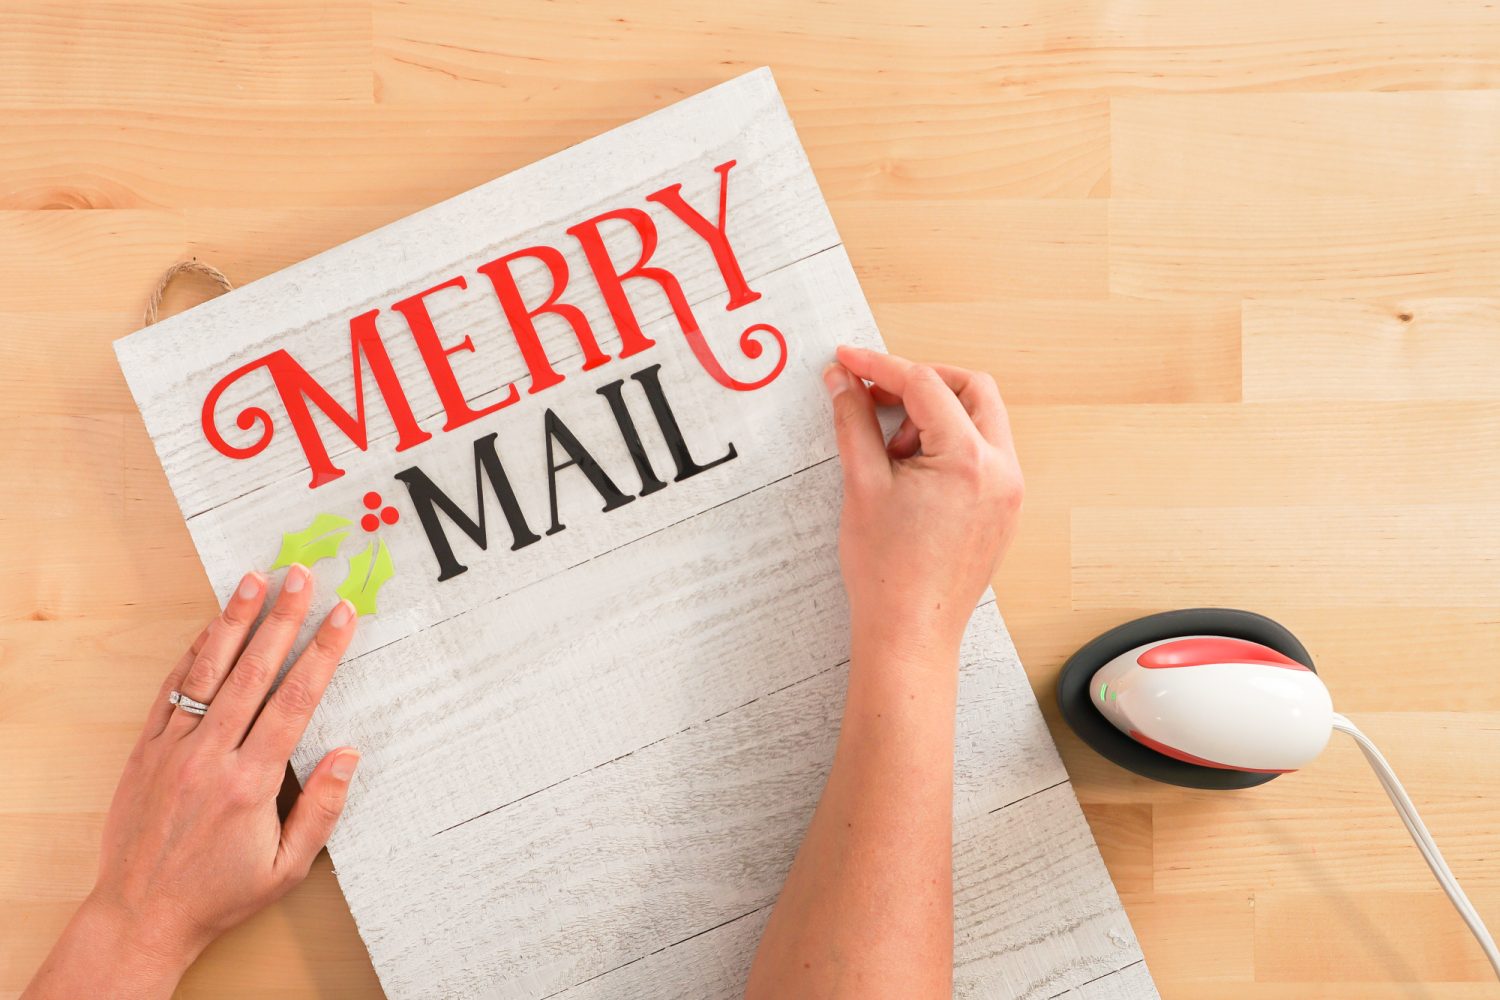
Peel back the other layers, so you’re just left with the first MERRY decal. Use your EasyPress or mini iron to adhere the iron on vinyl to the board.

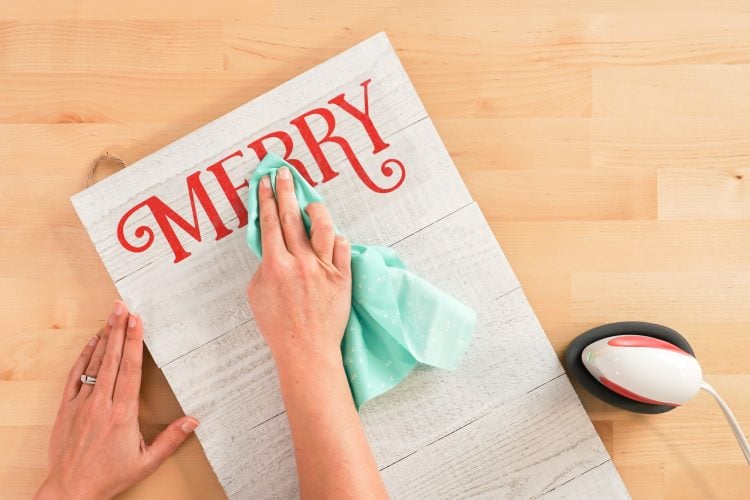
This is generally not enough to get iron on vinyl to stick to the rough surface of the wood. So before you start to peel back the carrier sheet and while the image is still hot, use a piece of fabric or towel and really press that iron on vinyl into the wood.
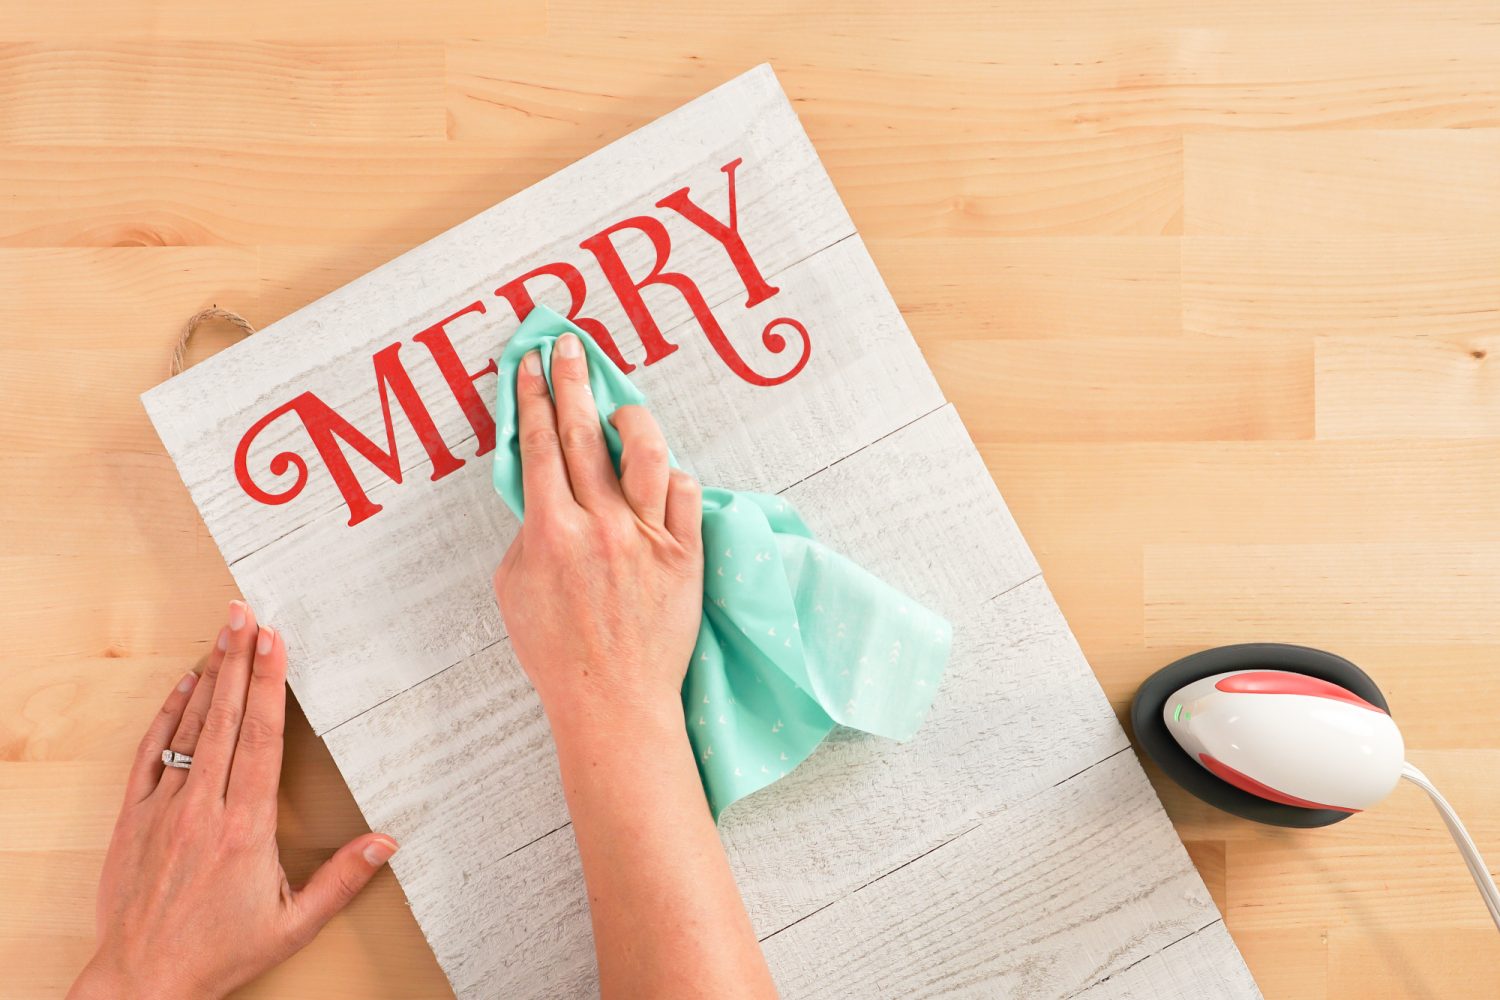
Then peel back the carrier sheet. If you have some iron on that really won’t stick, repeat this process.
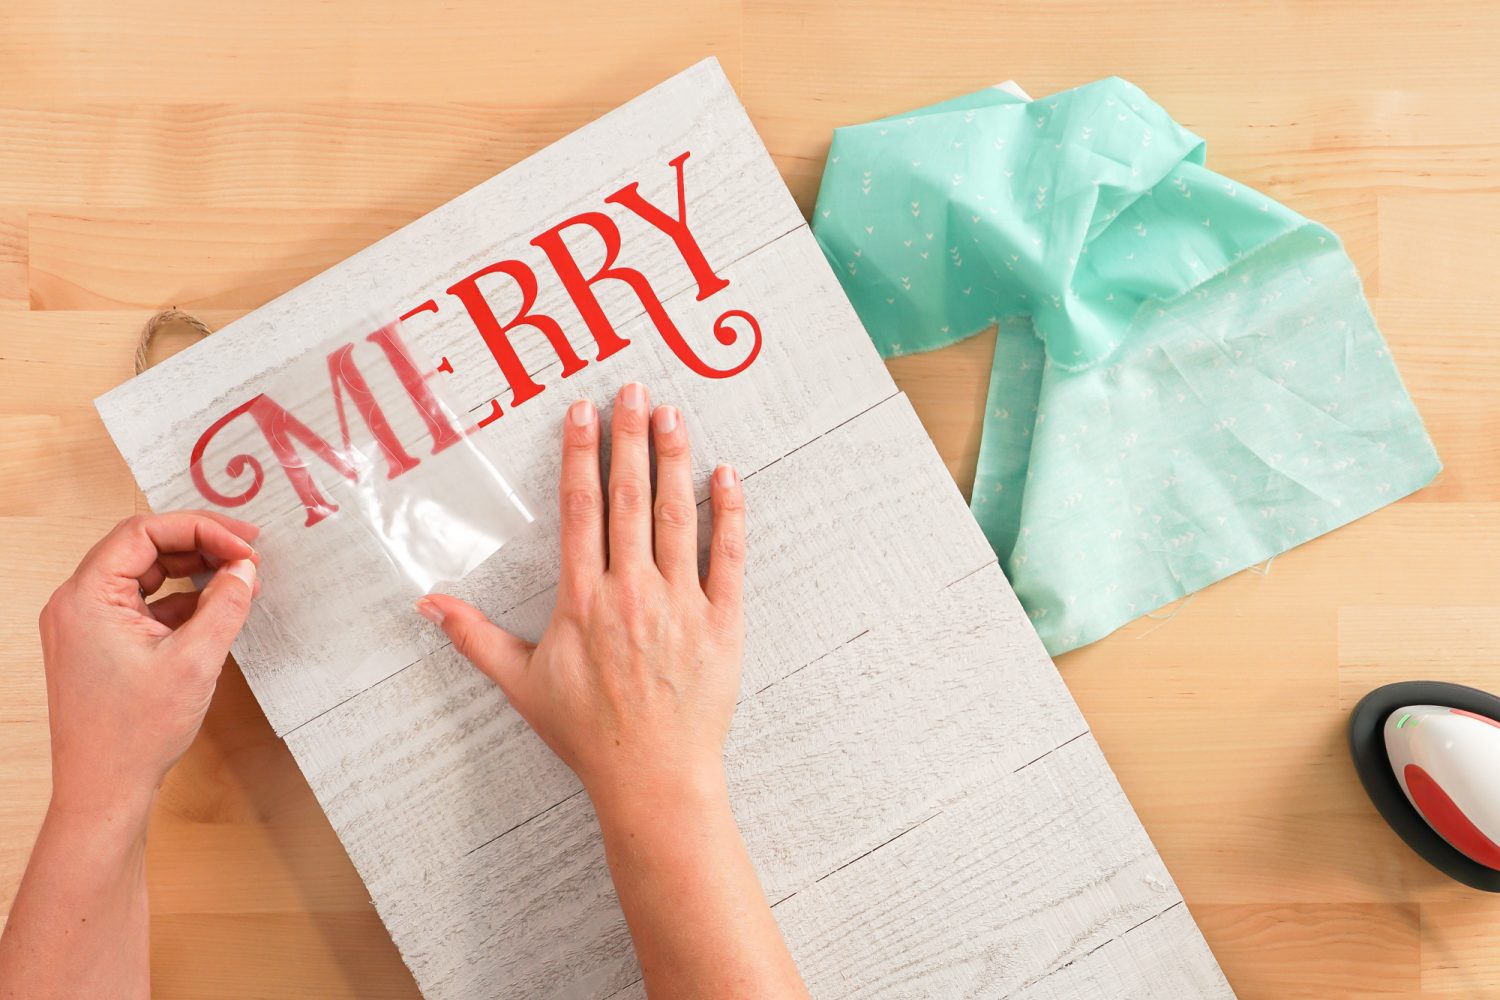
If you find that the iron on is releasing from the carrier sheet but doesn’t look well-adhered to the board, use the fabric or towel to press the iron on into the board more—it works really well once the carrier sheet has been removed.
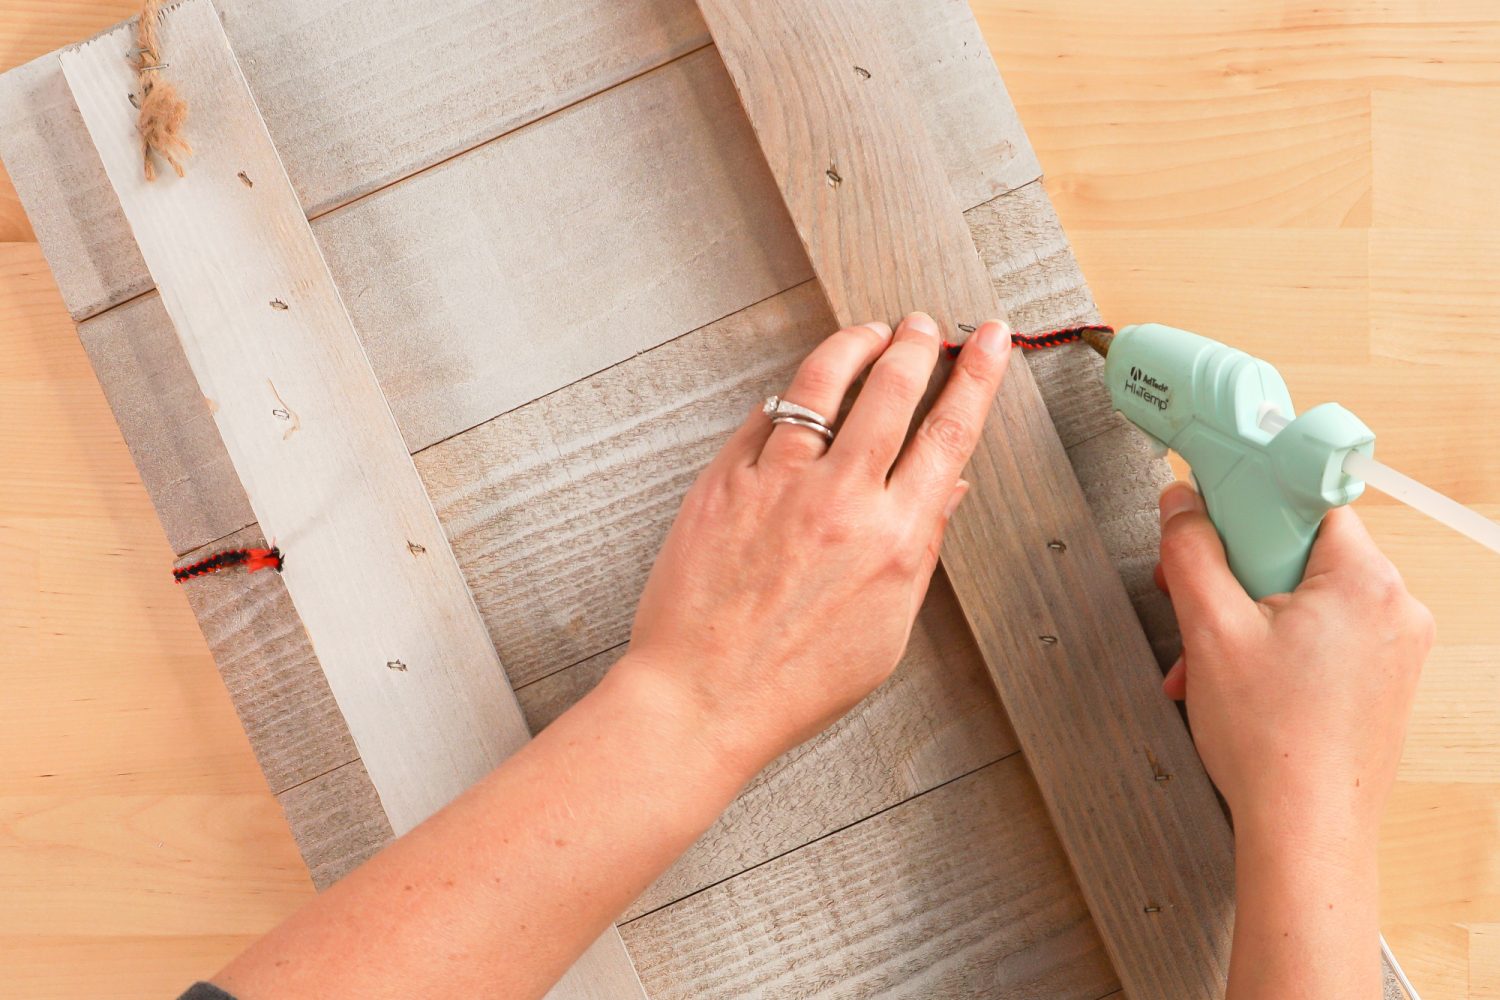
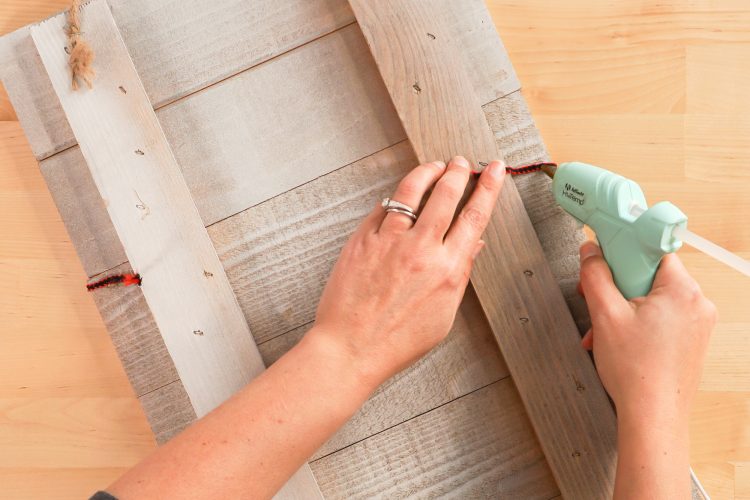
Repeat with the remaining layers of iron on vinyl. Then cut strips of ribbon about 2″ wider than your board. Wrap them around the front of the board and glue the ends to the back using the hot glue gun, making sure the ribbon is taut.
Add some mini clothespins and you have the cutest way to display your Christmas cards this holiday season!
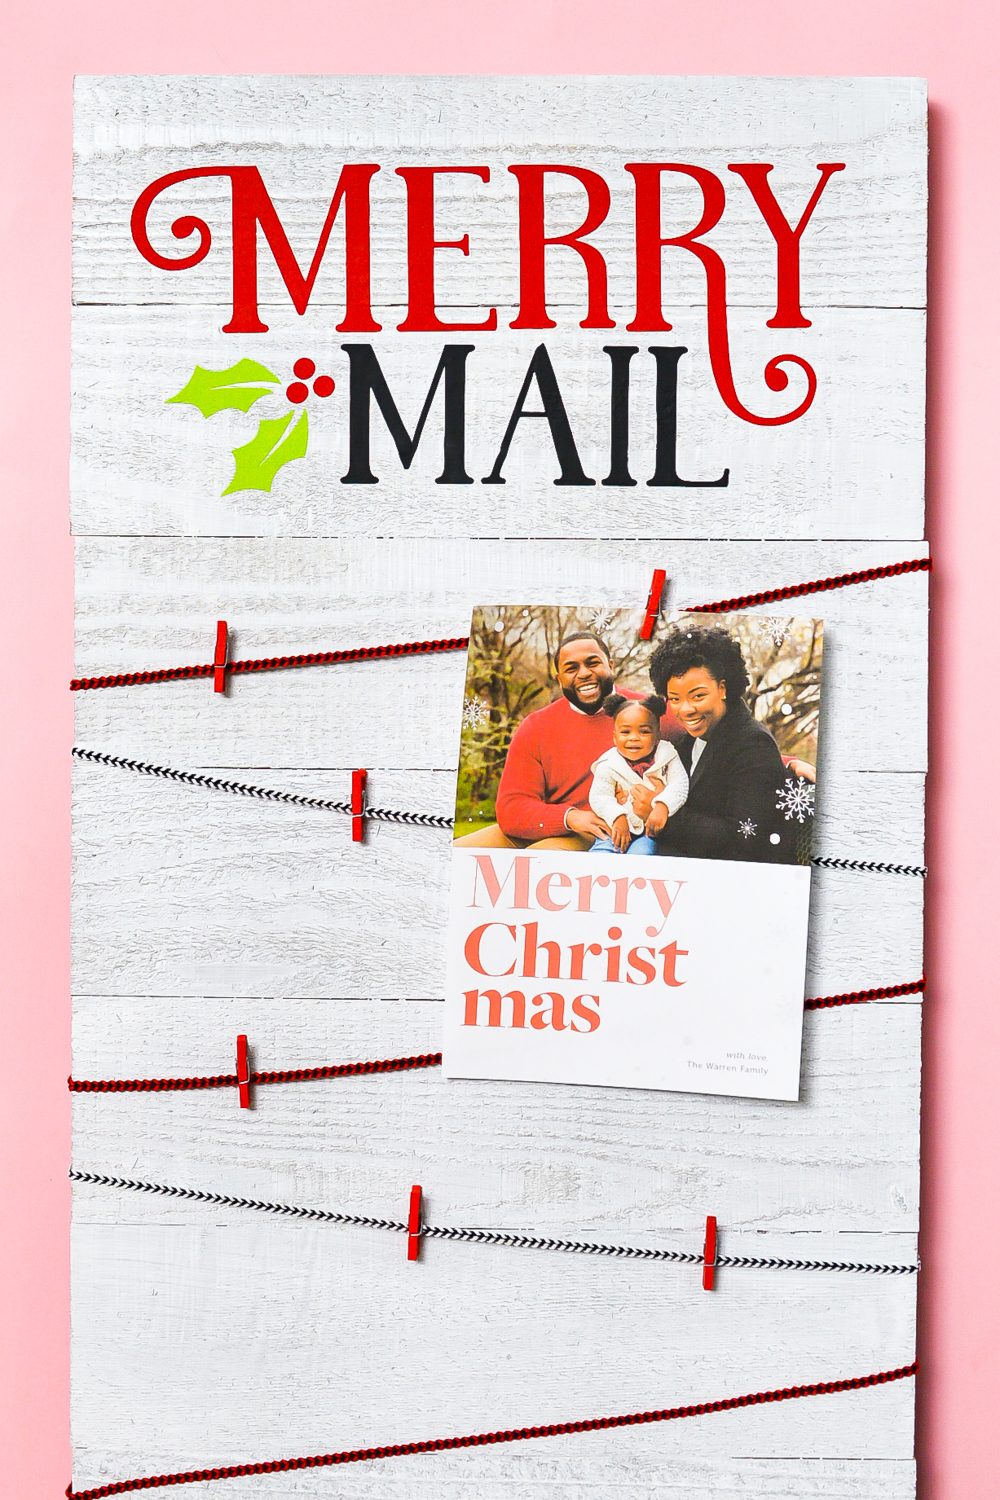
DIY CHRISTMAS CARD HOLDER
Supplies
- Iron-On Vinyl various colors
- Wood sign
- Ribbon
- Mini clothespins
Instructions
- Upload the Merry Mail file to Cricut Design Space,

- Resize the file to fit on your wood sign.

- Cut the file from iron on vinyl.

- Use the EasyPress Mini or mini iron to adhere the iron on vinyl to the wood sign.

- Use a piece of fabric or towel to help the iron on vinyl stick to the rough wood.

- Hot glue strips of ribbon to the back of the sign for displaying cards.

- Use mini clothespins to display all of your Christmas cards this year!

Make All the 25 Days of Cricut Christmas Projects!
We’ll be adding links as each day goes live! Grab the full bundle with all of the projects and SVGs in our 25 Days of Cricut Christmas eBook!
- Day 1: DIY Christmas Countdown Calendar
- Day 2: Snow Globe Shaker Card
- Day 3: Happy Holly Days Christmas Banner
- Day 4: Felt Gnome Pillow
- Day 5: Cookies for Santa Tray
- Day 6: Snowflake Coasters
- Day 7: Customized Christmas Banner
- Day 8: Etched Holiday Baking Dish
- Day 9: DIY Gift Card Holder
- Day 10: Christmas Apron
- Day 11: Christmas Quilt Block Artwork
- Day 12: Constellation Glitter Ornaments
- Day 13: DIY Christmas Card Holder
- Day 14: Papercut Christmas Village
- Day 15: Funny Christmas Socks
- Day 16: Veneer Pinecone Earrings
- Day 17: How to Make Felt Bows
- Day 18: Personalized Santa Sacks
- Day 19: Newborn Footprint Ornaments
- Day 20: Layered Christmas Mandala
- Day 21: Customized Pot Holders
- Day 22: Sleigh Rides Christmas Sign
- Day 23: Hot Cocoa Mug Gift
- Day 24: Print then Cut Gift Tags
- Day 25: Matching Christmas Pajamas



Leave A Reply!