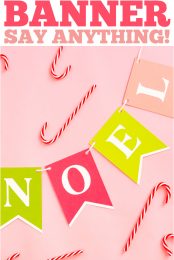
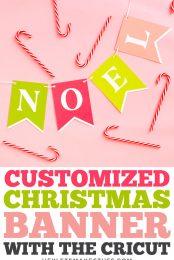
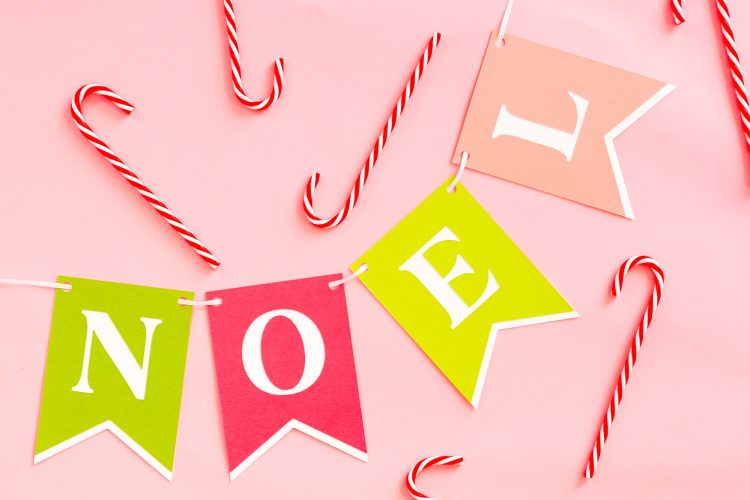
This Cricut Christmas banner can be designed to say whatever you’d like! From MERRY CHRISTMAS to BELIEVE to NOEL, what will you make this customized Christmas banner say?
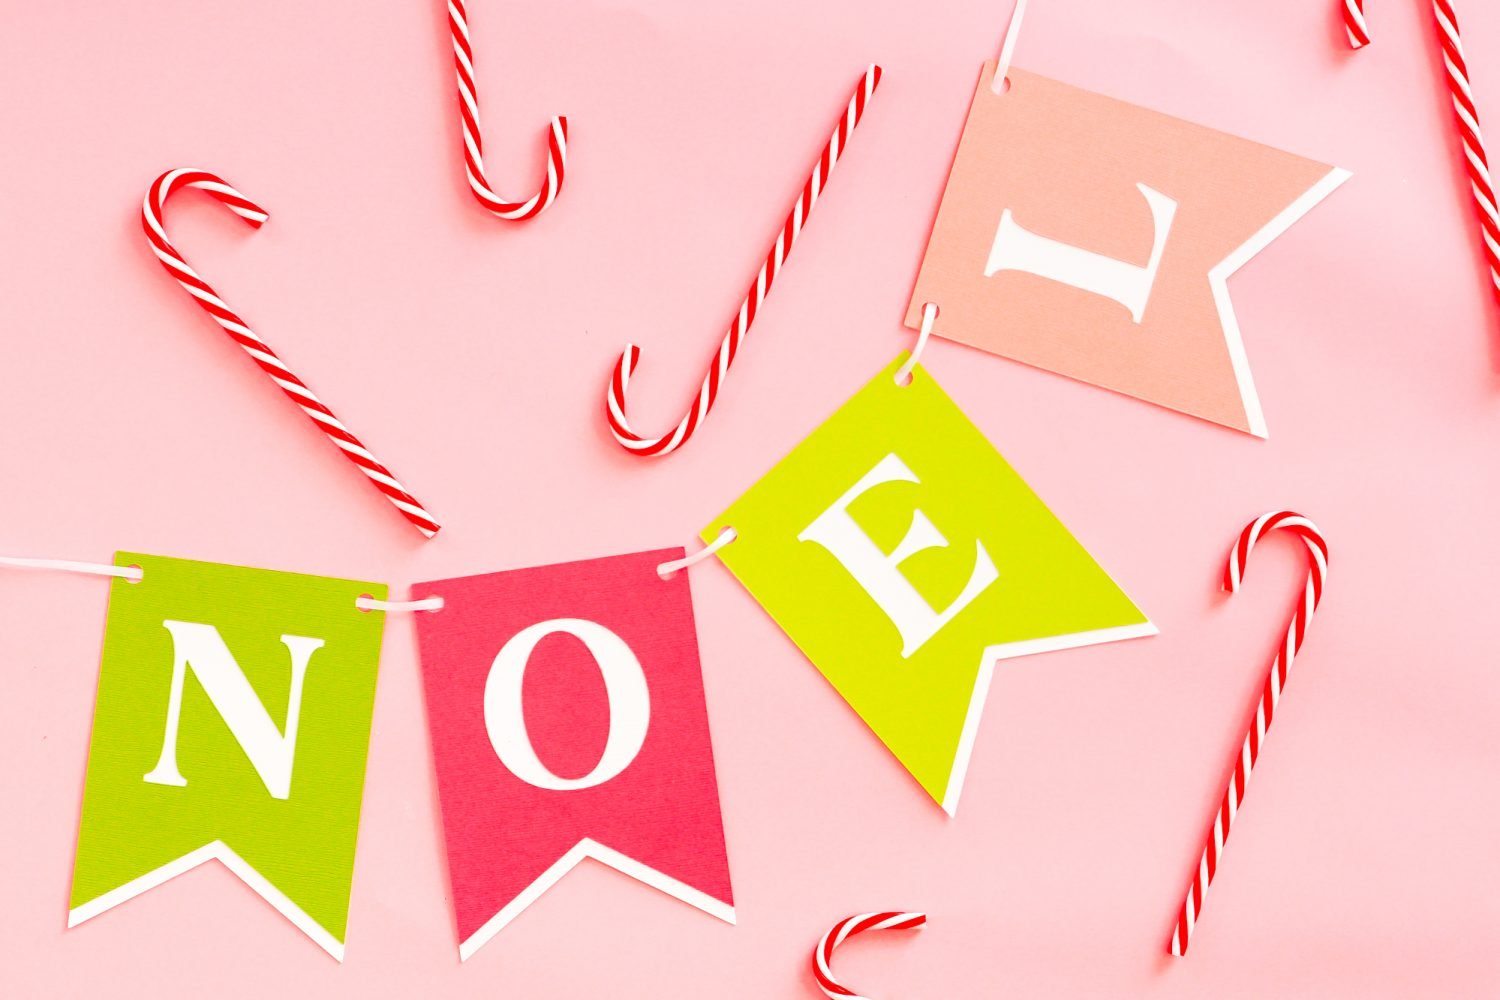
Welcome back to the 25 Days of Cricut Christmas! It’s Day 7 and we’re making one of my favorite Cricut crafts—cardstock banners! I love this project because it’s fully customizable. You can make this banner say whatever you’d like!
If you’d like to get this series in an ebook format PLUS all of the SVGs needed to make all 25 projects check out the 25 Days of Cricut Christmas eBook Bundle!
This banner SVG actually works year-round. We’re making a customized Christmas banner today, but cut it in pastels and make it say EASTER or try it in a rainbow of color for your kid’s birthday party. This is a cut file you’ll come back to time and time again.
Customized Christmas Banner Supplies
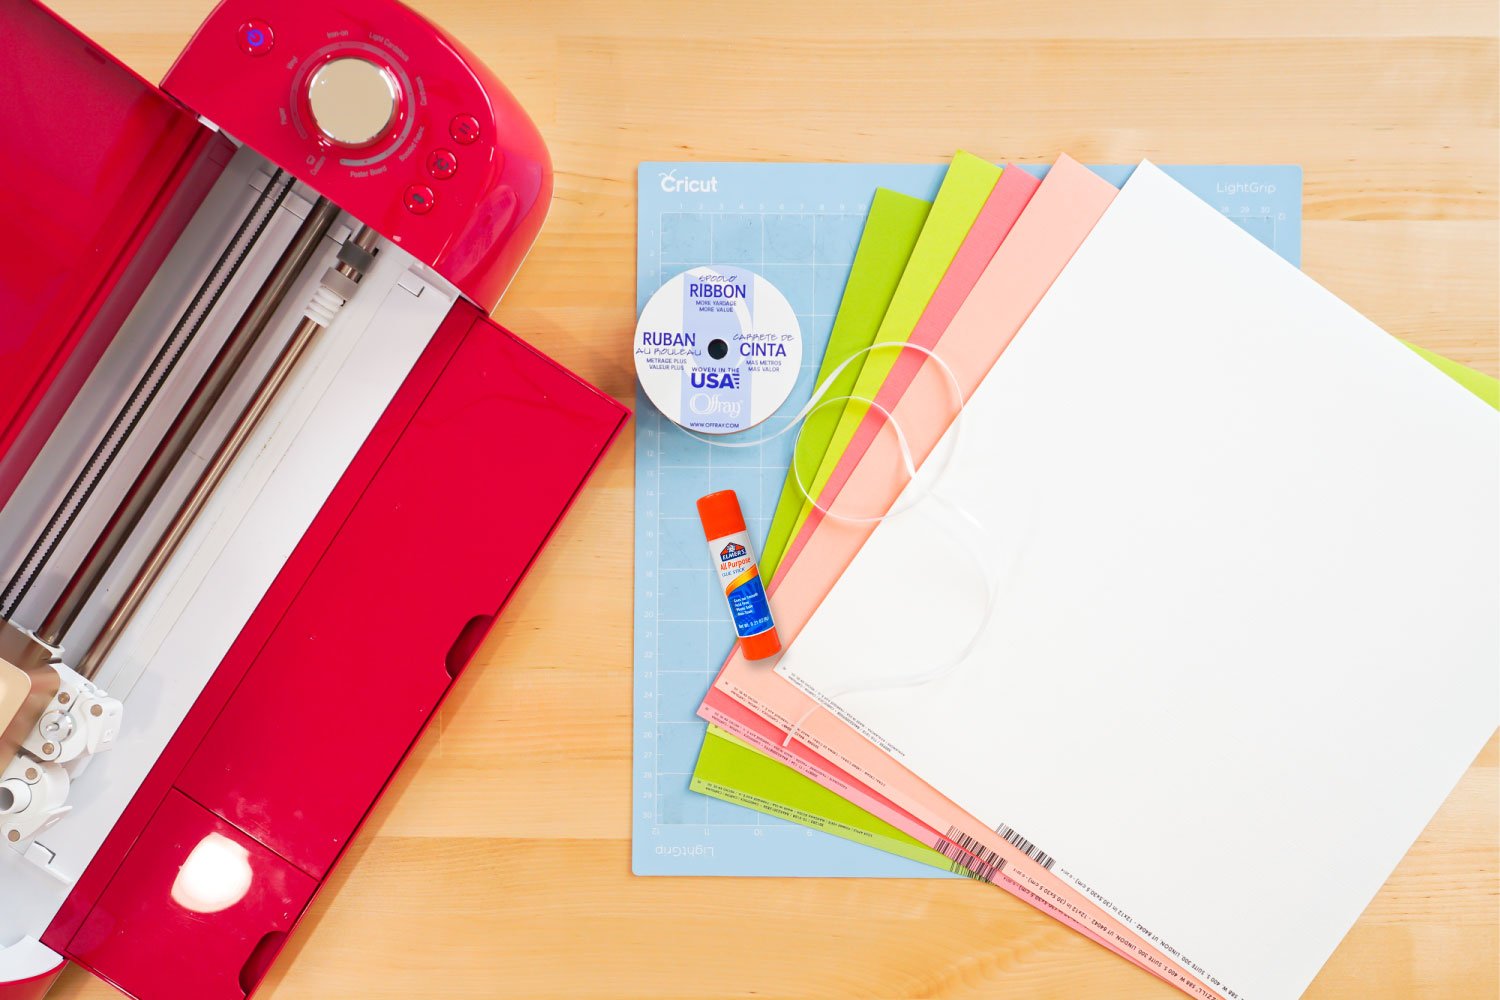
- Cricut Explore or Cricut Maker
- Blue LightGrip or green StandardGrip mat
- Fine Point Blade
- Cardstock (in an array of colors depending on your banner)
- Ribbon
- Glue stick
- Washi tape (optional)
- Swallowtail Alphabet Banner SVG file (see below)
Grab the SVG for this Project
Customized Christmas Banner Instructions
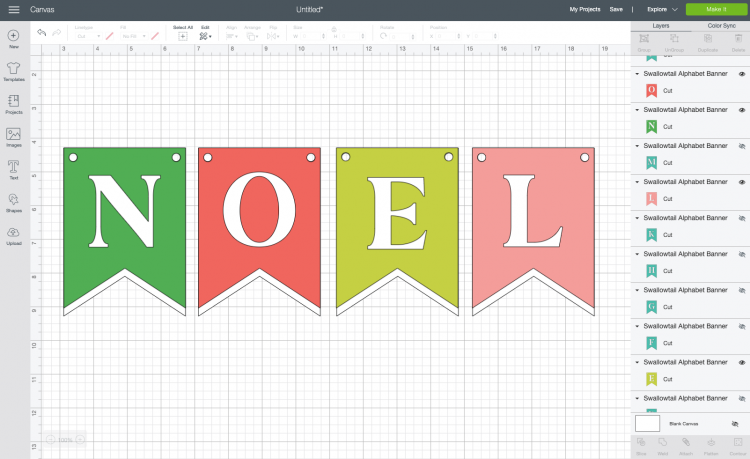
Upload the Banner File Cricut Design Space
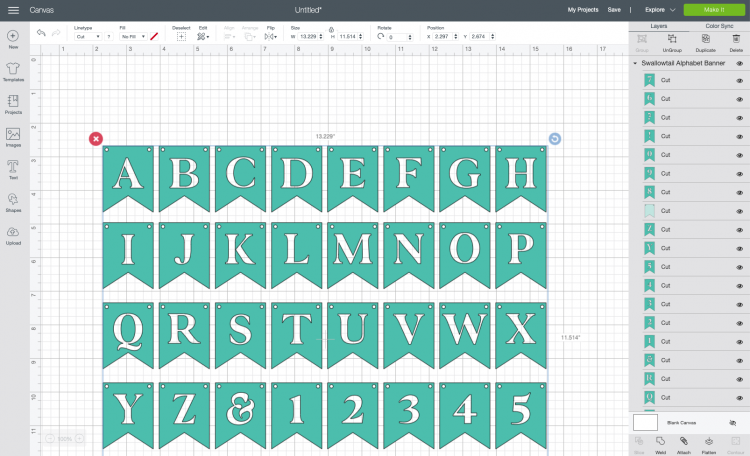
This is such an easy project to make! Upload the Swallowtail Banner File Cricut Design Space (see Uploading SVG Files to Cricut Design Space if you need help).
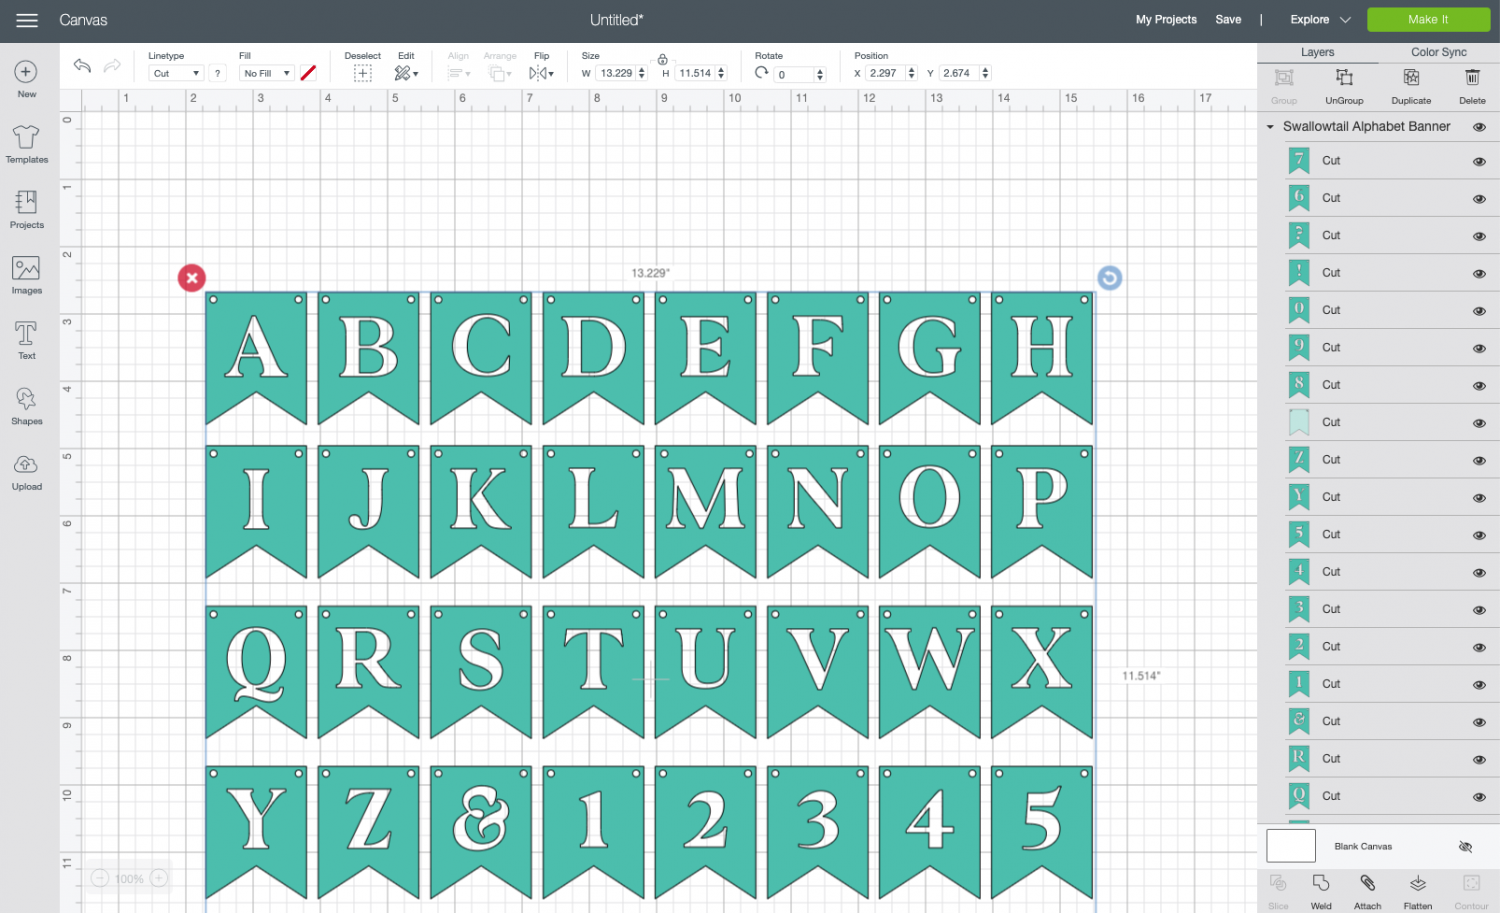
Click Ungroup at the top of the Layers Panel so you can more easily select the letters you want to use.
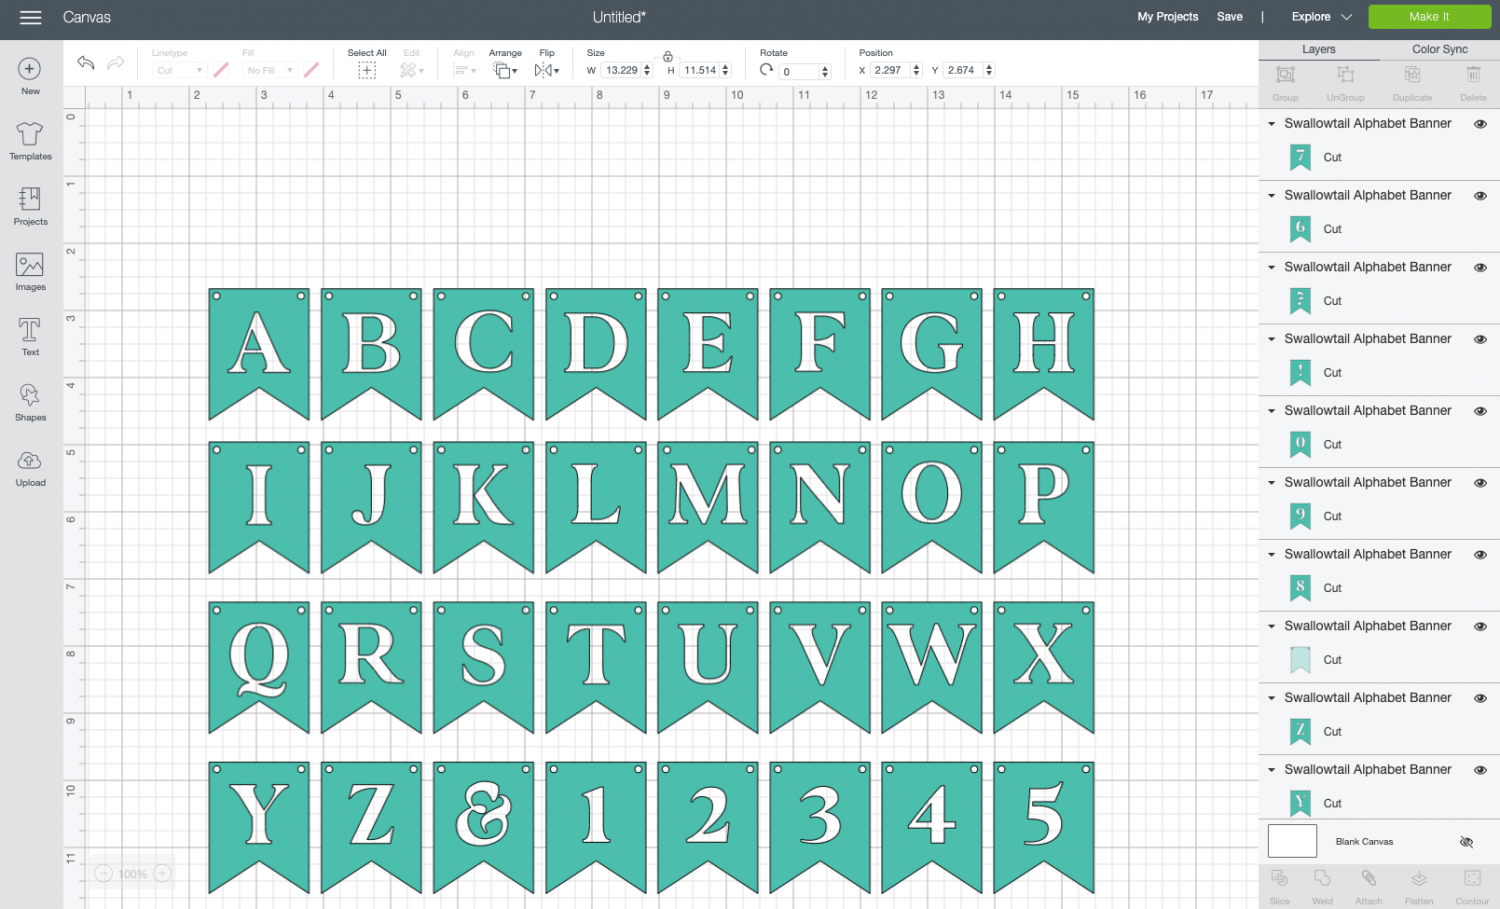
Use the “eye” on the right of the Layers Panel to hide all of the banner pieces you don’t want to use. Also make sure to keep the light blue backing banner in the bottom right visible.
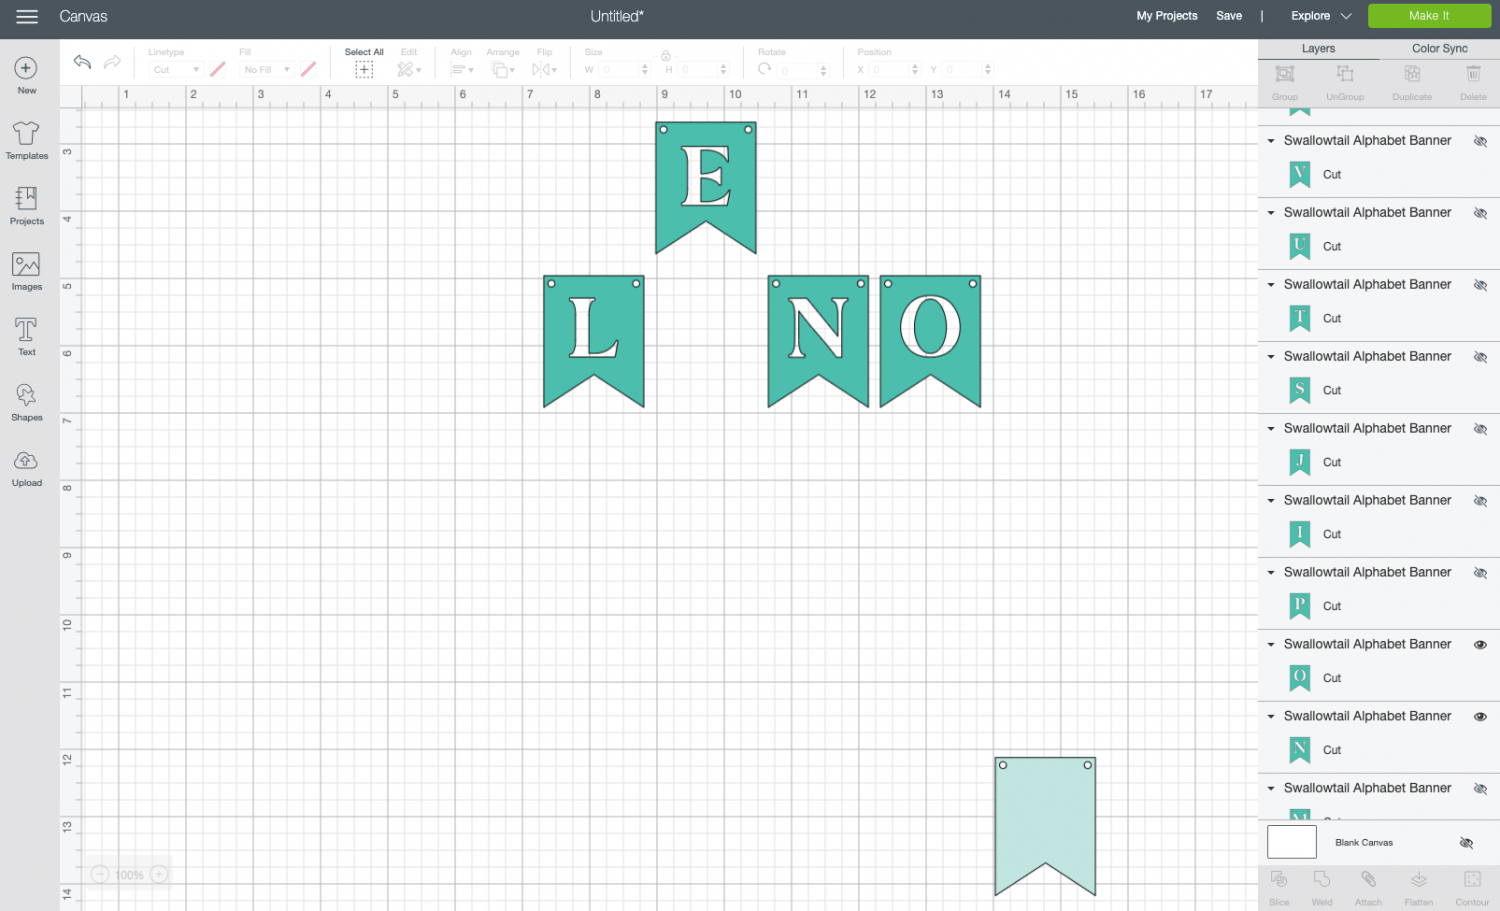
Then copy the backing banner so that you have the same number as the number of letters in your word, and layer them behind each letter.
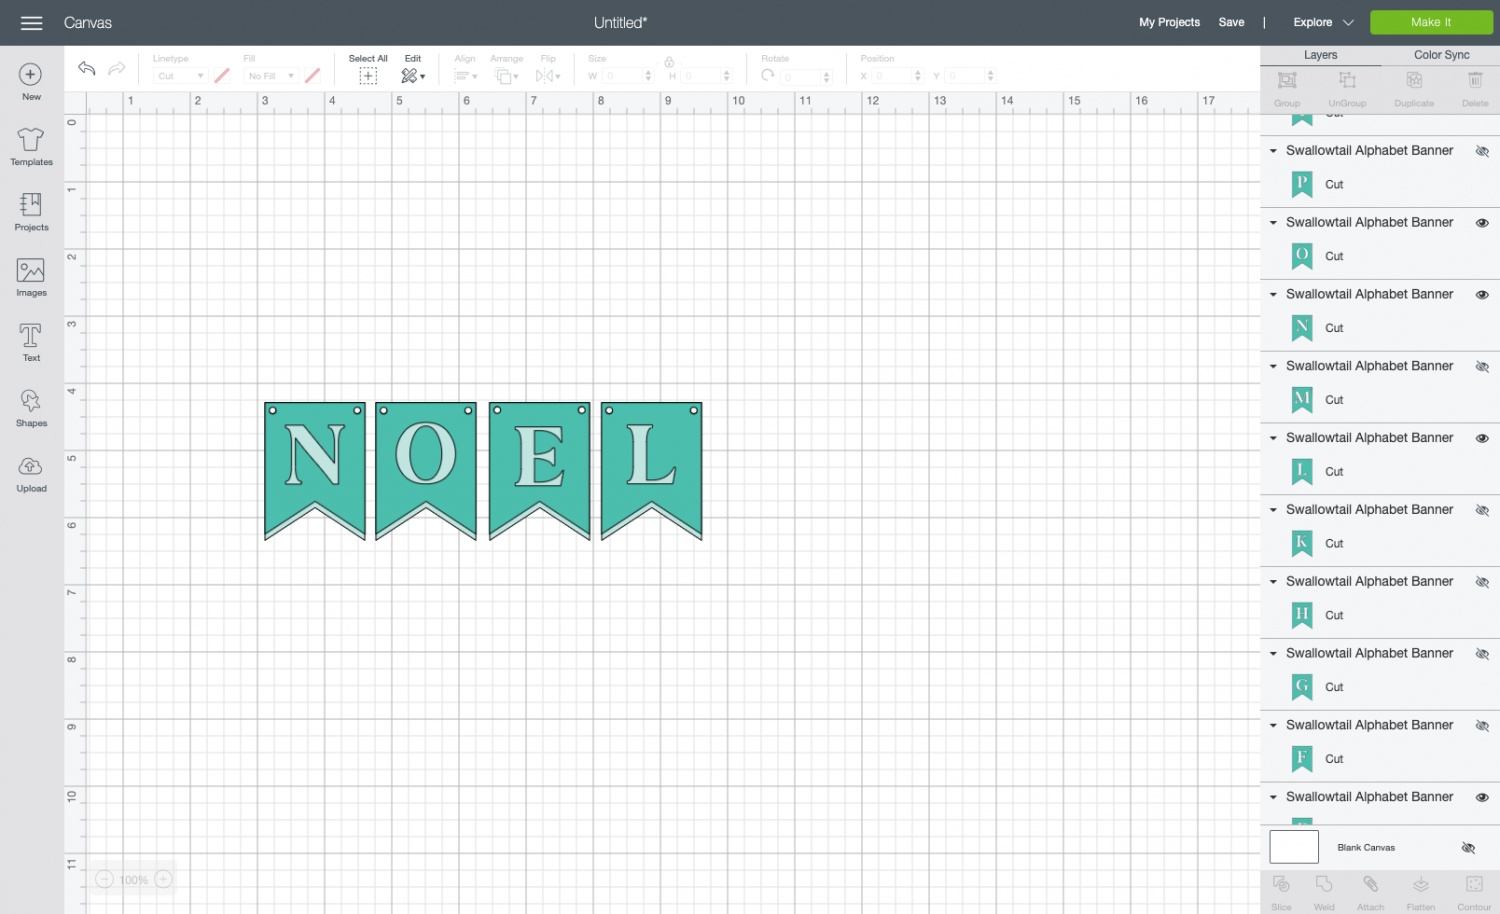
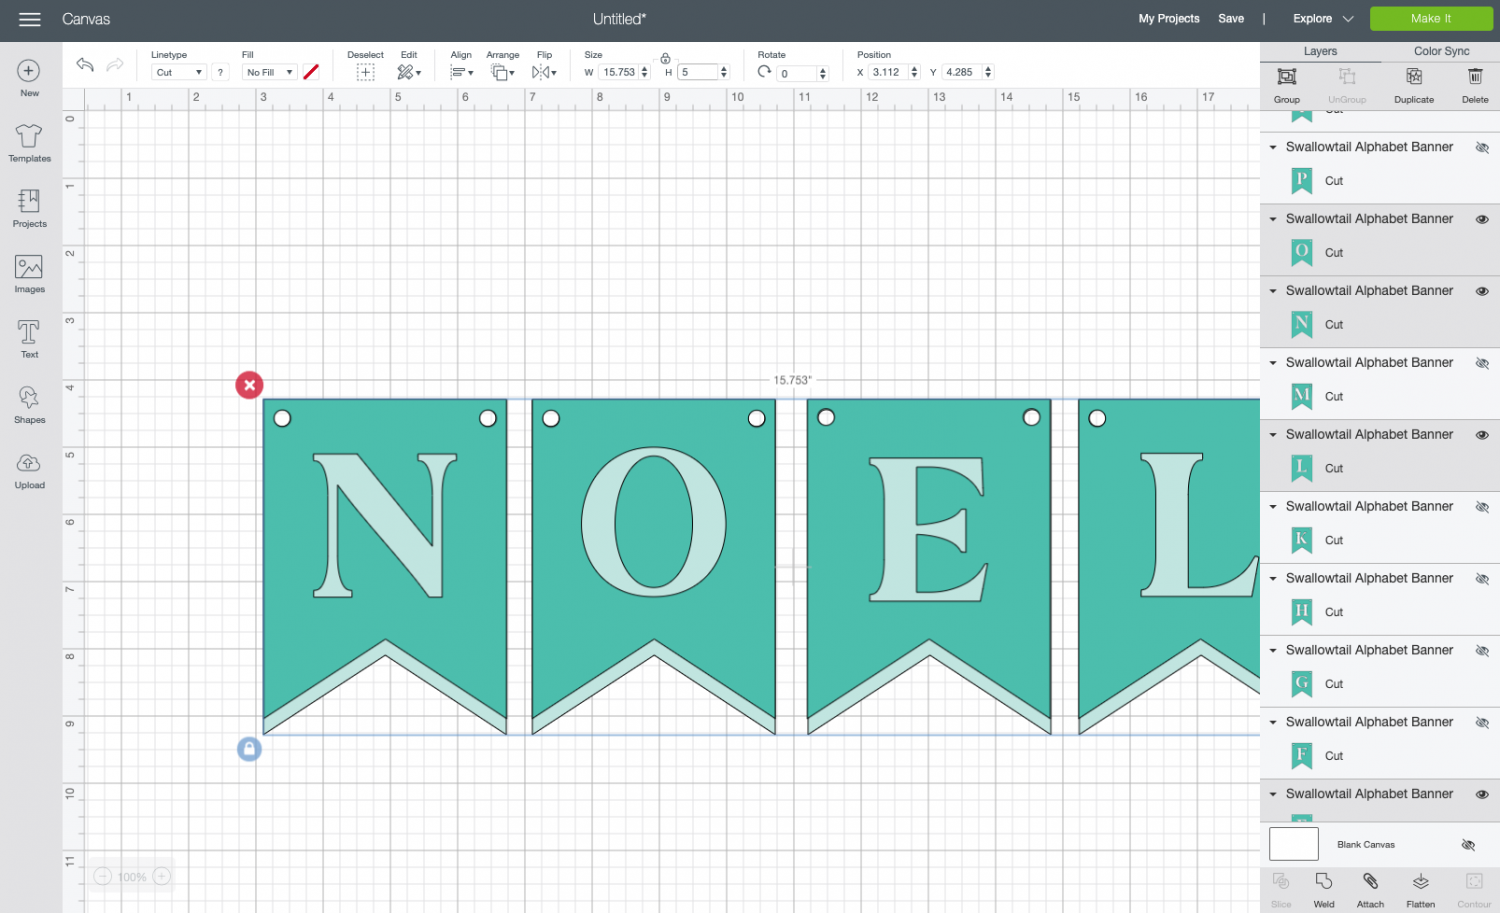
Resize your banner—you can make this any size! Mine are 5″ tall but change the size to be whatever works for your banner.
Then change the colors to match your cardstock. I’m doing a different color for each letter and made the backing banner white for each.
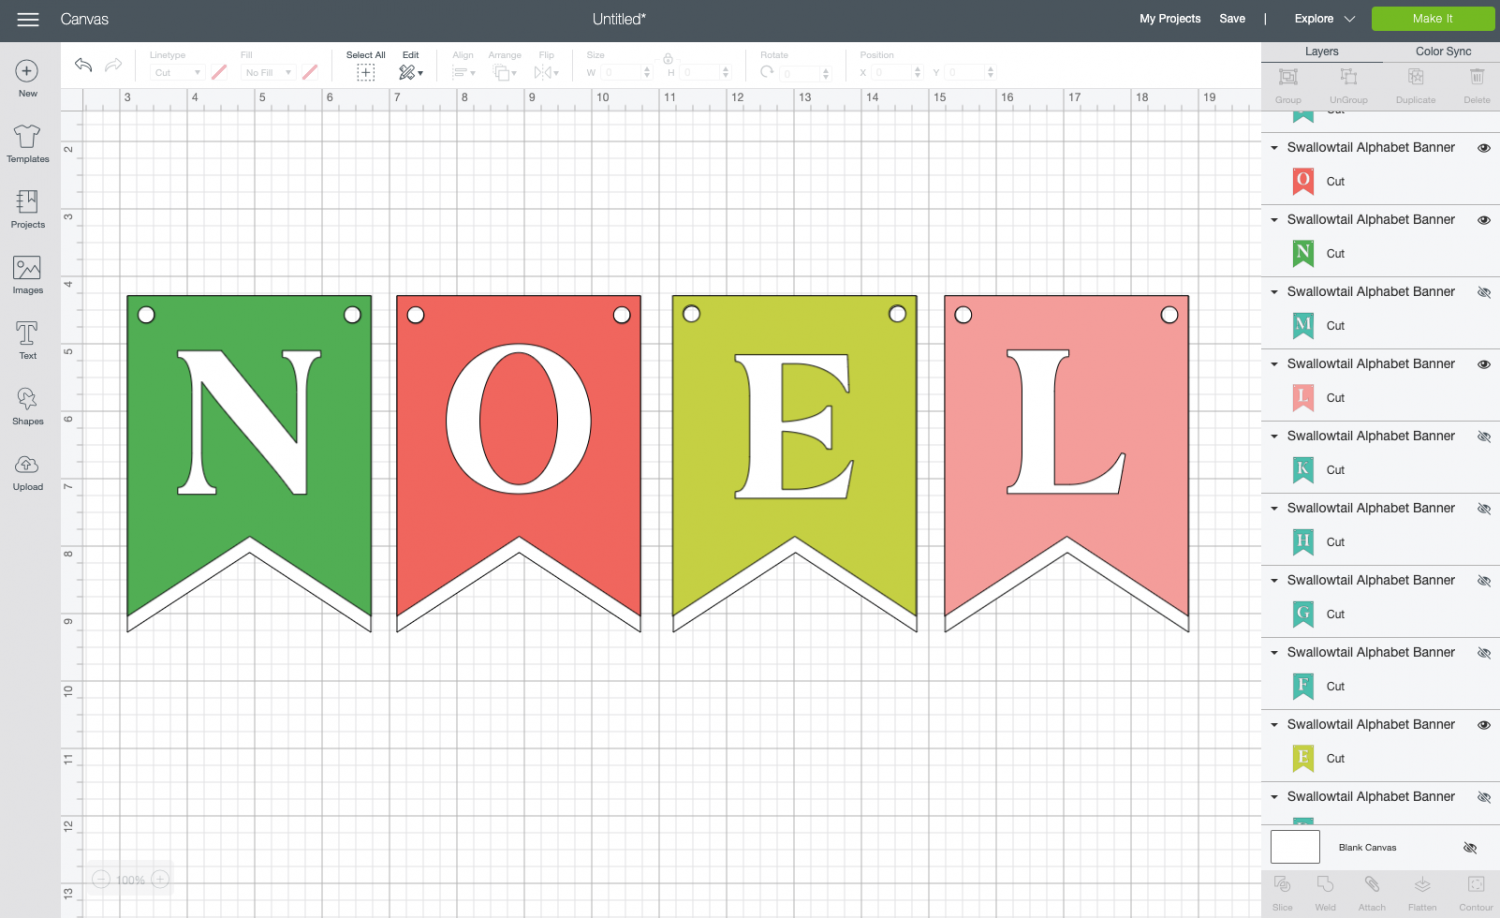
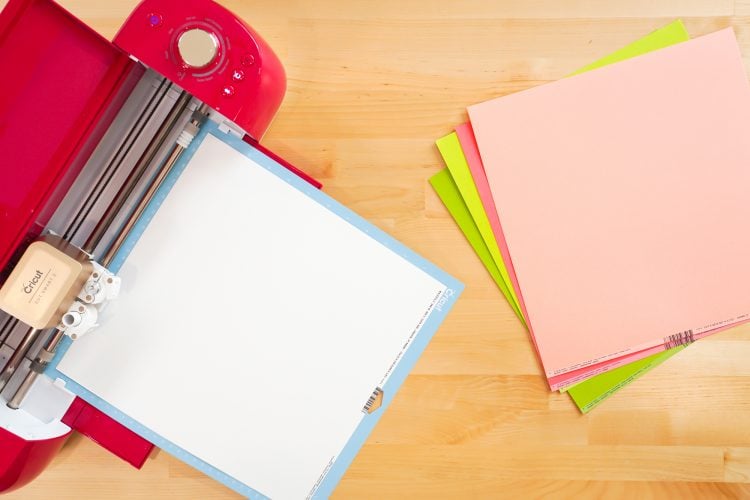
You’re ready to cut your file! Click Make It in the upper right. Here you’ll see all of the colors in your project laid out on the different mats.
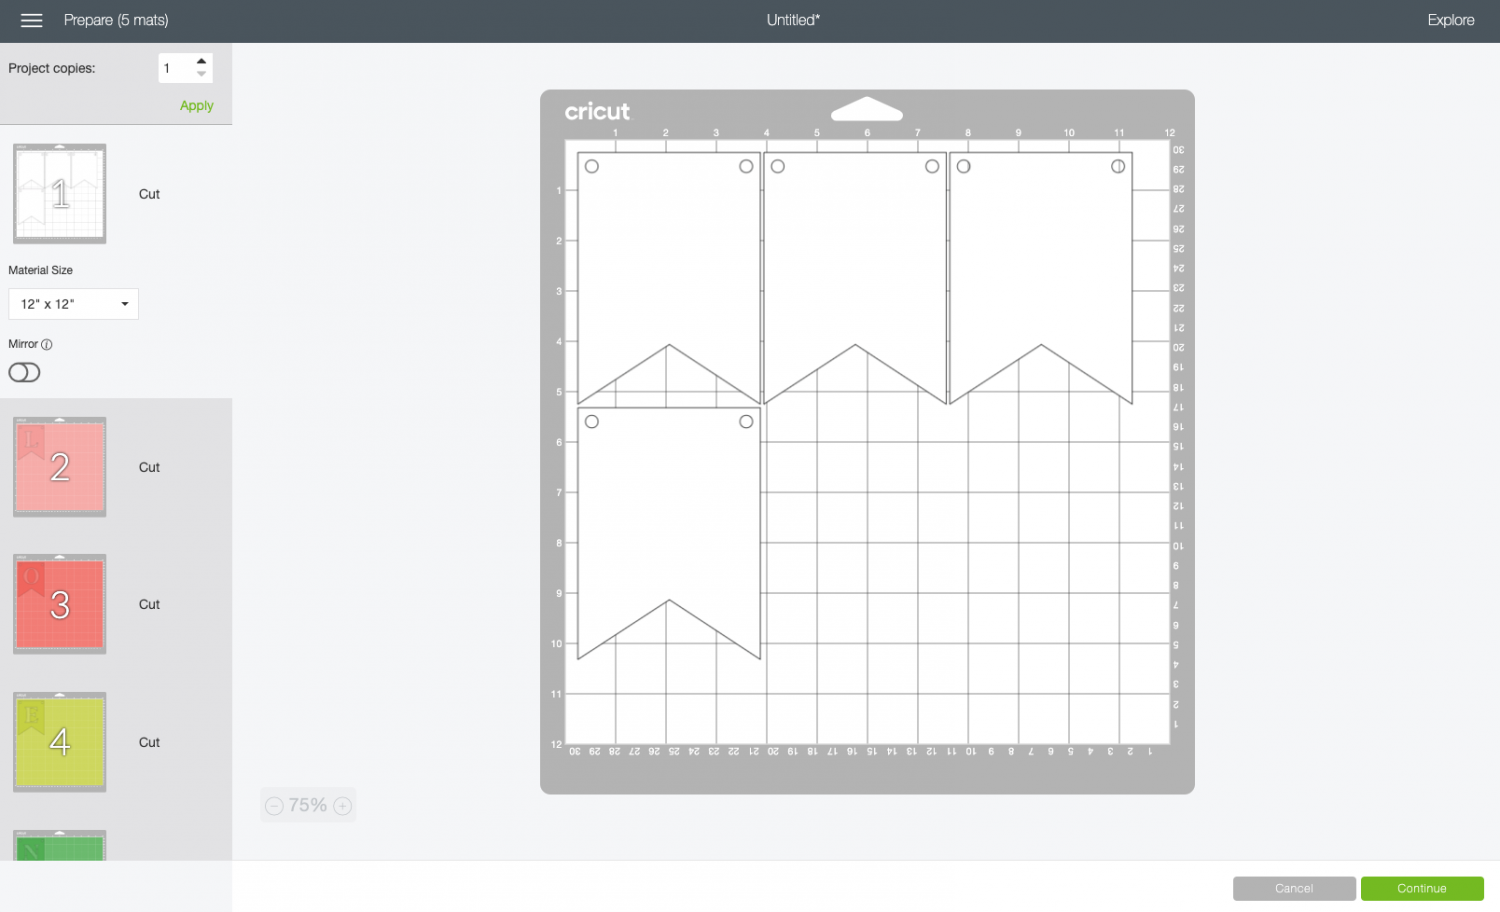
Click Continue and you’re ready to cut!
Cut Your Cardstock for Your Christmas Banner
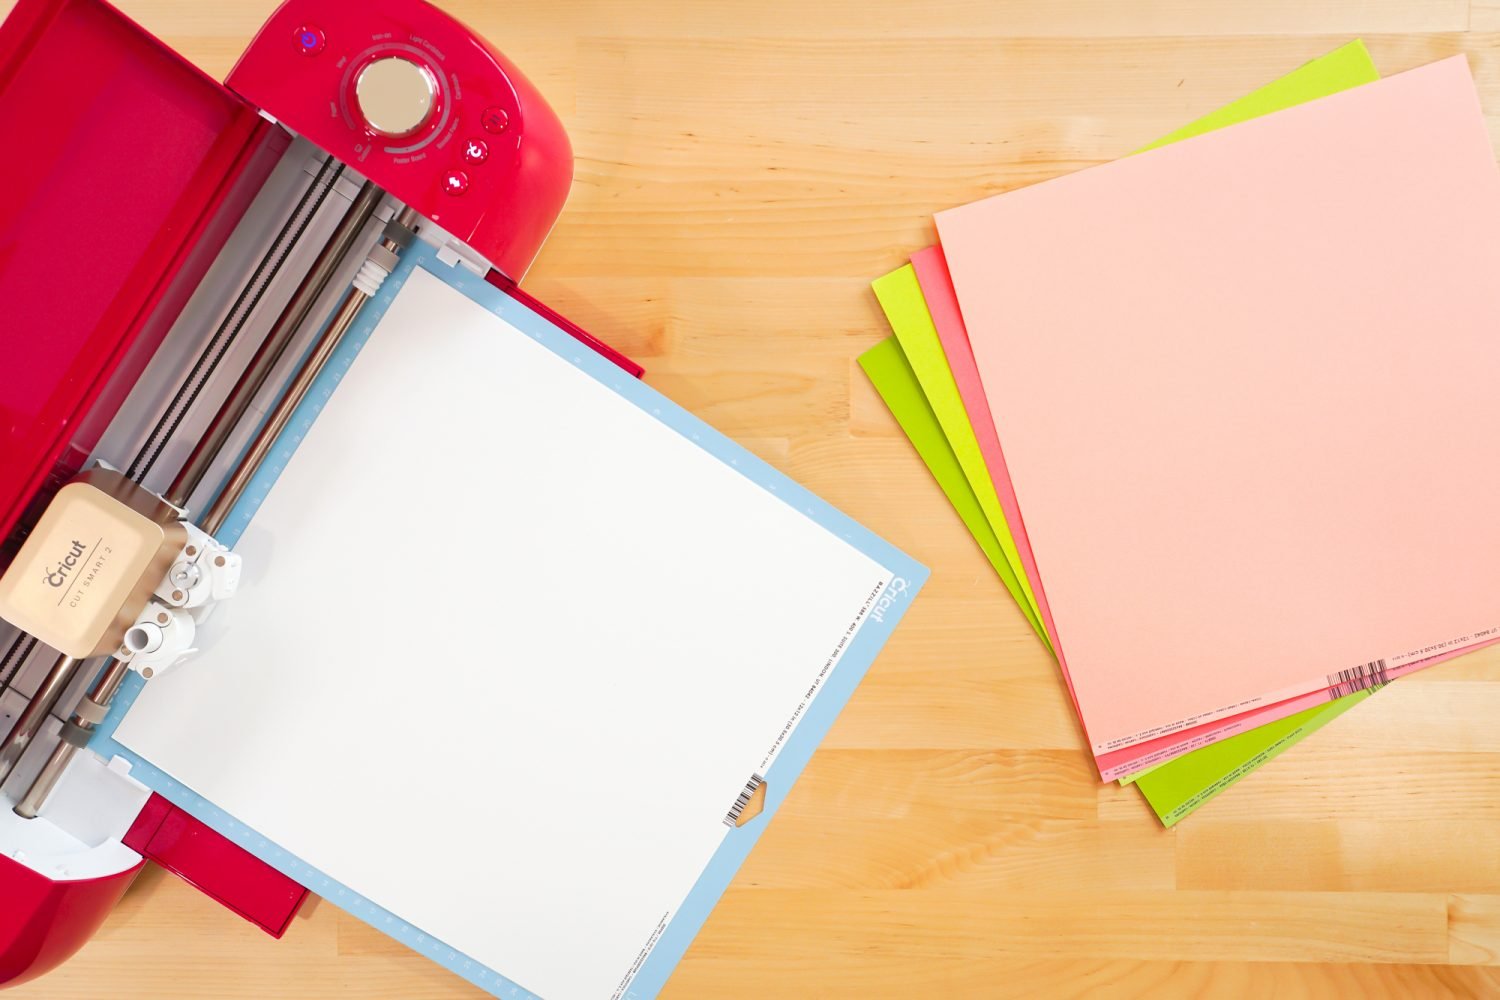
On the Make Screen, you’ll set your material to cardstock. Cut all the layers of the project. If your letters have “interior” pieces, like the “O” in NOEL, make sure you don’t lose them when you remove the materials from your mats.
Assemble Your Christmas Banner
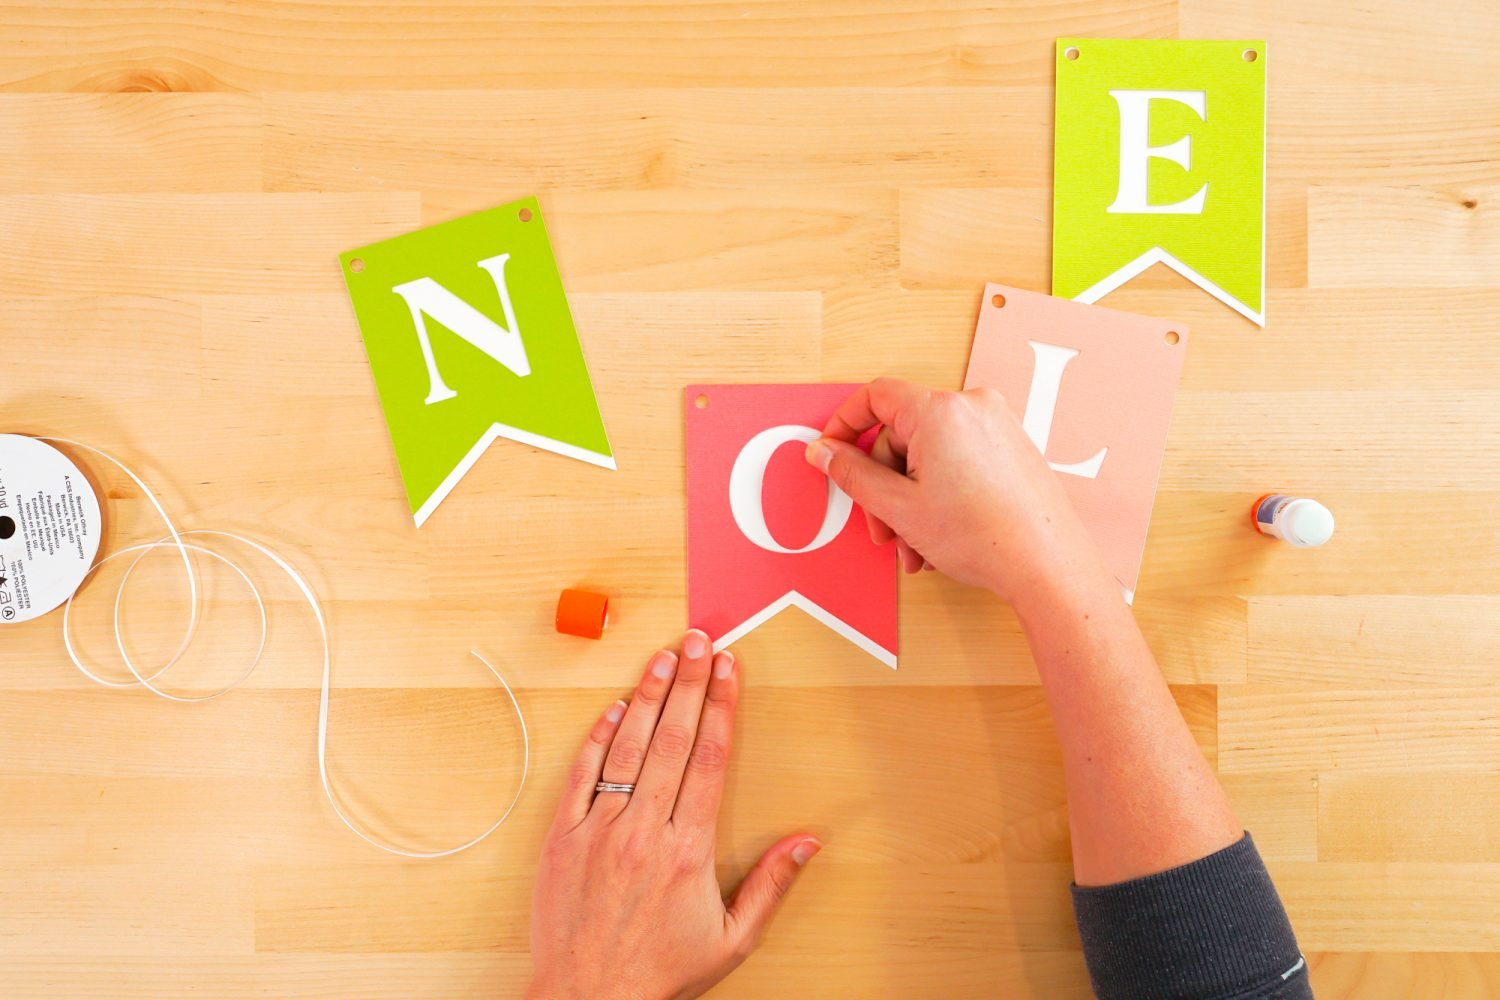
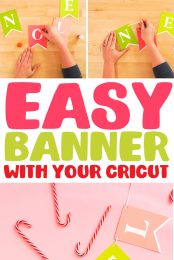
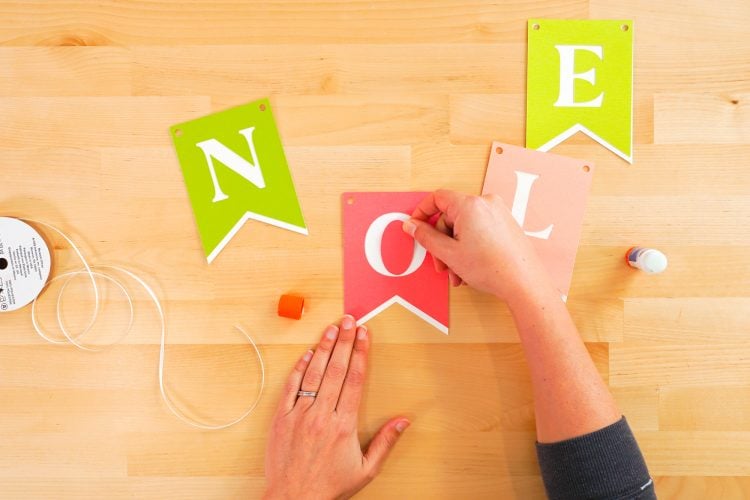
Assembling this banner is really easy—all you need to do is glue the front letter banner piece to the backing banner piece. A glue stick works great for this.
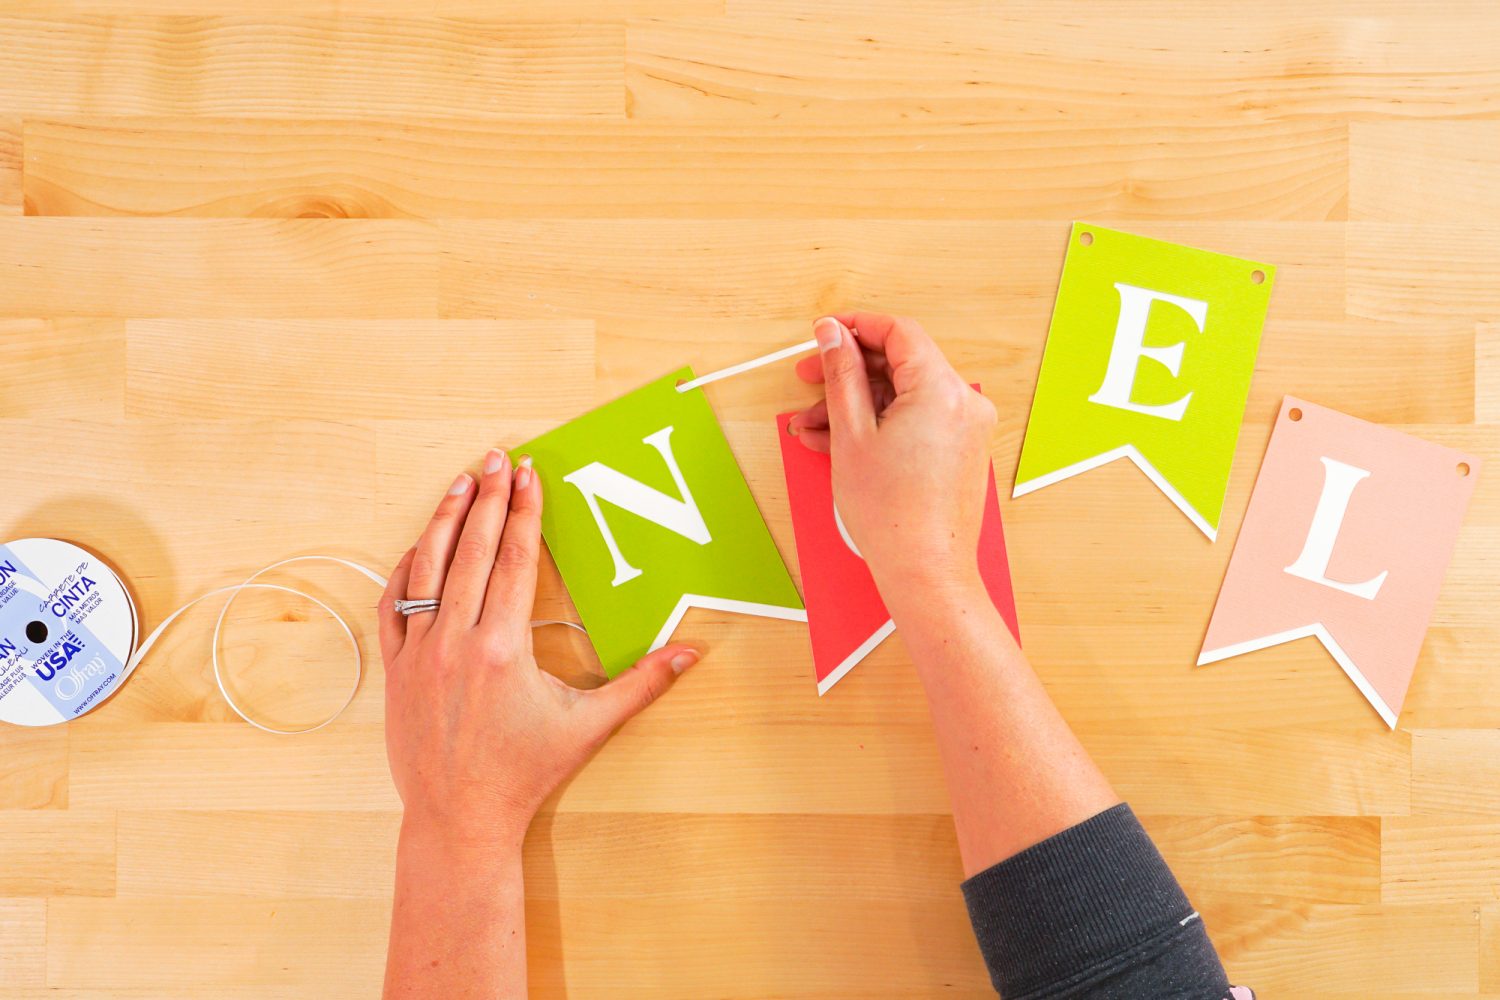
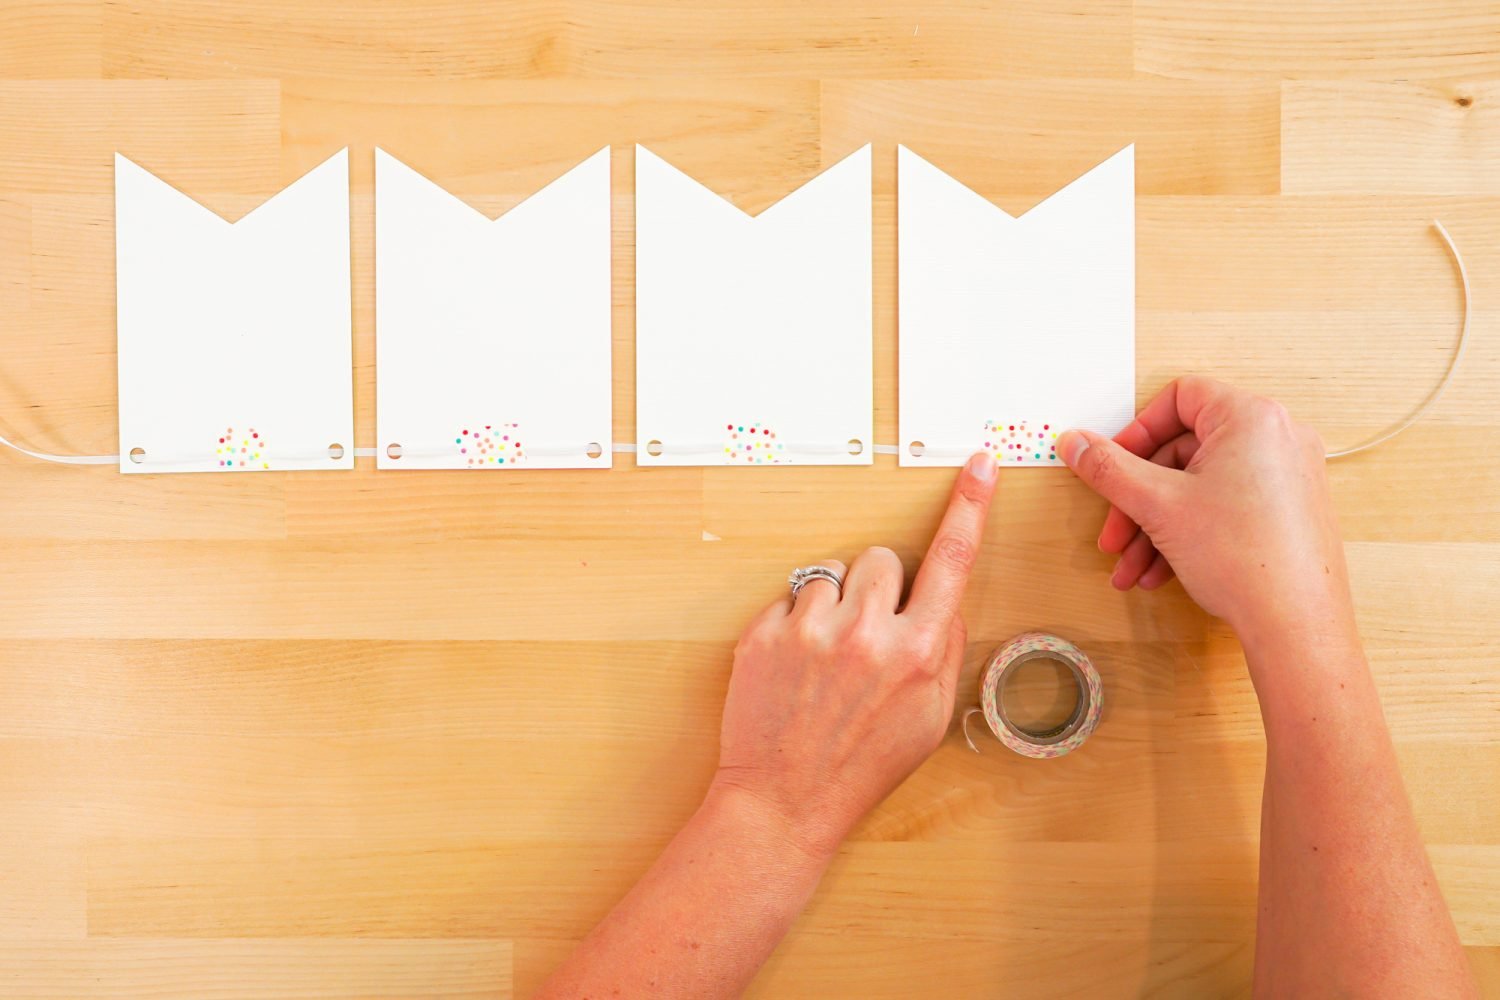
Then string your banner pieces together using ribbon or twine. I like to use a little piece of washi tape across the ribbon on the back, to help keep my banner pieces from sliding around.
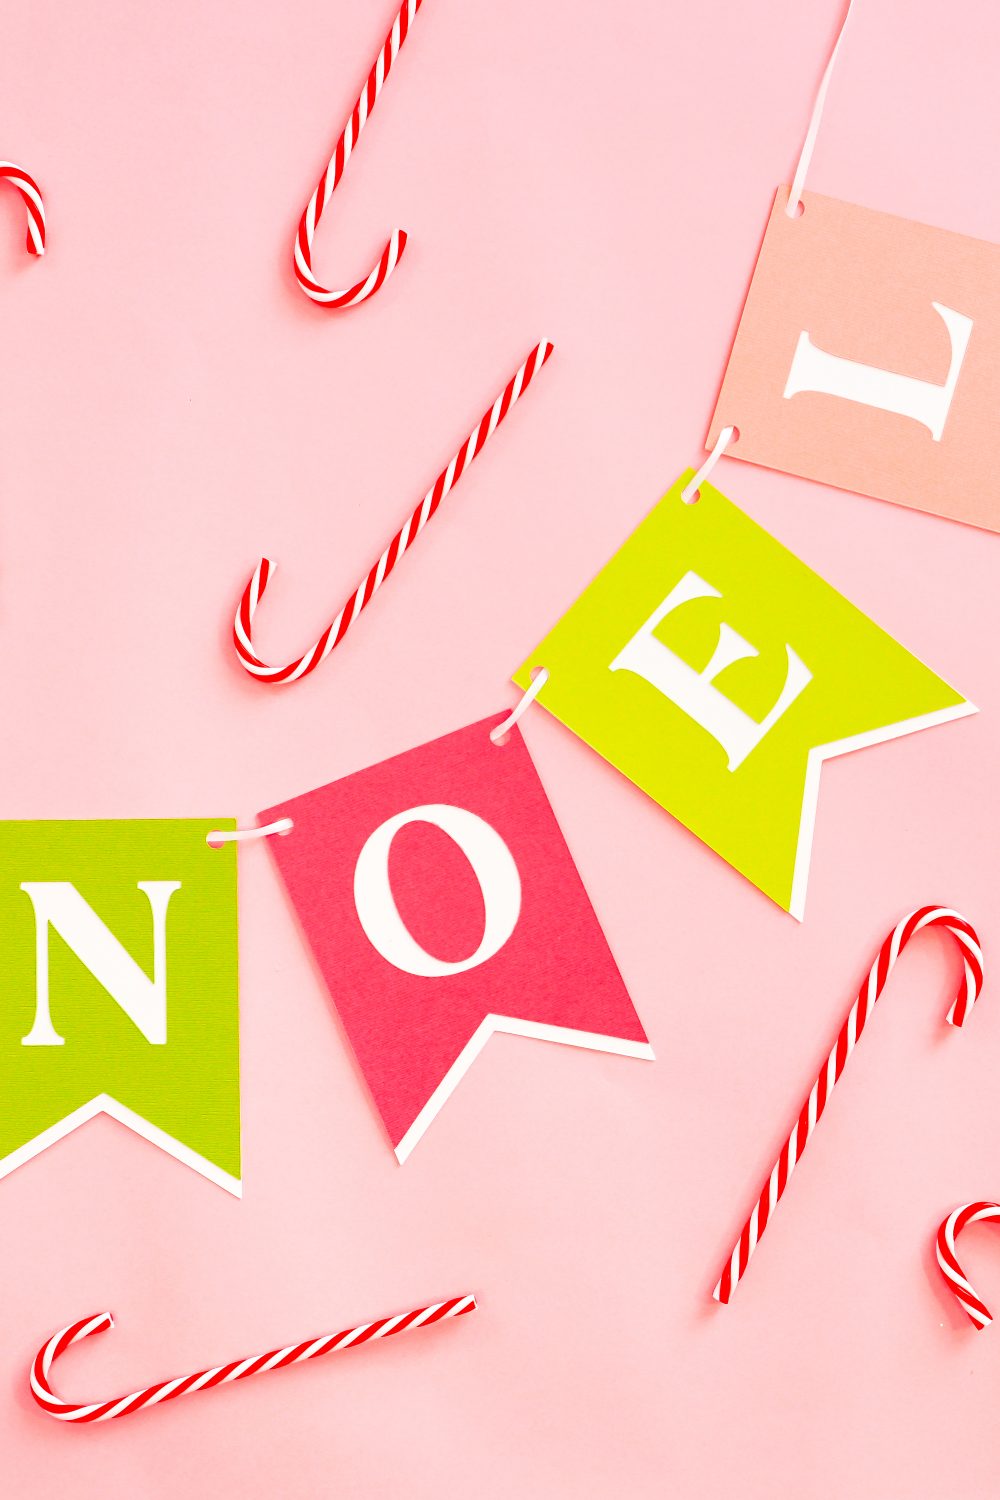
Once your customized Christmas banner is finished, hang it up! This is a great banner for a mantel, or hung over a door or in front of a party table. What will you make yours say?
CUSTOMIZED BANNER
Supplies
- Cardstock various colors
- Glue stick
- Ribbon
- Washi tape optional
Instructions
- Upload the file to Cricut Design Space.

- Rework the file for your particular banner.

- Cut the cardstock banner.

- Assemble the cardstock banner.

- Add ribbon and display!

Make All the 25 Days of Cricut Christmas Projects!
We’ll be adding links as each day goes live! Grab the full bundle with all of the projects and SVGs in our 25 Days of Cricut Christmas eBook!
- Day 1: DIY Christmas Countdown Calendar
- Day 2: Snow Globe Shaker Card
- Day 3: Happy Holly Days Christmas Banner
- Day 4: Felt Gnome Pillow
- Day 5: Cookies for Santa Tray
- Day 6: Snowflake Coasters
- Day 7: Customized Christmas Banner
- Day 8: Etched Holiday Baking Dish
- Day 9: DIY Gift Card Holder
- Day 10: Christmas Apron
- Day 11: Christmas Quilt Block Artwork
- Day 12: Constellation Glitter Ornaments
- Day 13: DIY Christmas Card Holder
- Day 14: Papercut Christmas Village
- Day 15: Funny Christmas Socks
- Day 16: Veneer Pinecone Earrings
- Day 17: How to Make Felt Bows
- Day 18: Personalized Santa Sacks
- Day 19: Newborn Footprint Ornaments
- Day 20: Layered Christmas Mandala
- Day 21: Customized Pot Holders
- Day 22: Sleigh Rides Christmas Sign
- Day 23: Hot Cocoa Mug Gift
- Day 24: Print then Cut Gift Tags
- Day 25: Matching Christmas Pajamas


Leave A Reply!