Use the Cricut Maker Perforation Tool to expand the ways you use your Cricut for paper! Think tickets, stamps, flyers, and more. Here’s everything you need to know about using the Perforation Tool, plus an example of a project using it!

The Cricut Perforation Tool is one of the four new tools that Cricut released in July 2019. It’s designed to cut a perforated line so that you can easily tear your project.
Before we get started, want to know about all the Cricut Maker tools I’ve written about? Check out these posts:
What is the Cricut Perforation Tool?
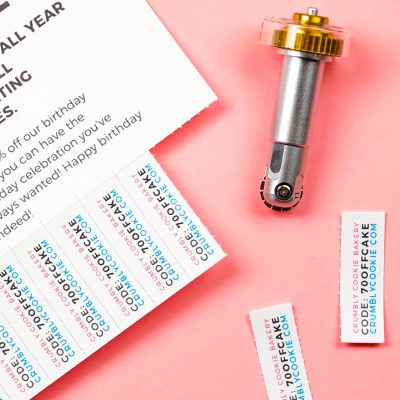
The Cricut Perforation Tool (also called the Perforation Tip) is designed to cut a perforated line in your material. It does this using a notched rotary blade.

The Perforation Tip has an “11” engraved on it, to help differentiate it from the other Maker tools.
Perforation is primarily for paper and cardstock, though it can also be used on faux leather, craft foam, and acetate. Cricut Design Space also allows you to select iron on and vinyl as compatible materials for the perforation blade, but to be perfectly honest…I’d have no idea why you’d want to use it for those materials!
What Cricut Machines Work with the Perforation Tool
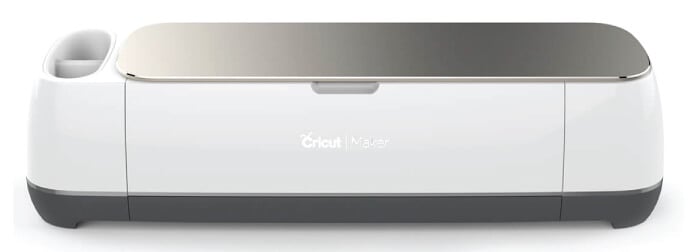
The Perforation Tool was designed specifically for the adaptive tool system of the Cricut Maker (meaning it has that gear on top) with the QuickSwap Housing—it won’t work in the Explore machines. Check out my Cricut Explore vs. Cricut Maker comparison post.
What is the QuickSwap Housing?
To use the Cricut Perforation Tool, you will need the QuickSwap Housing. This is the housing for the tip—the part of the tool with the gear and plunger at the top that allows you to swap out different tools.
You can buy the Perforation Tool including the housing, or you can buy just the tip. If you already have a tool that has the QuickSwap Housing from another tool, like the Scoring Wheel, you do not need to buy a second housing (yay!—these tools aren’t cheap!). See below for places to buy.
How Do I Make an Perforation Line in Design Space?
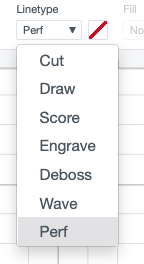
Along with the new tool, Cricut made an update to Design Space so you can change any shape or line into a perforation line. For the project below, I used a scoring line and then changed it to a perforation (“Perf”) linetype using the dropdown Linetype menu at the top of Design Space.
Make a Perforated Flyer!
Design Your Flyer
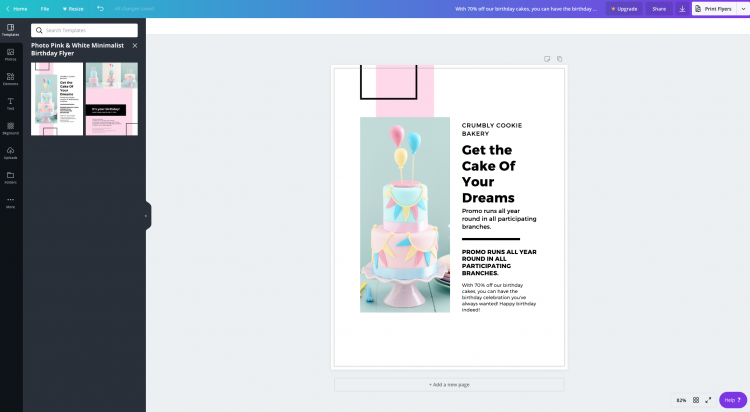
I could have designed this file directly in Design Space, but it’s not my favorite program for designing more complex Print then Cut files. Instead, I used a combination of Canva and Illustrator. Of course, you can use Design Space or whatever other software you’re used to to create your flyer!
I started in Canva and used one of their pre-designed flyers (actually, I made very few changes to their template—it worked well for this example!). When I finished designing it, I downloaded it as a PNG.

I then used Adobe Illustrator to add the tabs to the bottom of my flyer. Again, I could have done that in Design Space—I’m just so much quicker in Illustrator! I saved it as a JPEG.
Upload Your Flyer to Cricut Design Space
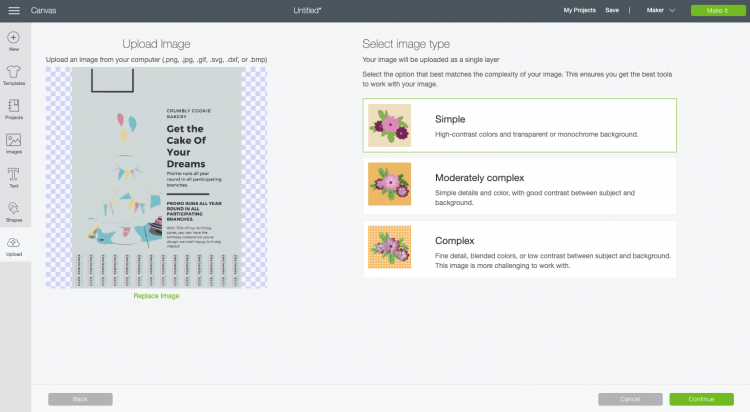
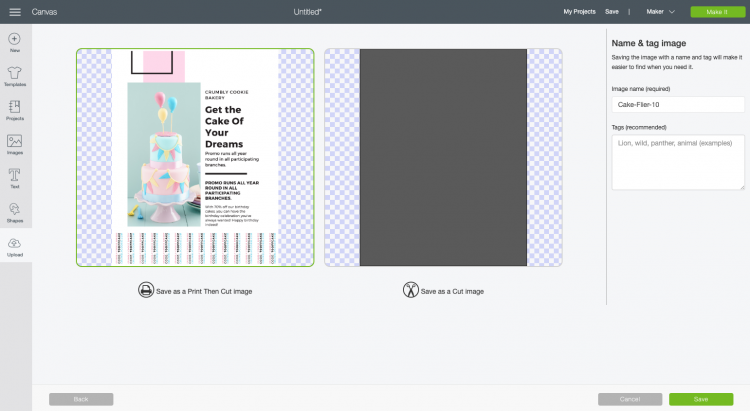
I then uploaded that JPEG to Cricut Design Space. In the upload image screen, choose Simple. It’s going to look terrible in the preview; just ignore it.

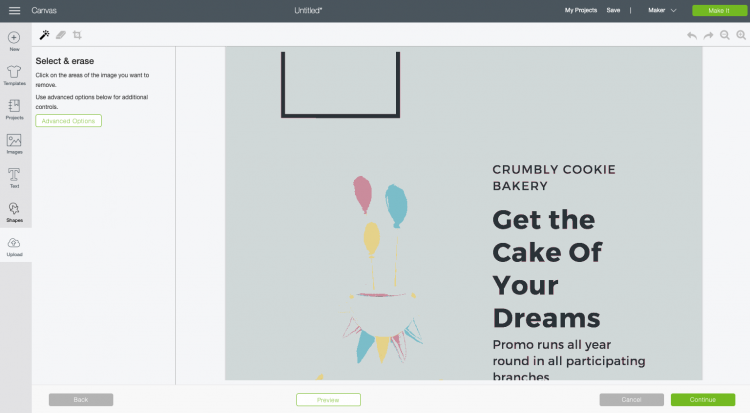
Then click continue in the next screen (again, the preview looks terrible, don’t worry about it.)

Click continue one more time and then select “Save as a Print then Cut Image.”

Add Your Perforation Marks
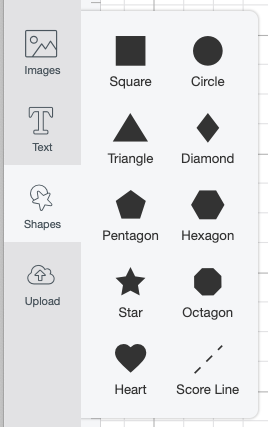
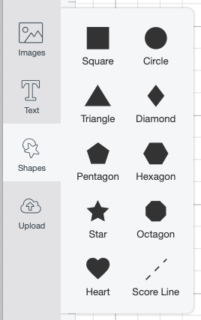
Next you’re going to add the perforation marks to your project. Start by inserting a score line, which can be found under Shapes in the Design Panel on the left.
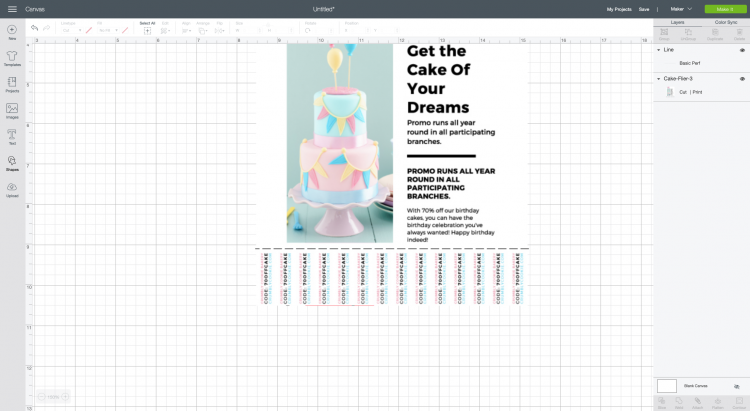
Rotate and lengthen your score line and place it at the top of your tabs.

Then change it to a perforation line using the Linetype menu in the Edit Toolbar.
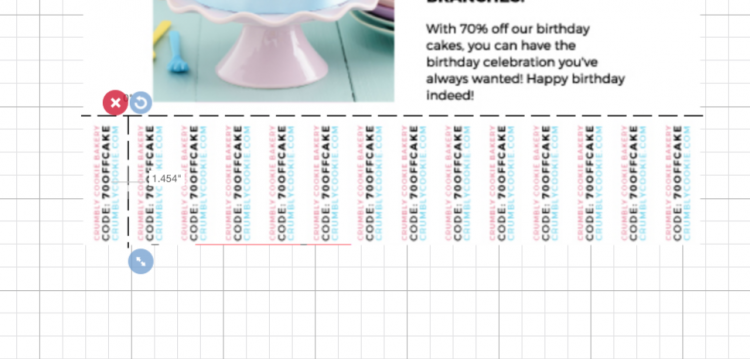
Copy the perforation line, rotate 90°, and shorten it to make the vertical perforation line.

Then copy and paste the line to create the other vertical perforation lines. You can also use the Align tool at the top (Align to Top and Distribute Horizontally) to evenly space your perforation lines.

Select both your perforation lines and your flyer and click Attach in the bottom of the Layers Panel on the right. This ensures your perforation will cut in the correct place.
You may need to resize your project to get it to fit within the Print then Cut boundaries before you make your project—no taller than 9.25″ or wider than 6.75″
Make Your Perforated Flyer
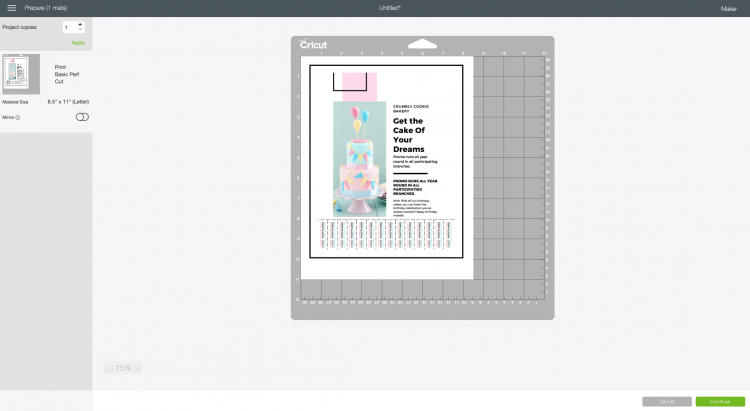
Then click Make It in the upper right. You’ll be taken to the Prepare Screen where you’ll see that Design Space has added a registration box around the entirety of your image.

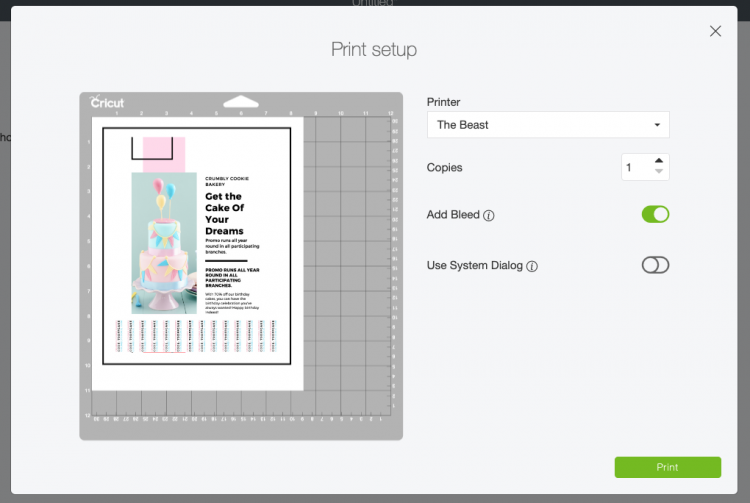
Next you’ll be prompted to print your flyer. It will print with the registration box. (Yes, I named my printer “The Beast.”)

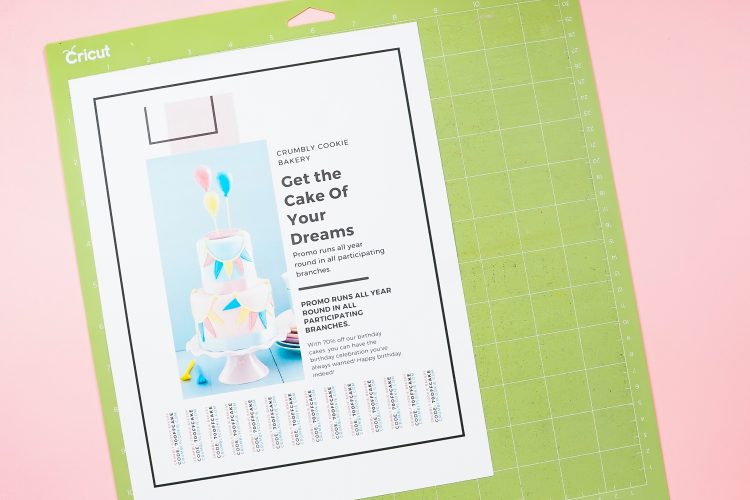
Once your flyer is printed, place it in the upper left corner of a blue or older green Cricut mat (a new green may might be a bit sticky for paper).

Select your material. Note that you can’t select a regular cardstock—I had to select Heavy Cardstock.
Once you insert the mat into your machine, your Cricut Maker will prompt you to insert the perforation tool. Once the perforation has been completed, it will prompt you to swap it out for the regular Fine Point blade so it can cut around the edge.
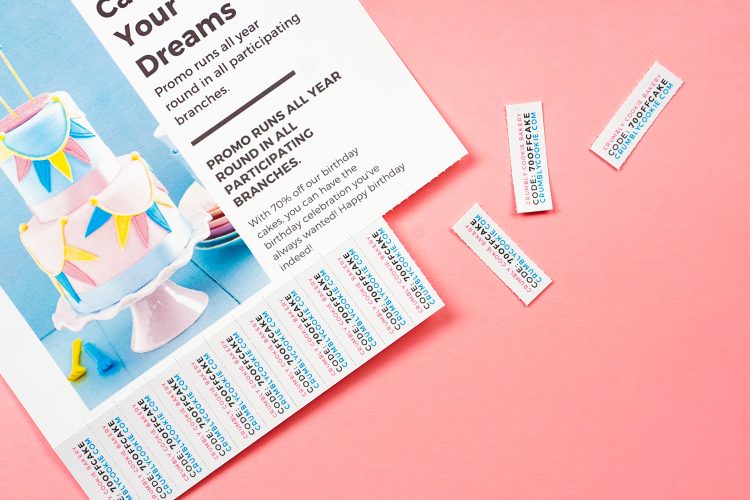
Remove from your mat and you’re done! I’m actually pretty impressed with the evenness of the perforation and how easily it tears.


Where Can I Buy the Cricut Perforation Tool?
Check the following stores to buy:
Cricut.com: Tool + QuickSwap Housing / Tip Only
HSN: Tool + QuickSwap Housing (sold out) / Tip Only
Amazon: Tool + QuickSwap Housing / Tip Only

Shop Amazon for Maker Tools
MAKE A PERFORATED FLYER
Equipment
Supplies
- Your Flyer Design using Design Space, Canva or other software
Instructions
- Design Your FlyerCanva and Adobe Illustrator were used for this project. One of Canva's pre-designed flyers was used with very few changes to their template. When design was finished, it was downloaded as a PNG.

- Then Adobe Illustrator was used to add the tabs to the bottom of the flyer. This could have been done in Design Space, but it is whatever you are comfortable with. The design was then saved as a JPEG.
- Upload Your Flyer to Cricut Design SpaceThen upload that JPEG to Cricut Design Space. In the upload image screen, choose Simple. It's going to look terrible in the preview; just ignore it.

- Then click continue in the next screen (again, the preview looks terrible, don't worry about it.)

- Click continue one more time and then select "Save as a Print then Cut Image."

- Add Your Perforation MarksNext you're going to add the perforation marks to your project. Start by inserting a score line, which can be found under Shapes in the Design Panel on the left.

- Rotate and lengthen your score line and place it at the top of your tabs.

- Then change it to a perforation line using the Linetype menu in the Edit Toolbar.

- Copy the perforation line, rotate 90°, and shorten it to make the vertical perforation line.

- Then copy and paste the line to create the other vertical perforation lines. You can also use the Align tool at the top (Align to Top and Distribute Horizontally) to evenly space your perforation lines.Select both your perforation lines and your flyer and click Attach in the bottom of the Layers Panel on the right. This ensures your perforation will cut in the correct place.You may need to resize your project to get it to fit within the Print then Cut boundaries before you make your project—no taller than 9.25" or wider than 6.75"

- Make Your Perforated FlyerThen click Make It in the upper right. You'll be taken to the Prepare Screen where you'll see that Design Space has added a registration box around the entirety of your image.

- Next you'll be prompted to print your flyer. It will print with the registration box. (Yes, I named my printer "The Beast.")

- Once your flyer is printed, place it in the upper left corner of a blue or older green Cricut mat (a new green may might be a bit sticky for paper).

- Select your material. Note that you can't select a regular cardstock—so Heavy Cardstock was selectedOnce you insert the mat into your machine, your Cricut Maker will prompt you to insert the perforation tool. Once the perforation has been completed, it will prompt you to swap it out for the regular Fine Point blade so it can cut around the edge. Remove from your mat and you're done!





Comments & Reviews
tangie says
HI
Im trying to learn how to make pull tabs will this tool/machine help me accomplish that if not do you know of such a machine that will
Manisha says
Hi dear I m Manisha Verma and trying hard to get circuit machine but unable to take my payment I want it please can you help me out with it