MAKE A PERFORATED FLYER
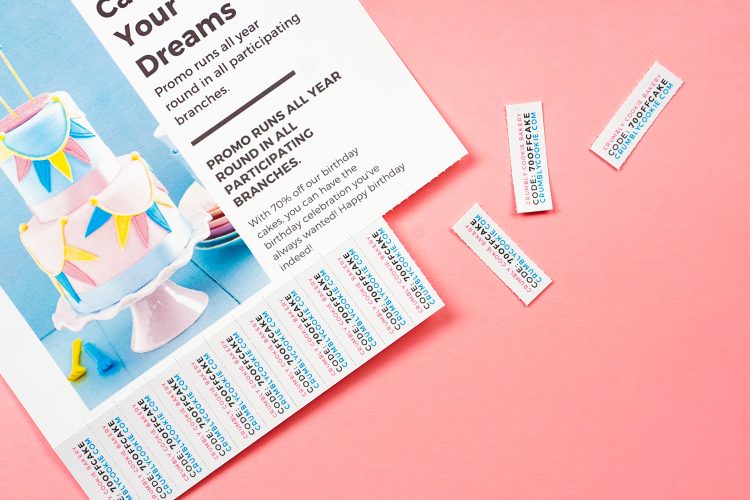
Use the Cricut Maker Perforation Tool to expand the ways you use your Cricut for paper! Think tickets, stamps, flyers, and more.
Equipment
Ingredients
- Your Flyer Design using Design Space, Canva or other software
Instructions
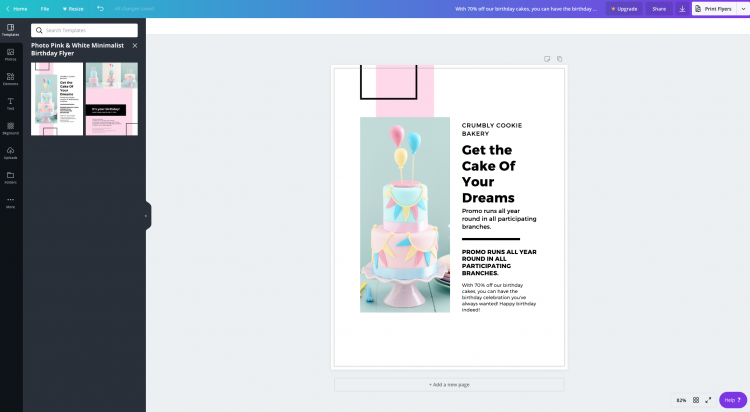
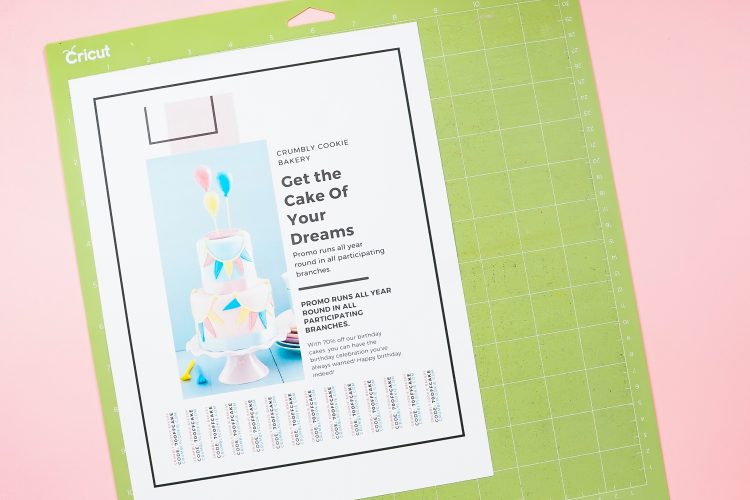
- Design Your FlyerCanva and Adobe Illustrator were used for this project. One of Canva's pre-designed flyers was used with very few changes to their template. When design was finished, it was downloaded as a PNG.
- Then Adobe Illustrator was used to add the tabs to the bottom of the flyer. This could have been done in Design Space, but it is whatever you are comfortable with. The design was then saved as a JPEG.
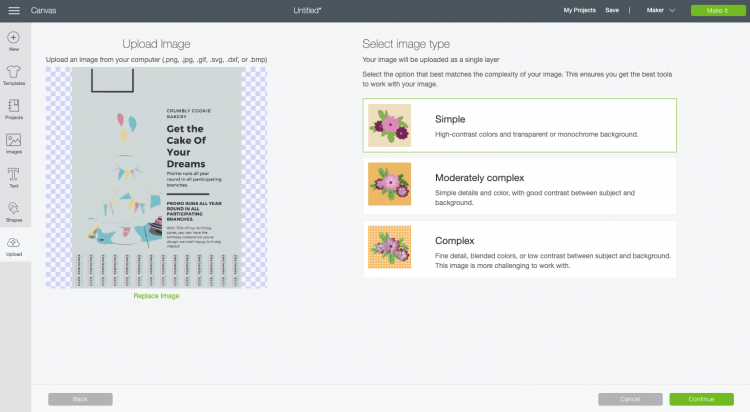
- Upload Your Flyer to Cricut Design SpaceThen upload that JPEG to Cricut Design Space. In the upload image screen, choose Simple. It's going to look terrible in the preview; just ignore it.
- Then click continue in the next screen (again, the preview looks terrible, don't worry about it.)
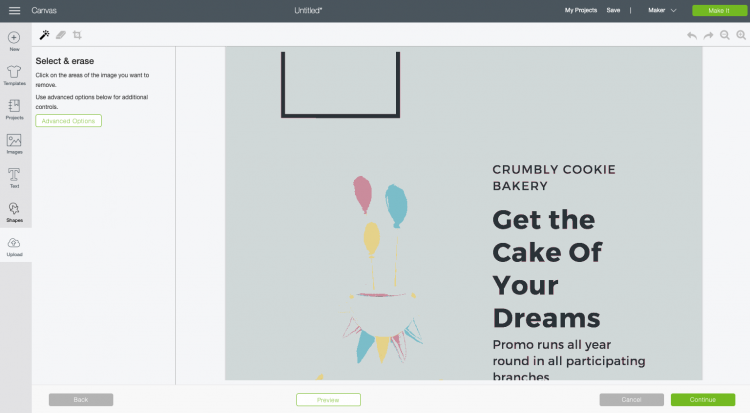
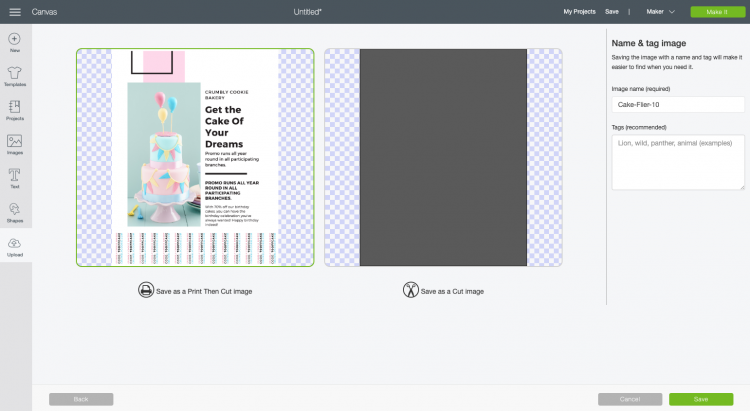
- Click continue one more time and then select "Save as a Print then Cut Image."
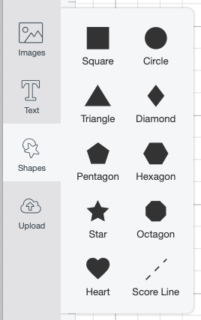
- Add Your Perforation MarksNext you're going to add the perforation marks to your project. Start by inserting a score line, which can be found under Shapes in the Design Panel on the left.
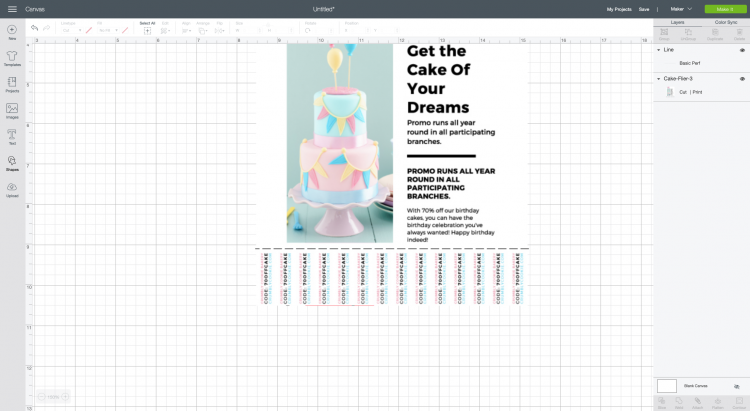
- Rotate and lengthen your score line and place it at the top of your tabs.
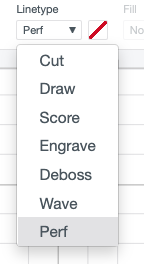
- Then change it to a perforation line using the Linetype menu in the Edit Toolbar.
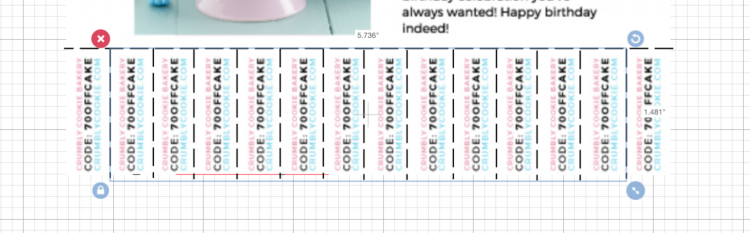
- Copy the perforation line, rotate 90°, and shorten it to make the vertical perforation line.
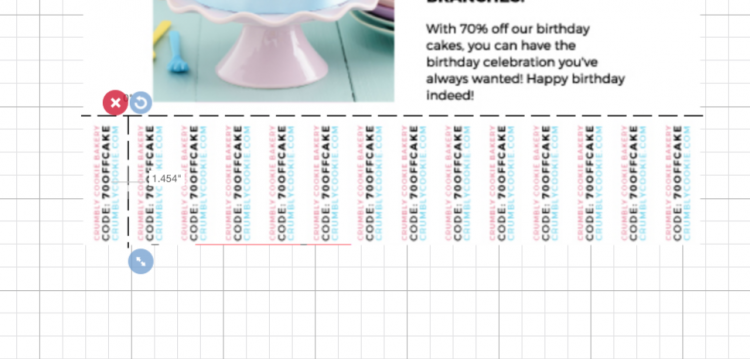
- Then copy and paste the line to create the other vertical perforation lines. You can also use the Align tool at the top (Align to Top and Distribute Horizontally) to evenly space your perforation lines.Select both your perforation lines and your flyer and click Attach in the bottom of the Layers Panel on the right. This ensures your perforation will cut in the correct place.You may need to resize your project to get it to fit within the Print then Cut boundaries before you make your project—no taller than 9.25" or wider than 6.75"
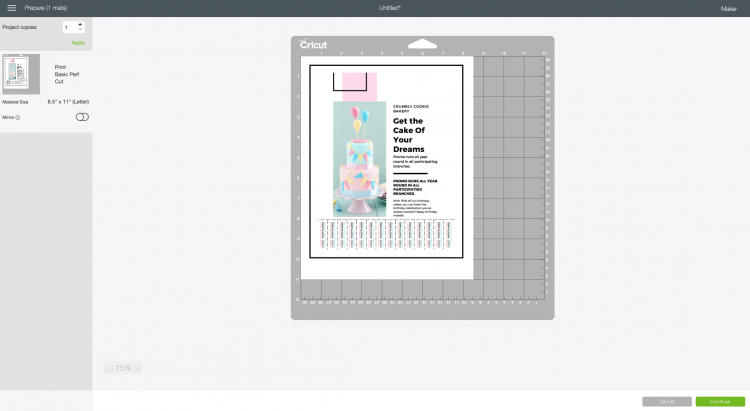
- Make Your Perforated FlyerThen click Make It in the upper right. You'll be taken to the Prepare Screen where you'll see that Design Space has added a registration box around the entirety of your image.
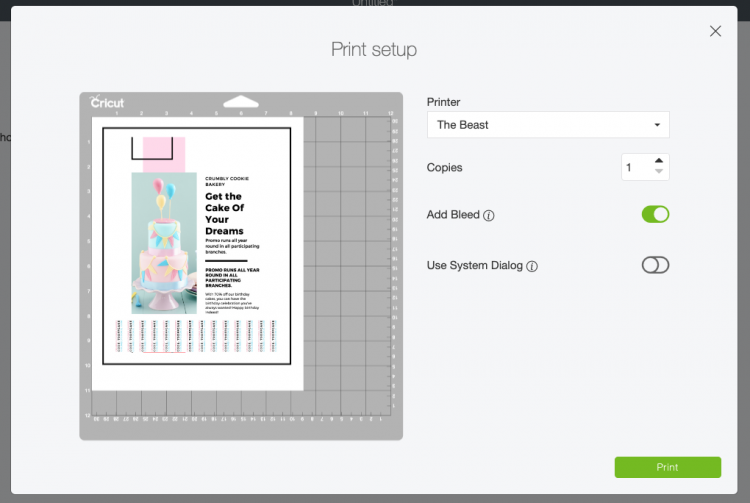
- Next you'll be prompted to print your flyer. It will print with the registration box. (Yes, I named my printer "The Beast.")
- Once your flyer is printed, place it in the upper left corner of a blue or older green Cricut mat (a new green may might be a bit sticky for paper).
- Select your material. Note that you can't select a regular cardstock—so Heavy Cardstock was selectedOnce you insert the mat into your machine, your Cricut Maker will prompt you to insert the perforation tool. Once the perforation has been completed, it will prompt you to swap it out for the regular Fine Point blade so it can cut around the edge. Remove from your mat and you're done!