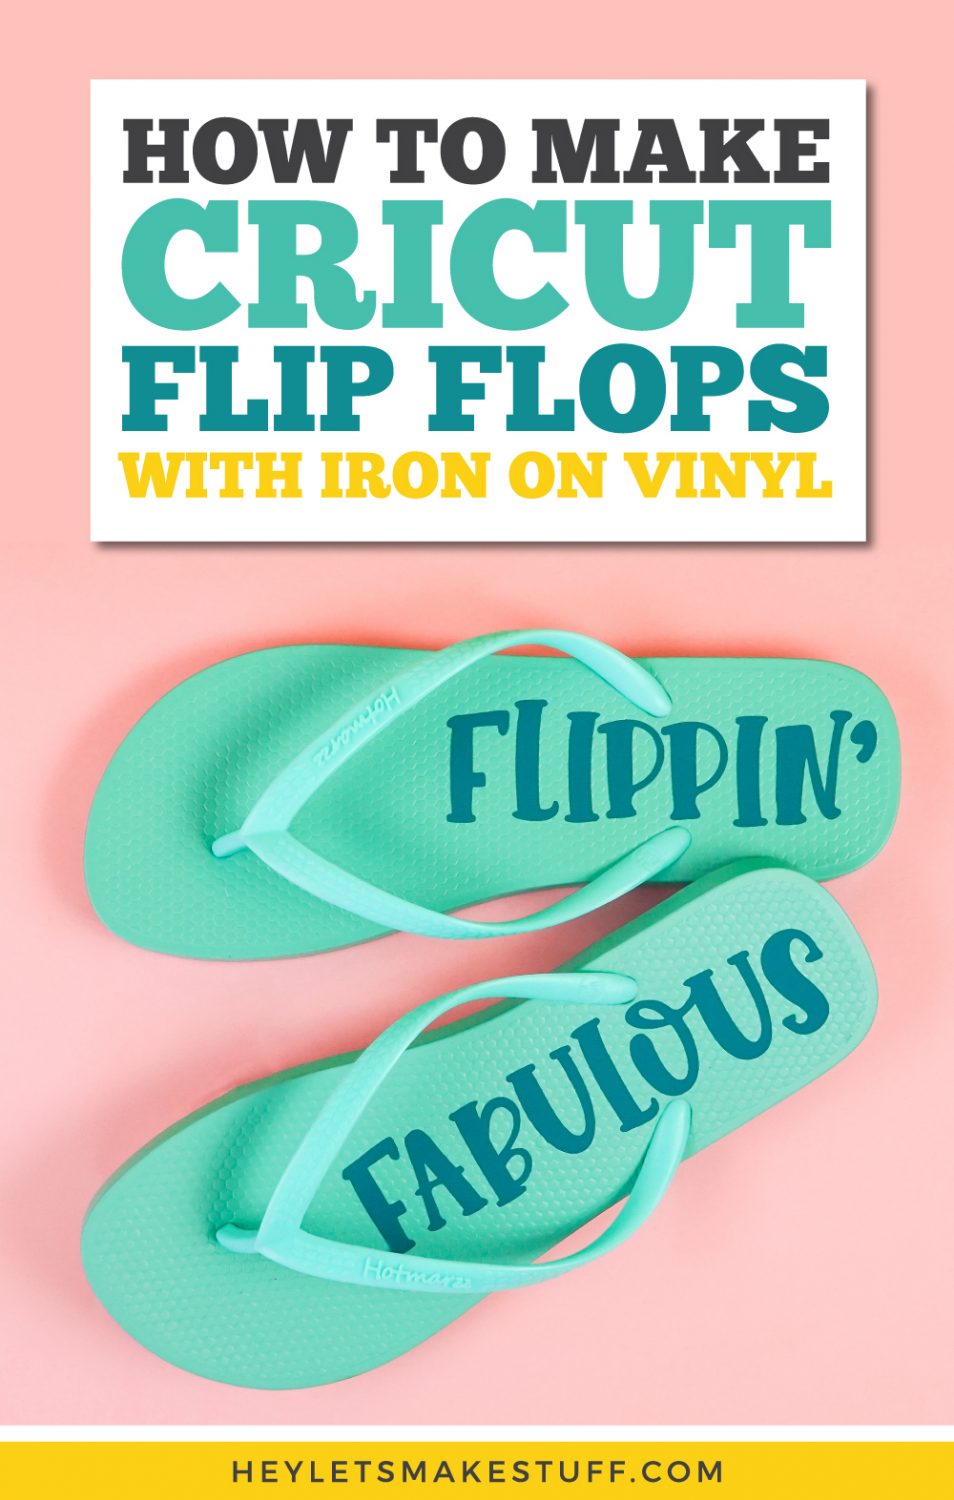
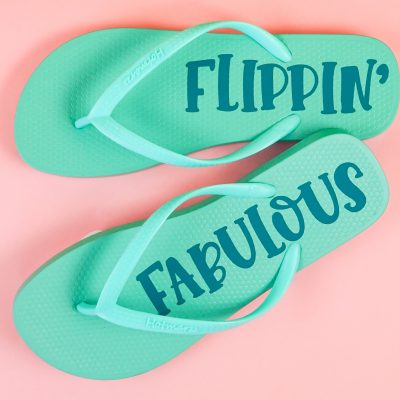
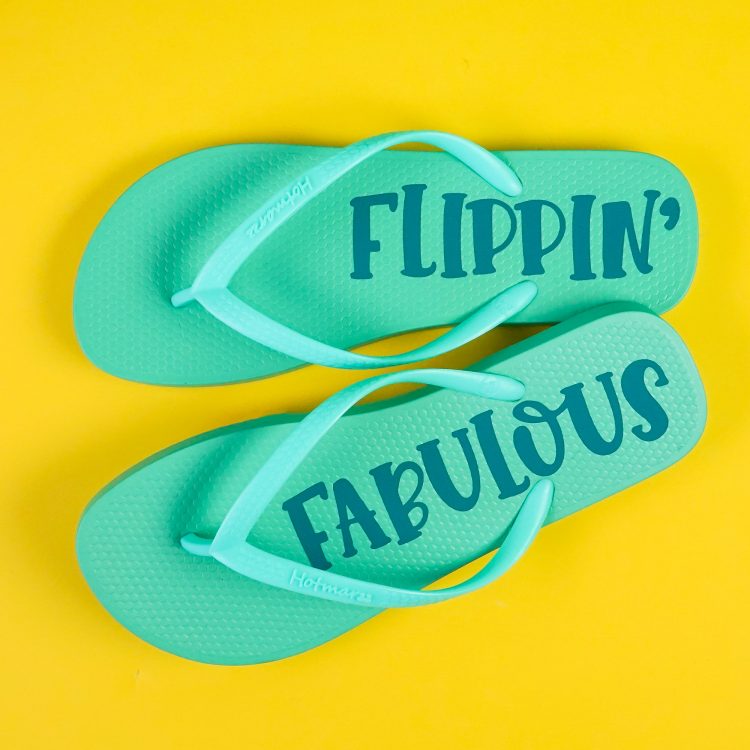
Get your toes in summer shape—it’s time for flip flop weather! Use your Cricut to personalize a pair of plain flip flops with iron on vinyl. This is the perfect beginner Cricut project!
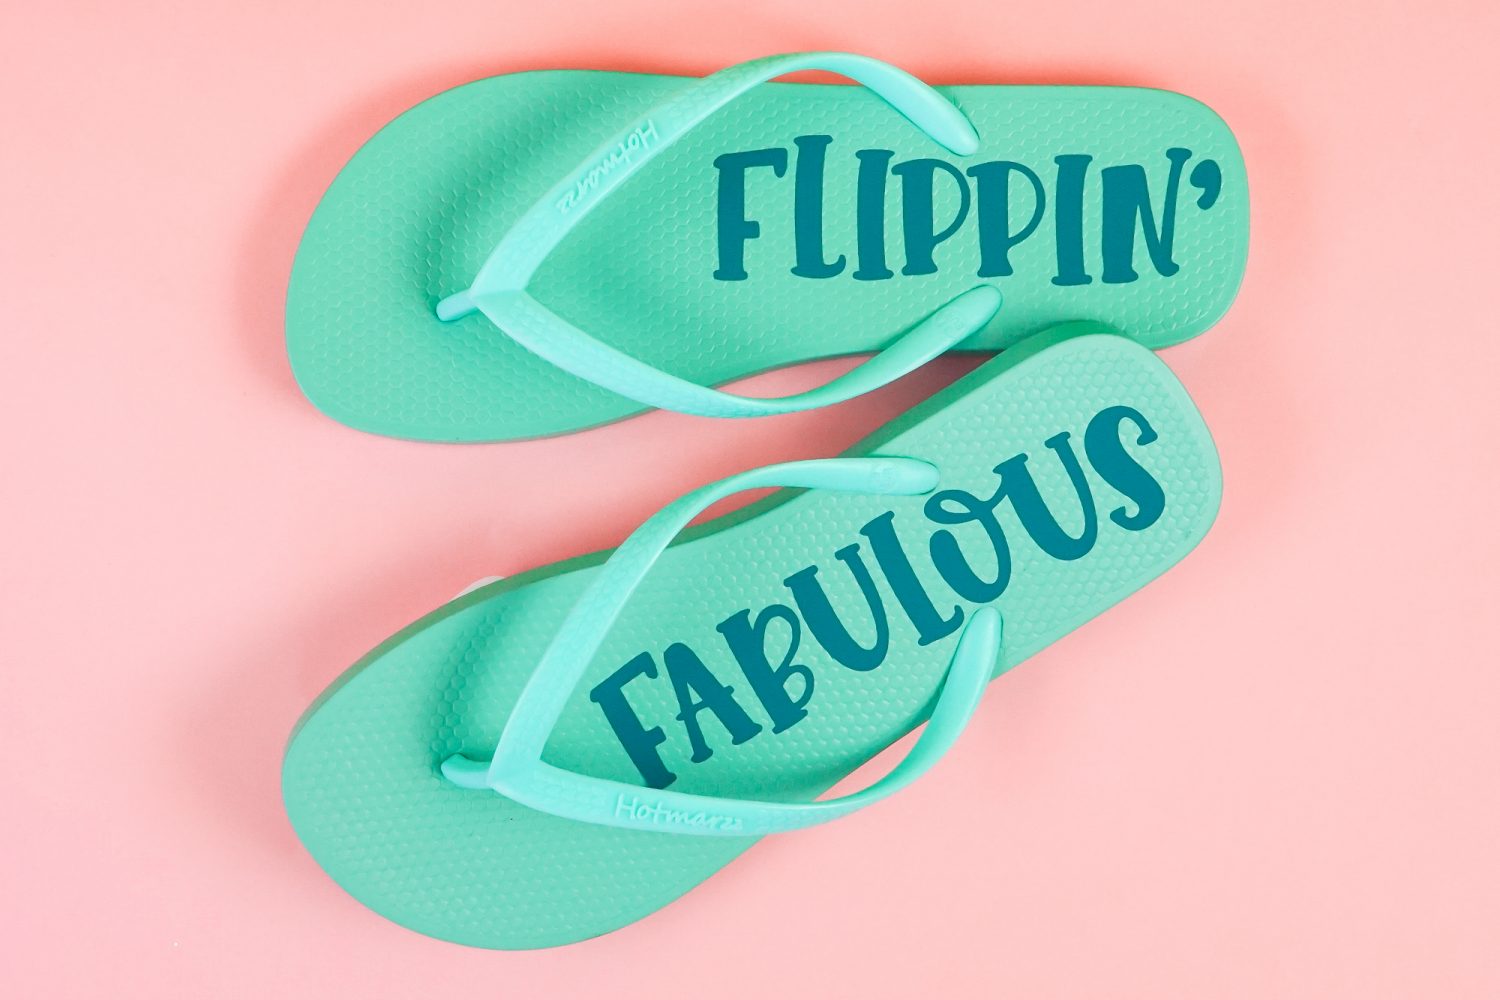
Summer is in full swing and I am back with another fun summery project for you to make with your Cricut! Today we’re putting iron on vinyl on flip flops—a super easy and fun project that can be done with your Cricut Joy, Cricut Explore, or Cricut Maker.
Let’s get started!
Supplies for Cricut Flip Flops
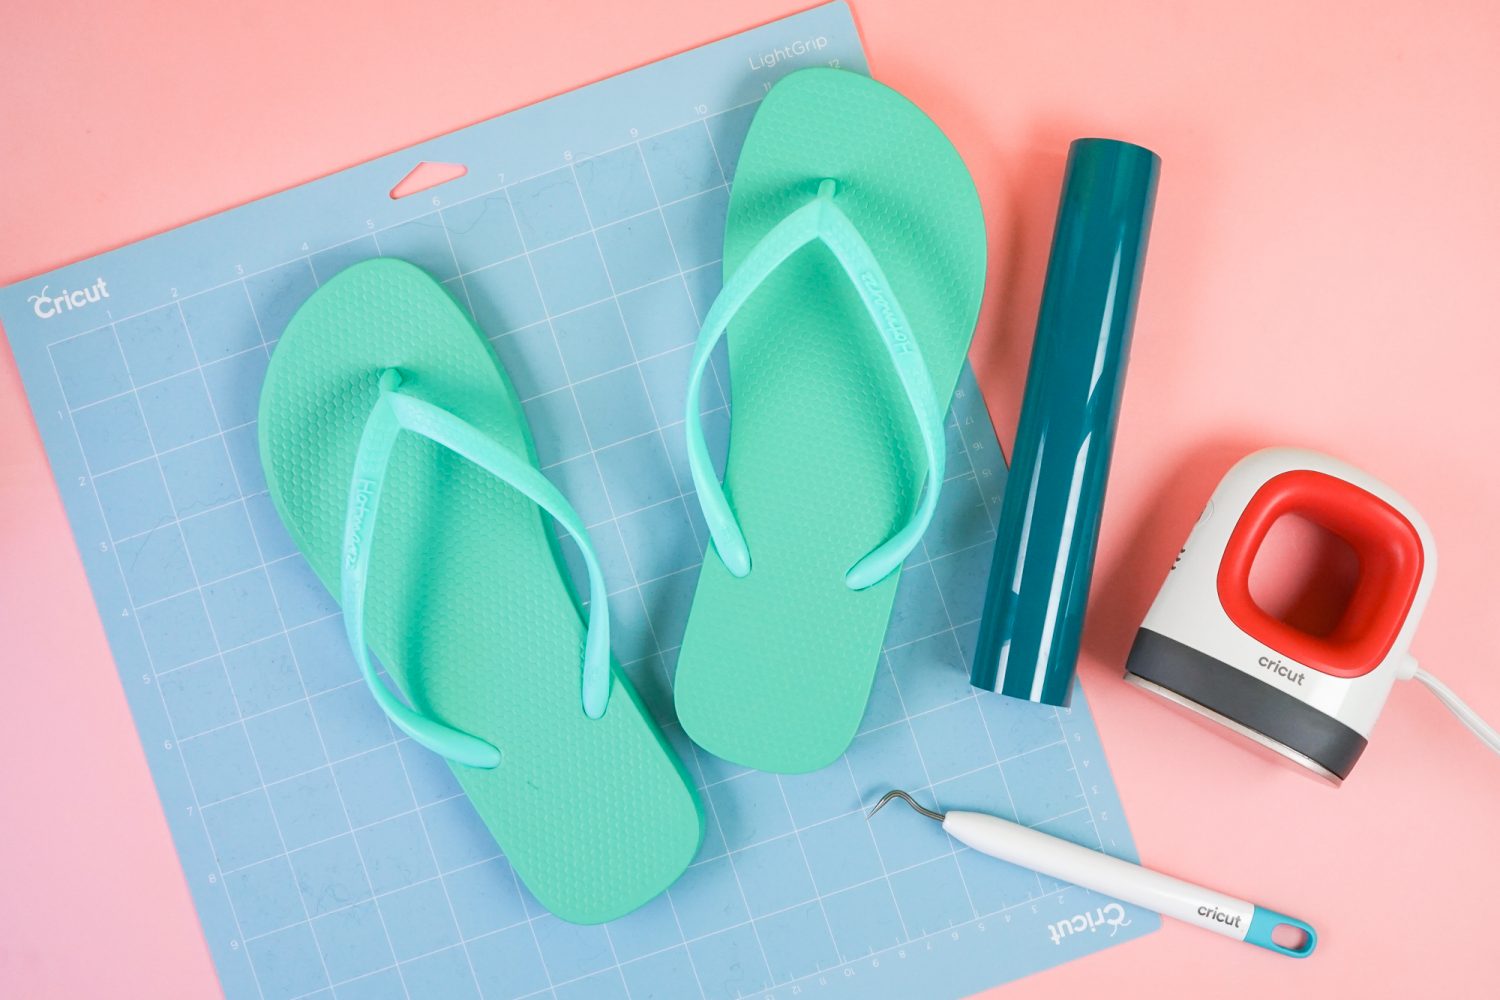
- Flip flops (see note below)
- Cricut Joy, Cricut Explore, or Cricut Maker
- Blue or green StandardGrip mat
- Iron on vinyl (HTV)
- Teflon sheet
- Weeding tool
- Cricut EasyPress Mini or mini iron
- SVG (see below)
Note: You want to make sure you’re buying a pair of flip flops with a solid base—no logos that will interrupt the iron on vinyl’s pattern. I really like these flip flops—they are comfortable and they come in a wide variety of colors.
Get the Free File
Want access to this free file? Join my FREE craft library! All you need is the password to get in, which you can get by filling out the form below. The file number is: C309.
Instructions for Cricut Flip Flops
Setting Up the File in Cricut Design Space
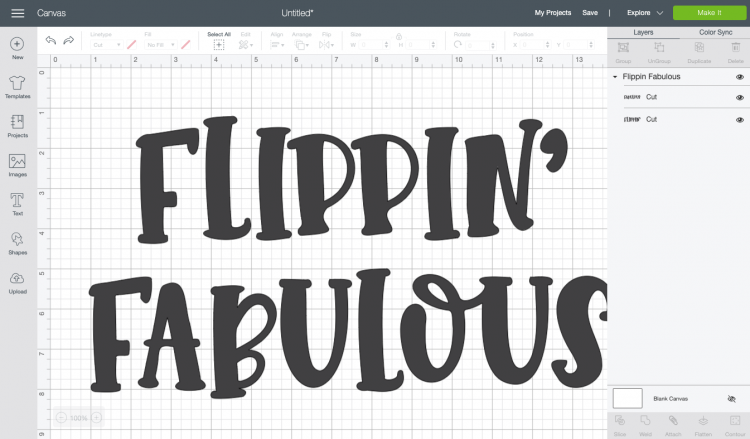
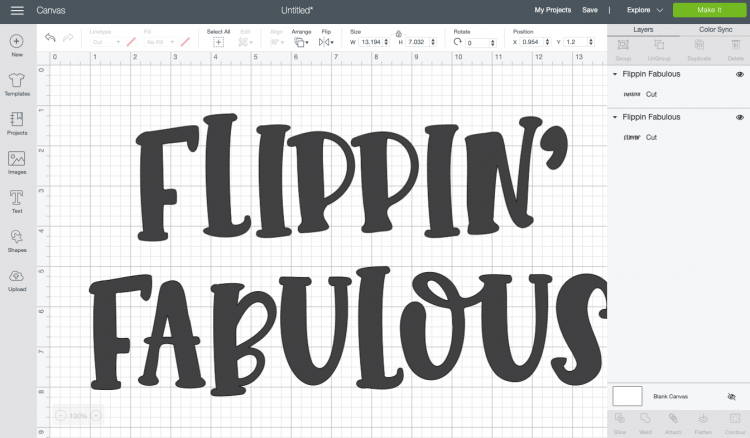
Start by uploading the SVG to Cricut Design Space (see my post Uploading SVG files to Cricut Design Space if you need help).
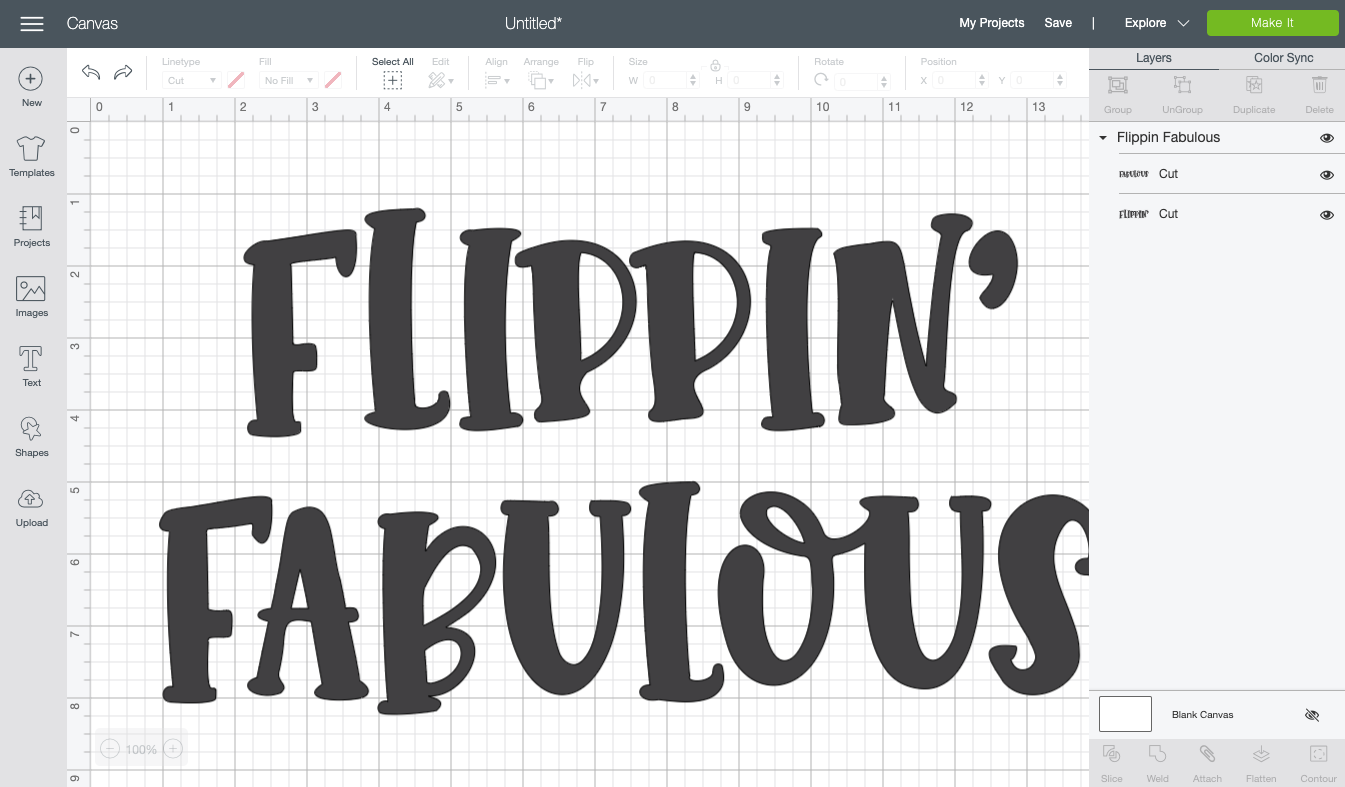
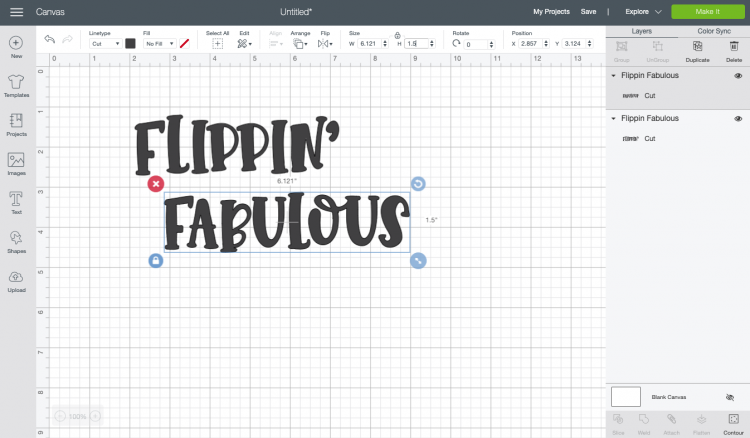
Measure your flip flops to see what size you need to make your decal, taking into account how wide the straps are set. Mine was 1.5″—I actually cut a version out of scrap HTV to make sure the size was good before cutting out my words in the actual colors I wanted to use.
To edit each word individually, click “Ungroup” at the top of the Layers Panel, and then resize your words using in the Edit Toolbar.
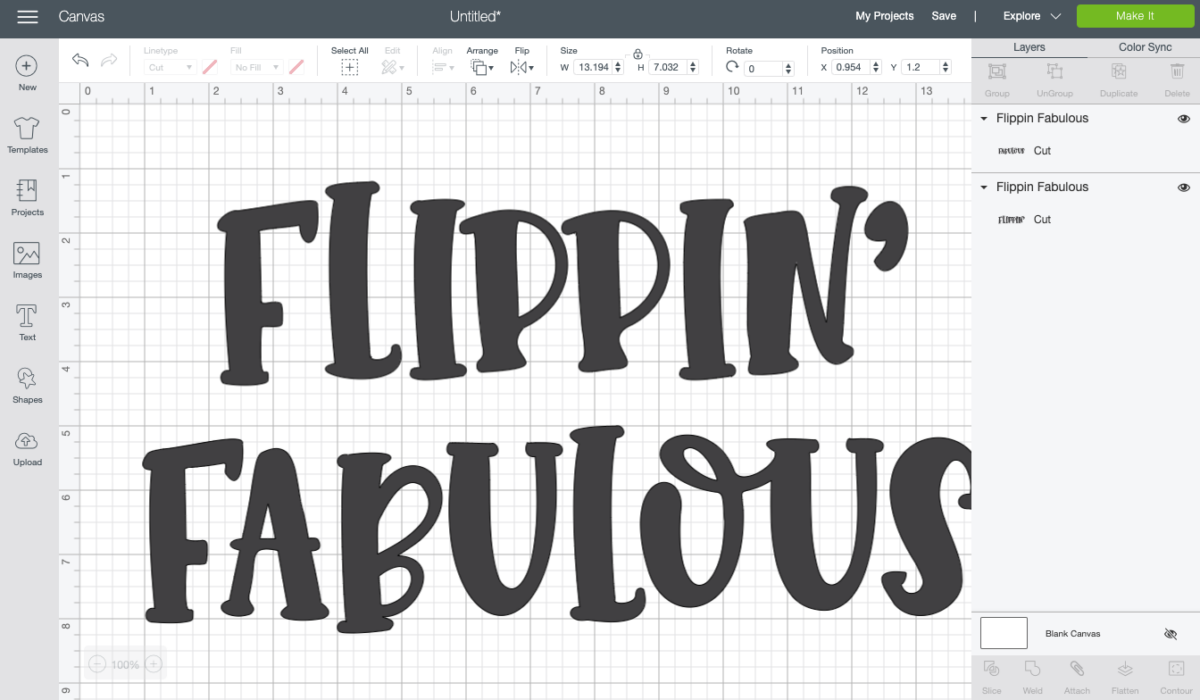
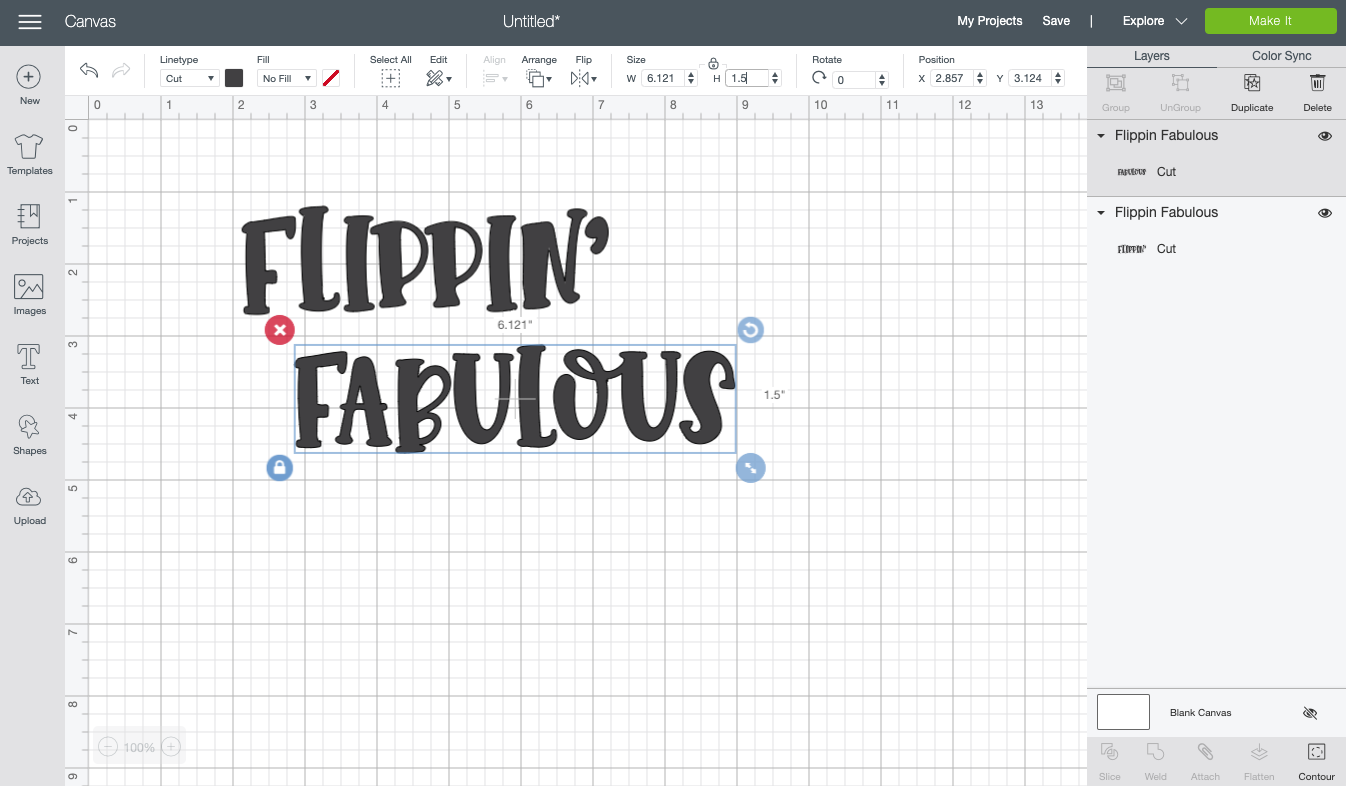
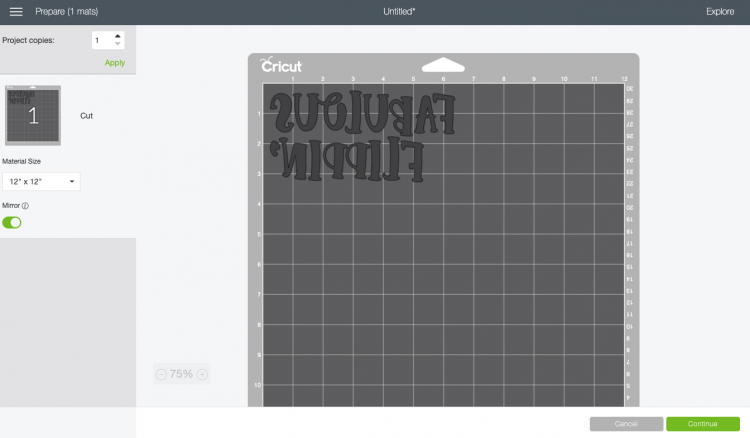
Now you’re ready to cut! Click Make It in the upper right. Make sure you click “mirror” in the next screen—you always want to mirror your iron on vinyl so that it adheres the right way to your base material.
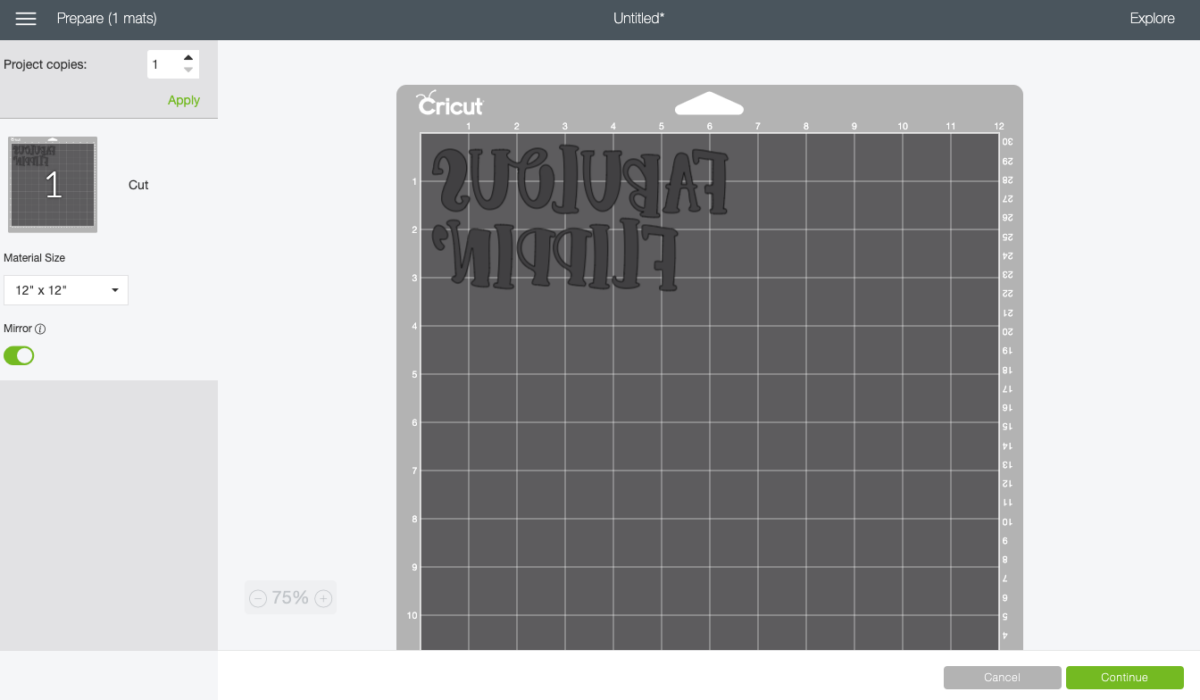
Then cut your images! Once your words are cut, use the weeding hook to remove all of the negative material from your files. If you need help, check out my post on Weeding Iron On Vinyl.
Adhering Your Transfer
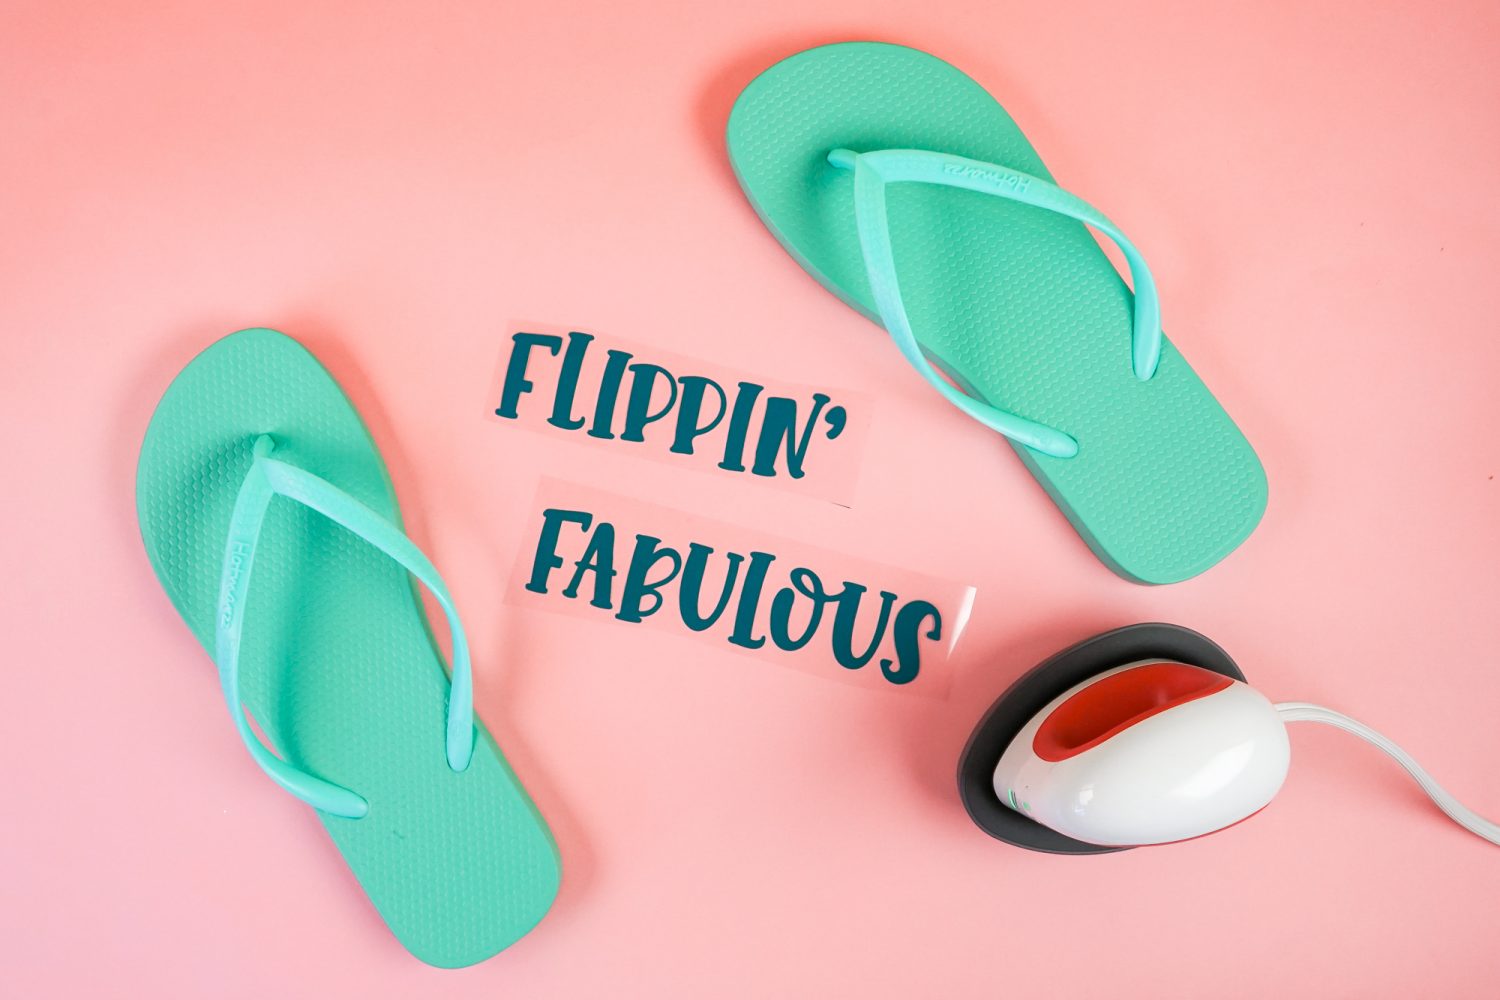
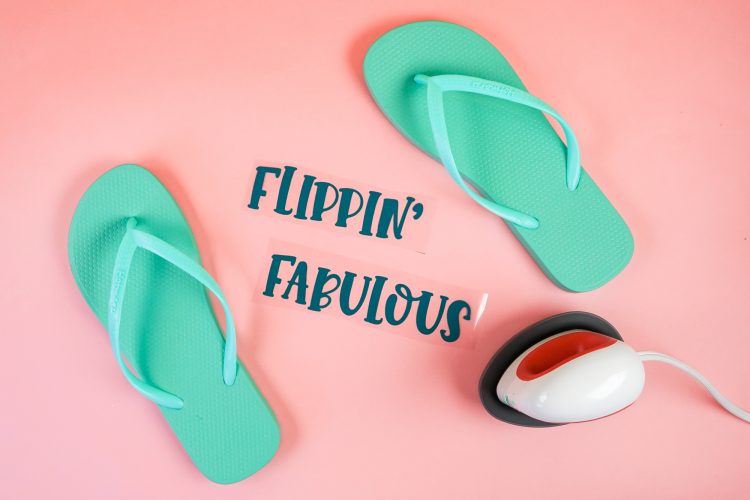
To adhere my transfers to the flip flops, I’m using my Cricut EasyPress Mini. I love this little guy (read my post about the EasyPress Mini) and it’s perfect for projects like this! You can also use a mini iron.
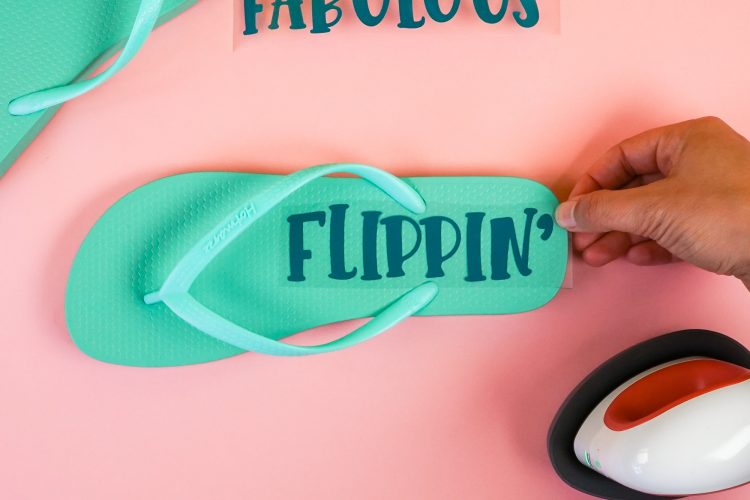
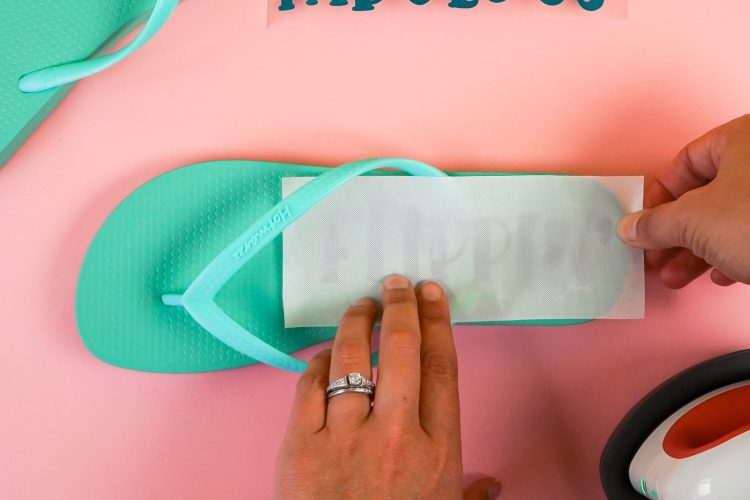
Place your transfer on your flip flops and set your EasyPress Mini to medium.
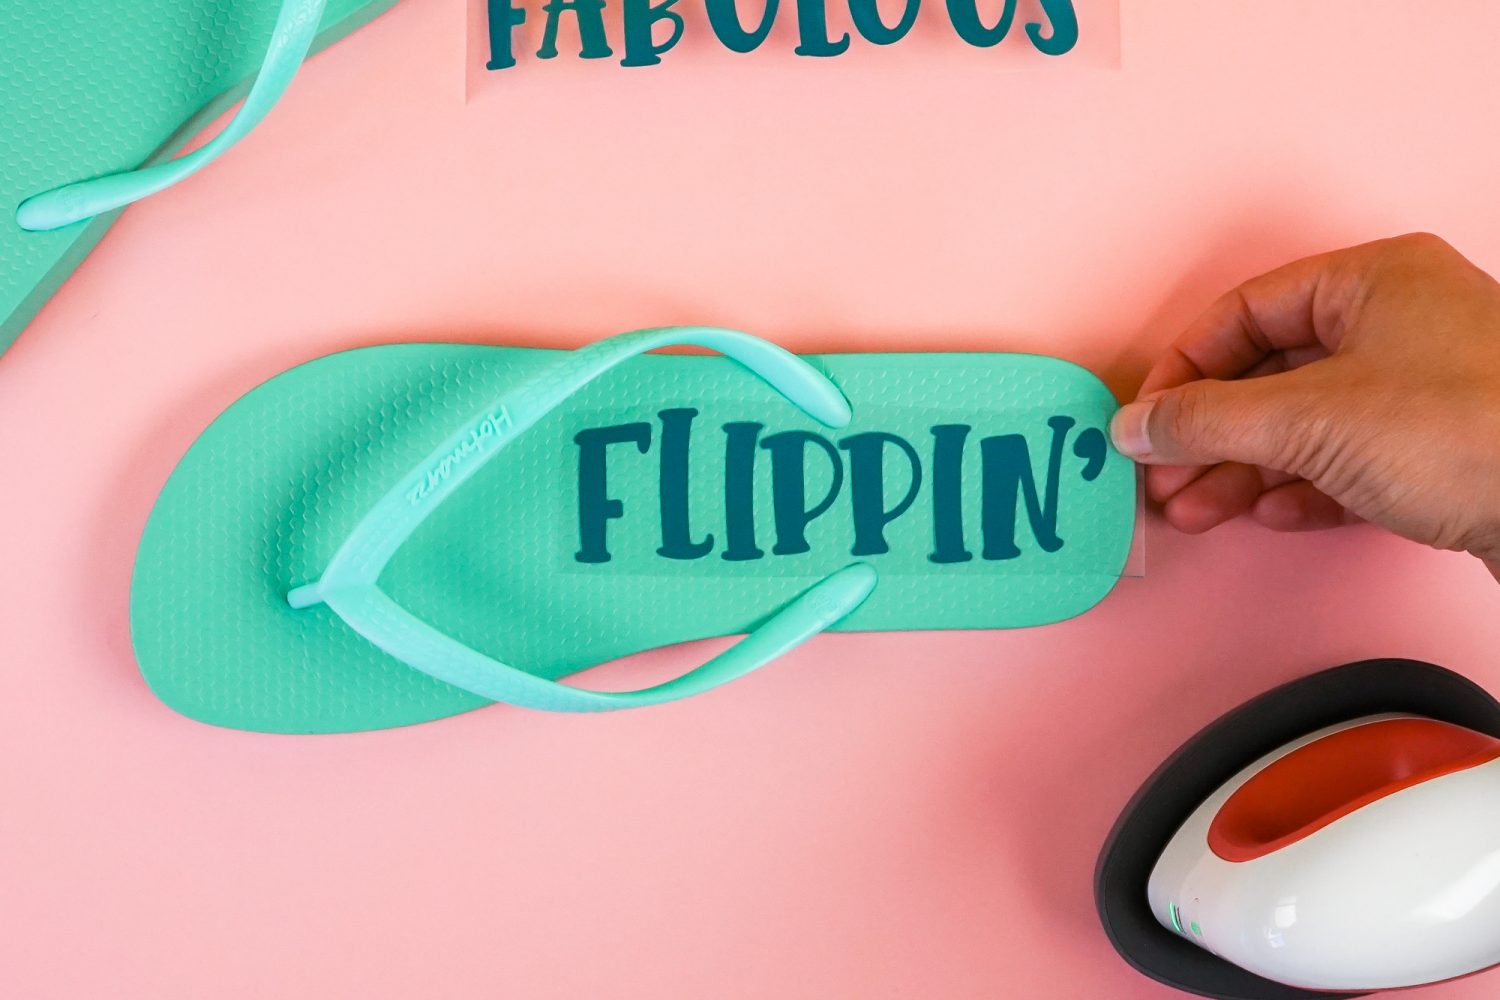
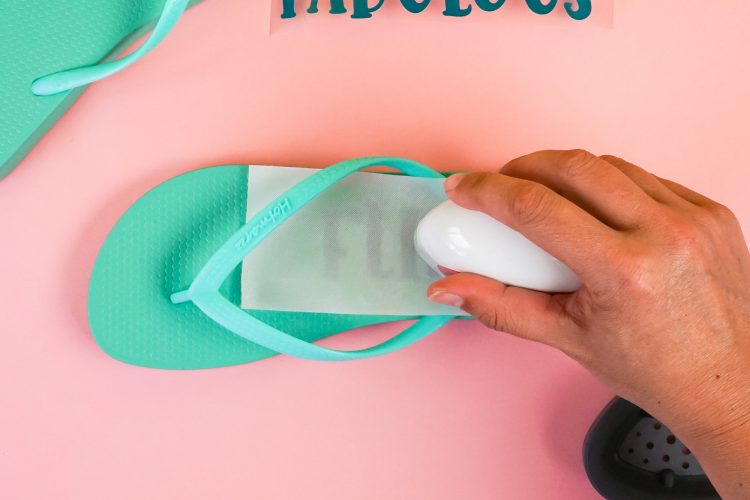
Then cover with a teflon sheet. I bought a big pack of them (listed in the supply list above) and have been cutting one down for scraps so I can use them on projects like this. A smaller sheet is much easier to work with than the big sheet!
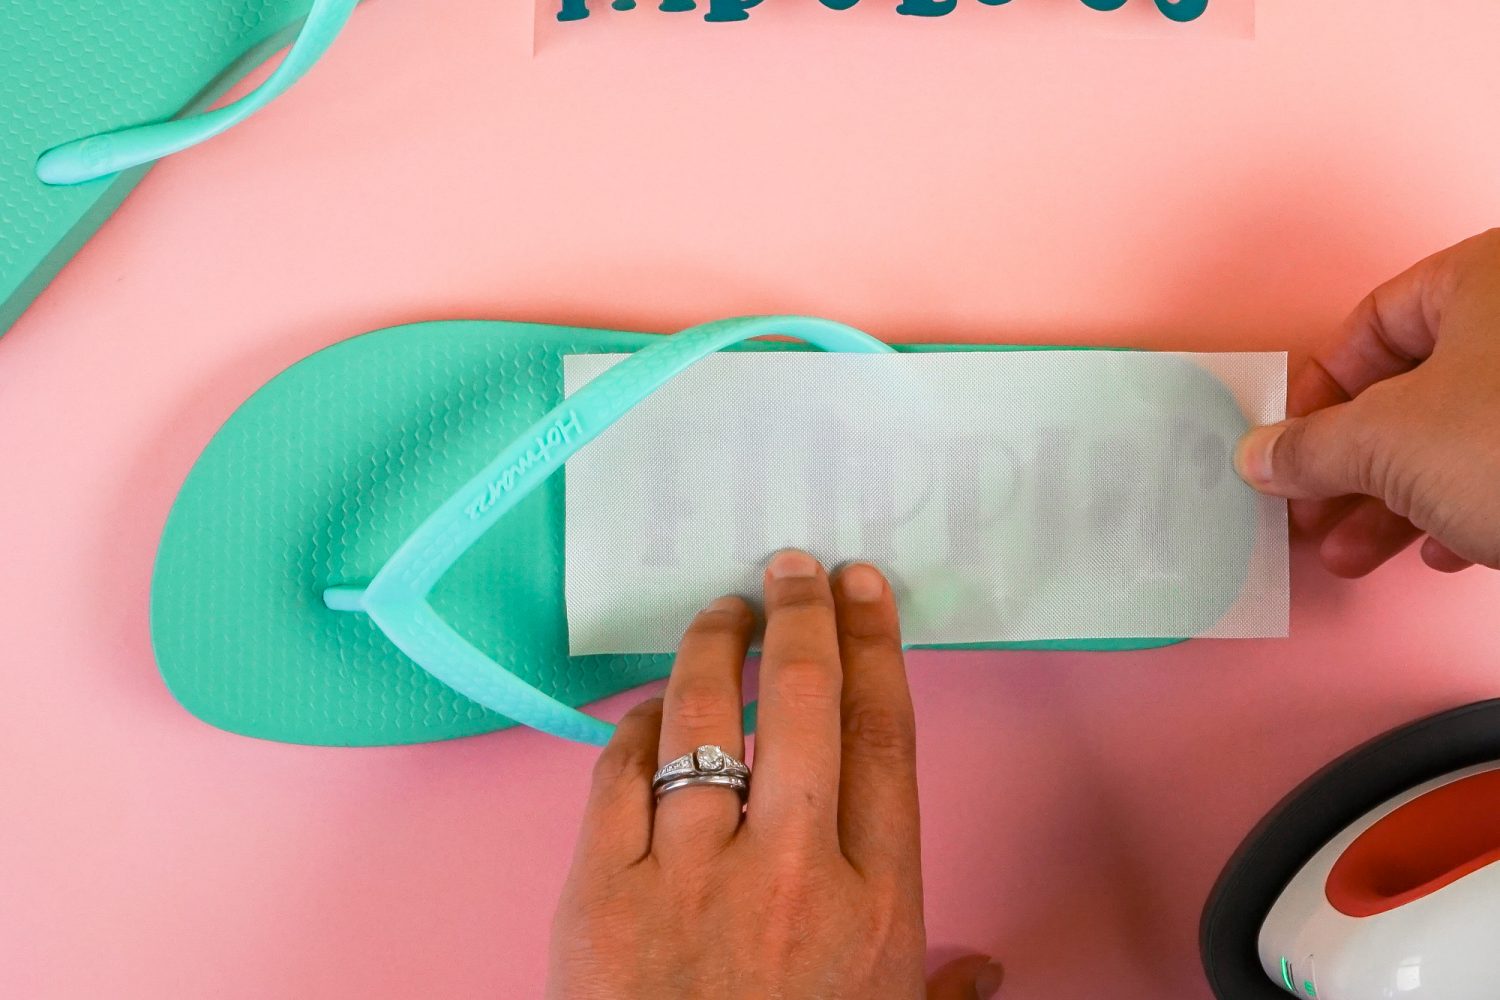
Press your decal for about 30 seconds, moving the EasyPress Mini around with a decent amount of pressure. I find that it takes a bit more time and pressure for a pair of flip flops than other projects. You really want to get that iron on adhered to the base—you should be able to see the pattern of the flip flops through the vinyl.
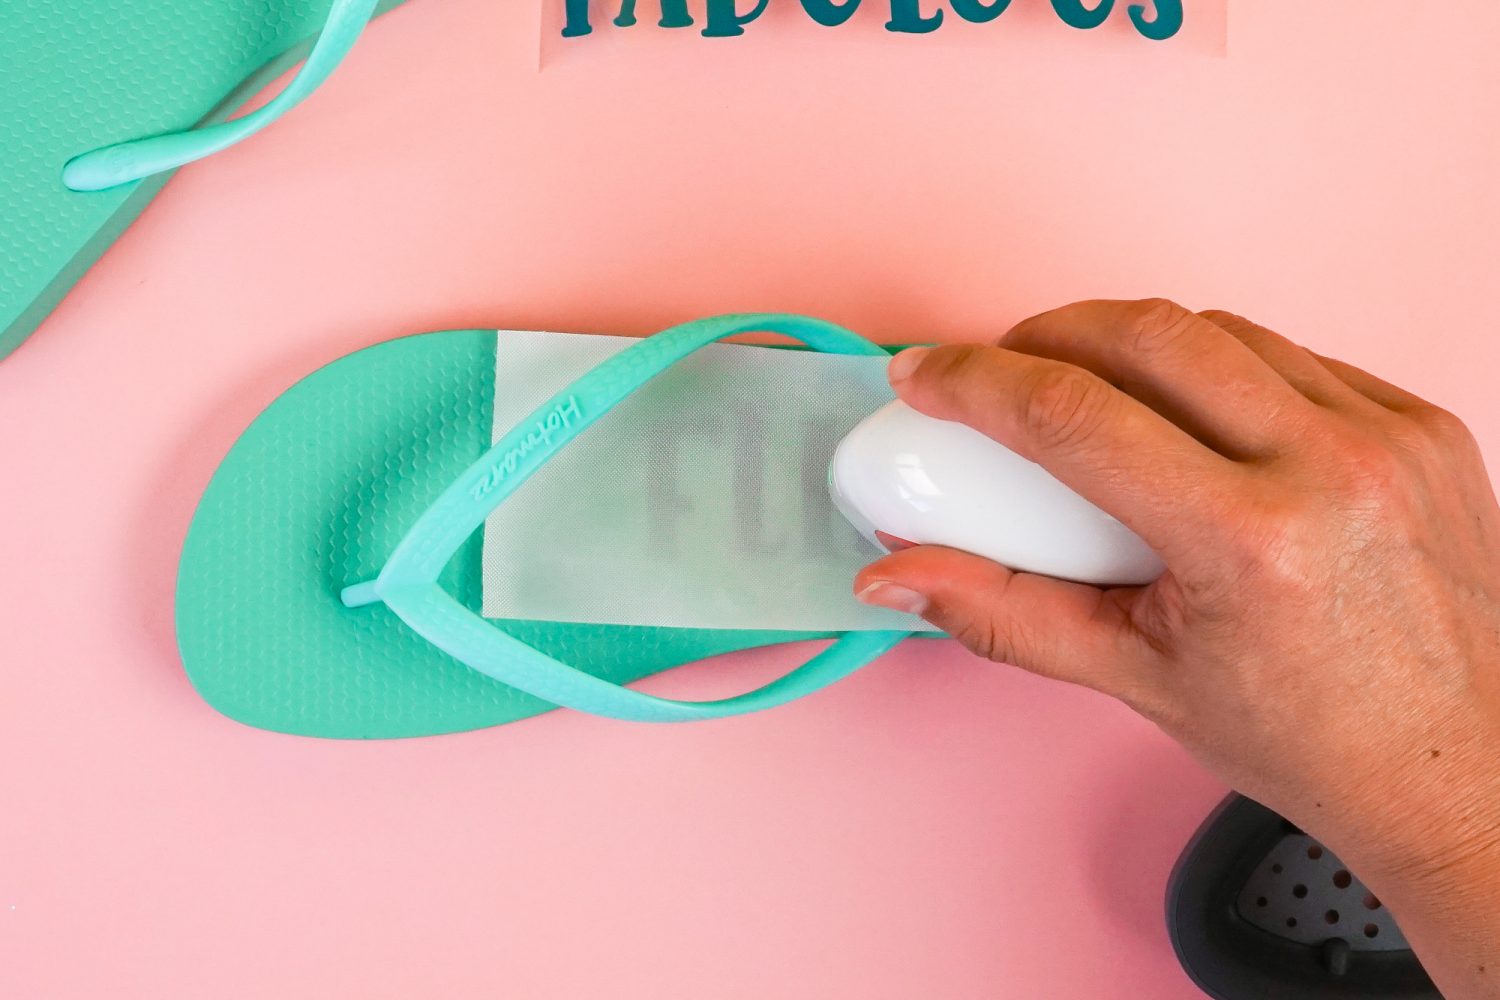
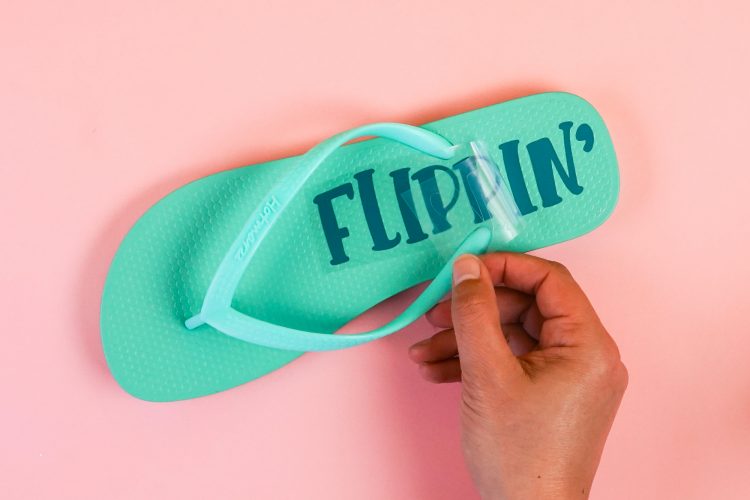
Let your project peel completely (even if your HTV says warm peel—learn more about Cool Peel vs. Warm Peel). Then peel back the iron on vinyl carrier sheet and you’re done! If your transfer doesn’t fully stick, press again.
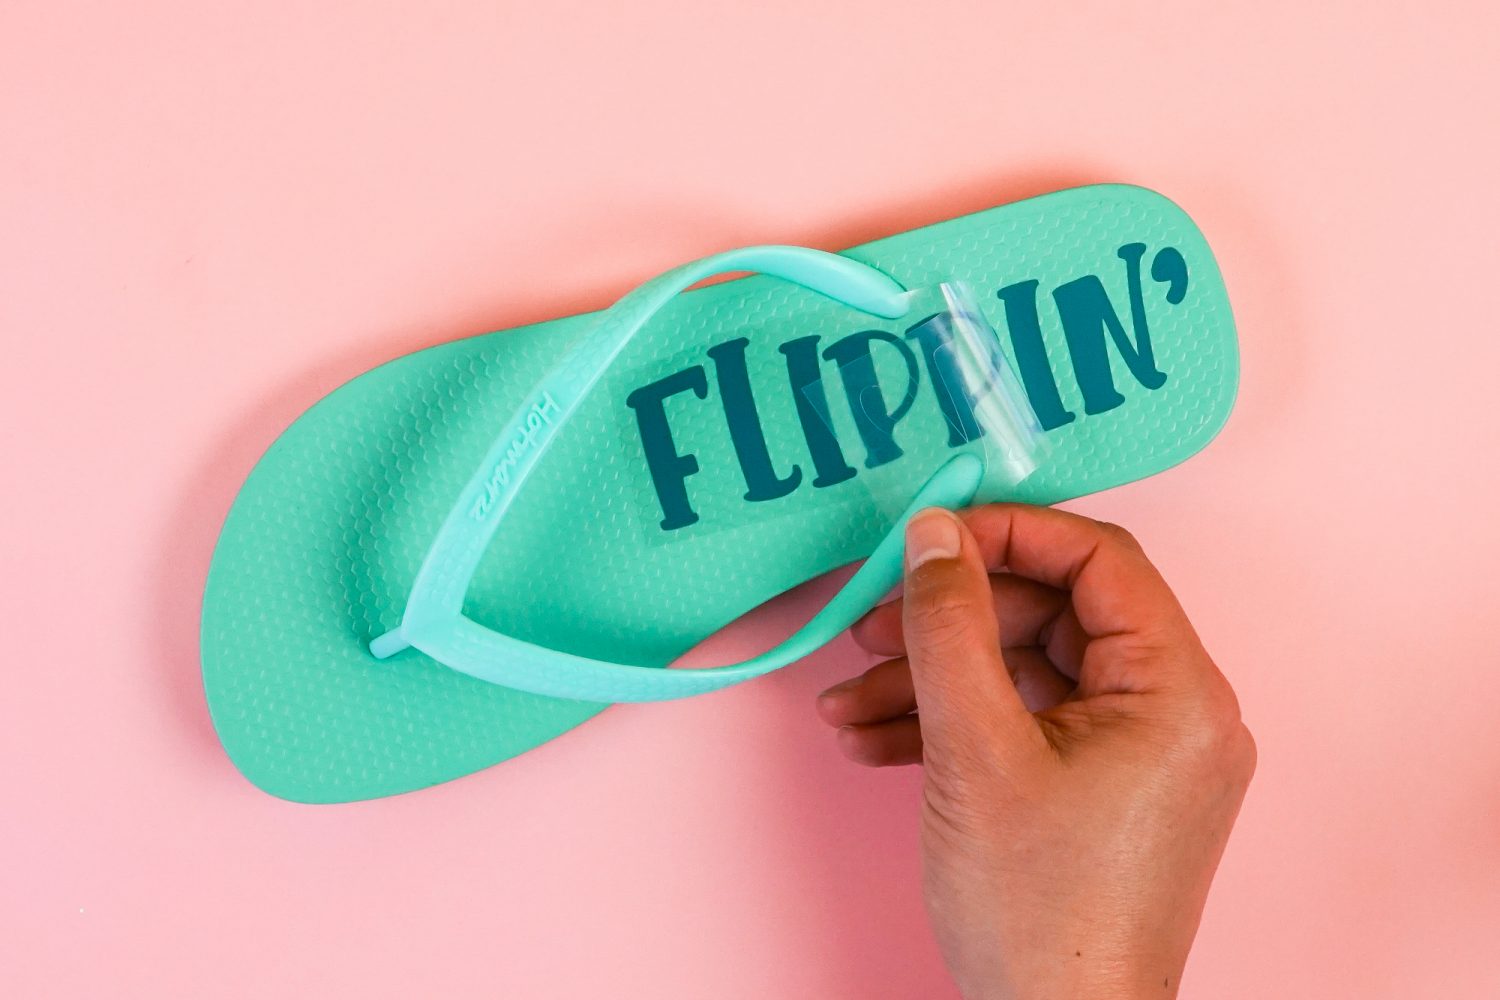
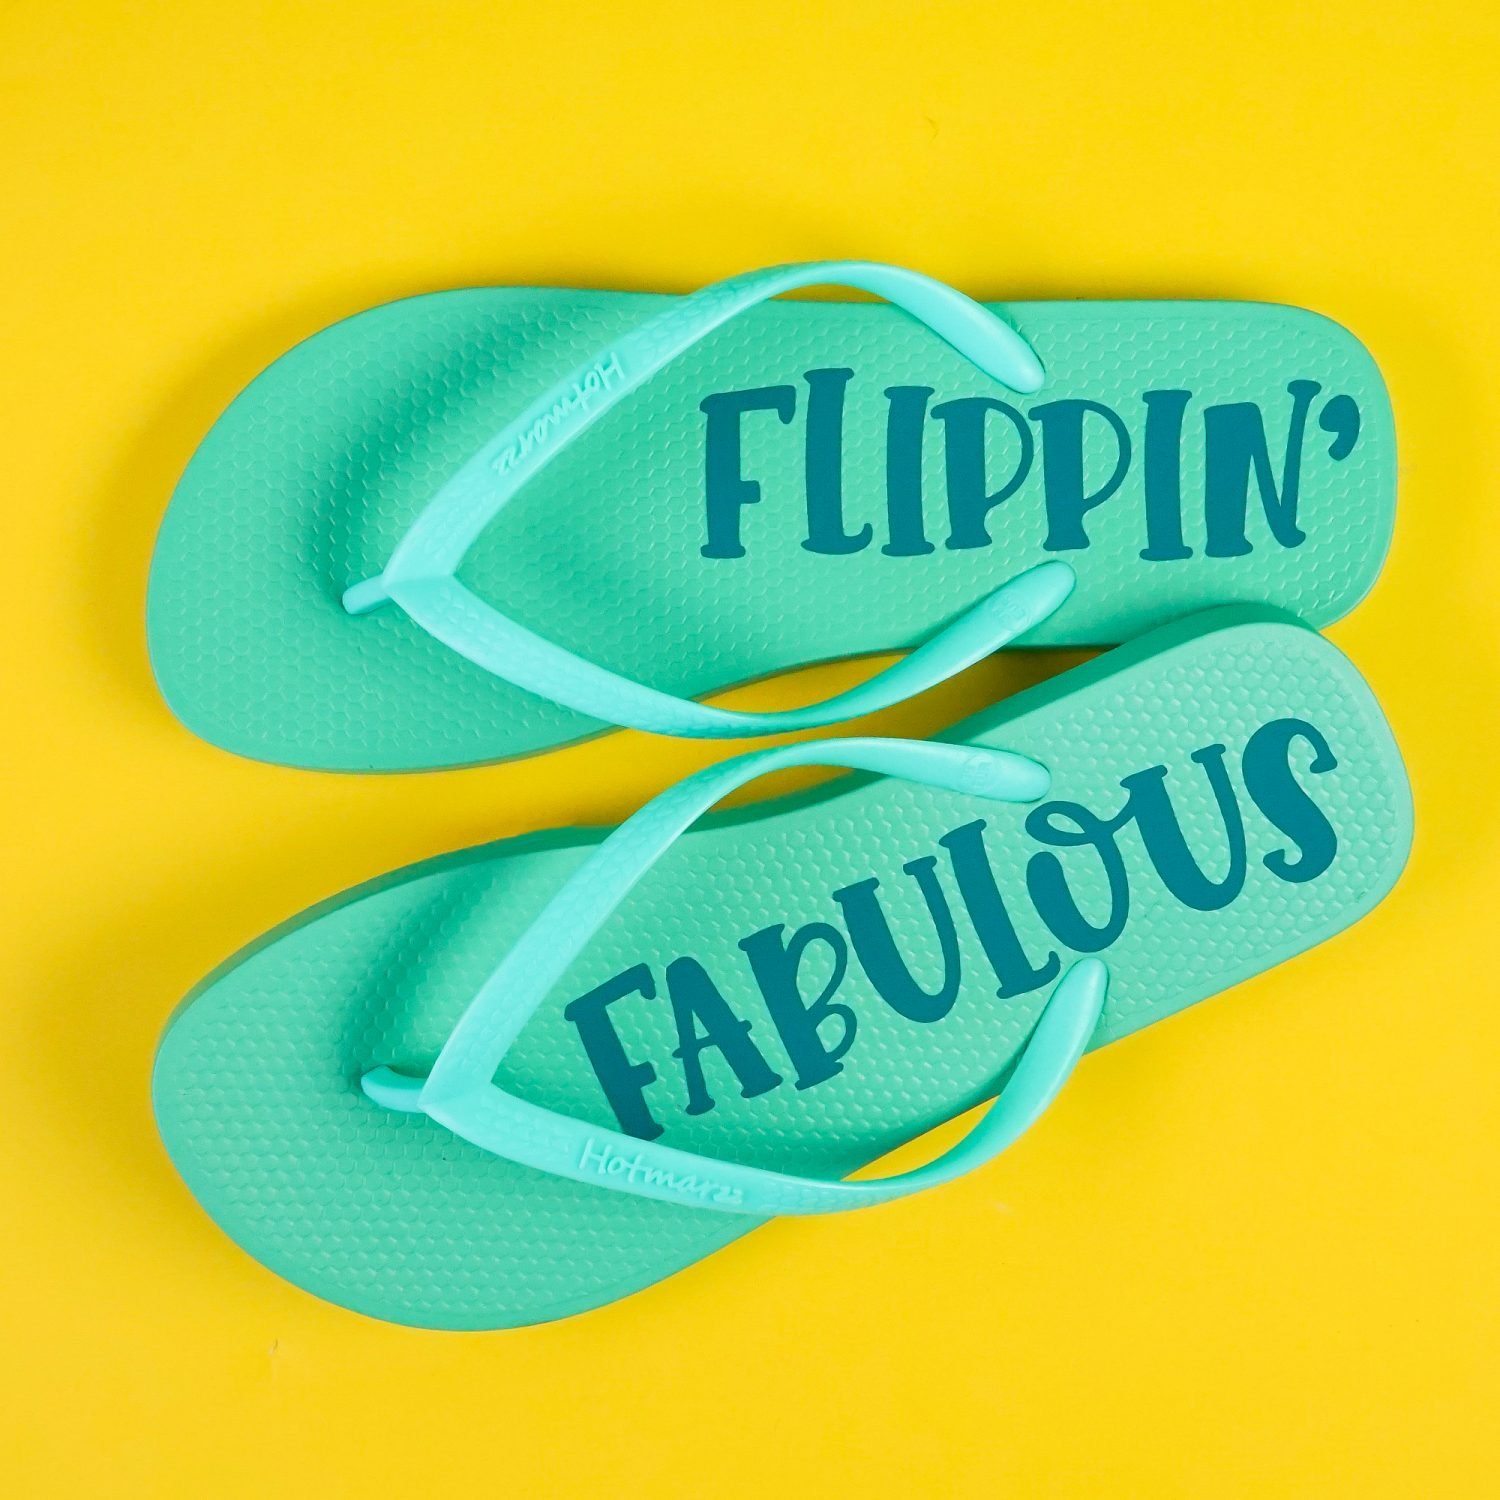
This is such an easy project and holds up better than you’d expect! Have questions? Let me know in the comments. Happy summer, my friends!
Is sublimation your thing? If so, check out these flip flops – How to Make Sublimation Flip Flops!
Stop pulling your hair out and start creating confidently with your Cricut! Finally understand how to use your Cricut with my Learn Your Cricut eBooks!
Get a Cricut
HOW TO MAKE FLIP FLOPS WITH IRON ON VINYL
Equipment
- Cricut Joy or
Supplies
- Flip flops (see note below)
- Iron on vinyl (HTV)
- Free Flip Flop File #C309
Instructions
- Note: You want to make sure you're buying a pair of flip flops with a solid base—no logos that will interrupt the iron on vinyl's pattern.Setting Up the File in Cricut Design SpaceStart by uploading the SVG to Cricut Design Space (see my post Uploading SVG files to Cricut Design Space if you need help).

- Measure your flip flops to see what size you need to make your decal, taking into account how wide the straps are set. To edit each word individually, click "Ungroup" at the top of the Layers Panel, and then resize your words using in the Edit Toolbar.

- Now you're ready to cut! Click Make It in the upper right.

- Make sure you click "mirror" in the next screen—you always want to mirror your iron on vinyl so that it adheres the right way to your base material.Then cut your images! Once your words are cut, use the weeding hook to remove all of the negative material from your files. If you need help, check out this post on Weeding Iron On Vinyl.

- Adhering Your TransferTo adhere the transfers to the flip flops, the Cricut EasyPress Mini is being used, and it's perfect for projects like this! You can also use a mini iron. For more information read this post about the EasyPress Mini.

- Place your transfer on your flip flops and set your EasyPress Mini to medium.

- Then cover with a teflon sheet. Cut a sheet down to size. A smaller sheet is much easier to work with than the big sheet!

- Press your decal for about 30 seconds, moving the EasyPress Mini around with a decent amount of pressure. It takes a bit more time and pressure for a pair of flip flops than other projects. You really want to get that iron on adhered to the base—you should be able to see the pattern of the flip flops through the vinyl.

- Let your project peel completely (even if your HTV says warm peel—learn more about Cool Peel vs. Warm Peel). Then peel back the iron on vinyl carrier sheet and you're done! If your transfer doesn't fully stick, press again.

- This is such an easy project and holds up better than you'd expect!



Comments & Reviews
Anna says
I have tried to customize my flip flops.
After three days, however, everything fell off: what was I wrong?
Crystal Summers says
Hi Anna,
Are you waiting until the iron on vinyl is completely cool to peel the transfer sheet off? If you find it’s not sticking longterm, you may want to press a bit longer/harder.
I hope this helps!
Crystal, HLMS Community Manager
Fern Lin says
Hi,
Good day! This is Fern Lin with Olight. Our company specializes in top-end flashlights. We have flash sales every month and want to promote them on your website. I wanted to know if you are interested in promoting some of our deals or reviewing our lights? We will offer you 10% commission in ShareAsale which is higher than other platforms.
Here is our store link: http://www.olightstore.com. If there is something that interests you, please email back and we can discuss the details more in-depth.
Olight is a merchant of ShareASale Affiliate Program. Our merchant ID# is 88534.
Hope to hear from you soon!
Regards,
Fern
Amy Motroni says
Thank you!
It’s called Sorika: https://fontbundles.net/blackcatsmedia/407844-sorinka-fun-font-and-extras/rel=fzrCqh
Happy Crafting!
Amy, HLMS Support
Krista Jensen says
That is so stinkin’ cute! I would never think to put htv on rubber! Lol.
I absolutely love that font! Would you be willing to share where you got it, please?
Thank you for sharing this adorable idea! ❤️