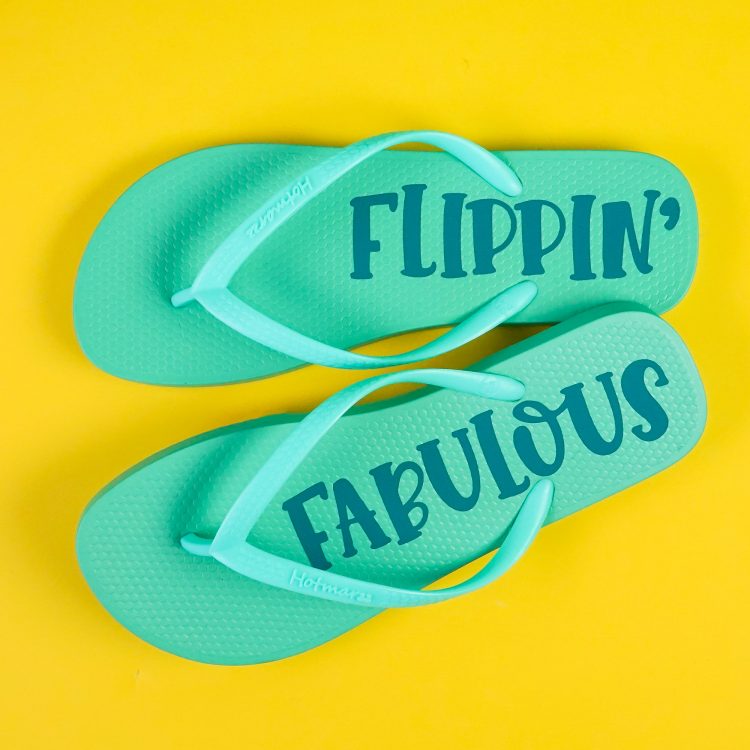
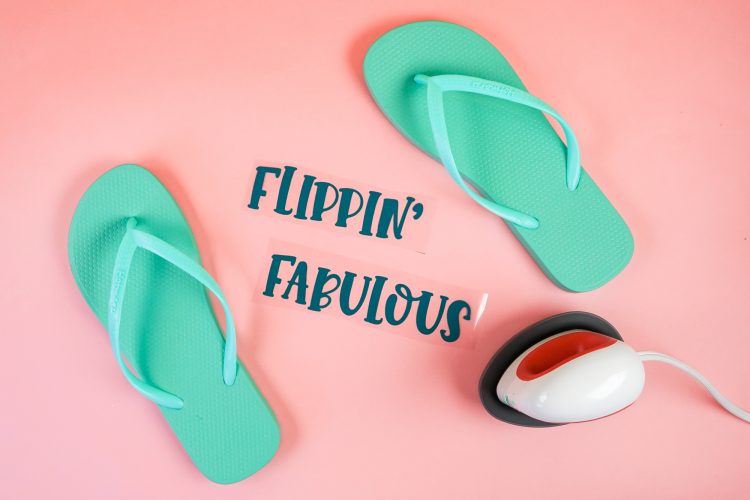
HOW TO MAKE FLIP FLOPS WITH IRON ON VINYL
Get your toes in summer shape—it's time for flip flop weather! Use your Cricut to personalize a pair of plain flip flops with iron on vinyl. This is the perfect beginner Cricut project!
Equipment
- Cricut Joy or
Ingredients
- Flip flops (see note below)
- Iron on vinyl (HTV)
- Free Flip Flop File #C309
Instructions
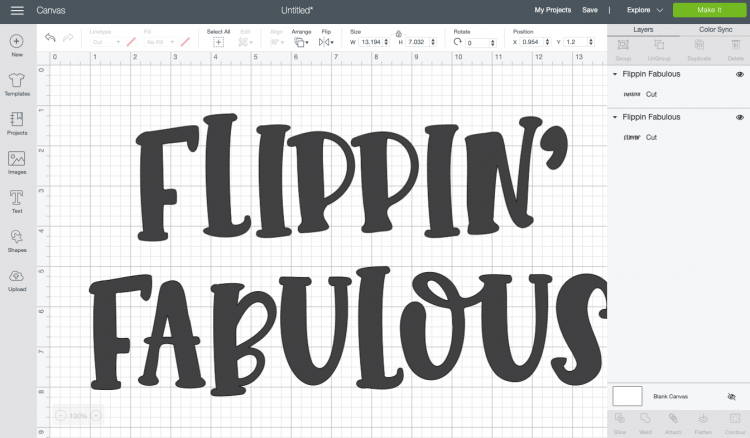
- Note: You want to make sure you're buying a pair of flip flops with a solid base—no logos that will interrupt the iron on vinyl's pattern.Setting Up the File in Cricut Design SpaceStart by uploading the SVG to Cricut Design Space (see my post Uploading SVG files to Cricut Design Space if you need help).

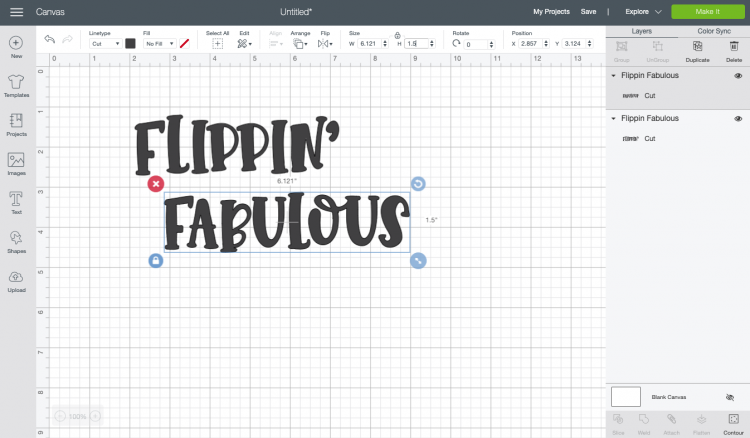
- Measure your flip flops to see what size you need to make your decal, taking into account how wide the straps are set. To edit each word individually, click "Ungroup" at the top of the Layers Panel, and then resize your words using in the Edit Toolbar.
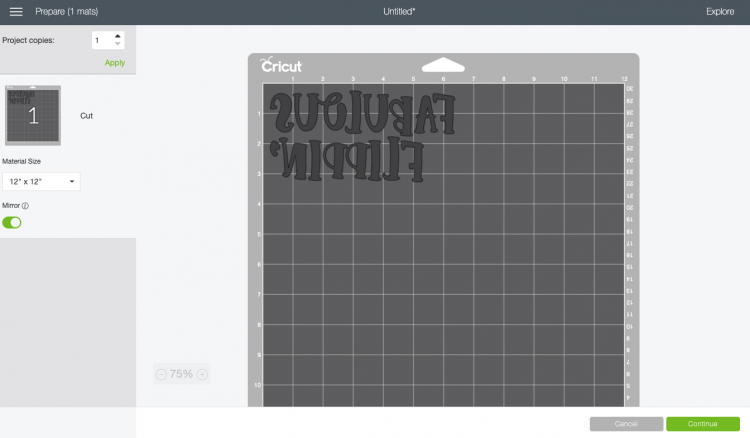
- Now you're ready to cut! Click Make It in the upper right.
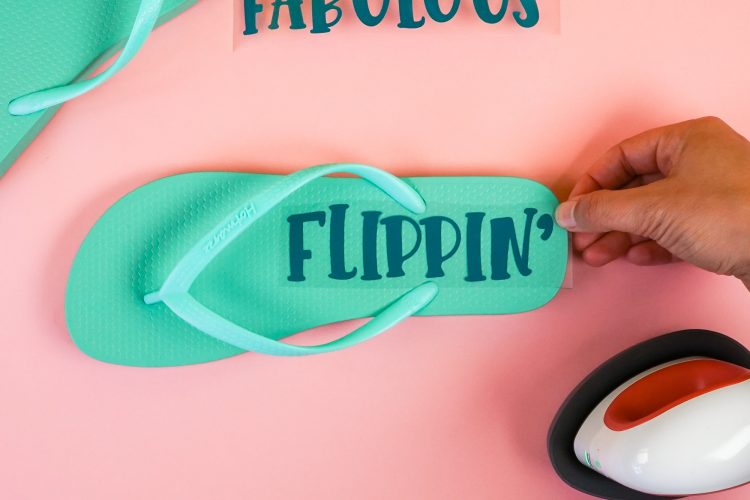
- Make sure you click "mirror" in the next screen—you always want to mirror your iron on vinyl so that it adheres the right way to your base material.Then cut your images! Once your words are cut, use the weeding hook to remove all of the negative material from your files. If you need help, check out this post on Weeding Iron On Vinyl.
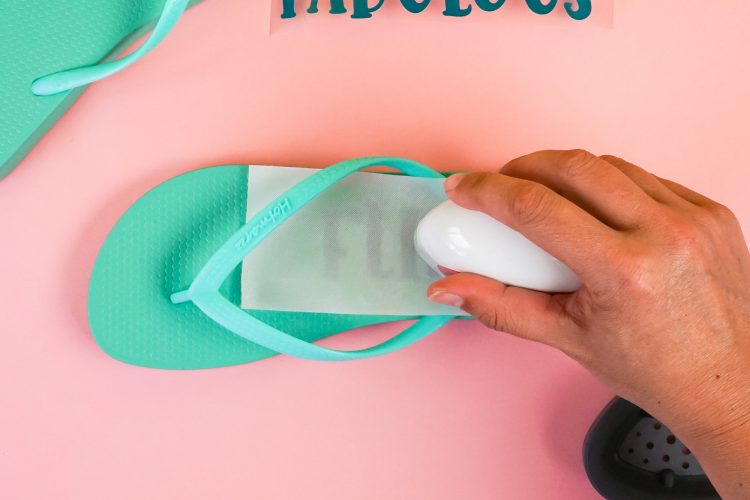
- Adhering Your TransferTo adhere the transfers to the flip flops, the Cricut EasyPress Mini is being used, and it's perfect for projects like this! You can also use a mini iron. For more information read this post about the EasyPress Mini.
- Place your transfer on your flip flops and set your EasyPress Mini to medium.
- Then cover with a teflon sheet. Cut a sheet down to size. A smaller sheet is much easier to work with than the big sheet!

- Press your decal for about 30 seconds, moving the EasyPress Mini around with a decent amount of pressure. It takes a bit more time and pressure for a pair of flip flops than other projects. You really want to get that iron on adhered to the base—you should be able to see the pattern of the flip flops through the vinyl.
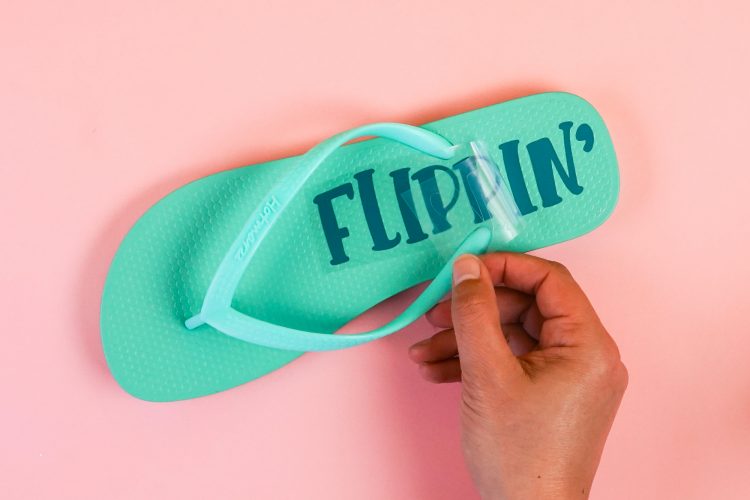
- Let your project peel completely (even if your HTV says warm peel—learn more about Cool Peel vs. Warm Peel). Then peel back the iron on vinyl carrier sheet and you're done! If your transfer doesn't fully stick, press again.
- This is such an easy project and holds up better than you'd expect!