Is there anything more cozy than a cup of cocoa when it’s cold outside? Craft this cute Loco for Cocoa mug and fill it with hot chocolate, marshmallows, and a candy cane. Makes a great gift for the holidays!

Welcome back to the 25 Days of Cricut Christmas—it’s Day 23 and we’re almost to the end! For this series, we’re crafting gifts and decor for the holidays. It’s a great chance to learn new techniques using your Cricut—and start checking things off your holiday gift list!
If you’d like to get this series in an ebook format PLUS all of the SVGs needed to make all 25 projects check out the 25 Days of Cricut Christmas eBook Bundle!
Speaking of gifts, today’s Loco for Cocoa is perfect for neighbors and coworkers. It’s super easy to craft using your Cricut and it doesn’t cost a lot of money to make (hooray!). All we’re doing is adding a vinyl transfer to a mug, and then stuffing the mug with all sorts of yummy goodness!
Some mug gift ideas include:
- Powdered hot chocolate + marshmallows
- Pirouettes or other chocolate cookies
- Chocolate-dipped spoons for stirring
- Chocolate candy
- Chocolate macarons
- Travel-sized bottle of chocolate liqueur
- Fuzzy socks or rolled up scarf
- Personalized ornament
- Candy canes

Cocoa Mug Gift Supplies
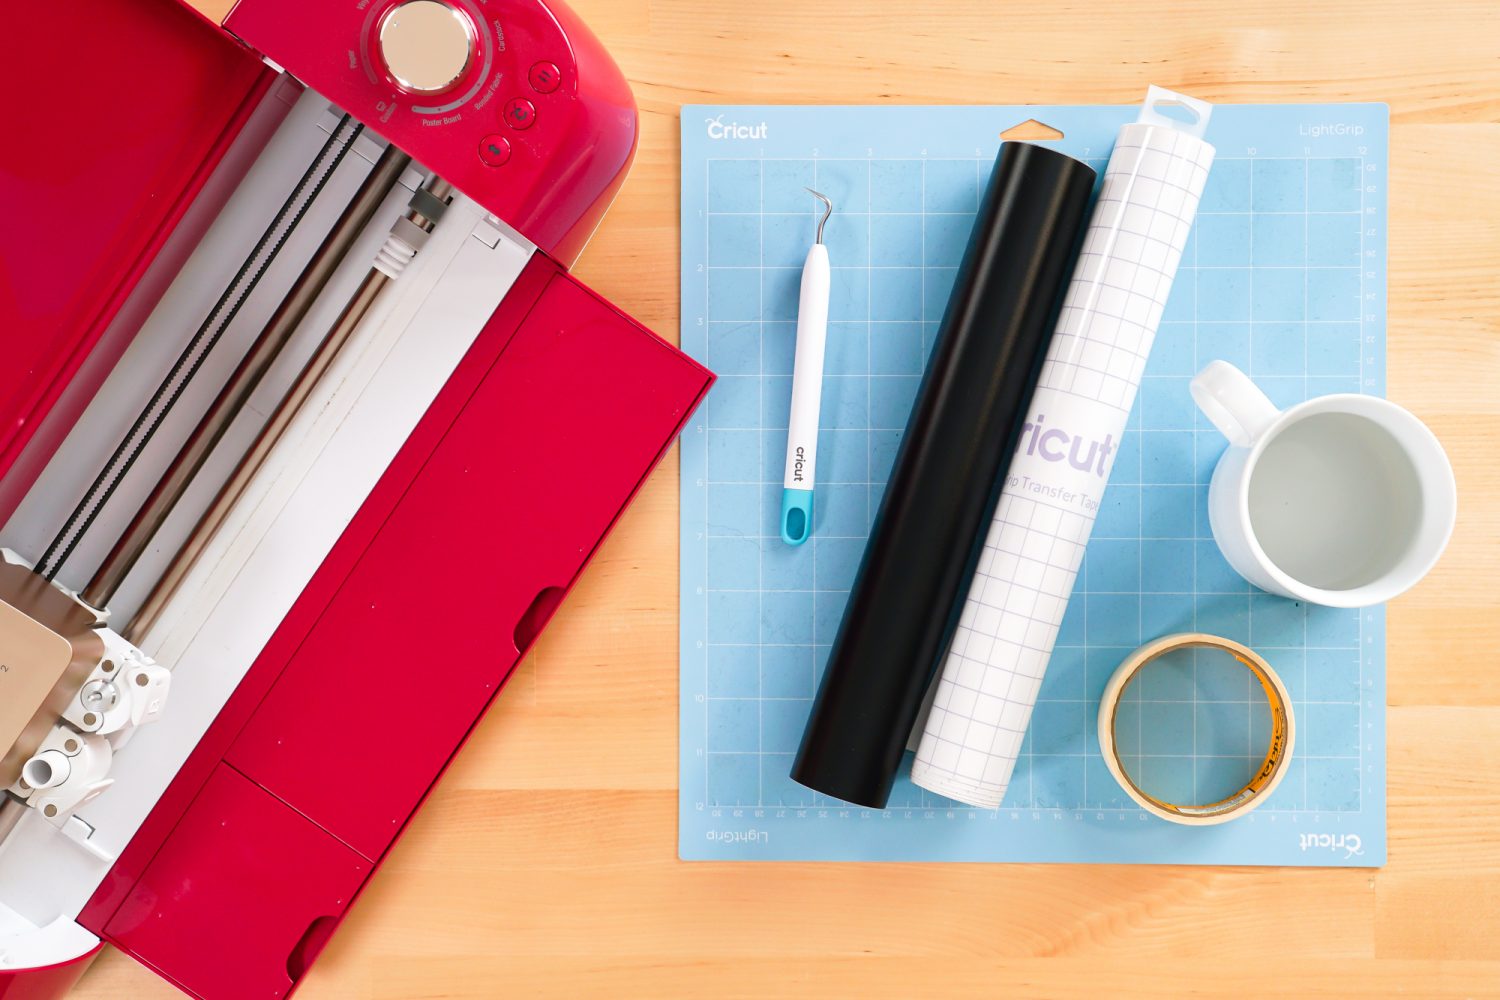
- Cricut Explore or Cricut Maker
- Blue LightGrip or green StandardGrip mat
- Fine Point Blade
- Adhesive vinyl
- Weeding tool
- Transfer tape
- Masking tape
- Mug
- Mug fillers (see above)
- Loco for Cocoa SVG file
Get the Free File
Want access to this free file? Join my FREE craft library! All you need is the password to get in, which you can get by filling out the form below. The file number is: C479.
Cocoa Mug Gift Instructions
Upload the Loco for Cocoa File to Cricut Design Space
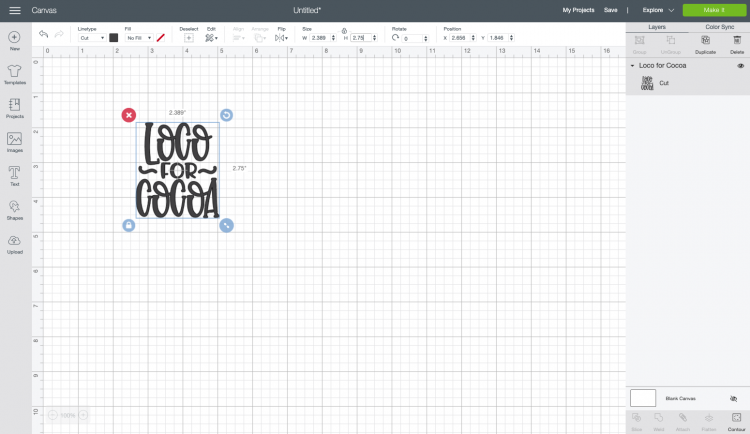
We will start by uploading the Loco for Cocoa file to Cricut Design Space (see Uploading SVG Files to Cricut Design Space if you need help).
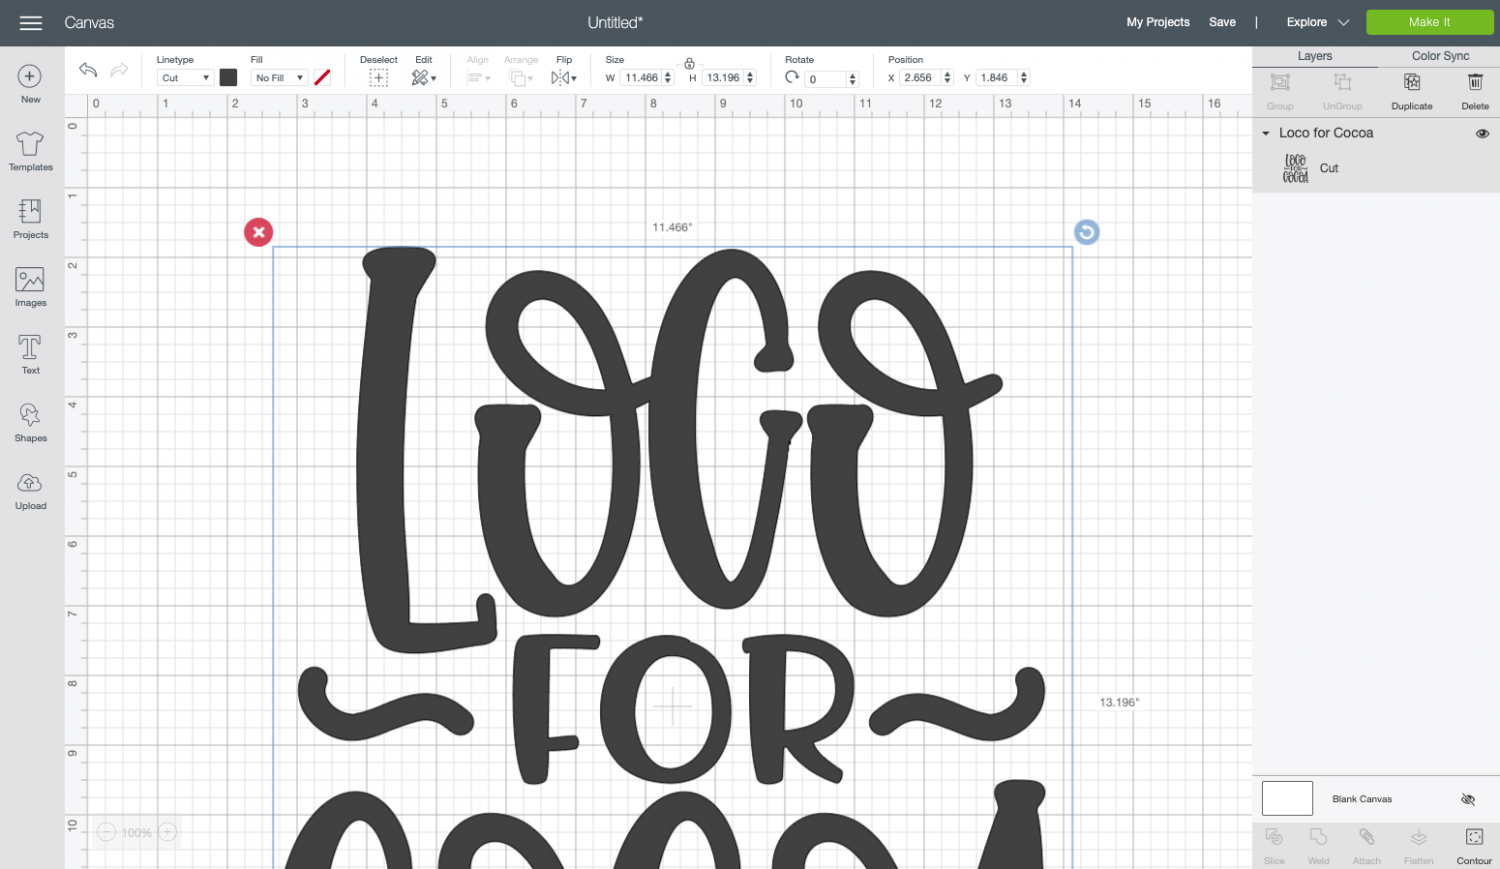
Then resize your image to fit your mug using the size tool in the Edit Toolbar at the top. My mug is 3.5″ tall, so I made my image 2.75″ tall.
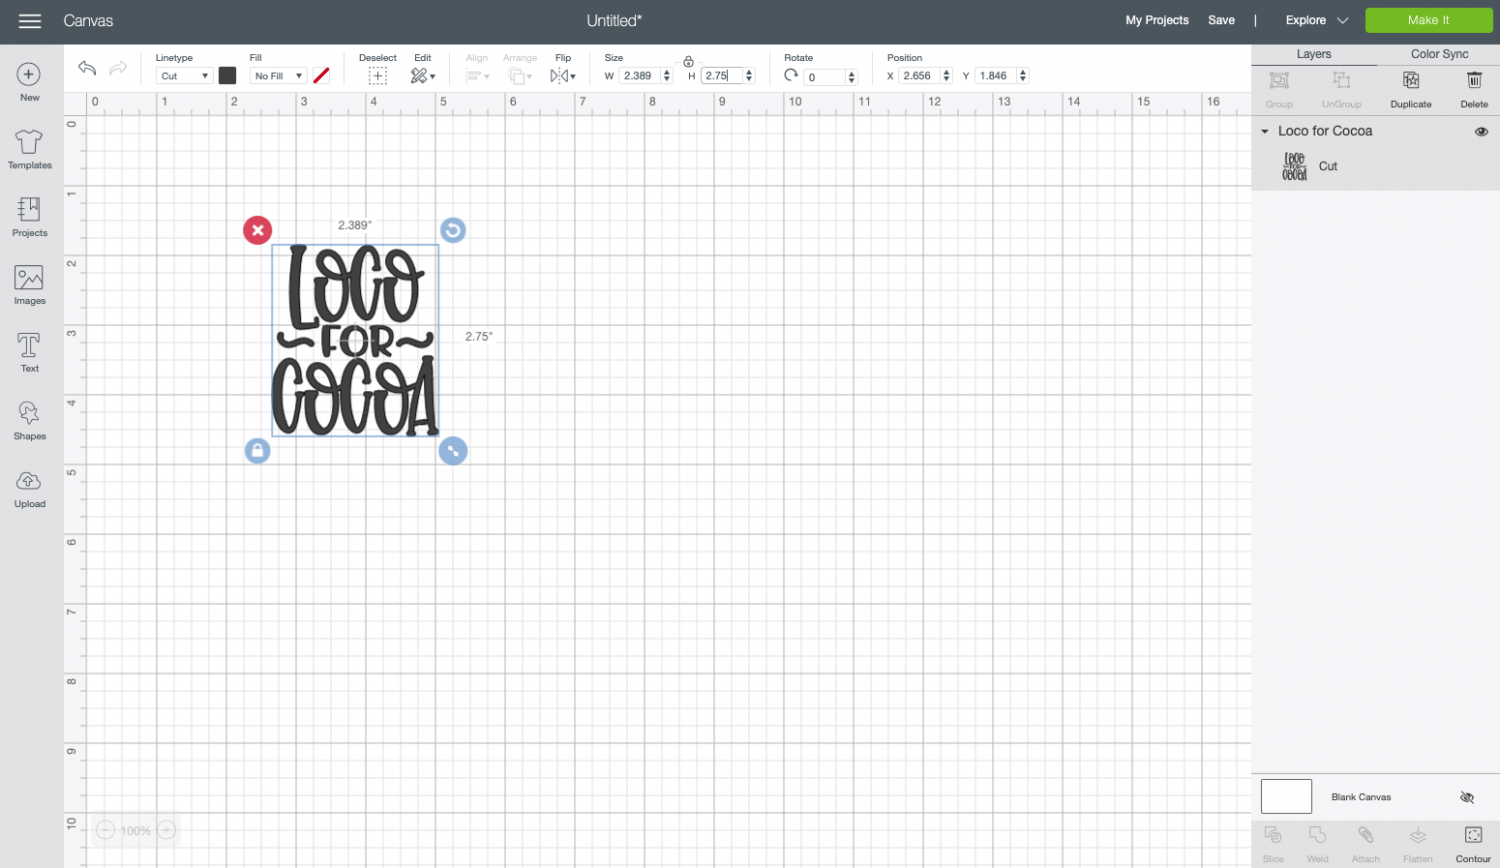
That’s it! I told you this was an easy project. You’re ready to cut, so click Make It in the upper right.
You won’t need to do anything in the Prepare Screen to your file—it’s regular vinyl so there’s no need to mirror the image.
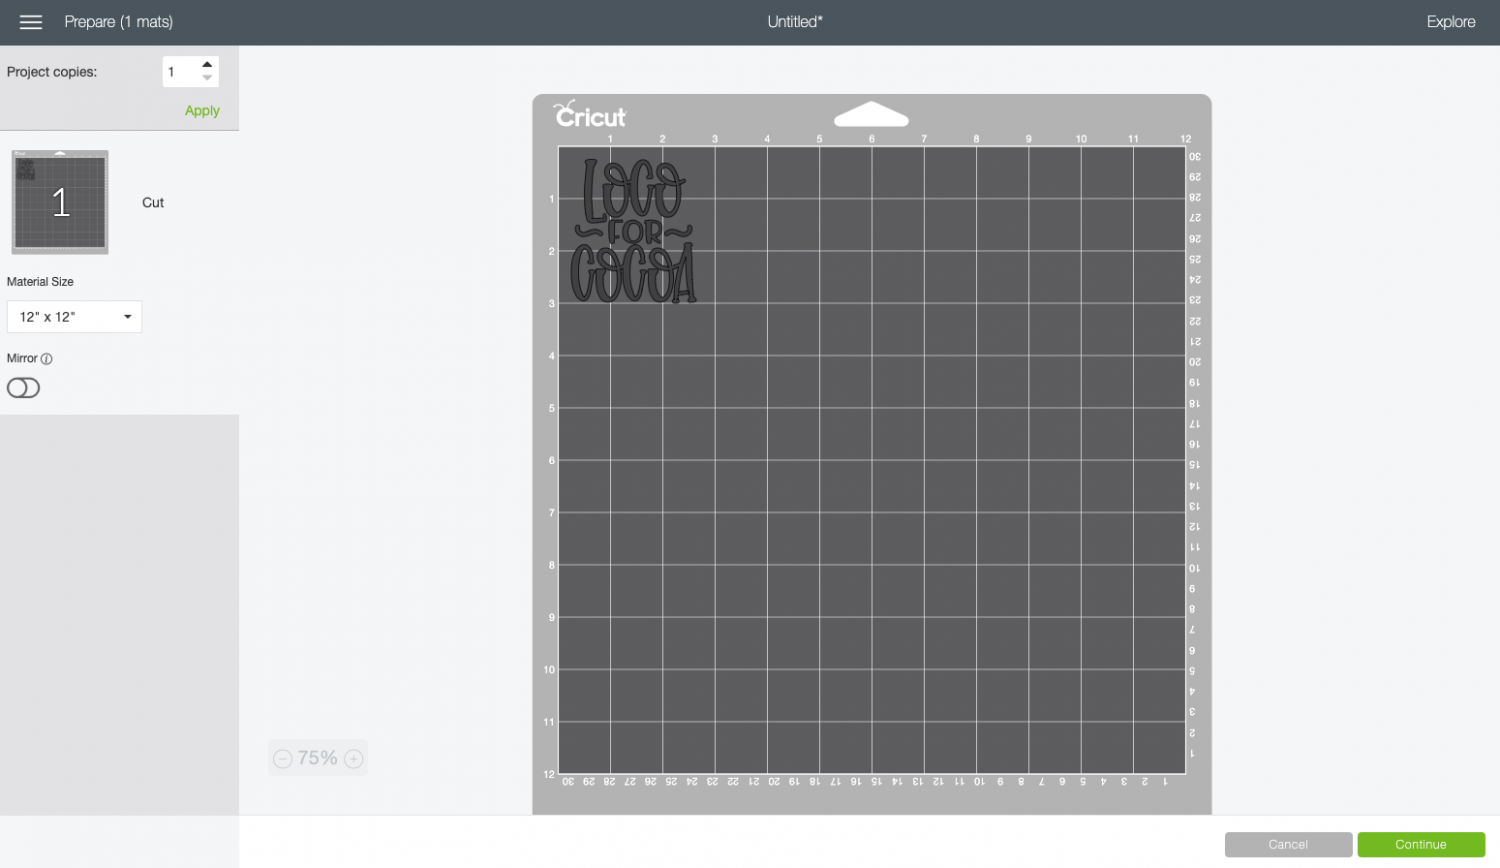
Click Continue and you’re ready to cut!
Cut Your Adhesive Vinyl for Your Cocoa Mug
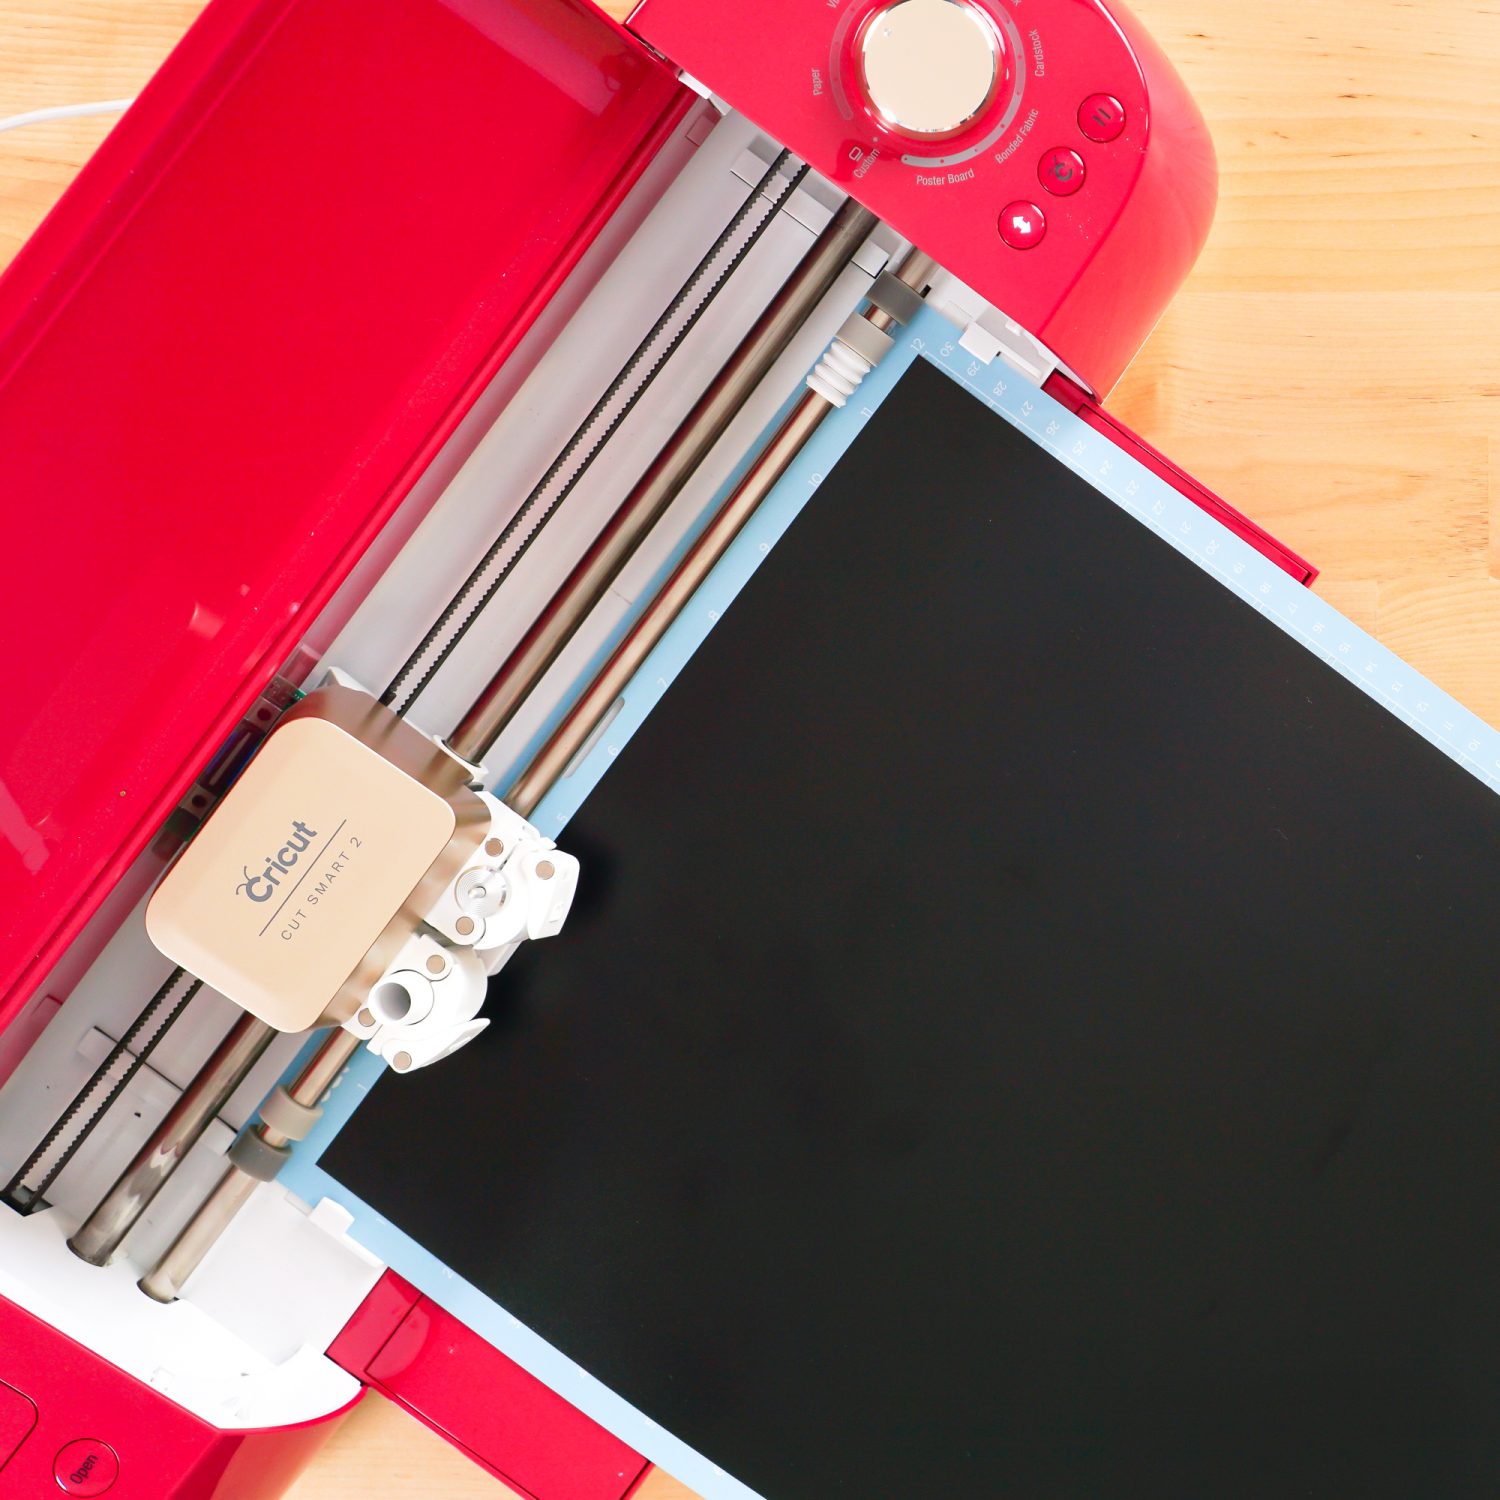
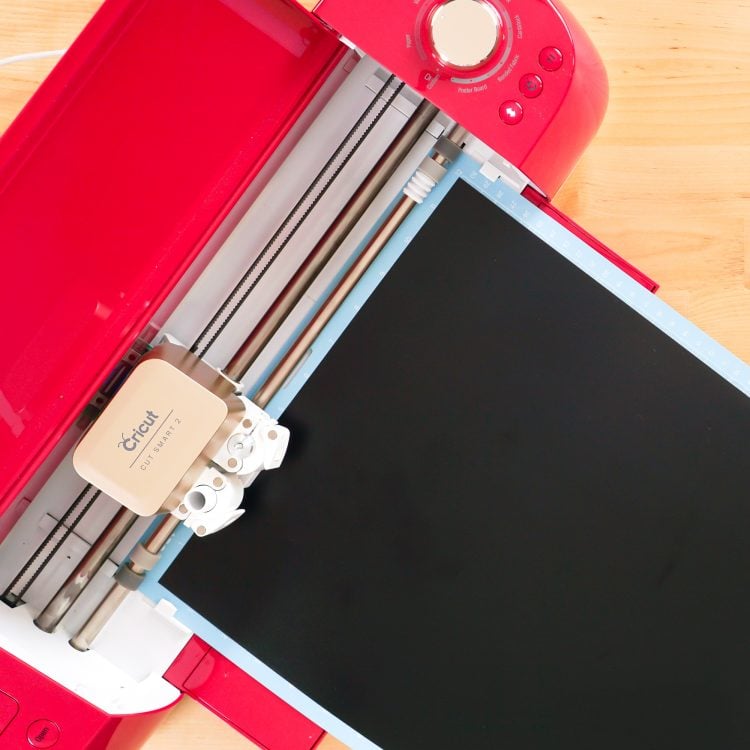
On the Make Screen, you’ll set your material to vinyl. Make sure you have your fine point blade in your machine, insert your mat, and your Cricut will cut your project!
Weed Your Adhesive Vinyl
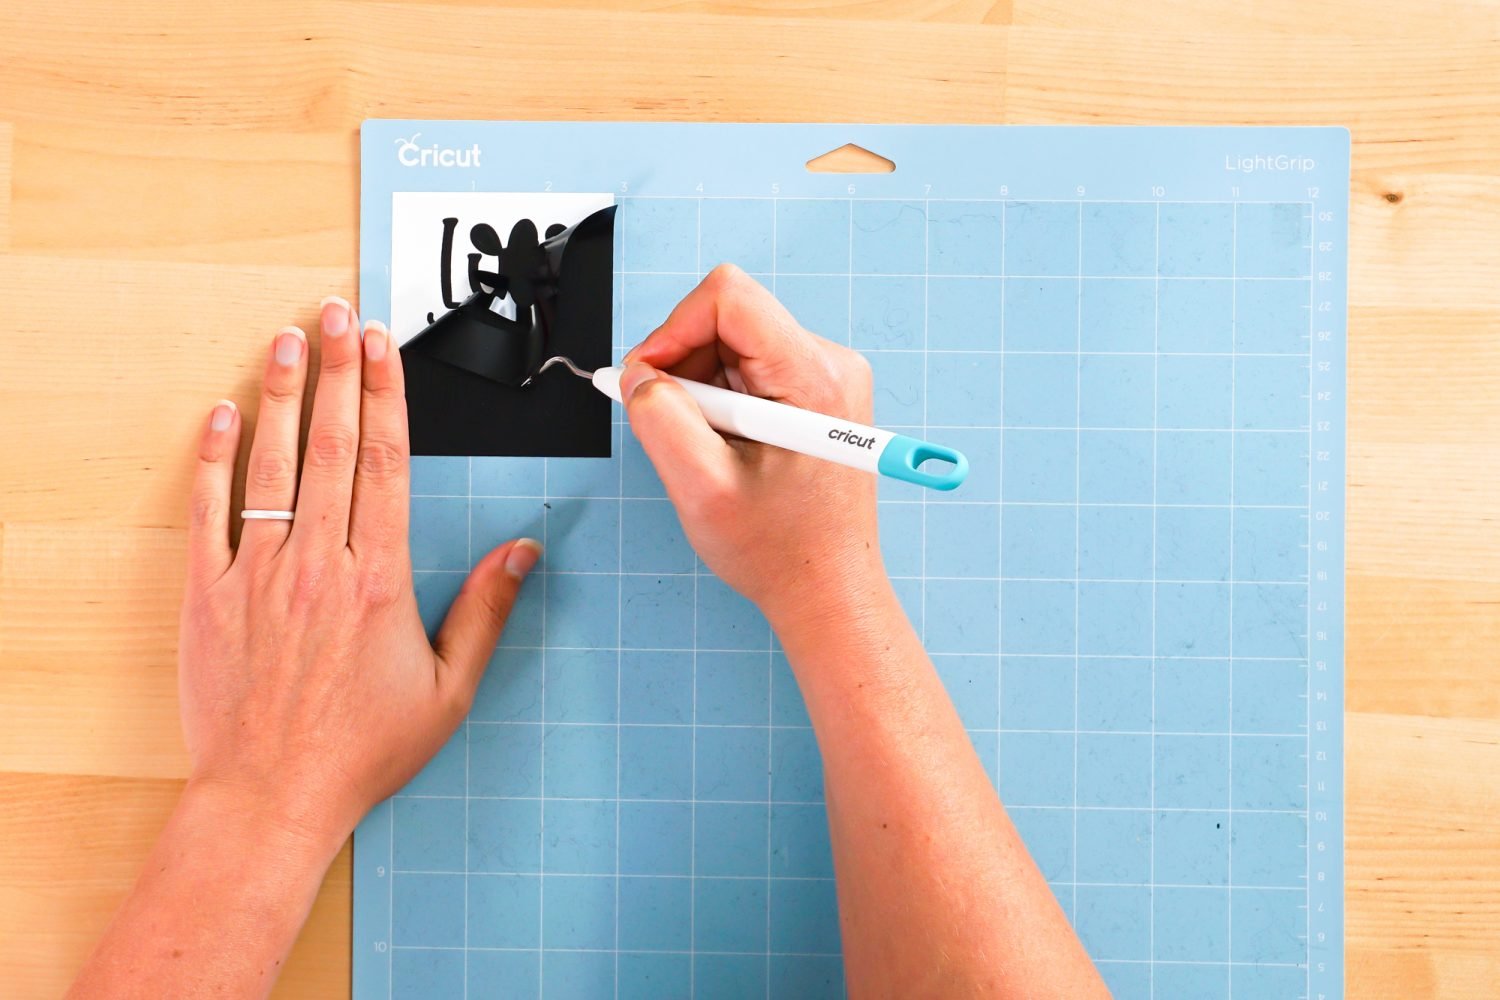
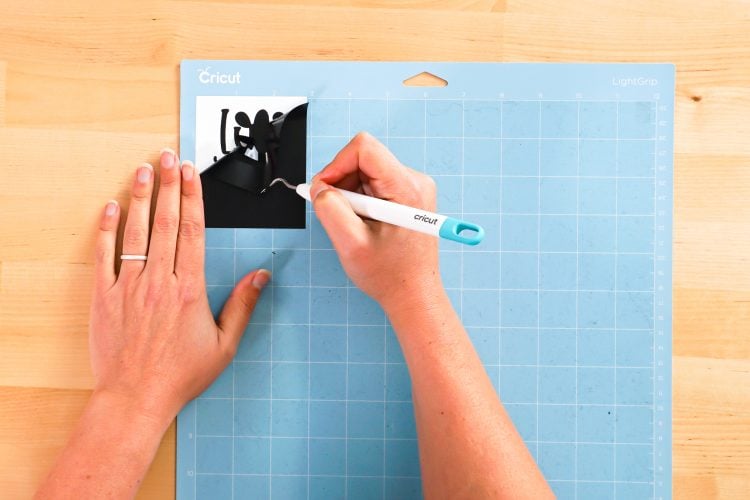
Next we’re going to “weed” the negative space from around each image. I have an extensive post about Weeding Adhesive Vinyl, which you’ll want to read—tons of tips and tricks to making it easier. This on should be pretty easy to weed. Just make sure you remember to get the inside of the letters.
Adhere Your Adhesive Vinyl using the Hinge Method
Once all of your decal is weeded, it’s time to use transfer tape to adhere it to your mug. You can see an in-depth tutorial about Using Transfer Tape if you need it (plus troubleshooting tips if you’re struggling!).
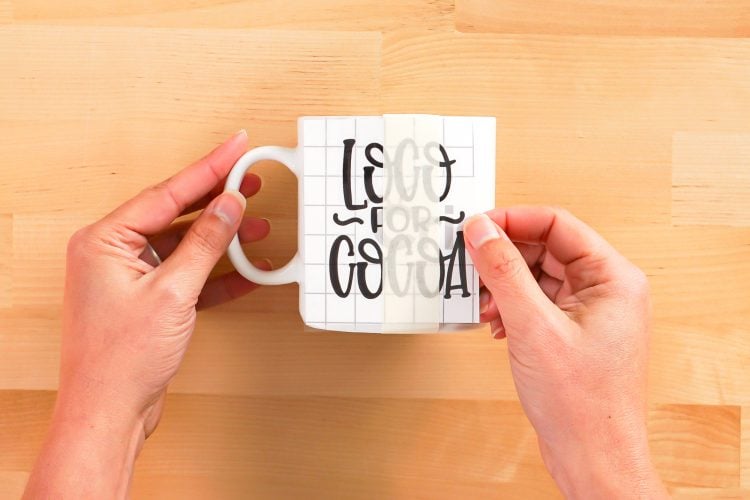
For this project, we are going to use a technique called the “hinge method,” which will help ensure that the decal is straight on the mug.
Start by cutting a piece of transfer tape the same size as your decal. Peel the backing sheet off the transfer tape and place the sticky side of the transfer tape down on your decal.
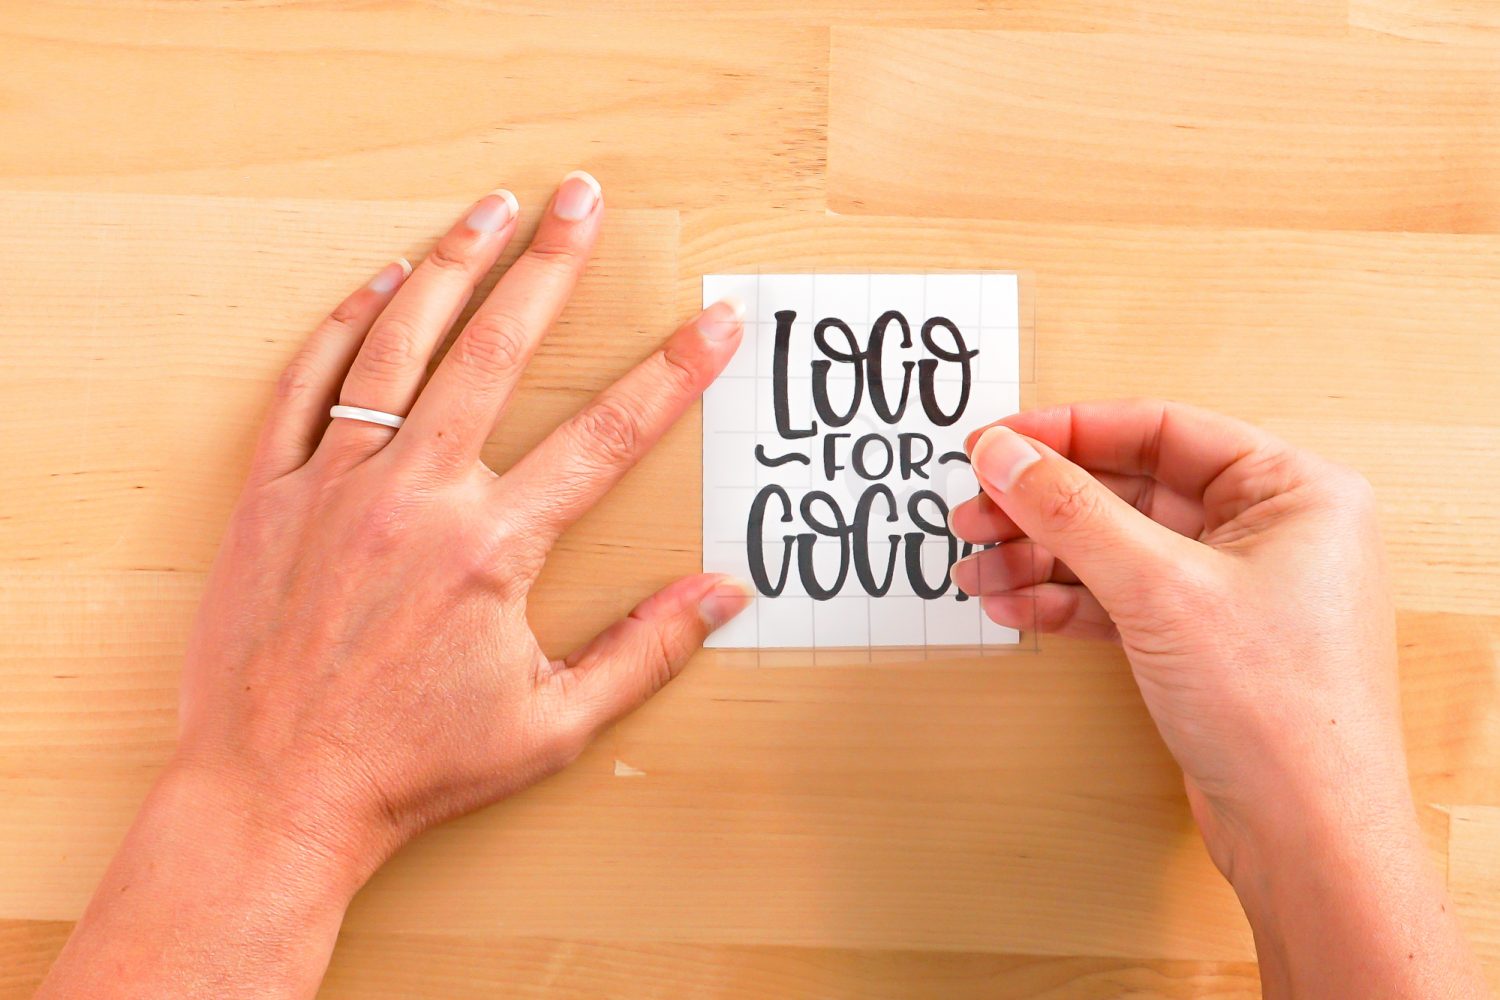
Then place a piece of masking tape straight down the center of your decal.
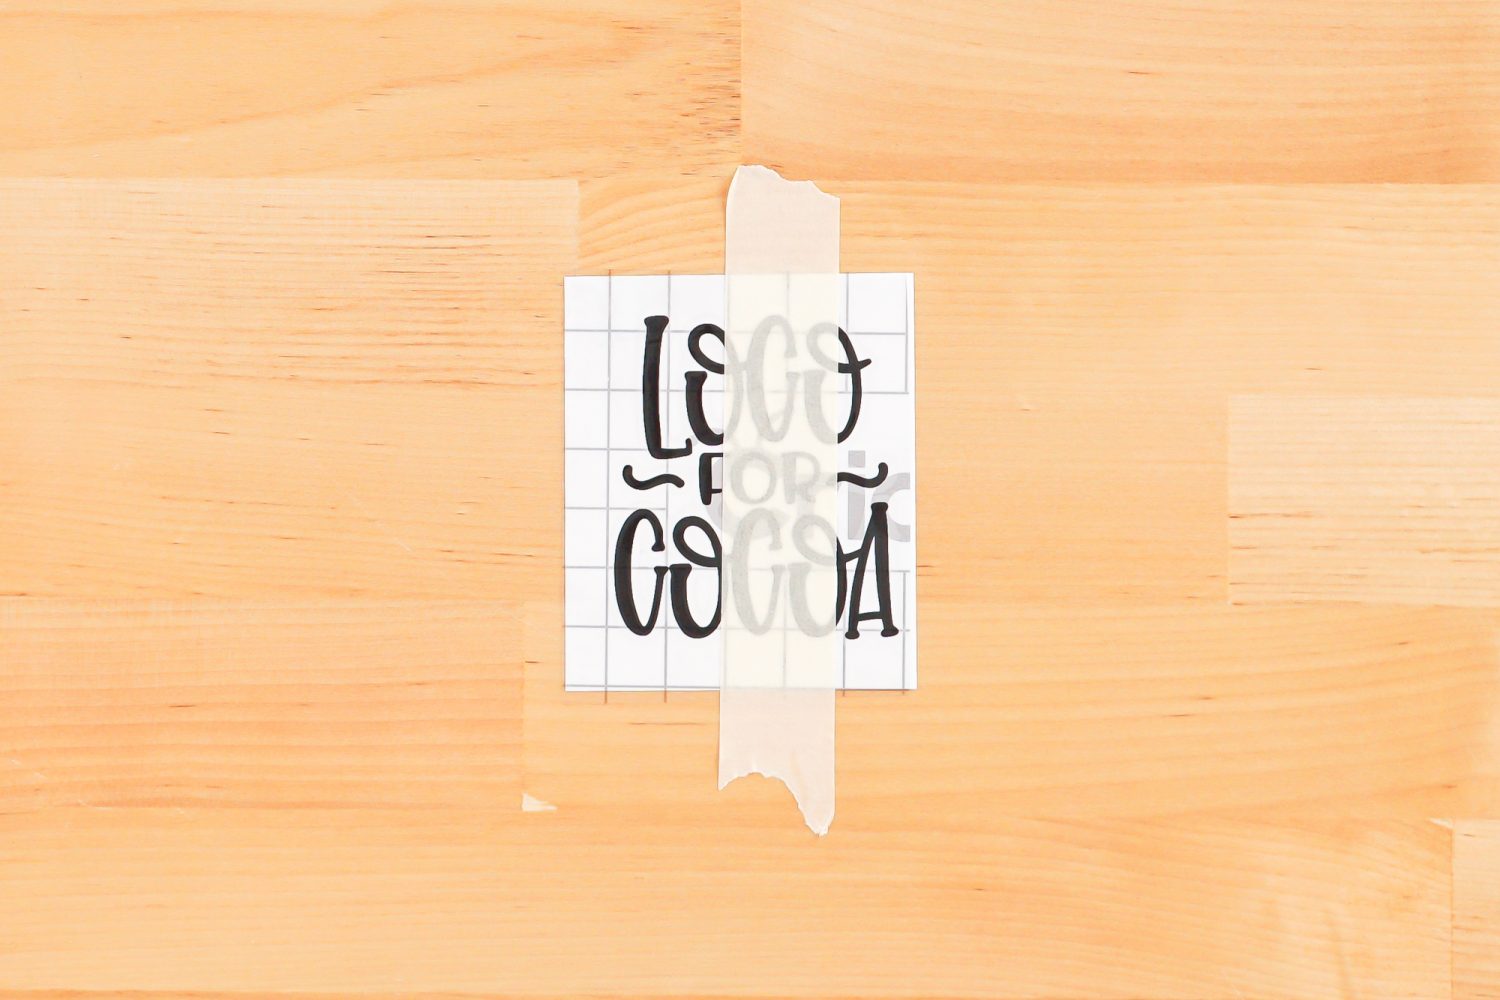
Line up the the decal onto the mug. Once it’s straight, use the masking tape to secure it to your mug.
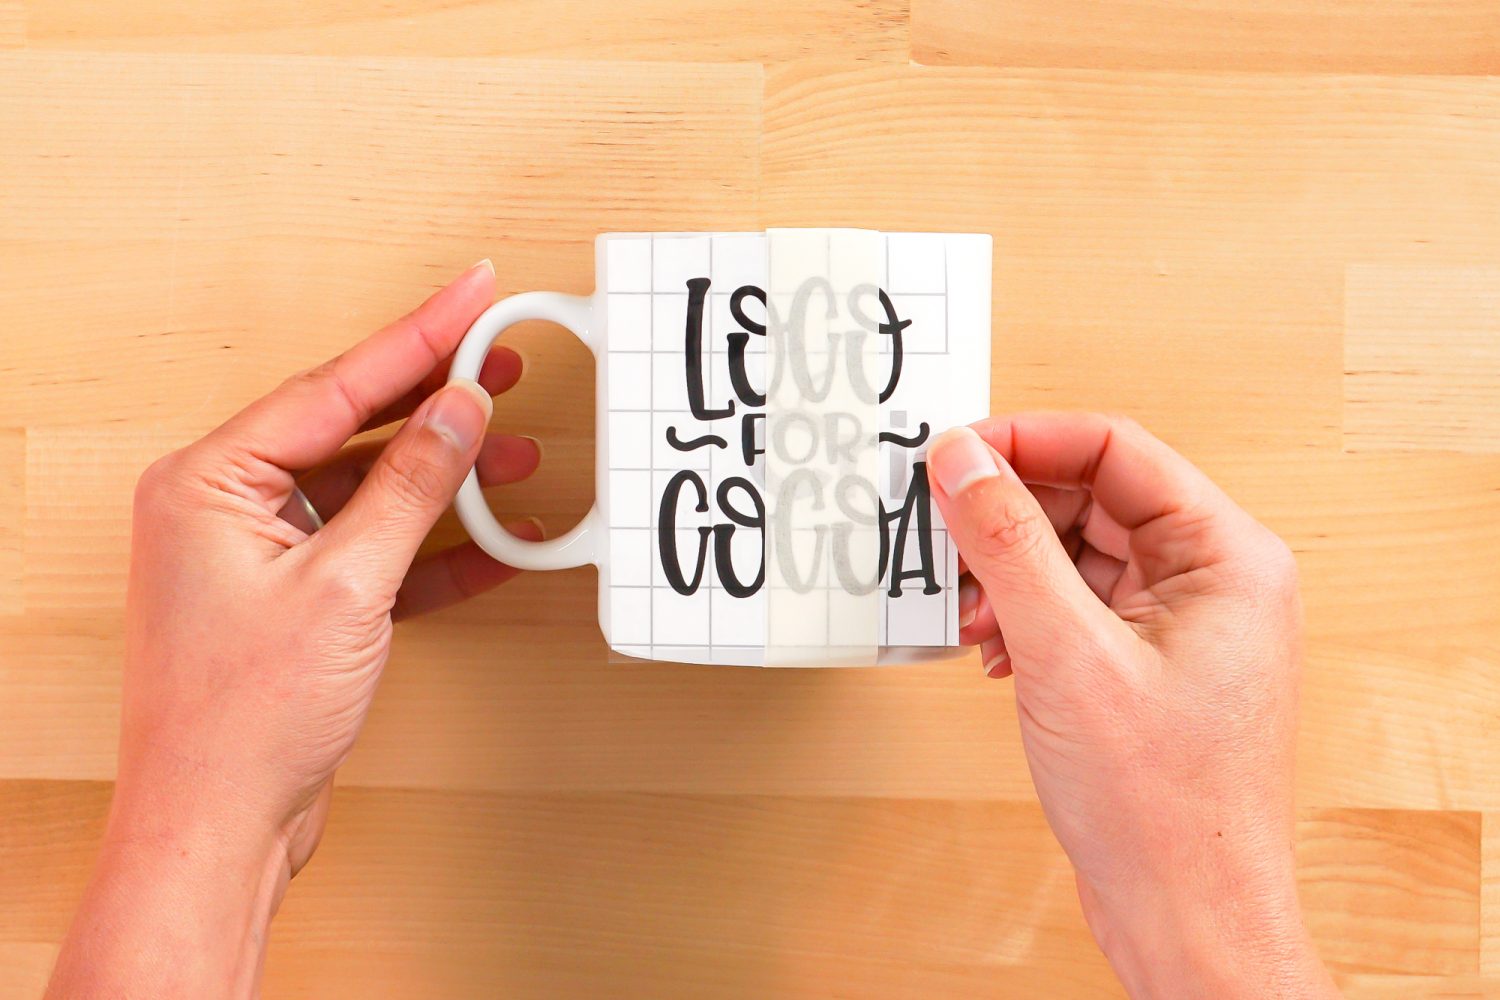
Peel back one half of the design from the backing paper—the vinyl should stick to the transfer tape.
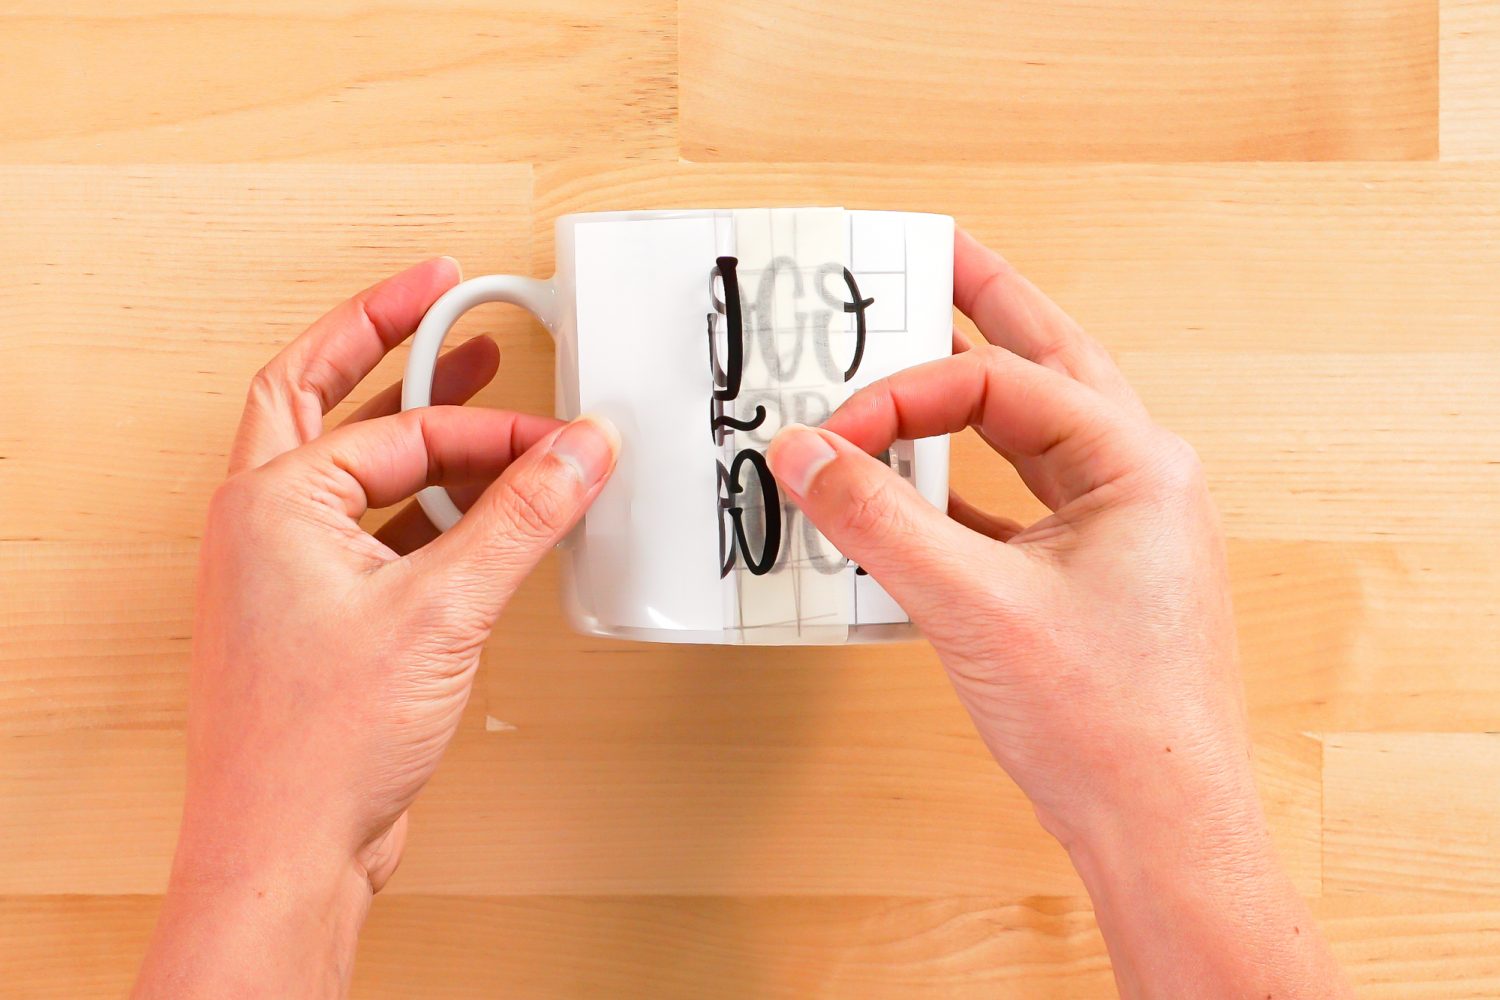
Cut away the backing paper from that side of the image. You don’t need to cut right to the tape—just enough that the left side of the decal will stick to the mug.
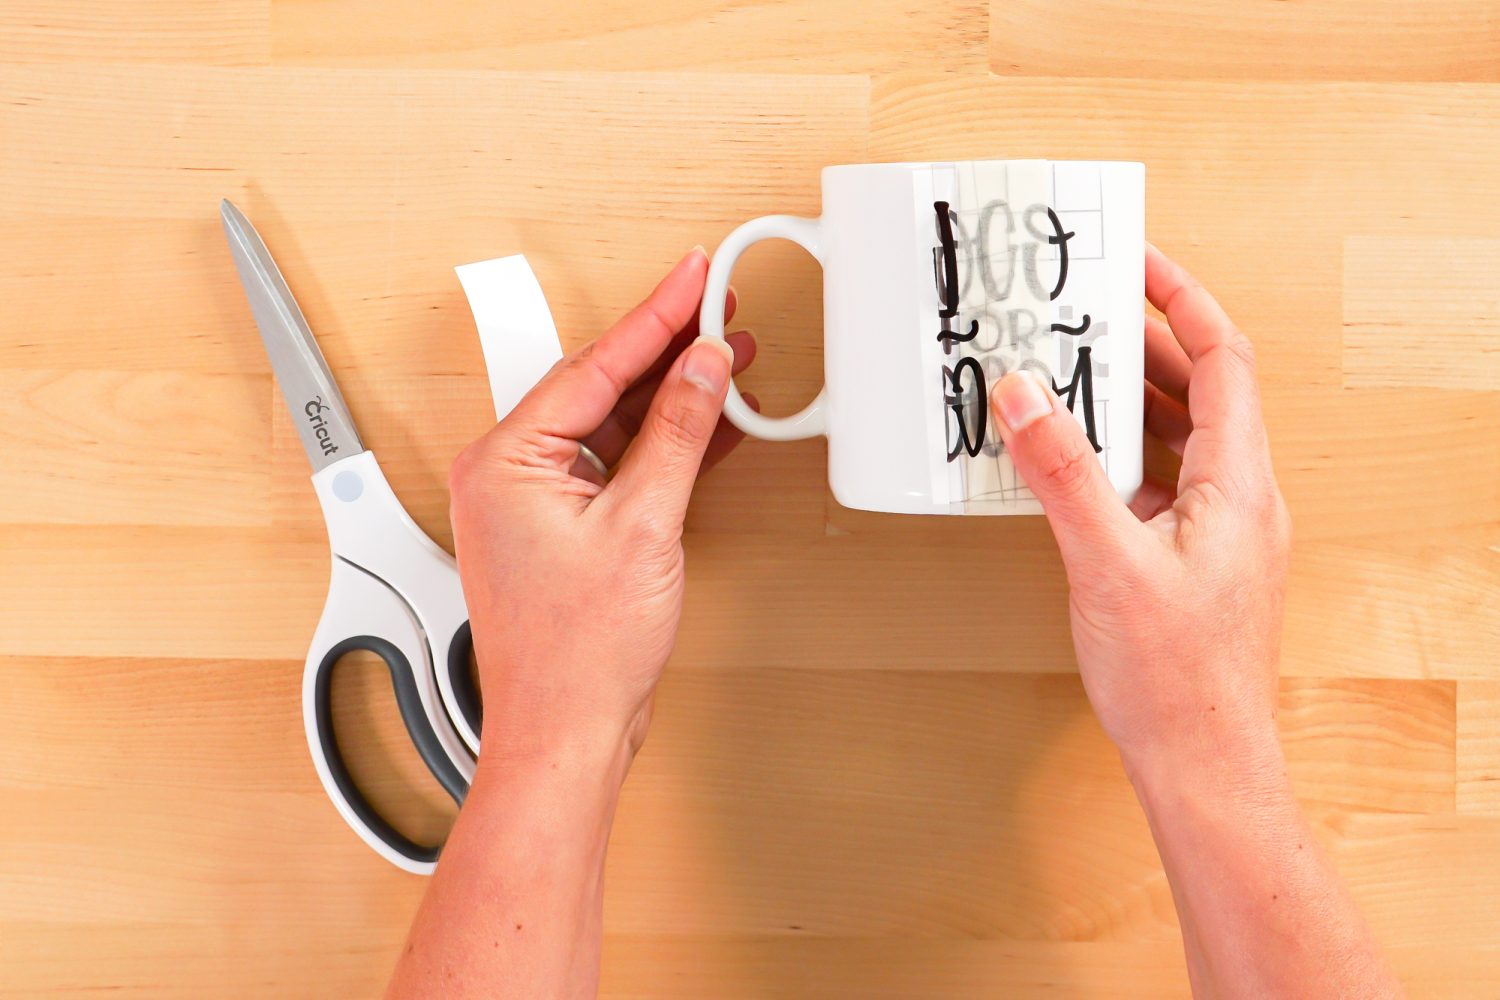
Place the design back onto the mug—this time it should stick to the mug. Use your hands to burnish the decal to the mug.
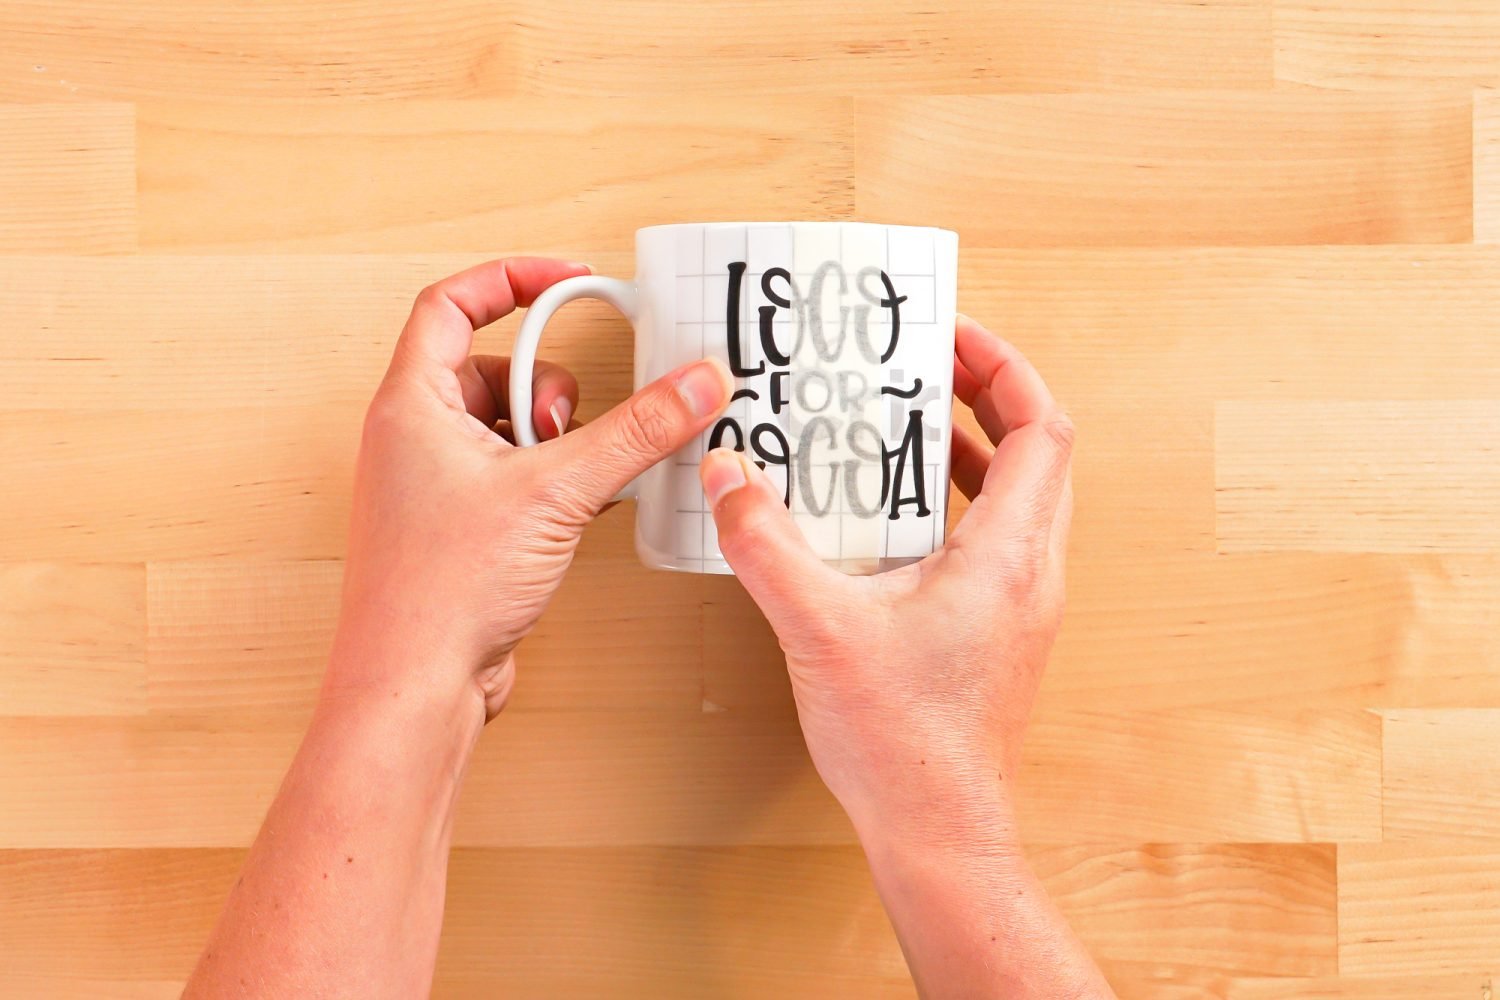
Then peel back the masking tape and remove the other side of the backing paper, and press the remaining part of the decal onto the mug. Again, use your fingers to burnish the decal to the mug.

Carefully peel back the transfer tape and your decal should stick to your mug.

Fill the mug with all sorts of cozy goodies and your Loco for Cocoa mug is ready for gifting!


LOCO FOR COCOA MUG
Supplies
- Adhesive vinyl
- Transfer Tape
- Masking Tape
- Mug
- Mug fillers see post for ideas
Instructions
- Upload the file to Cricut Design Space.

- Cut the decal from adhesive vinyl.

- Weed your adhesive vinyl decal.

- Use transfer tape and the "hinge method" to adhere the decal to your mug.

- Add cute fillers and this cocoa mug is ready to gift!

Notes
Make All the 25 Days of Cricut Christmas Projects!
We’ll be adding links as each day goes live! Grab the full bundle with all of the projects and SVGs in our 25 Days of Cricut Christmas eBook!
- Day 1: DIY Christmas Countdown Calendar
- Day 2: Snow Globe Shaker Card
- Day 3: Happy Holly Days Christmas Banner
- Day 4: Felt Gnome Pillow
- Day 5: Cookies for Santa Tray
- Day 6: Snowflake Coasters
- Day 7: Customized Christmas Banner
- Day 8: Etched Holiday Baking Dish
- Day 9: DIY Gift Card Holder
- Day 10: Christmas Apron
- Day 11: Christmas Quilt Block Artwork
- Day 12: Constellation Glitter Ornaments
- Day 13: DIY Christmas Card Holder
- Day 14: Papercut Christmas Village
- Day 15: Funny Christmas Socks
- Day 16: Veneer Pinecone Earrings
- Day 17: How to Make Felt Bows
- Day 18: Personalized Santa Sacks
- Day 19: Newborn Footprint Ornaments
- Day 20: Layered Christmas Mandala
- Day 21: Customized Pot Holders
- Day 22: Sleigh Rides Christmas Sign
- Day 23: Hot Cocoa Mug Gift
- Day 24: Print then Cut Gift Tags
- Day 25: Matching Christmas Pajamas







Comments & Reviews
Michelle says
How do you keep the decal on the mug when it may get wet or washed?
Crystal Summers says
Hi Michelle,
If you use permanent vinyl, you will want to hand wash to keep the decal on for as long as possible. Sublimation printing is a more permanent option if you are interested in that.
Happy crafting!
Crystal, HLMS Community Manager