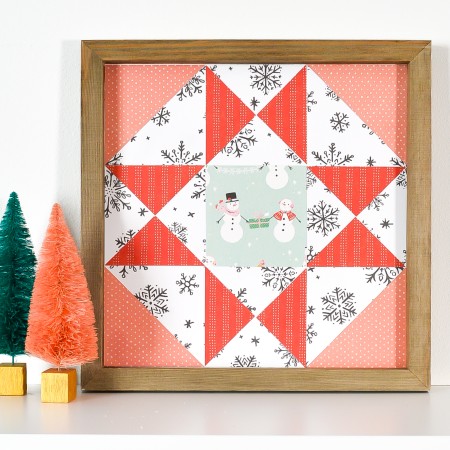
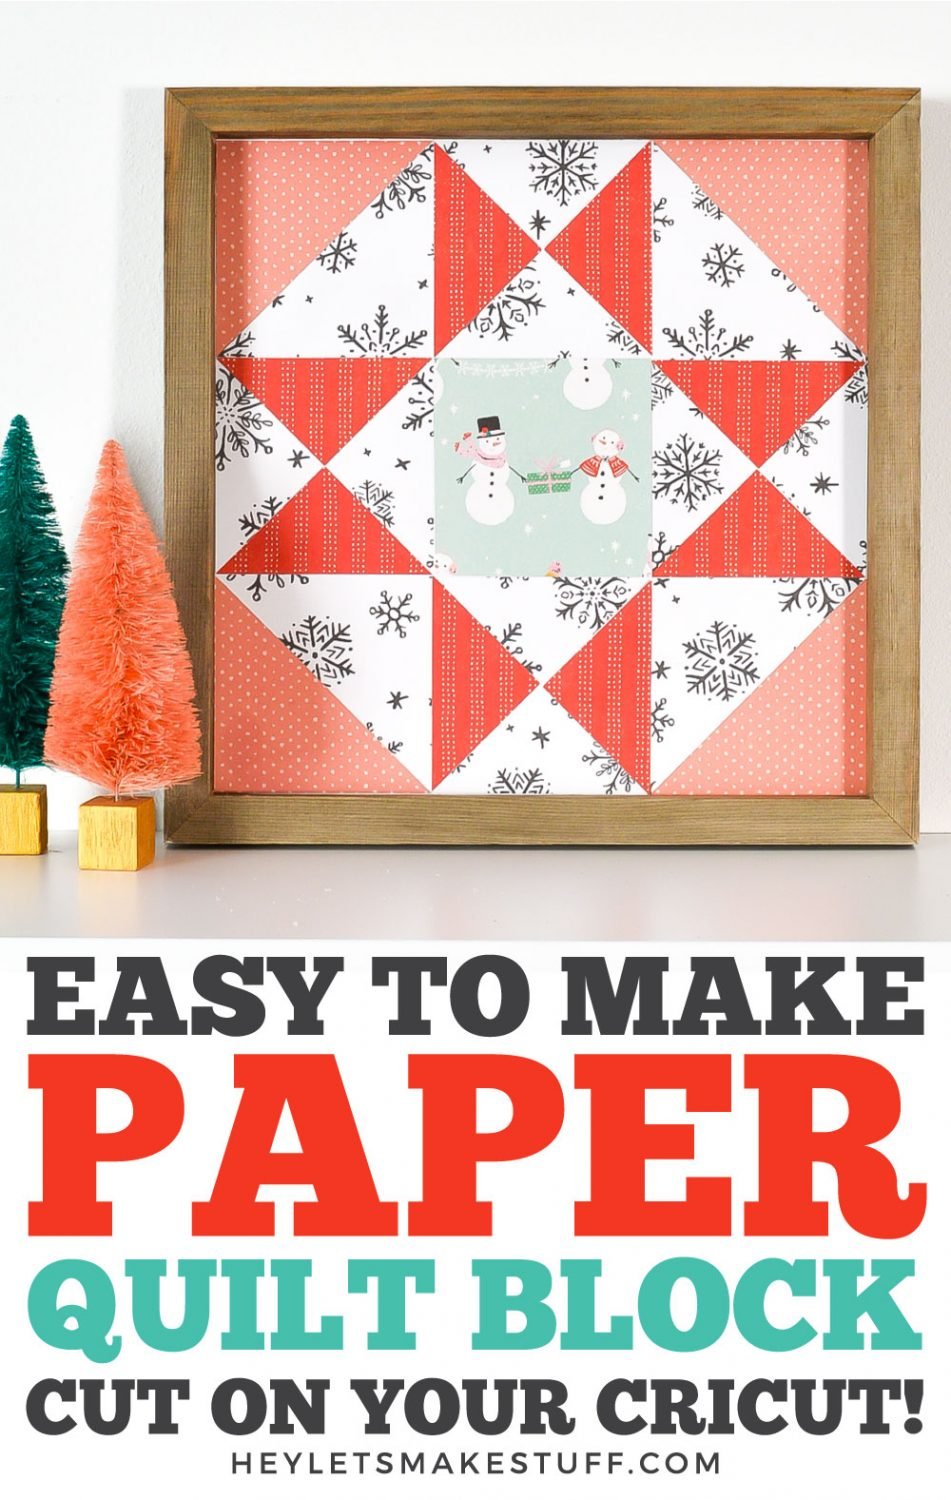
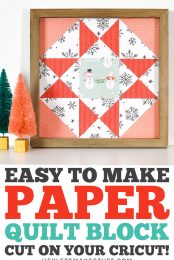
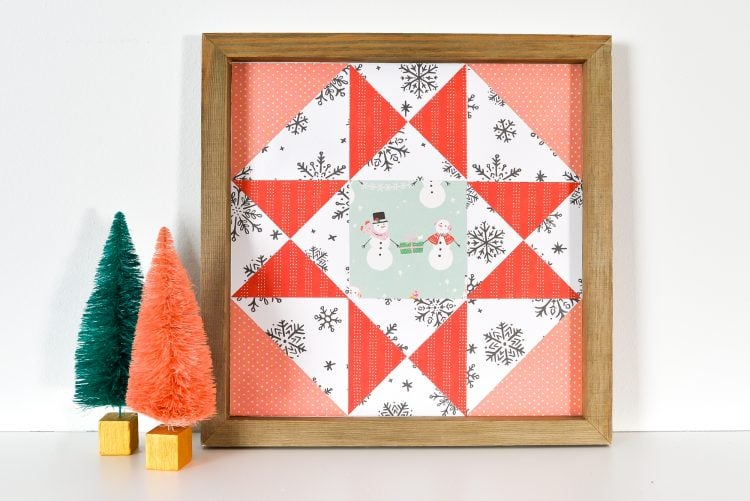
No sewing skills are necessary to make this beautiful Christmas Paper Quilt Block Artwork! Just use your Cricut to cut from paper and assemble in a frame using glue!
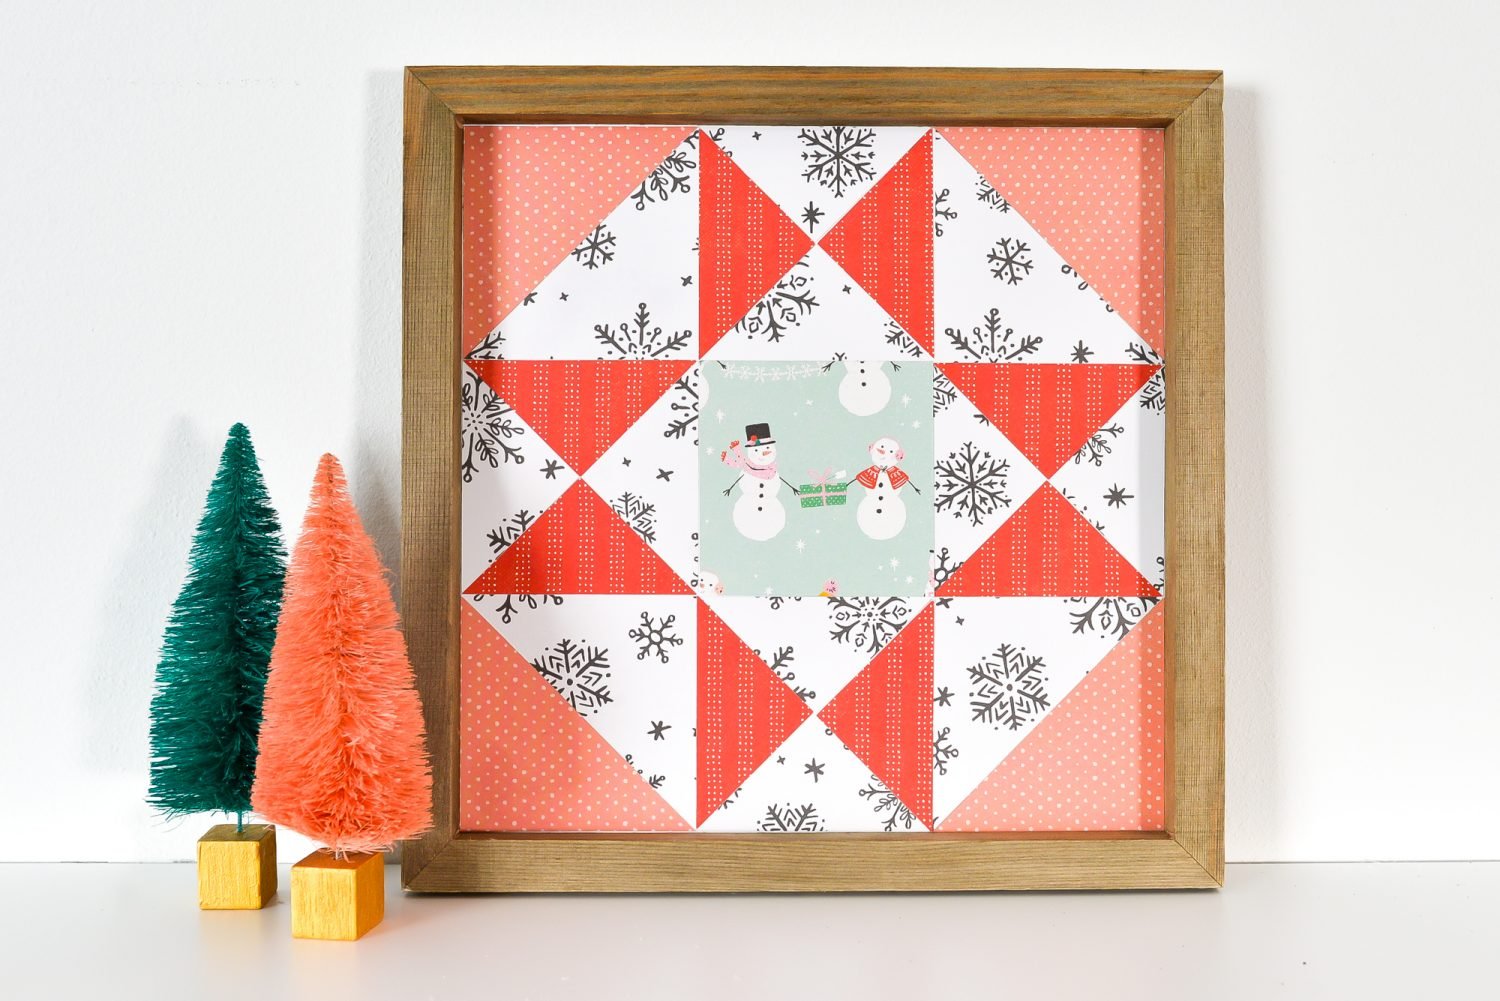
Welcome back to the the 25 Days of Cricut Christmas! It’s Day 11, and I hope all of these projects have put you in a jolly mood—crafting for Christmas can be such a joy!
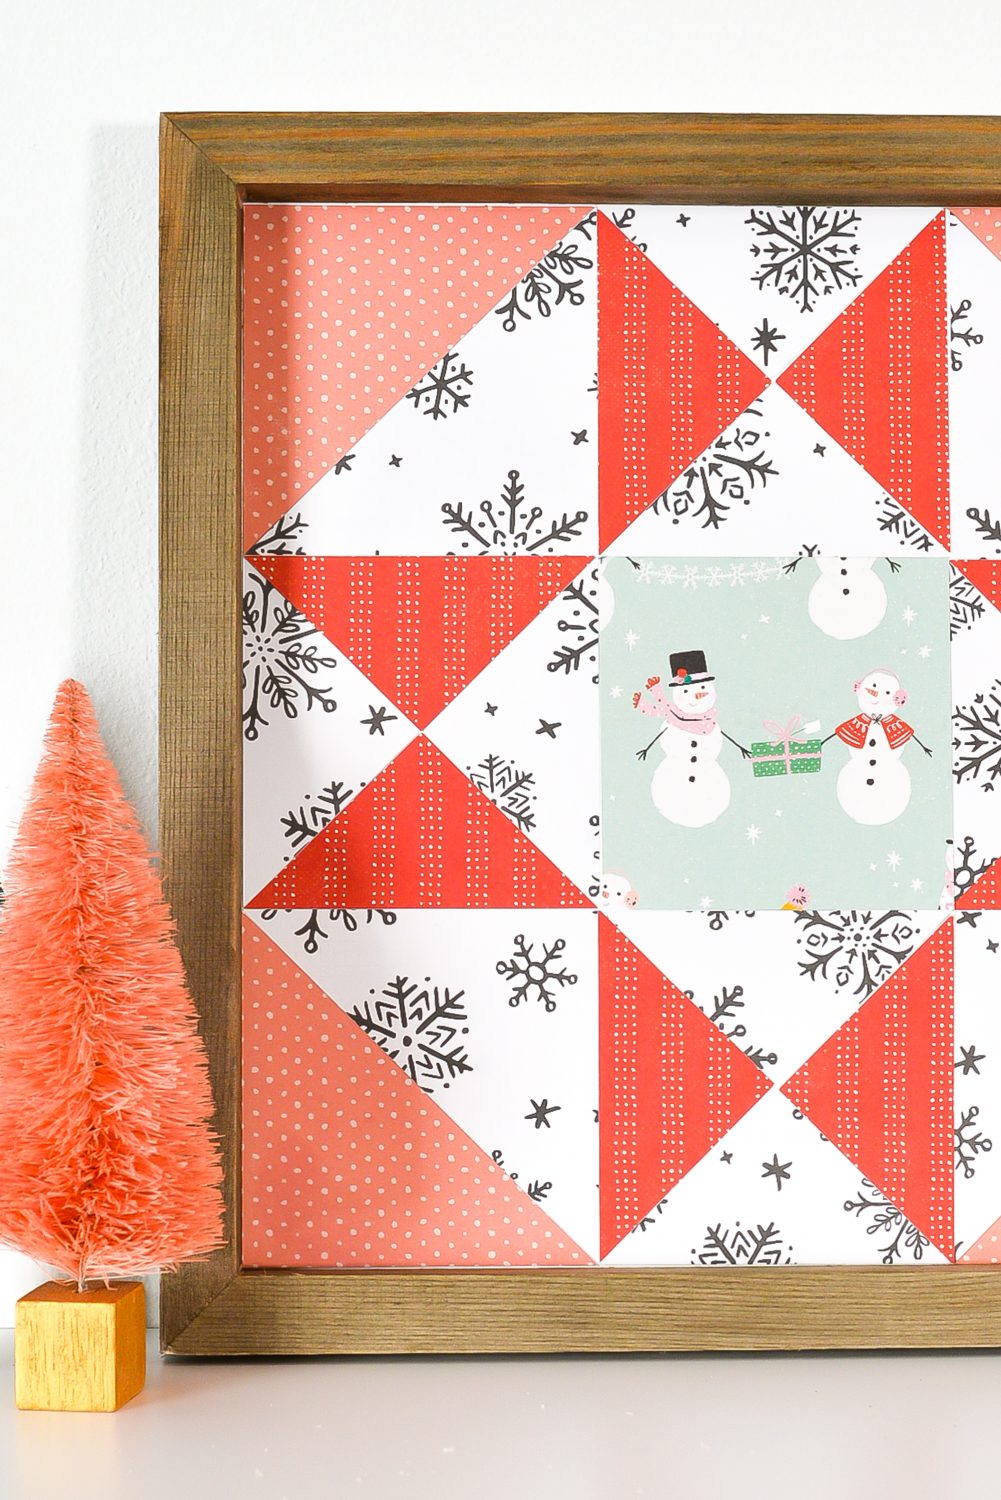
Today we’re going a little country chic! If you love the simple down-home look of a quilt block—but your sewing skills are less than stellar—you’re going to love this project! This paper quilt block is SO easy to make using scrapbook paper and your Cricut!
If you’d like to get this series in an ebook format PLUS all of the SVGs needed to make all 25 projects check out the 25 Days of Cricut Christmas eBook Bundle!
One of my favorite things about this project is that it’s incredibly versatile—if you can find it in a scrapbook paper, you can make this project your own.
You don’t have to make a Christmas version either—choose summery papers or papers that match your. nursery. You could even cut it in solids for a more modern look. I am using sheets from the Hey Santa Collection for this particular block. I love the little snowmen and all of the small-pattern papers that come in this bundle.
Christmas Paper Quilt Block Supplies
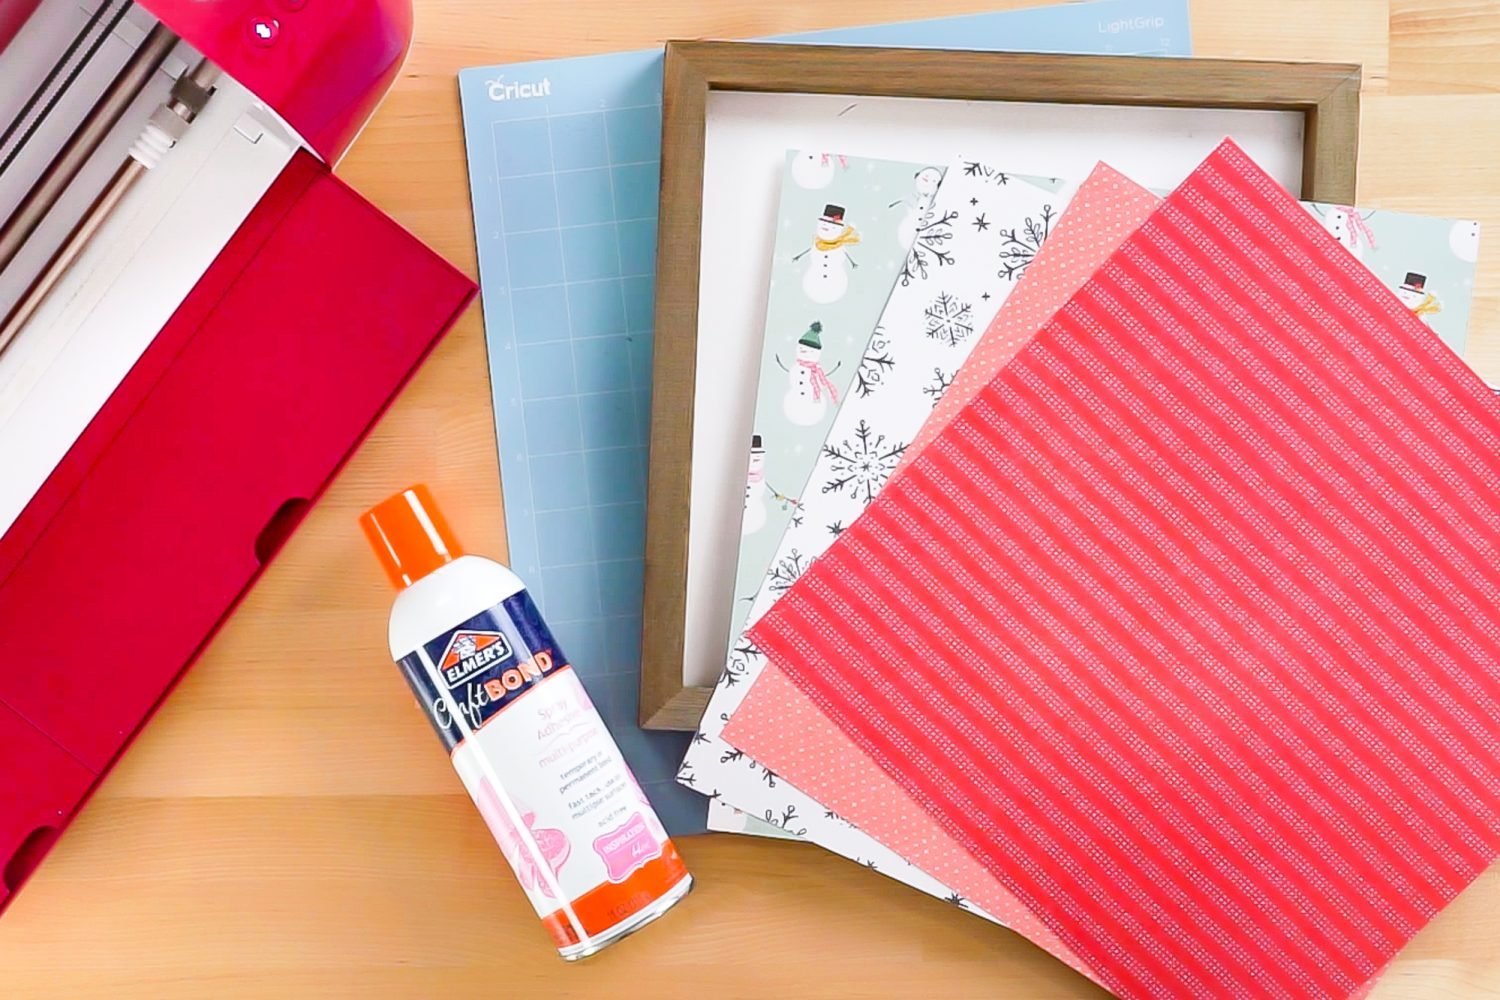
- Cricut Explore or Cricut Maker
- Blue LightGrip
- Fine Point Blade
- Scrapbook paper or cardstock
- Spray adhesive
- Wood frame with backing board
- Quilt Block SVG (see below)
Grab the SVG for this Project
Christmas Paper Quilt Block Instructions
Upload Paper Quilt Block File to Cricut Design Space
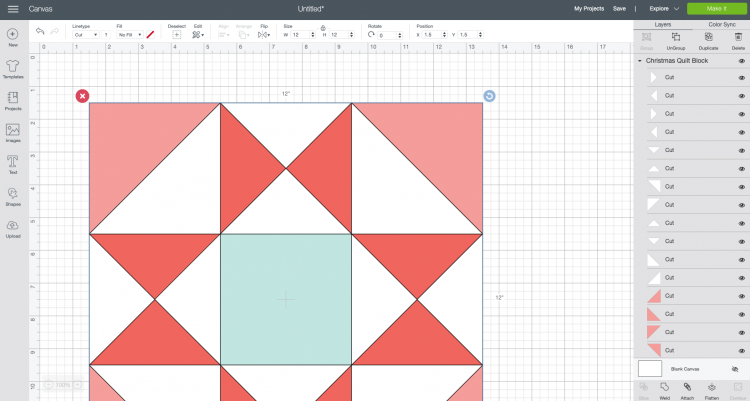
We will start by uploading the Christmas Quilt Block file to Cricut Design Space (see Uploading SVG Files to Cricut Design Space if you need help). Note that the file has solid colors that represent the patterns we’ll be cutting. If it helps, change the colors of the image to match your paper—this will make it easier to know which layer is cutting which piece of scrapbook paper.
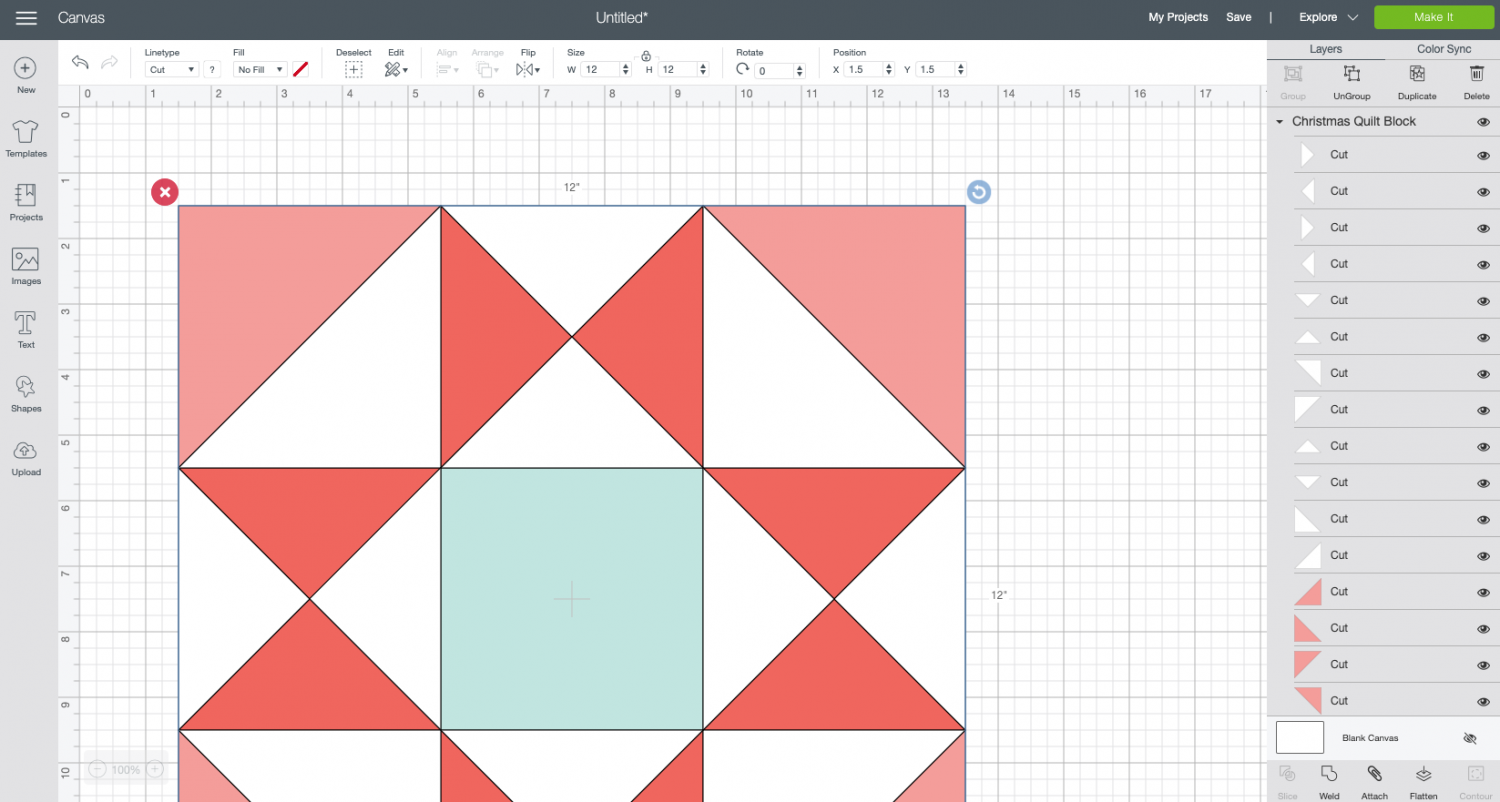
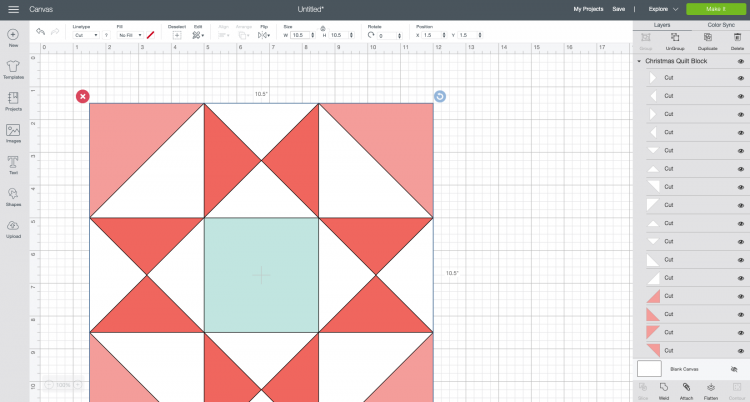
Then we will need to resize it to fit our frame. I’m using a 12″ x 12″ frame, but the actual interior dimensions are 10.5″ x 10.5″. Resize the block to fit your particular frame using the Size tool at the top in the Edit Toolbar.
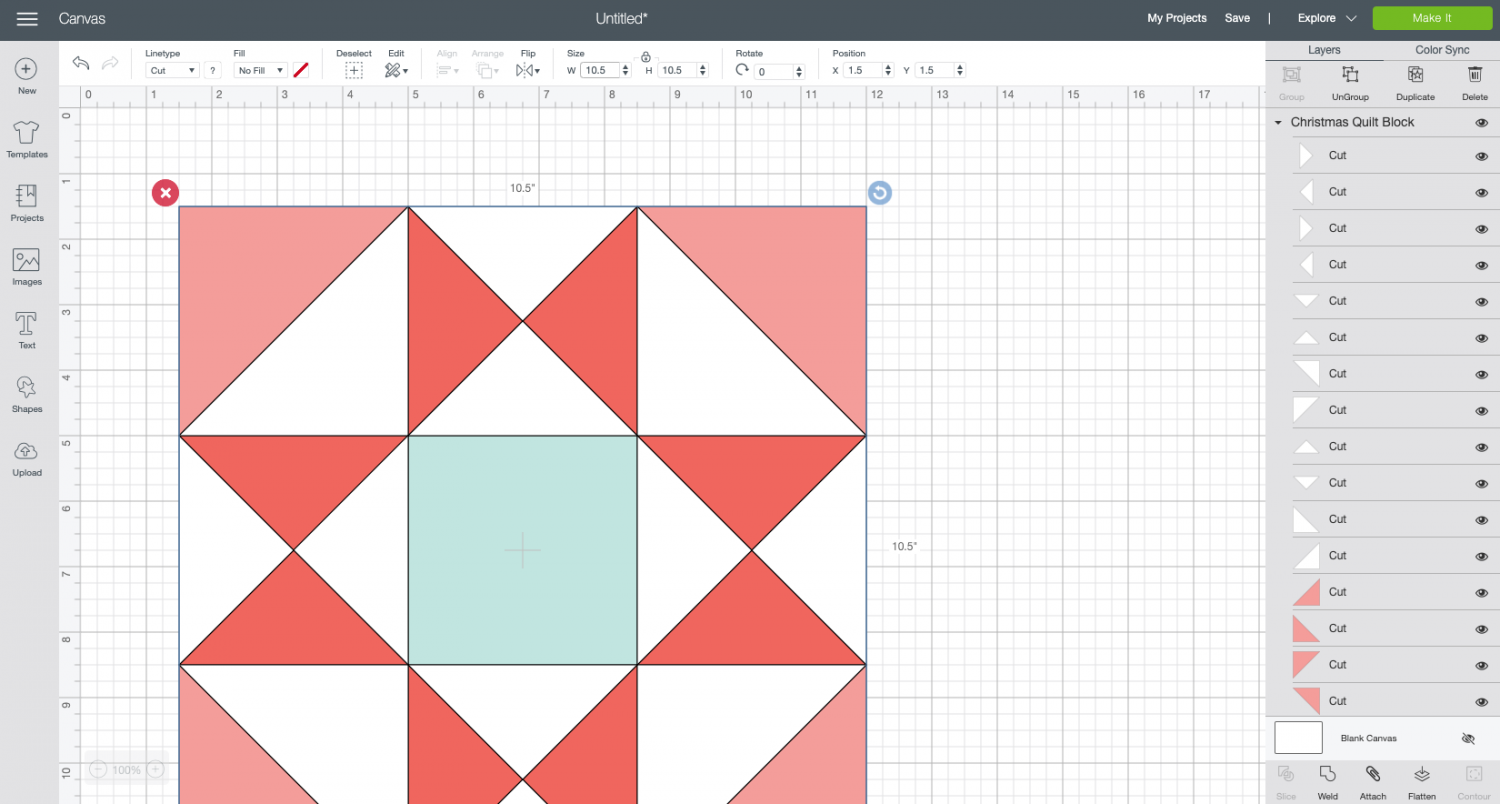
That’s it! Click Make It in the upper left to be taken to the Prepare Screen. Here you’ll see all four colors in your projects laid out on the different mats.
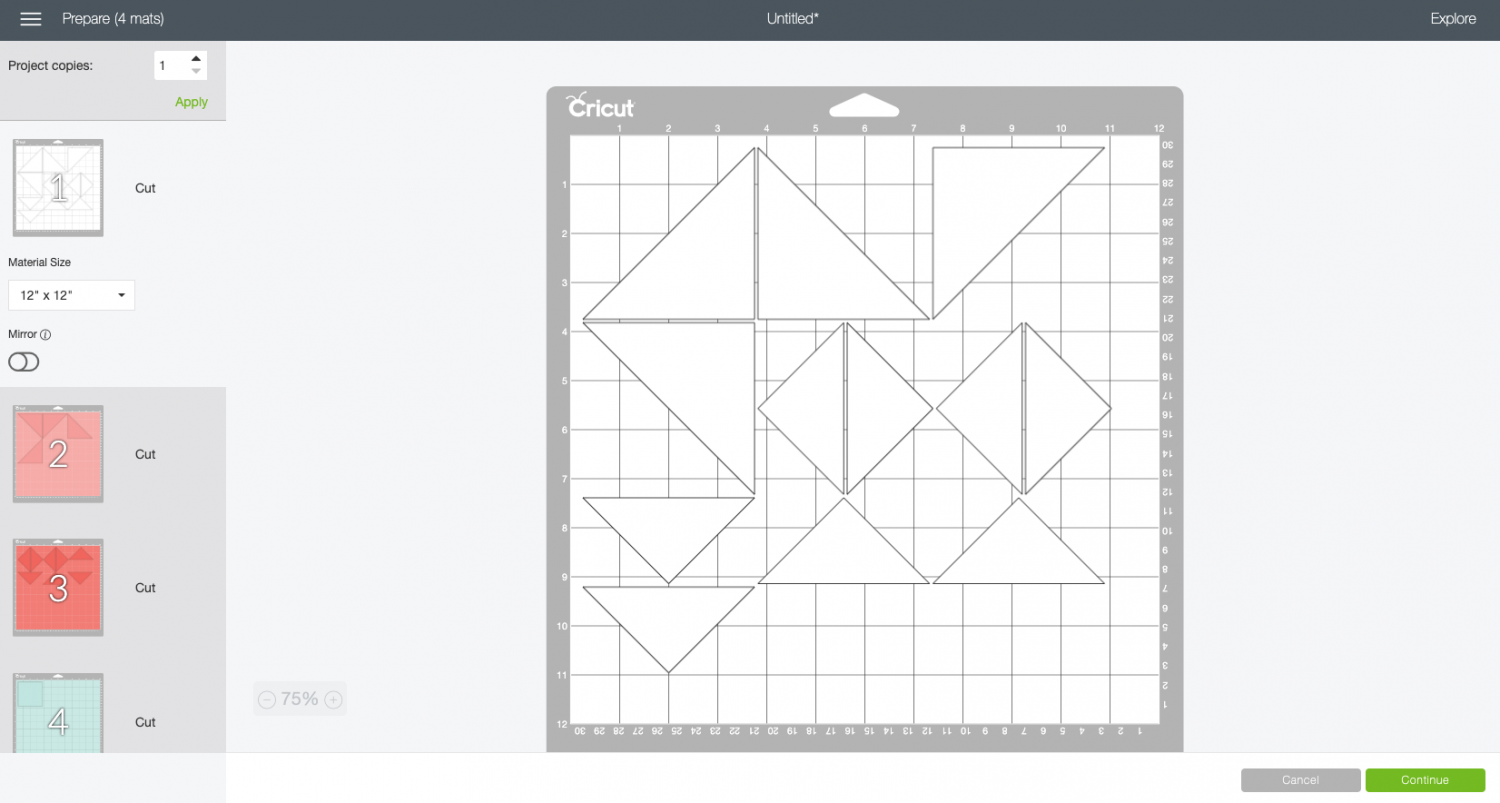
Click Continue and you’re ready to cut!
Cut Your Paper for Your Christmas Quilt Block
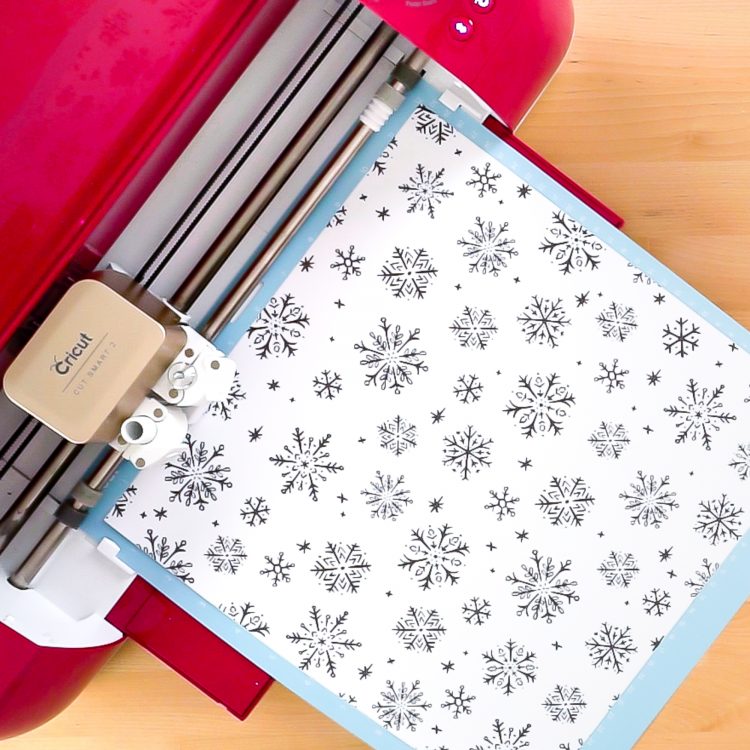
On the Make Screen, you’ll set your material. For scrapbook paper, I usually use the Cardstock setting—depending on the paper, my Cricut sometimes doesn’t cut all the way through on the Paper setting. Make sure you have your fine point blade in your machine, insert your mat, and your Cricut will cut your project!
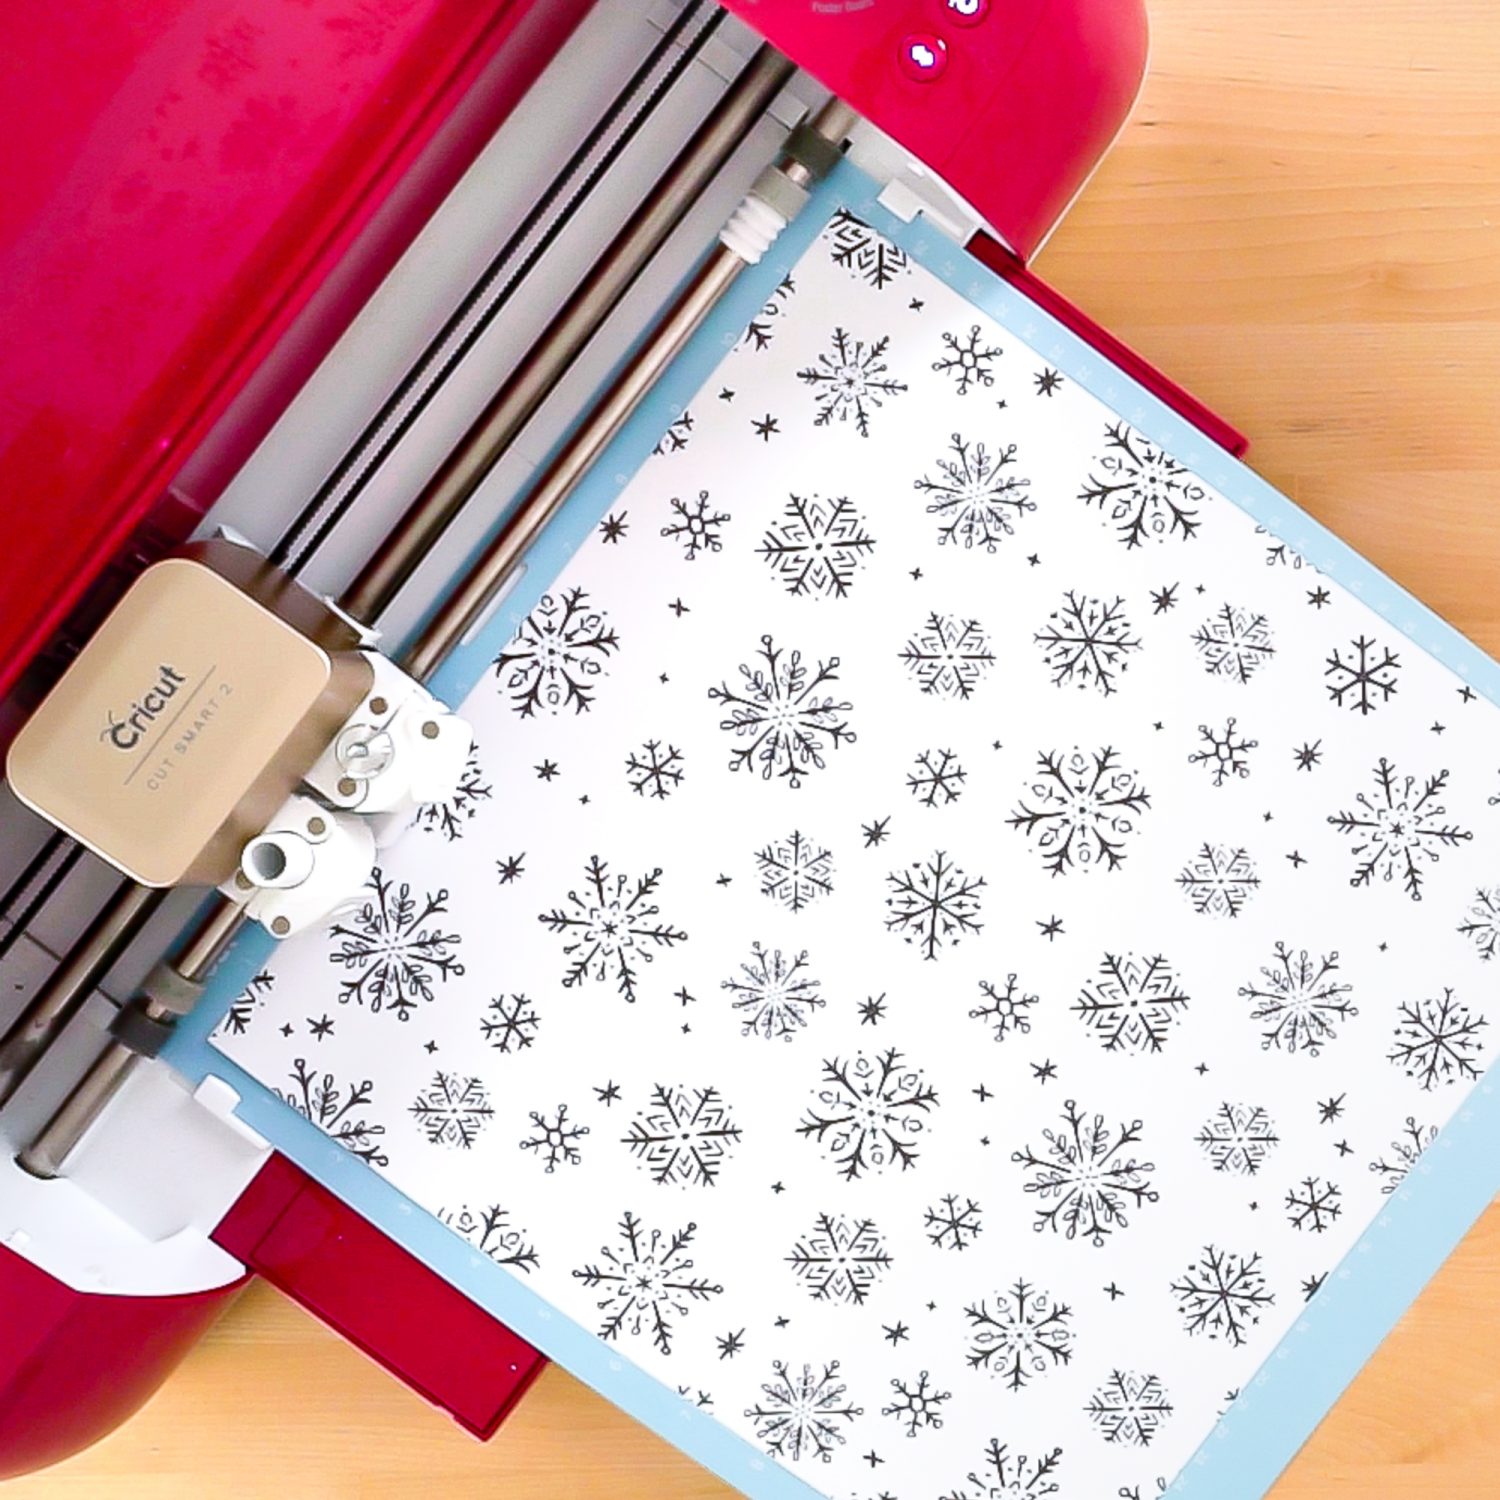
Carefully remove your paper pieces from your mat by bending the mat back and forth and carefully lifting up each piece of paper. Learn more about Removing Materials from Cricut Mats.
Assemble Your Paper Quilt Block
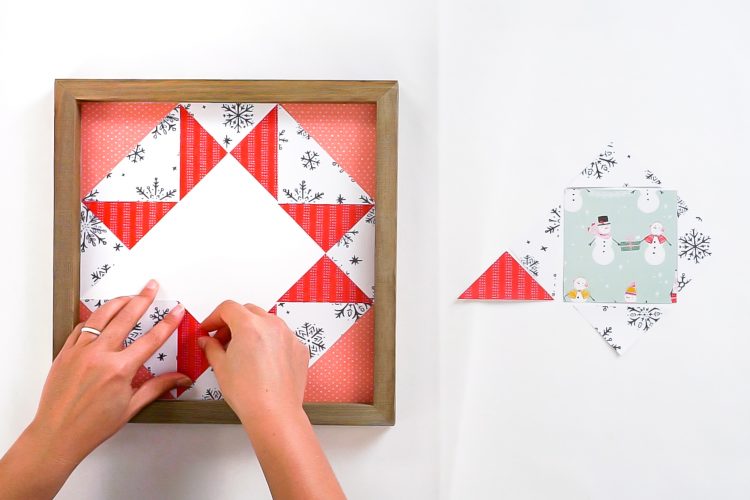
Next, you’ll want to lay out your block so that you can make sure it looks right—if you have directional paper, you want to make sure it’s all pointing the correct directions. For example, I wanted to make sure that all my red paper had the dotted lines running from top to bottom.
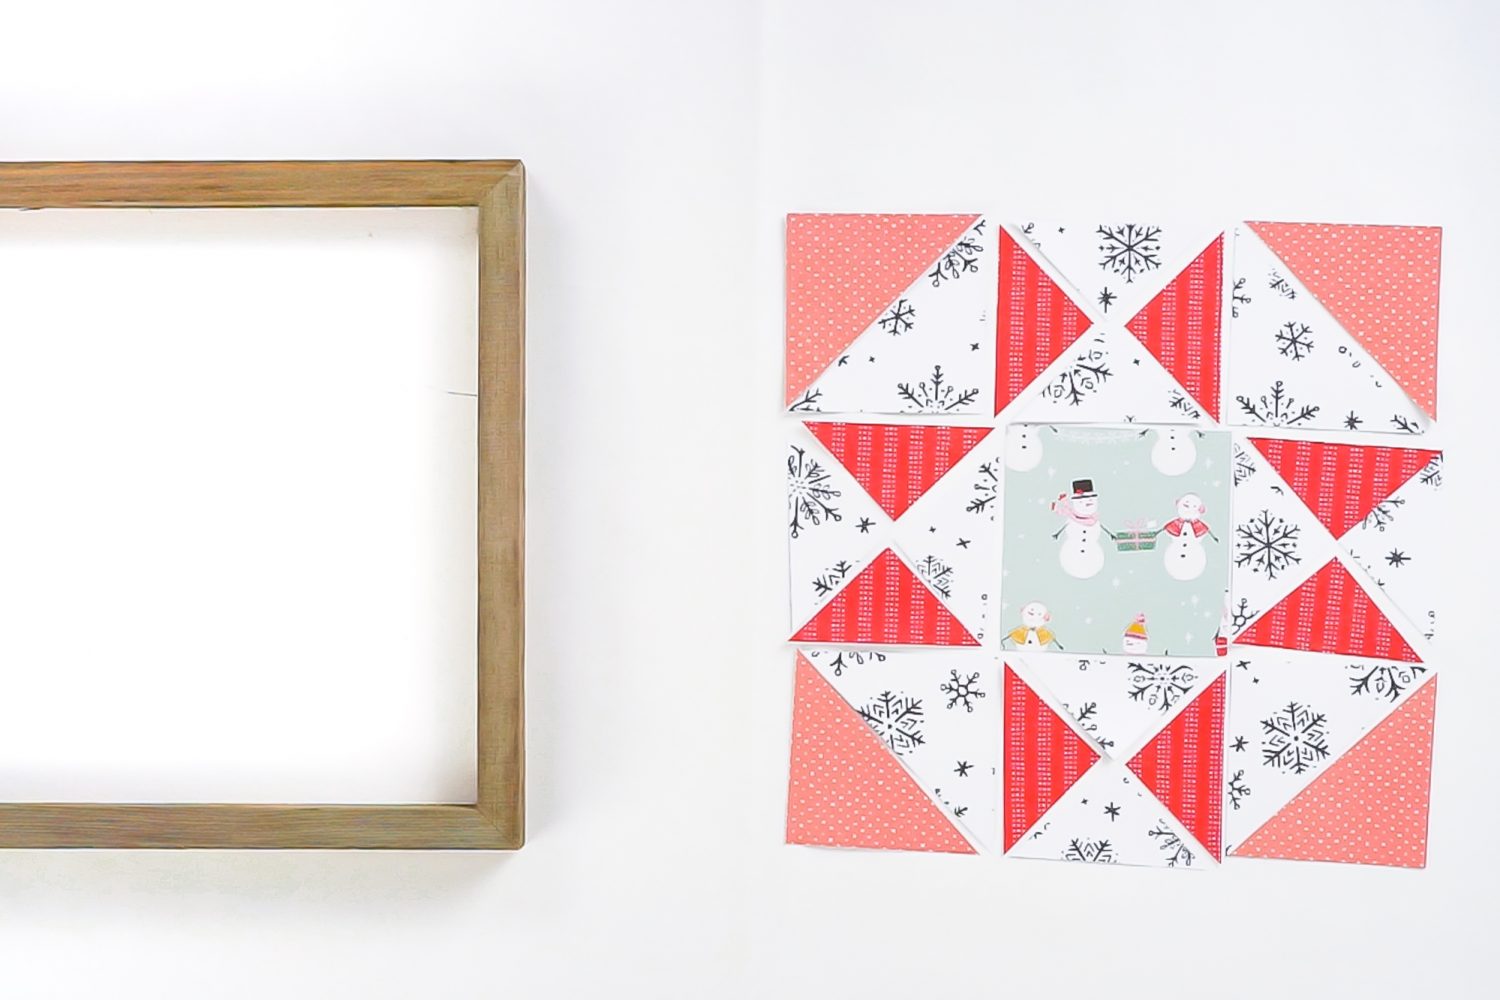
Starting from the outside pieces, use spray adhesive to glue the quilt block pieces inside your frame. (Make sure to open a window and turn on a fan, or do this outside—spray adhesive fumes are gross!).
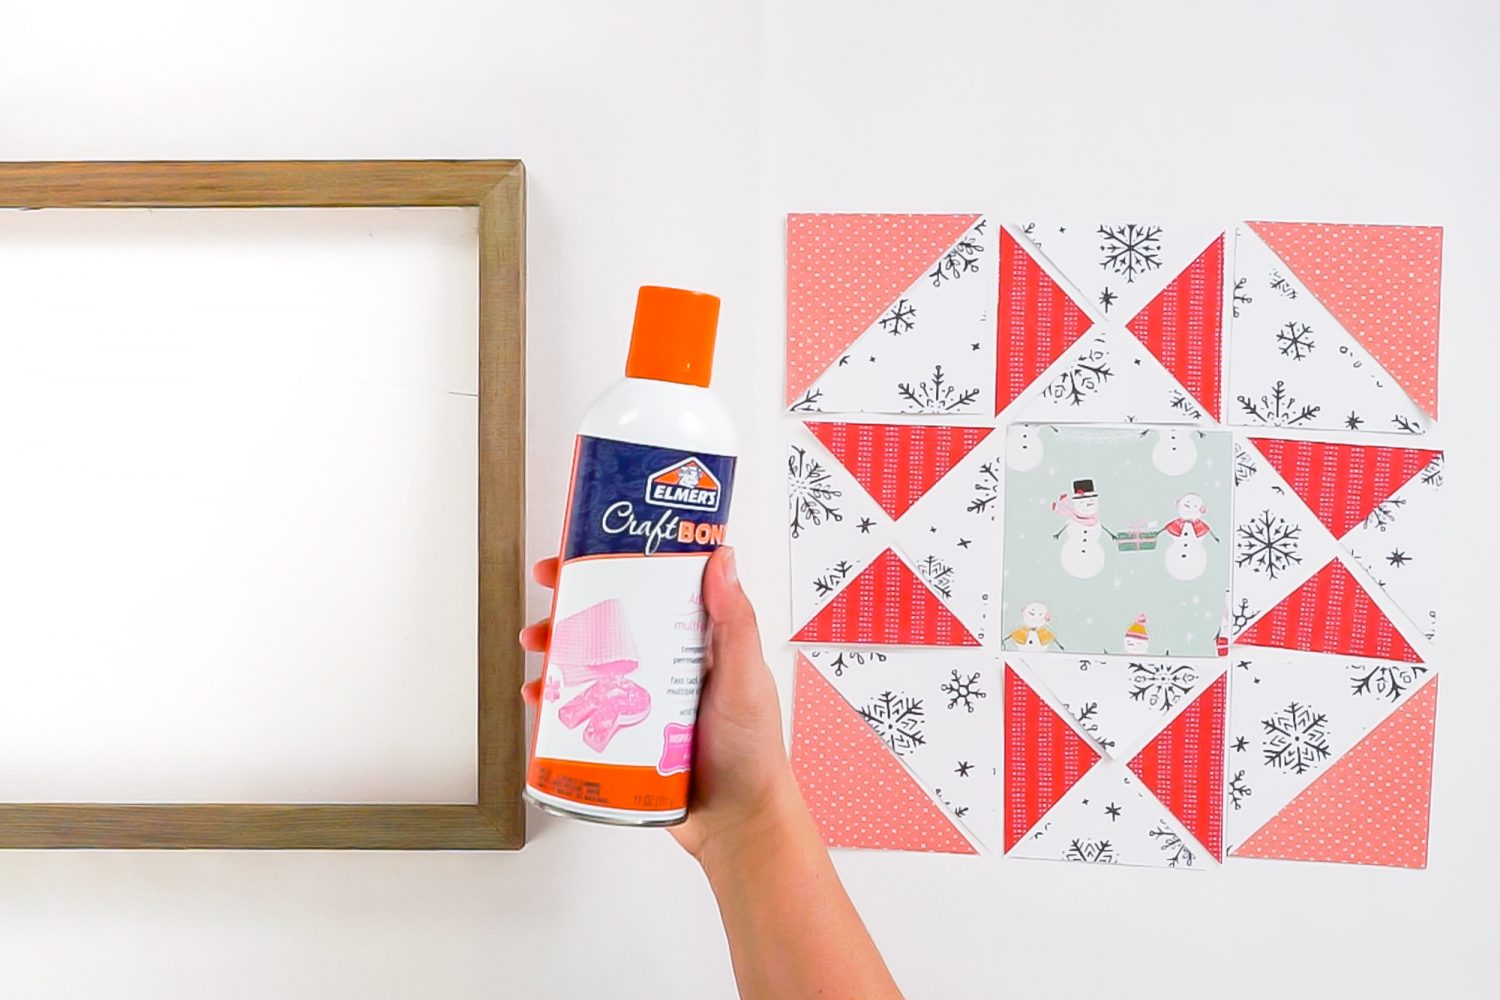
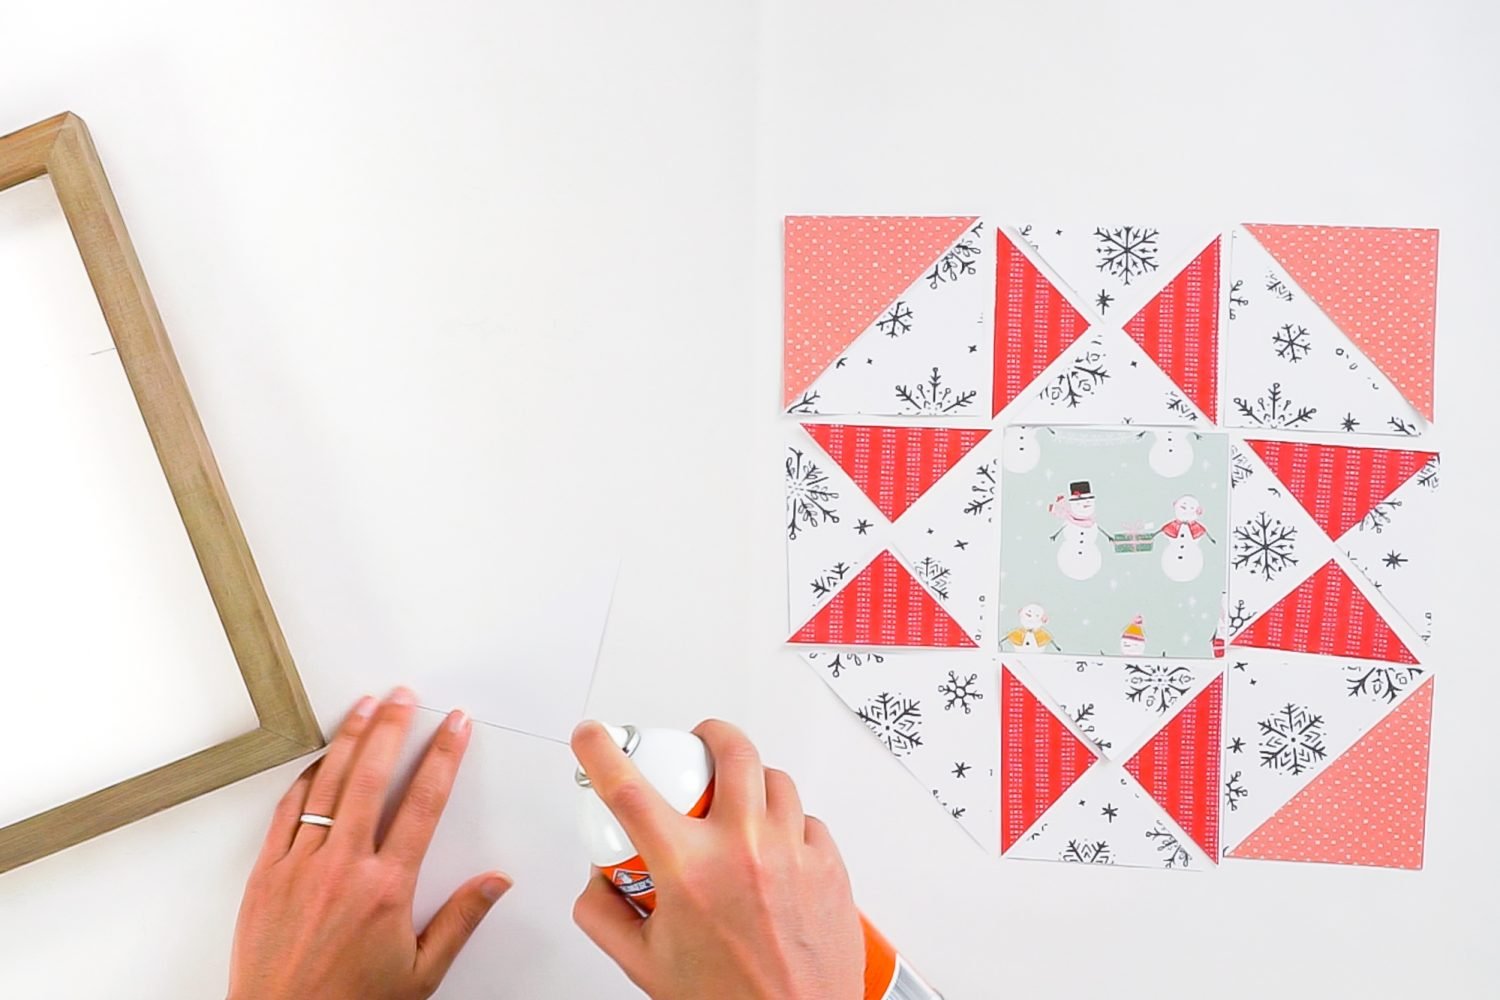
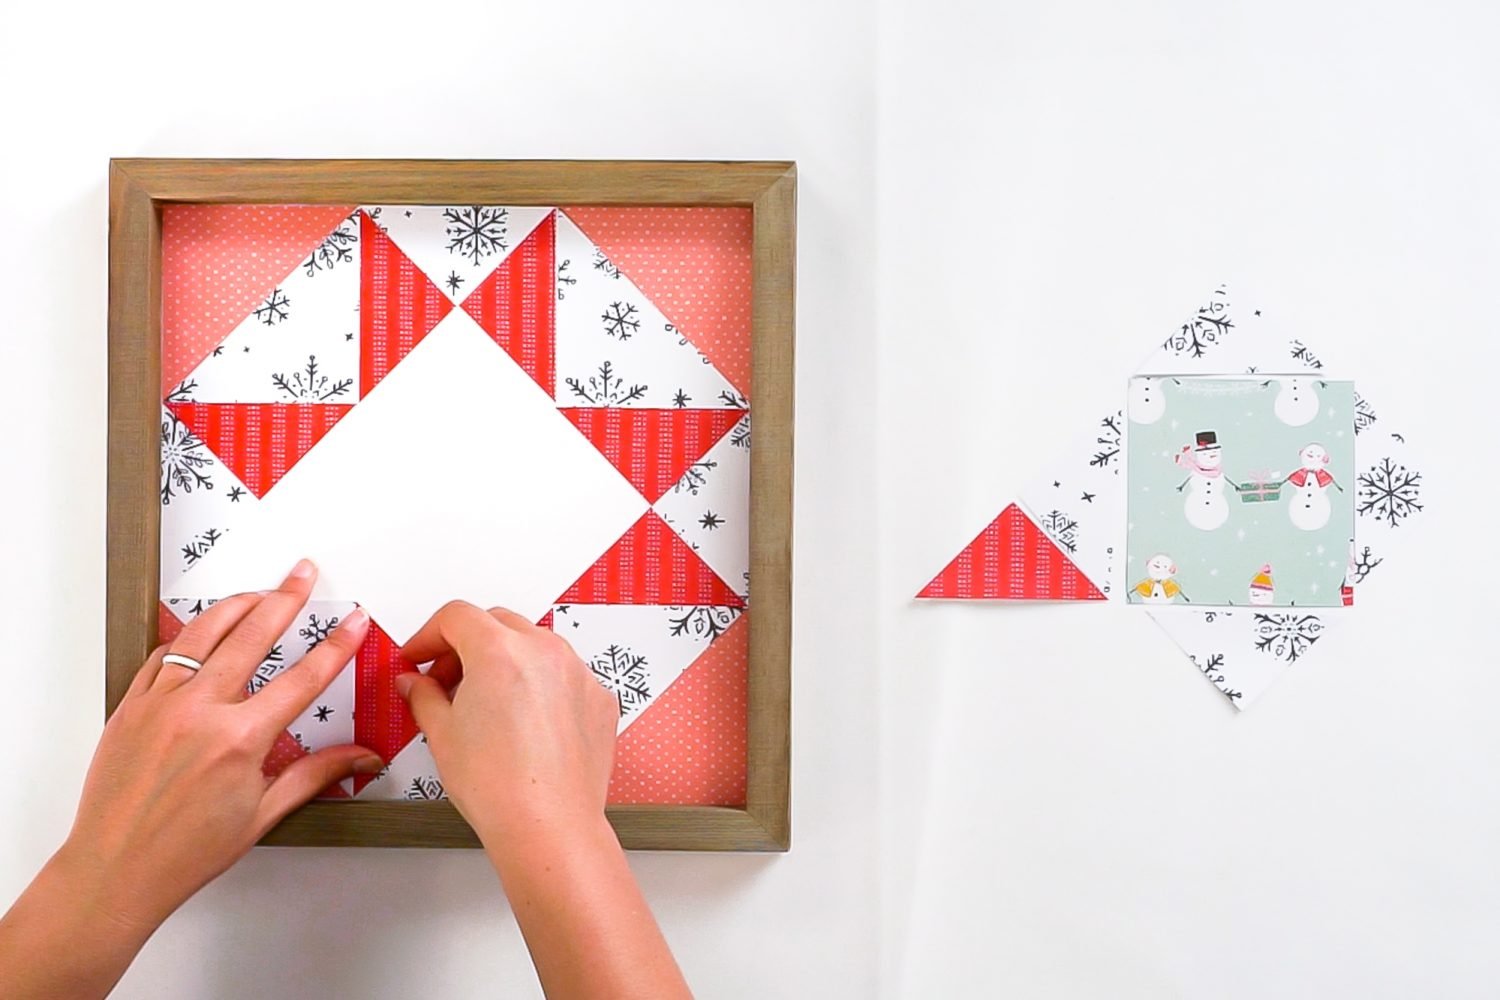
That’s it! This is such an easy project to make and can add a cute pop of color to your mantel or wall for the holidays!
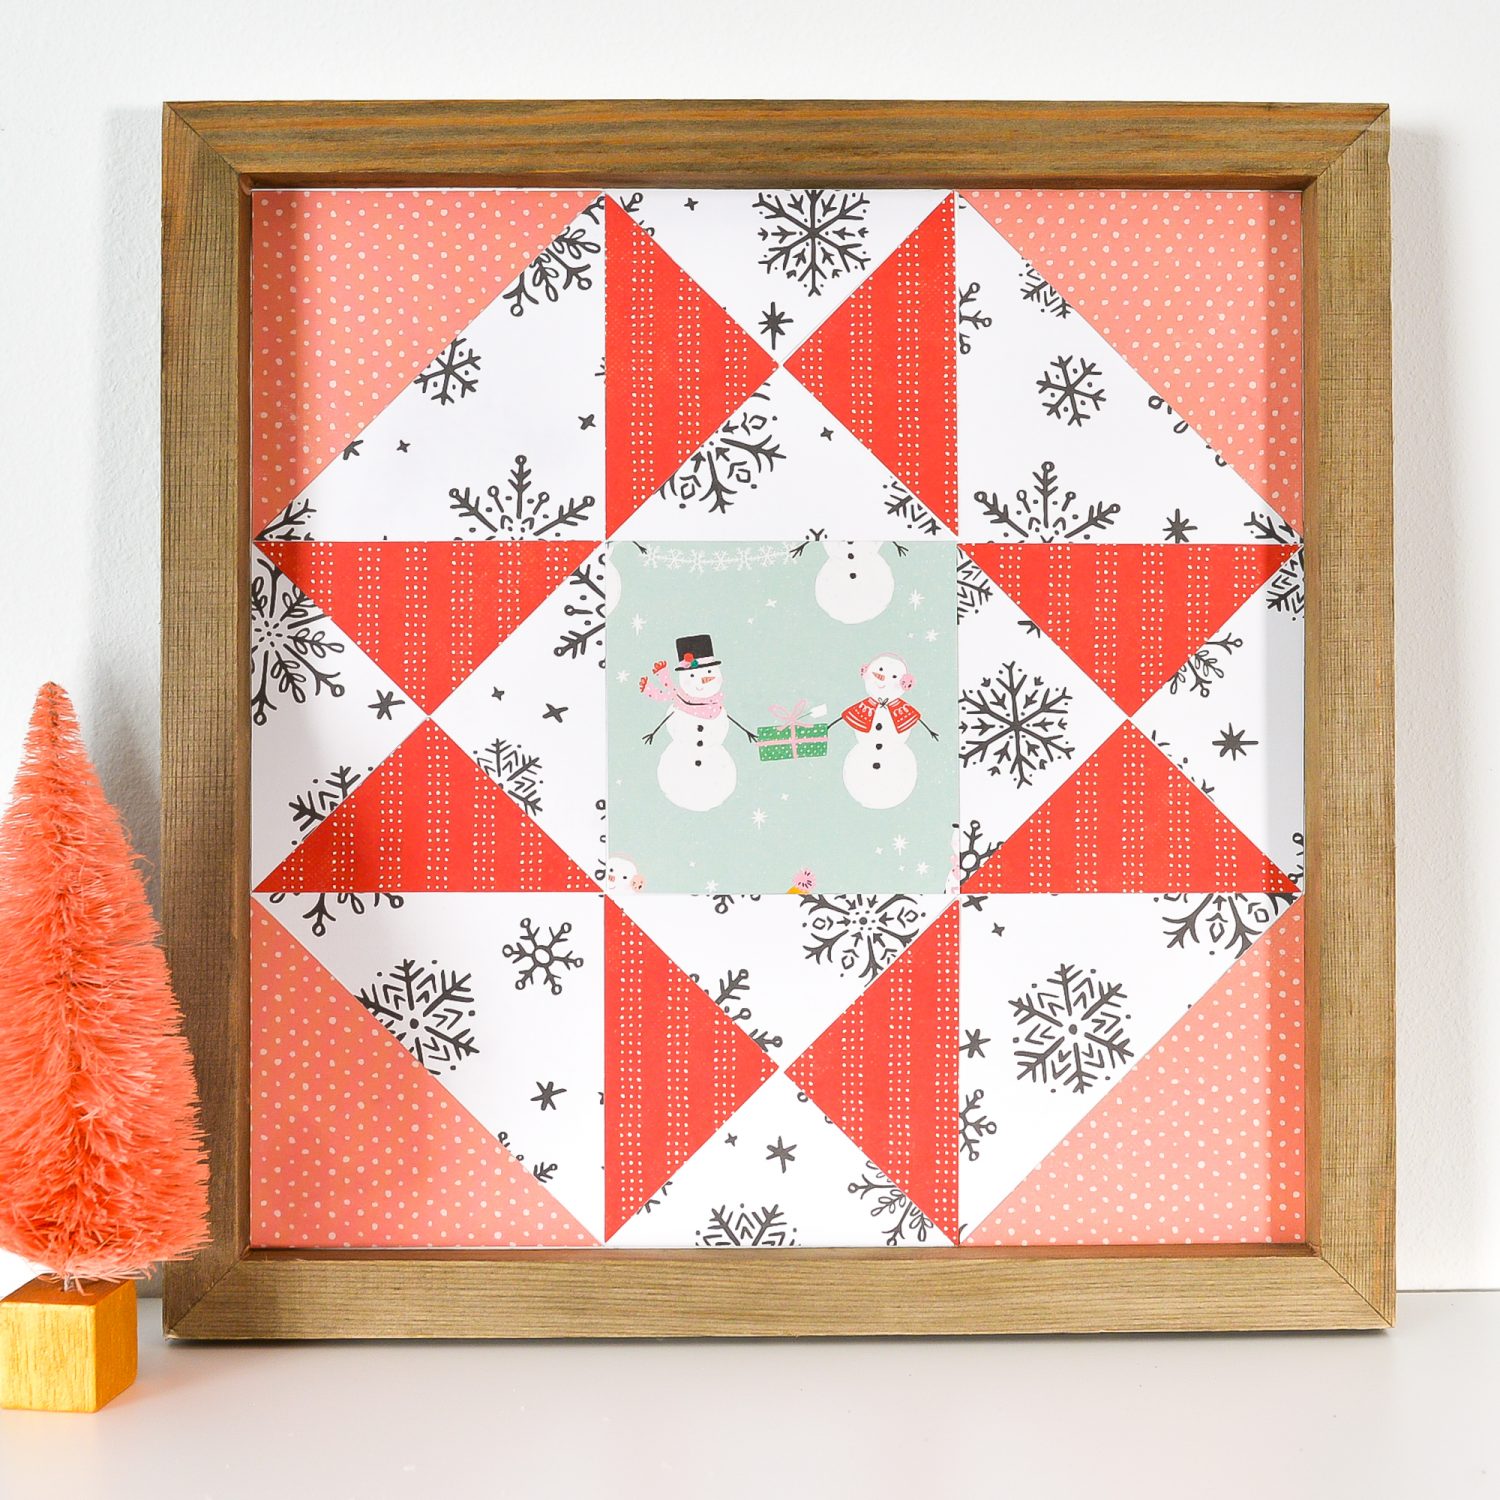
CHRISTMAS PAPER QUILT BLOCK
Supplies
- Scrapbook Paper four colors
- Spray Adhesive
- Wood Frame
Instructions
- Upload the file to Cricut Design Space.

- Resize the image to fit your frame.

- Cut the quilt block from four colors/patterns of scrapbook paper.

- Glue the pieces inside your frame.

- Display and enjoy!

Make All the 25 Days of Cricut Christmas Projects!
We’ll be adding links as each day goes live! Grab the full bundle with all of the projects and SVGs in our 25 Days of Cricut Christmas eBook!
- Day 1: DIY Christmas Countdown Calendar
- Day 2: Snow Globe Shaker Card
- Day 3: Happy Holly Days Christmas Banner
- Day 4: Felt Gnome Pillow
- Day 5: Cookies for Santa Tray
- Day 6: Snowflake Coasters
- Day 7: Customized Christmas Banner
- Day 8: Etched Holiday Baking Dish
- Day 9: DIY Gift Card Holder
- Day 10: Christmas Apron
- Day 11: Christmas Quilt Block Artwork
- Day 12: Constellation Glitter Ornaments
- Day 13: DIY Christmas Card Holder
- Day 14: Papercut Christmas Village
- Day 15: Funny Christmas Socks
- Day 16: Veneer Pinecone Earrings
- Day 17: How to Make Felt Bows
- Day 18: Personalized Santa Sacks
- Day 19: Newborn Footprint Ornaments
- Day 20: Layered Christmas Mandala
- Day 21: Customized Pot Holders
- Day 22: Sleigh Rides Christmas Sign
- Day 23: Hot Cocoa Mug Gift
- Day 24: Print then Cut Gift Tags
- Day 25: Matching Christmas Pajamas


Leave A Reply!