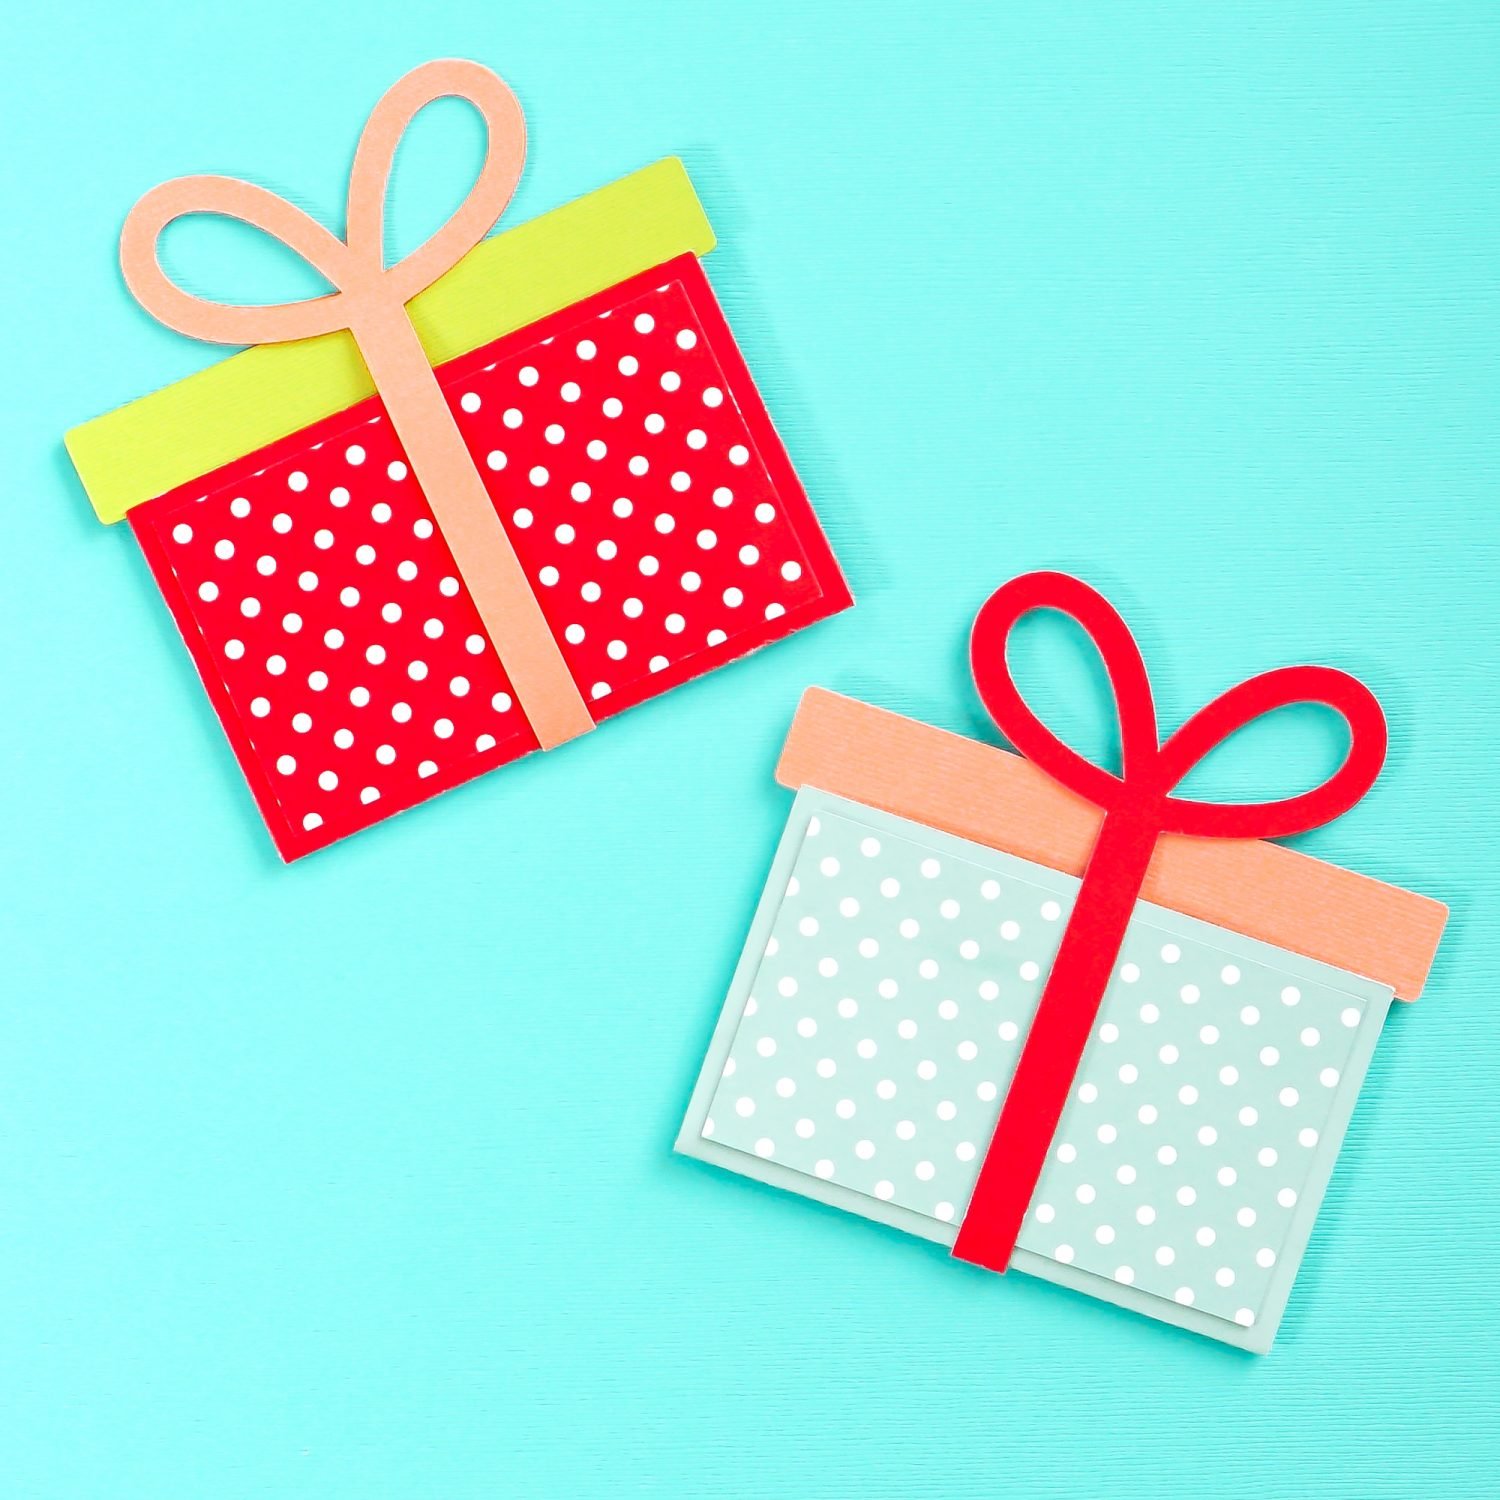
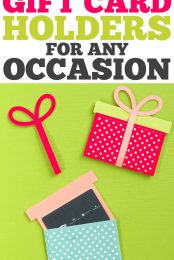
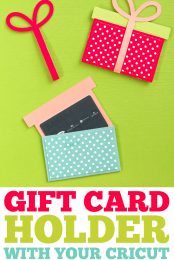
Make giving gift cards a bit more personal with this DIY gift card holder! Make this DIY gift card holder using your Cricut—great for Christmas, birthdays, showers, and more!
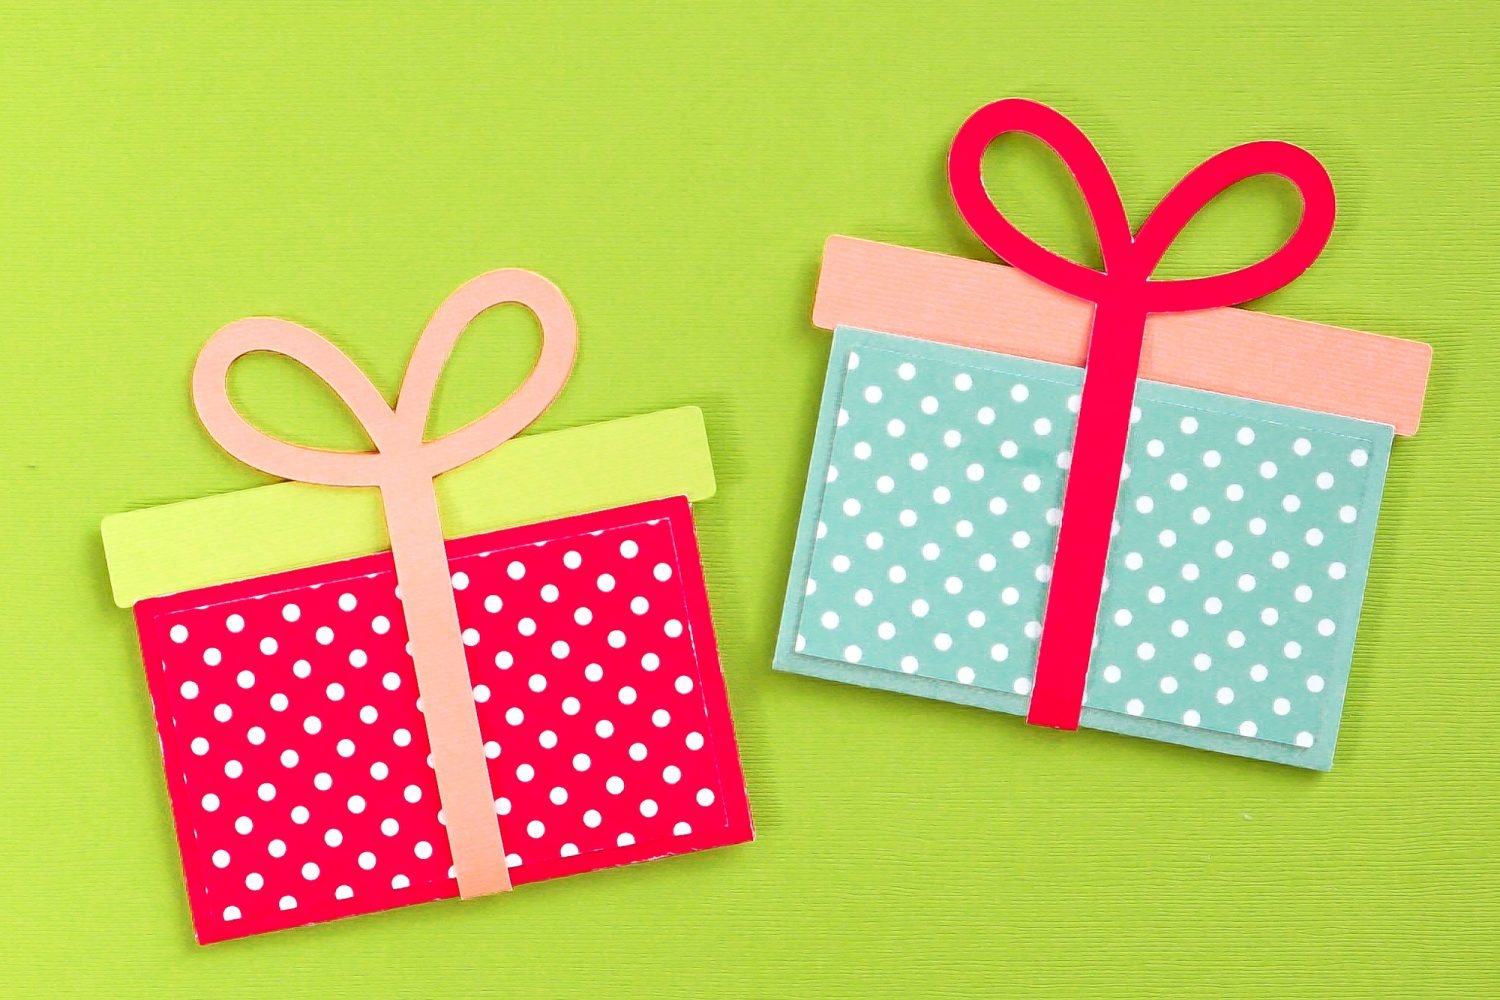
We’re cruising right along for the 25 Days of Cricut Christmas! We’re already on Day 9—it seems like the days are really starting to speed up, doesn’t it?
We’ve been making a bunch of gift ideas this month so far. But if you have one of those impossible-to-shop-for people in your life, you may want to give a gift card. You can still make that gift card special by crafting a DIY gift card holder with your Cricut!
If you’d like to get this series in an ebook format PLUS all of the SVGs needed to make all 25 projects check out the 25 Days of Cricut Christmas eBook Bundle!
We’re crafting this gift card holder for Christmas, but this one actually works for any time of year! Just change up the colors and it’s great for birthdays, baby and bridal showers, work events, and more. All you need is your Cricut, cardstock or scrapbook paper, and some glue!
DIY Gift Card Holder Supplies
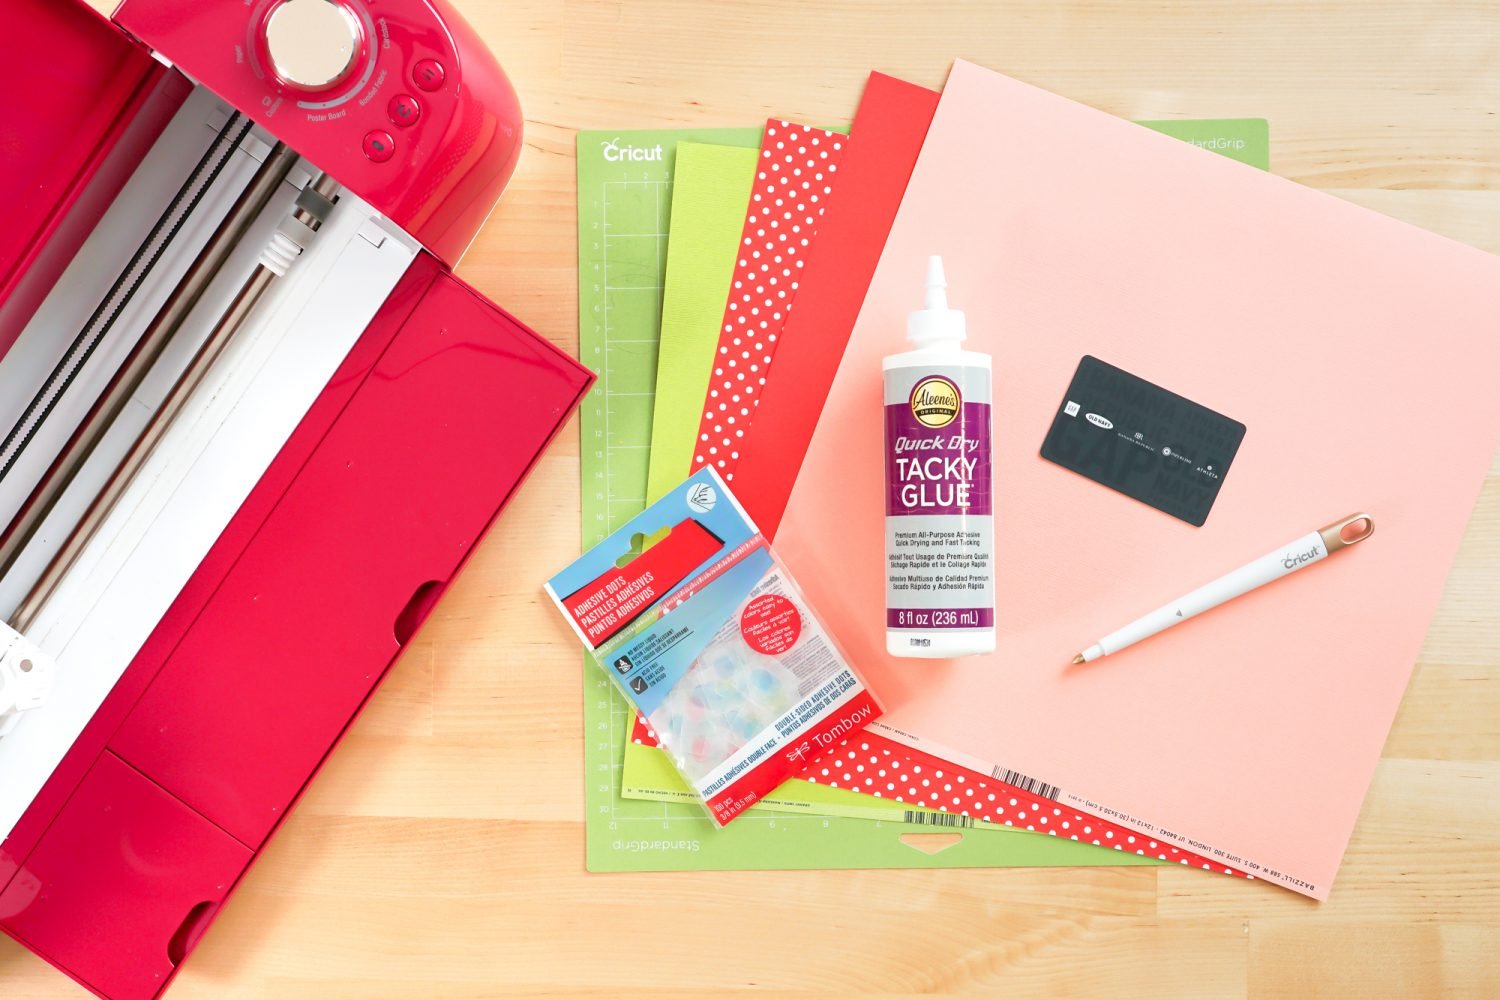
- Cricut Explore or Cricut Maker
- Blue LightGrip
- Fine Point Blade
- Scoring Stylus or Scoring Wheel (Maker only)
- Scrapbook paper or cardstock in four colors
- Craft glue
- Gift card
- Gift card holder SVG file
Grab the SVG for this Project
DIY Gift Card Holder Directions
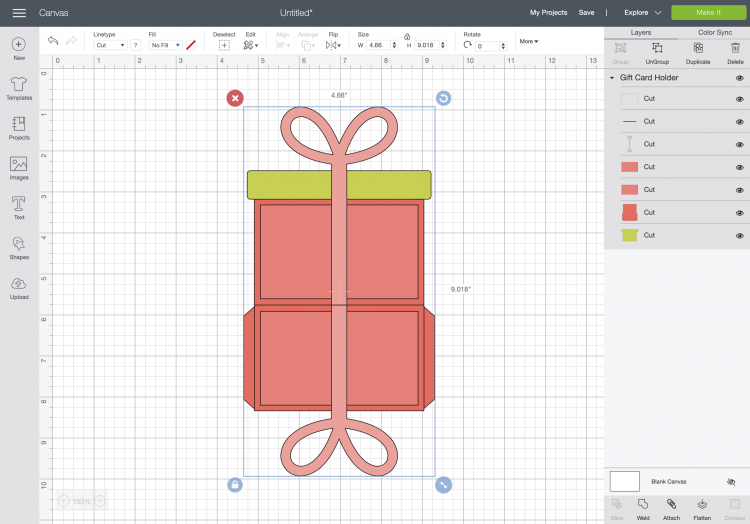
Upload the Gift Card Holder to Cricut Design Space
We will start by uploading the Gift Card Holder file to Cricut Design Space (see Uploading SVG Files to Cricut Design Space if you need help).
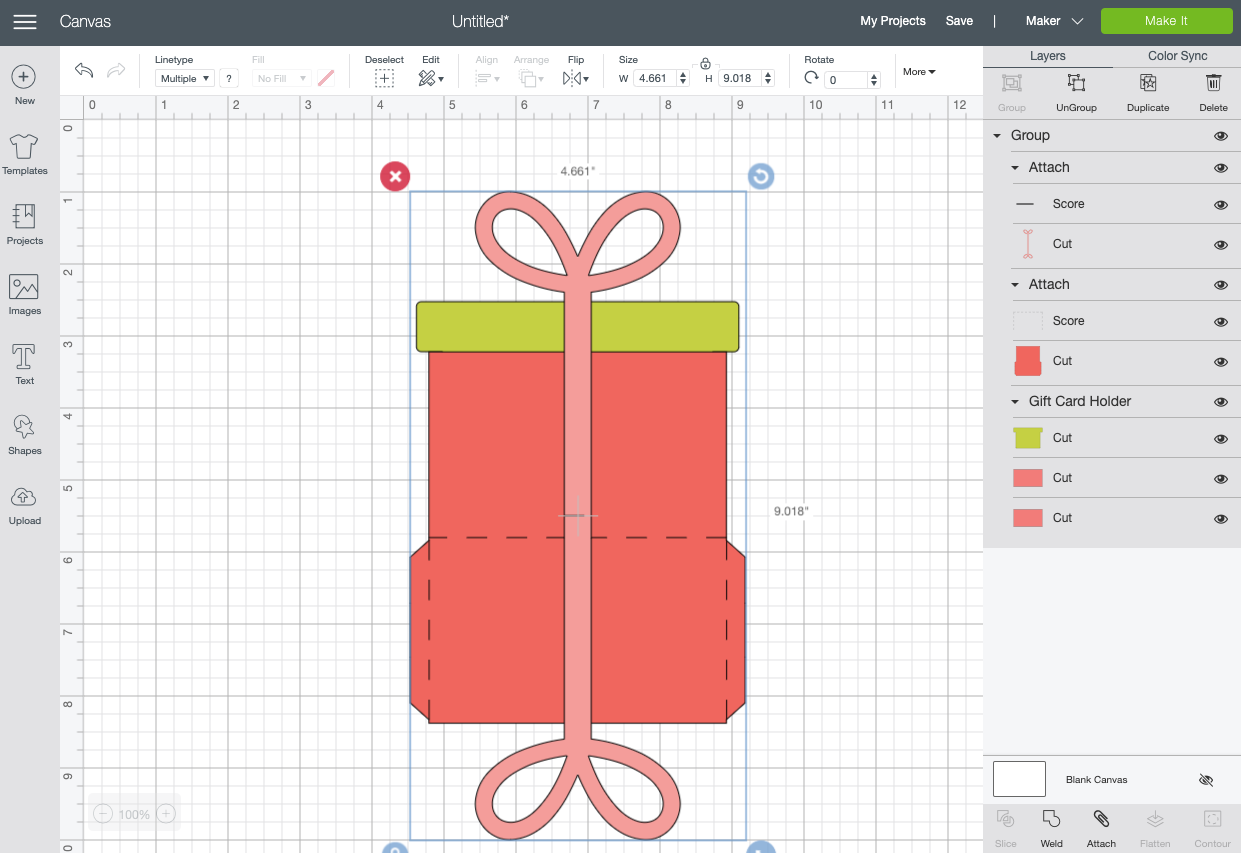
This file is ready to make as is—the file includes the score lines! If you’d like, you can rework the colors to match whatever cardstock and paper you are working with.
Click Make It in the upper right. In the Prepare Screen you’ll see all of the mats for your project. Click Continue.
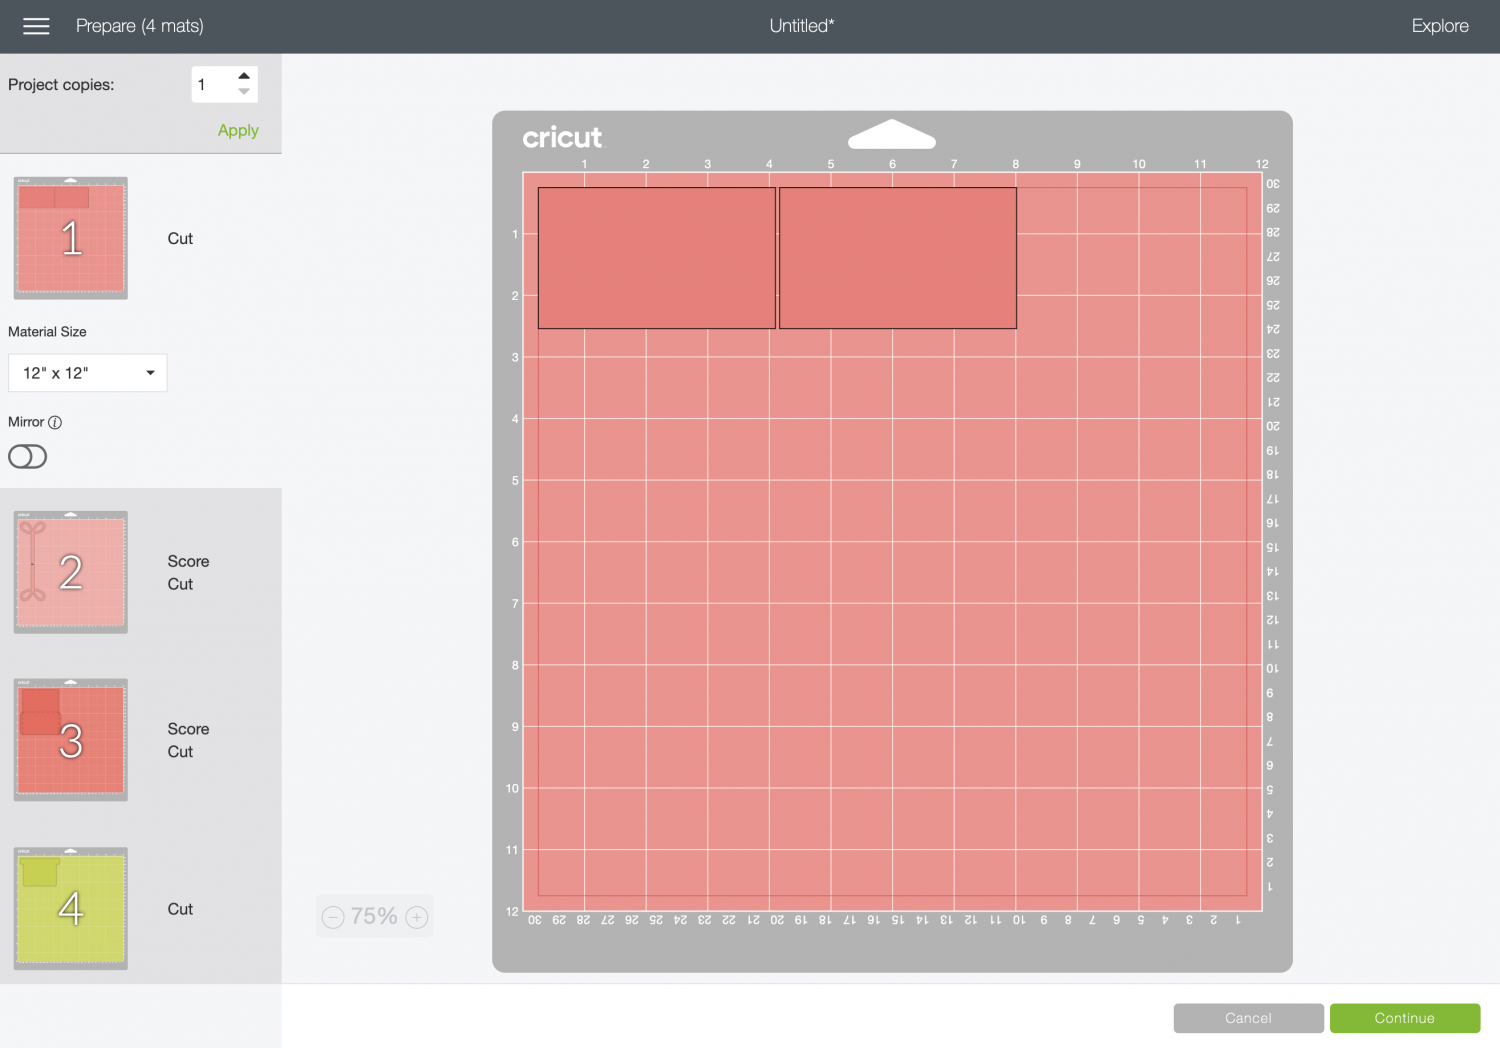
Cut Your Cardstock for Your Gift Card Holder
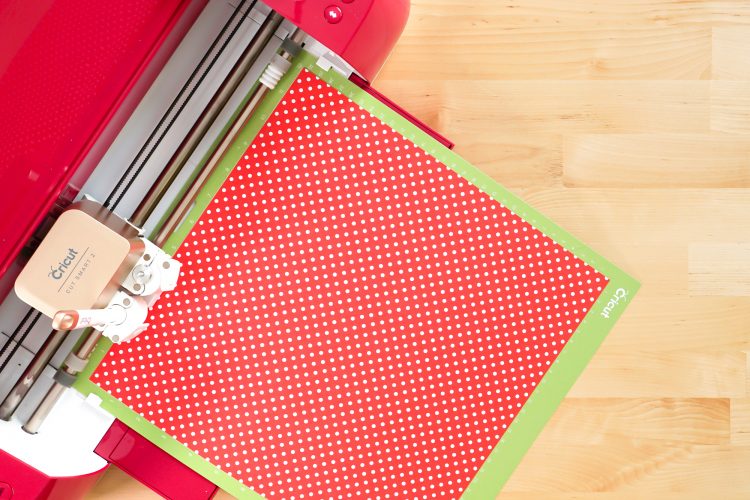
On the Make Screen, you’ll set your material. I’ve used a combination of scrapbook paper and cardstock. And for the scored pieces, make sure you’ve inserted the Scoring Stylus or Scoring Wheel.
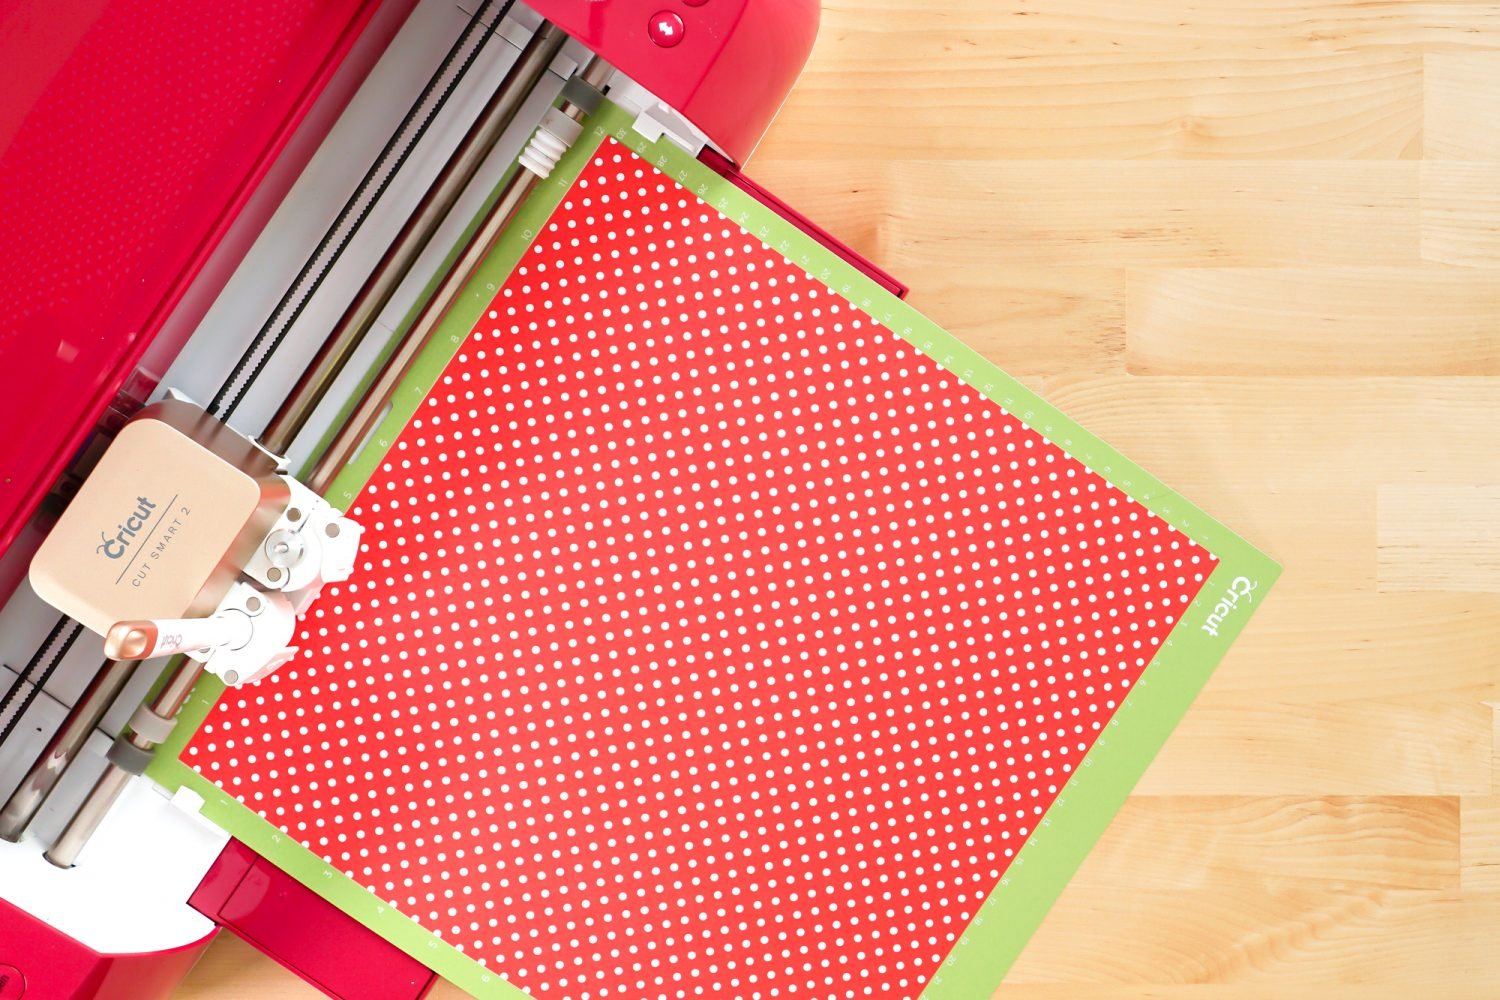
Cut all the layers of the project.
Assemble Your Gift Card Holder
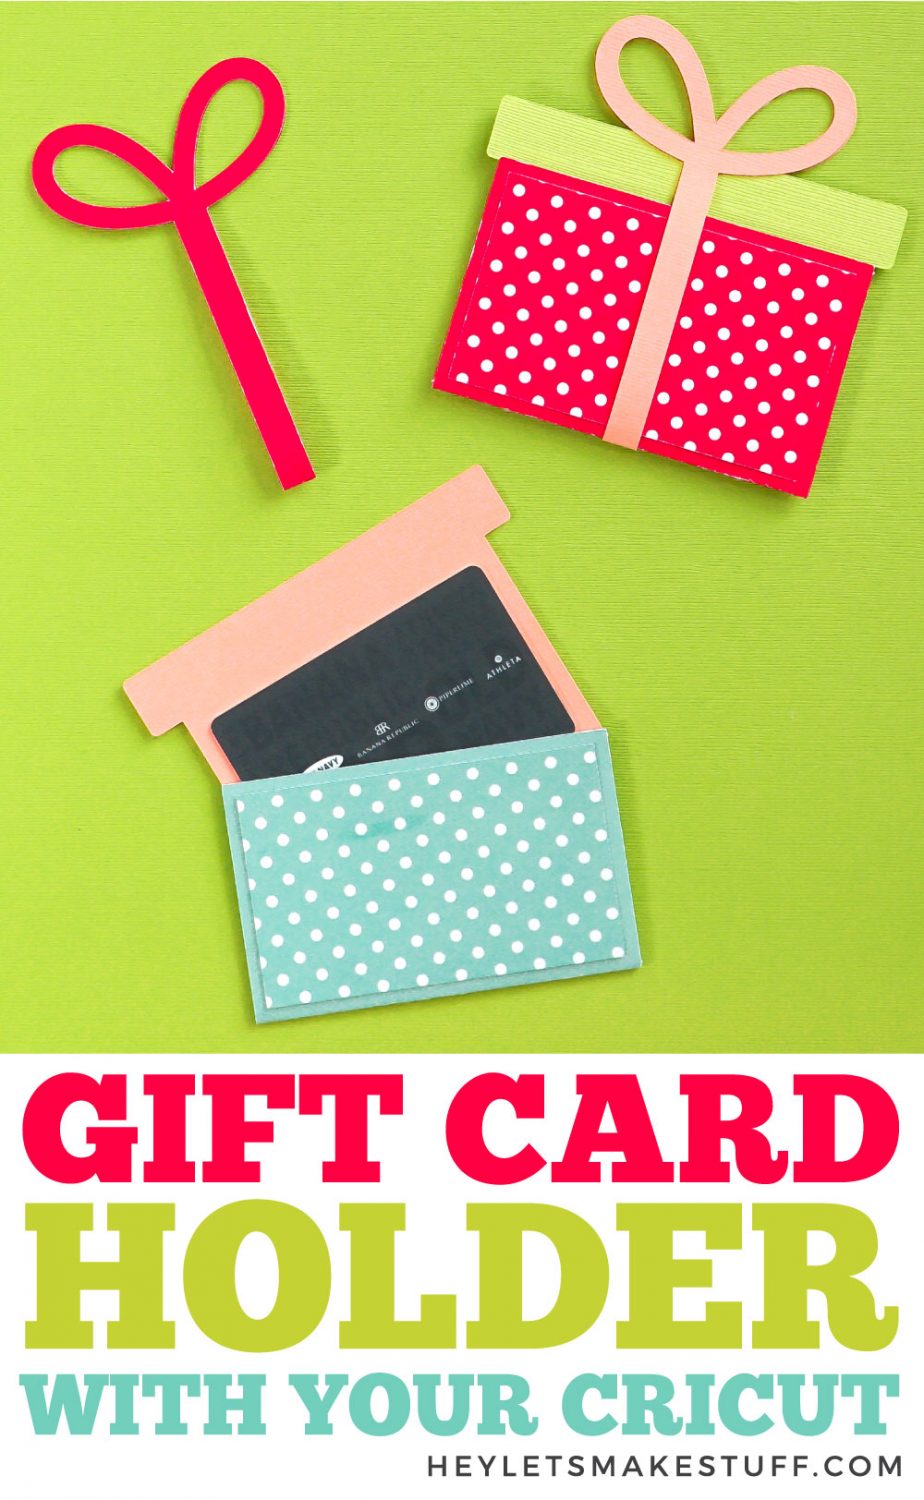
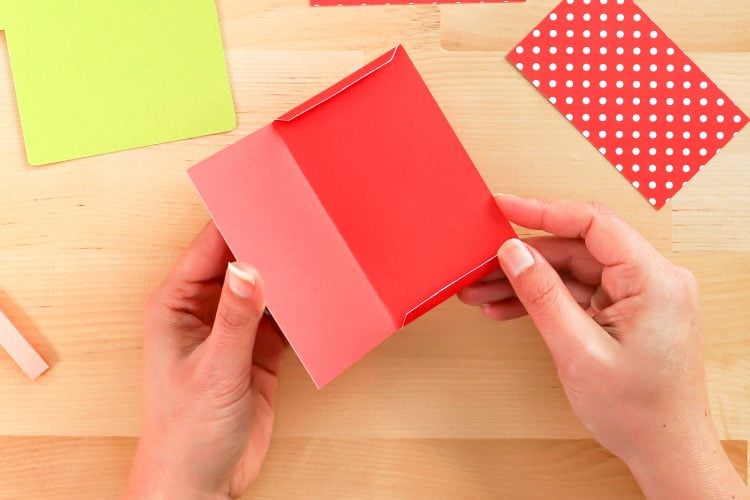
Once all your pieces are cut, you’re ready to assemble the gift card holder. Start by folding along each of the score lines, both on the envelope and the bow.
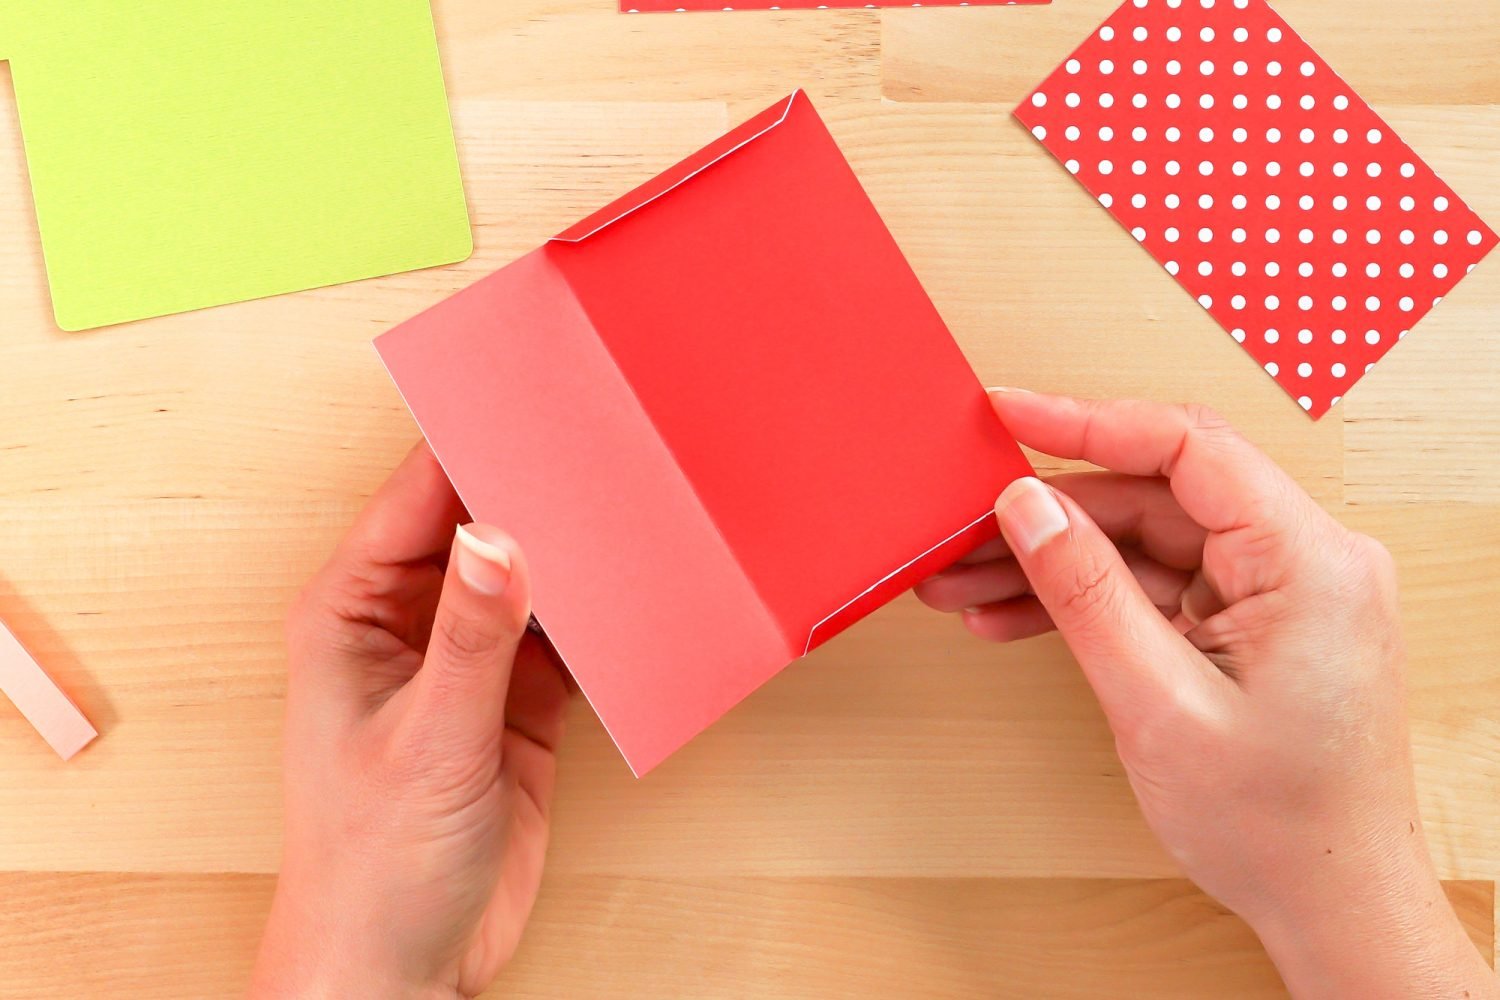
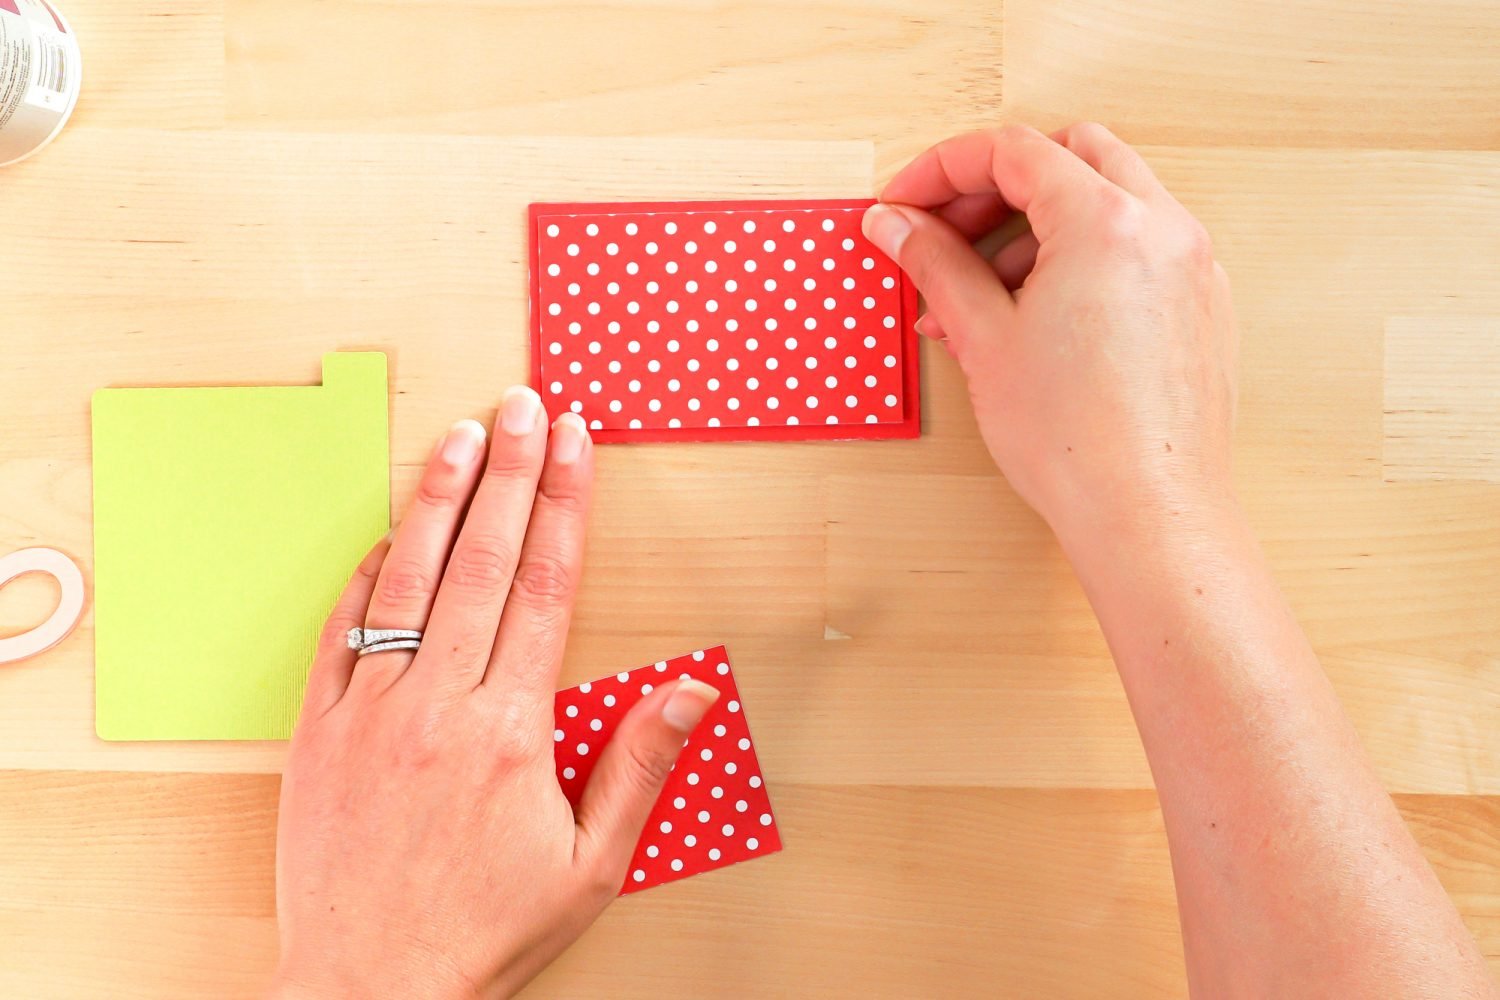
Then add a bit of glue to each side tab, and fold closed to create the envelope.
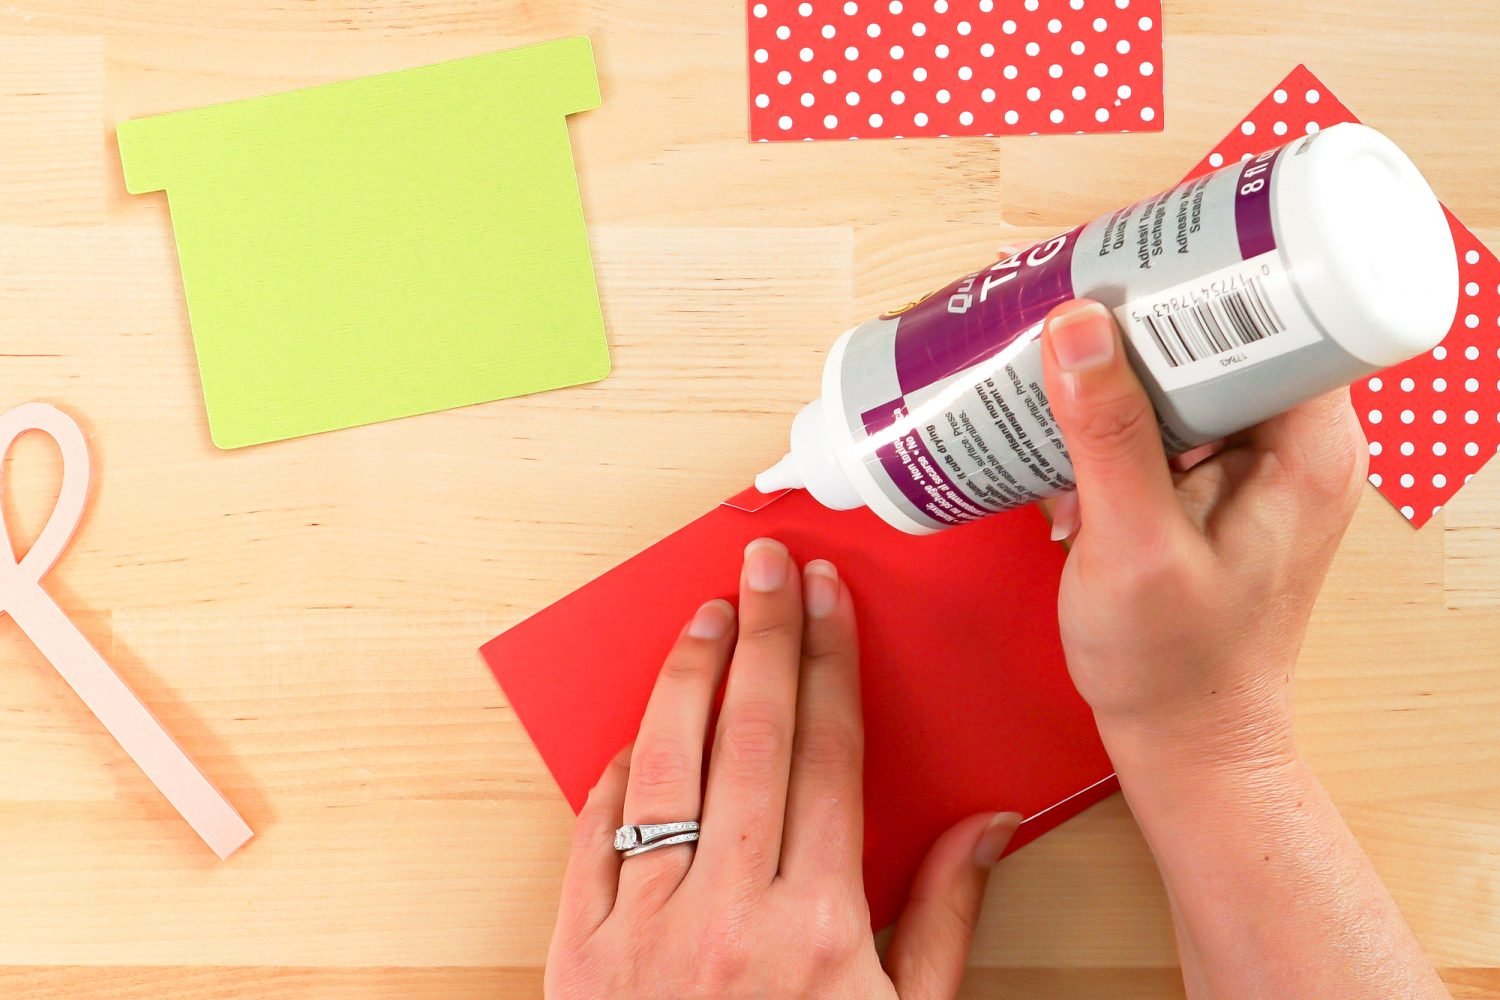
Then glue the decorative pieces to each side of the envelope.
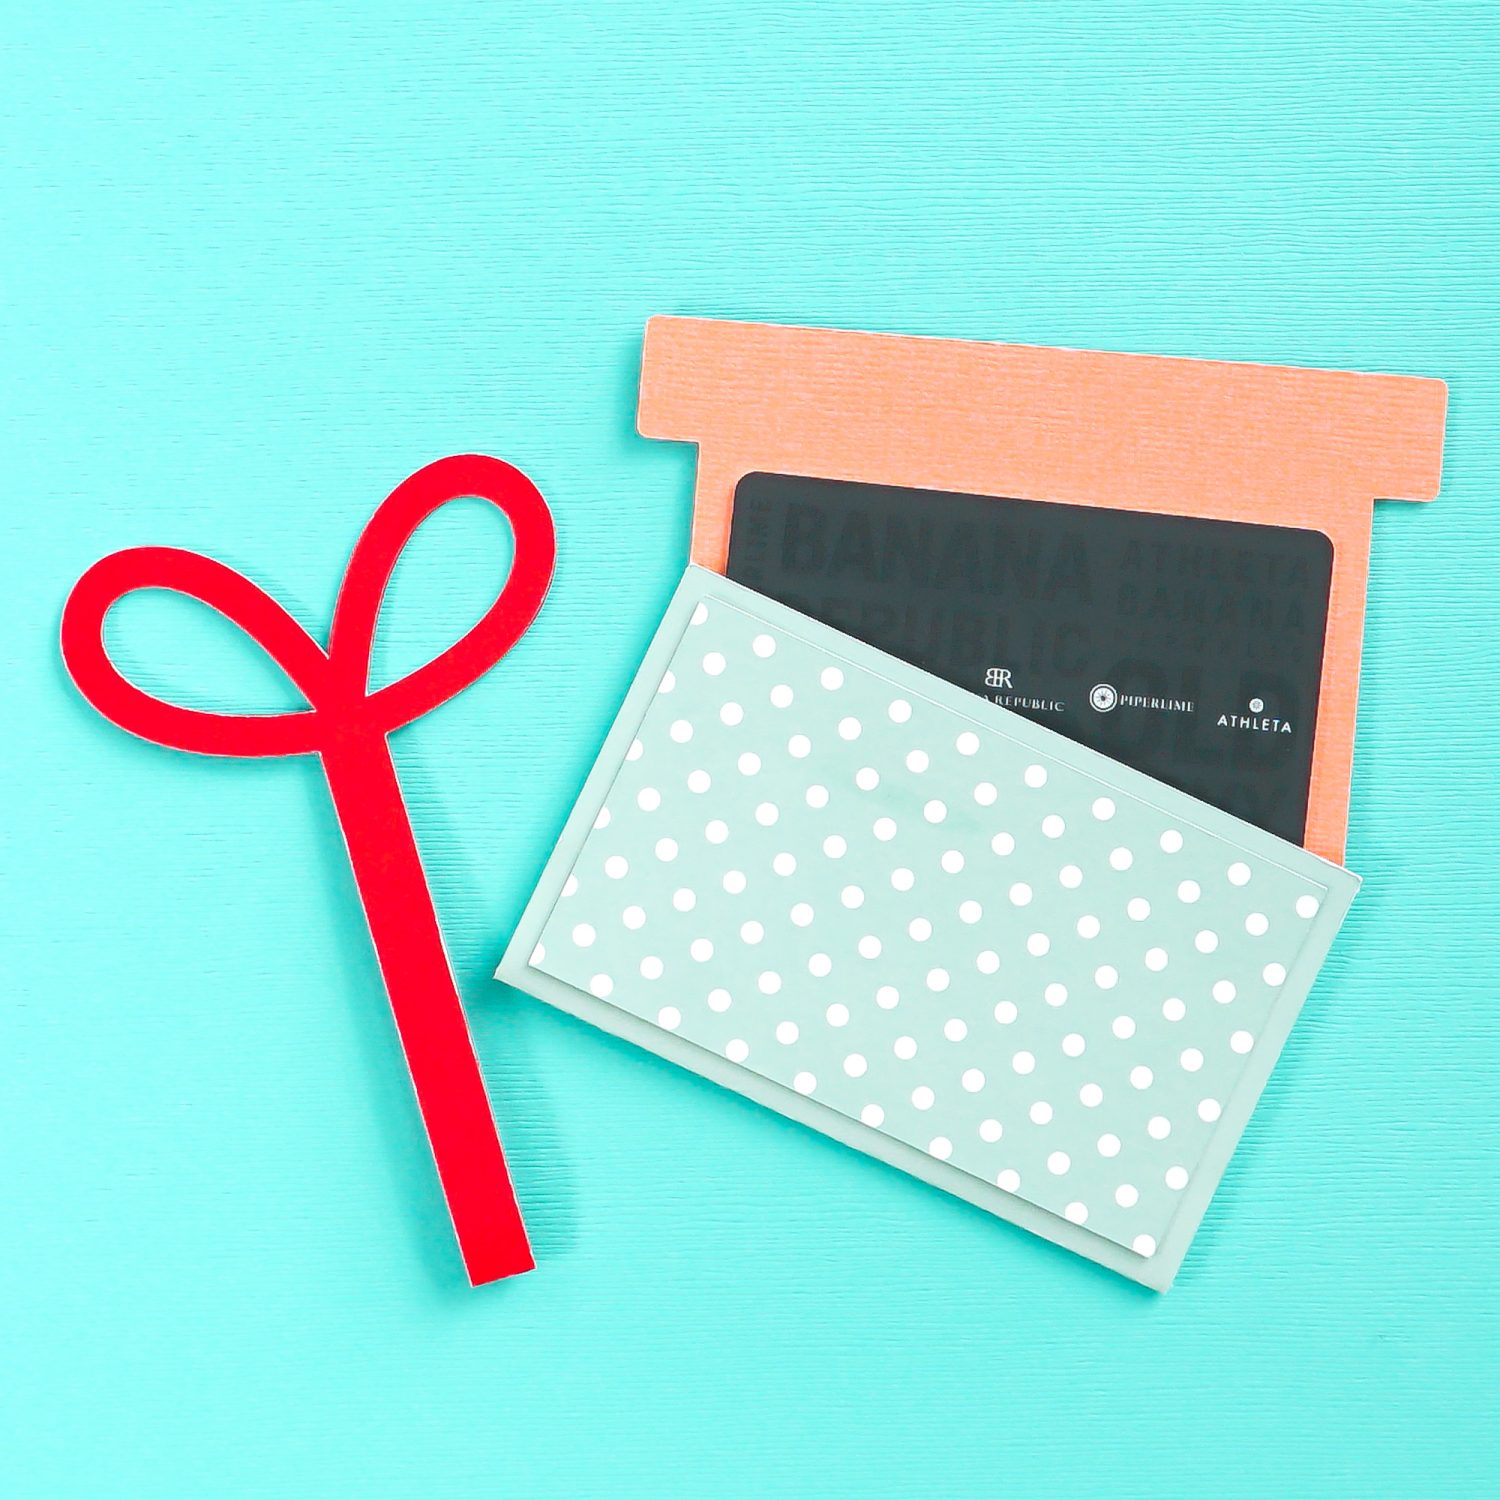
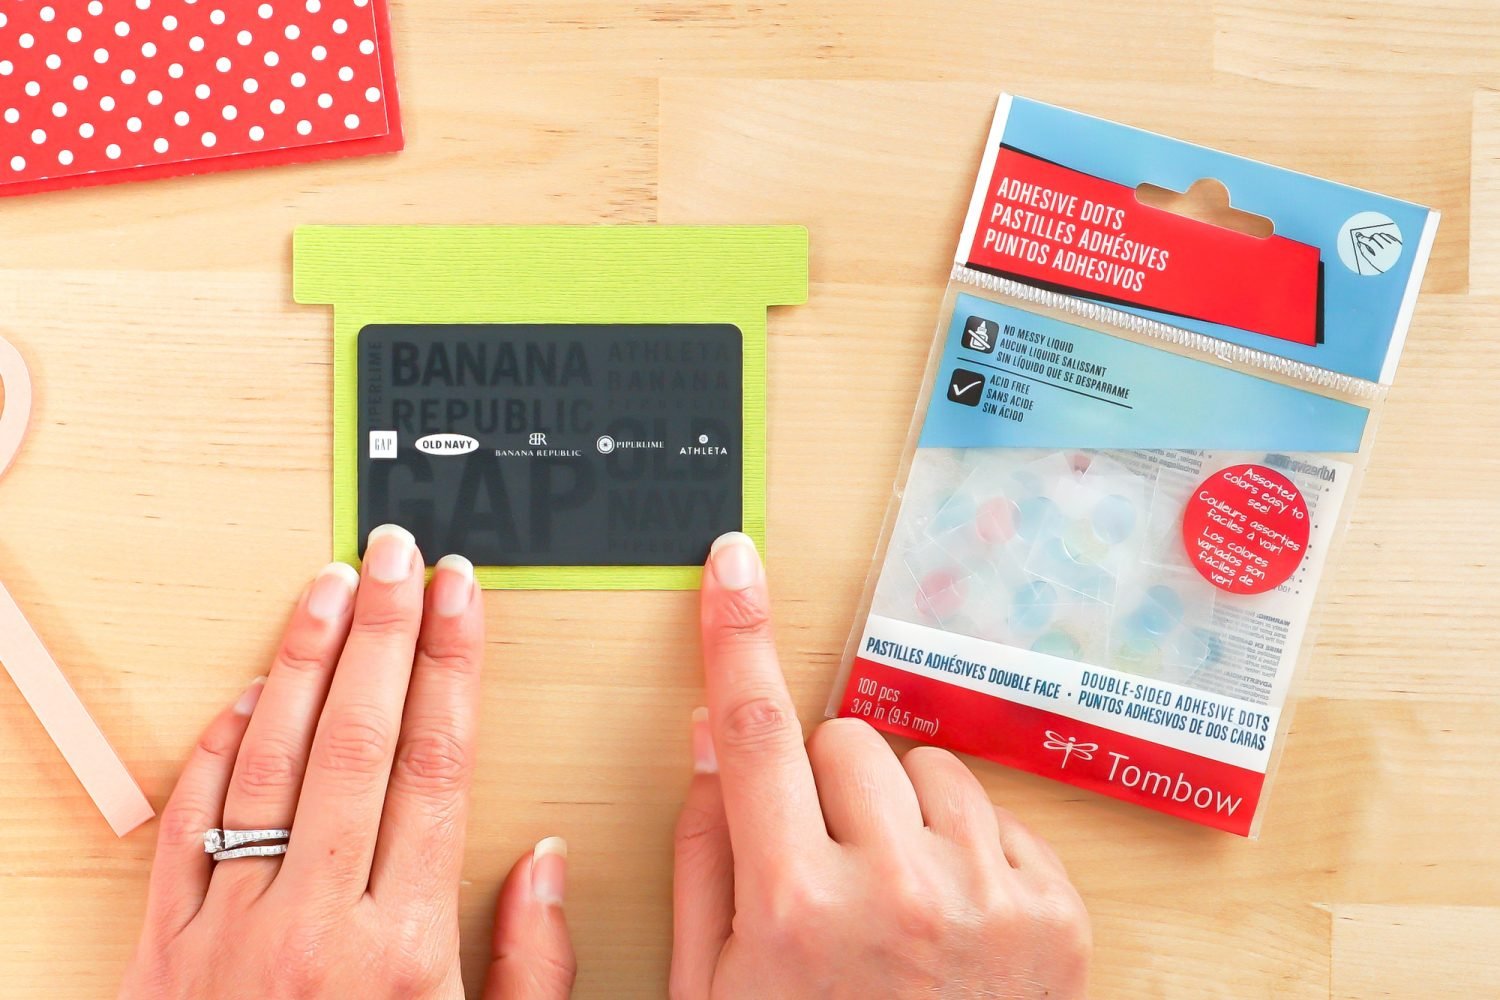
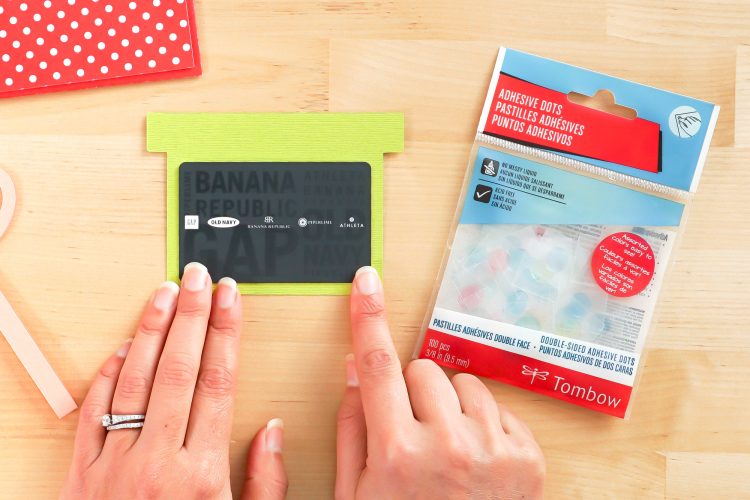
Use a glue dot to attach the gift card to the insert piece. You can also use tape or another adhesive if you prefer.
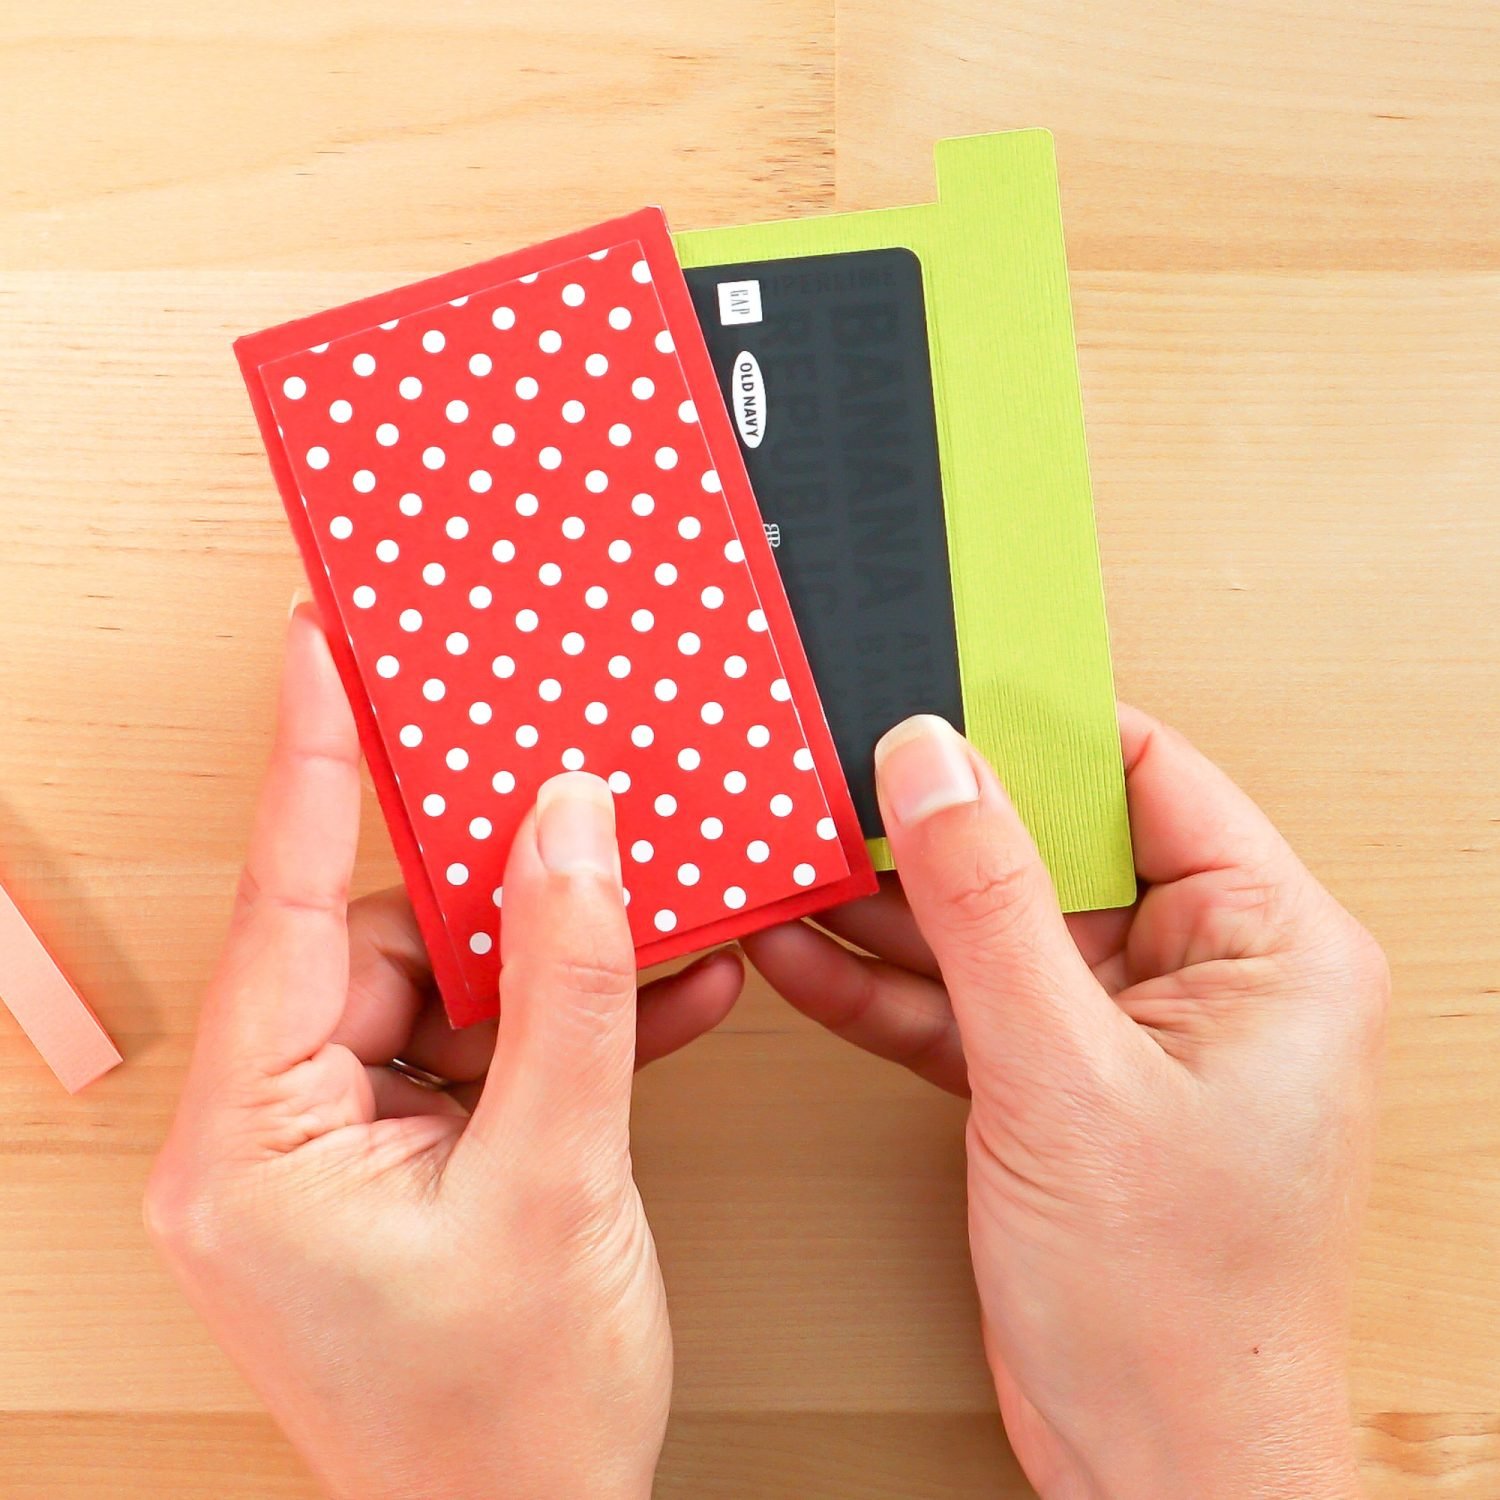
Slide the insert card into the envelope.
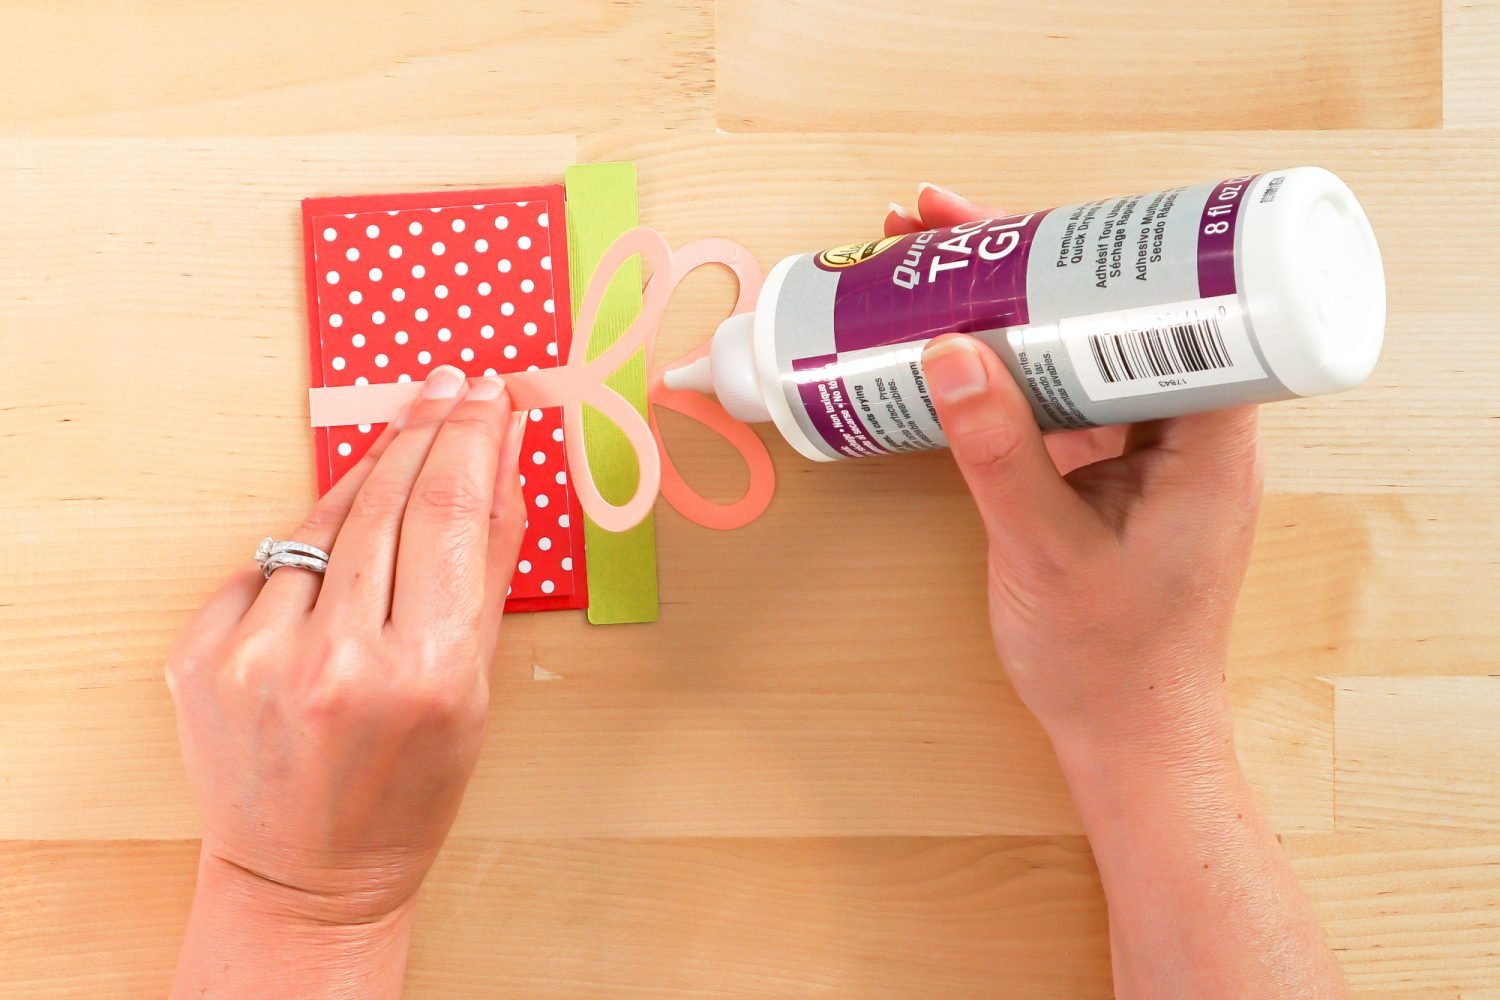
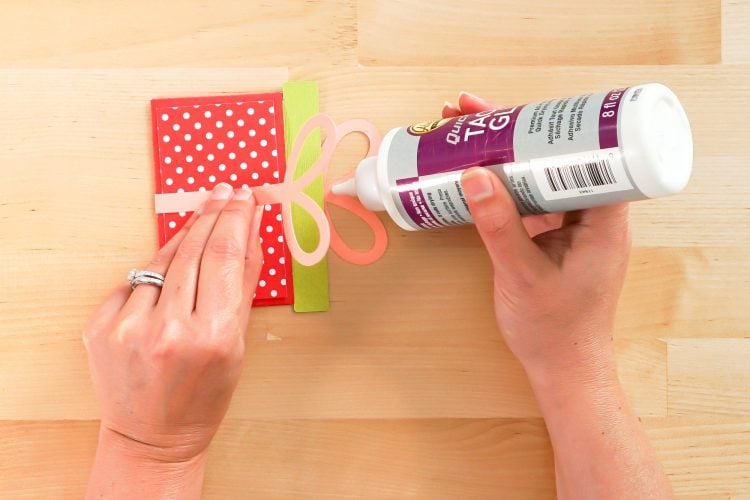
Fold the bow around the gift and secure with a bit of glue. You don’t want to glue the bow to the holder—it should be able to slide off.
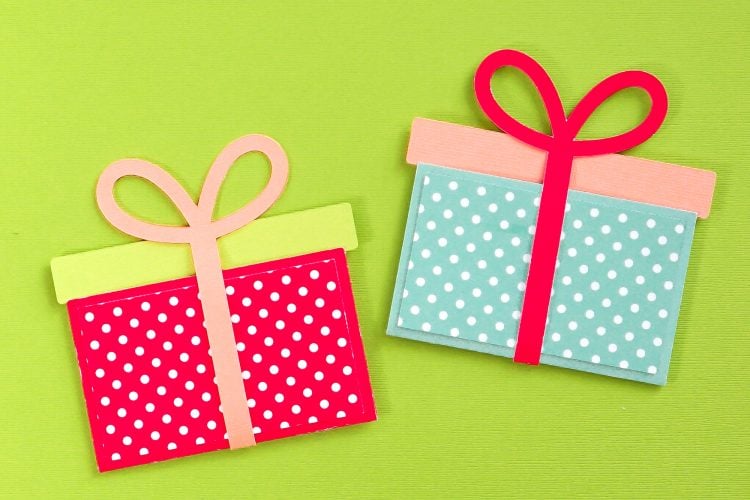
That’s it! You can whip up a fun gift card holder for any season using this file. Make it special by using different scrapbook papers for the decorative pieces on each side!
GIFT CARD HOLDER
Supplies
- Scrapbook Paper or Cardstock four colors
- Tacky Glue
- Glue Dots or other adhesive
Instructions
- Set up the gift card file in Cricut Design Space so it scores properly.

- Cut and score all of the pieces.

- Fold and glue the cardstock to create the envelope.

- Attach the gift card to the insert piece.

- Glue the bow around the envelope and insert.

- Gift to your recipient!

Make All the 25 Days of Cricut Christmas Projects!
We’ll be adding links as each day goes live! Grab the full bundle with all of the projects and SVGs in our 25 Days of Cricut Christmas eBook!
- Day 1: DIY Christmas Countdown Calendar
- Day 2: Snow Globe Shaker Card
- Day 3: Happy Holly Days Christmas Banner
- Day 4: Felt Gnome Pillow
- Day 5: Cookies for Santa Tray
- Day 6: Snowflake Coasters
- Day 7: Customized Christmas Banner
- Day 8: Etched Holiday Baking Dish
- Day 9: DIY Gift Card Holder
- Day 10: Christmas Apron
- Day 11: Christmas Quilt Block Artwork
- Day 12: Constellation Glitter Ornaments
- Day 13: DIY Christmas Card Holder
- Day 14: Papercut Christmas Village
- Day 15: Funny Christmas Socks
- Day 16: Veneer Pinecone Earrings
- Day 17: How to Make Felt Bows
- Day 18: Personalized Santa Sacks
- Day 19: Newborn Footprint Ornaments
- Day 20: Layered Christmas Mandala
- Day 21: Customized Pot Holders
- Day 22: Sleigh Rides Christmas Sign
- Day 23: Hot Cocoa Mug Gift
- Day 24: Print then Cut Gift Tags
- Day 25: Matching Christmas Pajamas


Comments & Reviews
Erin Corbin says
I was trying to attach a copy of the 5th mat my project shows, but I can’t figure out how to do it. If you have an email you want me to send it to, I can do that. Thank you so much.
Erin Corbin says
I bought the svg file for this gift card holder and I have a couple questions (because I am pretty new to Cricut). First, when I upload the image and hit Make It, I don’t see any prompts to add the scoring stylus? Also, my project gets separated onto 5 mats (instead of the 4 that I think yours shows) and I can’t figure out what the fifth item is? I have attached a picture of the 5th mat that my project shows. Thank you very much for your help!
Kathleen says
This is super cute!