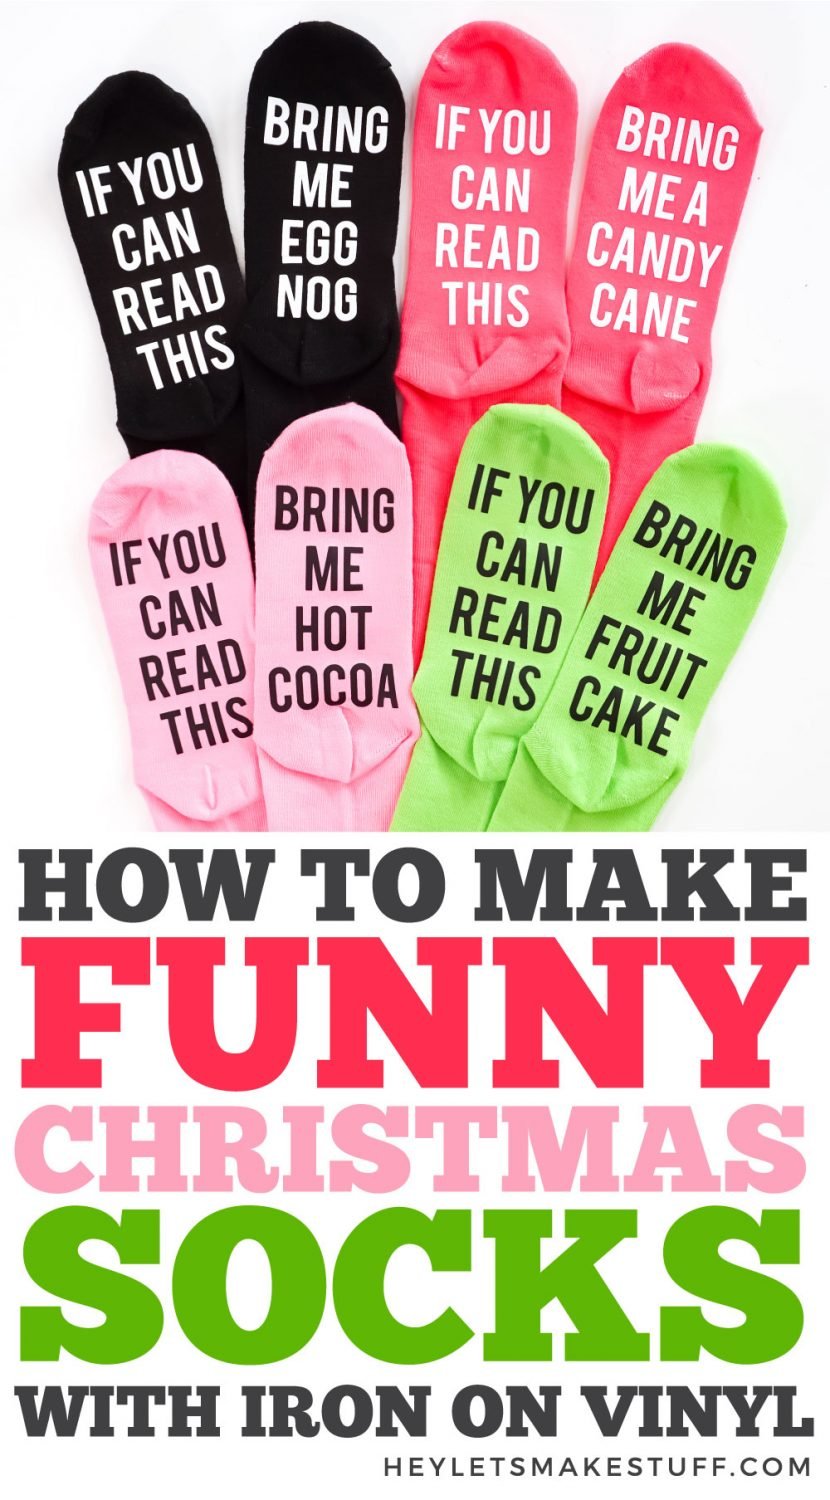
Put your feet up and at the same time let everyone know what you’re craving with these funny Christmas socks, made with your Cricut! These socks make a great stocking stuffer.
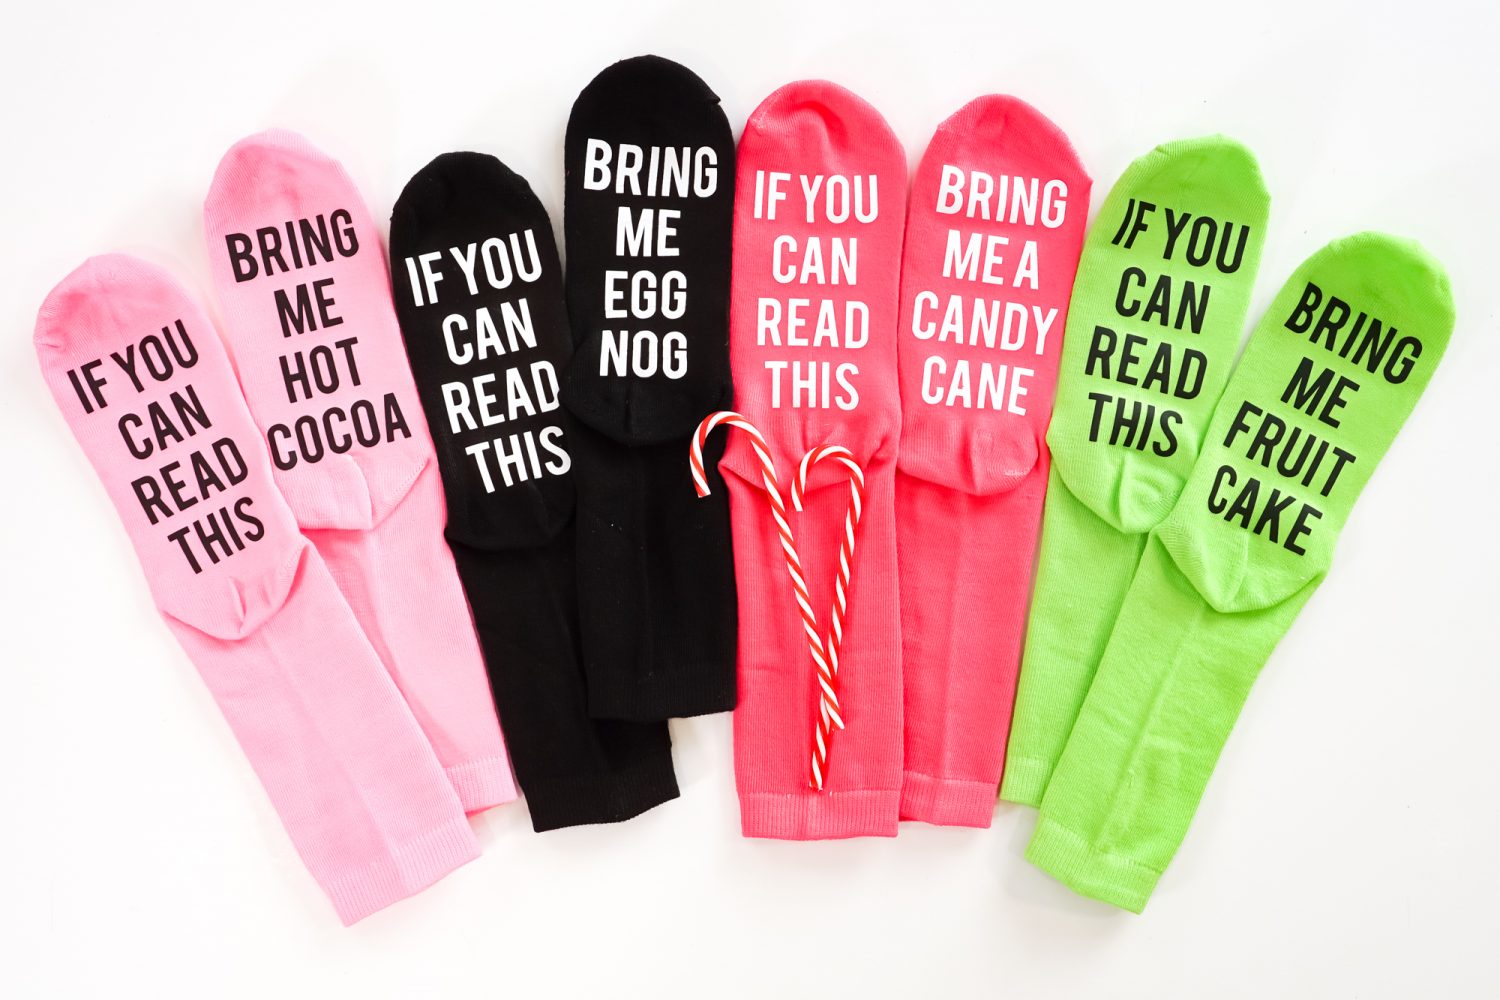
We’re on Day 15 of 25 Days of Cricut Christmas—where is November going? Today we’re making one of my favorite stocking stuffers…funny Christmas socks!
If you’d like to get this series in an ebook format PLUS all of the SVGs needed to make all 25 projects check out the 25 Days of Cricut Christmas eBook Bundle!
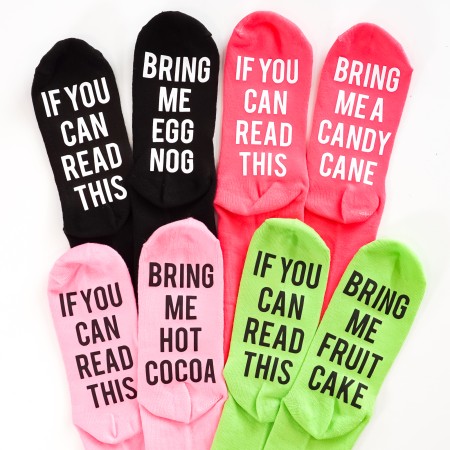
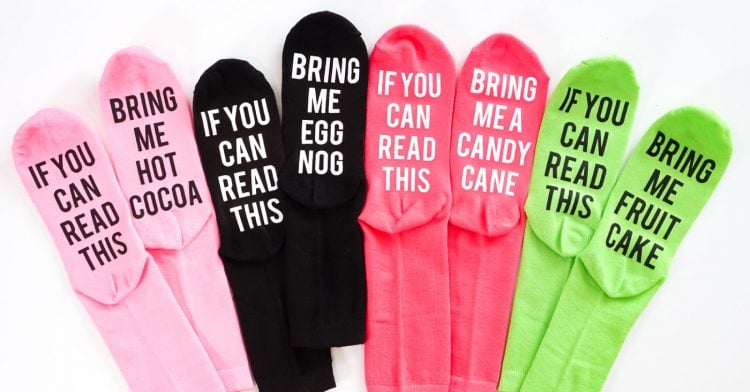
These types of funny socks have been floating around for awhile. The trick is when you’re sitting down with your feet up, other people can read them and get you whatever your socks are requesting. For this project, I have four different holiday treats!
- Hot Cocoa
- Candy Canes
- Fruit Cake
- Egg Nog
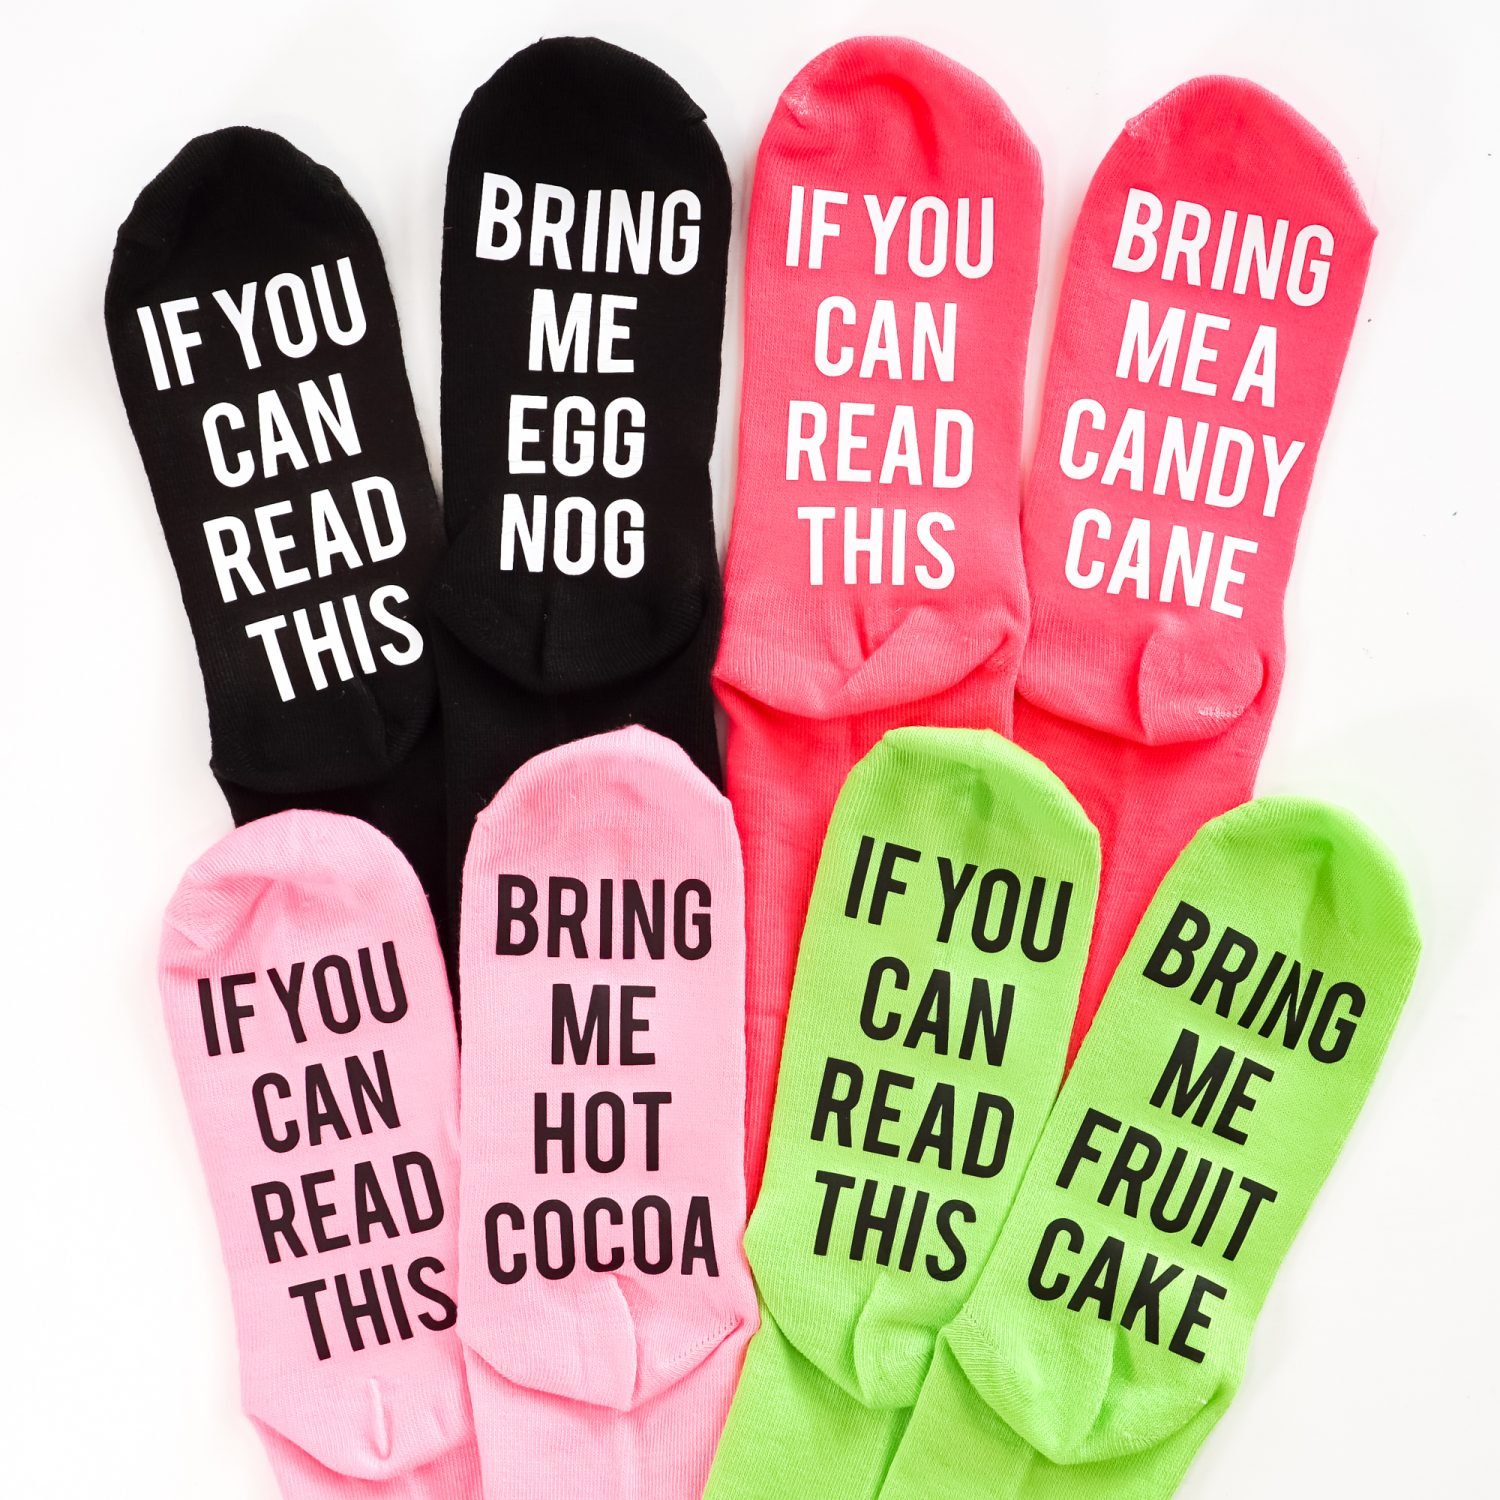
You can find blank socks just about everywhere. I got a big set on Amazon (see the link in the supply list below), but your local Dollar Tree, Walmart, Target, or other store-that-sells-socks will have great options.
You want socks with a completely blank bottom. No words or bumps/ribbing, and no weird grippy bits. Smooth socks work the best—save those fuzzy socks for another time.
Christmas Sock Supplies
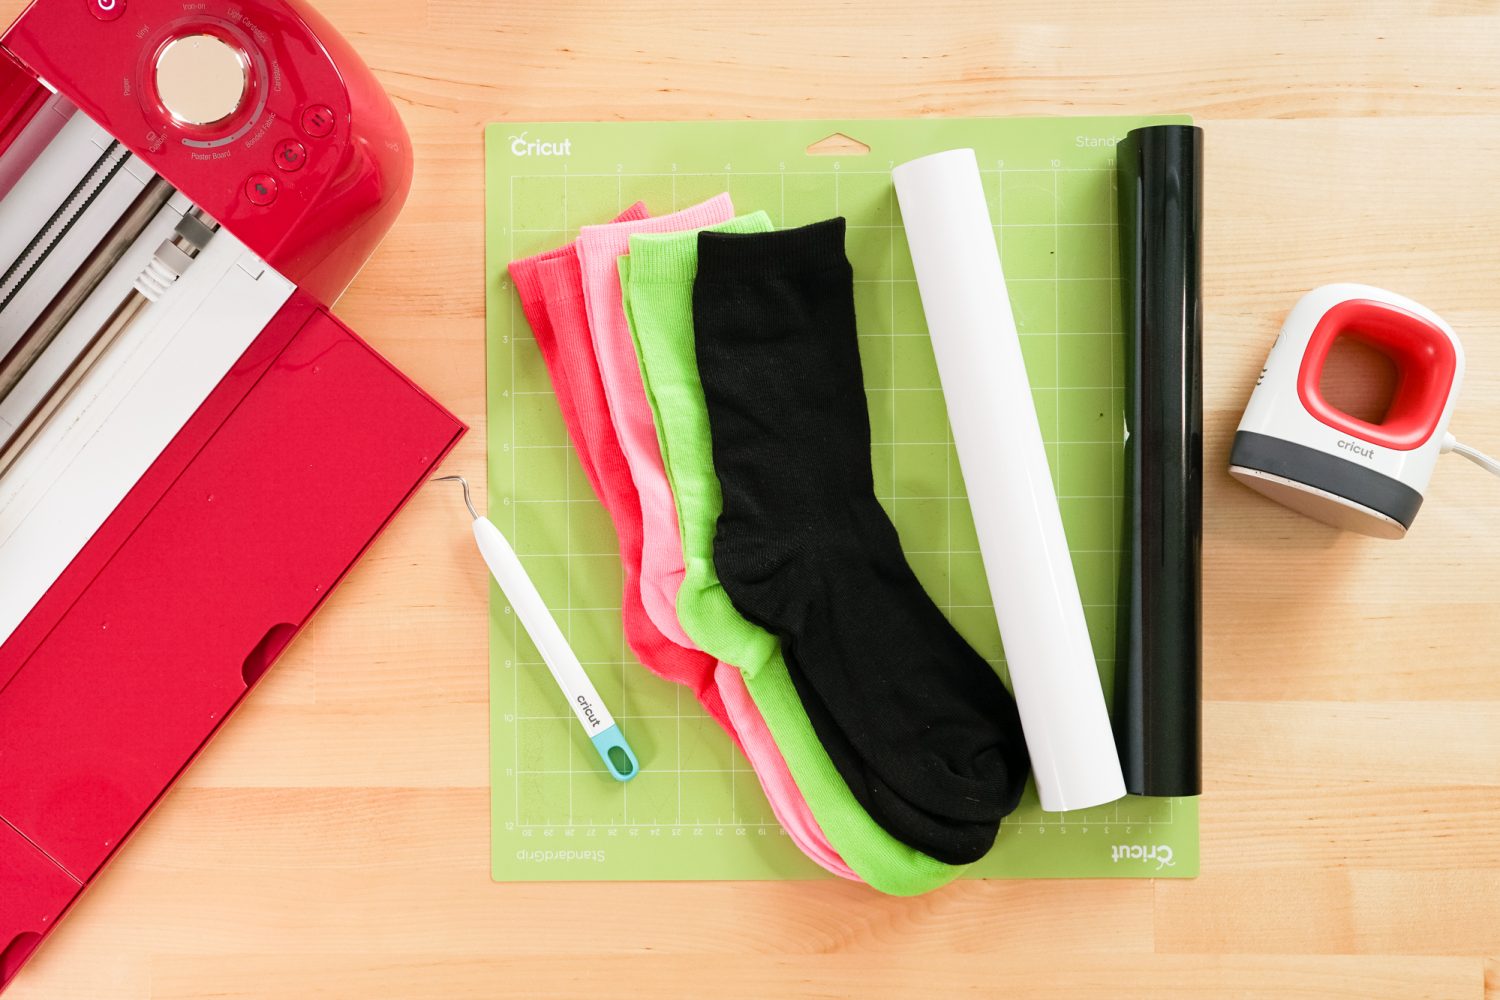
- Cricut Explore or Cricut Maker
- Blue LightGrip or Green StandardGrip mat
- Iron on vinyl
- Weeding tool
- Cricut EasyPress, Cricut EasyPress Mini, or household iron
- Pressing mat or EasyPress mat
- Socks
- Sock Sayings SVG
Grab the SVG for this Project
Christmas Sock Instructions
Upload the Funny Christmas Socks file to Cricut Design Space
To start, upload the socks file to Cricut Design Space (see Uploading SVG Files to Cricut Design Space if you need help).
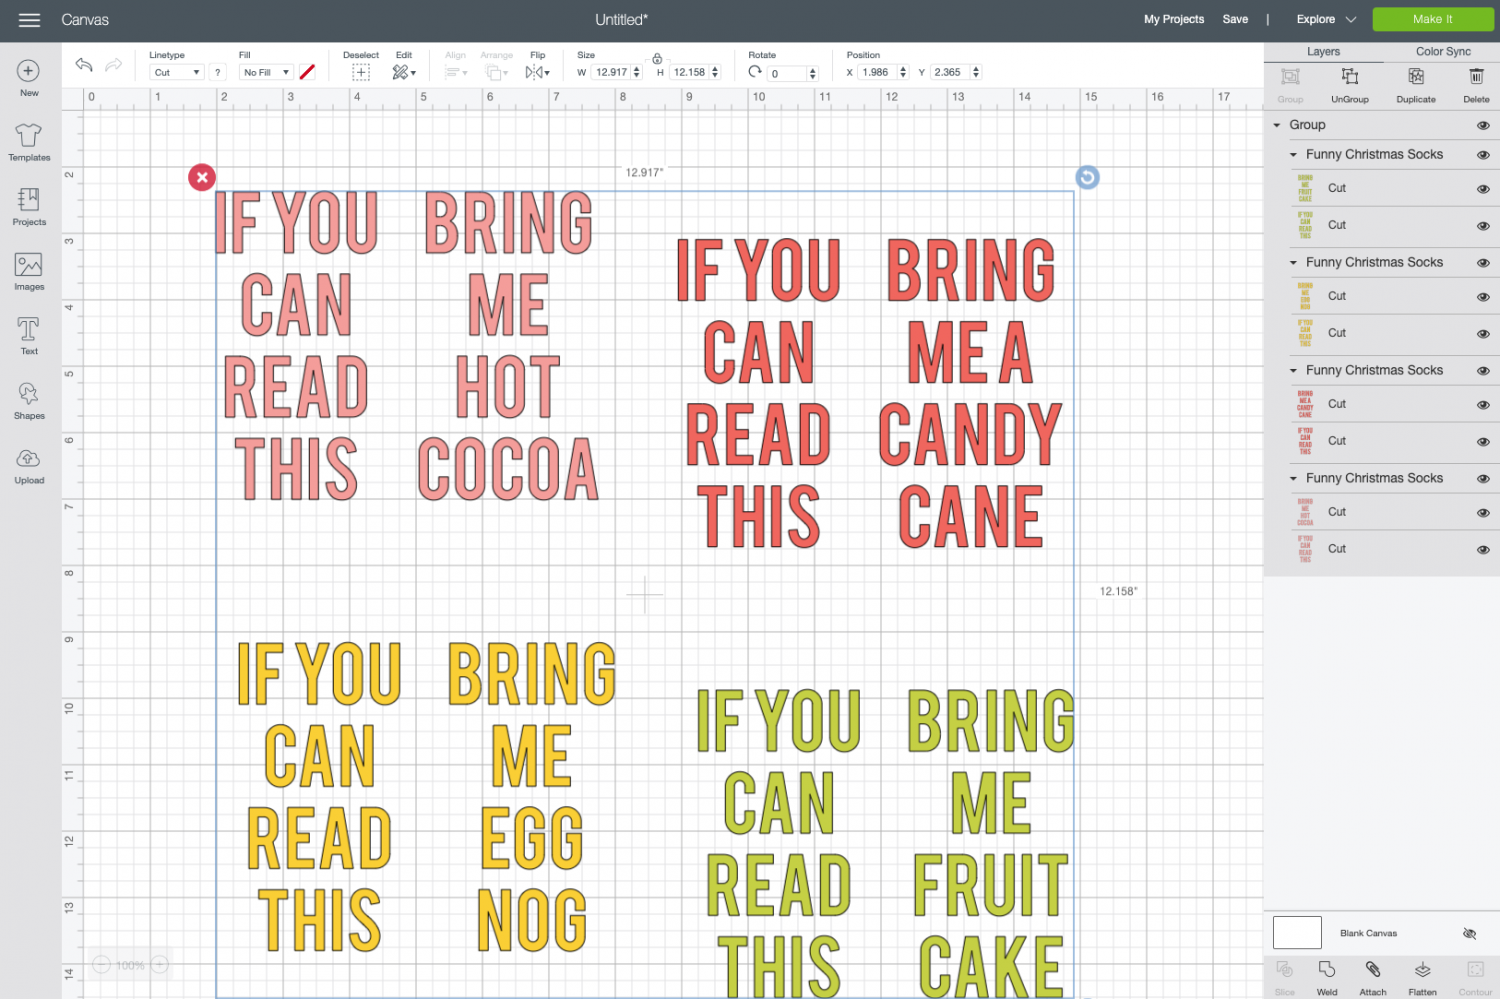
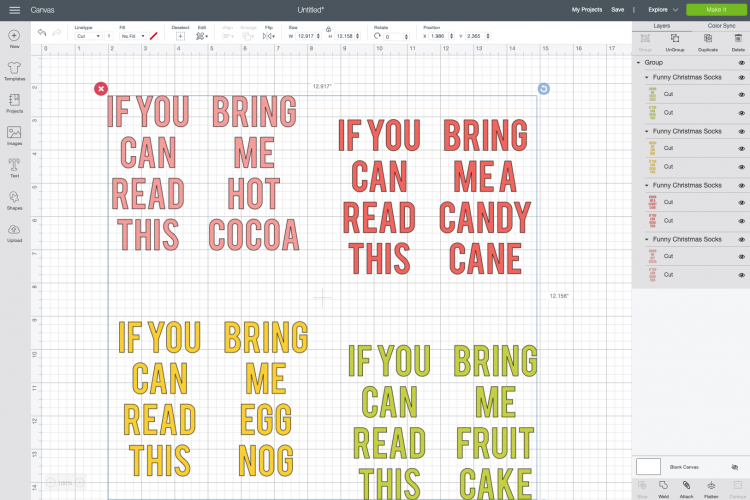
Once the file is onto our canvas, select the image and click Ungroup twice at the top of the Layers Panel on the left. That way we can work with each sock individually.
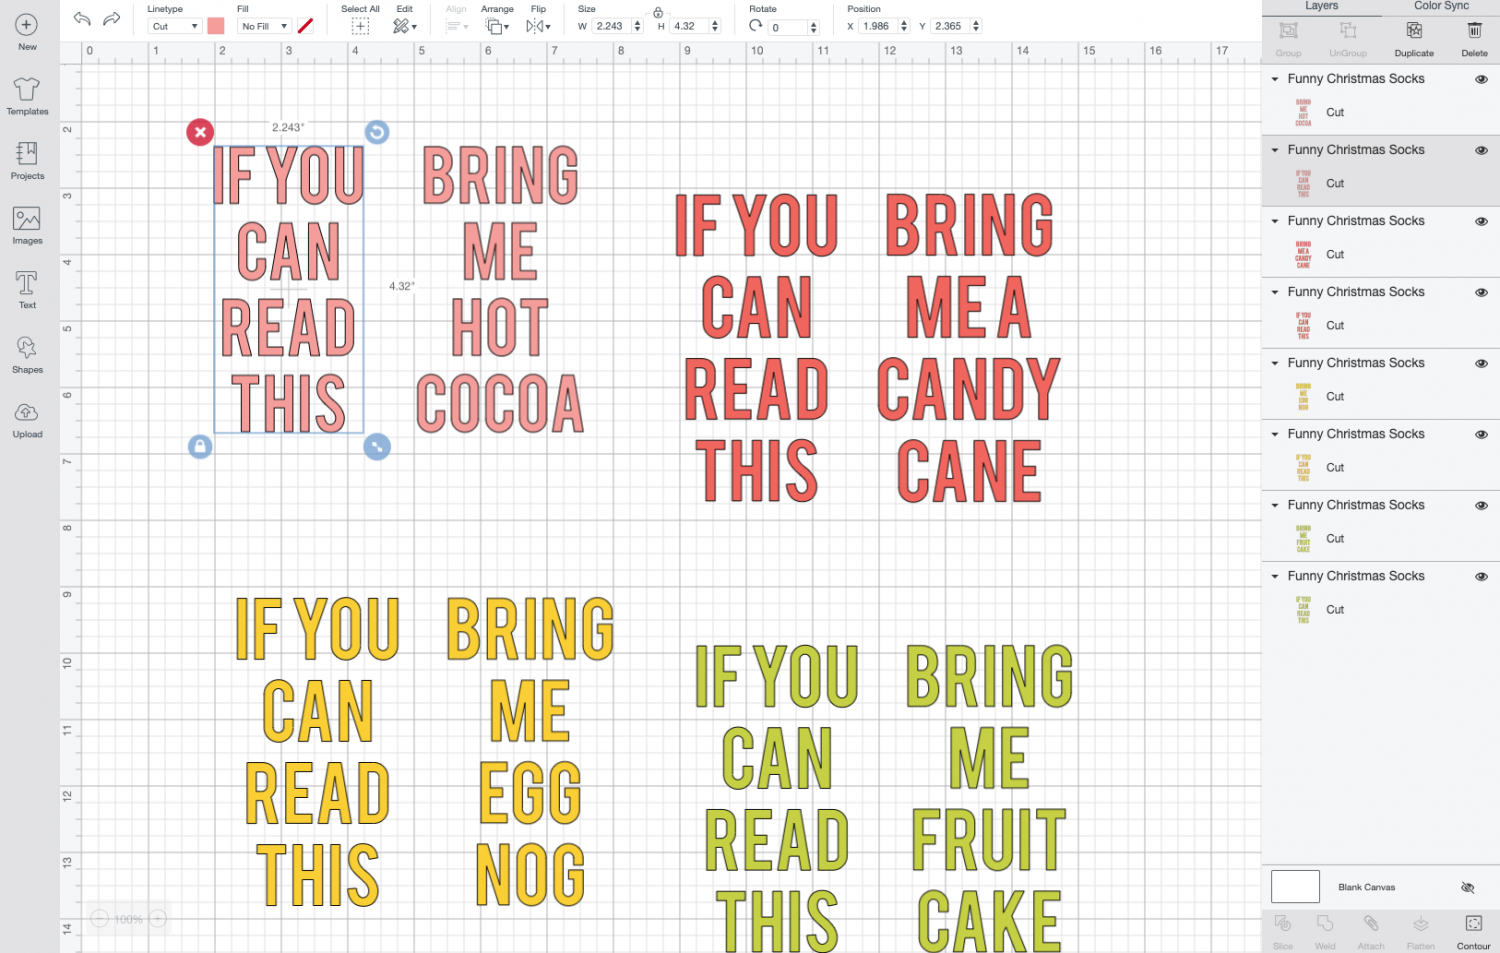
Next, you’ll resize each set to fit on your socks. Measure the bottom of your socks. The useable area for mine is about 2.5″ wide by 4.5″ tall, for example. Resize each sock so they fit into your particular dimensions.
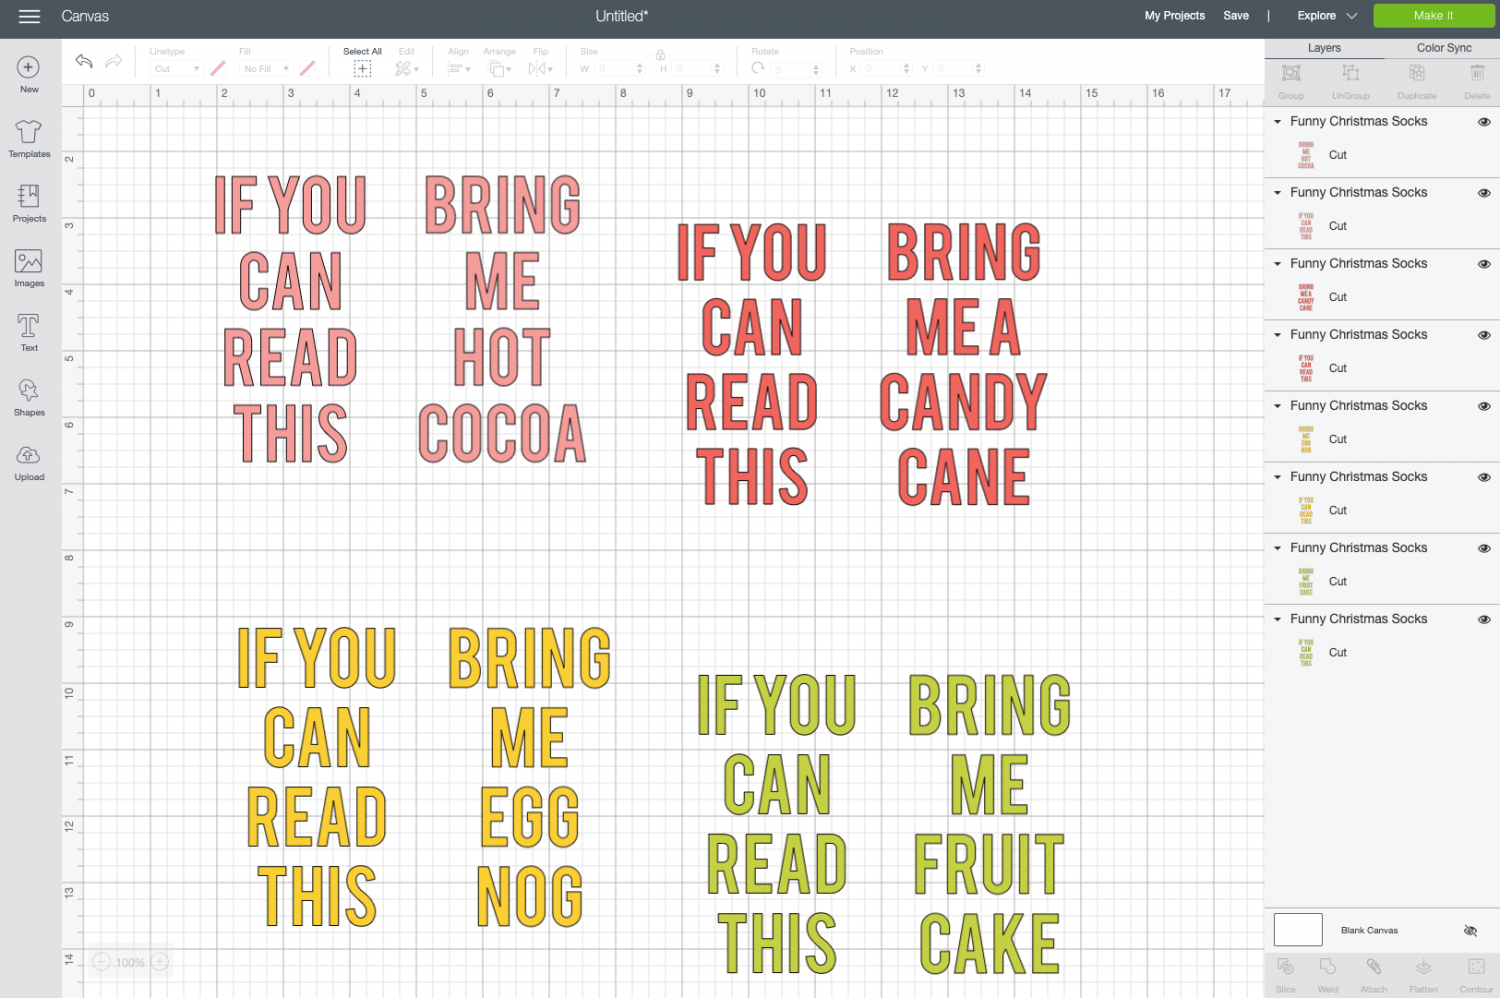
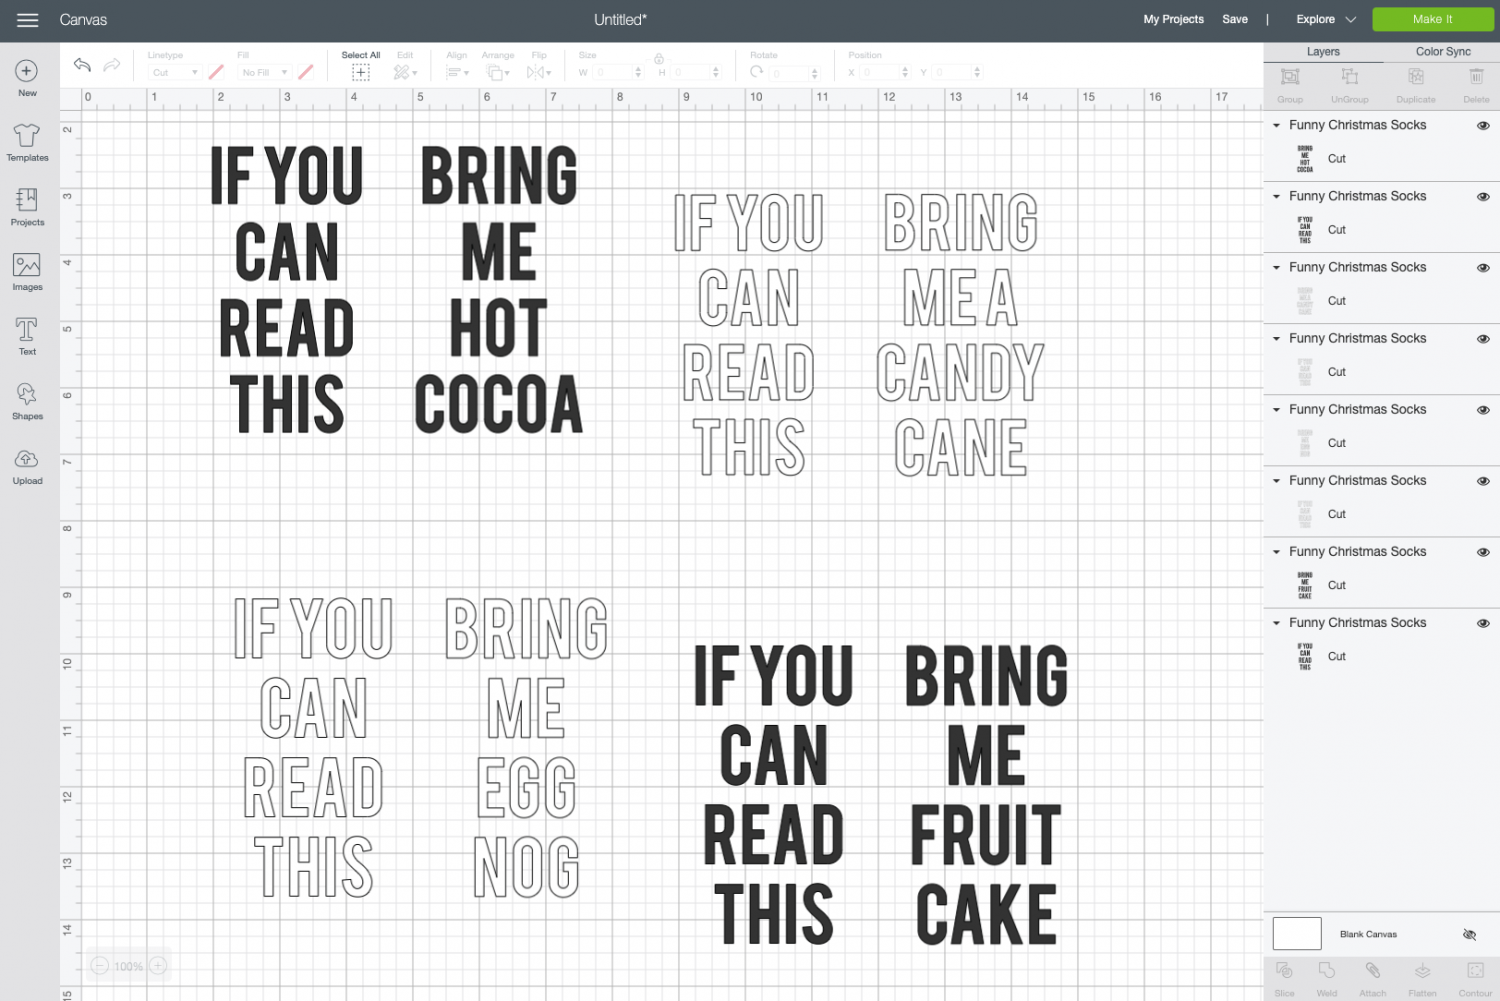
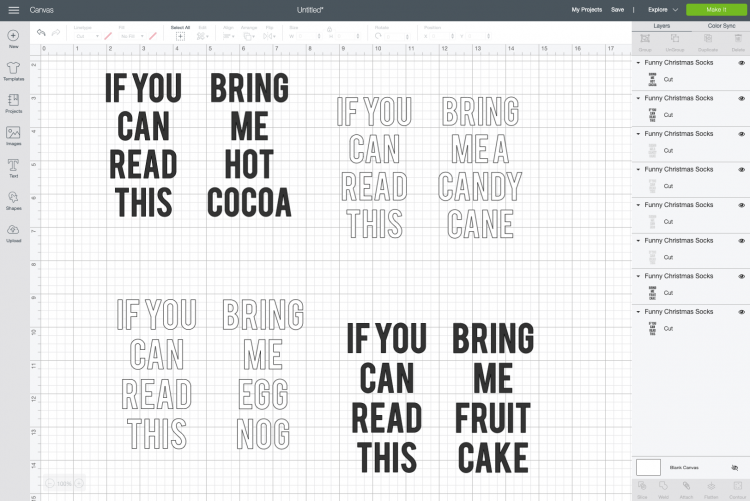
I decided to cut these in black and white for my socks, so I changed the colors to black and white. Recolor to whatever color you’re using for your socks.
Now we are ready to cut the file! Click Make It in the upper right and you’ll be taken to the Prepare Screen. Here, we want to click the “mirror” slider for any and all mats you are using. This will ensure that the words face the correct direction when ironed onto the socks.
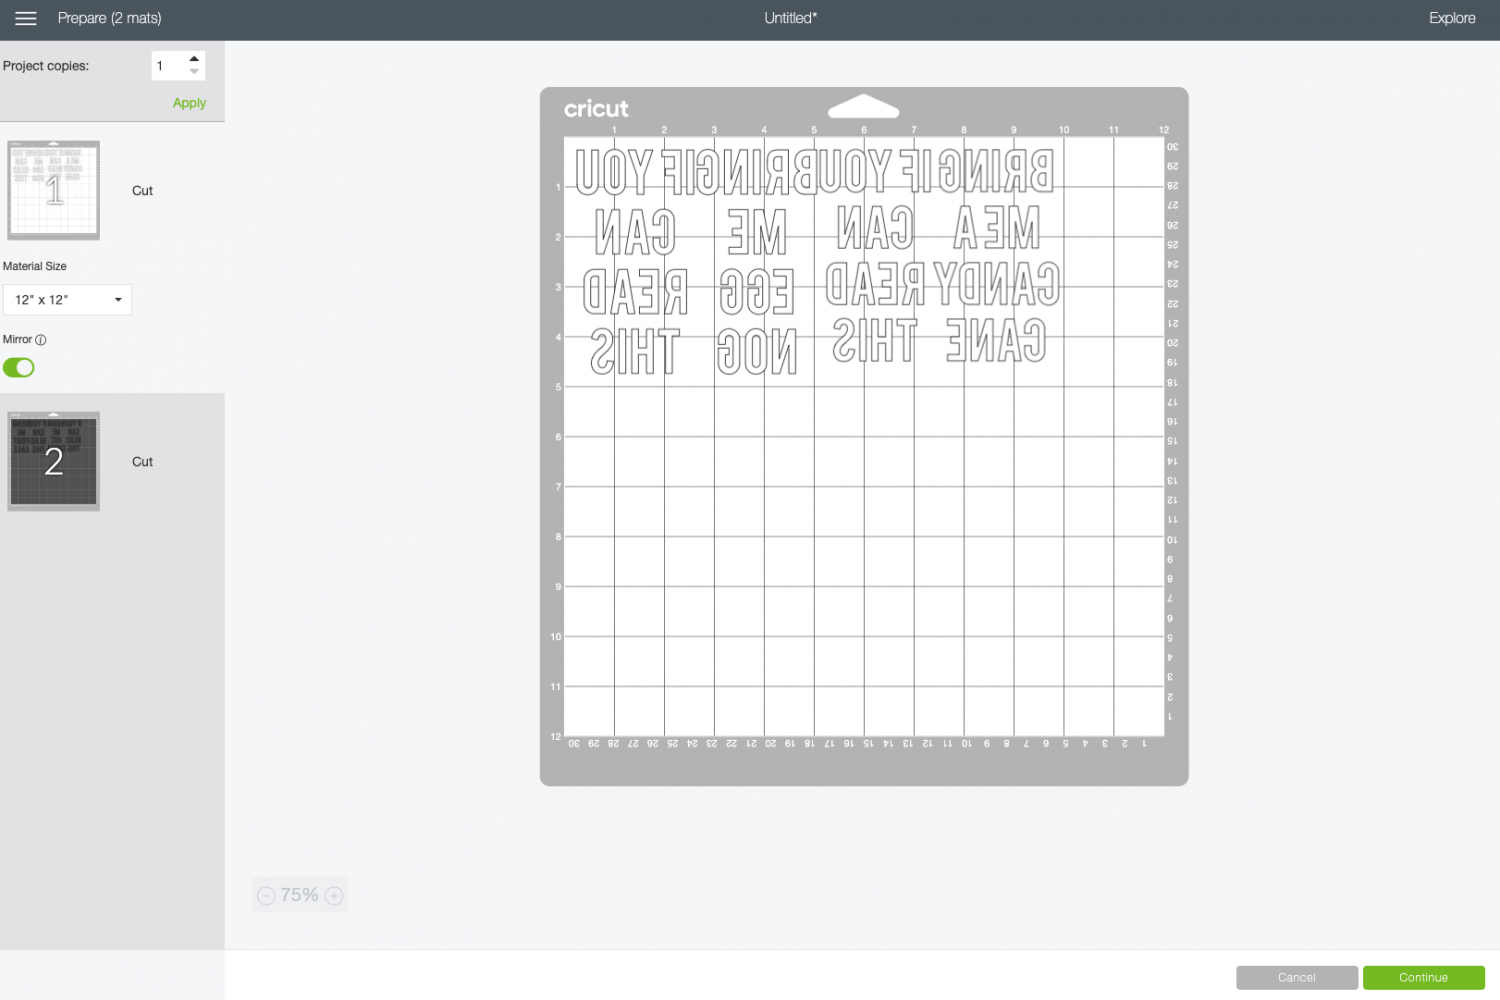
Then click Continue.
Cut Your Iron On Vinyl for Your Funny Christmas Socks
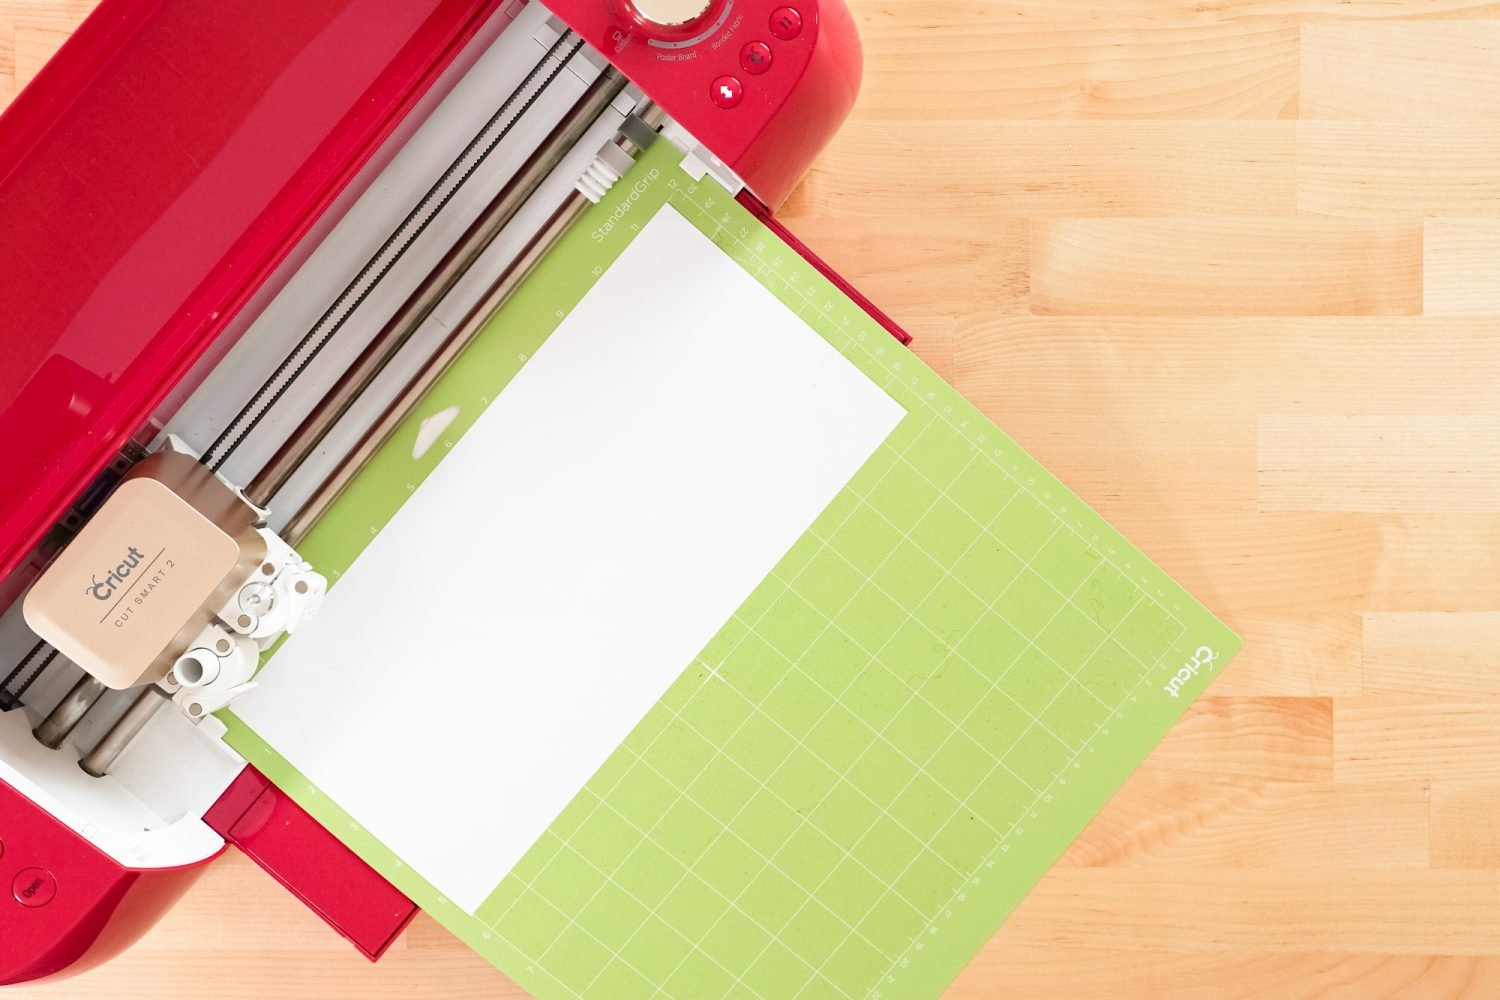
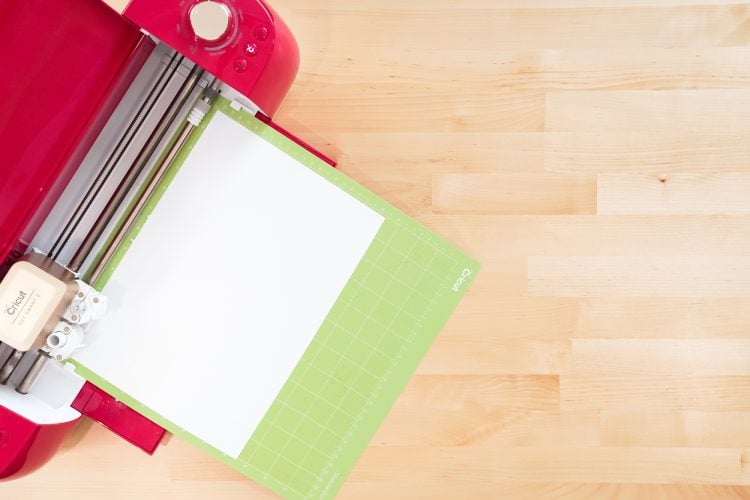
On the Make Screen, you’ll set your material to iron on. Make sure you have your fine point blade in your machine, insert your mat, and your Cricut will cut your project!
Weed Your Iron On Vinyl
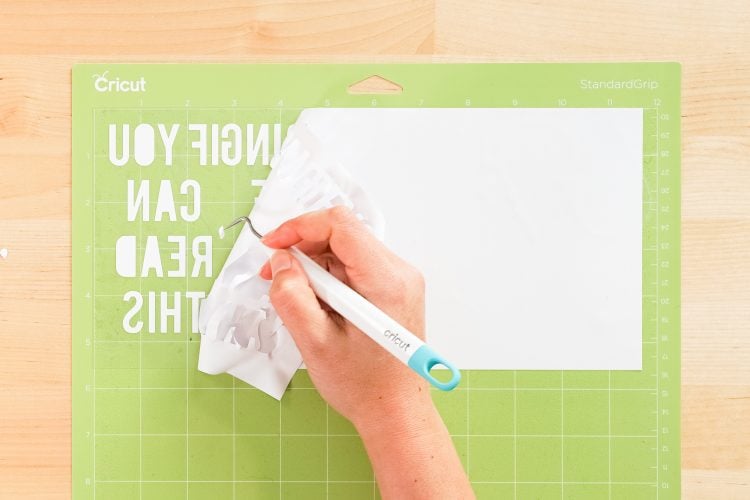
Next we’re going to “weed” the negative space from around our image. I have an extensive post about Weeding Iron On Vinyl, which you’ll want to read—tons of tips and tricks to making it easier.
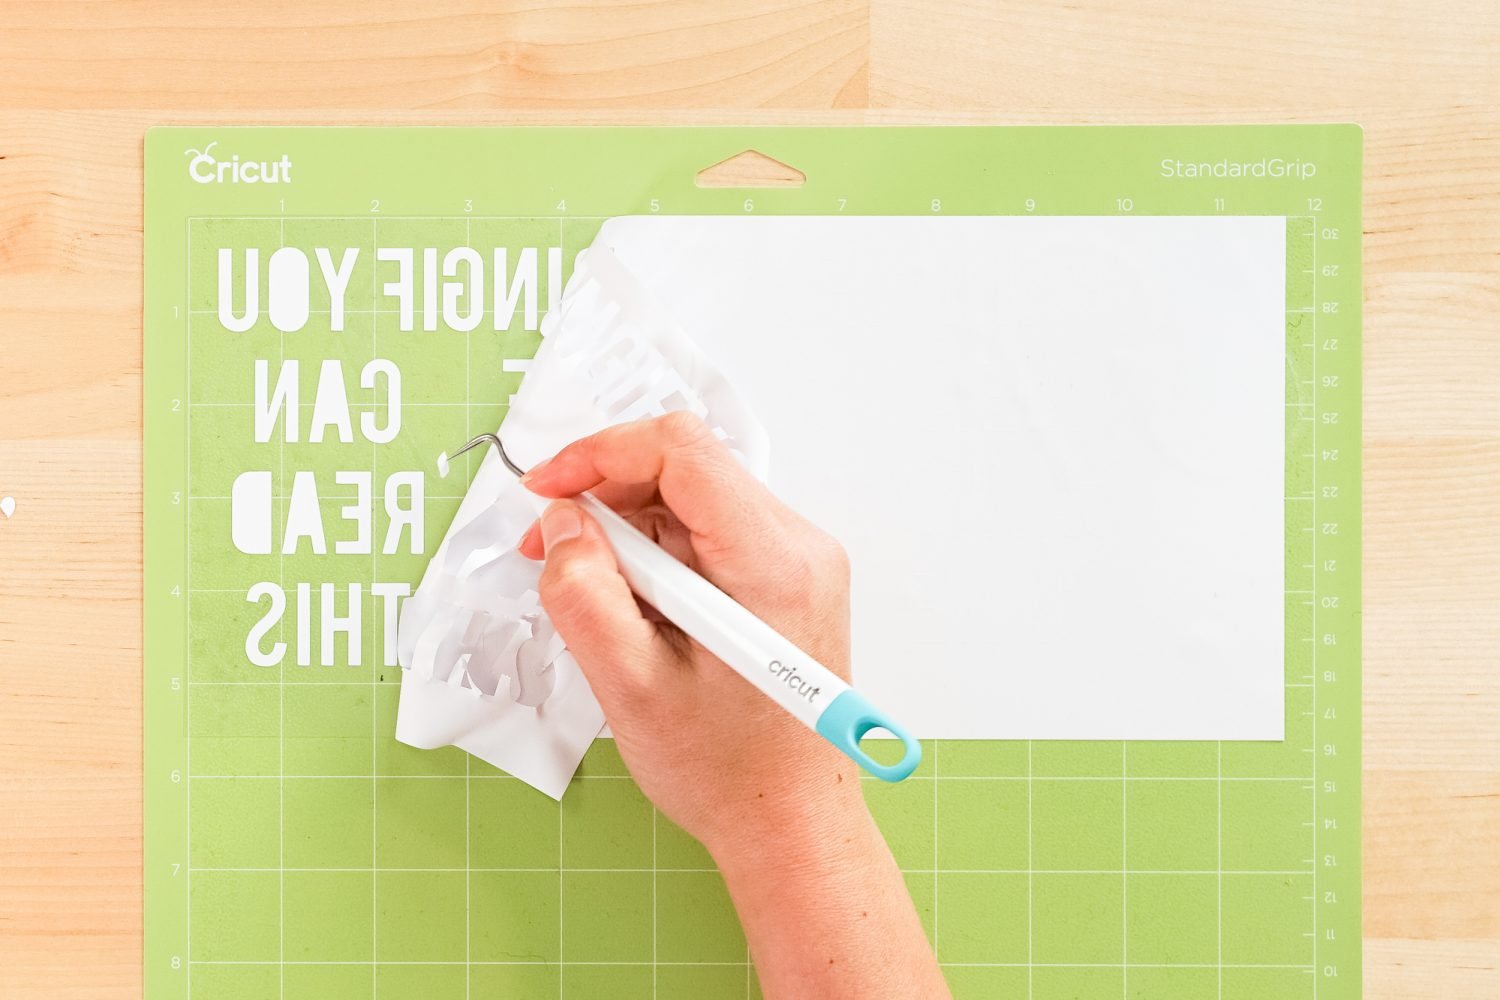
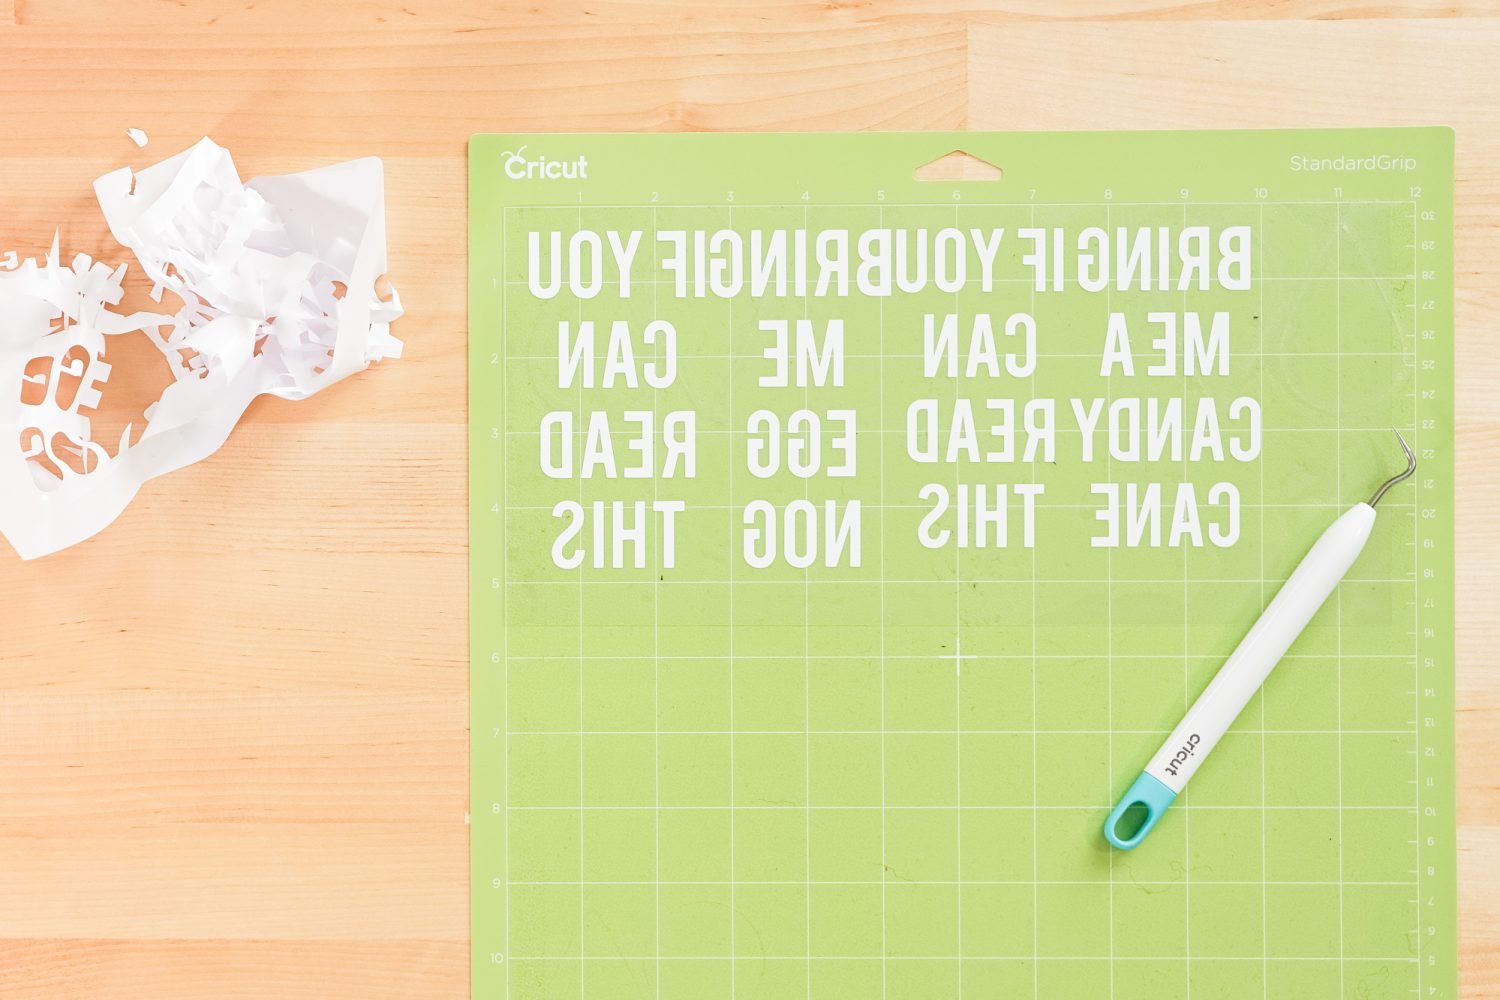
Adhere Your Iron On Vinyl
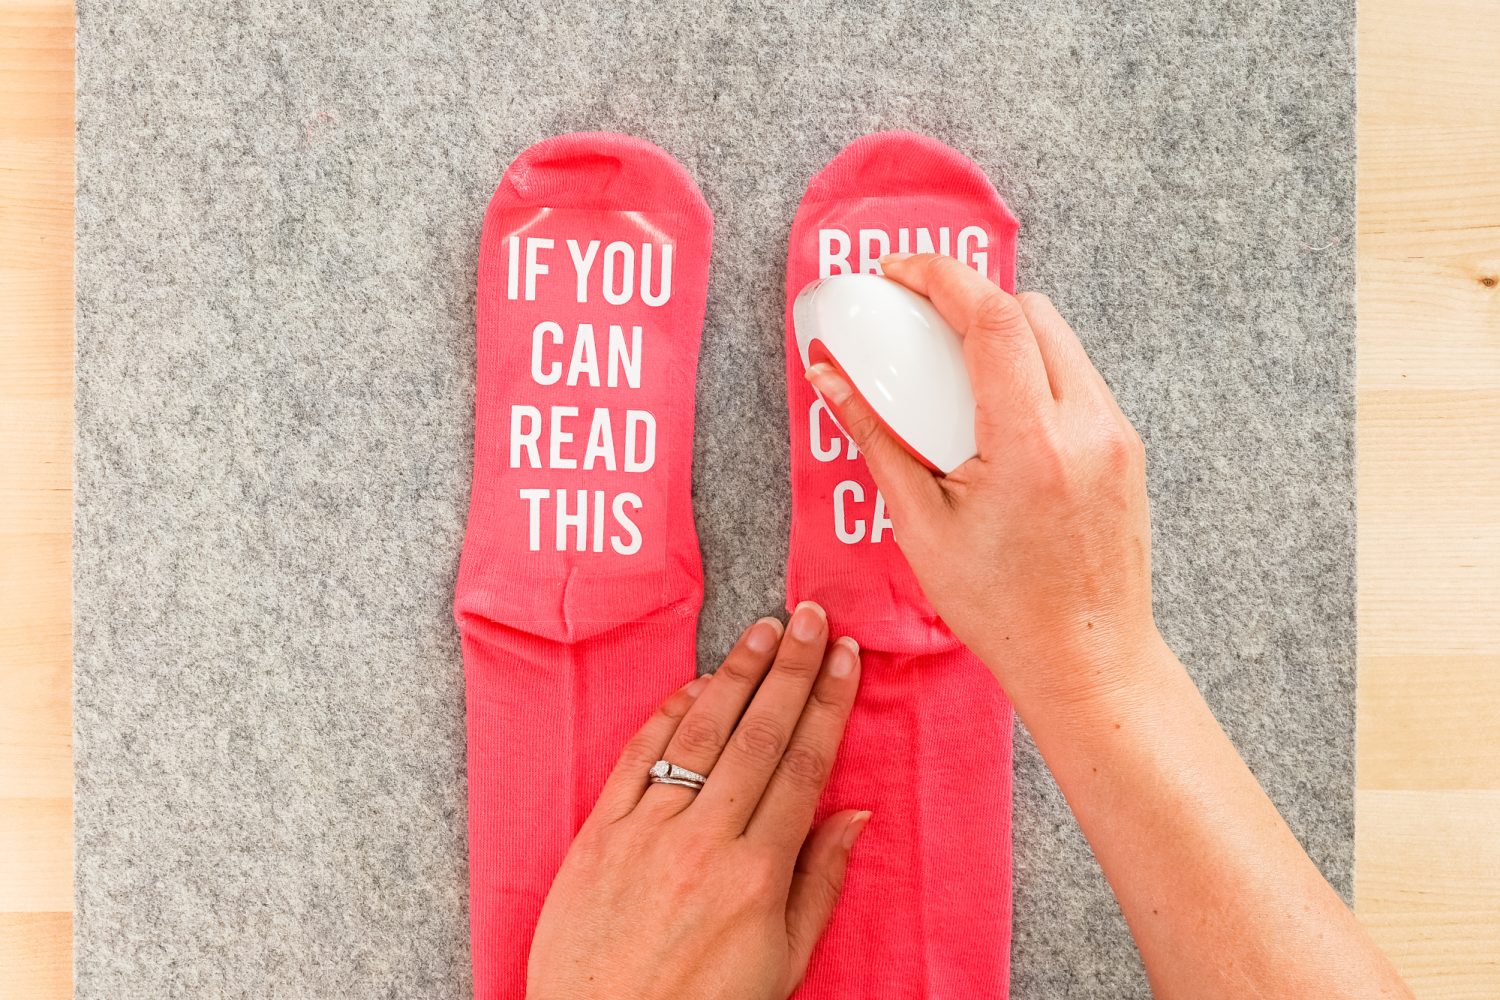
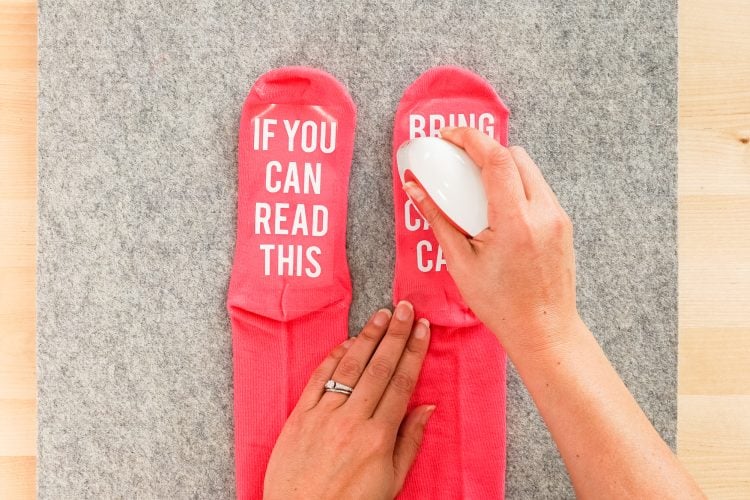
Now we are going to adhere our iron on vinyl to the socks. Place your image onto the sock, centering it.
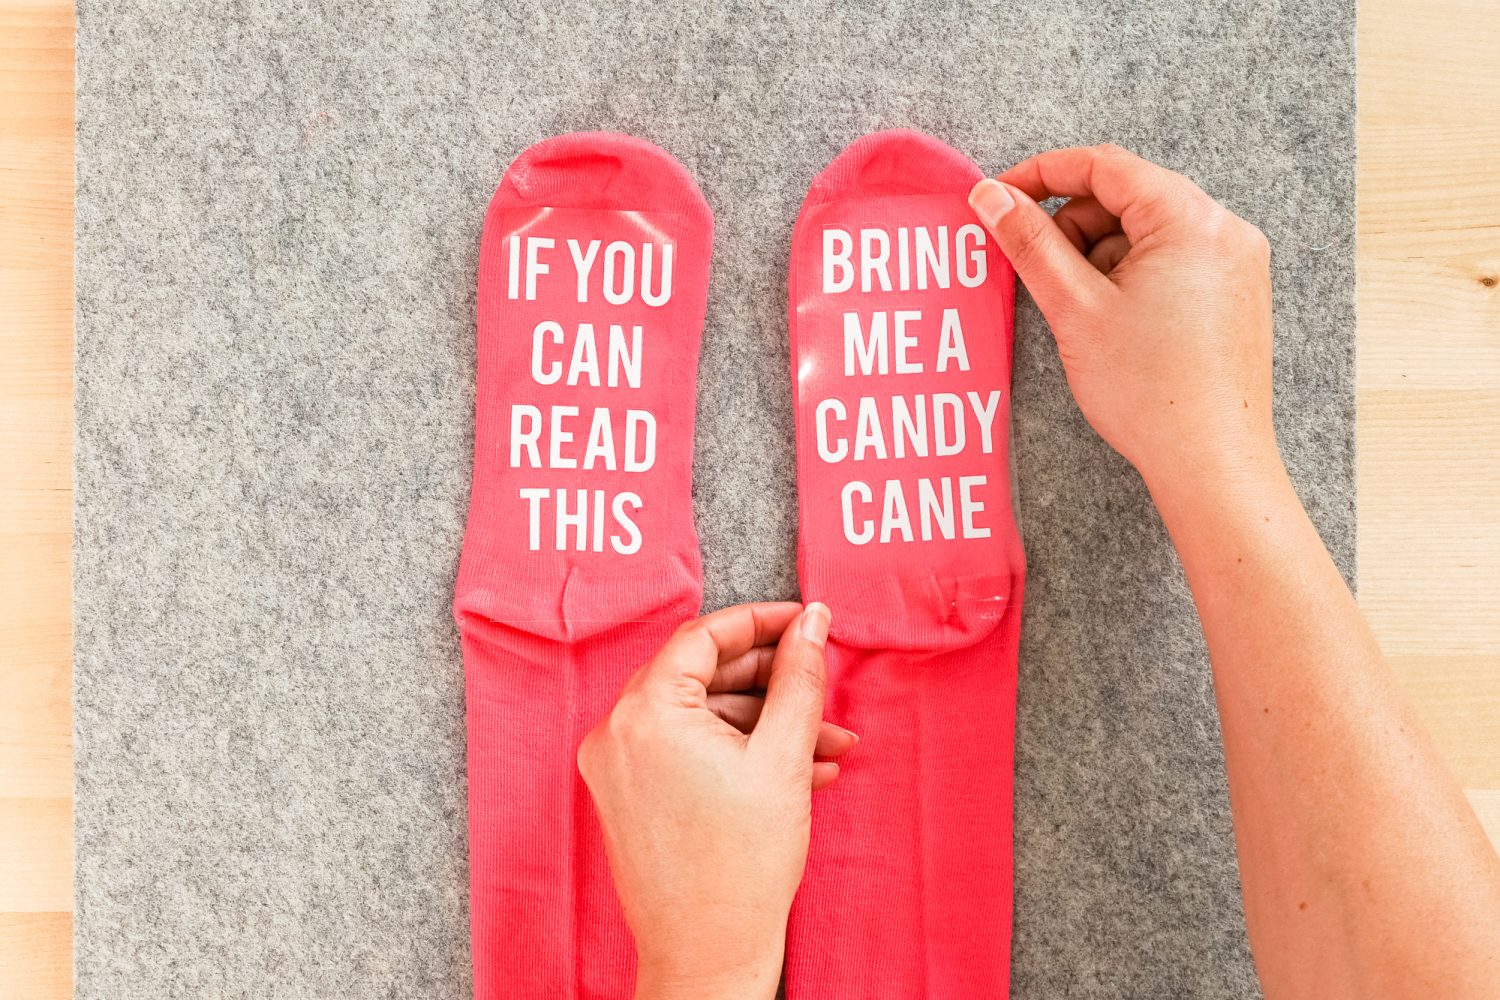
Use your EasyPress or Iron to adhere the iron on vinyl to the sock. Learn more about Using Iron On Vinyl.
Carefully peel back the carrier sheet, making sure the iron on vinyl is adhered.
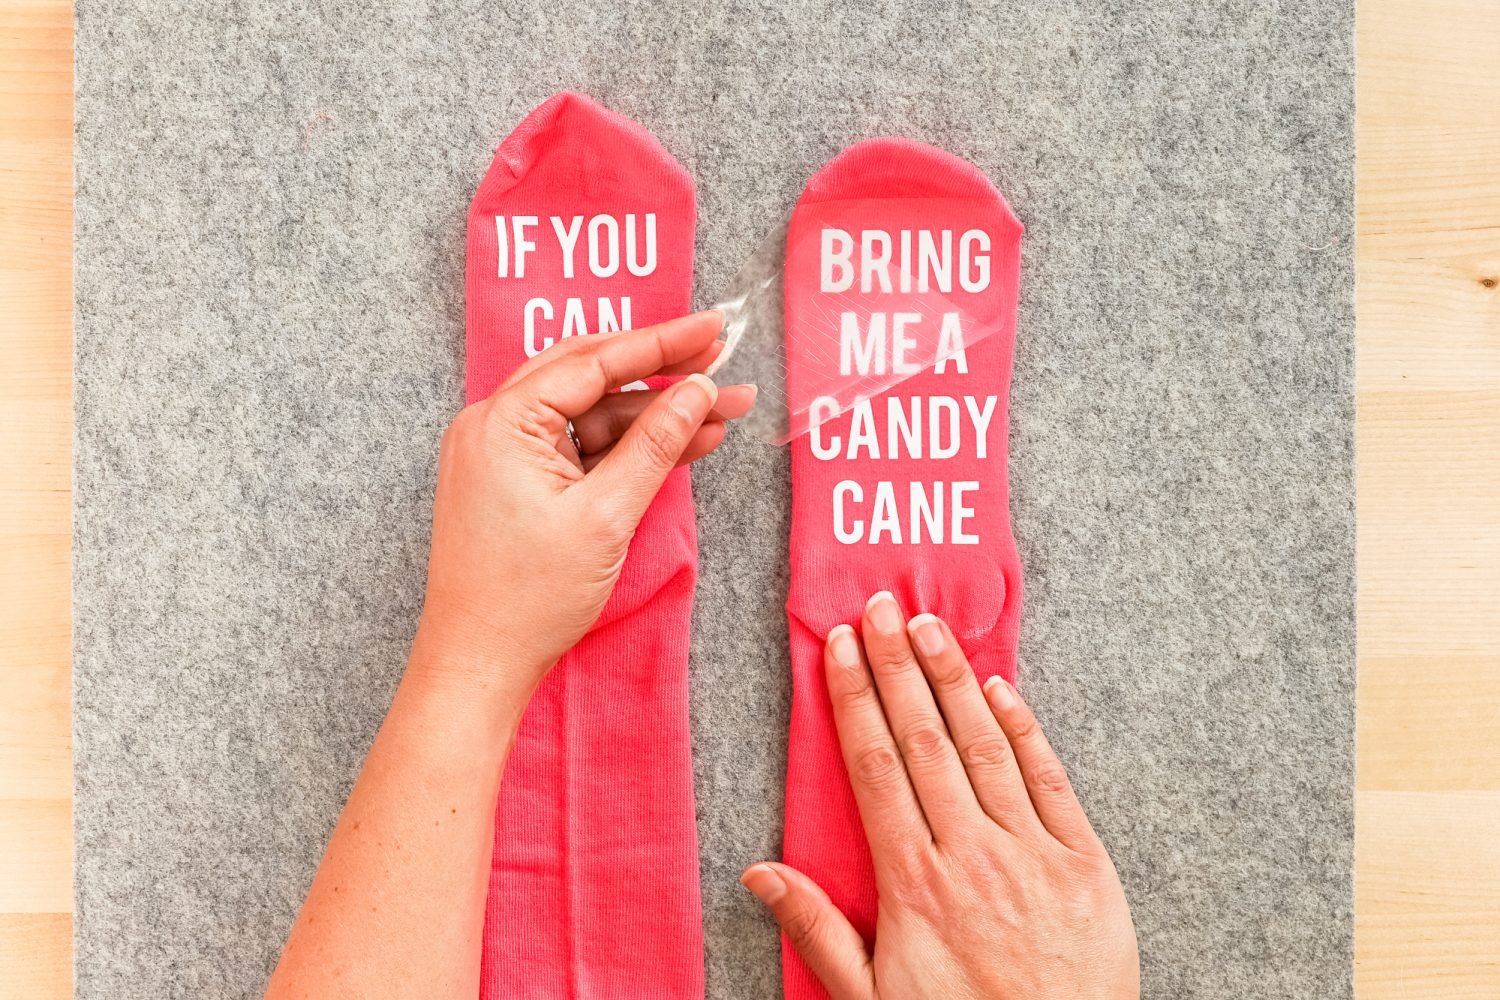
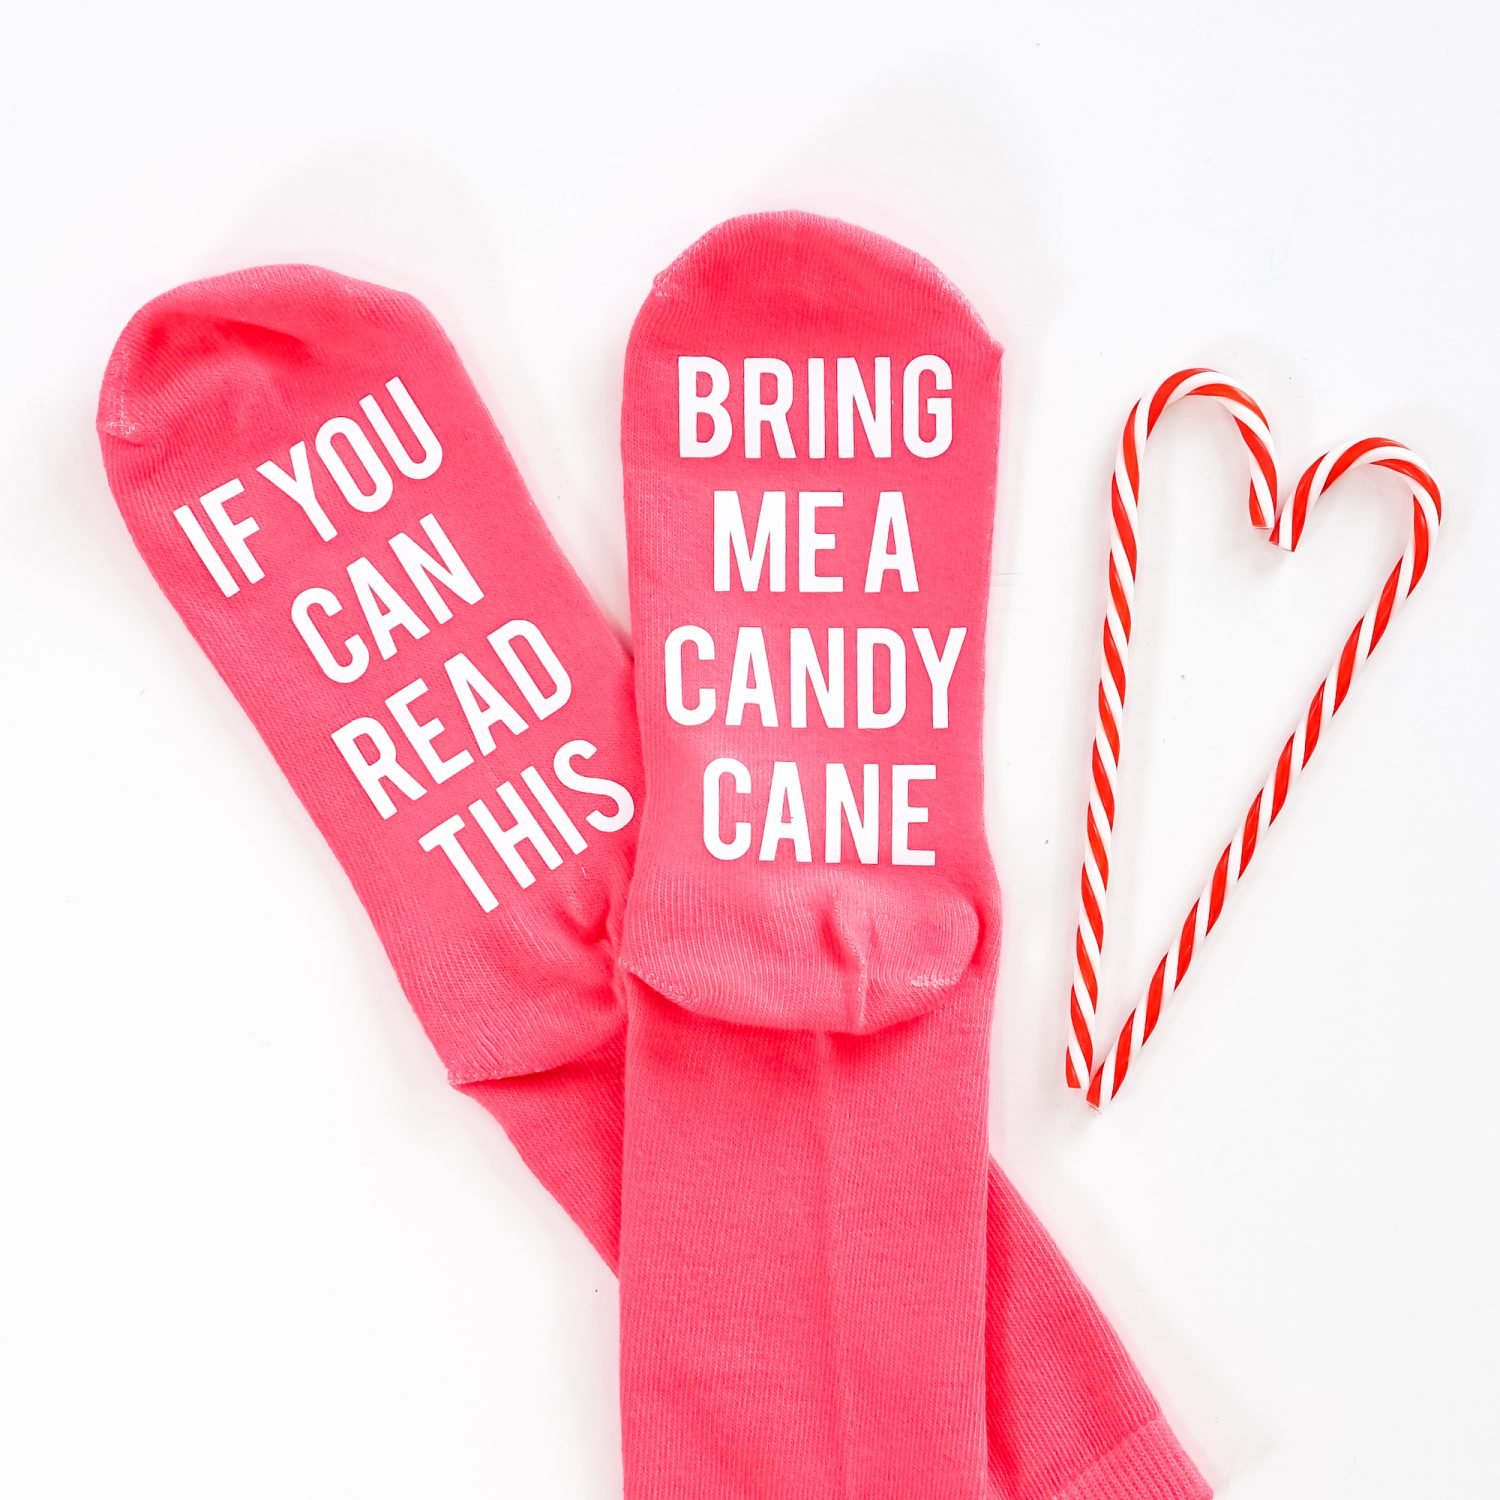
Repeat with the remaining socks and you have yourself a funny little stocking stuffer. Everyone will love these funny Christmas socks!
FUNNY CHRISTMAS SOCKS
Supplies
- Iron-On Vinyl
- Socks
Instructions
- Upload the funny socks file to Cricut Design Space.

- Resize and recolor the socks file to fit your socks.

- Cut the pieces from iron on vinyl.

- Weed your iron on vinyl pieces.

- Adhere your iron on decals to the bottom of the socks.

- These socks make the perfect stocking stuffer!

Make All the 25 Days of Cricut Christmas Projects!
We’ll be adding links as each day goes live! Grab the full bundle with all of the projects and SVGs in our 25 Days of Cricut Christmas eBook!
- Day 1: DIY Christmas Countdown Calendar
- Day 2: Snow Globe Shaker Card
- Day 3: Happy Holly Days Christmas Banner
- Day 4: Felt Gnome Pillow
- Day 5: Cookies for Santa Tray
- Day 6: Snowflake Coasters
- Day 7: Customized Christmas Banner
- Day 8: Etched Holiday Baking Dish
- Day 9: DIY Gift Card Holder
- Day 10: Christmas Apron
- Day 11: Christmas Quilt Block Artwork
- Day 12: Constellation Glitter Ornaments
- Day 13: DIY Christmas Card Holder
- Day 14: Papercut Christmas Village
- Day 15: Funny Christmas Socks
- Day 16: Veneer Pinecone Earrings
- Day 17: How to Make Felt Bows
- Day 18: Personalized Santa Sacks
- Day 19: Newborn Footprint Ornaments
- Day 20: Layered Christmas Mandala
- Day 21: Customized Pot Holders
- Day 22: Sleigh Rides Christmas Sign
- Day 23: Hot Cocoa Mug Gift
- Day 24: Print then Cut Gift Tags
- Day 25: Matching Christmas Pajamas


Comments & Reviews
Yvonne says
Neat, I want to try this