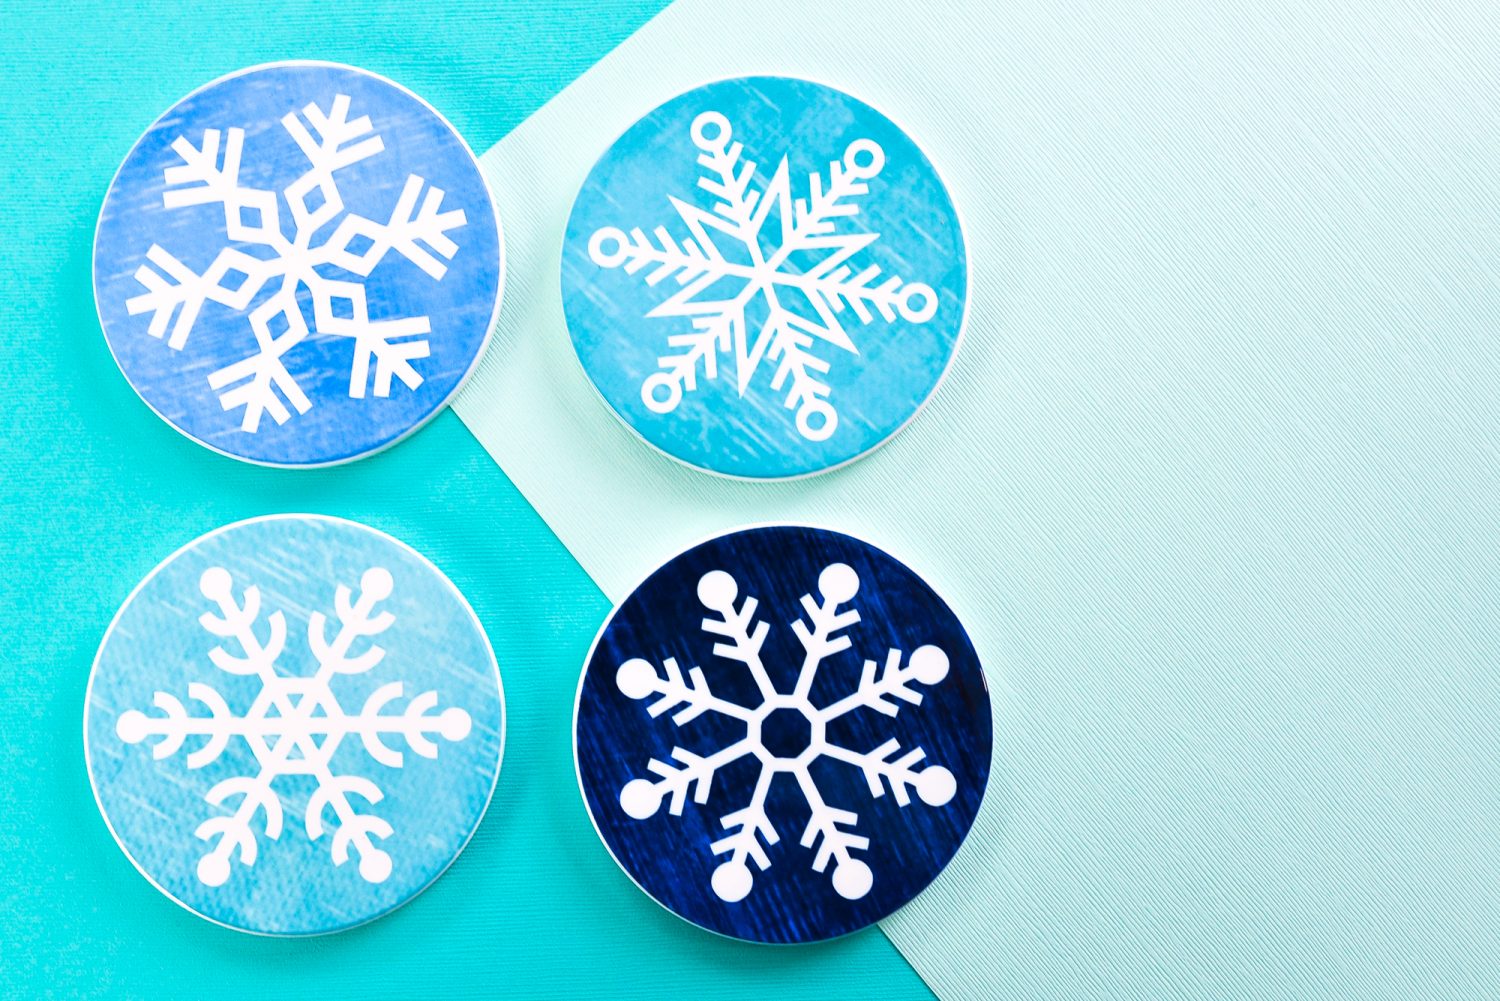
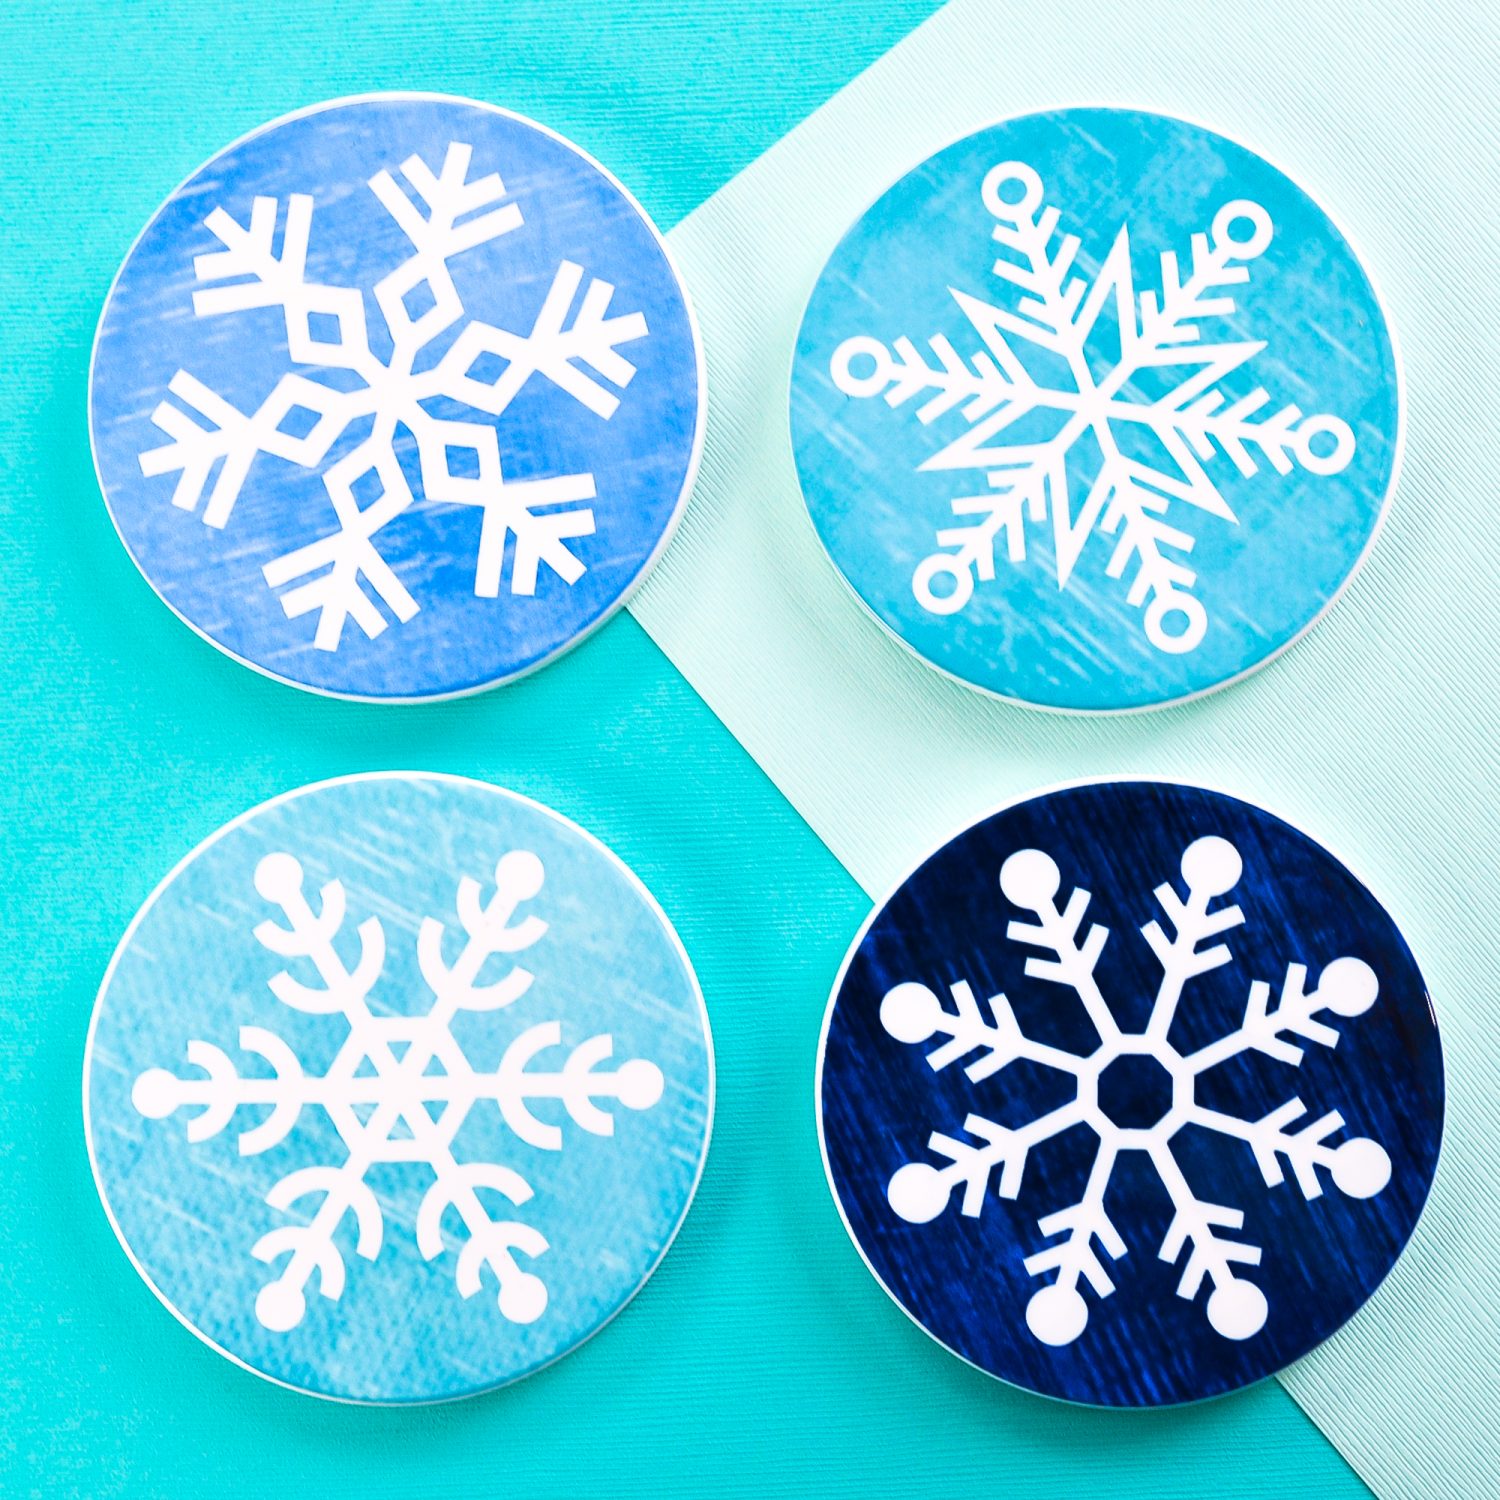
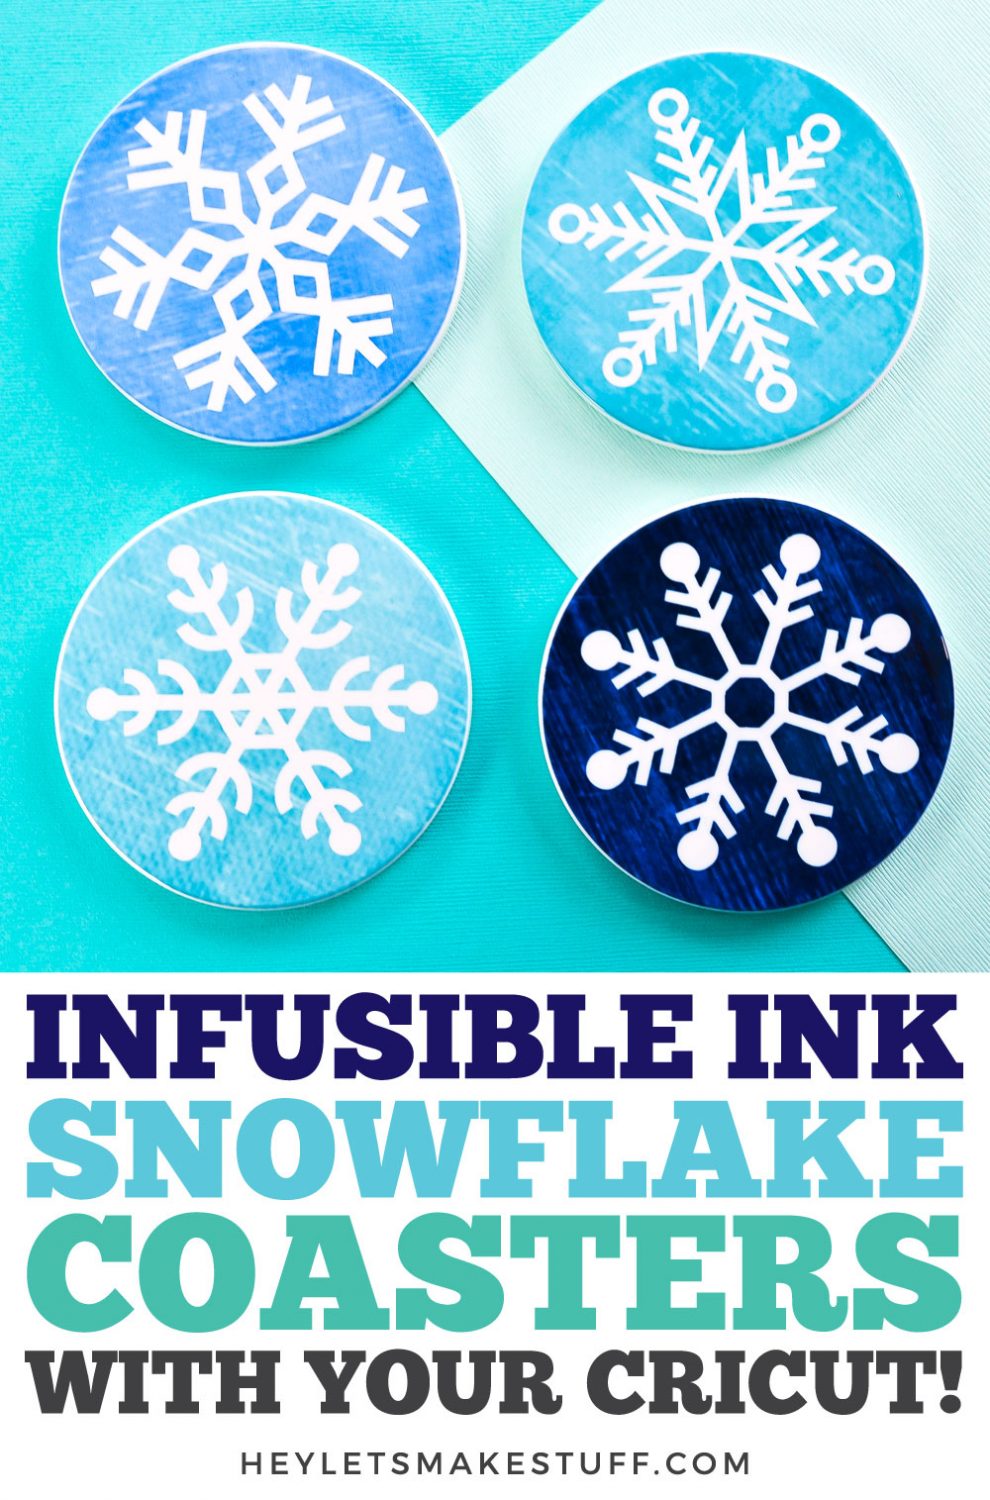
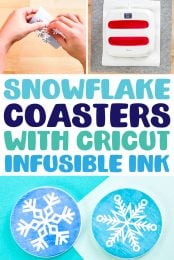
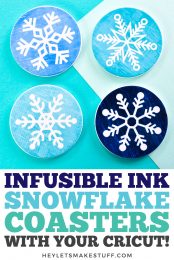
Need a place to set down that mug of hot cocoa or mulled wine? Make these bright and cheery snowflake Christmas coasters using Cricut Infusible Ink!
It’s day 6 of the 25 Days of Cricut Christmas and I’m so glad you’re here to craft with me for the holidays using your Cricut!
If you’d like to get this series in an ebook format PLUS all of the SVGs needed to make all 25 projects check out the 25 Days of Cricut Christmas eBook Bundle!
As many of you know, we recently moved to Washington state from California. Which means this year I will actually experience a snowy winter! For so long I’ve been dreaming of a white Christmas, and now there’s a good chance we may get it.
[adthrive-in-post-video-player video-id=”c48Niilj” upload-date=”2022-06-19T23:07:28.000Z” name=”Cricut Infusible Ink Projects” description=”Make all sorts of fun projects using Cricut Infusible Ink! From coasters to apparel to more, Infusible Ink is an easy way to make washable, wearable items with your Cricut!” player-type=”static”]
To celebrate the snow, today we’re making snowflake coasters! These cute Christmas coasters use Cricut Infusible Ink. Infusible Ink is a permanent transfer product that actually infuses the color into the coaster. The result is bright and vivid color that won’t peel or wash off. These Christmas coasters make beautiful gifts.

Snowflake Christmas Coaster Supplies
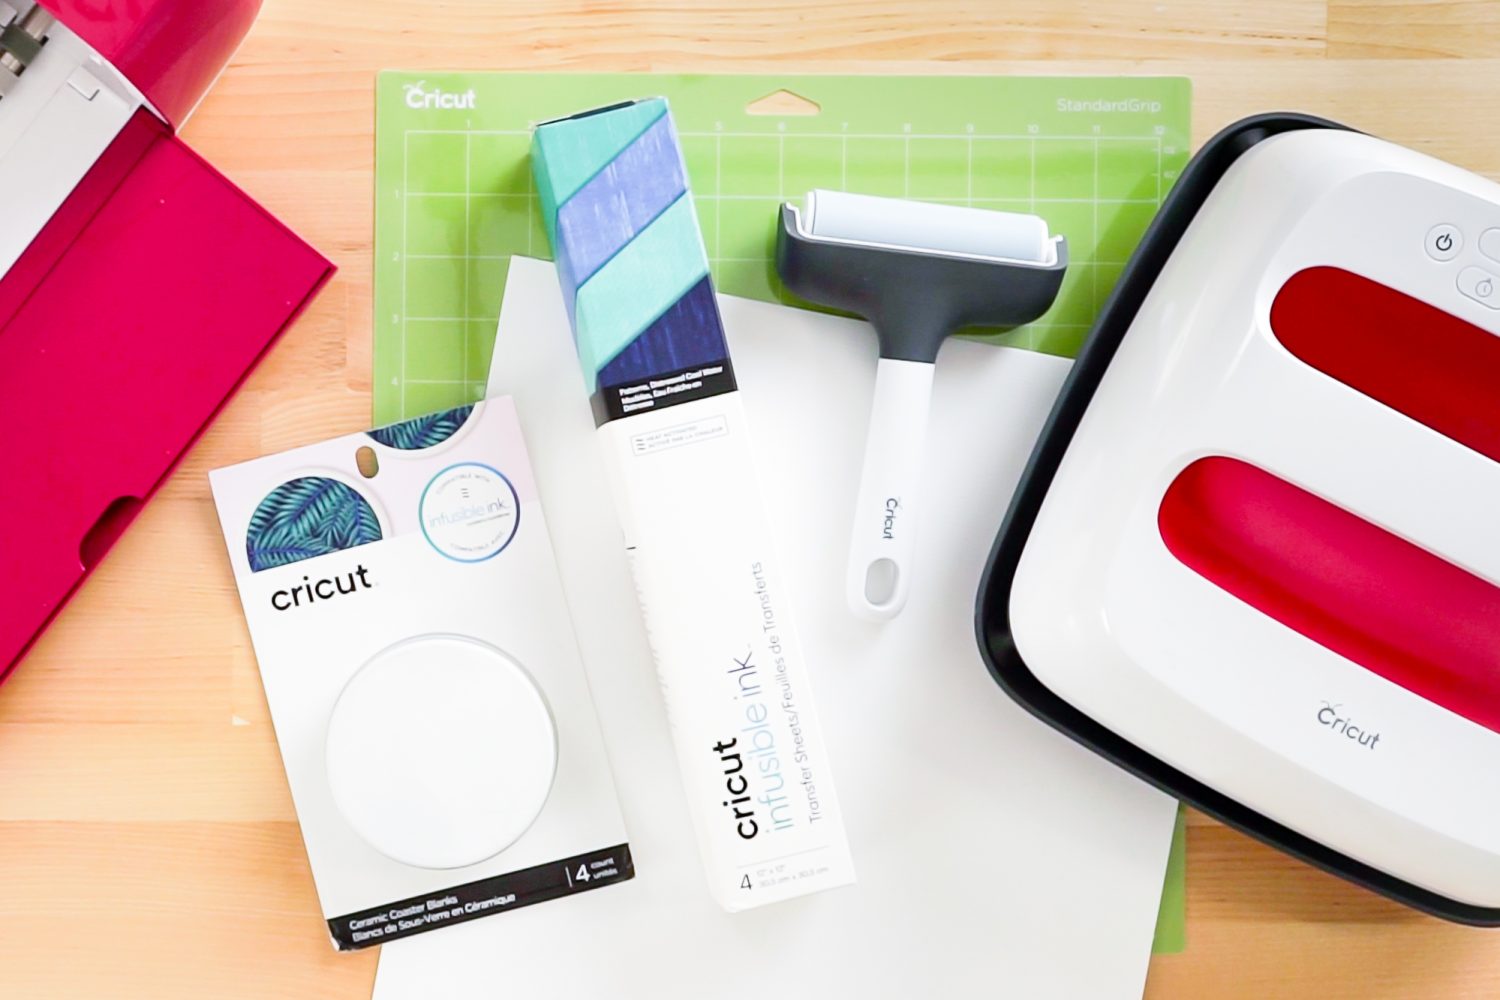
- Cricut Explore or Cricut Maker
- Green StandardGrip mat
- Cricut Infusible Ink Transfer Sheets + included butcher paper
- Cricut Infusible Ink coasters
- Cricut EasyPress
- White cardstock
- Pressing mat or EasyPress mat
- Brayer (optional)
- Heat resistant tape (optional)
- Snowflake SVG (see below)
Grab the SVG for this Project
IMPORTANT: Cricut has two types of coasters—round coasters that are poly-coated ceramic, and square coasters that have a cork backing. I’m using the ceramic coasters for this project. If you are using the square coasters for a project, make sure to check Cricut’s Heat Guide for the proper settings. The time is MUCH shorter for the cork-backed coasters than the ceramic coasters.
Snowflake Christmas Coaster Instructions
Make sure to read these instructions carefully. Infusible Ink is different than other Cricut materials and has its own special process to get the best result!
Upload the Snowflake Coaster File Cricut Design Space
We will start by uploading the Christmas Quilt Block file to Cricut Design Space (see Uploading SVG Files to Cricut Design Space if you need help).
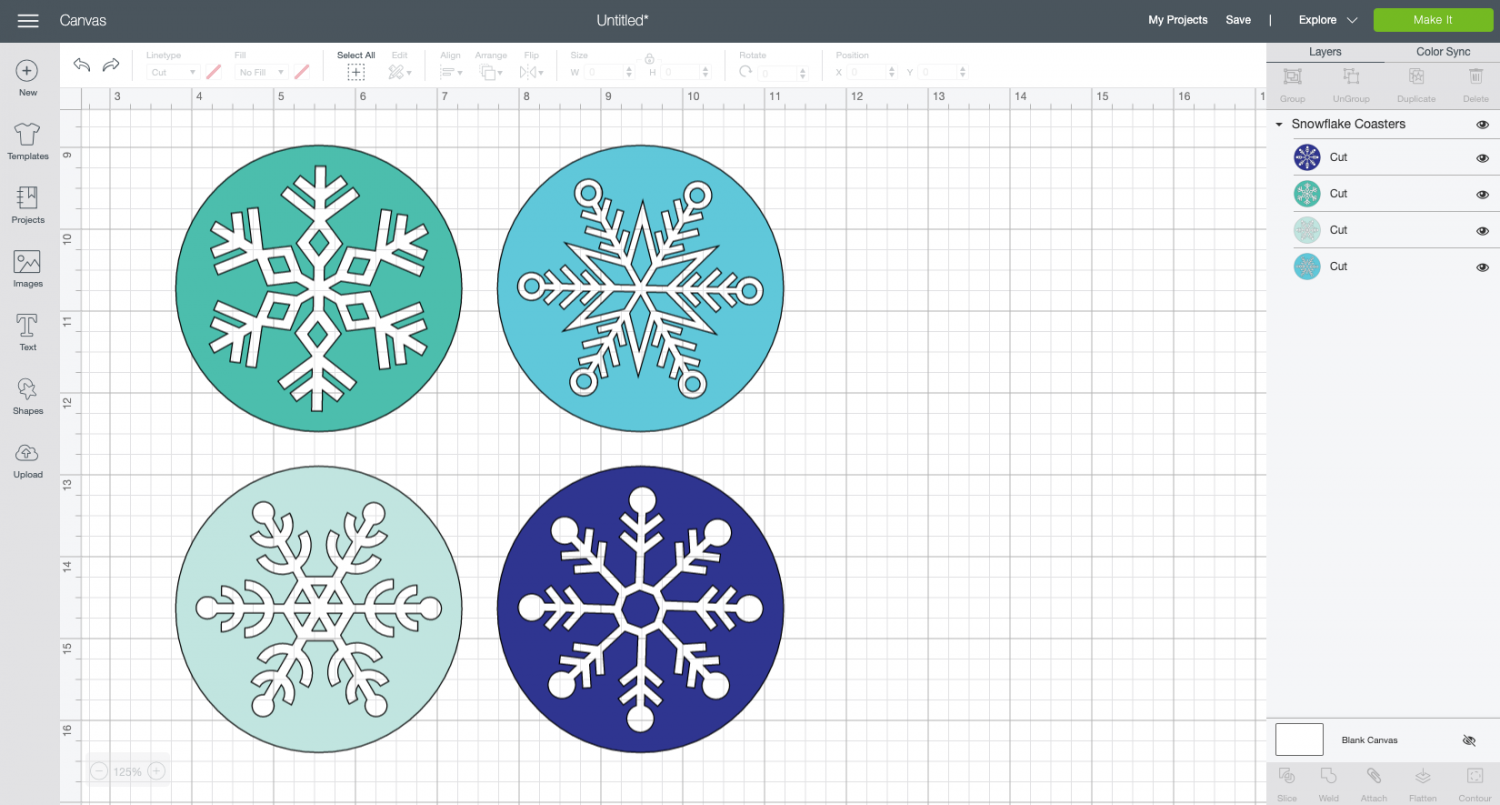
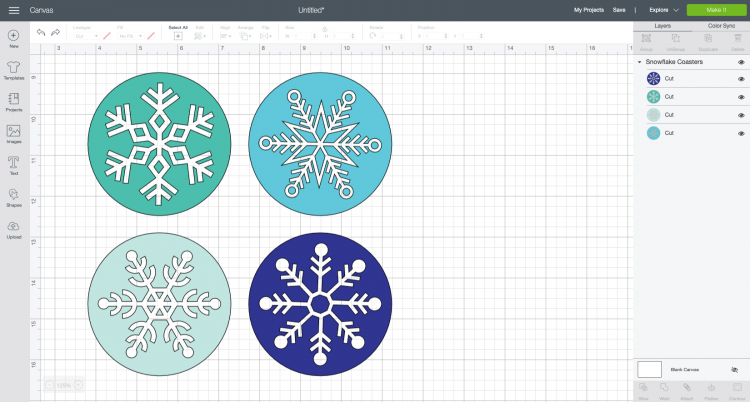
I have designed this project specifically for the Cricut Infusible Ink coasters, so there’s no additional modifying of the file that you will need to do. Click Make It in the upper right to cut the file.
In the Prepare Screen, you’ll see the four coasters on four different mats. Normally, you’d mirror your image when using Infusible Ink. With these snowflakes it doesn’t matter because they are the same in reverse, but DO NOT skip this step if you are using a different file with text or another image that only makes sense one way.
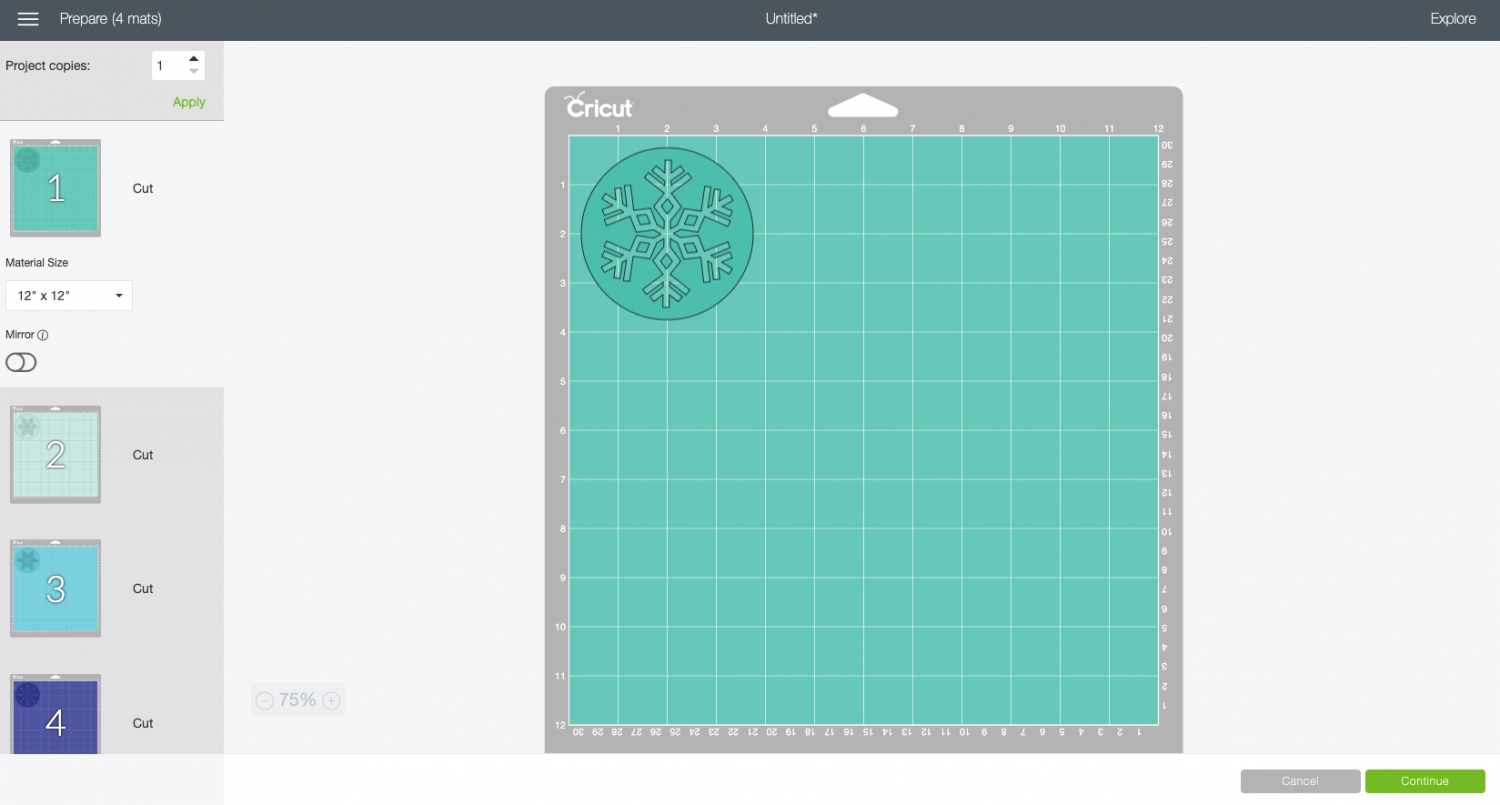
Click Continue and you’re ready to cut!
Cut Your Infusible Ink for Your Snowflake Christmas Coasters
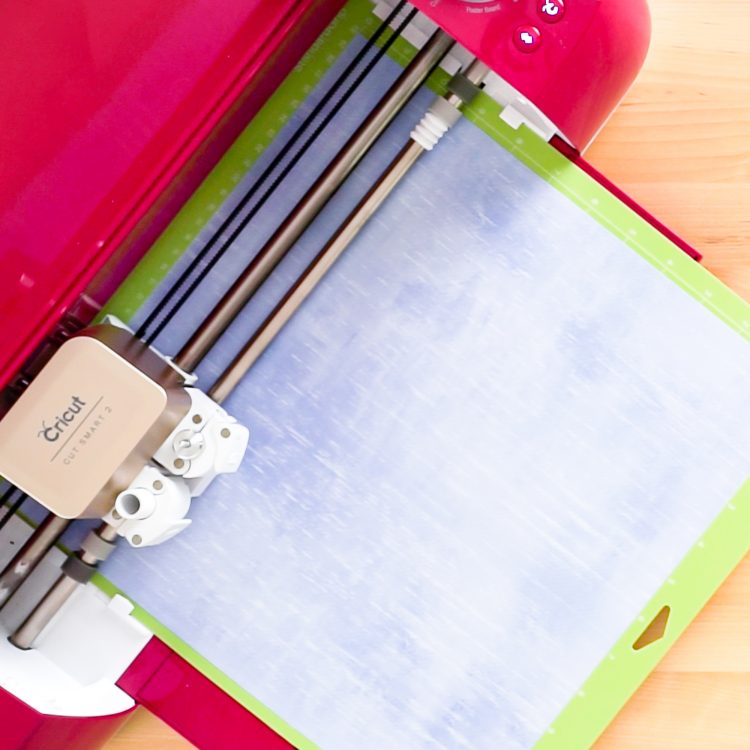
On the Make Screen, you’ll set your material to Infusible Ink Transfer Sheets (if you are using the Cricut Explore, turn the dial to “custom” and search for Infusible Ink).
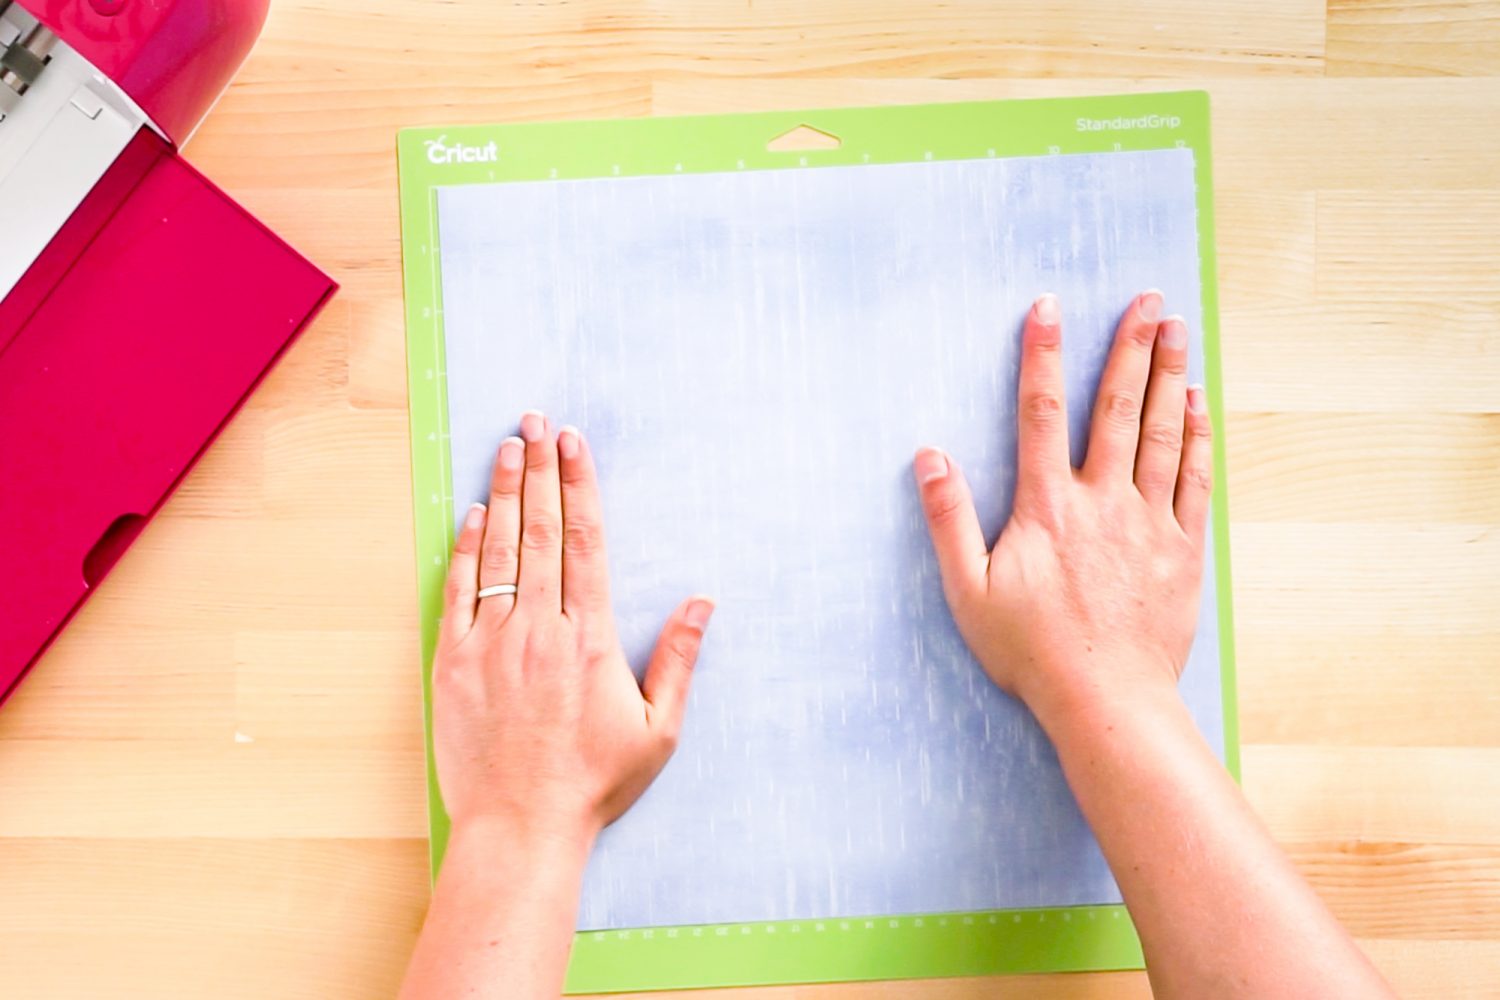
Place your Infusible Ink transfer sheet liner side down on a green cutting mat (color side up). I found mine to curl pretty badly, so I used my Cricut brayer to help smooth it out on the mat. You’ll notice that it is MUCH lighter than the final transferred color—this is normal.
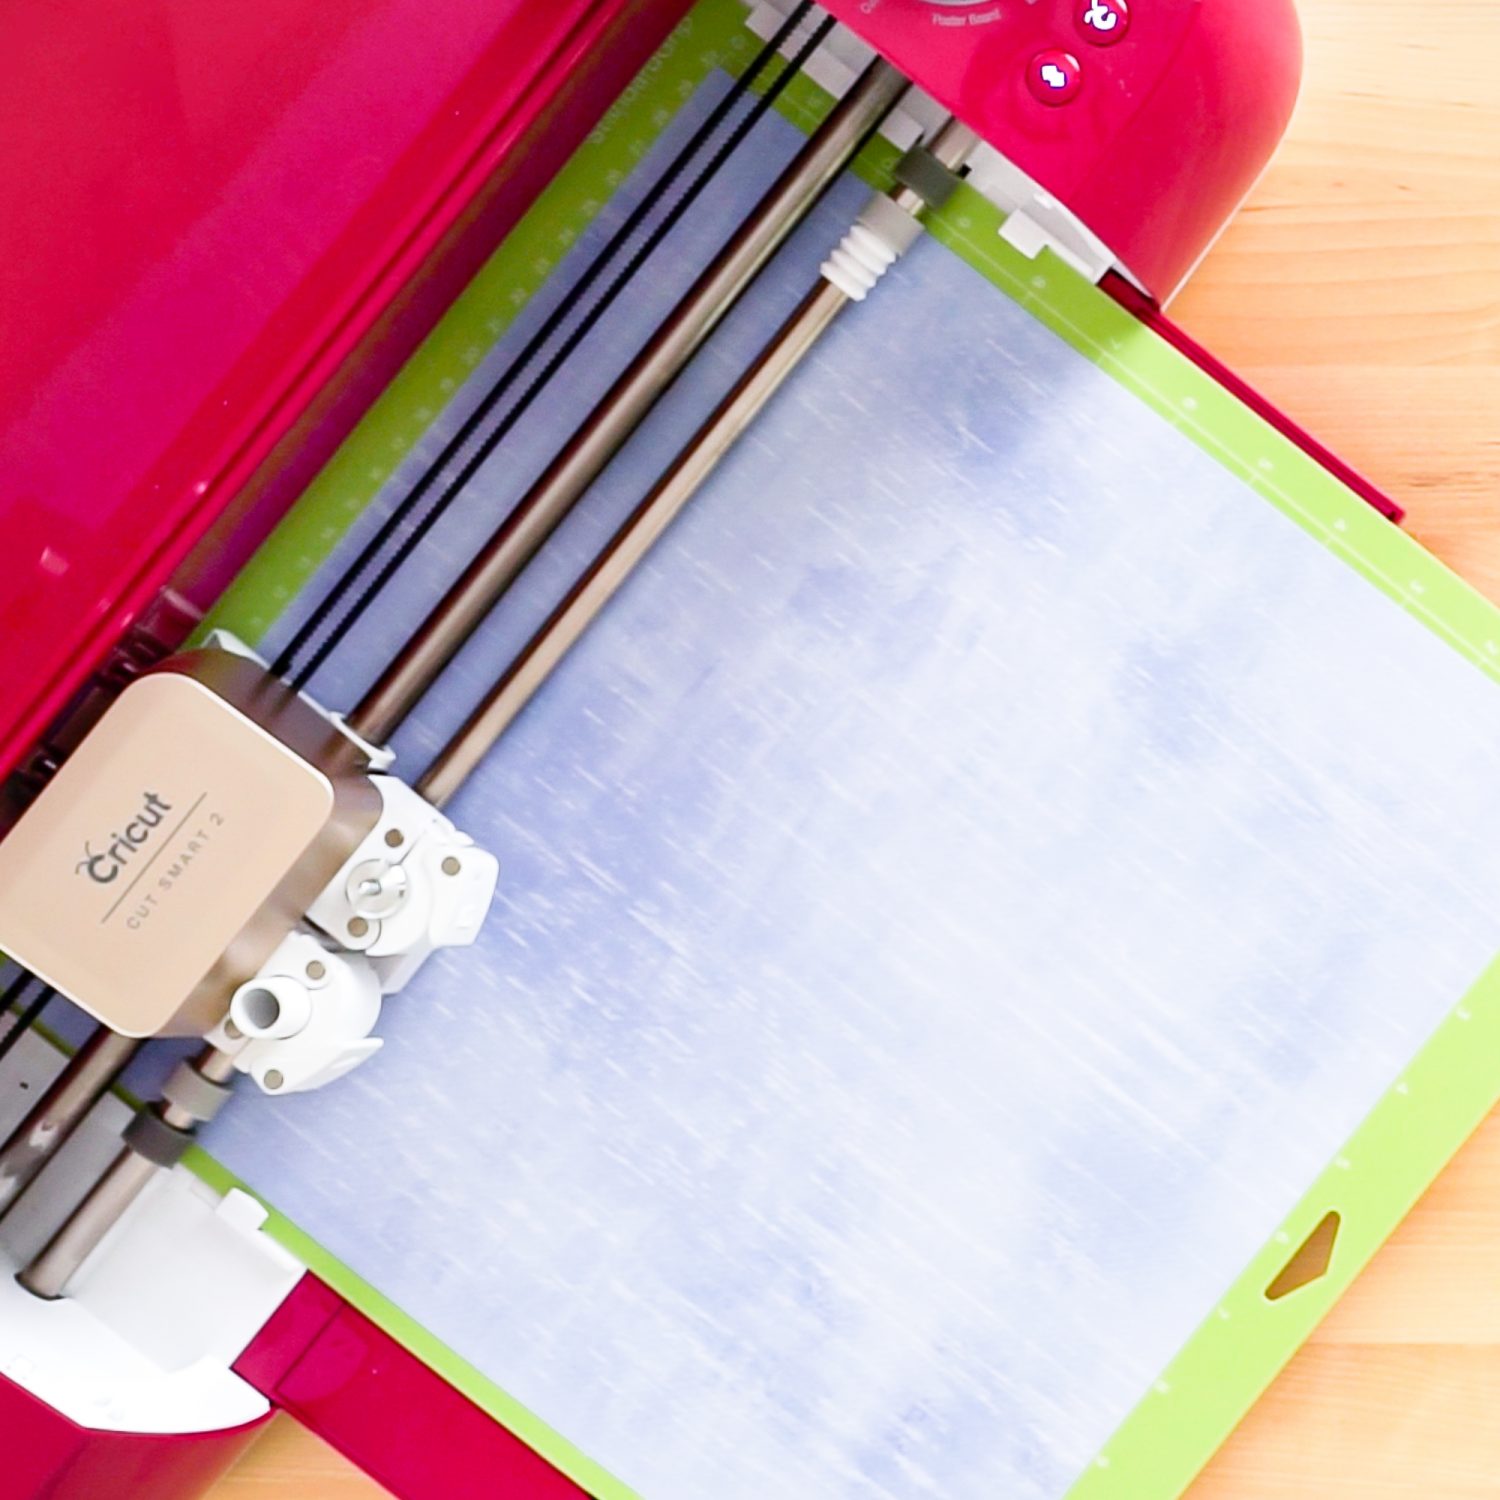
Make sure you have your fine point blade in your machine, insert your mat, and your Cricut will cut your project!
Weed Your Infusible Ink
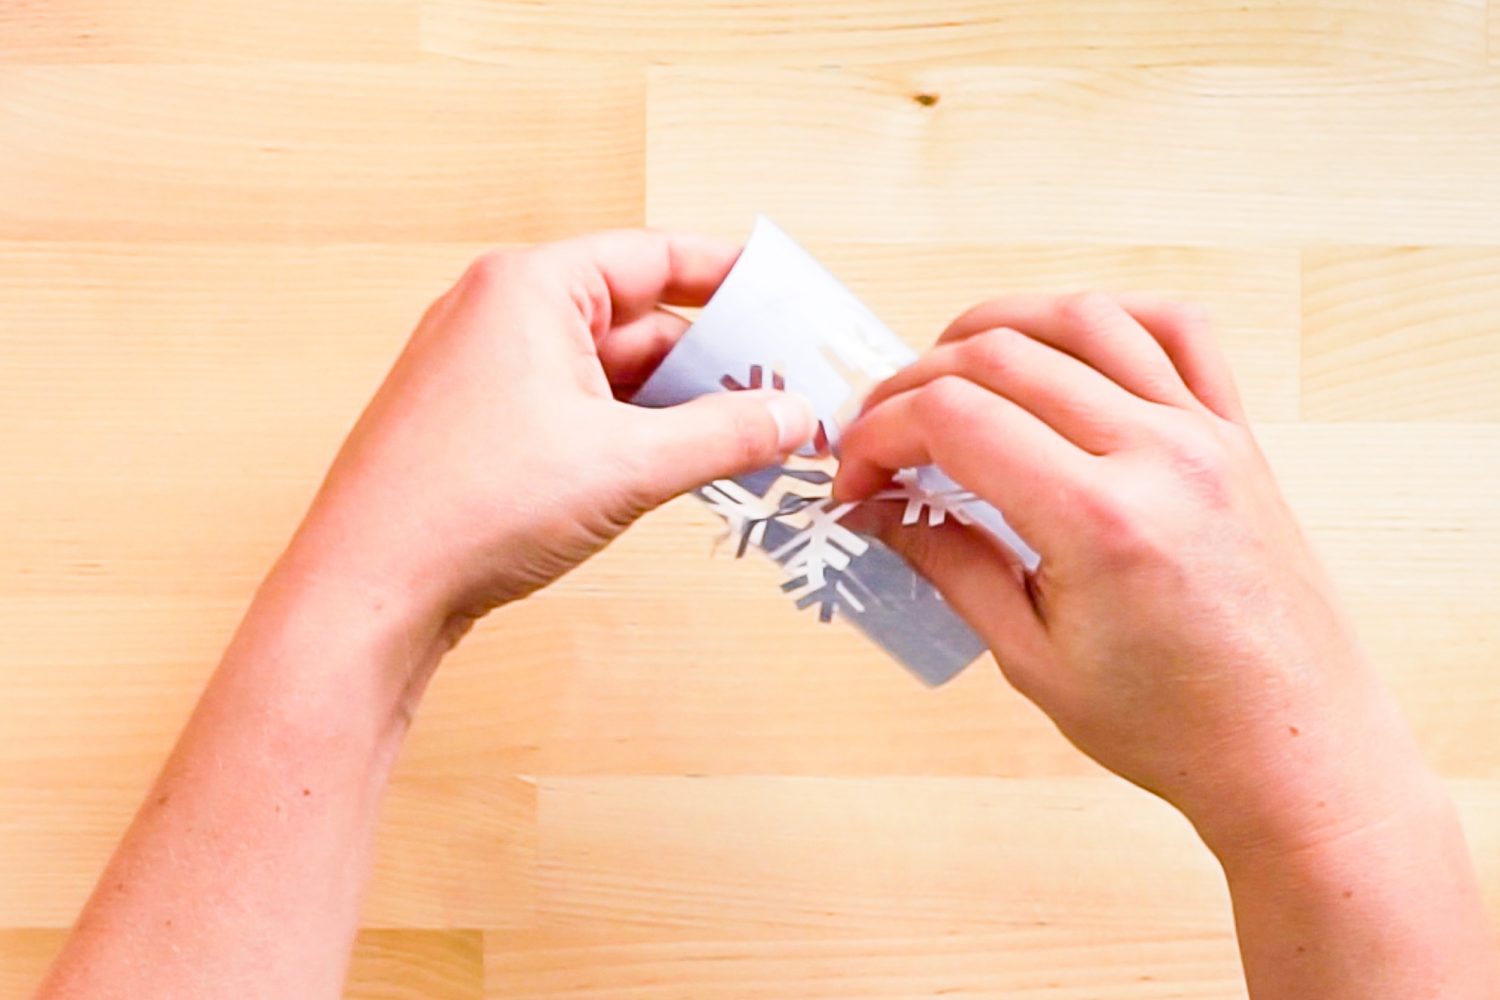
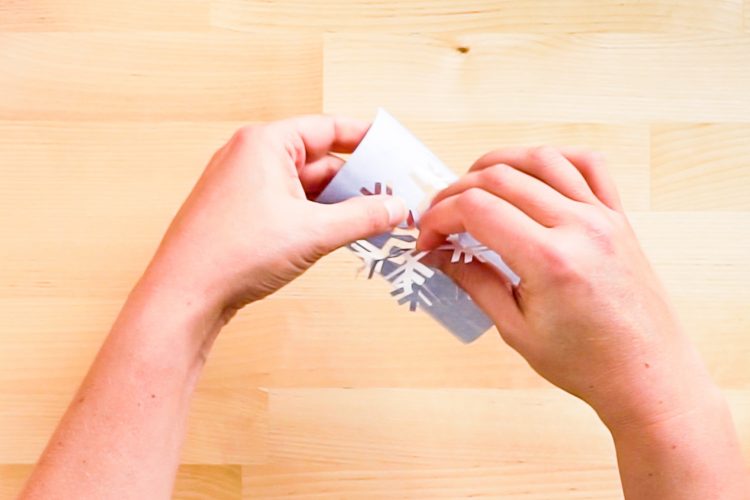
To weed Infusible Ink, you aren’t going to use a weeding tool like you would with iron on or adhesive vinyl. Instead, you’re going to gently bend the project and use your fingers to pull up the negative material. In this case, that is actually the snowflake itself—you’ll want to keep the outline around the snowflake attached to the carrier sheet.
Wash your hands right before weeding or wear gloves—the oils in your fingers can leave marks on the transfer sheet that you’ll see in your final project.
Optional: If you’d like, you can use heat-resistant tape to attach the transfer image (color-side up) to your coaster. This will help keep it from shifting. I’ve had some bad luck with this, however, leaving faint tape marks on my coasters. So I prefer to stack everything (see below) without the tape and pray for the best—a transfer that’s slightly off center is better, to me, than one with ghosted outlines of tape.
Build Your Infusible Ink Stack
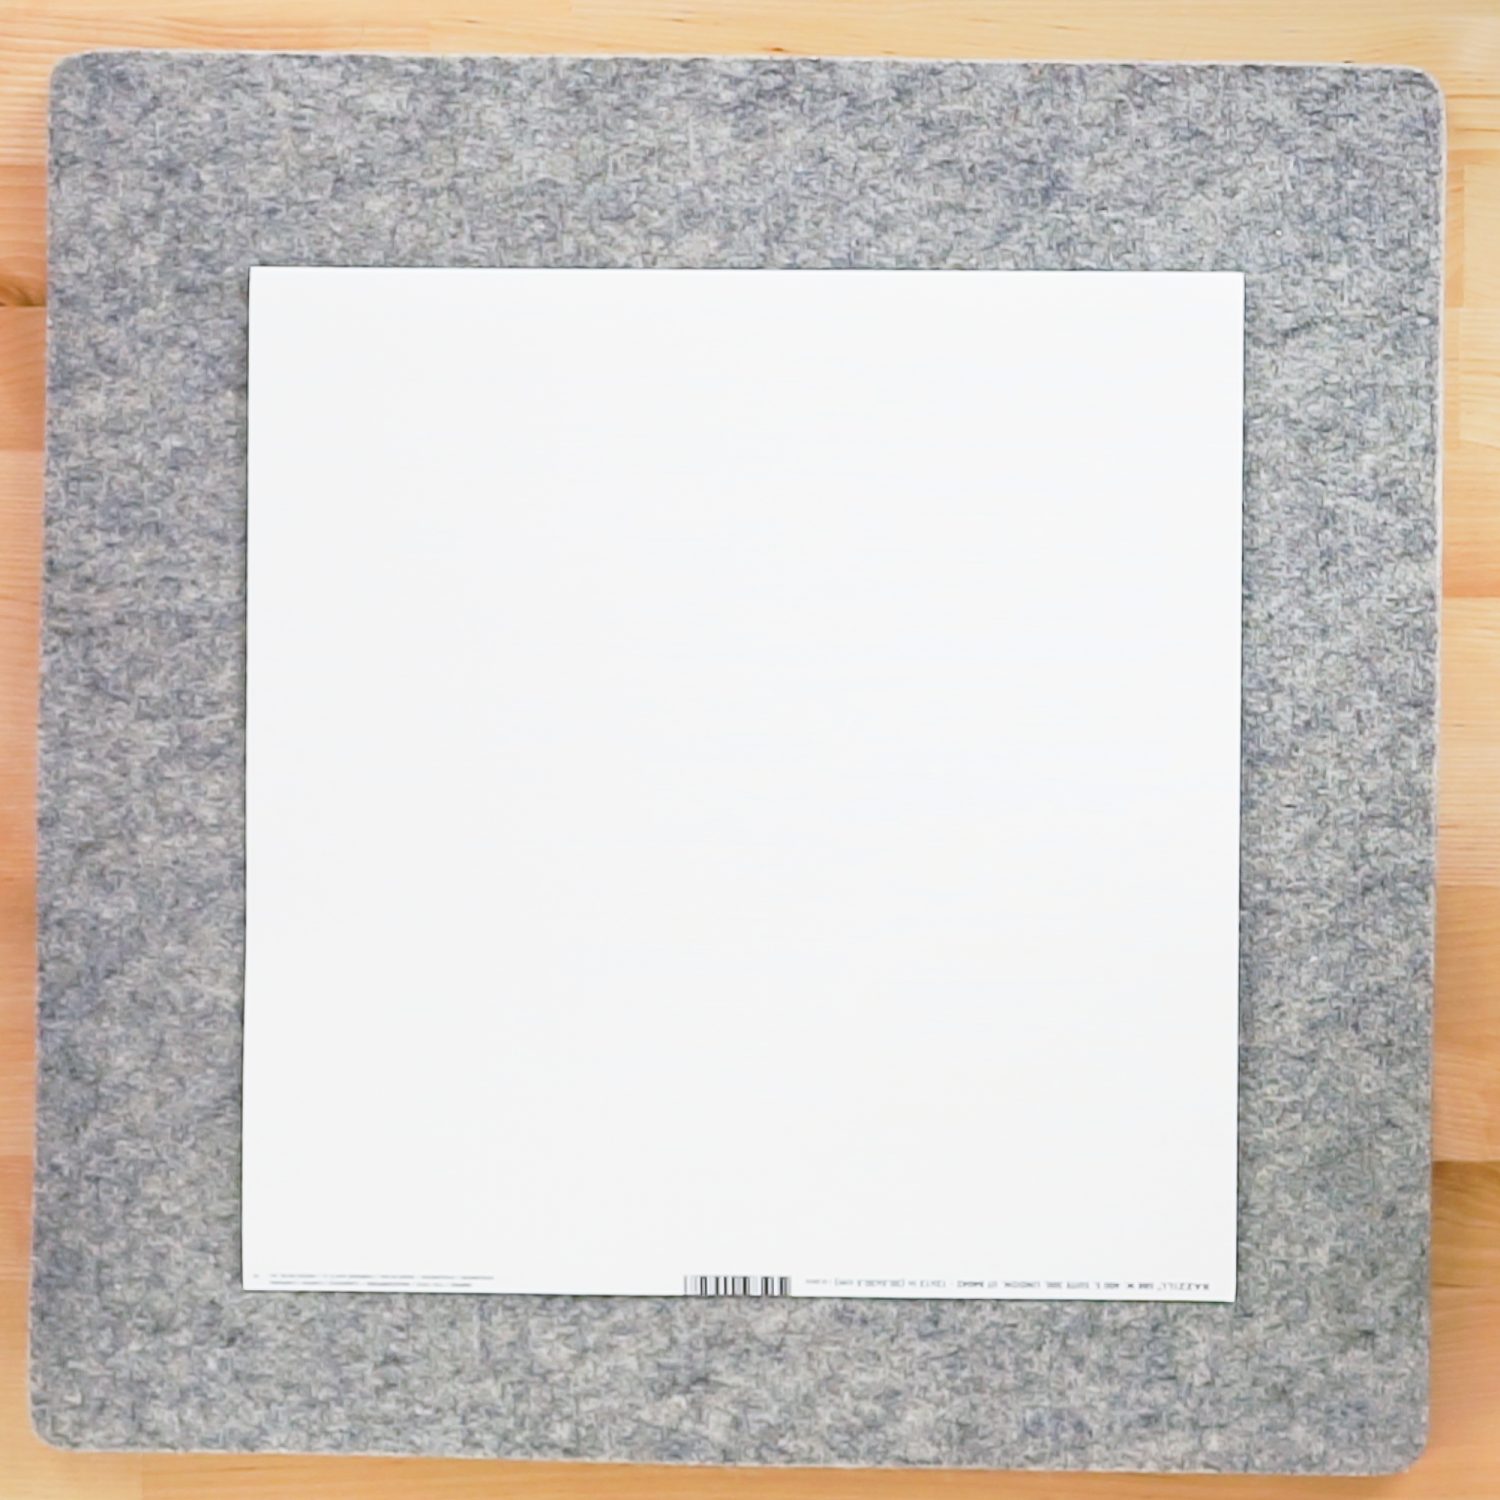
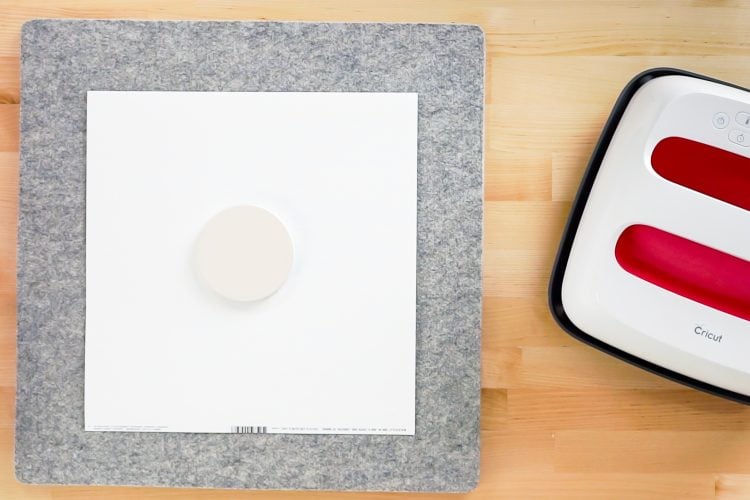
Again, read this section carefully! You are going to make a stack. Bottom to top it goes:
- EasyPress Mat
- White cardstock (this protects your mat)
- Weeded transfer image, colored-side UP
- Coaster, shiny side DOWN, centered on the transfer image
- Butcher paper
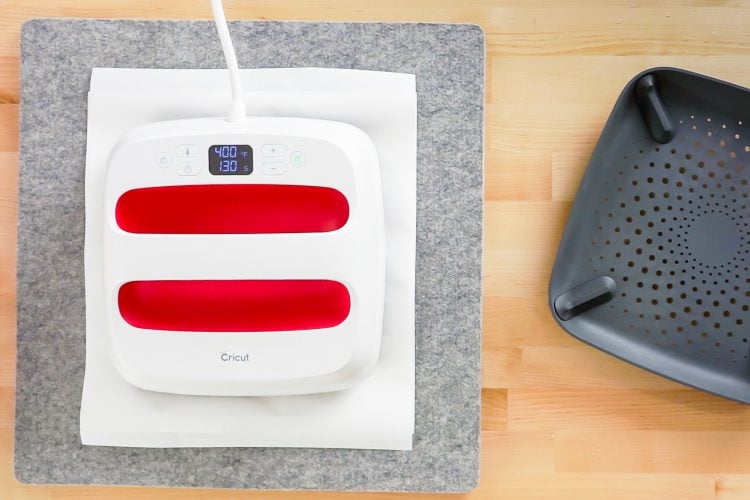
- EasyPress 2
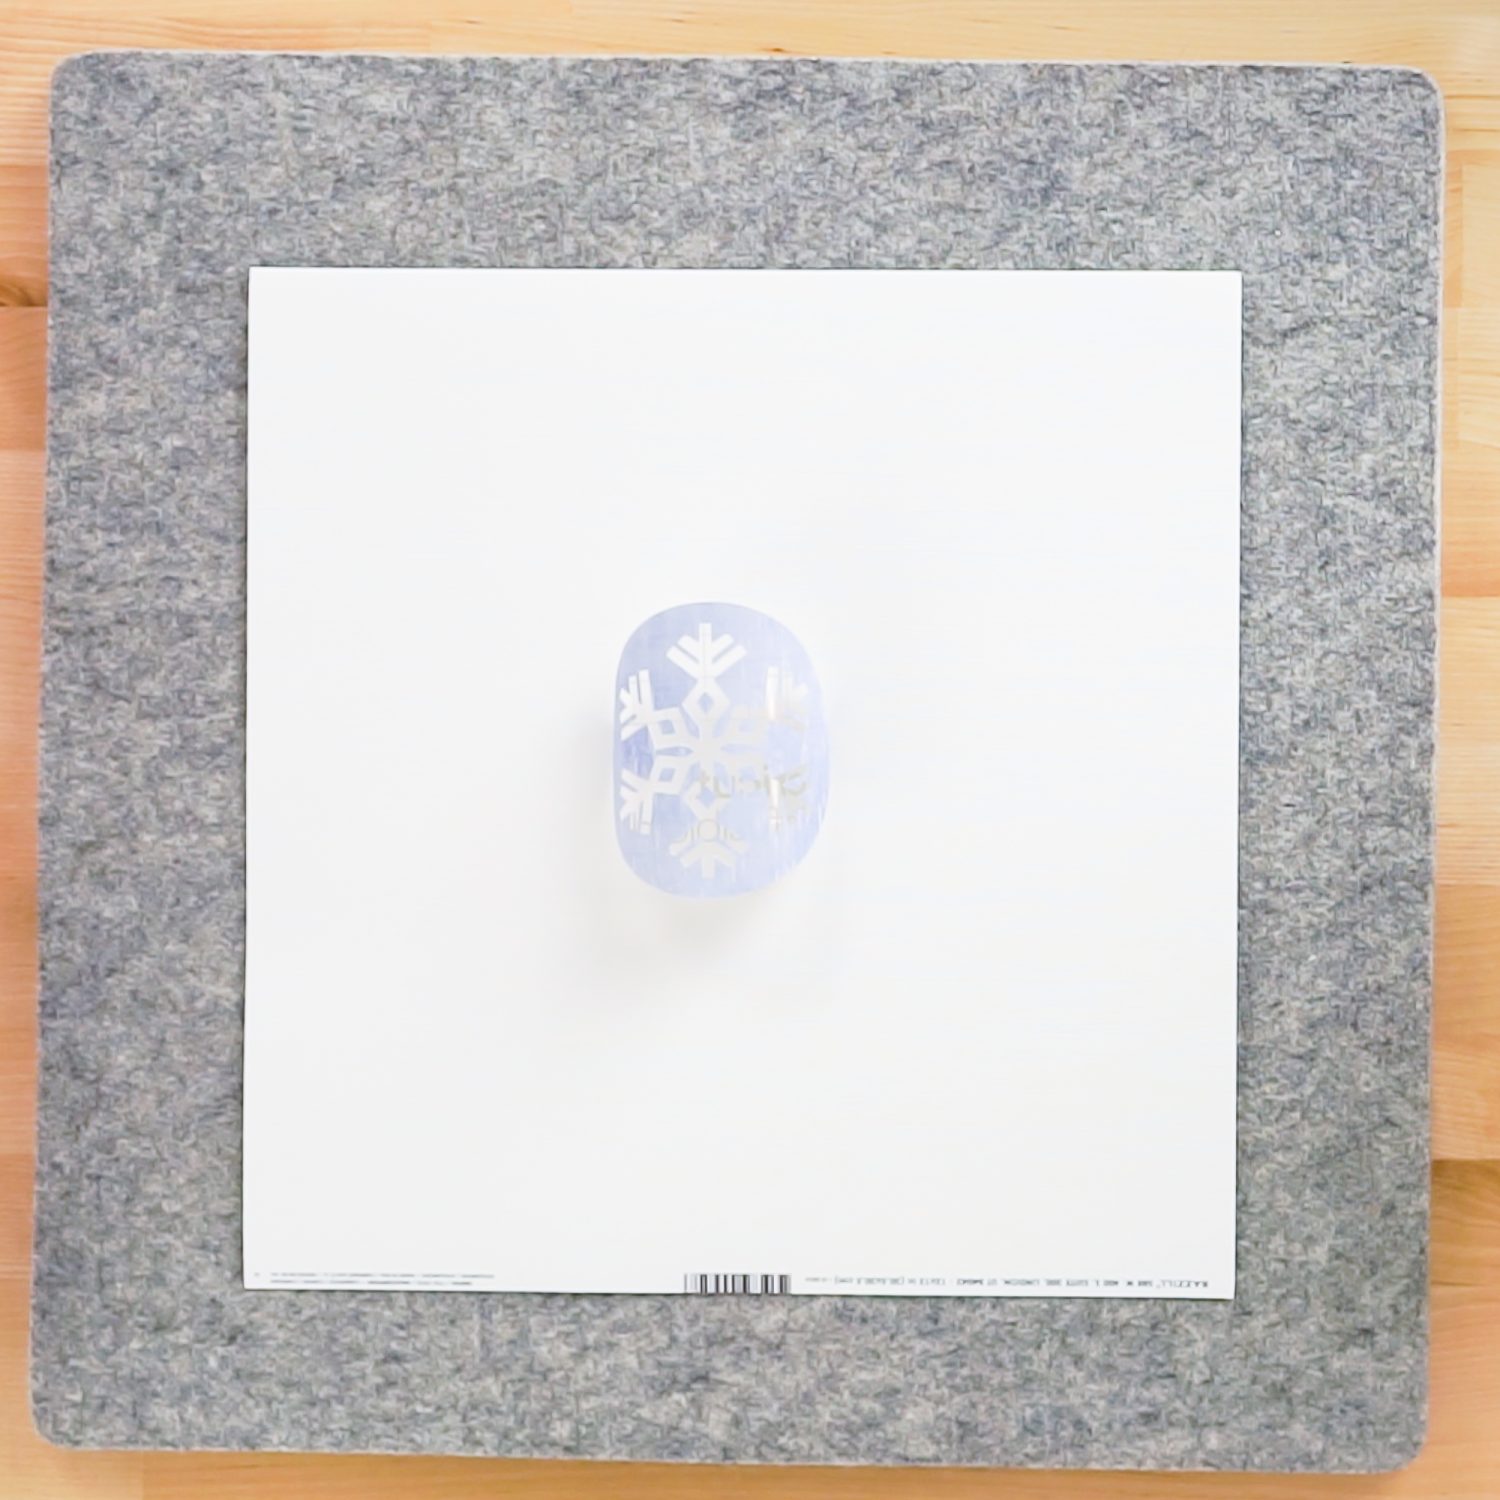
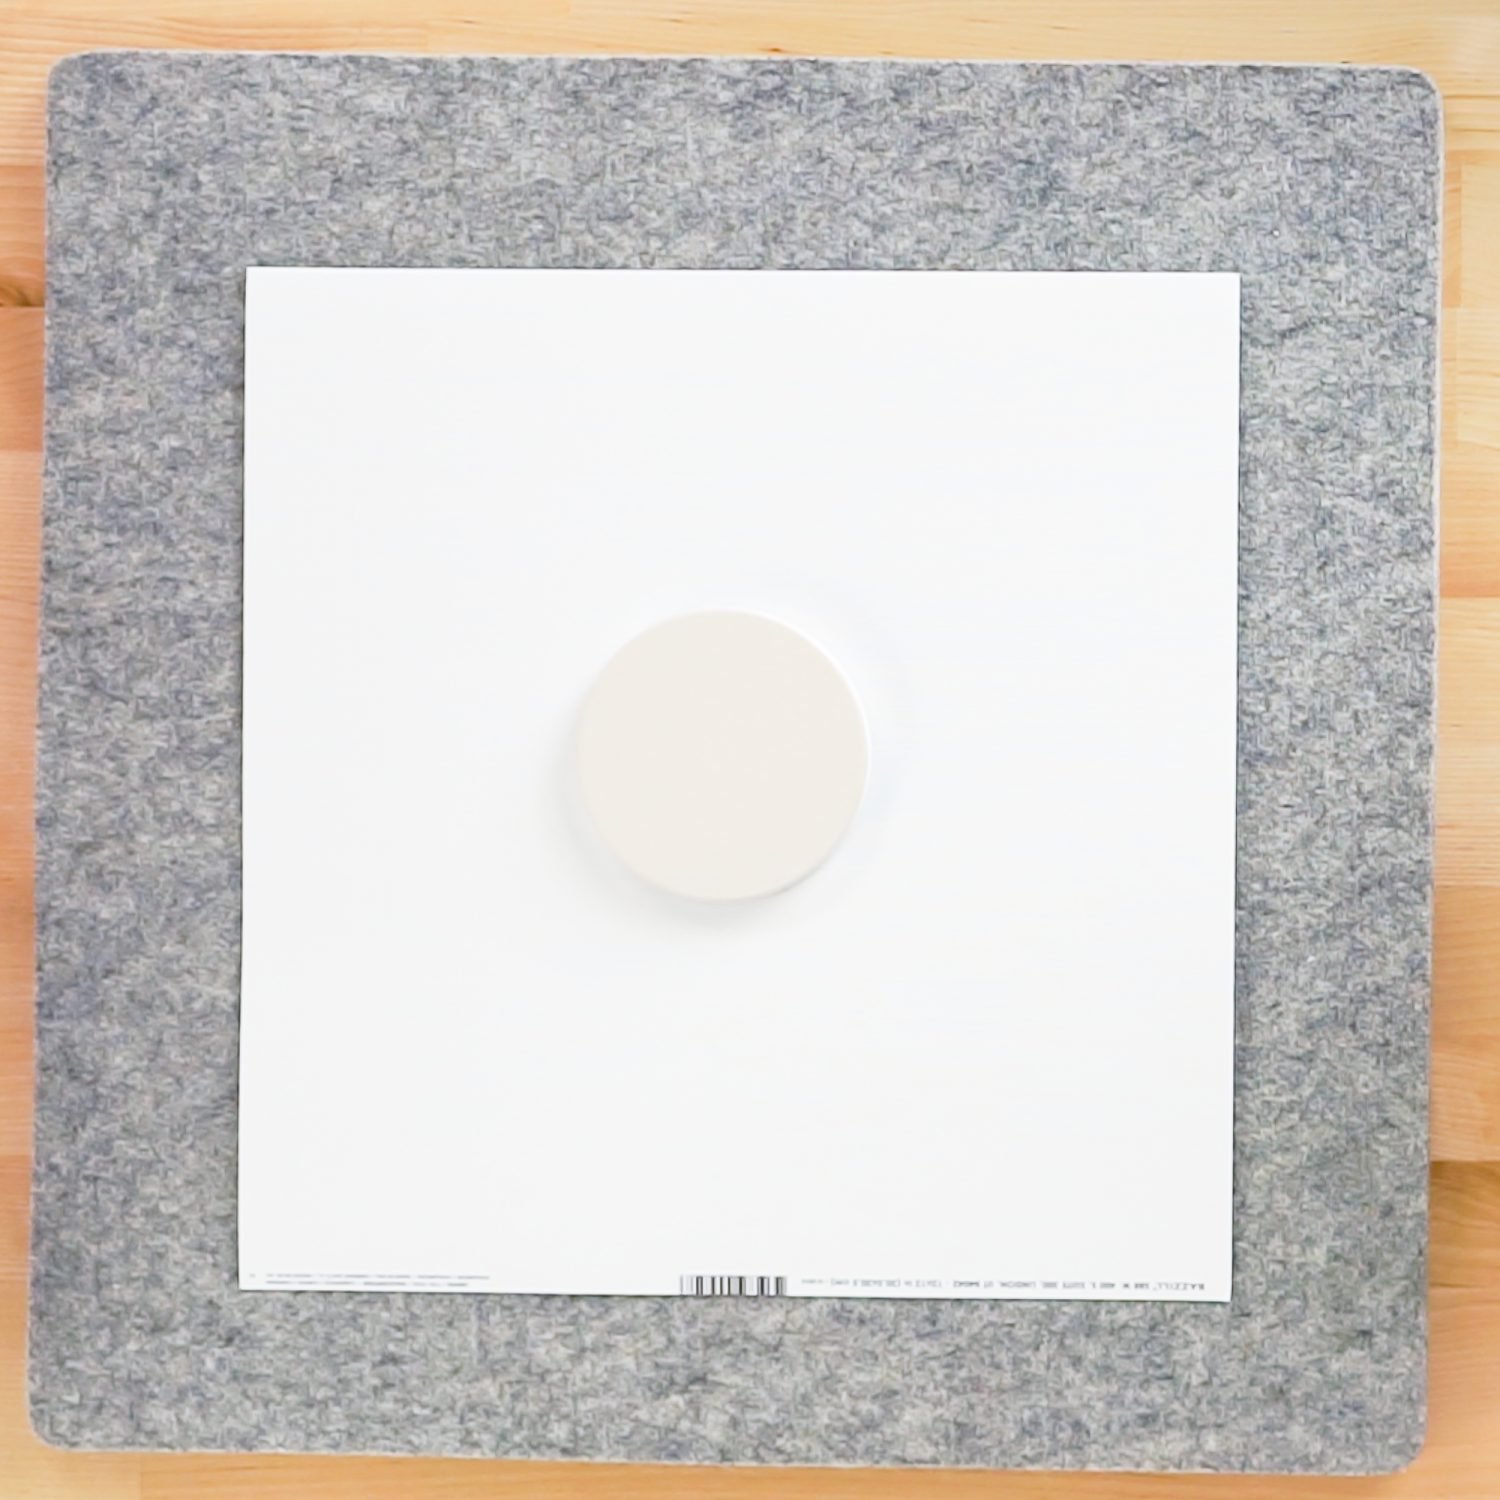
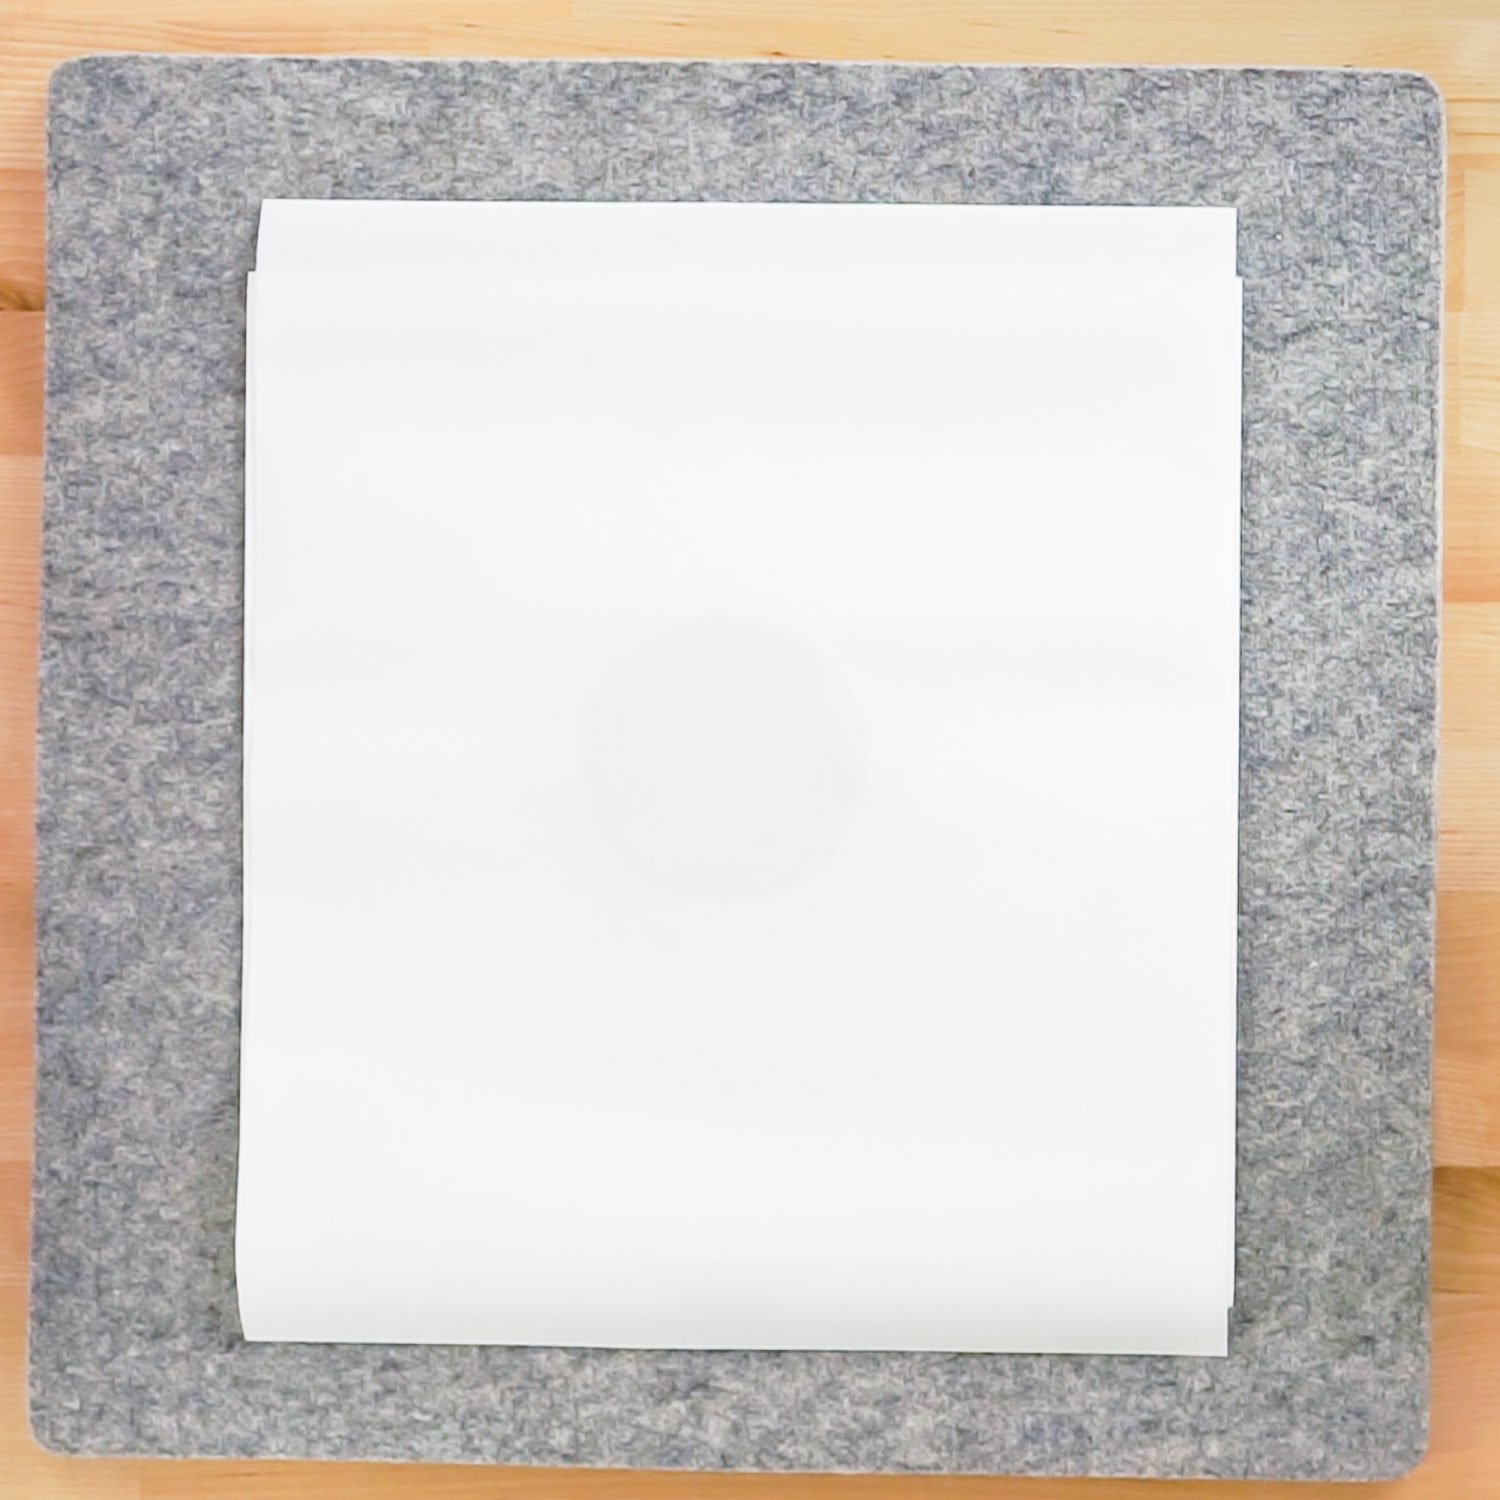
The EasyPress 2 will heat your image THROUGH the coaster.
Heat Time & Temperature Settings
According to Cricut’s Heat Settings Guide, the time and temperature for Infusible Ink on ceramic coasters is 400° for 240 seconds. <– THAT IS NOT A TYPO. It’s a full four minutes of time on your EasyPress 2. This allows the heat to penetrate through the coaster and into the transfer sheet, sublimating it onto the coaster.
Use The EasyPress To Transfer the Cricut Infusible Ink to the Coaster
Once your EasyPress 2 is to temperature, place it carefully on top of the stack you made. Try not to let it move the coaster, or your image might shift. Then let the EasyPress just sit there for 240 seconds—do not press with your hands. Once the countdown is done, return the EasyPress to its base.
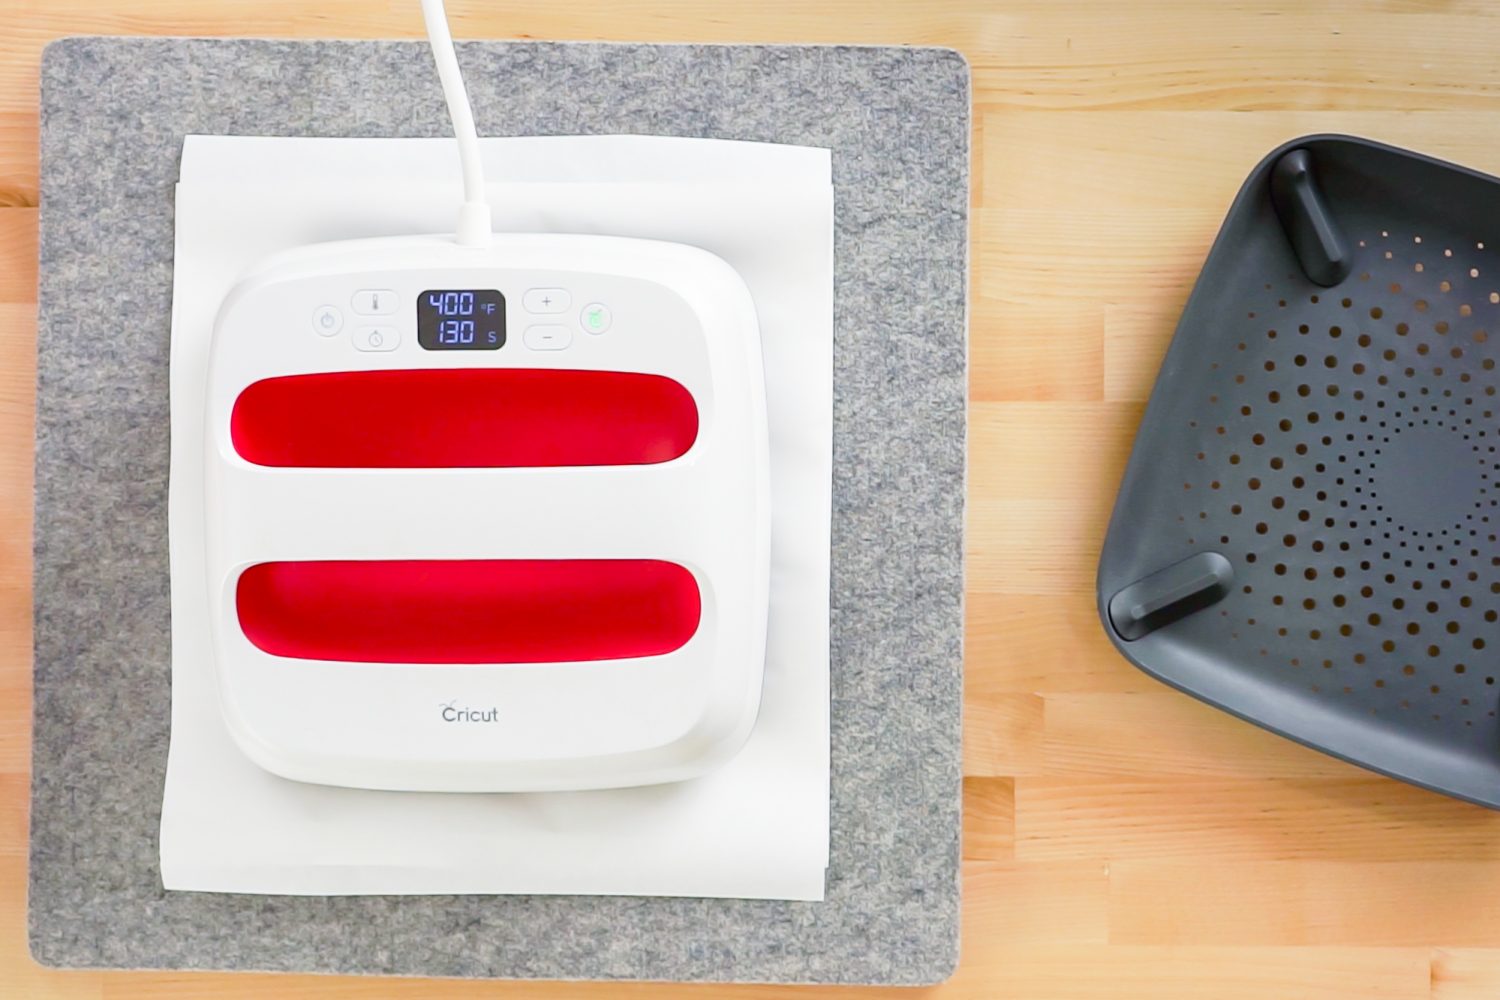
Then WAIT. The coaster is INSANELY HOT. Not only is it hot, it stays hot for a lot longer than you would expect. If you want to keep your fingerprints, don’t touch it for a bit. If you do need to move your coaster to do another one on your mat, use an oven mitt or something similar.
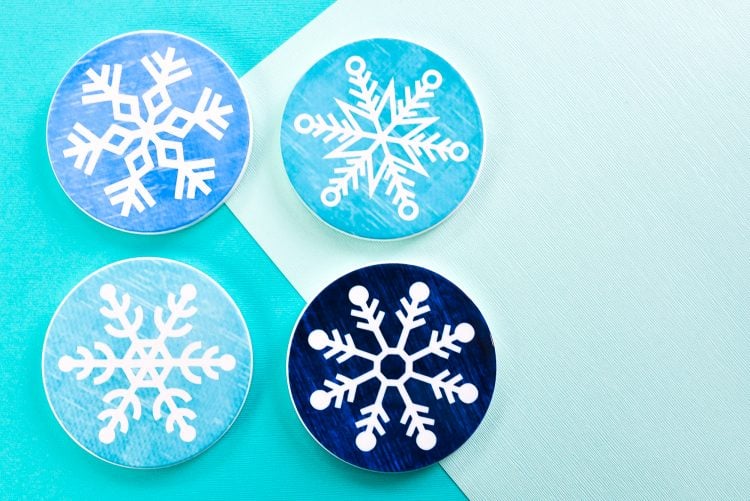
Repeat this process with the other three coasters and you have the cutest set of snowflake Christmas coasters this side of the North Pole!
SNOWFLAKE INFUSIBLE INK COASTERS
Equipment
- Brayer (optional)
Supplies
- Infusible Ink Transfer Sheet four colors
- Infusible Ink Coasters
- White Cardstock one sheet
- Heat-Resistant Tape optional
Instructions
- Upload the file to Cricut Design Space.

- Cut the coasters from Infusible Ink sheets.

- Weed out the negative space on your coaster.

- Create a stack to transfer your coaster: pressing mat, transfer with the color side up, coaster with the shiny side down, butcher paper.

- Press for 240 seconds with your EasyPress 2 set at 400°

- Wait for coasters to cool and you're done!

Make All the 25 Days of Cricut Christmas Projects!
We’ll be adding links as each day goes live! Grab the full bundle with all of the projects and SVGs in our 25 Days of Cricut Christmas eBook!
- Day 1: DIY Christmas Countdown Calendar
- Day 2: Snow Globe Shaker Card
- Day 3: Happy Holly Days Christmas Banner
- Day 4: Felt Gnome Pillow
- Day 5: Cookies for Santa Tray
- Day 6: Snowflake Coasters
- Day 7: Customized Christmas Banner
- Day 8: Etched Holiday Baking Dish
- Day 9: DIY Gift Card Holder
- Day 10: Christmas Apron
- Day 11: Christmas Quilt Block Artwork
- Day 12: Constellation Glitter Ornaments
- Day 13: DIY Christmas Card Holder
- Day 14: Papercut Christmas Village
- Day 15: Funny Christmas Socks
- Day 16: Veneer Pinecone Earrings
- Day 17: How to Make Felt Bows
- Day 18: Personalized Santa Sacks
- Day 19: Newborn Footprint Ornaments
- Day 20: Layered Christmas Mandala
- Day 21: Customized Pot Holders
- Day 22: Sleigh Rides Christmas Sign
- Day 23: Hot Cocoa Mug Gift
- Day 24: Print then Cut Gift Tags
- Day 25: Matching Christmas Pajamas


Leave A Reply!