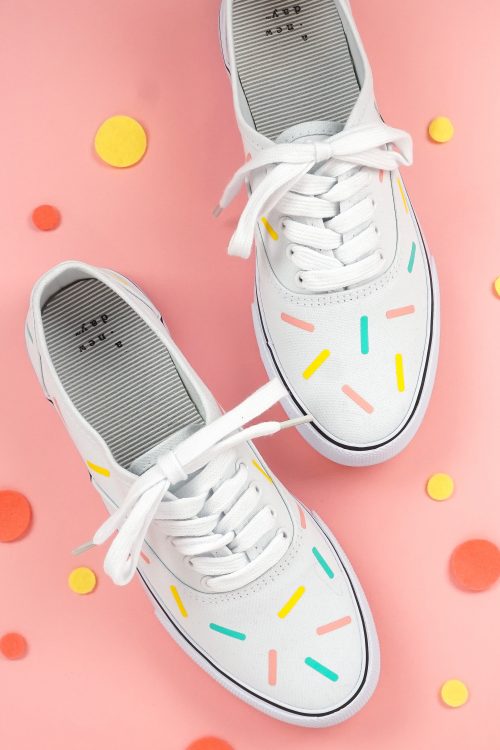
The new Cricut EasyPress Mini makes it easy to make projects like these sprinkle iron on shoes! The small pressing plate and even heating work great on curved surfaces and over seams.

Since it came out in 2017, I’ve been a fan of the Cricut EasyPress. I had always struggled to get iron on to adhere with my household iron, and my heat press was a beast to pull in and out of the closet. I pretty much never looked back to the other heating methods. Check out my comparison, using an Iron, heat press, and the EasyPress.
That is, unless I had something with a curved surface to press. For those projects, I’d break out my mini iron. It worked okay, but I was never as happy with it as I was with my EasyPress. So when Cricut came out with the EasyPress Mini, I was super excited. You can read all about it in my first EasyPress Mini post (and the reasons I like it more than my mini iron!).
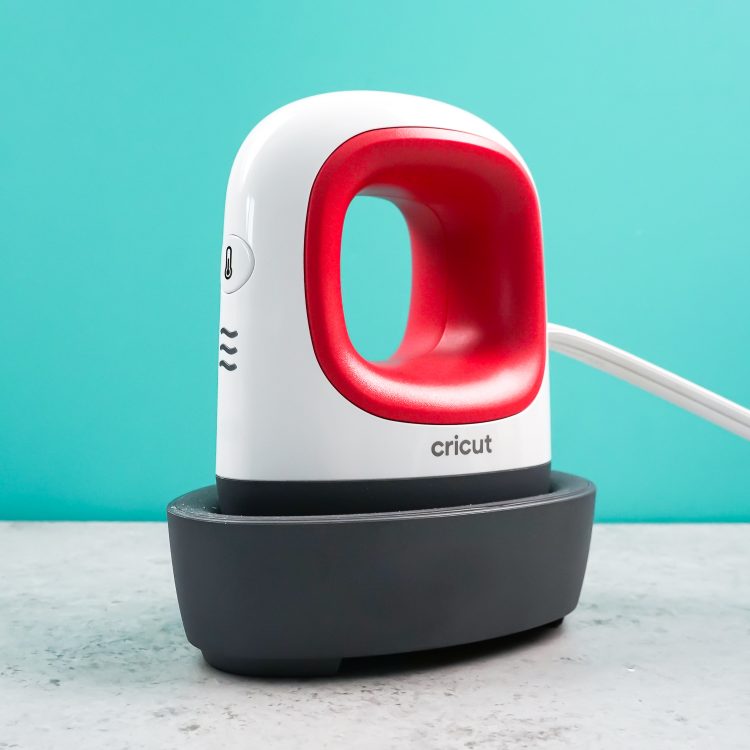
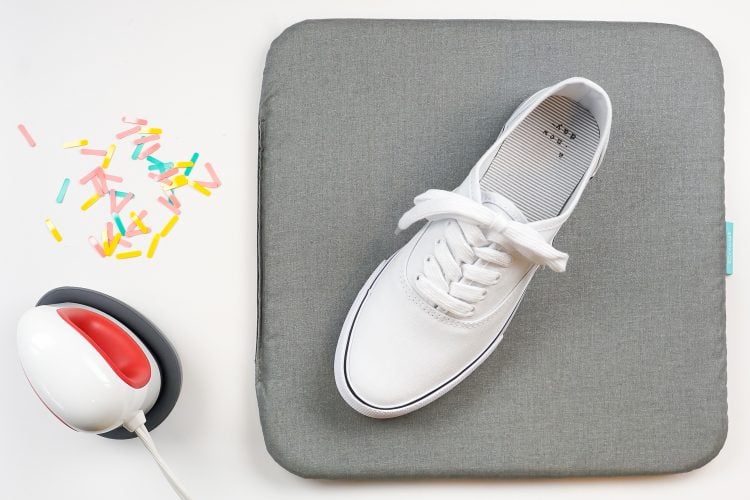
Today I’m taking the EasyPress Mini for a test drive by making a pair of canvas “sprinkle shoes.” This tutorial will work for any type of iron on shoes.

(Side note: I was working on these shoes and one of my boys asked me “Is this for your job, mama?” I answered that yes, I was making them for my blog. And he answered, “Your job is….interesting.” Yes, kiddo, it is!)
Sprinkle Iron On Shoes Supplies
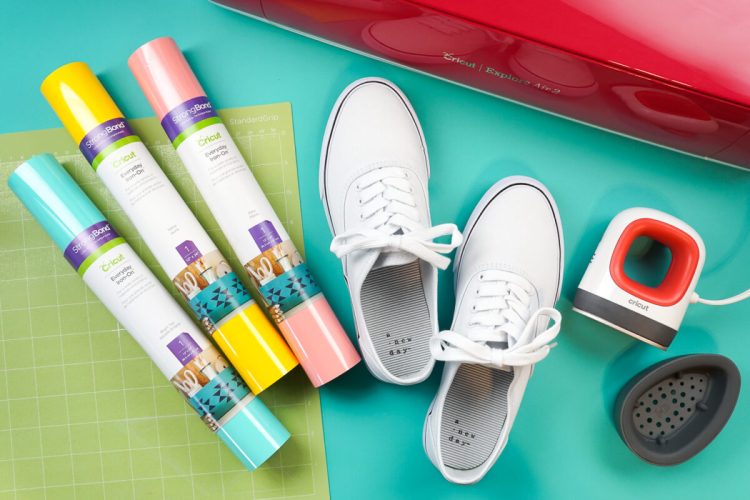
- Canvas shoes
- Cricut Everyday Iron On in a range of colors
- Cricut Explore or Maker
- Green StandardGrip mat
- Cricut EasyPress Mini
- Cricut EasyPress Mat
Prepare the File in Cricut Design Space
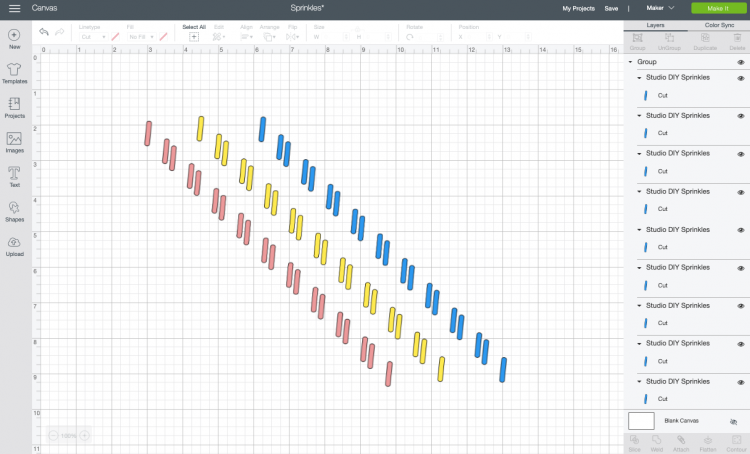
I already have the Cricut Design Space file created for you. Cut the sprinkles in various colors of Cricut Everyday Iron On. I am using the classic pink, yellow, and blue, but you could make the sprinkles whatever color you’d like! You can also make them bigger or smaller.

When you’re ready, click Make It in the upper left corner.
In the Prepare Screen, click the “mirror” option for each layer. This isn’t really important with these sprinkles, but it’s good to be in the habit of mirroring all of your iron on projects.
In the Make Screen, instead of choosing the “Everyday Iron On” material setting, we’re going to choose “Cardstock.” This will cut all the way through the iron on carrier sheet. This means you don’t have to weed your project, and it’s easier to place your sprinkles down on your shoes. I’ve been using this “cut through” technique quite a bit lately and I’m loving it for certain applications like this.
Cut Your Iron On
Place your iron on shiny-side down on your cutting mat and cut using your Cricut Explore or Maker.
Once cut, lift up the excess iron on and you’ll see you have a bunch of tiny sprinkles with tiny sprinkle-shaped carrier sheets on them.

Iron On Shoes with the EasyPress Mini
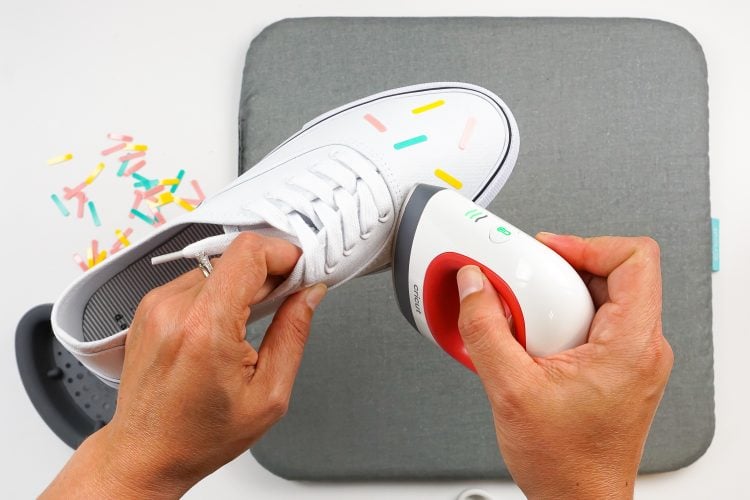
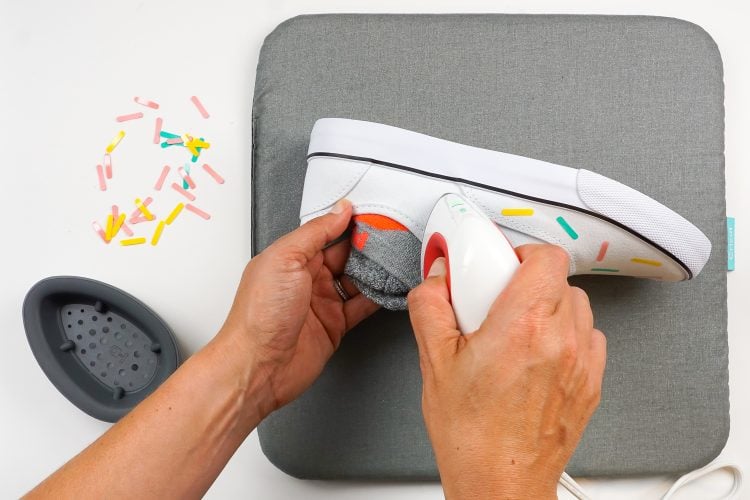
Set the EasyPress Mini to medium and wait for it to come to temperature. Place a balled-up sock inside the shoe—this gives you the necessary resistance when pressing with the Mini.

Place a sprinkle onto the shoe, shiny-side up, and press with the Mini for 20 seconds or until the sprinkle is adhered. Make sure you’re pressing against the sock and not your fingers—the Mini can burn you through the canvas shoe. Make sure to avoid the rubber sole of the shoe.

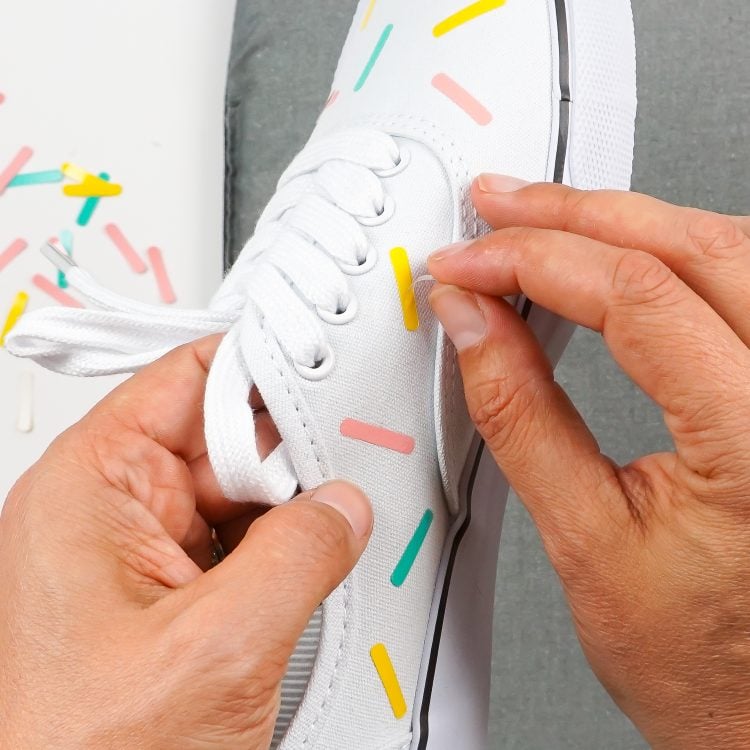
Do not remove the carrier sheet on the sprinkle. First, adhere all of the sprinkles. Keeping the carrier sheet over each sprinkle helps protect it from the heat place and means you don’t need to worry about using a pressing cloth.

Once you have all of the sprinkles adhered, remove all of the carrier sheets and you’re done!


SPRINKLE IRON ON SHOES
Equipment
- Cricut Maker or
Supplies
- Canvas shoes
- Cricut Everyday Iron On in a range of colors
- Cricut Design Space file
Instructions
- Cut the sprinkles in various colors of Cricut Everyday Iron On. For this project the classic colors of pink, yellow, and blue are being used, but you could make the sprinkles whatever color you'd like! You can also make them bigger or smaller.When you're ready, click Make It in the upper left corner.

- In the Prepare Screen, click the "mirror" option for each layer. This isn't really important with these sprinkles, but it's good to be in the habit of mirroring all of your iron on projects.In the Make Screen, instead of choosing the "Everyday Iron On" material setting, choose "Cardstock." This will cut all the way through the iron on carrier sheet. This means you don't have to weed your project, and it's easier to place your sprinkles down on your shoes.
- Cut Your Iron OnPlace your iron on shiny-side down on your cutting mat and cut using your Cricut Explore or Maker.Once cut, lift up the excess iron on and you'll see you have a bunch of tiny sprinkles with tiny sprinkle-shaped carrier sheets on them.

- Iron On Shoes with the EasyPress MiniSet the EasyPress Mini to medium and wait for it to come to temperature. Place a balled-up sock inside the shoe—this gives you the necessary resistance when pressing with the Mini.

- Place a sprinkle onto the shoe, shiny-side up, and press with the Mini for 20 seconds or until the sprinkle is adhered. Make sure you're pressing against the sock and not your fingers—the Mini can burn you through the canvas shoe. Make sure to avoid the rubber sole of the shoe.

- Do not remove the carrier sheet on the sprinkle. First, adhere all of the sprinkles. Keeping the carrier sheet over each sprinkle helps protect it from the heat place and means you don't need to worry about using a pressing cloth.

- Once you have all of the sprinkles adhered, remove all of the carrier sheets and you're done!





Comments & Reviews
Alisa says
How well did these hold up? Did the vinyl peel off at all? I have a very active 2 year old who I’ve been considering customizing some shoes for, but my husband is worried it’ll come off quickly
Amy Motroni says
Hi there,
So far they have held up pretty well and we didn’t Scotchguard them.
Happy Crafting!
Amy, HLMS Support
Kim says
I’m curious as to how well the shoes have held up? Are the sprinkles peeling? Did you need to spray them with scotch guard or anything after to help with preservation?
Thank you!
Alyssa says
Hi! I’m trying to make the sprinkles and after I click ‘Make it’ it says that ‘this item is not for sale.’ Is this item no longer availaable or am I making a newbie error?
Thanks!!
Amy Motroni says
Hi Alyssa,
Not a newbie error. The file didn’t transfer over when Design Space moved to the desktop version. Stay tuned and we will update it!
Thanks
Amy, HLMS Support
Helene Smith says
My Easy Press started melting the bottom part while still heating. Cricut does not answer my plea for help! Surely, I don’t need to put the press on a teflon sheet?
Amy Motroni says
Hi Helene,
What do you mean by the “bottom part”?
Cori would like to help but needs a little more information,
Thanks,
Amy, HLMS Reader Support