Use the Cricut Maker Wavy Blade tool to add a decorative edge to your Cricut projects. Here’s everything you need to know about using the Wavy tool, plus an example of a project using it!

The Cricut Wavy Blade tool is one of the four new tools that Cricut released in July 2019. It’s designed to add a decorative edge to your Cricut project—similar to scissors that cut a wavy edge.
I’ve already covered the other three tools from this launch, plus the other Cricut Maker tools. Check out these posts:
- The Perforation Tool
- The Engraving Tool
- The Debosssing Tool
- The Knife Blade
- The Rotary Blade
- The Scoring Wheels
What is the Cricut Wavy Blade?
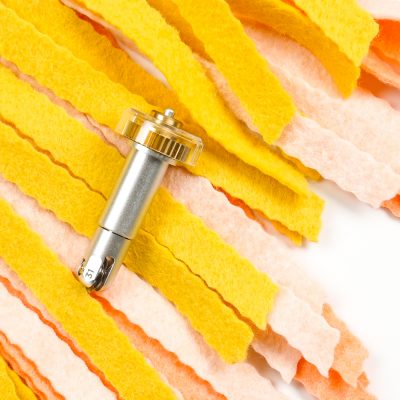
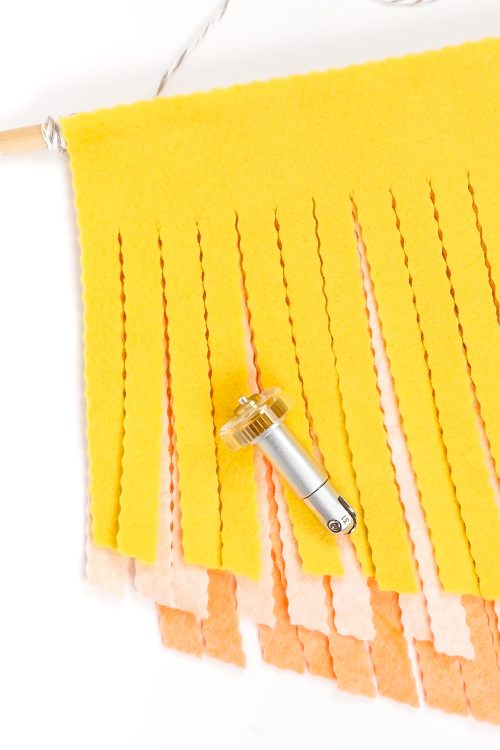
The Cricut Wavy Blade (also called the Wavy Tip or Wavy Tool) is designed to cut a decorative edge in your materials. It does this using a wavy-edged rotary blade.

The Wavy Blade has an “31” engraved on it, to help differentiate it from the other Maker tools.
To be honest, this isn’t my favorite tool. I feel like its uses are limited and it’s quite expensive (see below for buying options). If you have experience in a design program outside of Design Space, you can easily replicate this same wavy line and have your FinePoint blade cut it. That being said, maybe there are applications that I’m just not thinking of!
Overall, unless you really love the idea of these decorative edges, I’m not sure if this is a tool you need.
What Cricut Machines Work with the Wavy Blade
The Wavy blade was designed specifically for the adaptive tool system of the Cricut Maker (meaning it has that gear on top) with the QuickSwap Housing—it won’t work in the Explore machines. Check out my Cricut Explore vs. Cricut Maker comparison post.

What Materials Can I Cut Using the Wavy Blade?
This tool is has been qualified on the following materials:
- Acetate: Regular, Foil
- Cardstock: Light, Regular, Heavy, Glitter
- Chipboard: Light
- Craft Foam: Regular, Glitter
- Duct Tape Sheet
- Fabric: Cotton, Bonded Cotton, Wool, Flannel, Fleece, Fusible, Linen, Polyester, Printable
- Felt
- Fluted Polypropylene Sheet
- Iron On: Everyday, Holographic Neon Foil, Glitter, Holographic, Holographic Mosaic, Holographic Threads, Mesh, Patterned, Glitter Mesh, Metallic, SportFlex
- Kraft Board: Regular, Foil
- Leather: Faux, Genuine, Metallic, Tooling (2–3oz)
- Paper: Construction, Copy, Crepe, Patterned, Pearl, Photo, Shimmer, Sparkle, Sticker, Watercolor
- Poster Board: Regular, Metallic
- Vinyl: Glitter, Holographic, Matte Foil, Premium Vinyl, Frosted Glitter, Frosted Opaque, Textured Metallic, True Brushed, Printable
- Vellum
- Washi Sheets
You can, of course, try using it on other materials (though you are limited to selecting the above materials in the Make Screen in Design Space, so choose the closest option to your material).
What is the QuickSwap Housing?
To use the Cricut Wavy Blade, you will need the QuickSwap Housing. This is the housing for the tip—the part of the tool with the gear and plunger at the top that allows you to swap out different tools.

You can buy the Wavy tool including the housing, or you can buy just the tip. If you already have a tool that has the QuickSwap Housing from another tool, like the Scoring Wheel, you do not need to buy a second housing (yay!—these tools aren’t cheap!). See below for places to buy.
How Do I Make a Wavy Line in Design Space?
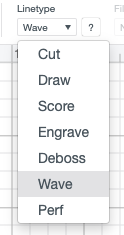
Along with the new tool, Cricut made an update to Design Space so you can change any shape or line into a wavy line. For the project below, I used a scoring line and then changed it to a wavy (“Wave”) linetype using the dropdown Linetype menu at the top of Design Space.
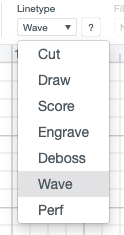
Note that when you make something a “wavy” linetype, it will NOT show in Cricut Design Space, as you’ll see below.
Make a Felt Wall Hanging!
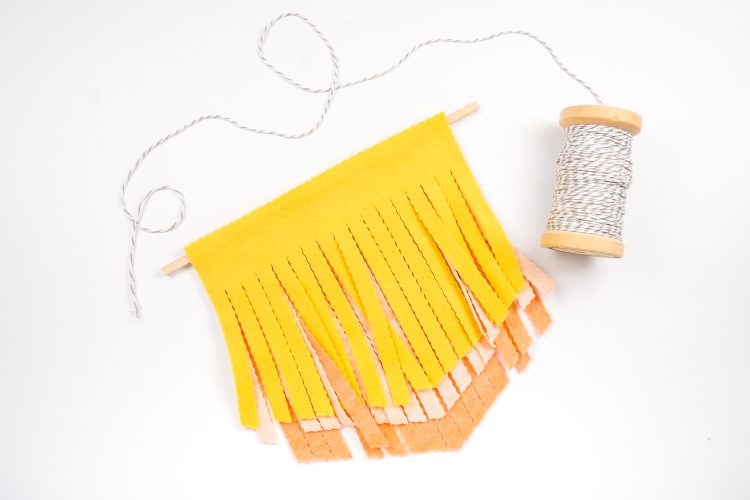
Let’s make a simple felt wall hanging with the Cricut Maker Wavy Blade. I like how the wavy blade cuts felt—I think it’s my favorite material to cut so far.
For this project you’ll need:
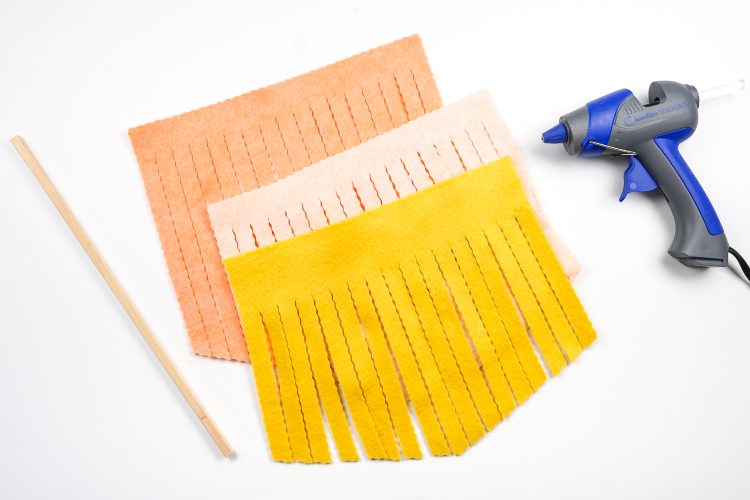
- Felt in 3 colors (I love the felt from Benzie Design)
- Cricut Maker
- Cricut Wavy Tip
- Hot Glue Gun
- Dowel
- Baker’s Twine
- Wavy Banner SVG Files
Get the Free File
Want access to this free file? Join my FREE craft library! All you need is the password to get in, which you can get by filling out the form below. The file number is: C221.
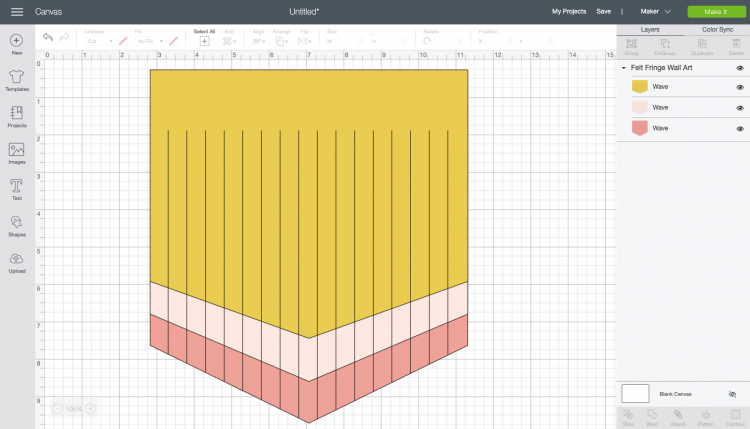
Start by uploading the SVG to Cricut Design Space (click here for a post about uploading images). When the file is uploaded, go to the Edit toolbar at the top and change the linetype to “Wave.”
You’ll notice that in Design Space, the linetype doesn’t look “wavy” but you’ll see in the Layers Panel on the left that each layer has “wave” next to it, indicating that you’ve selected correctly.

Then place your felt down on a Cricut mat and cut! I like to use old junky green mats for felt. I found that this particular design left quite a bit of debris, but I was able to scrape it off fairly easily with my thumbnail. You can also try backing your felt with transfer tape. I was low on transfer tape, so I decided not to do that for this project.

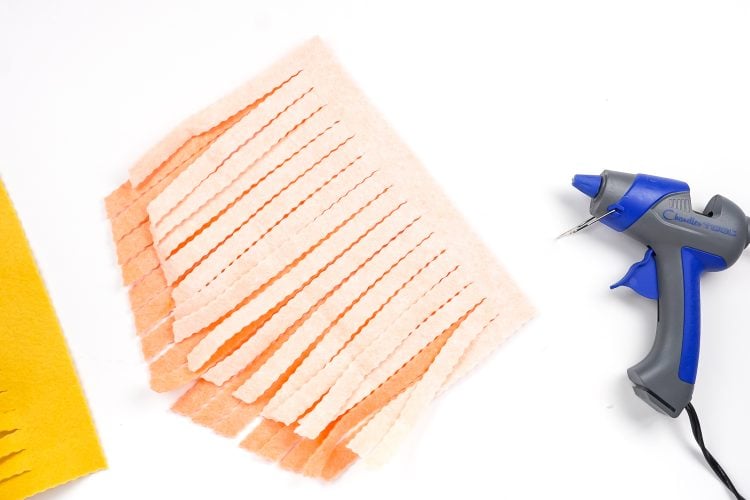
Once you have all your pieces cut, hot glue the bottom two pieces together.

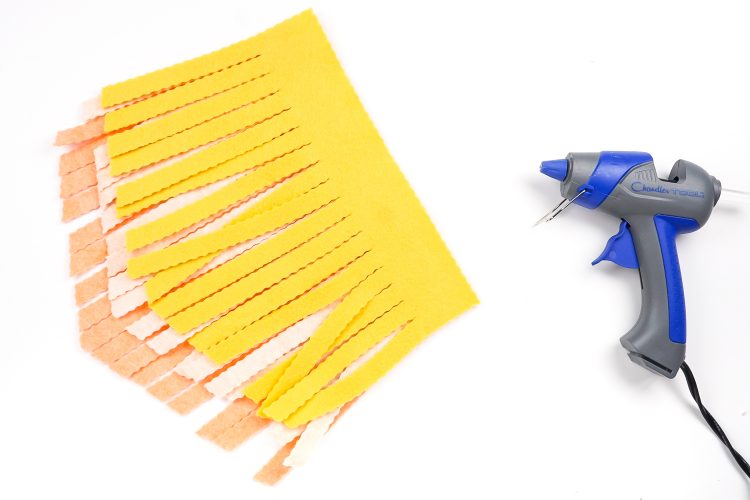
Then glue the top piece on. The solid part of the top piece is actually “taller” than the other two pieces and overlaps the top by about 1/2″. I did this so I could glue it to the dowel without the bulk of three layers of felt.

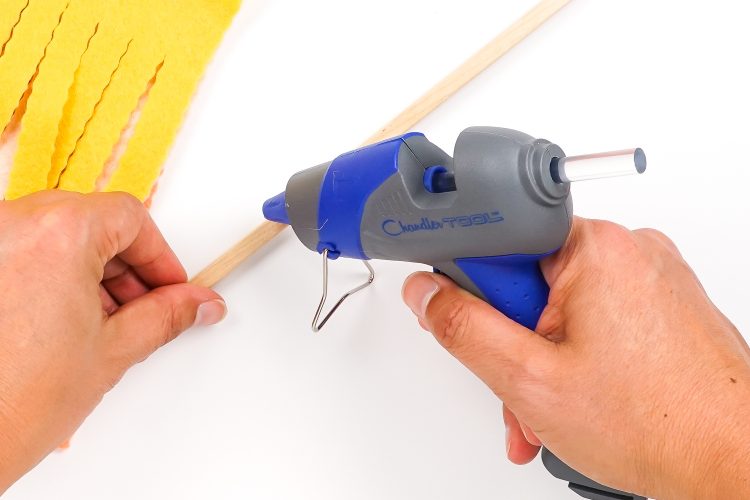
Then glue the dowel to the back of the top piece. You can also fold it over if you’d like, but I liked the wavy edge at the top.

Then add some bakers twine to your dowel and you’re done!


Where Can I Buy the Cricut Maker Wavy Blade Tool?
Check the following stores to buy:
Cricut.com: Tool + QuickSwap Housing / Tip Only
HSN: Tool + QuickSwap Housing / Tip Only
Amazon: Tool + QuickSwap Housing / Tip Only

Shop Amazon for Maker Tools
FELT WALL HANGING
Supplies
- Felt in 3 colors
- Free Wavy Banner File #C221
Instructions
- Start by uploading the SVG to Cricut Design Space (click here for a post about uploading images). When the file is uploaded, go to the Edit toolbar at the top and change the linetype to "Wave."

- You'll notice that in Design Space, the linetype doesn't look "wavy" but you'll see in the Layers Panel on the left that each layer has "wave" next to it, indicating that you've selected correctly.

- Then place your felt down on a Cricut mat and cut! Use an old junky green mat for felt. This particular design left quite a bit of debris, but I was able to scrape it off fairly easily with my thumbnail. You can also try backing your felt with transfer tape.

- Once you have all your pieces cut, hot glue the bottom two pieces together.

- Then glue the top piece on. The solid part of the top piece is actually "taller" than the other two pieces and overlaps the top by about 1/2". This was done so it could be glued to the dowel without the bulk of three layers of felt.

- Then glue the dowel to the back of the top piece. You can also fold it over if you'd like, but I liked the wavy edge at the top.

- Then add some bakers twine to your dowel and you're done!




Comments & Reviews
Janice says
I haven’t been happy with the wavy tool either. When I used it to make a square card stock have wavy edges I can’t even remove the square from the card stock. It is like it doesn’t cut all the way through. It seemed to cut through vinyl but for making cards which is what I would think would be a great use, it simply doesn’t work for me.
Thank you for all your tips! They are so very helpful.