FELT WALL HANGING
Use the Cricut Maker Wavy Blade tool to add a decorative edge to your Cricut projects.
Ingredients
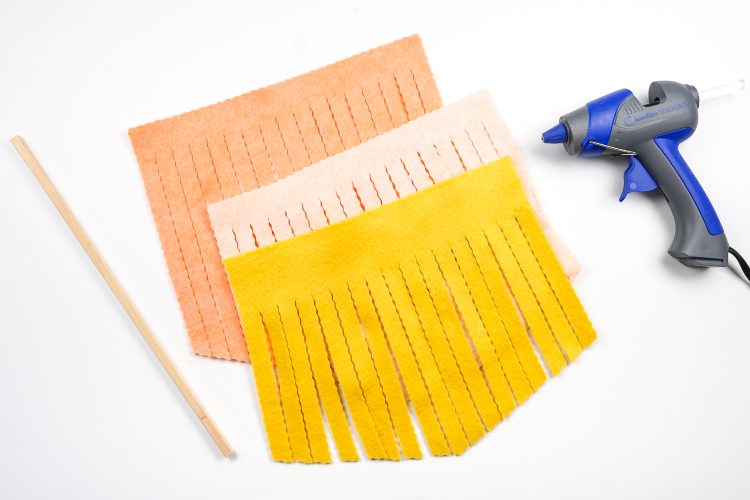
- Felt in 3 colors
- Free Wavy Banner File #C221
Instructions
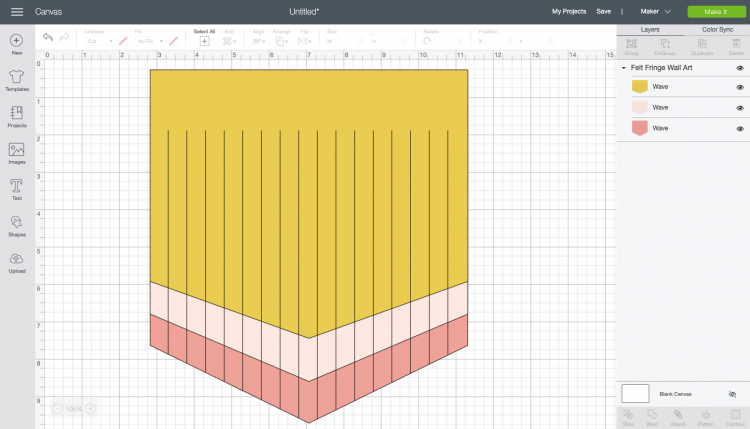
- Start by uploading the SVG to Cricut Design Space (click here for a post about uploading images). When the file is uploaded, go to the Edit toolbar at the top and change the linetype to "Wave."
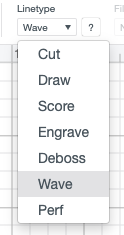
- You'll notice that in Design Space, the linetype doesn't look "wavy" but you'll see in the Layers Panel on the left that each layer has "wave" next to it, indicating that you've selected correctly.
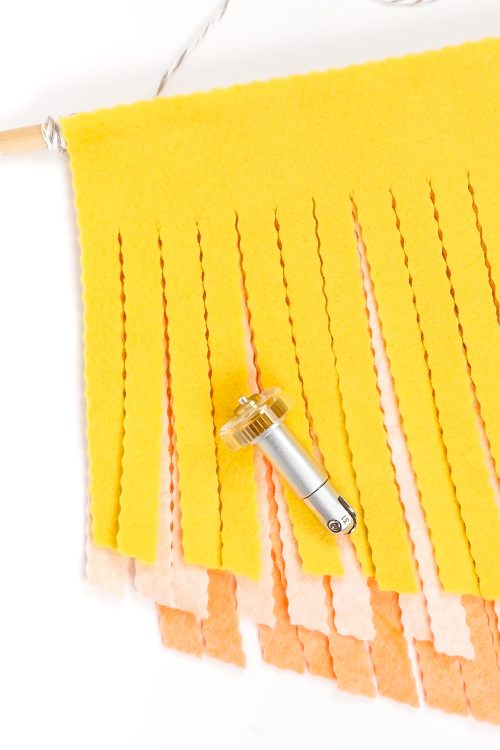
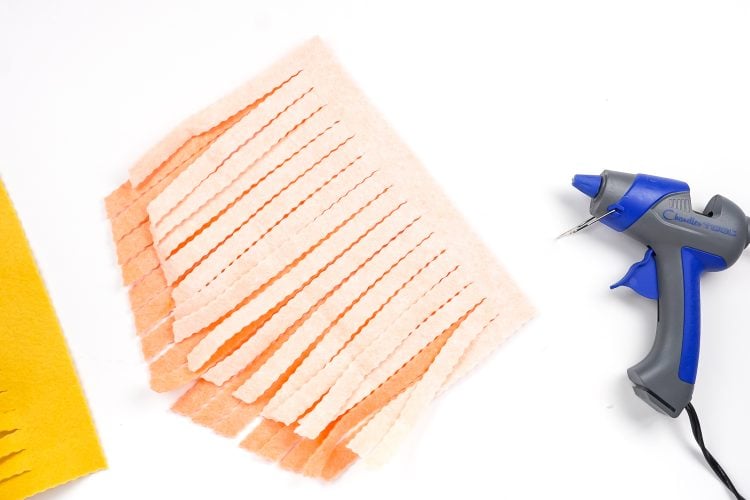
- Then place your felt down on a Cricut mat and cut! Use an old junky green mat for felt. This particular design left quite a bit of debris, but I was able to scrape it off fairly easily with my thumbnail. You can also try backing your felt with transfer tape.
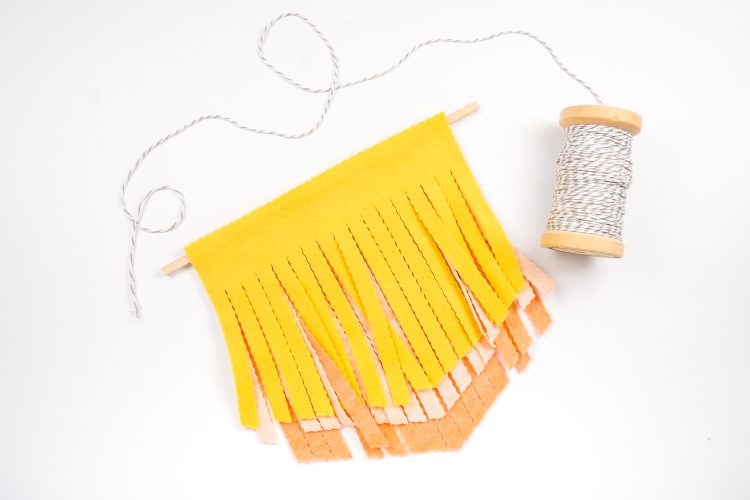
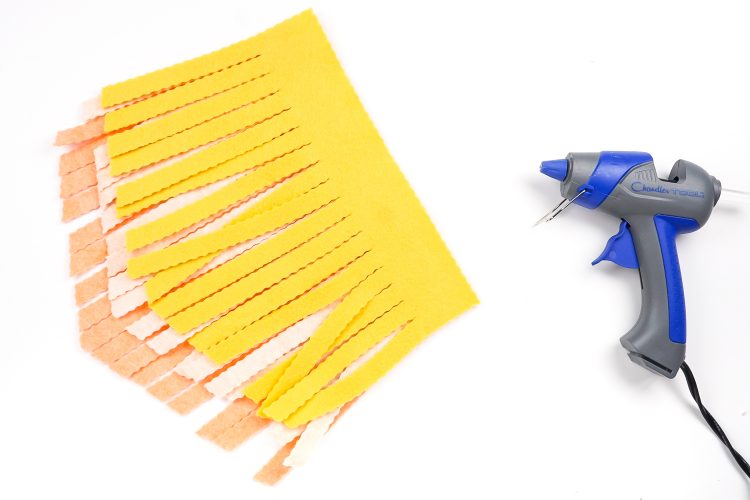
- Once you have all your pieces cut, hot glue the bottom two pieces together.
- Then glue the top piece on. The solid part of the top piece is actually "taller" than the other two pieces and overlaps the top by about 1/2". This was done so it could be glued to the dowel without the bulk of three layers of felt.
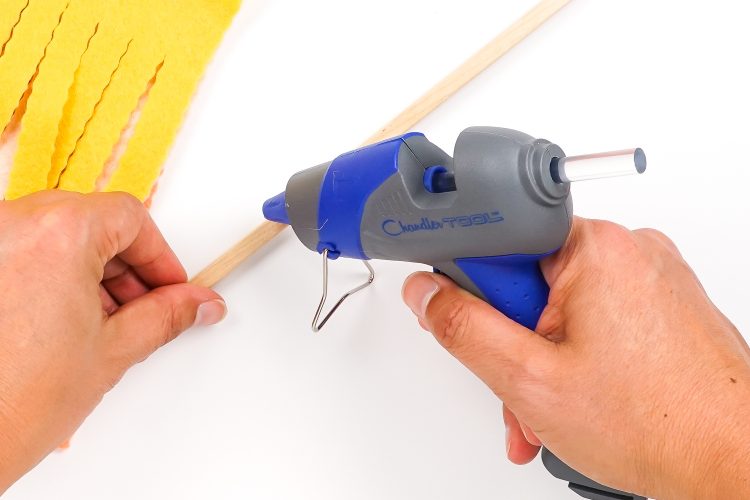
- Then glue the dowel to the back of the top piece. You can also fold it over if you'd like, but I liked the wavy edge at the top.
- Then add some bakers twine to your dowel and you're done!