Use your Cricut Maker and the rotary blade to cut out your fabric! Then get the instructions to make this easy-sew tote bag, and then personalize using iron on vinyl.

It’s been a while since I broke out my sewing machine, but this fun Toy Story 4 fabric was the perfect reason to get sewing! This fabric line was exclusive to my favorite craft store, JOANN, and featured all your Toy Story 4 favorites, including Forky, Ducky, and Bunny. And, of course, old favorites like Woody, Buzz, and the aliens (my personal fave…”the clawwww…”). Now that JOANN has closed, you may be able to find similar fabrics elsewhere online!

Since they started walking, one of my twin boys’ favorite games has been “move stuff from one part of the house to another.” I know this is not an official kid game, but I’m pretty sure most parents know it! At four, my boys still carry things around our house—just the other night I found at least two dozen small cars in our master bathroom. They are always borrowing my reusable grocery bags for these escapades, so I thought I’d sew them up a couple of tote bags!

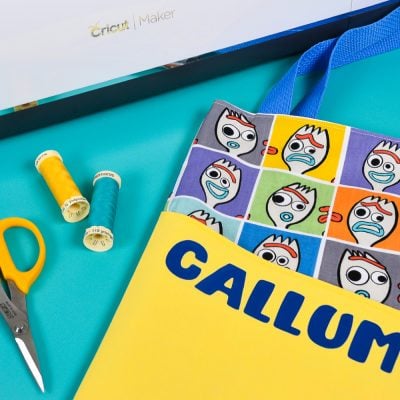
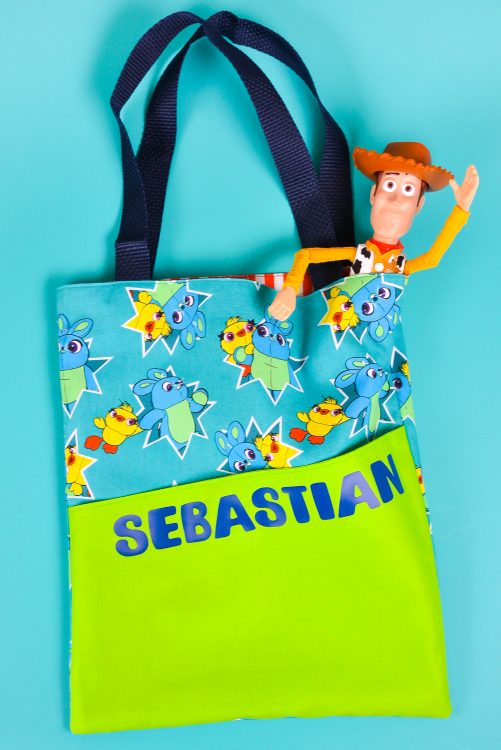
With an angled front pocket, these easy-sew tote bags are perfect for carrying all of your child’s treasures—books, toys, car games, and snacks. They aren’t large, so they are easily carried by tiny arms. You can can also use iron on vinyl to personalize each bag—a special keepsake for your child.
This pattern is designed to be cut on the Cricut Maker using the rotary blade, saving you time in the cutting process. I love my Maker for fabric projects. I’ve had it for almost two years and I’m still impressed at how well the rotary blade slices through fabric—if you sew, it’s definitely worth the upgrade from the Cricut Explore.
Want more information on cutting fabric with your Maker? Check out these posts:
- Cutting Fabric on the Cricut Maker
- How to Clean Your Cricut FabricGrip Mat
- How to Use the Cricut Fabric Pen
I have also included hand-cutting dimensions to make this project if you do not have a Cricut Maker!
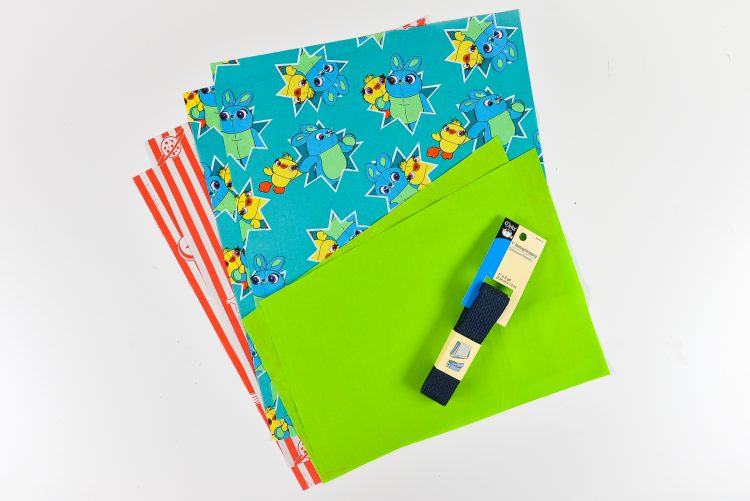
Tote Bag with the Cricut Maker Supplies
Note: because of the fabric direction, you will need 1/2 yard vs. 1/3 yard for each pattern. If the fabric you choose does not have a pattern that needs to go in a specific direction, you can use 1/3 yard of each.
- 1/2 yard of exterior fabric
- 1/2 yard of interior fabric
- 1/3 yard of solid fabric
- Sewing machine
- Coordinating thread
- Dritz belting
- Pins
- Iron
- Cricut Maker
- Iron on Vinyl
- Cricut EasyPress (optional)
Tote Bag with the Cricut Maker Instructions
All seams are 1/4″.
Cut the Fabric with the Cricut Maker
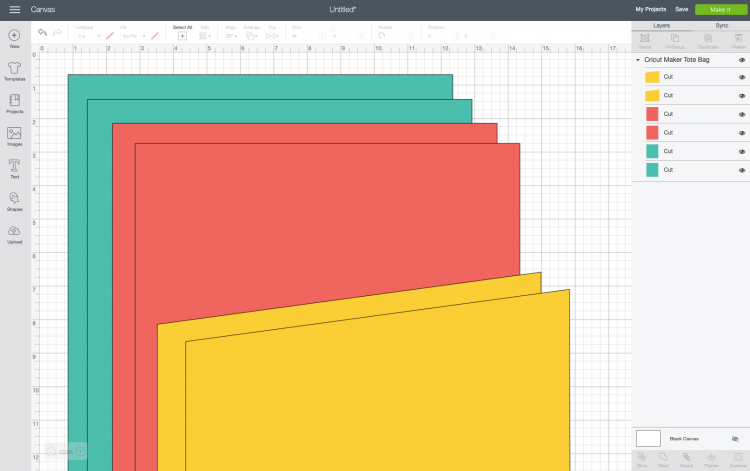
Cut out all three fabrics using the SVG file you downloaded above. If you need help uploading an SVG to Cricut Design Space, check out this post.

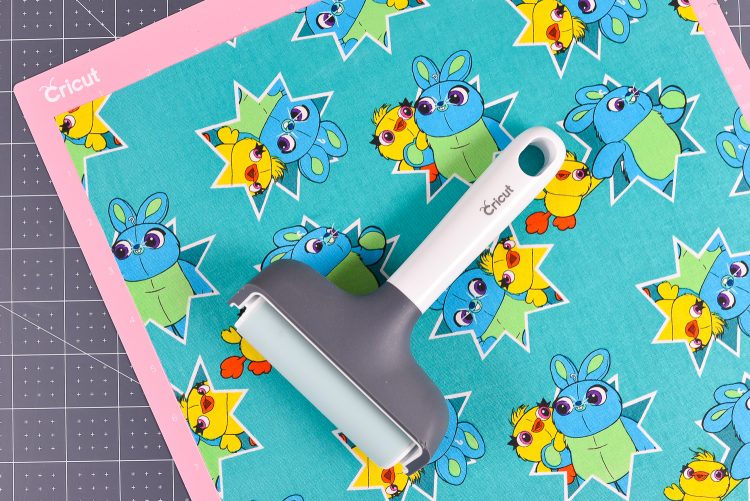
I like to use my brayer to get good adhesion between my fabric and my mat.

In the file, the blue rectangles are your exterior pieces, the pink are the interior pieces, and the yellow are the pocket pieces. You’ll want to cut your fabric down to 12″ wide to fit on the mat. I usually let the length fall off the end of the mat—this allows me to save as much fabric as possible.
Once your pieces are cut, you’re ready to assemble your bag!

Hand Cut Dimensions
If you do not have a Cricut Maker, cut the following:
- Exterior Fabric: 11.5″ x 13.5″ (cut 2)
- Interior Fabric: 11.5″ x 13.5″ (cut 2)
- Pocket: 11.5″ x 9″ (cut 2)
For the pocket, measure down 2″ on the left side and create a mark. Then cut from the top right corner down to the mark you made to create the angled pocket.
Sew the Exterior Pocket
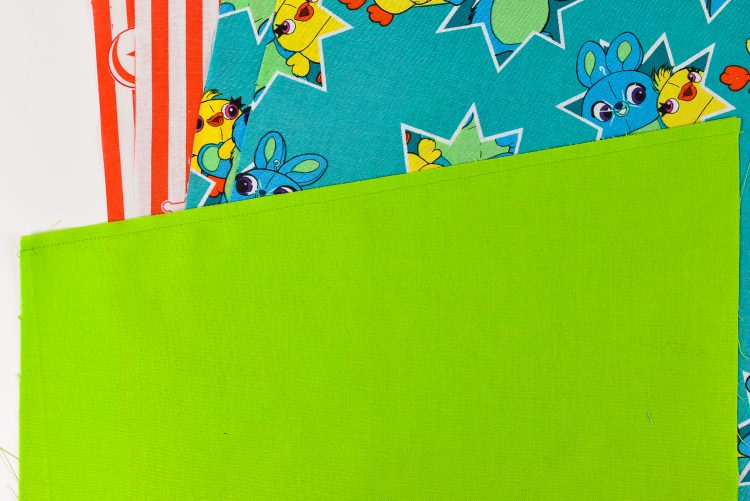
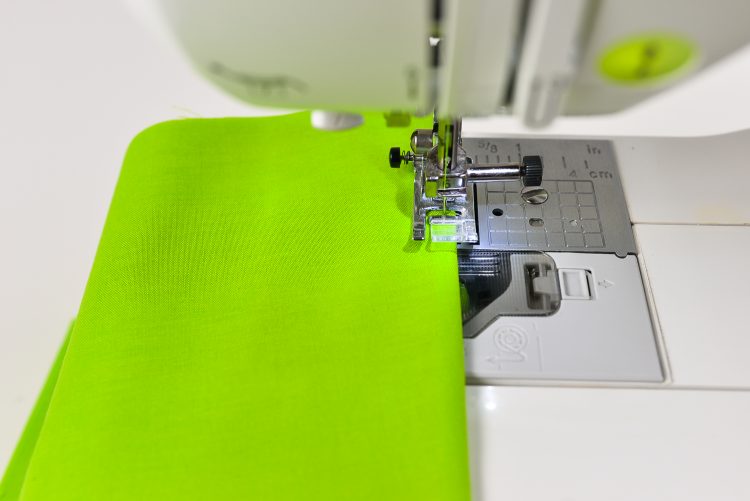
Place the two pocket pieces right-sides together and sew the angled edge using an 1/4″ seam.

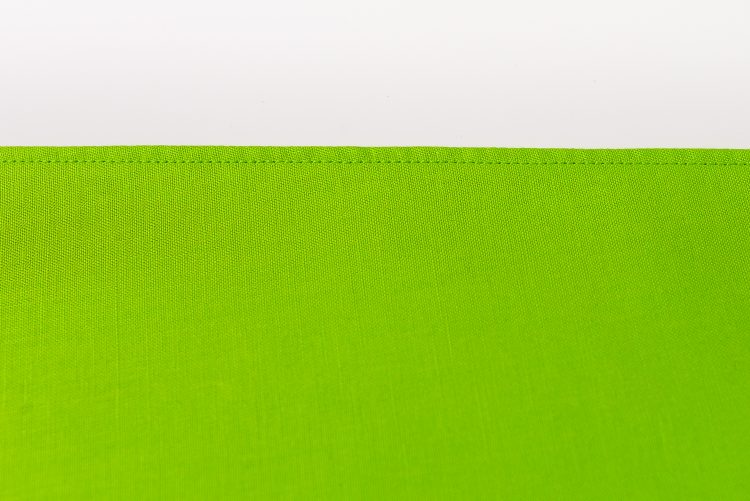
Turn the two pieces right side out and press the seams. Then top stitch along the edge to finish it.


Sew the Exterior Fabric with the Pocket
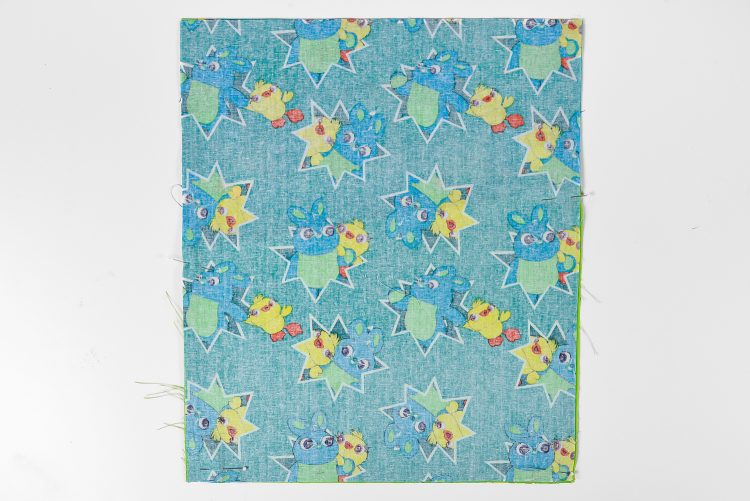
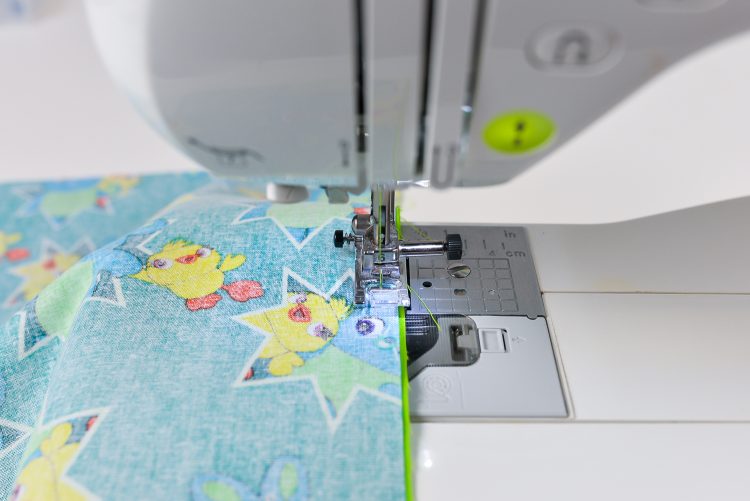
Place the two exterior pieces right-sides together with the pocket nestled between the two exterior pieces, with all three pieces of fabric aligned at the bottom. Pin and sew the bottom and sides of the bag.


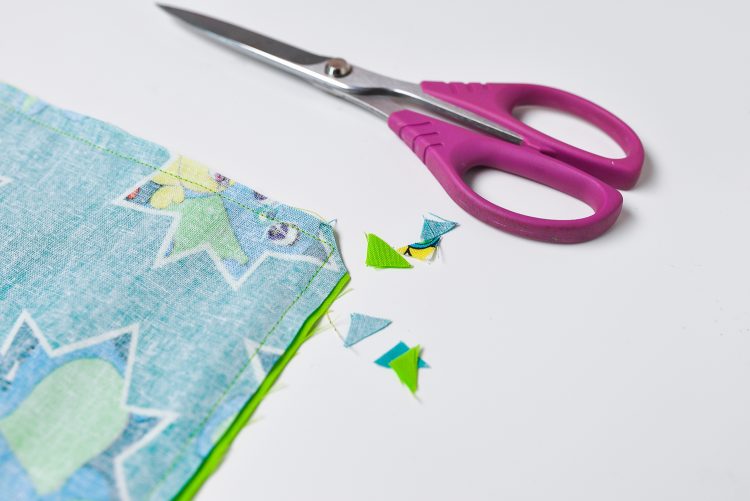
Trim the corners and press your seams open if desired.

Sew the Lining
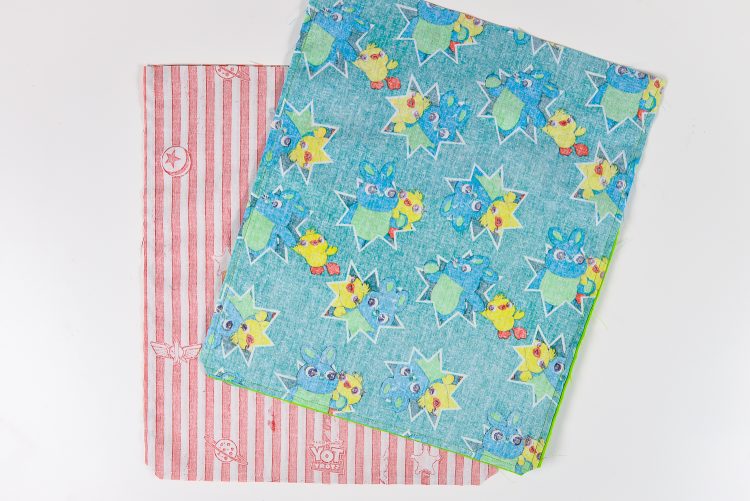
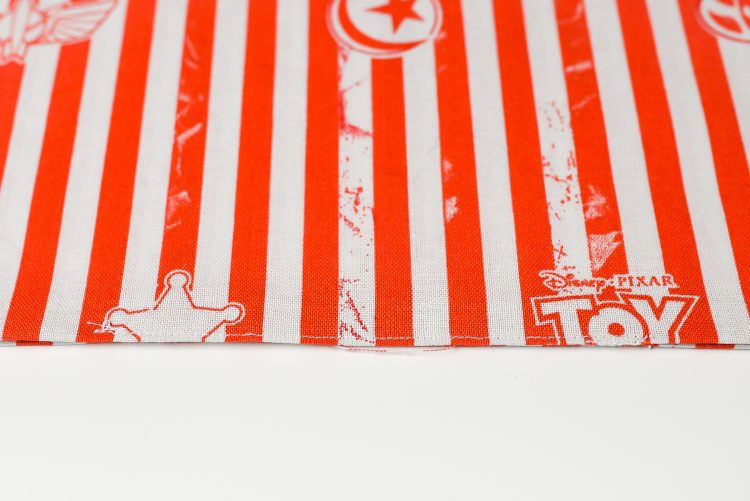
Place the two lining pieces right-sides together and sew the bottom and sides, but leave a 4″ gap in the middle of the bottom seam for turning the bag right-side out later. Trim the corners and press the seams open.

Cut the Straps
Cut two pieces of Dritz Polypro belting, each 18″ long. You can make the straps shorter or longer if you desire. I like this belting—saves you the time of having to cut and sew fabric straps, plus it’s sturdy and comes in a wide range of colors. Do NOT iron the belting—it will melt. Instead, spritz with a little water and the creases will mostly come out.
Assemble the Tote Bag
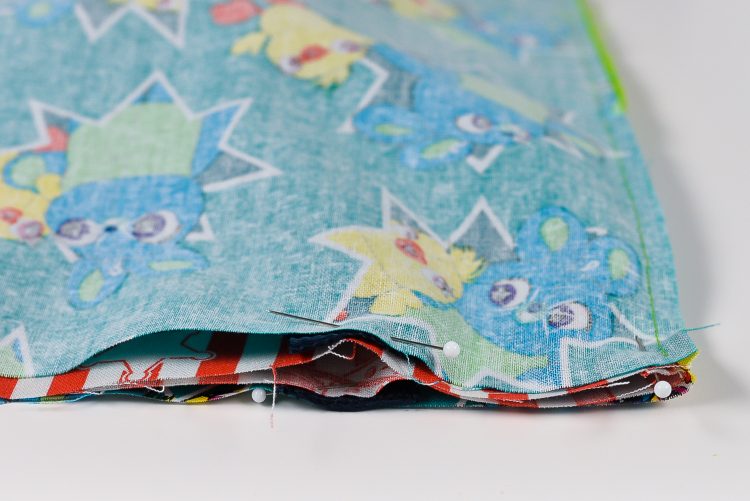
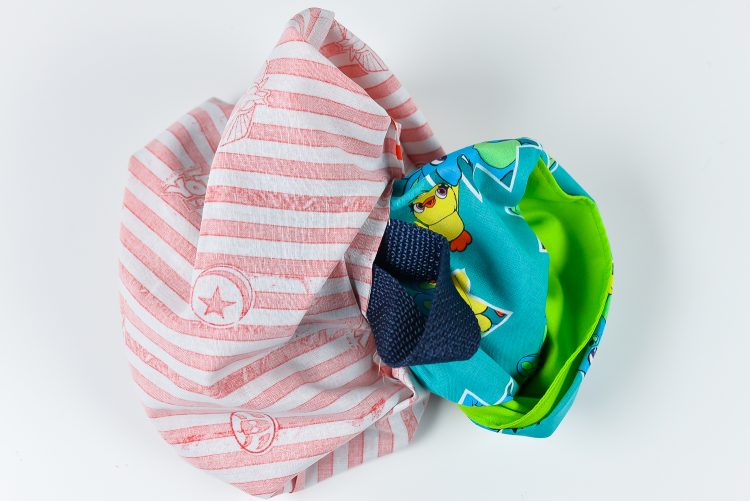
Turn the exterior of the bag right-sides out and place it within the wrong-sides out lining. Then nestle and pin the straps between the exterior of the bag and the lining of the bag, 2″ from the edge on each side. The straps will be in between the layers of the bag, with the raw edges of the strap lining up with the top raw edge of the bag.

Make sure your straps are not twisted!
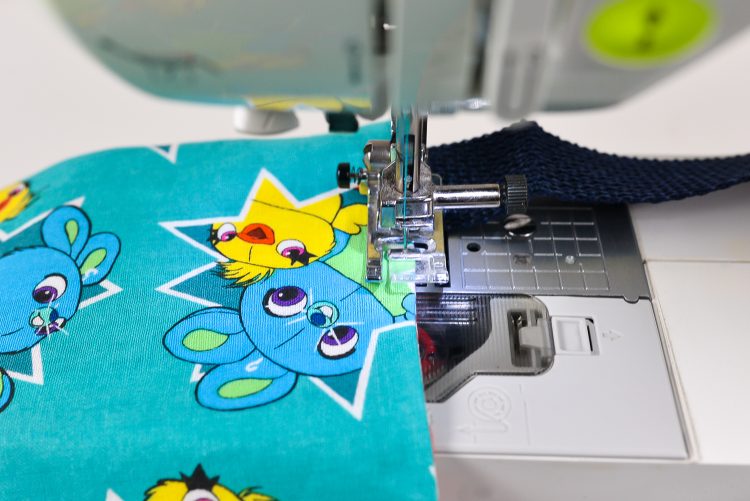
Sew all the way around the top of the bag, making sure you catch the straps as you go around. Backstitch at the start and finish.
Turn the bag right-side out through the hole in the bottom of the lining. You’ll see that the straps and the pocket are now on the outside of the bag.

Stitch the hole shut, either with your machine and a stitch very close to the edge (my preference), or by hand sewing.

Topstitch around the top edge of the tote — first 1/8″ away from the top edge, then 1/4″ away from the top edge. This will help secure the handles.

Personalize with Iron On Vinyl
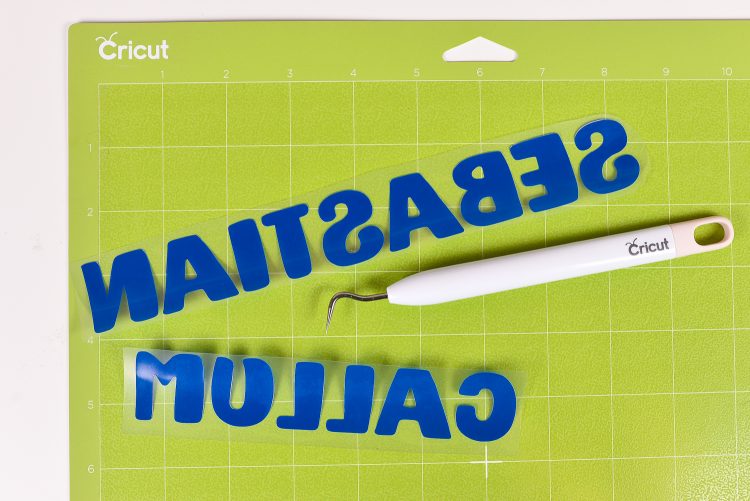
If desired, use your Cricut Maker to cut out your child’s name in iron on vinyl (make sure to mirror your iron on before cutting!). I have several extensive posts for you about iron on vinyl:
- How to Use Iron On Vinyl (<—seriously everything you want to know!)
- Warm Peel vs. Cool Peel Iron On Vinyl
- Weeding Iron On Vinyl
I made my names about 2″ tall using the font Kristof Block, one of my system fonts. Of course, you can use whatever size, font, and color you’d like.

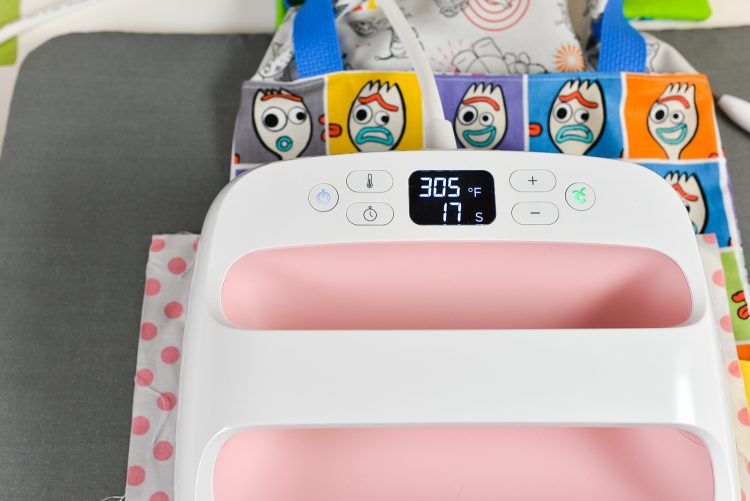
Then adhere to the front of the pocket using your Cricut EasyPress or iron.

The entire time I was making these bags, my boys were obsessively asking me when they’d be done. And now that they have them? They won’t put them down! Sebastian even slept with his last night, along with Woody.

Want to make a tote bag using the Cricut Maker for yourself? Grab some of this adorable fabric and sew one up in less than an hour!

Want some more Toy Story fun? Check out my blog for the easy sew Toy Story Alphabet Stuffies!

TOY STORY TOTE BAG
Equipment
- Cricut EasyPress optional
Supplies
- Free Toy Story Tote Bag Files #C206
- 1/2 yard exterior fabric
- 1/2 yard interior fabric
- 1/3 yard solid fabric
- Iron on Vinyl
Instructions
- All seams are 1/4".Cut the Fabric with the Cricut MakerCut out all three fabrics using the SVG file you downloaded above. If you need help uploading an SVG to Cricut Design Space, check out this post.

- Use your brayer to get good adhesion between the fabric and the mat.

- In the file, the blue rectangles are your exterior pieces, the pink are the interior pieces, and the yellow are the pocket pieces. You'll want to cut your fabric down to 12" wide to fit on the mat. Let the length fall off the end of the mat—this allows you to save as much fabric as possible.Once your pieces are cut, you're ready to assemble your bag!

- Hand Cut DimensionsIf you do not have a Cricut Maker, cut the following:Exterior Fabric: 11.5" x 13.5" (cut 2)Interior Fabric: 11.5" x 13.5" (cut 2)Pocket: 11.5" x 9" (cut 2)For the pocket, measure down 2" on the left side and create a mark. Then cut from the top right corner down to the mark you made to create the angled pocket.
- Sew the Exterior PocketPlace the two pocket pieces right-sides together and sew the angled edge using an 1/4" seam.

- Turn the two pieces right side out and press the seams. Then top stitch along the edge to finish it.


- Sew the Exterior Fabric with the PocketPlace the two exterior pieces right-sides together with the pocket nestled between the two exterior pieces, with all three pieces of fabric aligned at the bottom. Pin and sew the bottom and sides of the bag.


- Trim the corners and press your seams open if desired.

- Sew the LiningPlace the two lining pieces right-sides together and sew the bottom and sides, but leave a 4″ gap in the middle of the bottom seam for turning the bag right-side out later. Trim the corners and press the seams open.

- Cut the StrapsCut two pieces of Dritz Polypro belting, each 18" long. You can make the straps shorter or longer if you desire. This belting saves you the time of having to cut and sew fabric straps, plus it's sturdy and comes in a wide range of colors. Do NOT iron the belting—it will melt. Instead, spritz with a little water and the creases will mostly come out.
- Assemble the Tote BagTurn the exterior of the bag right-sides out and place it within the wrong-sides out lining. Then nestle and pin the straps between the exterior of the bag and the lining of the bag, 2″ from the edge on each side. The straps will be in between the layers of the bag, with the raw edges of the strap lining up with the top raw edge of the bag.

- Make sure your straps are not twisted!Sew all the way around the top of the bag, making sure you catch the straps as you go around. Backstitch at the start and finish. Turn the bag right-side out through the hole in the bottom of the lining. You’ll see that the straps and the pocket are now on the outside of the bag.

- Stitch the hole shut, either with your machine and a stitch very close to the edge (my preference), or by hand sewing.

- Topstitch around the top edge of the tote — first 1/8″ away from the top edge, then 1/4″ away from the top edge. This will help secure the handles.

- Personalize with Iron On VinylIf desired, use your Cricut Maker to cut out your child's name in iron on vinyl (make sure to mirror your iron on before cutting!). The names for this project are about 2" tall using the font Kristof Block. Of course, you can use whatever size, font, and color you'd like.

- Then adhere to the front of the pocket using your Cricut EasyPress or iron.




Leave A Reply!