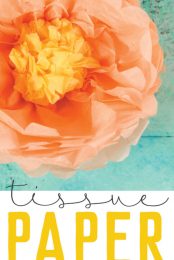
Delicate tissue paper is the perfect material for making paper flowers! These tissue paper peonies are a beautiful way to decorate a party, shower, or even nursery.
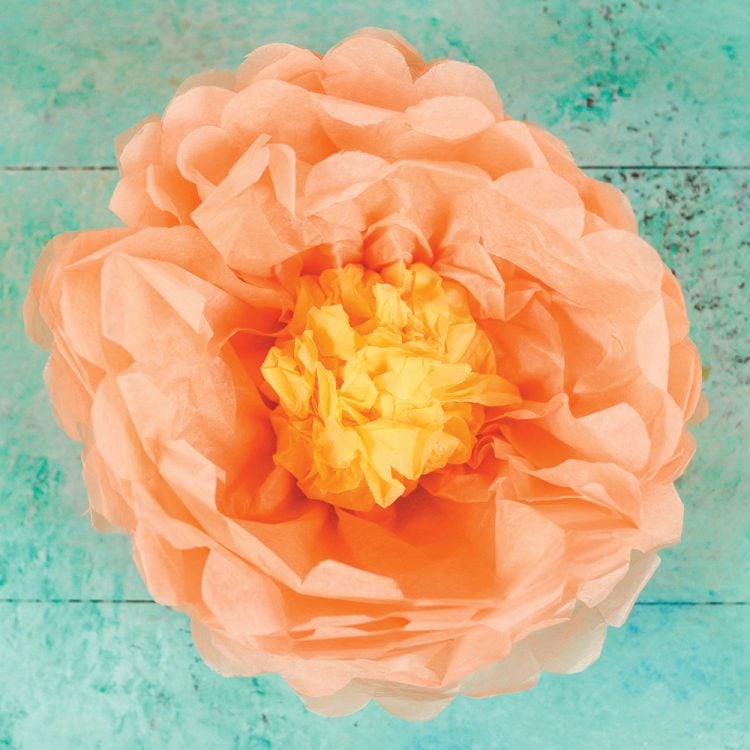
A few weeks ago, I shared how to make tissue paper flowers. I’ve modified that tutorial a bit for making tissue paper peonies! These are perfect for all sorts of party decorations and are really easy to make.
Tissue Paper Peonies Supplies
- Yellow tissue paper
- Peach or pink tissue paper
- Scissors
- Stapler
Looking to buy tissue paper in bulk? Here are my favorite shops.
Tissue Paper Peonies Instructions
For the peony, you’re going to need 6-8 squares of peach and two squares of yellow. Here’s how to make your squares. Start with one color of your tissue paper. Fold the two sheets of tissue paper in half.

Fold in half again.
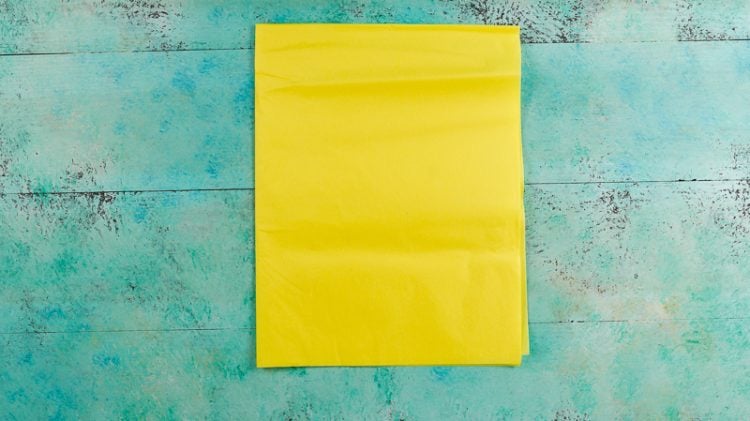
Find the corner with all of the separate pieces of paper (not one with a fold). Take this corner and fold it to the opposite edge to make a triangle.

Trim off the extra rectangle of paper.
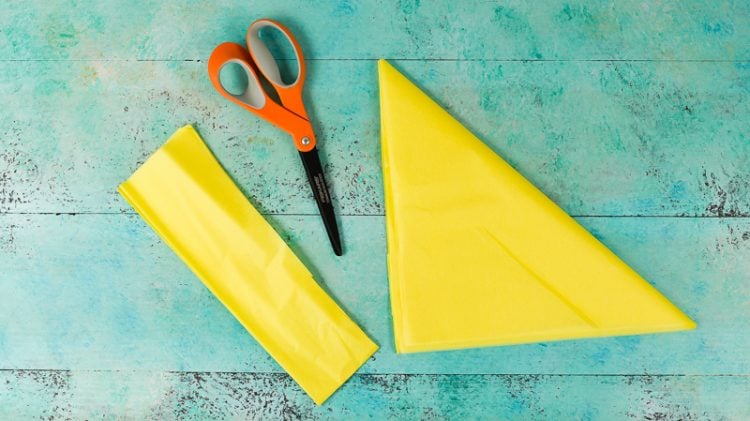
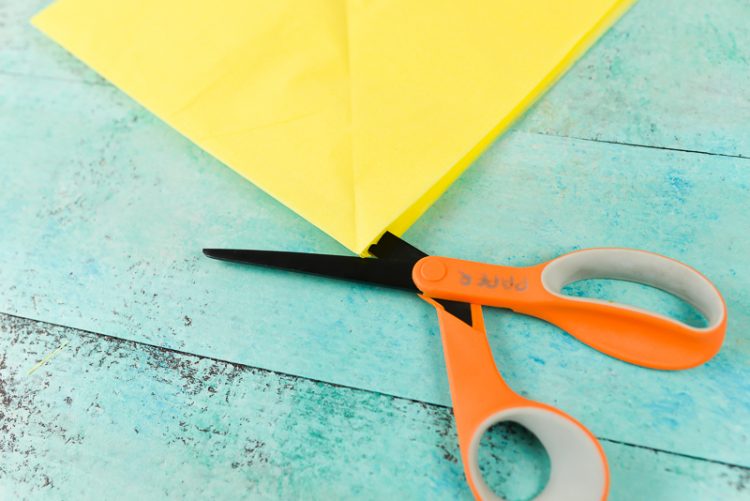
When you open up the triangle to make a square, you’ll notice that some edges still have a fold. Trim off that edge by slipping your scissors into the fold and cut to separate all the pieces of paper. Basically, you want eight individual squares. (Yes, I have “paper” written on my scissors like any person who has a separate pair of fabric scissors!)
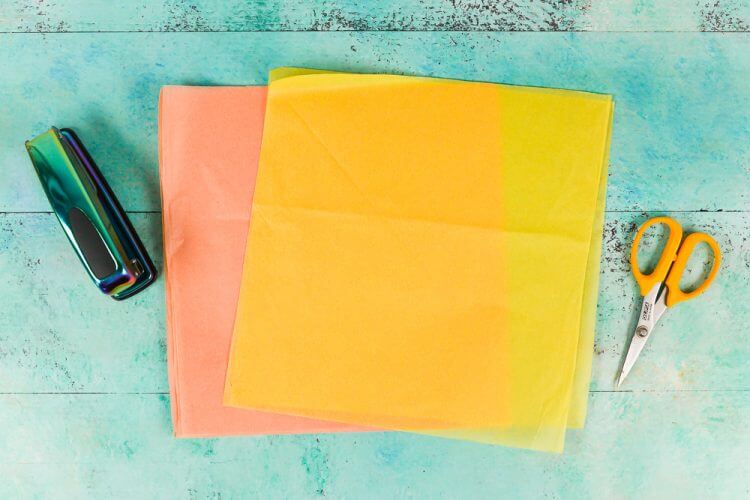
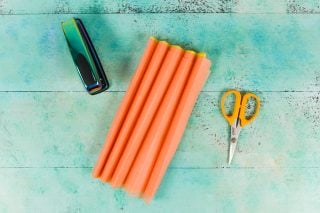
Stack your peach and yellow and fold it, accordion-style. For the peony, I like to fold my folds a little narrower than when I make other flowers — 8 to 10 folds.
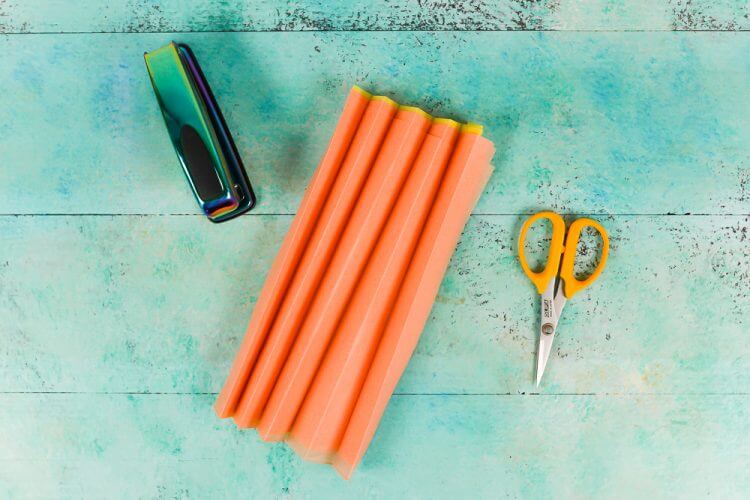
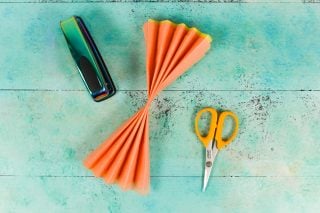
Staple in the middle.
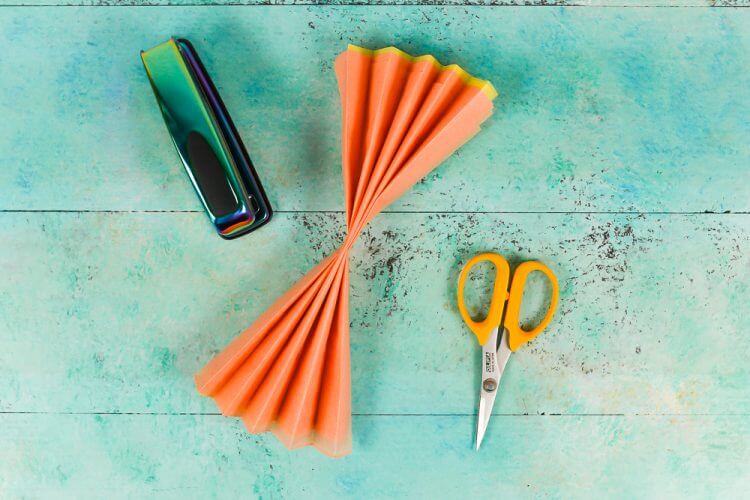
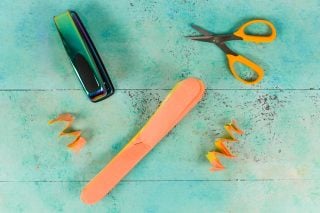
Using your scissors, round the ends of your tissue paper accordion.
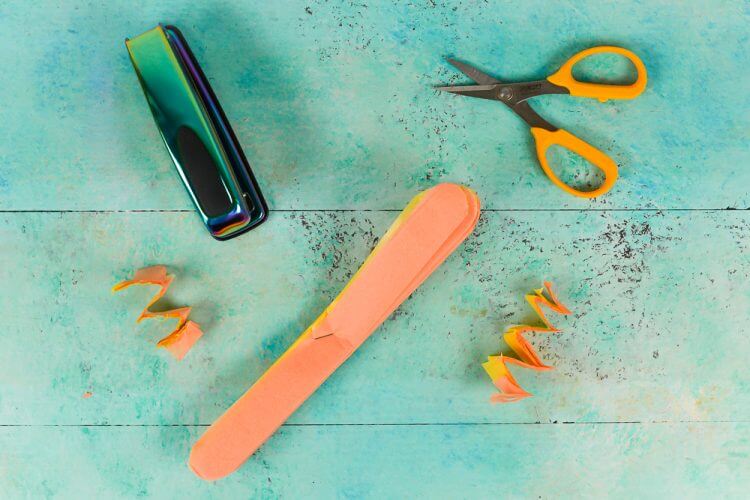
Carefully start to separate the layers of the peony. Pull from the inside of each layer, as opposed to out on each edge. This will help keep the flowers from tearing.
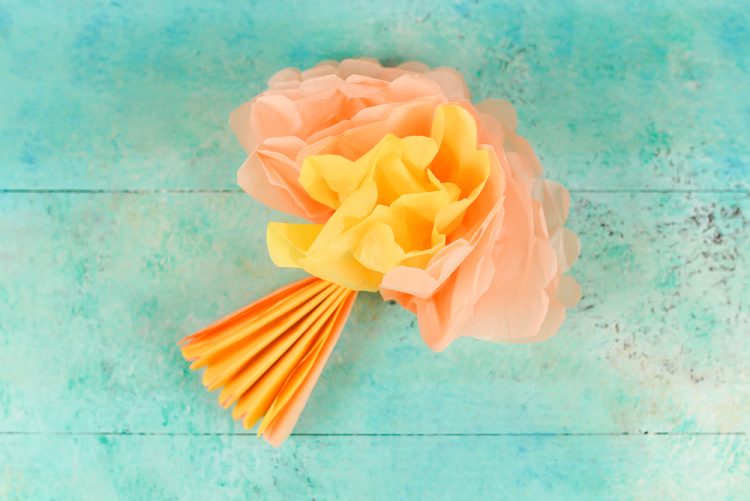
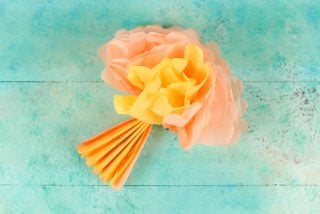
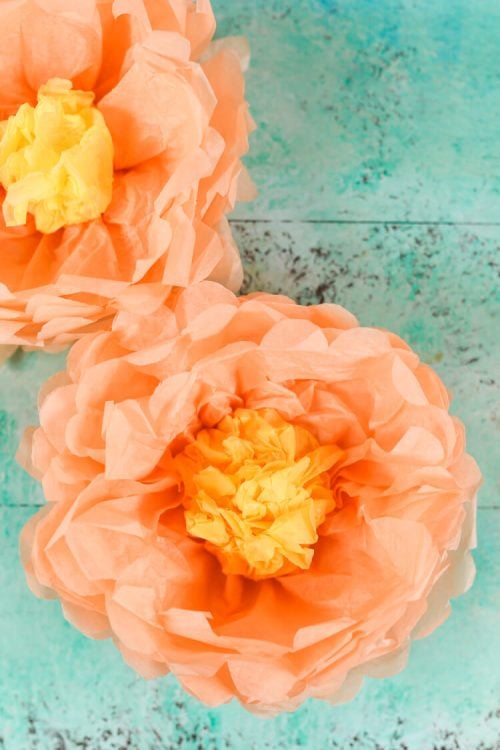
Keep fluffing the layers until you have half the flower, then fluff the other side. Once you have it all fluffed, crumple the yellow pieces to create the center of your peony. Fluff the petals around the center, keeping it sort of cup-shaped like a real peony.
I love this! How sweet would these be as feminine baby shower decorations or at a bridal shower in the wedding colors? So sweet.
HOW TO MAKE TISSUE PAPER PEONIES
Instructions
- For the peony, you're going to need 6-8 squares of peach and two squares of yellow. Here's how to make your squares. Start with one color of your tissue paper. Fold the two sheets of tissue paper in half.

- Fold in half again.

- Find the corner with all of the separate pieces of paper (not one with a fold). Take this corner and fold it to the opposite edge to make a triangle.

- Trim off the extra rectangle of paper.

- When you open up the triangle to make a square, you'll notice that some edges still have a fold. Trim off that edge by slipping your scissors into the fold and cut to separate all the pieces of paper. Basically, you want eight individual squares.


- Stack your peach and yellow and fold it, accordion-style. For the peony, I like to fold my folds a little narrower than when I make other flowers — 8 to 10 folds.

- Staple in the middle.

- Using your scissors, round the ends of your tissue paper accordion.

- Carefully start to separate the layers of the peony. Pull from the inside of each layer, as opposed to out on each edge. This will help keep the flowers from tearing.

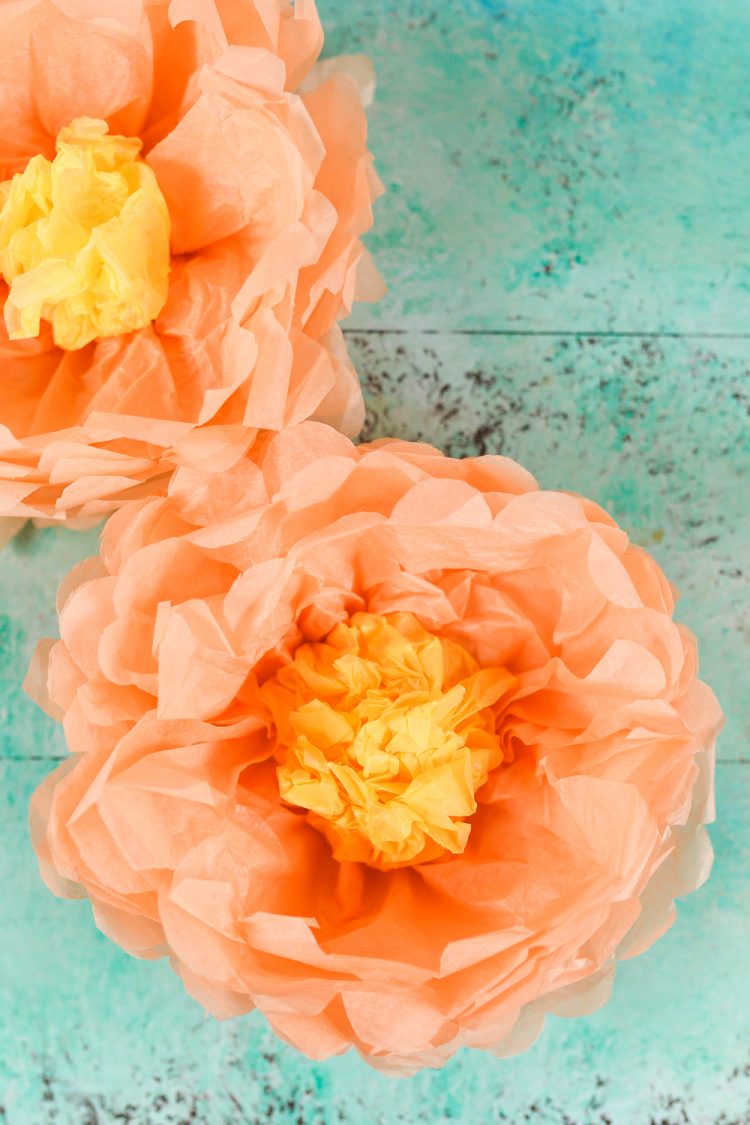
- Keep fluffing the layers until you have half the flower, then fluff the other side. Once you have it all fluffed, crumple the yellow pieces to create the center of your peony. Fluff the petals around the center, keeping it sort of cup-shaped like a real peony.How sweet would these be as feminine baby shower decorations or at a bridal shower in the wedding colors? So sweet.









Comments & Reviews
Beth says
How is all the yellow in the center? Do you put the yellow squares on top of the peach squares?
Crystal Summers says
Hi Beth,
The yellow is created with tissue paper. You put the yellow center pieces on top of the peach before you staple and fold. Then you fluff and can squish it together a bit to create the center. The pictures show it a bit better!
Crystal, HLMS Community Manager
Pam says
These are so pretty! I wish you had a Pinterest button.