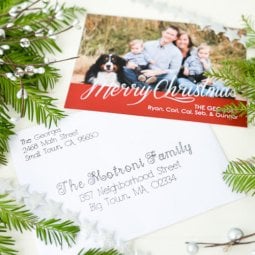
Put your Cricut Explore to work—have it address Christmas cards! Using the pen tool, the Cricut Explore can beautifully “hand letter” your Christmas cards for you.
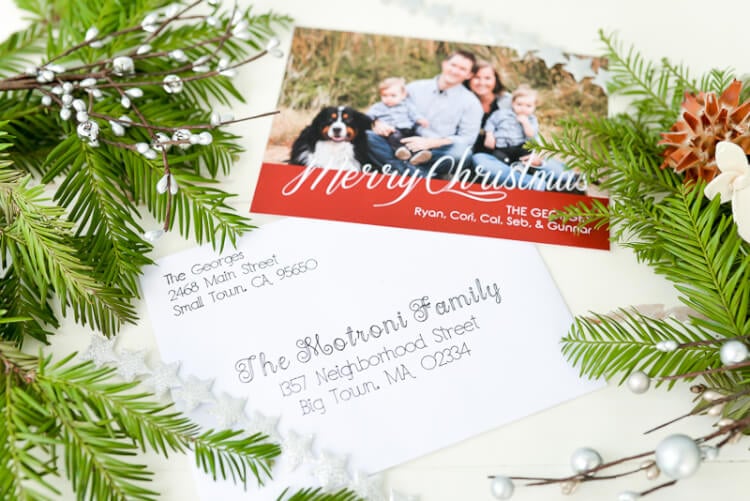
So, I’m a bit late getting my Christmas cards out this year. Life just happened and then all of a sudden, I was like, “how is it the middle of December already?!” And I still have a to-do list a mile long before Christmas this weekend, so I’ve handed over one of my tasks to my Cricut Explore: addressing my Christmas cards using the Pen Tool. While you may have already sent out your cards this year, pin this idea for next year!
If you haven’t used a pen in your Cricut Explore yet, you’re missing out. You probably already know how amazing the Cricut is with intricate cuts on paper and vinyl, but that intricacy also translates to using the pen tool. You can draw and write all sorts of things using your Cricut Explore—Christmas cards are just one example.
While it’s not the fastest process out there (each card takes about 4 minutes, depending on the fonts you use), it is one of those things you can just set moving while you’re working on other things — I’m addressing my cards in between working and wrangling the twins.
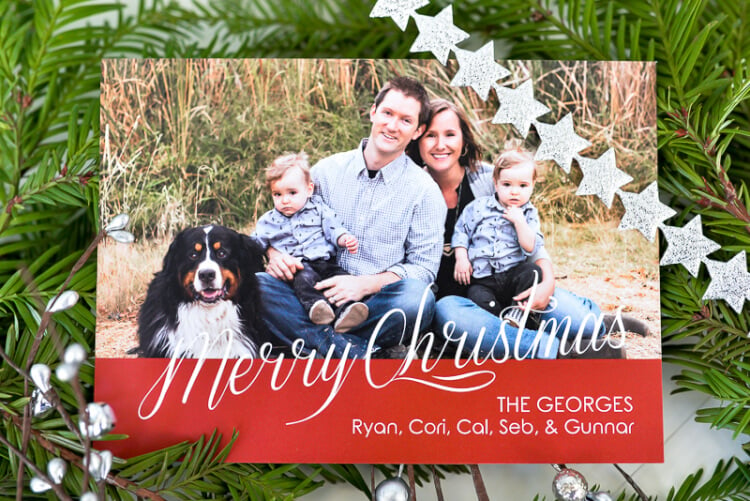
Also, can we talk about how cute our Christmas cards turned out this year? Our photographer, Jessica, got all five of us looking at the camera, even the dog! I think she deserves an award for that. Sebastian is doing his best Blue Steel, and Callum really just wants to be petting Gunnar.
Address Christmas Cards using the Cricut Explore
This post has been updated for the January 2019 Design Space changes!
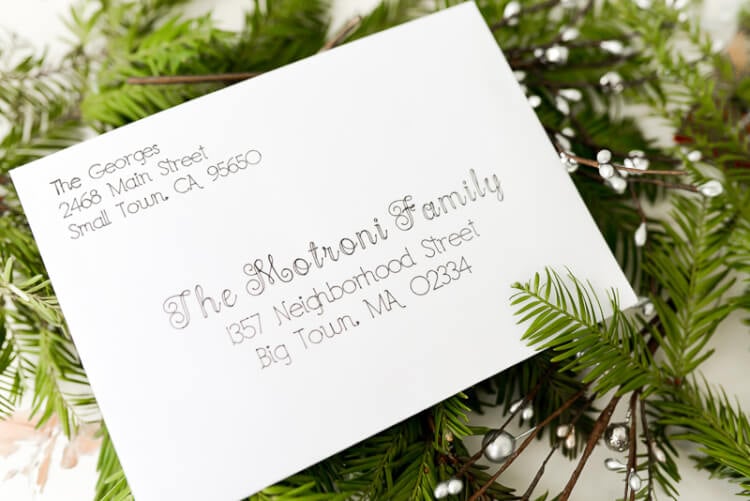
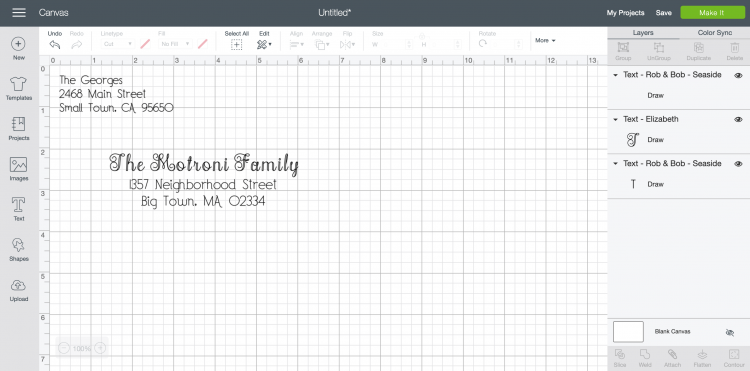
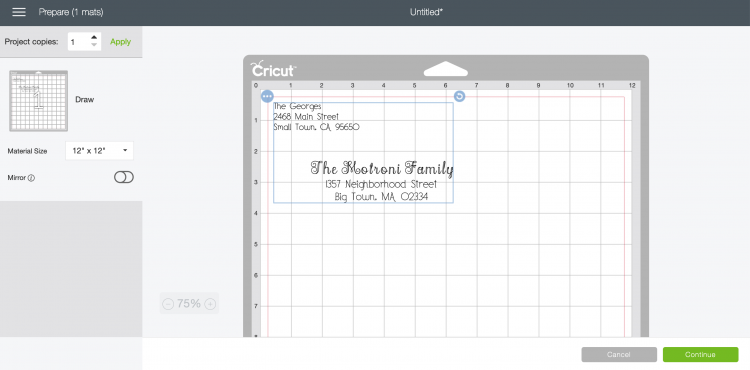
Open the Cricut Design Space. You can use the Type Tool to create your addresses. I have three text boxes—a simple font (Rob and Bob Seaside) for our return address that doesn’t change from envelope to envelope, one for the family name in a fancier font (Elizabeth), and the same simple font for the family name address. I just copy and paste from a Google spreadsheet of addresses I use every year.
My envelopes are 5×7, so I used the grid in the Cricut Design Space to approximate the envelope.
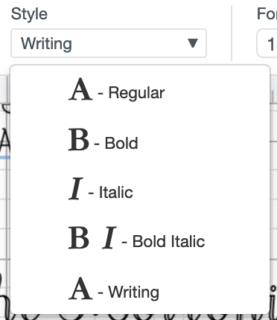
You will notice that ALL your fonts load into the Cricut Design Space, but you’ll want to select “Writing” from the Style dropdown menu on the left-hand side – (make sure you have your text selected—the Text Editing toolbar only appears if you have text selected).
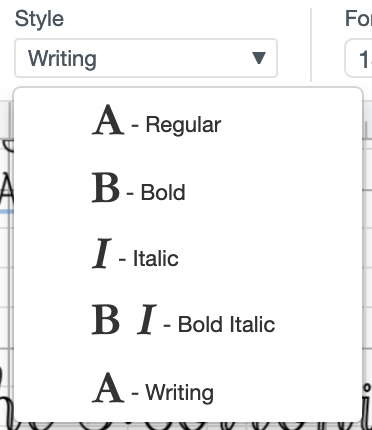
This will limit the fonts to ones that the Cricut Explore can write easily. It can write any font, but it will outline any that doesn’t have a designated writing style, which isn’t as neat as the single-line writing of fonts that have a writing style.

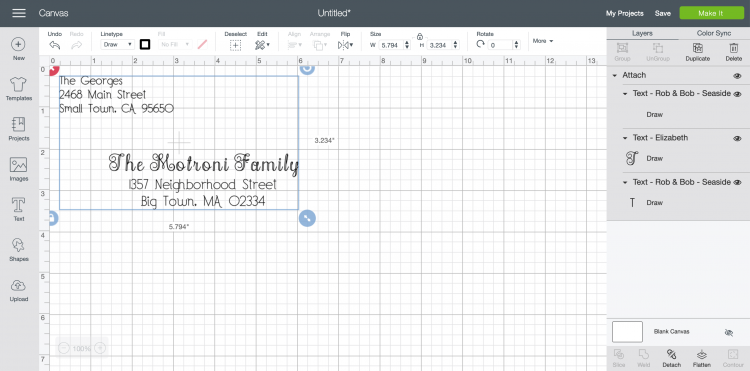
Once you have all of your text boxes ready to go, you’ll want to “Attach” everything (in the bottom of the Layers Panel on the right) so that it appears as you’ve laid it out when the Cricut goes to write it. Then click Make It!

Once you are in the layout screen, nudge your whole project in 1/4″ so that it doesn’t write the return address right at the edge of your envelope.

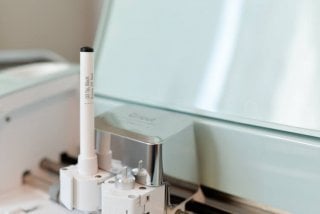
Put the pen in the auxiliary holder, making sure to press it in all the way, place your envelope in the upper left corner of your cutting mat. I like using the finest .03 tip black pen for the most legible writing.
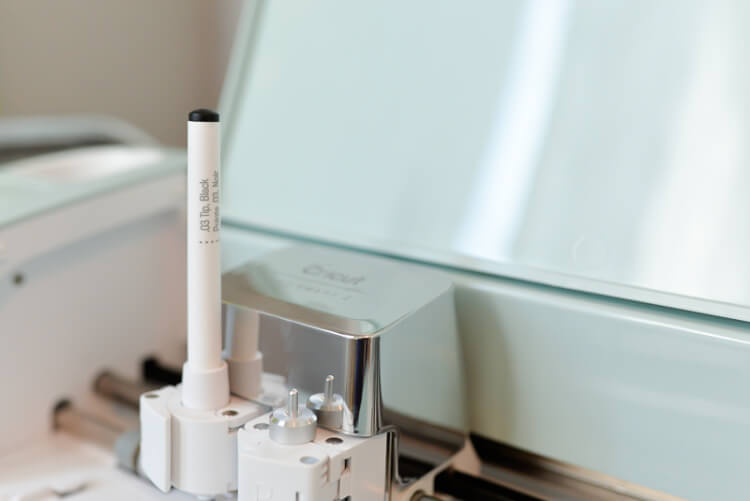
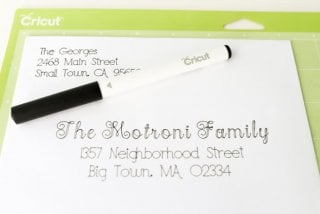
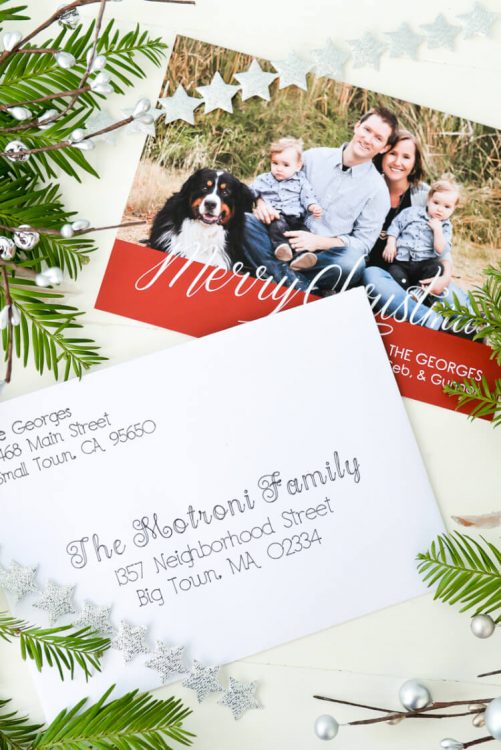
The Cricut will address your Christmas cards for you. Win!
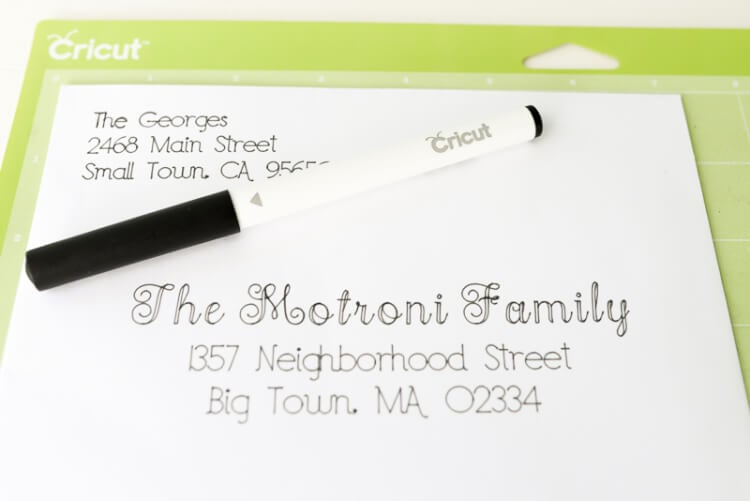
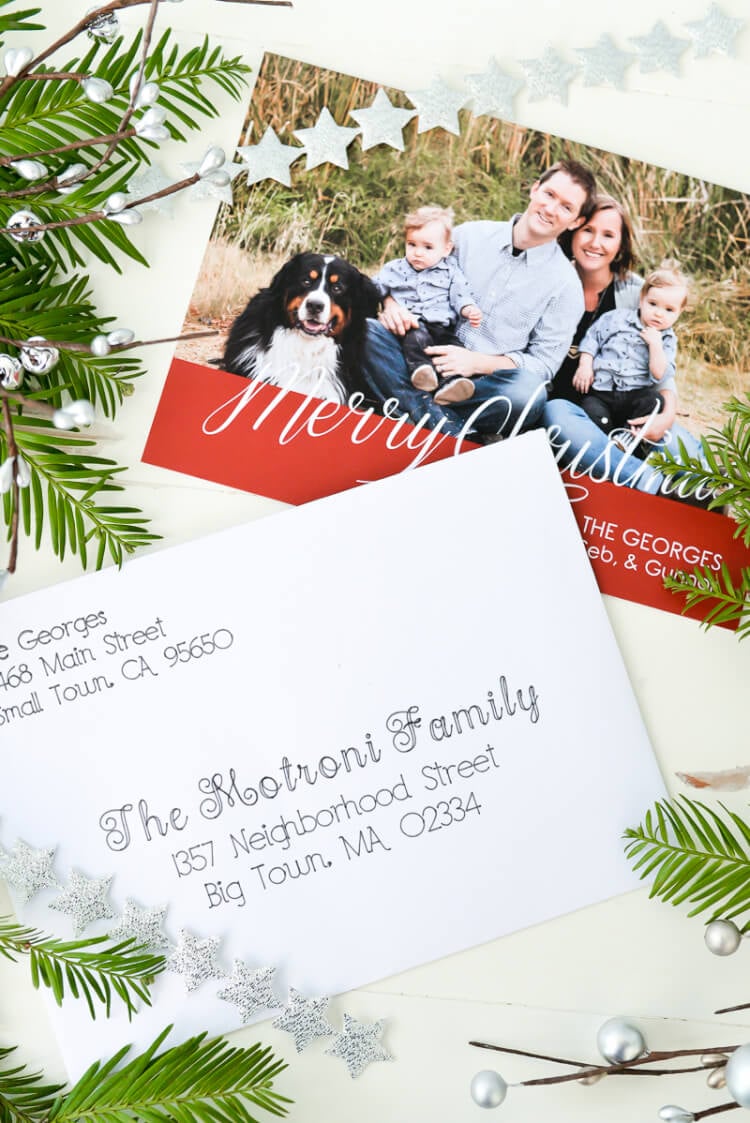
Fabulous, eh? This would also be awesome for addressing wedding or party invitations. Let me know what you think of this idea in the comments!
ADDRESS CHRISTMAS CARDS USING YOUR CRICUT
Equipment
- Cricut Maker or
Supplies
- Christmas Card Envelopes
Instructions
- Open the Cricut Design Space. You can use the Type Tool to create your addresses. For this project there are three text boxes—a simple font (Rob and Bob Seaside) for the return address that doesn't change from envelope to envelope, one for the family name in a fancier font (Elizabeth), and the same simple font for the family name address. For this project copy and paste was used from a Google spreadsheet of addresses that is used every year.The envelopes are 5×7, so the grid in the Cricut Design Space was used to approximate the envelope.You will notice that ALL your fonts load into the Cricut Design Space, but you'll want to select "Has a Writing Style" from the dropdown menu in the Text Edit toolbar at the top (make sure you have your text selected—the Text Edit toolbar only appears if you have text selected).

- This will limit the fonts to ones that the Cricut Explore can write easily. It can write any font, but it will outline any that doesn't have a designated writing style, which isn't as neat as the single-line writing of fonts that have a writing style.

- Once you have all of your text boxes ready to go, you'll want to "Attach" everything (in the bottom of the Layers Panel on the right) so that it appears as you've laid it out when the Cricut goes to write it. Then click Make It!

- Once you are in the layout screen, nudge your whole project in 1/4" so that it doesn't write the return address right at the edge of your envelope.

- Put the pen in the auxiliary holder, making sure to press it in all the way, place your envelope in the upper left corner of your cutting mat. For this project the finest .03 tip black pen was used for the most legible writing.

- The Cricut will address your Christmas cards for you. Win!

- Fabulous, eh? This would also be awesome for addressing wedding or party invitations.



Comments & Reviews
Abi says
So very helpful! Thanks for an easy to follow tutorial.
Laura Stoner says
I can’t find the rob and bob seaside font where did you get it
Crystal Summers says
Hi Laura,
Rob and Bob font is a Cricut Design Space font. If you search for it in the fonts toolbar, it should show up.
Happy crafting!
Crystal, HLMS Community Manager
Kathryn Powell says
I have been trying to figure this out for years & your help has been IMMENSE. Thank you so much! Everything was so easy to follow!
Tobie says
Thank you for posting this! Is there a way to address an envelope without the return address?
Amy Motroni says
Hi Tobie,
Yes, just keep that text box out when you do this in Design Space.
Happy Crafting
Amy, HLMS Reader Support
Aliza says
Hi. Do you know if it’s possible to do more than one envelope at a time? I am currently putting MY address on 100+ envelopes for the RSVP cards and I wonder if there’s a way to do multiple on the mat instead of pulling and putting them on one by one. Thanks!
Amy Motroni says
Hi Aliza,
You can probably hack it by moving the addresses around the mat in the Prepare Screen and then carefully placing your envelops in the corresponding place on the mat.
Hope that helps!
Amy, HLMS Reader Support
Kelly says
Hi there, I am looking at making RSVP postcards for my wedding and I’m concerned about bleeding in case they get wet/damp. Have you ever experienced this problem/get any feedback?
Thanks!
Cori George says
I haven’t had an experience with that! You could always do a test envelope with some drops of water to test. Good luck and congrats!
Beth Durbin says
This is great! Thank you for sharing! I would like to offer “addressing envelopes” as part of my Cricut business. Has anyone else done this? If so, can you give me an idea of how many envelopes you can do per pen? Also, how much do you charge for this service? Thanks for any ideas.
Cori George says
I honestly have no idea! You could look around on Etsy for other invitations to get an idea. As far as the pen goes…I haven’t a clue. I’ve never run one out, but I don’t use mine a ton either!
Melissa says
I can’t find “has writing style” in my drop down!! WHen I click on edit- all I see is copy and paste. Where is this magic???
Cori George says
Do you have the text itself selected? It should be in the font-specific menu :)
Shannon says
Its the drop down on the right side of the box on the right side the choices are All system or cricut this should show up once you click on the font in the font box on the main design space while your text box is open.
Katie says
What is the font used for the return address? Thanks so much!
Cori George says
It’s Rob & Bob – Seaside. Hope that helps! :)