
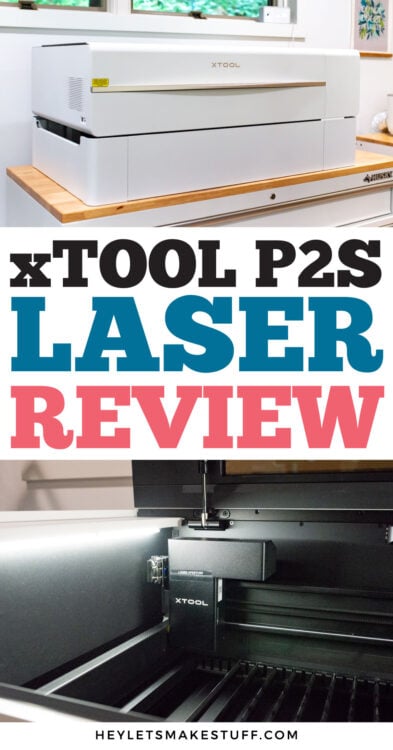
Tired of struggling to cut all colors of acrylic with your diode laser? It might be time to upgrade to a CO2! In this xTool P2S review, I’ll share why I think it’s one of the best CO2 lasers on the market.
Machine was provided by xTool but all opinions are my own.
I’ve done a lot of laser reviews on my blog, but almost all of them have been diode lasers. I get constant questions about what sort of laser can cut clear acrylic, because a diode laser cannot.
The answer? A CO2 laser. The laser beam itself is a different color than a diode laser (infrared vs. blue) which allows it to cut acrylic colors that a diode laser cannot.
I’ve had a Glowforge Pro CO2 laser for nearly five years and I’ve used it to cut a lot of acrylic—and I do really like it. But I’ve been wanting to review the xTool P2S because I knew it had more features and capabilities than the Glowforge and I’ve had quite a few folks ask me to review it.
So I reached out to xTool, who I’ve worked with a lot in the past, and they were kind enough to send me the new xTool P2S. This is a slight upgrade over their P2 machine, so the majority of this review will function for both machines.
In today’s post, we’re going to go over the basics of the xTool PS2, including some of the specs, important safety features, and the materials it can cut. I’ll also give you my overall pros and cons and who might be the ideal user for this machine.
Let’s dive in to this xTool P2S review!
Video My xTool P2S Review
Watch my full review video about the xTool P2S! If you prefer to read, continue on below this video!
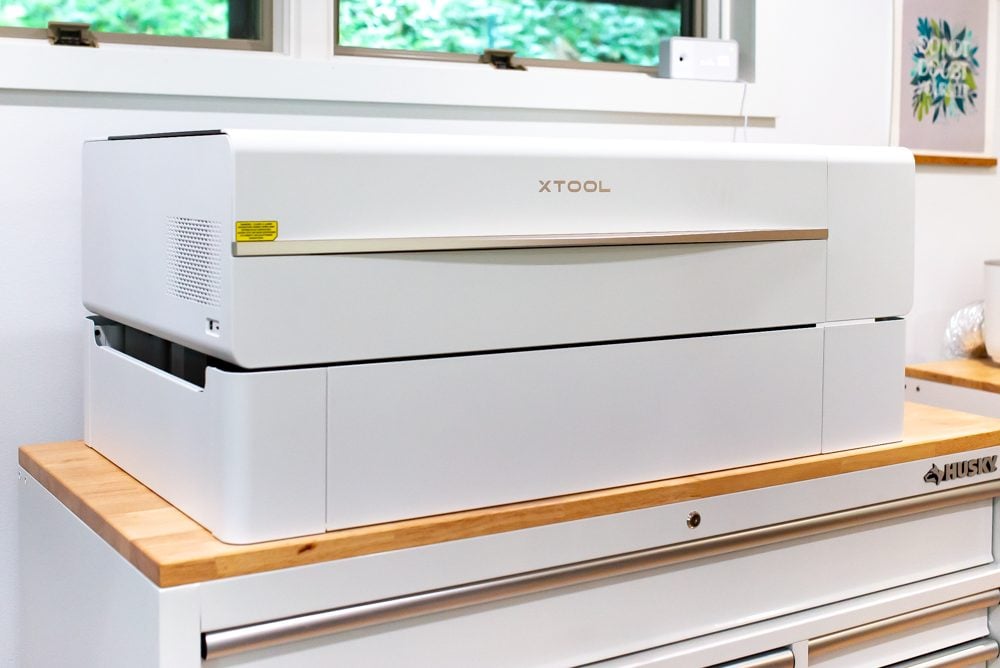
What is the xTool P2S?
The xTool P2S is a 55W CO2 laser crafting machine. You can cut, score, and engrave using the xTool P2S to make all sorts of projects, like signs, jewelry, art, tumblers, party decorations, home decor objects, and more!
Machine Cost
The xTool P2/P2S comes in a few configurations:
- P2 in white – $4999
- P2S in white or gray – $5499
xTool is one of those companies that often has sales, so you should be able to find the machine you want for a bit less during one of their many sales. At the writing of this post, both machines are on sale for $3,999. They do offer financing.
What is a Diode Laser vs. a CO2 Laser?
The xTool P2S is a CO2 laser (the same type of laser as the Glowforge Pro), vs. something machines like the xTool M1 Ultra, the WeCreat Vista, and the Glowforge Aura. Let’s talk a bit about the difference.
A CO2 laser is a more powerful and versatile option compared to a diode laser, making it ideal for serious crafters, small business owners, and those who want to cut and engrave a wider range of materials. While it requires more maintenance and may have a shorter lifespan than a diode laser, the trade-off is significantly higher power and cutting capabilities.
CO2 lasers typically range from 40W to 300W, whereas diode lasers are generally between 5W and 20W, though my xTool S1 is a 40W diode laser. This extra power allows CO2 lasers to cut through thicker materials much faster and with cleaner edges.
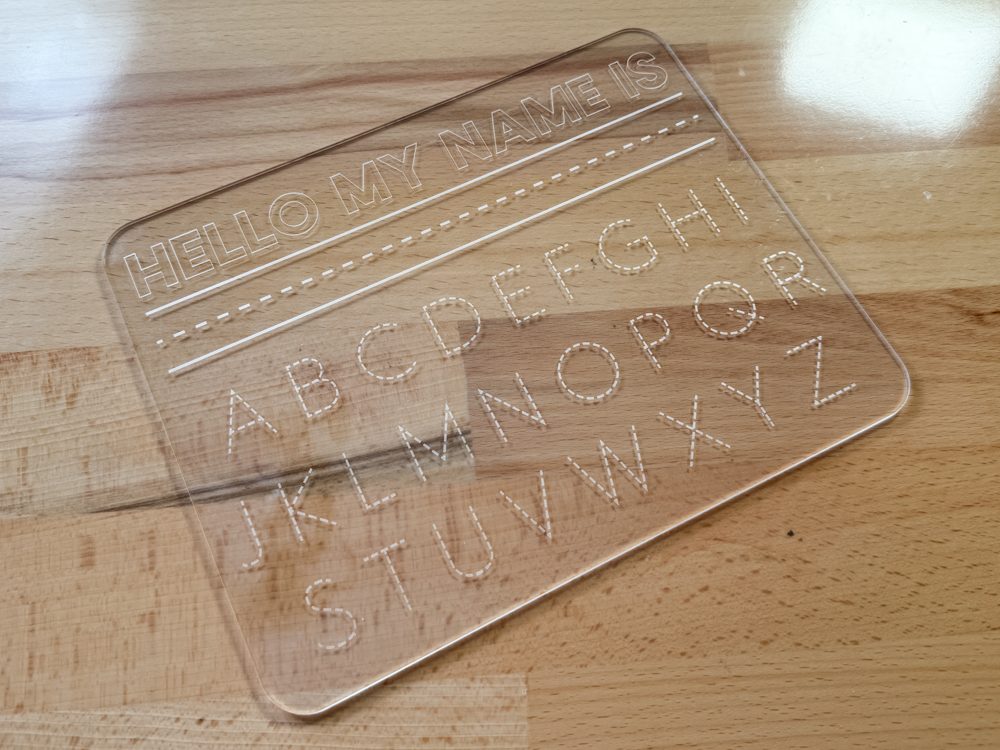
And like I said, if you want to work with certain acrylic, a CO2 laser is the way to go—unlike diode lasers, which struggle with clear and light-colored acrylic, a CO2 laser can cut and engrave acrylic in any color.
What’s in the Box?
The box is packed really well and you are definitely going to need a second person (maybe a third) to set up your P2/P2S. It weighs 100 lbs once unpacked and it’s quite large (we’ll get to the size and dimensions below).
Here’s what you’ll find inside:
- xTool P2/P2S machine
- Power cable
- USB-C cable
- USB key (the laser will not run without this, so don’t lose it!)
- Vent pipe and vent pipe connector
- Antifreeze
- Funnel
- Four material clamps
- Various tools you’ll need
- Three sheets of 3mm basswood
- Two sheets of transparent acrylic
- Quick start guide & safety instructions
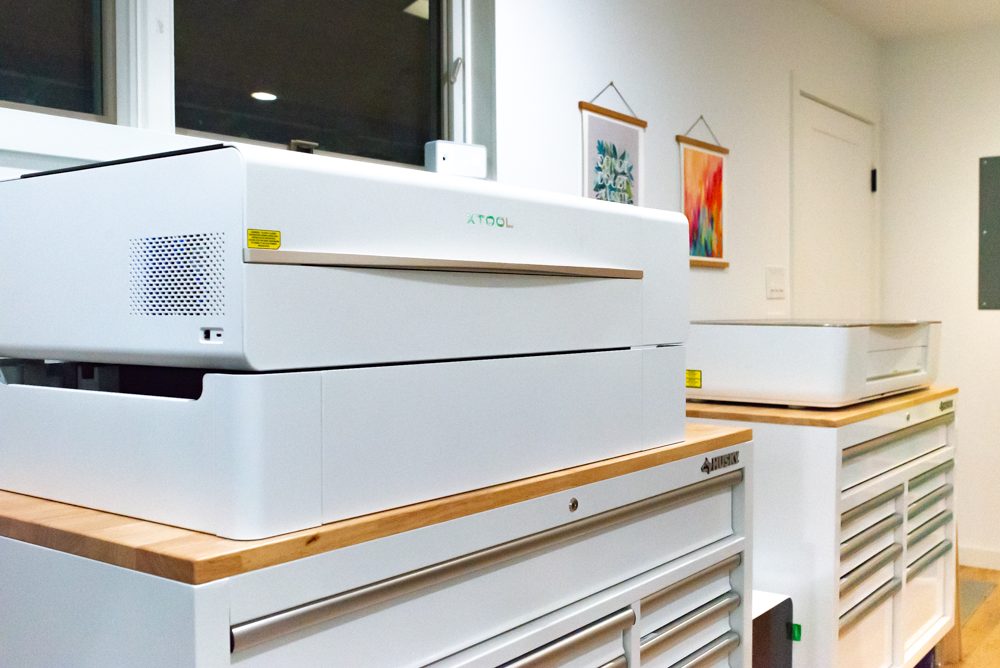
If you have purchased accessories with your xTool, you may have other parts not listed above. I do have some other accessories for this laser, but I’ll be sharing those in an upcoming post. I wanted this post to show you what you get with the most basic package. You will note that my laser is set up on the riser base—this is a separate purchase but the machine was heavy and I only wanted to set it up once!
Set Up
The xTool P2S is my largest laser. The machine comes almost entirely pre-assembled, which is great. I assembled the riser base (again, a separate part, not included), and then my husband and I got the P2S out of the box and set on the riser base. There are an array of screws and pieces of tape to remove. The Quick Start Guide will walk you through everything.
There was one step that did make me nervous, and that was adding the antifreeze. There was no step like this when setting up my Glowforge, and it involved a bit of math to figure out the combination of antifreeze and water to add to your machine. But once I figured it out, it wasn’t difficult. You will need to remove the back panel off your machine (so make sure you can access it somehow! My laser is on a rolling tool chest) and pour in the antifreeze and water.
Size and Dimensions
The actual dimensions of the machine are:
- Machine dimensions: 39.4″ x 25.1″ x 10.6″ (about 16.5″ tall with the riser base)
- Machine weight: 100 lbs
- Material processing area: 23.6″ x 12″
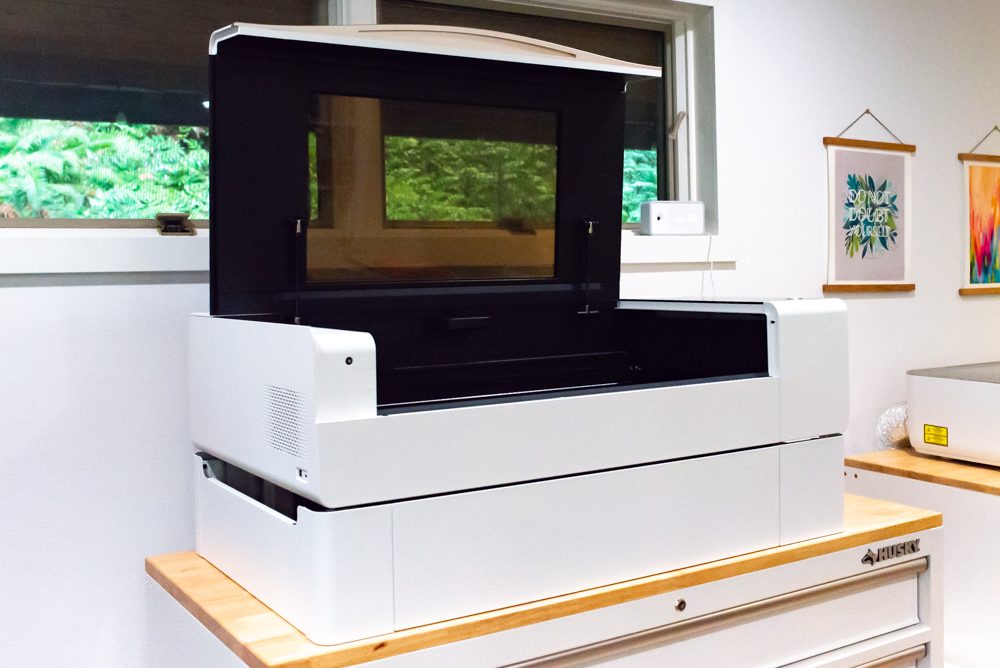
You will need another 8″ or so of space behind the machine for the exhaust pipe. And you do need at least 20″ of vertical space to account for the lid being opened.
You can also see the size is significantly larger than the Glowforge Pro, especially when on the riser base.
The Anatomy of the xTool P2S
Let’s take a look at the different parts of the machine, so you can be familiar with the machine when you go to use it.
Laser Tube: The laser tube is behind a panel in the back of the machine. It generates the infrared laser beam that powers cutting and engraving.
Laser Module: The laser module is the carriage that runs back and forth in your machine, and it houses the laser.

Mirrors and Lenses: There are mirrors and lenses within the laser module that you will need to occasionally clean for optimum performance.
Laser Bed: The area where you’ll put your projects. In the bed there are removable and reconfigurable slats. You’ll place (most) materials on these slats. The slats allow for airflow around your projects, particularly when cutting. This reduces the chance of flareups.
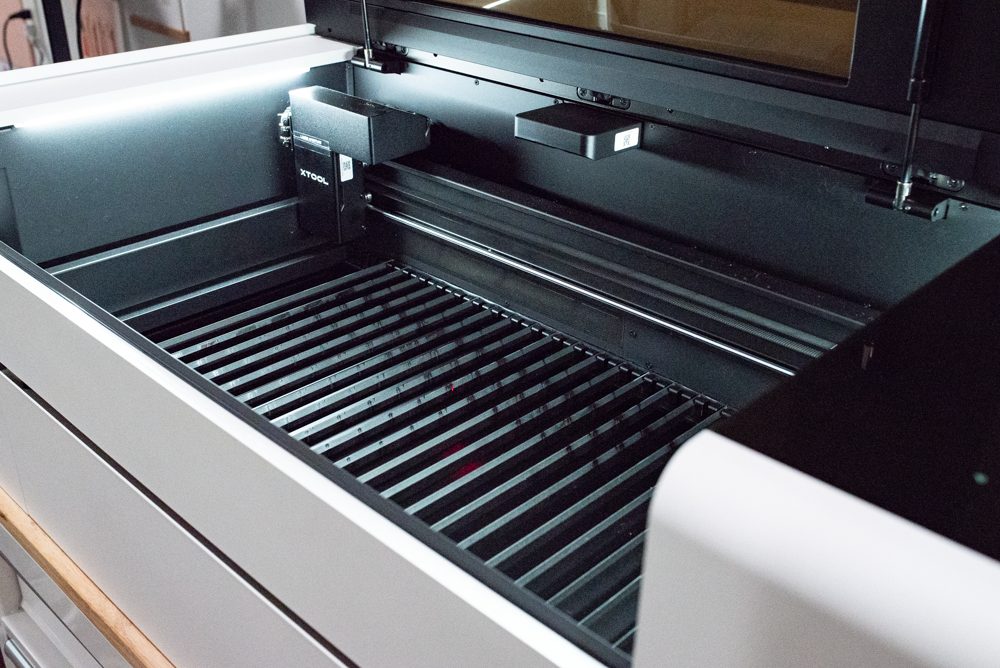
Cameras: There are two cameras in the laser, which will take a photo of your material so you can accurately place your images.
Air Assist System: Inside the machine is also an air assist system. This blows a steady stream of air over the material, reducing scorching and improving cut quality.
Digital Interface: There is a small digital screen on the laser that shows a readout of temperature and other important data.
Lid: The lid of the machine opens 90° to make it easy to put your materials in the bed of the laser. It has a tinted window, so you can look directly at you projects as they are being processed.
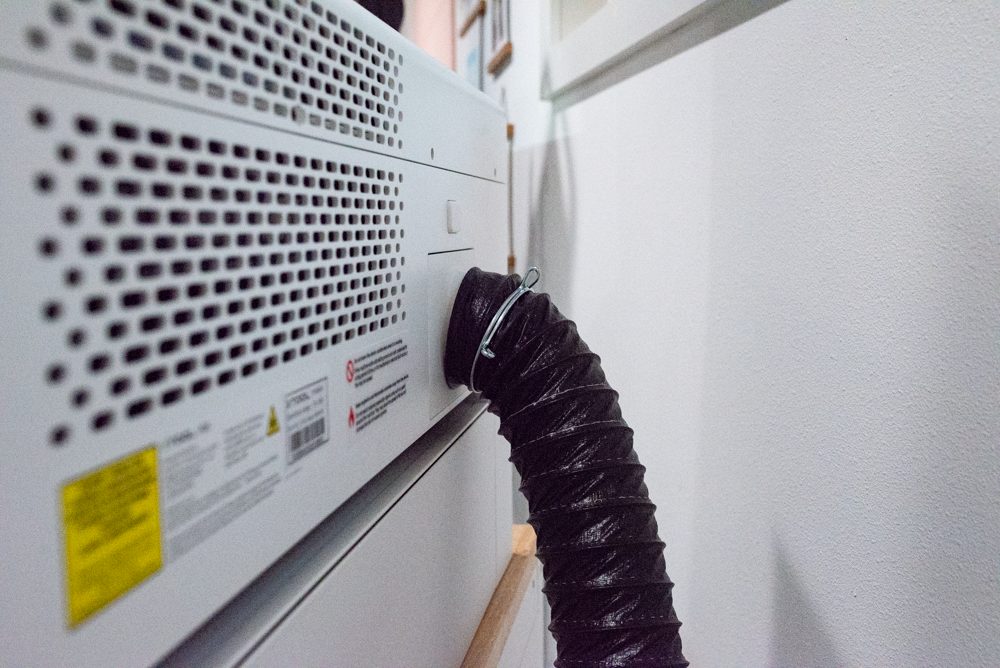
Vent Pipe: Off the back of the machine is the vent pipe. This removes all of the dust and debris from the machine. See the venting section below.
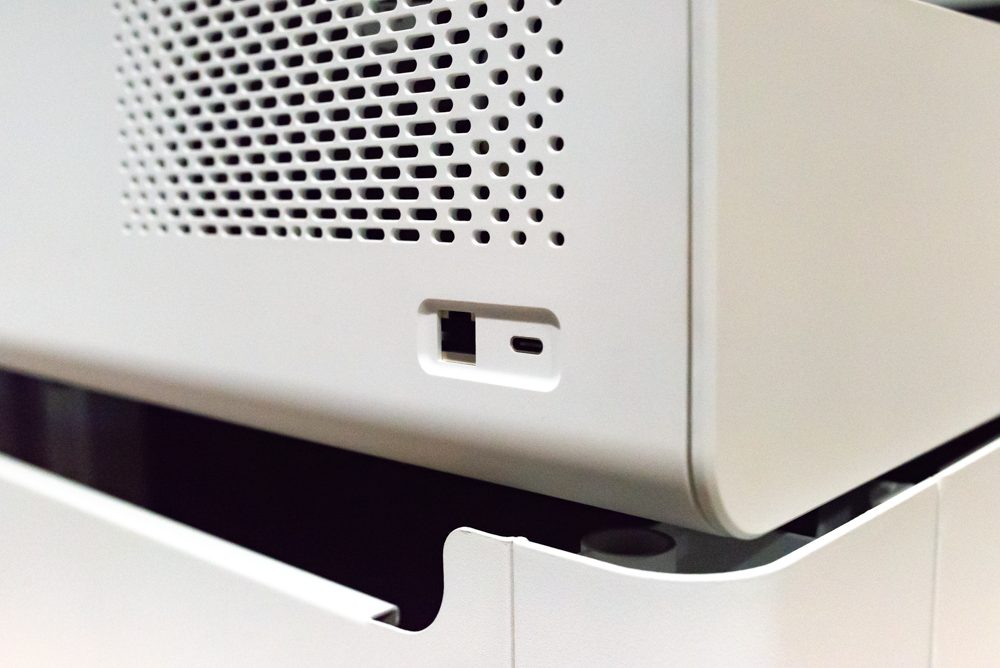
Side connectors: On the left side of the machine, there is a USB-C and Ethernet port. This is how you will connect your machine to your computer for the first time.
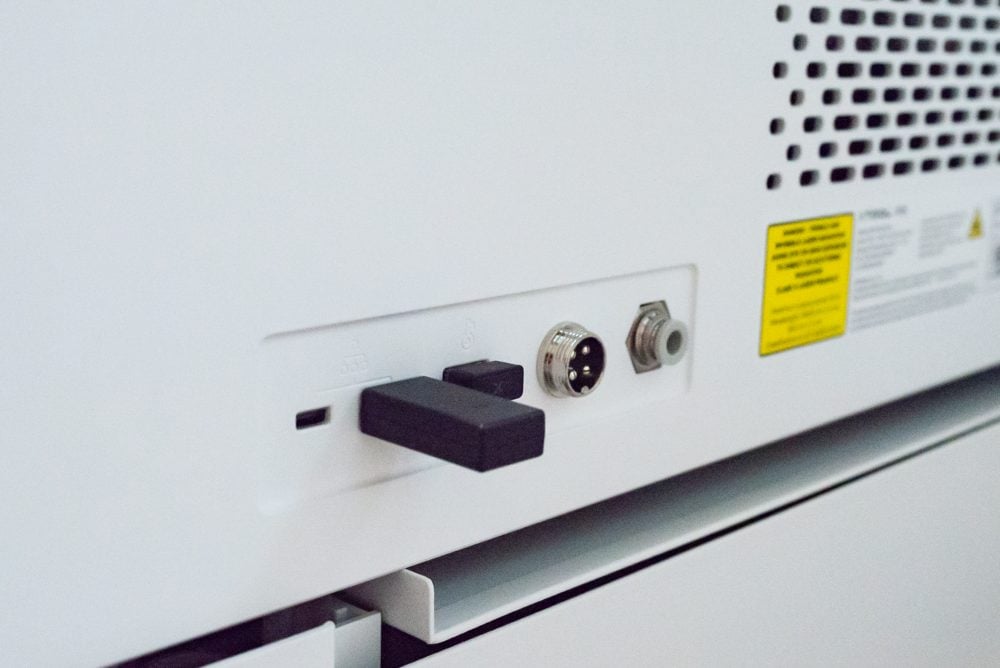
Back connectors: On the back of the machine are ports for adding the USB key, the USB dongle if you are using the AP2 filter, the power cord, and more.
Safety
One of the number one things I look for in lasers right now is safety, and the xTool P2S is packed with safety features.
To start, it’s classified as a Class 1 Laser Product, meaning it is considered a safe laser under normal conditions. Here are a few ways that xTool has added safety to the P2S:
- It’s fully enclosed with a tinted lid. You do not need to wear special glasses to watch your project being created.
- You need a USB “key” to operate it. This is a small USB dongle that plugs into the back of the laser. If the key is not plugged in, the laser won’t work. Great if you have curious kids! Just put the key in a safe place and they won’t have access to the laser.
- There is an AI fire detection system that will shut the machine down if a fire is detected.
- The lid locks, so you can’t open it during processing. This is the only laser I own with this feature.
- There’s an emergency button you can hit in case of a problem. I do wish this button was more toward the front of the machine. I don’t love the idea of leaning over a laser that’s having a problem to hit that button.
All of these features make me more comfortable using a laser in our home. I also always have a fire extinguisher and fire blanket, just in case. You can read more about everything I have on hand when I’m using my laser in my post Must-Have Laser Supplies.
Venting
All lasers need to be vented. The laser create fumes and smoke and debris, and you’ll need to vent your laser so all of that doesn’t end up in your craft room and lungs.
There are two options:
- Venting out of a window: you can run the vent pipe out of a window, making sure to seal up the window with an old blanket or piece of cardboard so the smoke doesn’t work its way back inside.
- Venting into a personal filter: if you don’t have access to a window, you can use a personal filter. I HIGHLY recommend the xTool AP2 filter. I didn’t realize you could be in love with a laser filter, but I truly love it. I have a full review on my YouTube channel. This is what I’m using with my xTool P2S.
What can the xTool P2S Cut and Engrave?
So what can you make with the xTool P2S? Lots of projects with lots of materials!


The xTool P2S cuts:
- Wood (including basswood, pine, cherry, walnut, birch, and more)
- Plywood
- Leather
- MDF
- Felt
- Paper
- All colors of acrylic
The xTool P2S engraves:
- Wood (including basswood, pine, cherry, walnut, birch, bamboo, and more)
- Plywood
- Leather
- MDF
- Coated metal
- Glass
- Ceramic
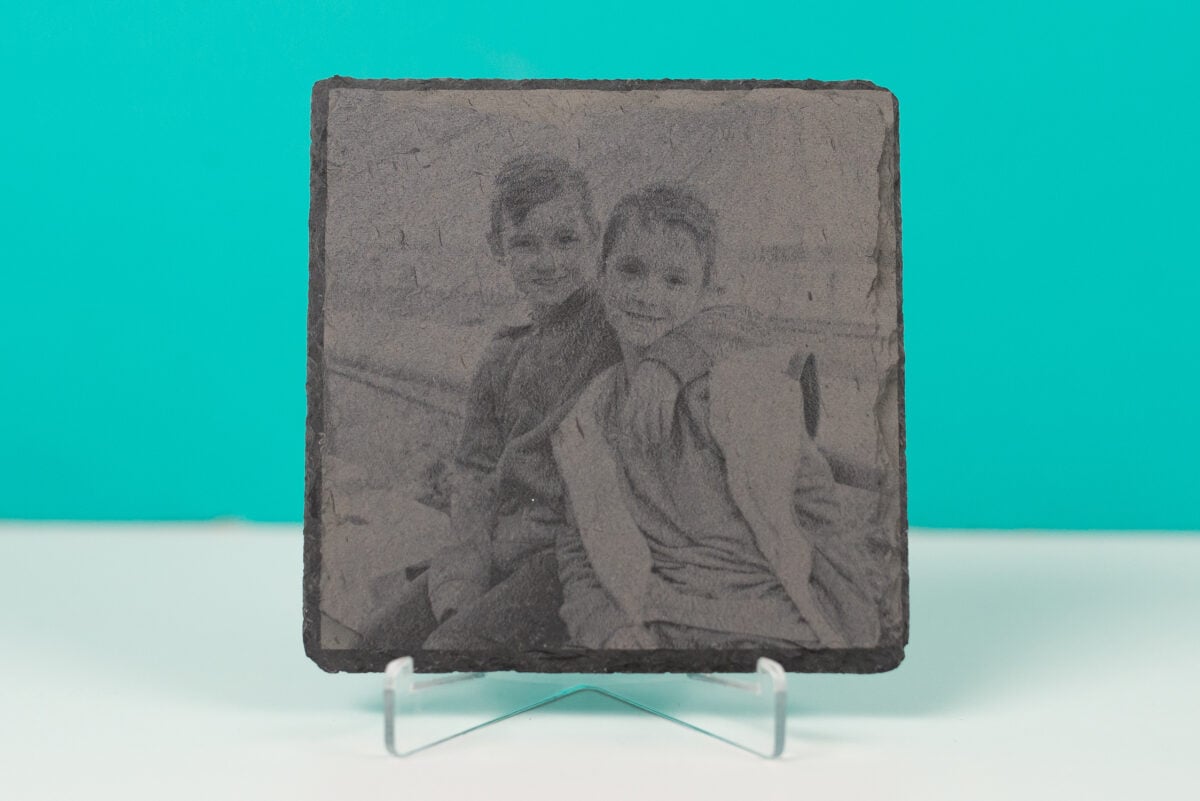
- Natural materials like shale, slate, jade, brick, and marble
- Acrylic
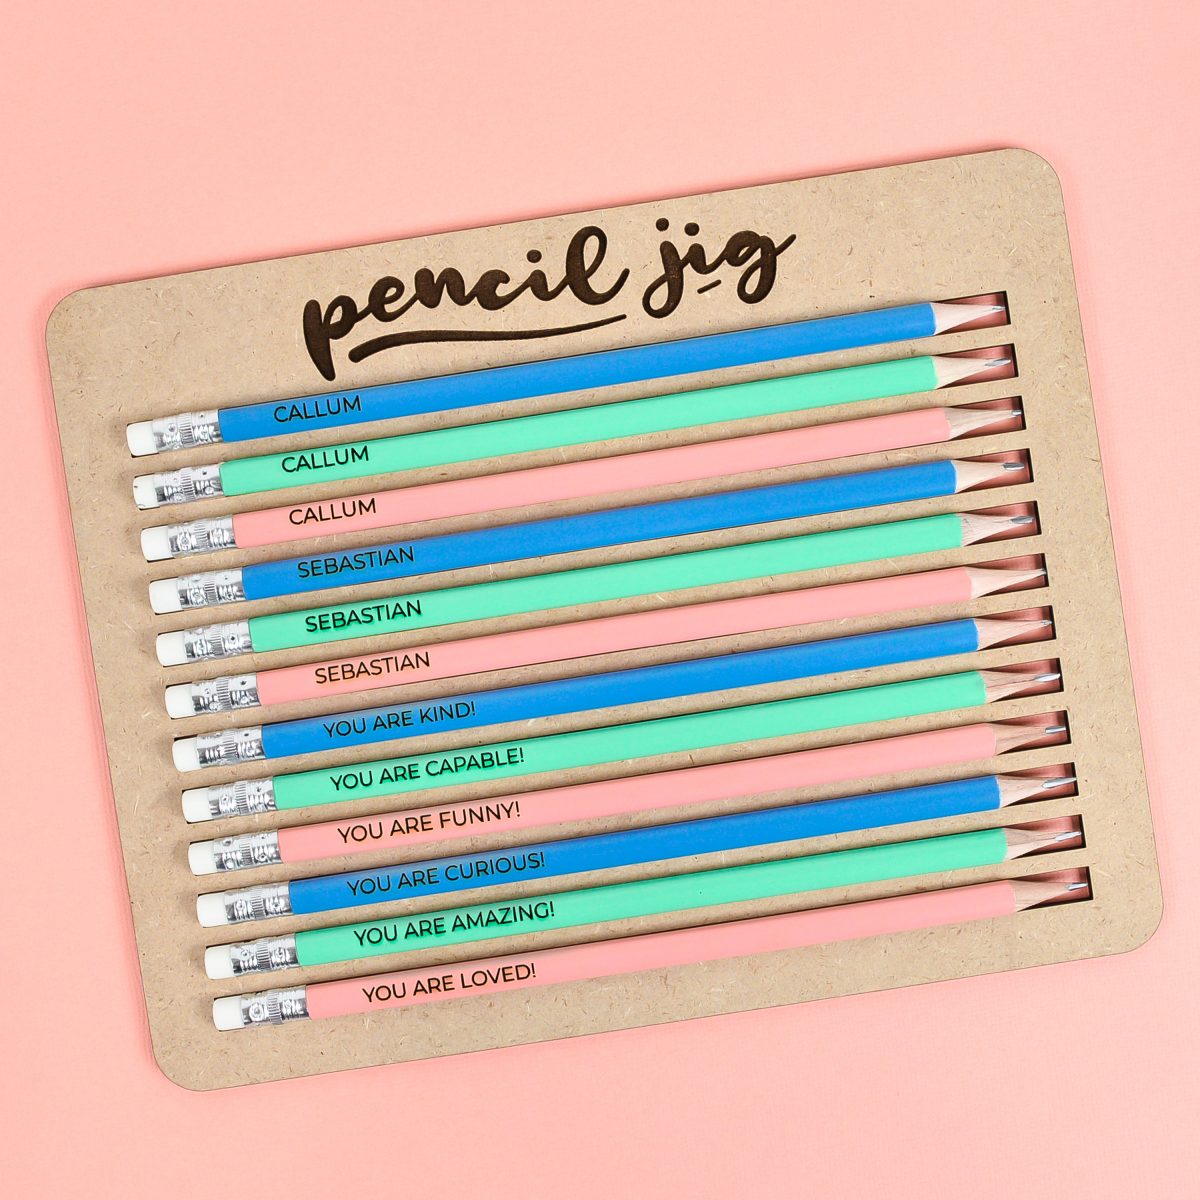
This means you can make all sorts of projects, including signs, jewelry, coasters, paper projects, party decorations, dinnerware, home decor projects, games, and more!
What Software Works with the xTool P2S?
You can use either xTool Creative Space or Light Burn with your xTool P2S. I use xTool Creative Space, so that’s all I’m familiar with. But lots of more seasoned laser users use Light Burn and it’s nice that the P2S can be used with an outside software.
Setting up my P2S was very easy within xTool Creative Space. I did need a USB cord for the first connection, and the machine does come with one (remember the USB port is on the left side of the machine. It took me a while to find!). After that first connection, I had no trouble getting it to connect to my WiFi.
In future tutorials, I’ll show you how to make all sorts of projects using this machine!
xTool P2S Pros
The xTool P2S has a lot to like. Here are my pros for this laser:
- Nearly fully assembled and easy to set up
- Numerous safety features, including the fire detection system and locking lid
- Large bed to process big projects
- Better slat system than other xTool lasers
- Can cut all colors of acrylic
- It’s fast and powerful
- Plenty of accessories to help you make the most of your machine (like the riser base and rotary tool)
xTool P2S Cons
There is very little I don’t like about this laser.
- Emergency button is difficult to access on the back of the machine
- It’s very heavy
Is the xTool P2S Worth It?
Absolutely! If you’re looking at getting a CO2 laser, I highly recommend the P2S. It’s well-built, fast, and does everything it claims it can do. Being able to cut clear and other acrylic is a huge advantage over a diode laser. And having the extra add-ons make it very versatile as well. I am very happy with this laser and use it all the time for my small side hustle Chapter & Craft.
I hope you enjoyed this xTool P2S review! If you have any questions about this laser or any of the lasers I mentioned in this post, please leave them down in the comments and I’ll be happy to answer them for you!


Comments & Reviews
Leif Jorgensen says
Great write-up! I appreciate the detailed comparison between the xTool P2S and other laser machines. How does the xTool P2S handle different materials like wood or metals? Also, are there any specific safety precautions to be aware of? Thanks for sharing your insights.
Follow-up note: For those planning to use the machine for crafting, I suggest checking out this site https://world-prices.com for price comparisons, though I’m unsure how current their data is.