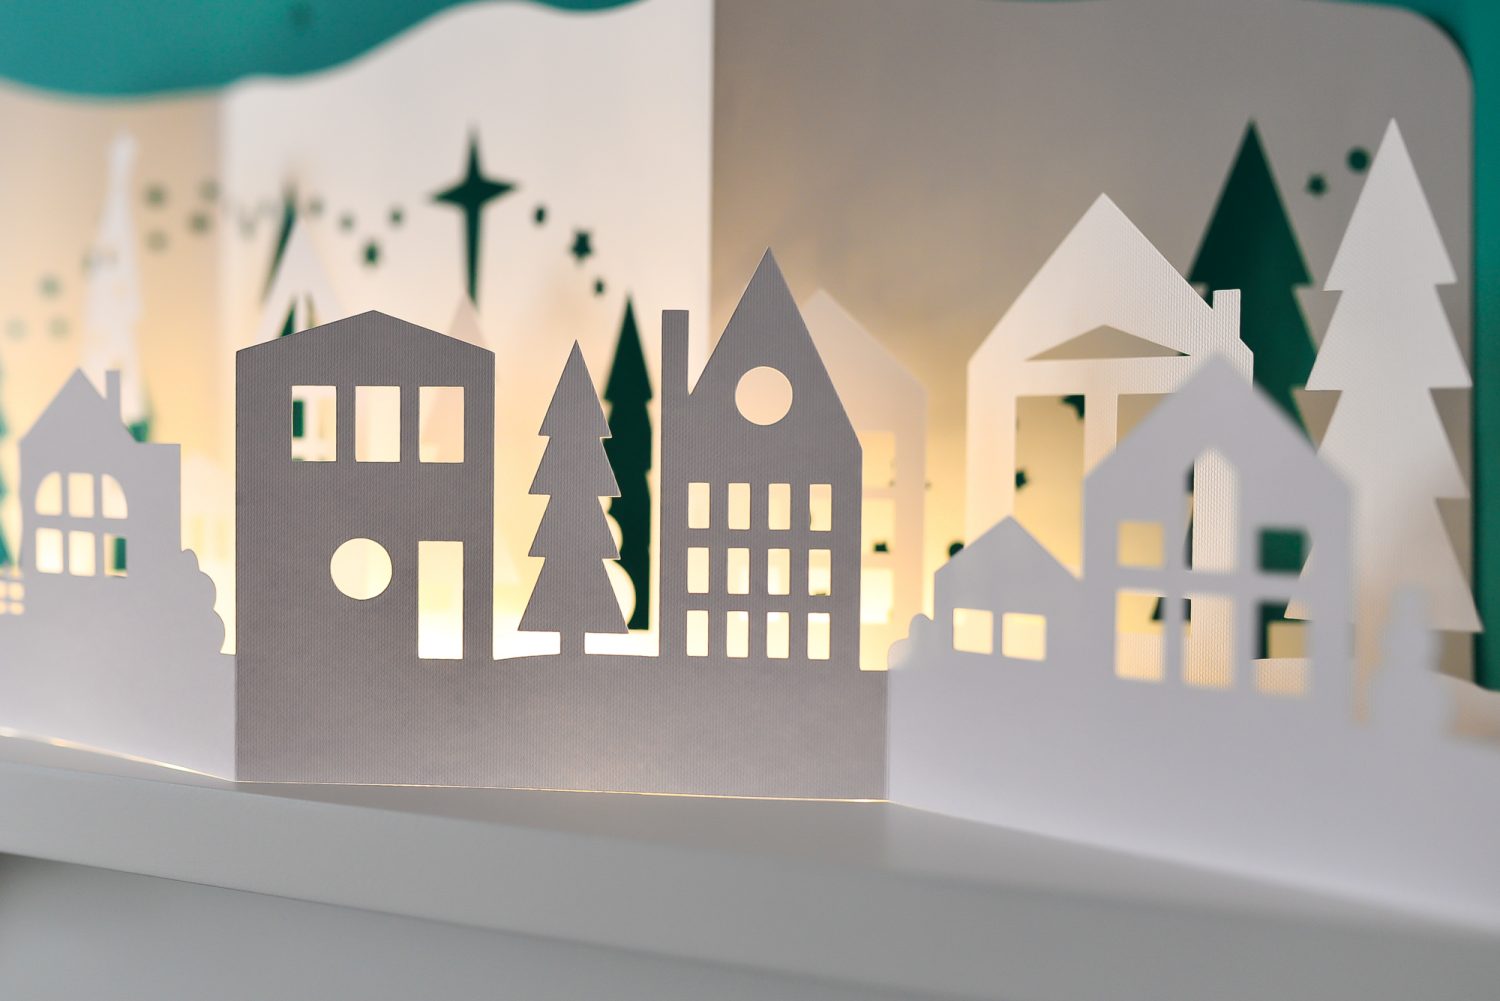
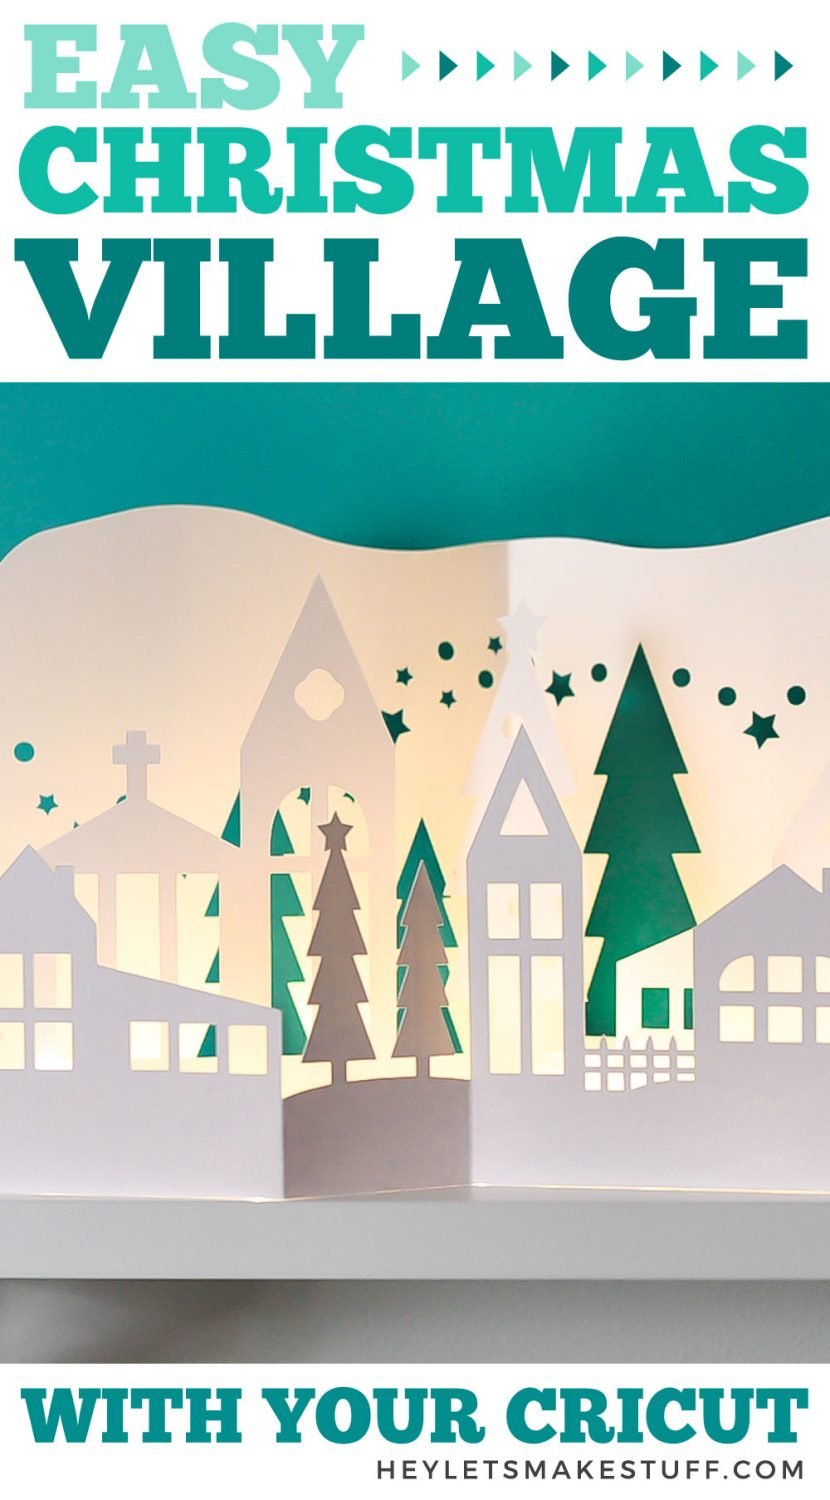
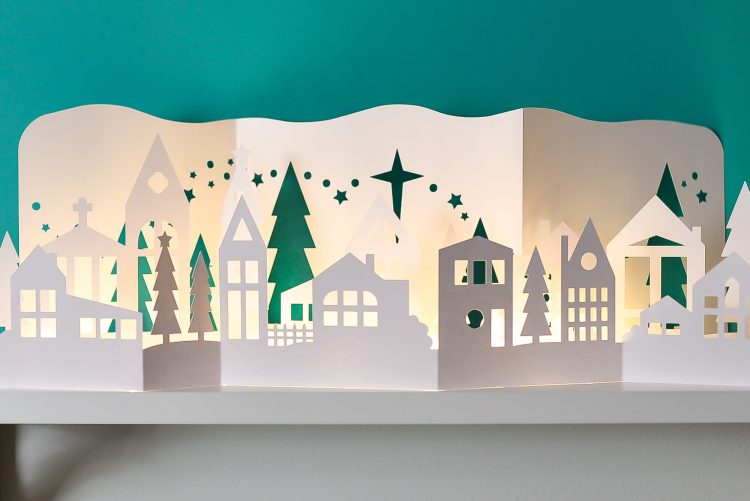
This gorgeous papercut Christmas village is the perfect decoration on your Christmas mantel or table! Cut this winter luminaria using your Cricut or other cutting machine and add fairy lights so it glows!
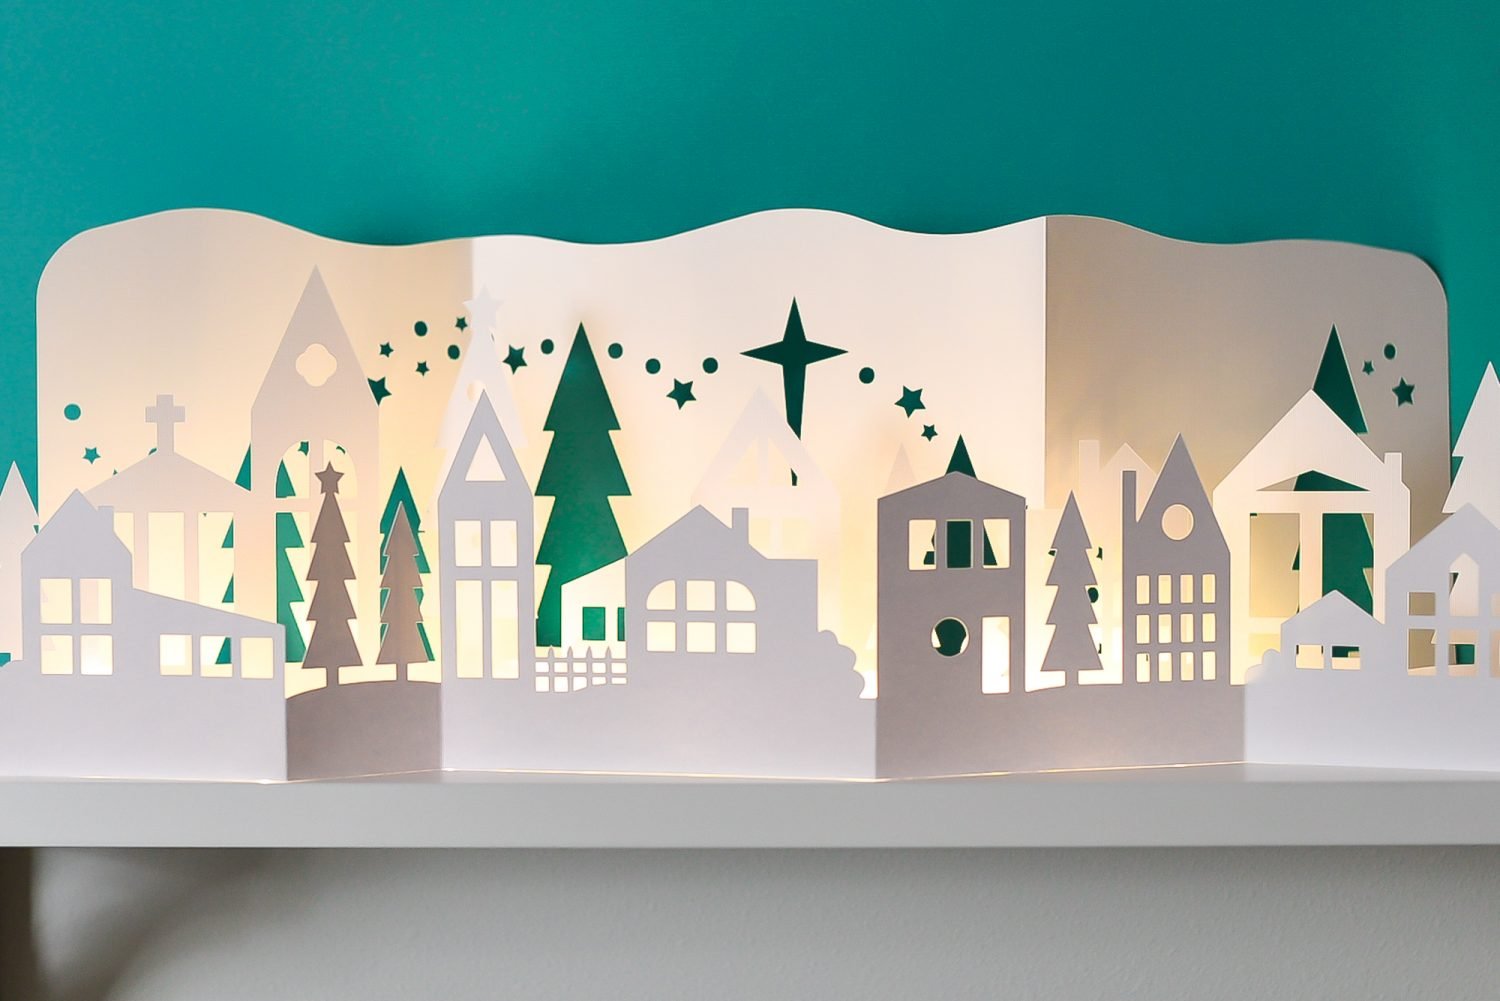
We’re cruising right along for the 25 Days of Cricut Christmas! It’s Day 14 and it’s really starting to feel like the holidays are headed this way. I love this time of year!
Today I am reworking an old post of mine that is a reader favorite. I never really loved how this papercut Christmas village was put together, so I reworked it for the 25 Days of Cricut Christmas. It’s so much better—easier to cut and easier to display. All you have to do is fold and add fairy lights!
[adthrive-in-post-video-player video-id=”vbocUiky” upload-date=”2022-07-30T18:33:30.000Z” name=”Christmas Projects with a Cricut” description=”Let’s get crafting for Christmas using the Cricut! Here are a ton of easy Cricut Christmas ideas that are easy and fun to make using your Cricut Explore or Cricut Maker!” player-type=”static”]
If you’d like to get this series in an ebook format PLUS all of the SVGs needed to make all 25 projects check out the 25 Days of Cricut Christmas eBook Bundle!
Papercut Christmas Village Supplies
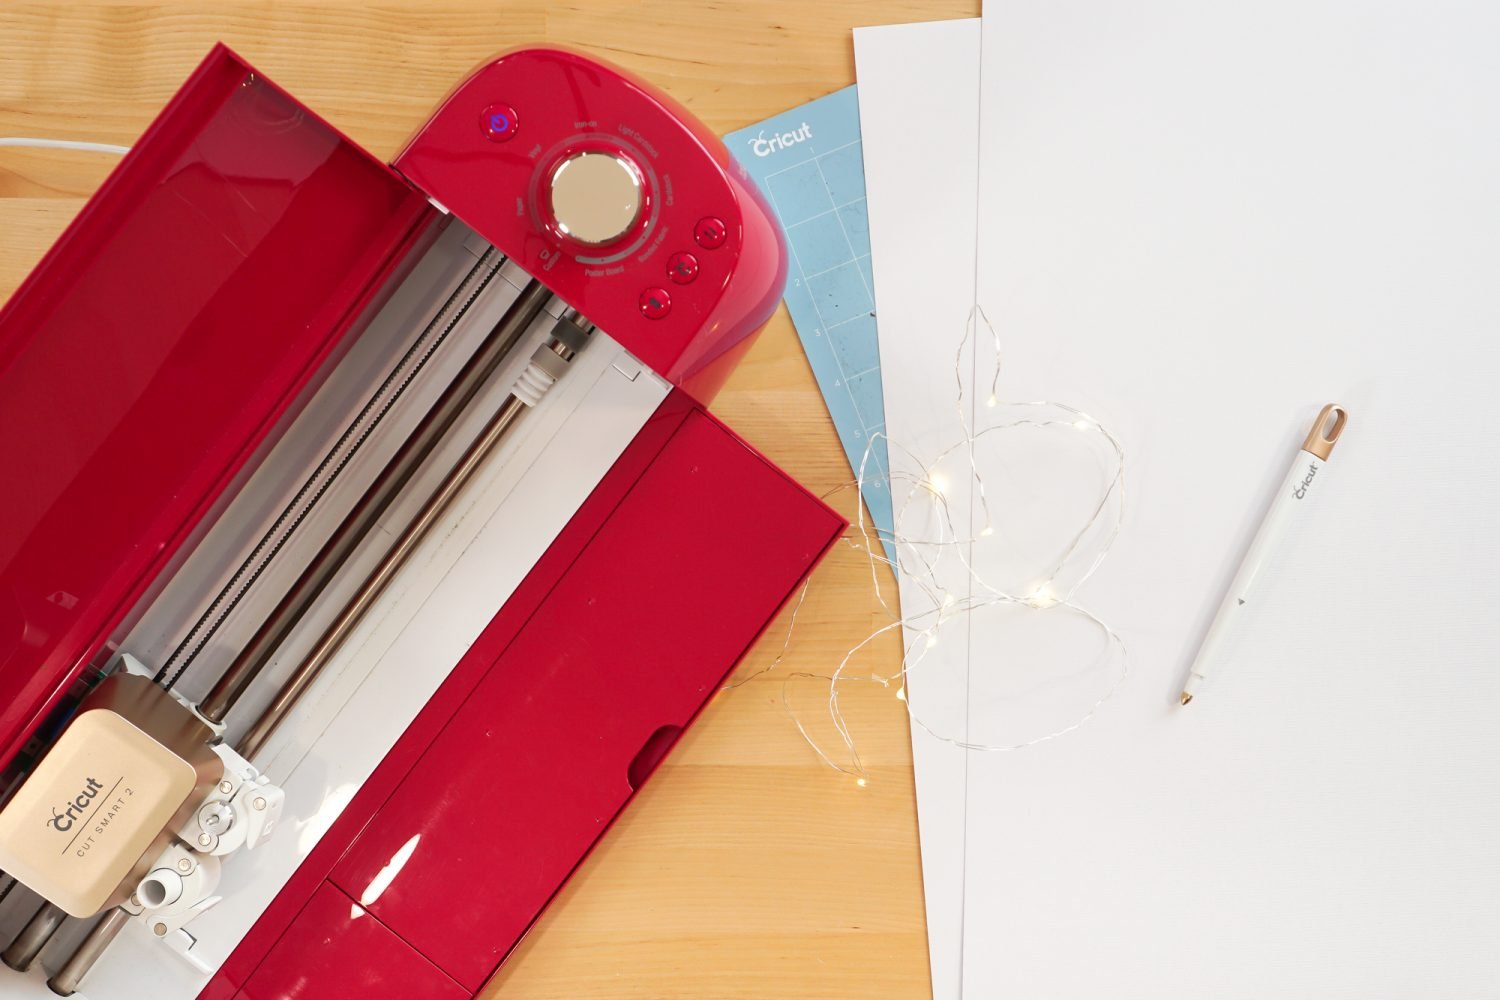
- Cricut Explore or Cricut Maker
- 12″ x 24″ Blue LightGrip mat
- Fine Point Blade
- Scoring Stylus or Scoring Wheel (Maker only)
- 12″ x 24″ white cardstock
- Fairy lights
- Christmas Village Winter Luminaria SVG file
Grab the SVG for this Project
Papercut Christmas Village Instructions
Upload the Christmas Village File Cricut Design Space
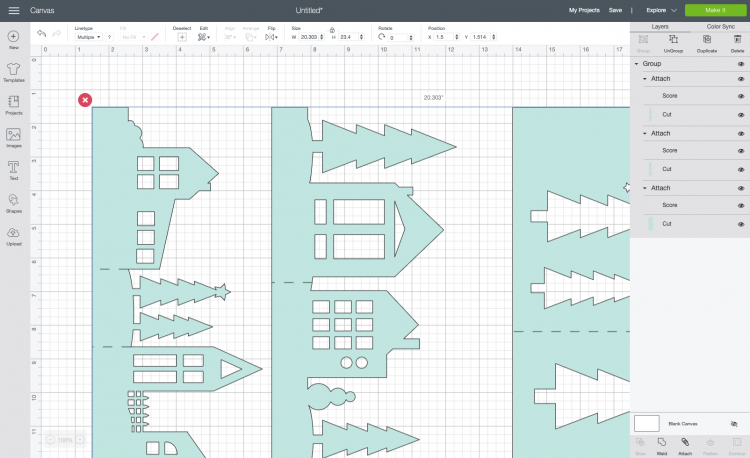
We will start by uploading the Christmas Village file to Cricut Design Space (see Uploading SVG Files to Cricut Design Space if you need help).
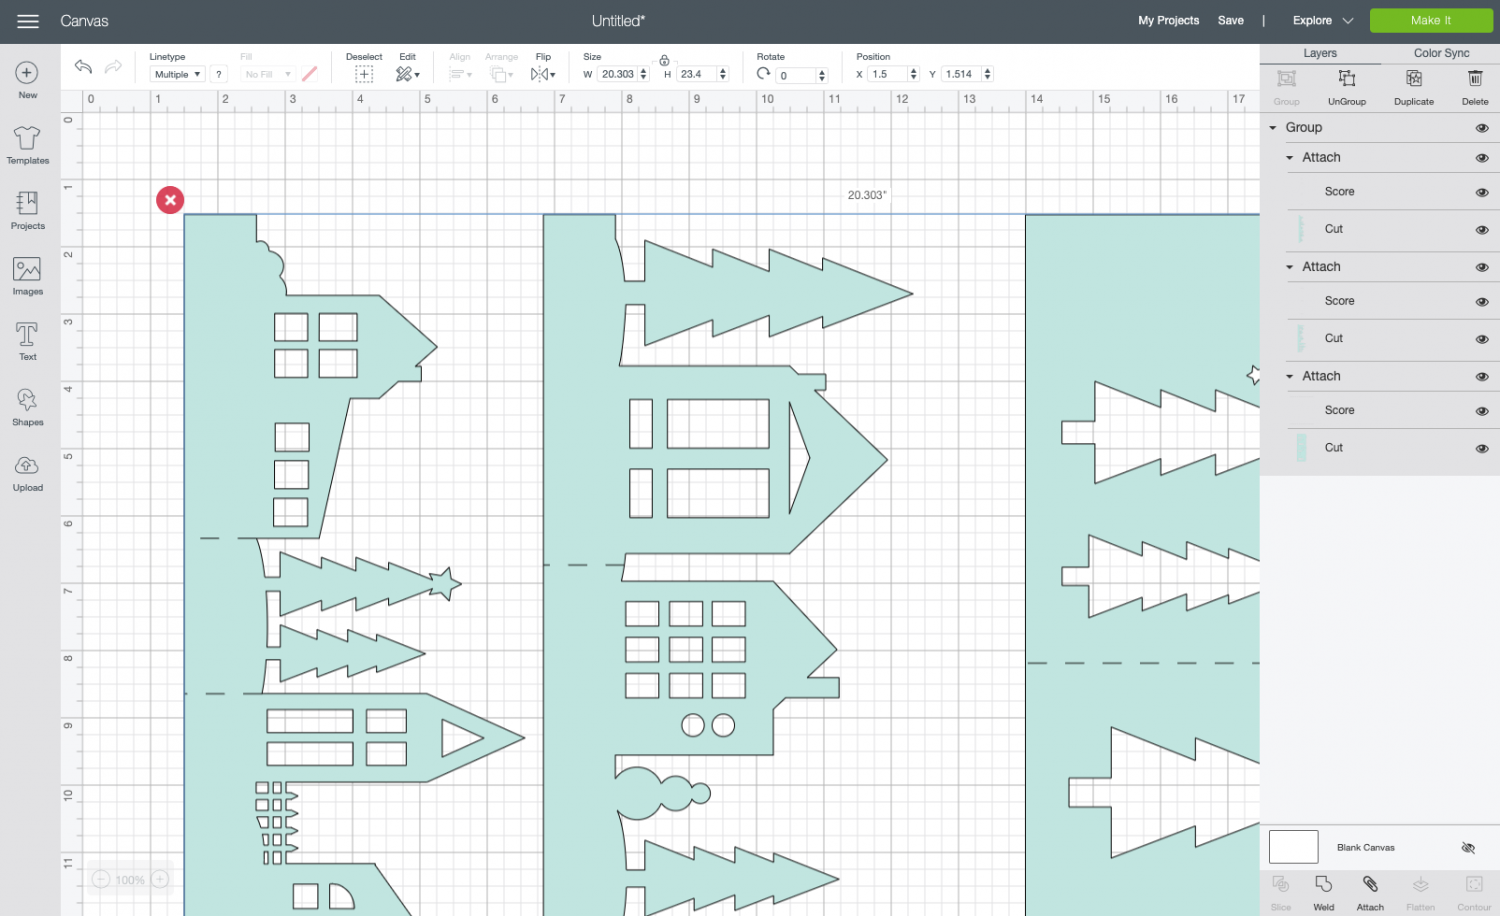
You’ll notice that the score lines have already been added. This project is designed to be cut on a 12″ x 24″ mat, so unless you’d like to resize it, it’s ready to cut!
Click Make It in the upper right. In the Prepare Screen, you’ll get a warning saying you’re going to need the larger mat. Click OK.

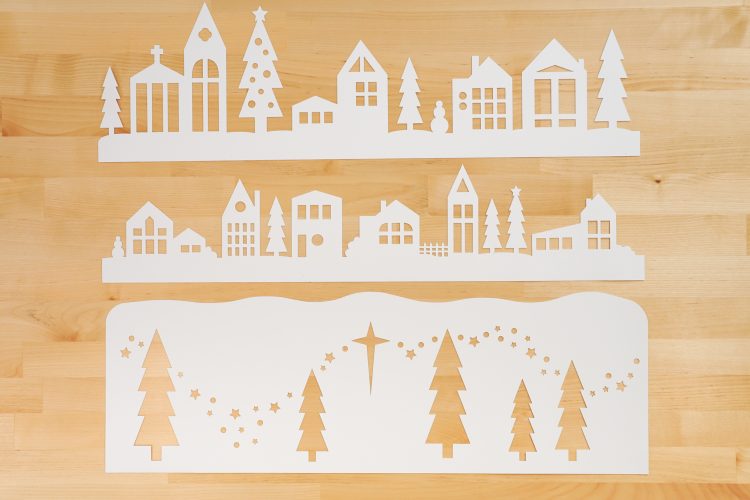
Now you’ll see all of your mats. You can actually fit the two shorter village pieces on the same mat. So on Mat #2, click the image and select “Move,” and then move that image to Mat #1.
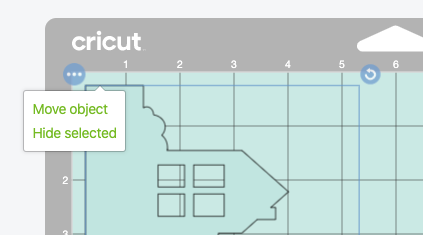
Once it’s on the first mat, rotate it a full 180º and it will nest nicely next to the other image.
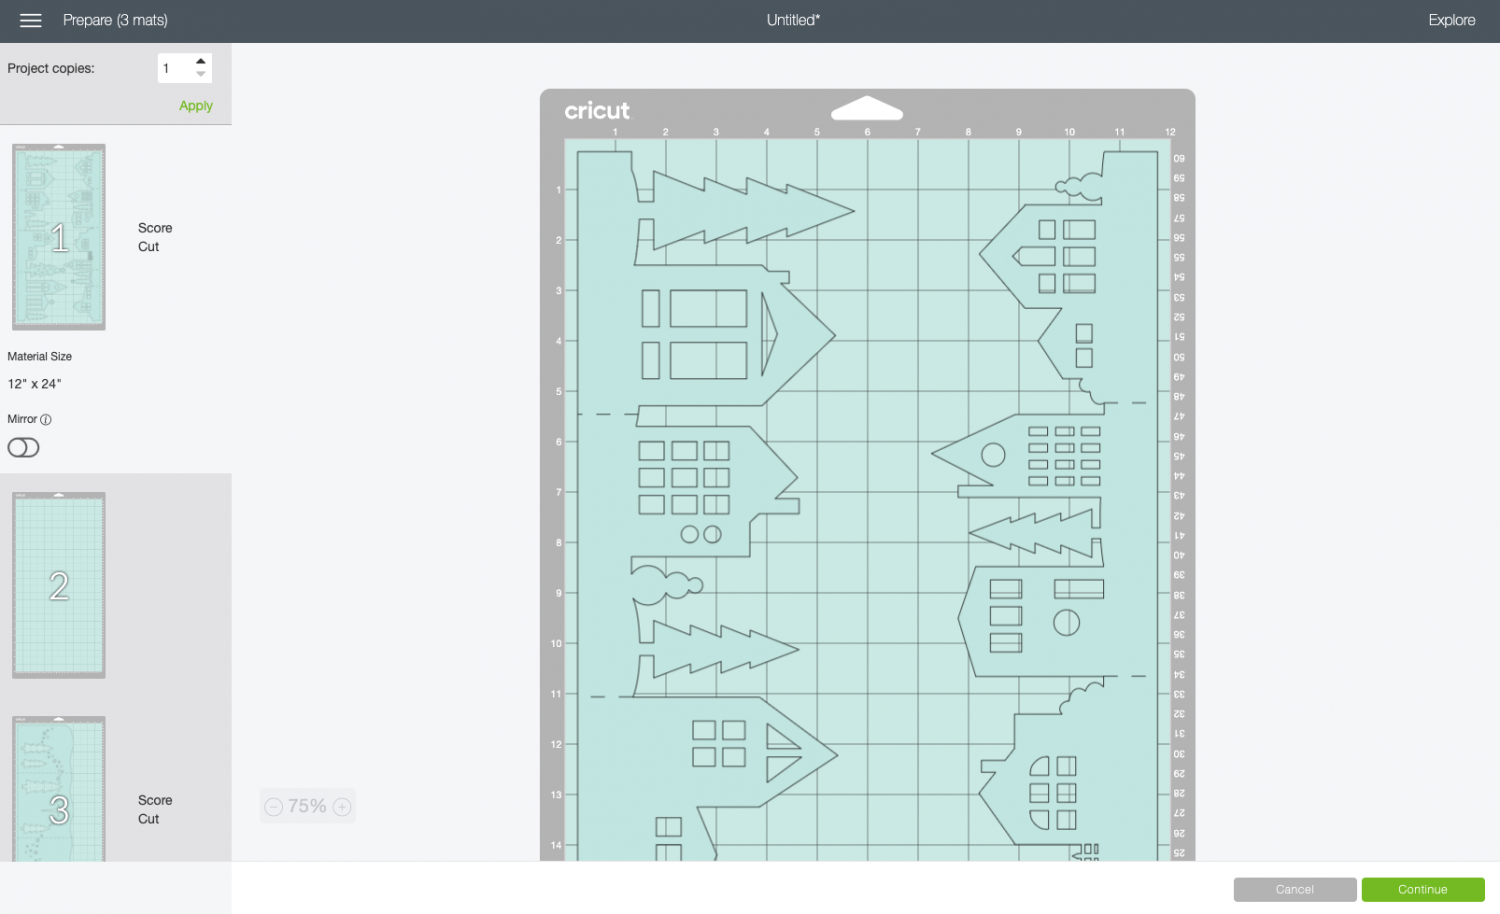
Cut Your Cardstock for Your Christmas Village
On the Make Screen, you’ll set your material. I like using the “Cardstock – Intricate Cuts” setting for this project. A new blade is also helpful here—lots of tiny cuts! And for the scored pieces, make sure you’ve inserted the Scoring Stylus or Scoring Wheel.
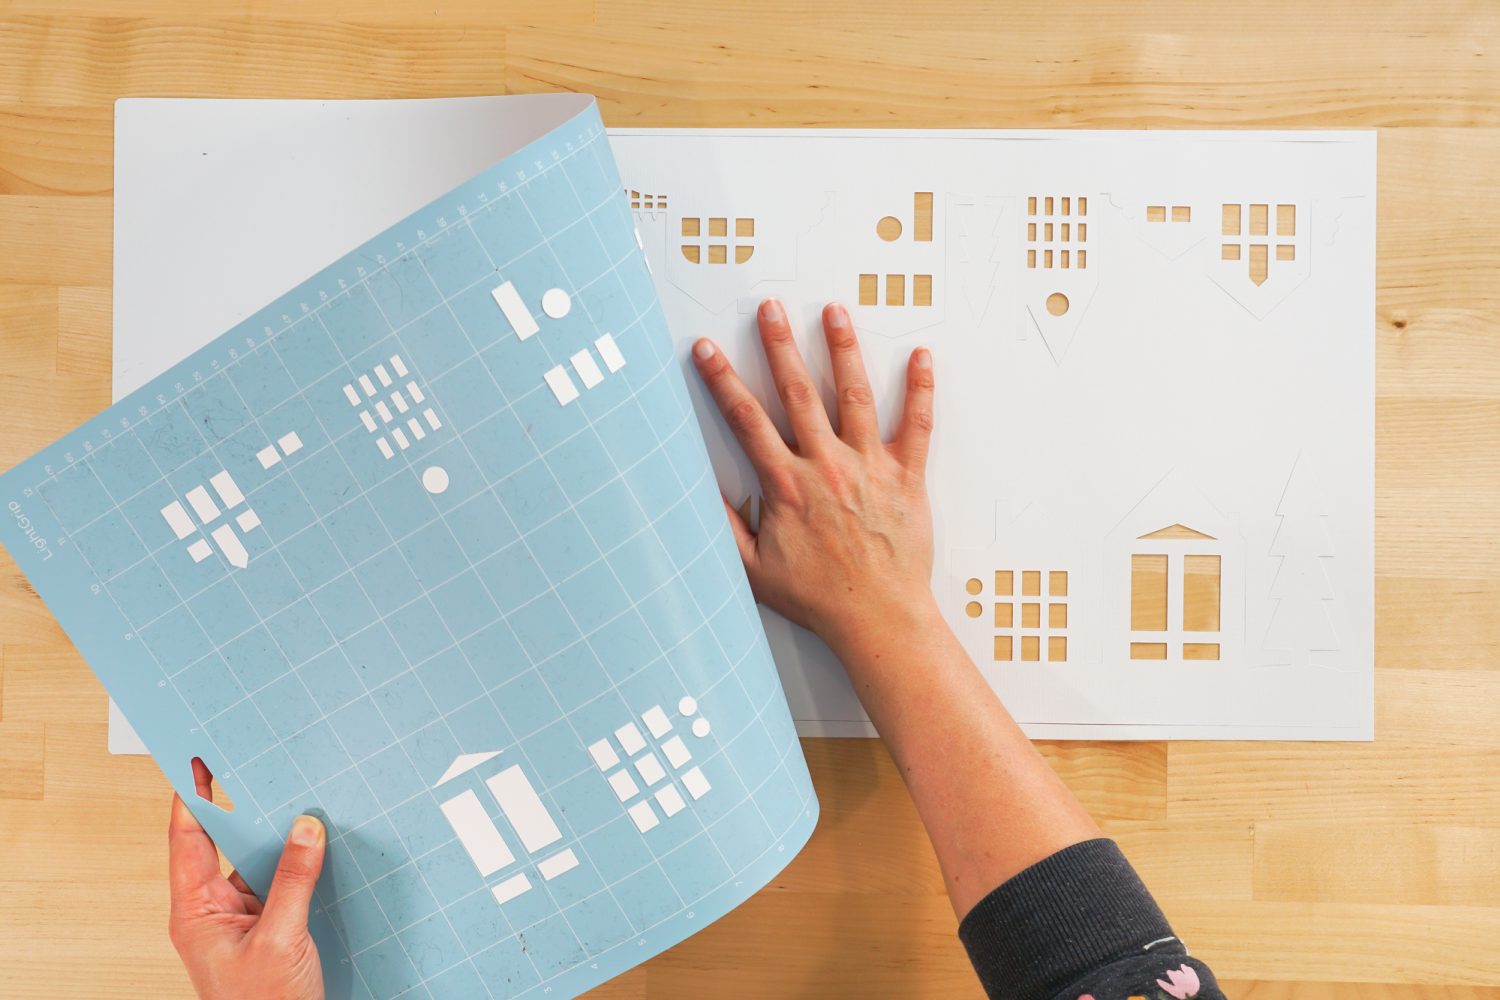
Cut all the layers of the project. To remove the project from the mat, flip the mat over and carefully peel the mat away from the paper, using your hand to keep the paper flat on the table. Go slowly and make sure that all of the pieces of the project are releasing from the mat as you go.
Assemble the Christmas Village
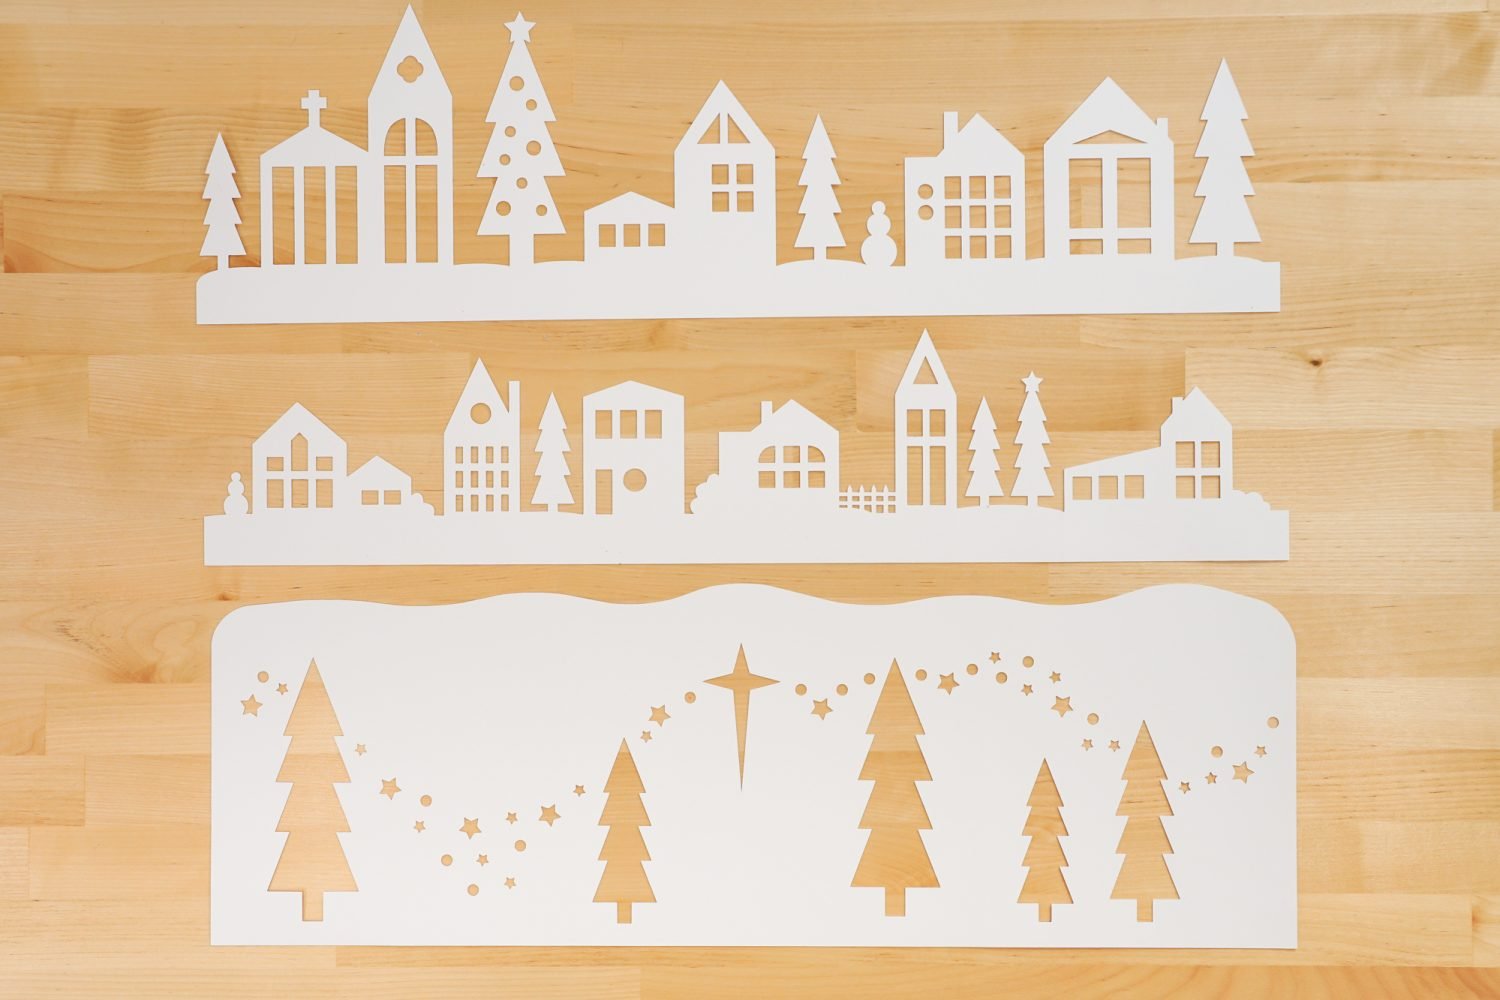
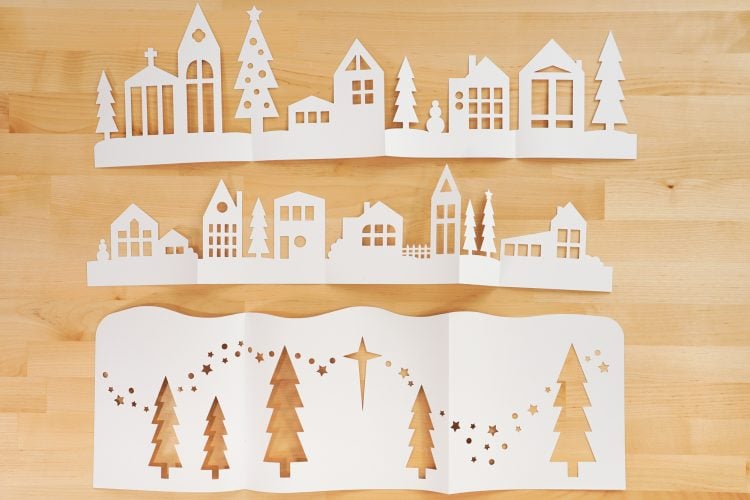
This is an easy one! Just accordion fold on the score lines.
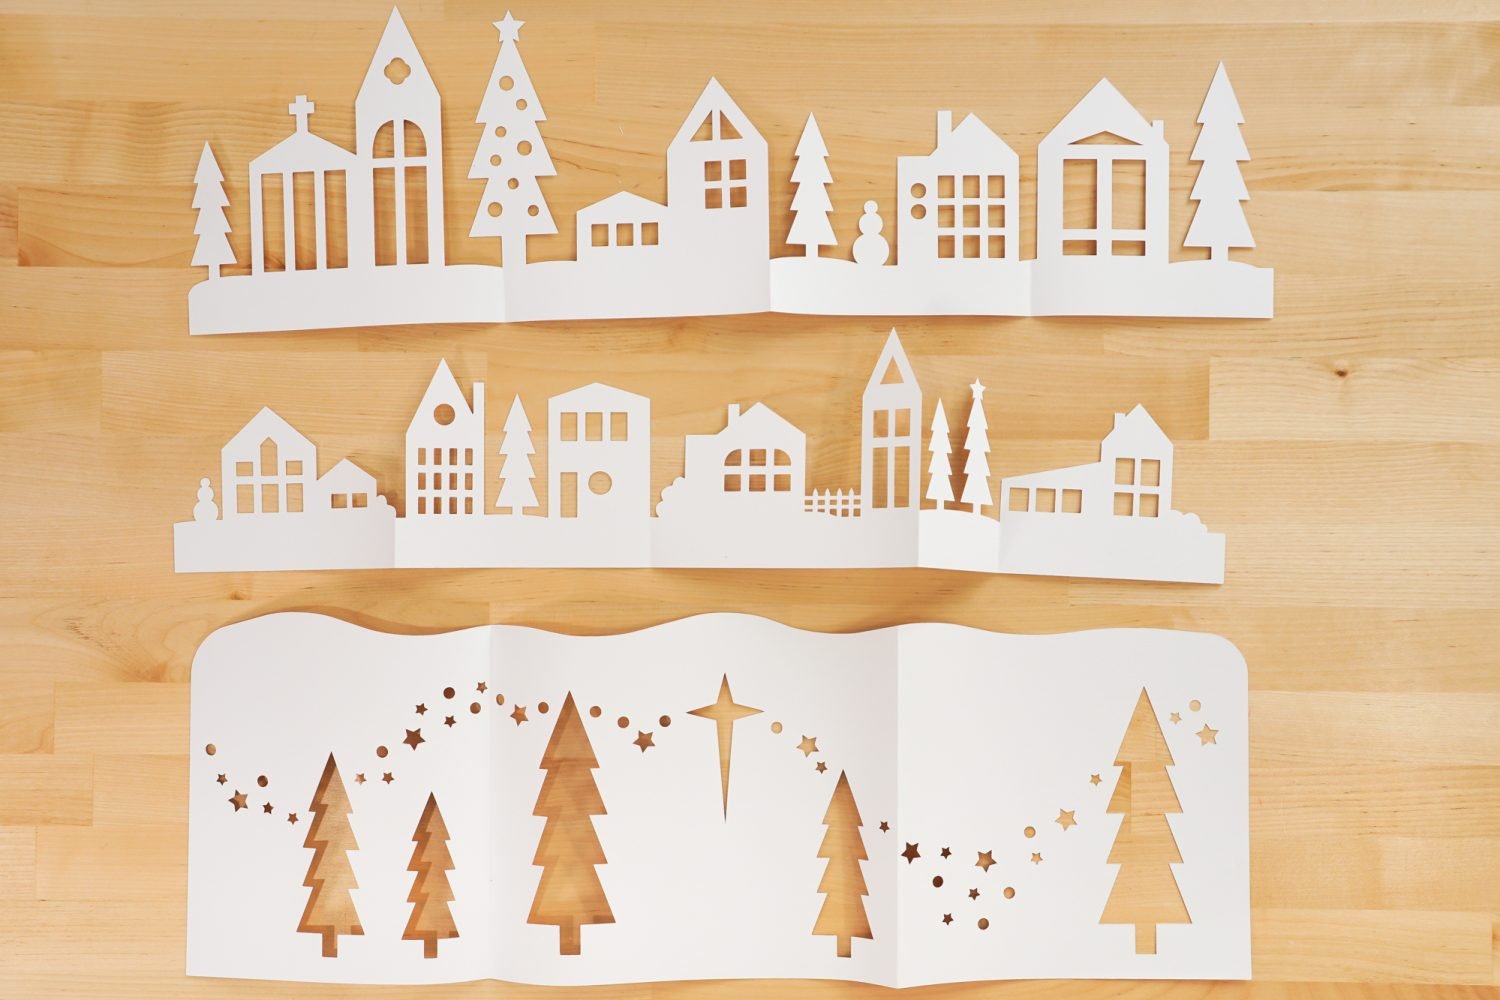
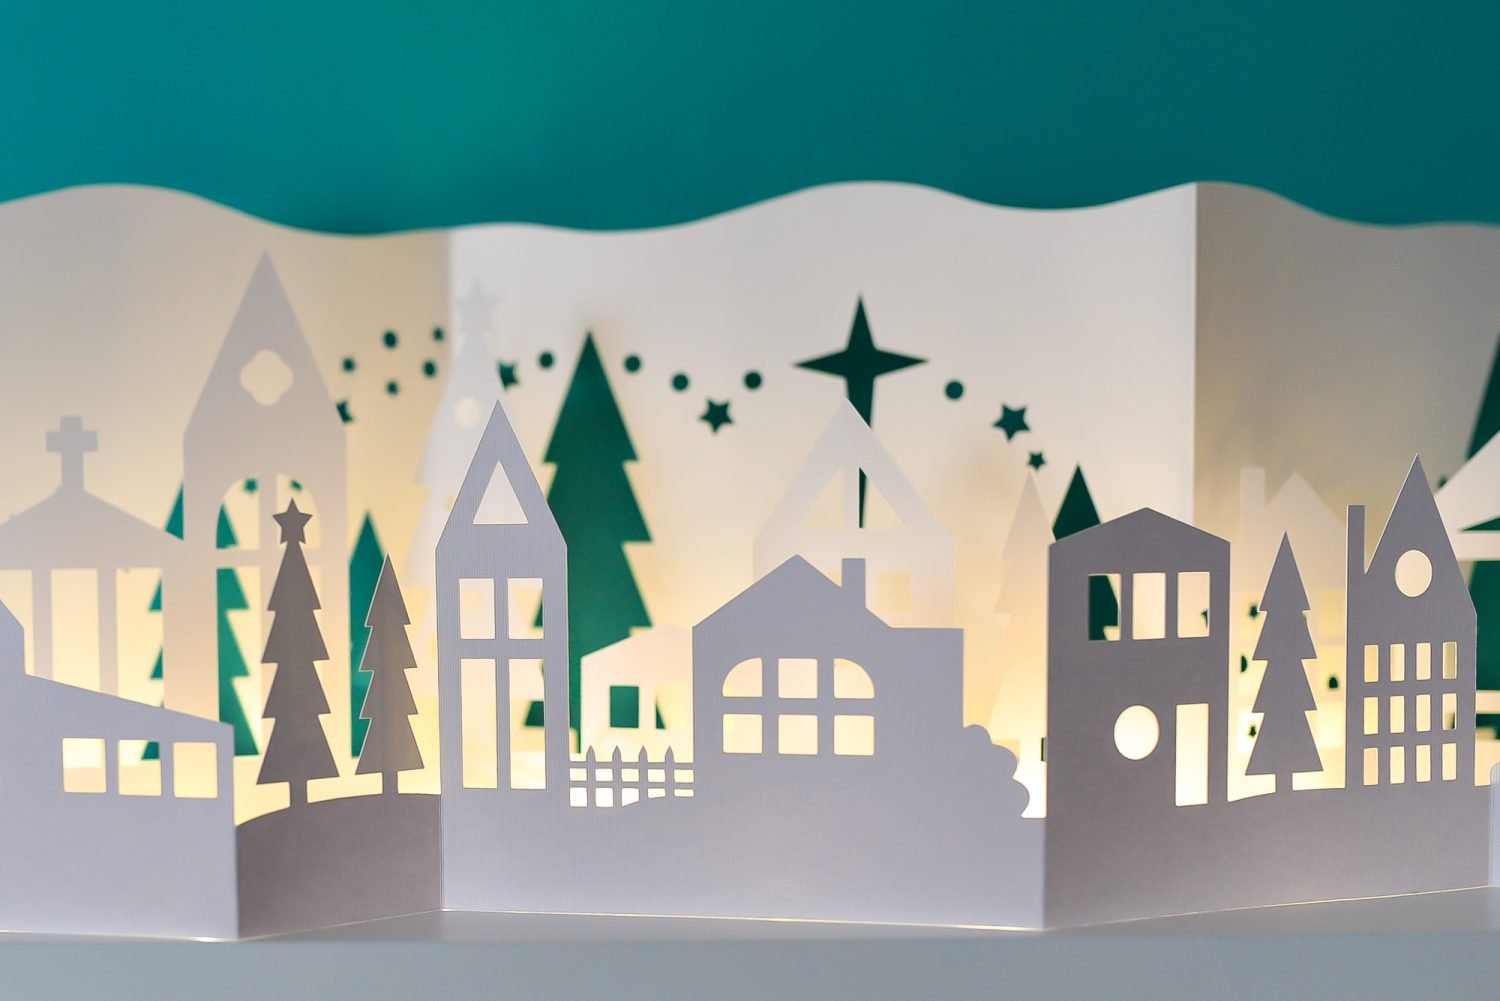
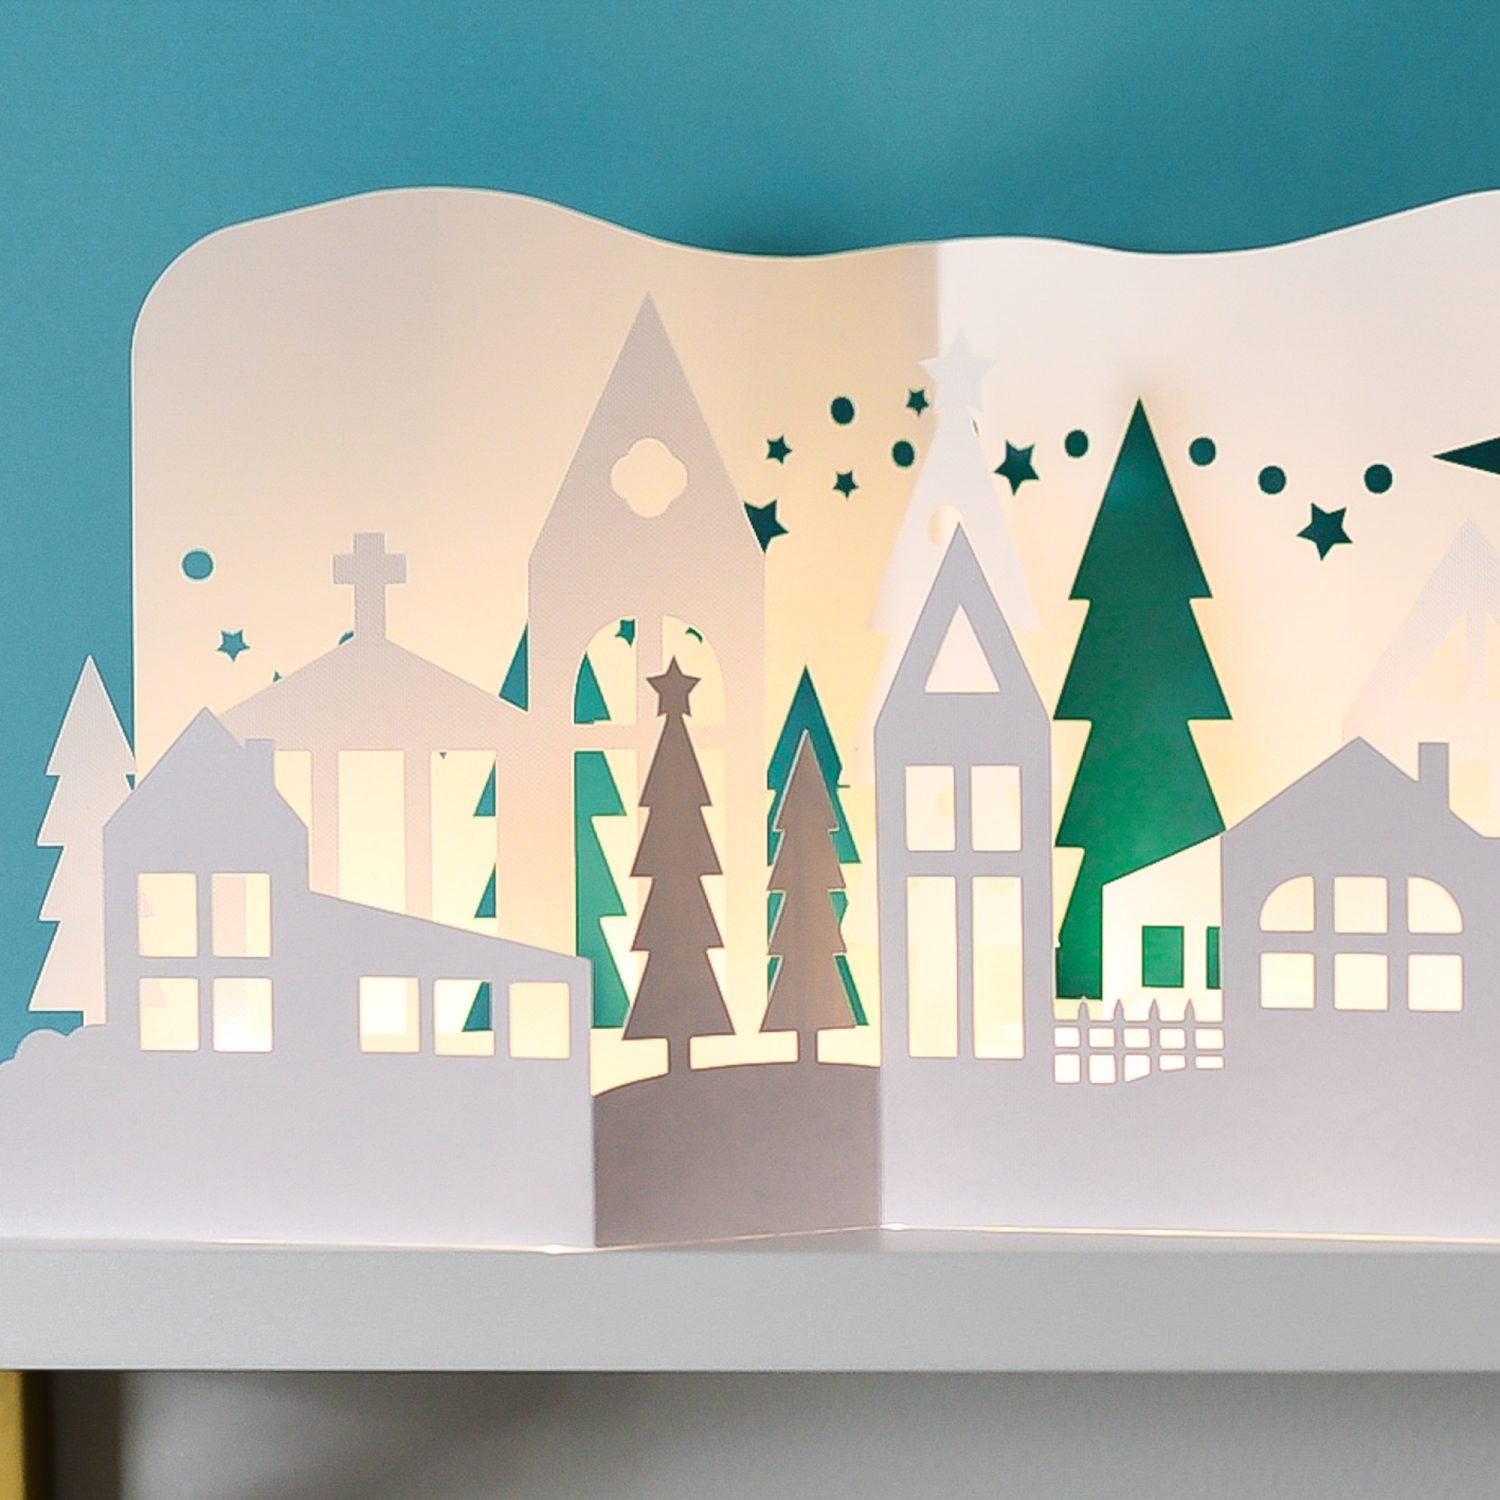
Then you can stand the pieces up on your mantel or shelf and use fairy lights to light the different layers. Fairy lights can be a bit tricky to get to stay put, so I use a little washi tape on my shelf to hold them down.
PAPERCUT CHRISTMAS VILLAGE
Equipment
- 12" X 24" Blue Lightgrip Mat
Supplies
- 12" x 24" cardstock white
- Fairy lights
Instructions
- Upload the Christmas Village file to Cricut Design Space

- Cut and score all three pieces of the project.

- Fold along the lines, accordion style.

- Display on a mantel or shelf using fairy lights.

Make All the 25 Days of Cricut Christmas Projects!
We’ll be adding links as each day goes live! Grab the full bundle with all of the projects and SVGs in our 25 Days of Cricut Christmas eBook!
- Day 1: DIY Christmas Countdown Calendar
- Day 2: Snow Globe Shaker Card
- Day 3: Happy Holly Days Christmas Banner
- Day 4: Felt Gnome Pillow
- Day 5: Cookies for Santa Tray
- Day 6: Snowflake Coasters
- Day 7: Customized Christmas Banner
- Day 8: Etched Holiday Baking Dish
- Day 9: DIY Gift Card Holder
- Day 10: Christmas Apron
- Day 11: Christmas Quilt Block Artwork
- Day 12: Constellation Glitter Ornaments
- Day 13: DIY Christmas Card Holder
- Day 14: Papercut Christmas Village
- Day 15: Funny Christmas Socks
- Day 16: Veneer Pinecone Earrings
- Day 17: How to Make Felt Bows
- Day 18: Personalized Santa Sacks
- Day 19: Newborn Footprint Ornaments
- Day 20: Layered Christmas Mandala
- Day 21: Customized Pot Holders
- Day 22: Sleigh Rides Christmas Sign
- Day 23: Hot Cocoa Mug Gift
- Day 24: Print then Cut Gift Tags
- Day 25: Matching Christmas Pajamas



Comments & Reviews
Linda McDowell says
WOW,so above my ability but admire seeing what can be done in the crafting world.
I have always wanted a metal or paper standup cutout of the city of Bethlehem. Is that
anything that you have thoughts about doing?
You are so talented and your work is so delicately done. Ten stars for you!
Linda
Crystal Summers says
Thank you, Linda! That’s a great idea. Will definitely pass it along!
Happy crafting,
Crystal, HLMS Community Manager
Klaus Yde says
Christmas Village Winter Luminaria, can those be cut on a A4 paper and made as round lantern?
Cori George says
You can cut it on smaller paper but of course your lantern would be smaller. The very tiny pieces in the gate might be a problem, but you never know until you cut it. You could turn off the scoring lines and turn it into a round lantern. Would love to see if it works!