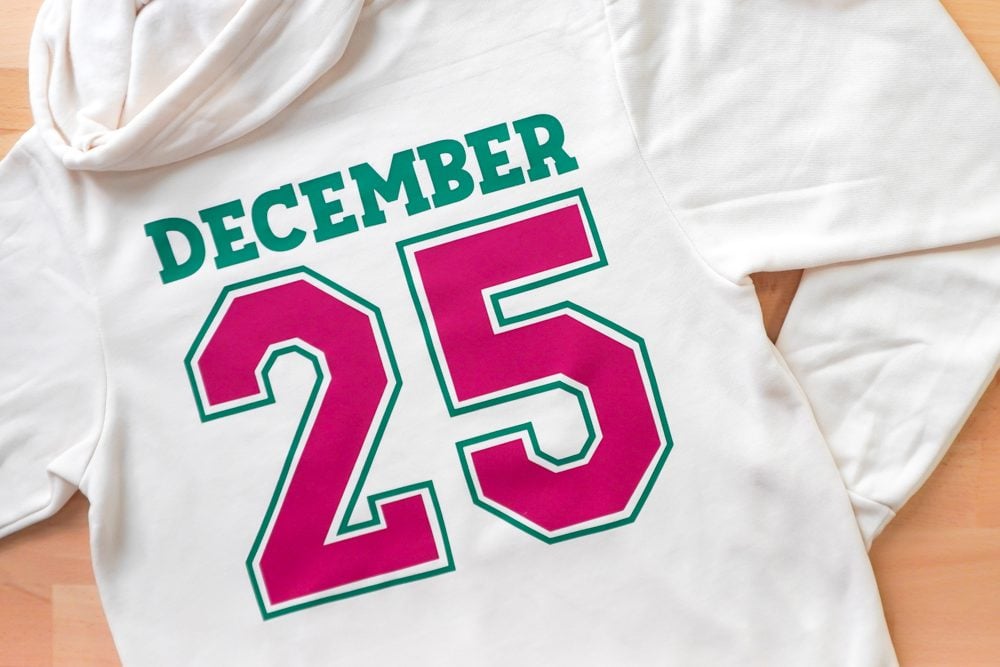
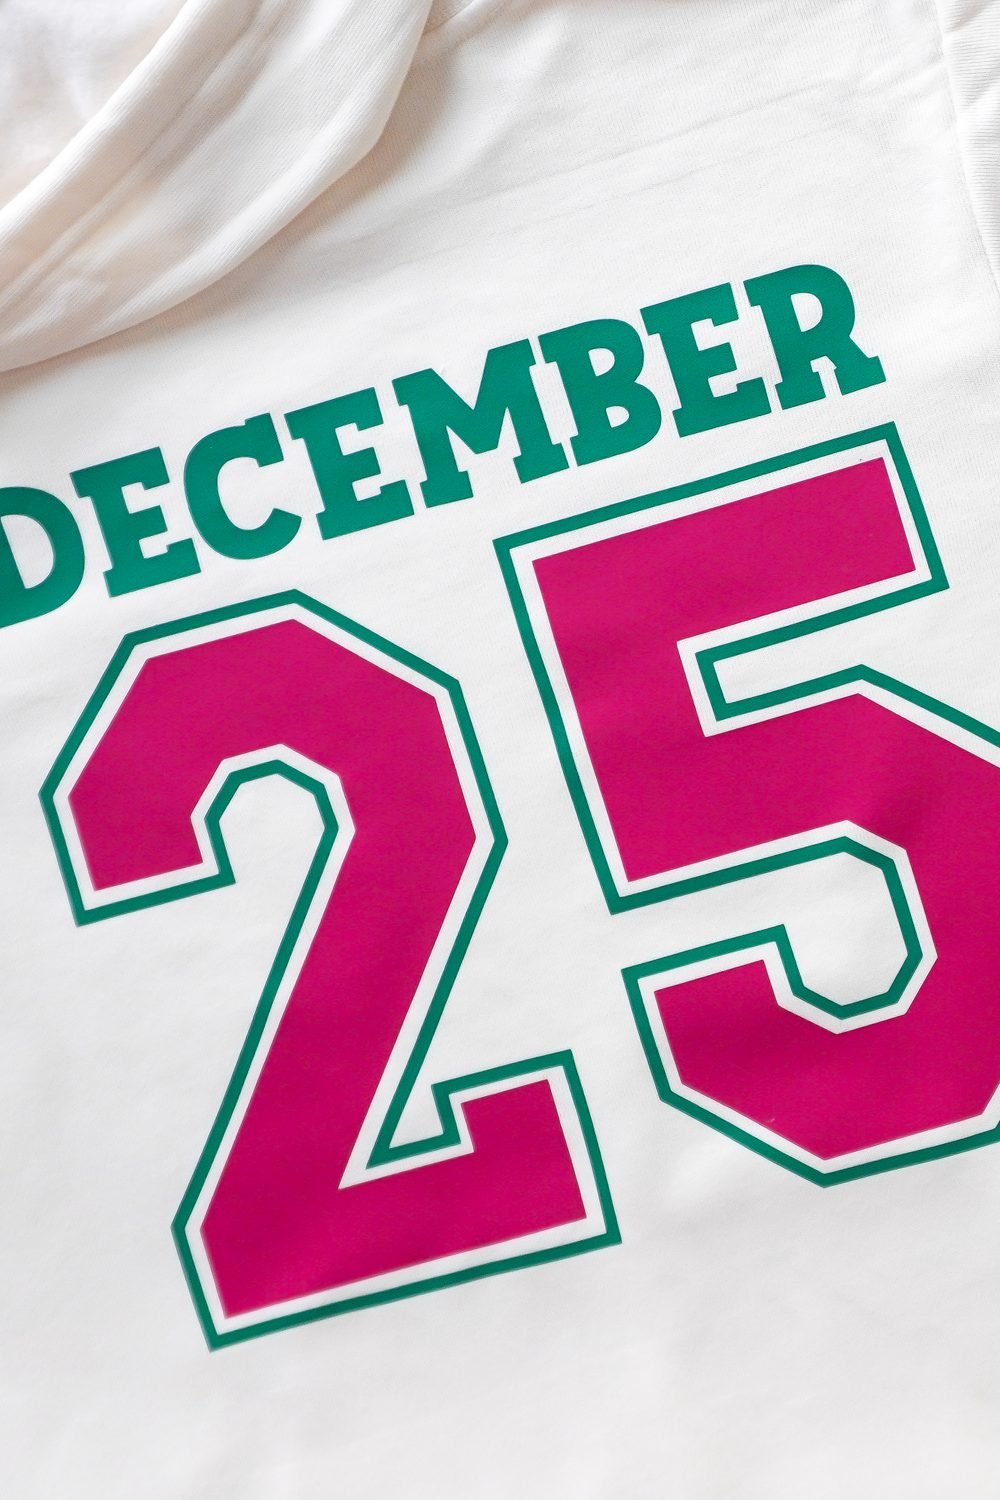
Want to make a trendy varsity-style hoodie this holiday season? Learn to make oversized varsity numbers even if they’re larger than your mat using your Cricut, HTV, and your favorite sweatshirt! Whether you’re making gifts or festive apparel, this Christmas Cricut project is a must-try!

There’s a big trend to create varsity-style hoodies that have collegiate looking numbers on them. In today’s tutorial, we’re going to create a varsity shirt using one of my varsity designs. The crewneck sweatshirt will feature the word MERRY on the front and a big December 25th on the back!
For this project, I’m using a super soft BELLA+CANVAS hoodie in a natural color. Neutrals are also very trendy right now! This is the perfect cozy shirt to wear all holiday season long–and beyond! The numbers are quite large, so I’ll show you how to create the oversized, larger than mat project using your Cricut. You could use this technique to personalize with jersey numbers or any other special number you’d like to show off.
Did you know you can buy BELLA+CANVAS garments at wholesale pricing without a reseller license? Get a BELLA+CANVAS Maker’s Account! This account allows you access to the wholesale side of their business without the need for any permits or licenses. Even better? It’s free! Learn more in my post Buying Wholesale Blanks without a Resale License!
For this project, I’m using this super soft crewneck sweatshirt. BELLA+CANVAS shirts work great with any type of HTV you can imagine!
For this particular project, I’m using a few variations of B-Flex HTV. This HTV is low temp and low time, so it’s really easy to use and it’s fast! It also has a really nice feel and washes well. You can, however, use whatever type of HTV you’d like, in whatever colors you’d like! I used traditional red and green for this one. I know, I know…not my usual colors. But, I thought they accent the natural shirt color well!
Watch the Video
Want a video overview of this Cricut project? Just hit play below! Or keep reading for a written tutorial.
Get the Free File
Want access to this free file? Join my FREE craft library! All you need is the password to get in, which you can get by filling out the form below. The file number is: S485.
Supplies
- BELLA+CANVAS fleece hoodie or other shirt
- Cricut (I used my Maker 3) or other cutting machine
- Green Standard Grip cutting mat
- Brayer (optional)
- Regular HTV
- Weeding tool
- EasyPress or regular heat press. I used my large WalaPress for this project.
Set up the File in Cricut Design Space
I’m using Cricut Design Space because I am using my Cricut, but the process should be similar in other cutting machine software.
Start by uploading the file you downloaded from my craft library. I am using the December 25 design, but you can choose any design you’d like. You can delete or hide the images you aren’t using.

Start by resizing the image for your sweatshirt. Let’s start with the word Merry. I want to make this basically as big as my mat, so I’m going to lock the dimensions and select 11.5″ wide.

For December, I actually want it larger than 11.5″, so we’ll need to mess with the file a bit. I could’ve built the file larger, but I wanted to show you how you can actually edit it to be larger than your mat. To start, ungroup everything. Let’s start with the word December. Make a copy two copies of December.

Use the contour tool to cut out some of these letters. Let’s keep DECE. Cut out the M and the B and the E and the R plus all of the little pieces inside. Then click out. You are left with just the first three letters.

Do the same with the copy, but contour out the first four letters. Click contour and choose the D, E, C and E and the middle of the D. Then, click out of it. You now have two pieces for December.

Let’s make it a bit bigger. Select both together and make them 12.5″ wide. It’s not much bigger than the mat, but it’s bigger for the shirt and will stand out well. You want to make sure that these stay in two separate pieces, don’t weld them or anything like that. They need to be cut separately.

Now do the same with both pieces of the 25. Make a copy of both numbers.

Go to the first one that’s red and click contour. Contour out to the five.

Do the same with the green and contour out the five.

Now, do the same to the second one by contouring out the two. Now you have two numbers that you can work with separately.

Zoom out a little bit and put the numbers next to each other. Make those 12.5″ wide as well. Now if all of this was together on a single mat, it would be too big, but because we’re cutting it in pieces, we can then piece it together on our sweatshirt.

That’s it! Click Make in the upper right corner. In the Load screen, choose On Mat (unless you are using Smart HTV).

You can see here that it’s sort of putting everything in basically kind of a weird place.

We are going to have to piece everything together, but I think it will be worth it for the back of this shirt. One thing I am going to do is go to my second mat and I’m move the second half of December back to that first mat because it will fit. This will fit easily here below our number. So we have the outline of our number two, the E and the R for Merry and the whole word December.

On our second teal mat we just have the outline of the five.

On mat number three, we have both of our numbers. I’m going to spread them out just a little bit.

And then on mat number four we have M, R, and Y for Merry.

Let’s go back to that first mat and make sure we are mirroring all of our mats. Go back to that first mat and click Continue.

Cricut design space will connect to your machine. I’m going to choose everyday iron on as my project and get everything set up to cut.

Cutting Your HTV
Next it’s time to cut our HTV! I like using a brayer to help adhere the HTV to the mat. Each of these is cut with the shiny carrier sheet down. You can learn more in my post How to Use HTV.

Insert your mat into your Cricut and your Cricut will cut your HTV! Repeat for all of your mats!

Weeding Your HTV
The next step is to remove all of the excess HTV we don’t need in our images. I prefer to weed on the mat. To do this, use a weeding hook to pull up that excess HTV.

If you need help, I have a post called Weeding Iron On Vinyl that offers tips and tricks for making it easy.
Making Your Varsity Christmas Hoodie
All we have left to do is apply our HTV to our shirts!
Start by pre-pressing your shirts for 10-15 seconds. This removes any moisture and gives you a nice flat pressing surface.
Now you need to position your design on the hoodie. I cut my two and my five apart because I think they need to be a little farther apart. I then cut apart the other sections.

Let’s start with the word Merry. Go ahead and center it on your shirt. Normally I do three fingers kind of from the top, but it feels like for this one it’s going to go just a little bit lower.

Then press your project! Make sure you are pressing according to the manufacturer’s instructions for your specific HTV. Now again, this is a low temp low time press, so it’s only 285 degrees for five or six seconds. You can get away with four seconds on a t-shirt, but I do like for a hoodie to do it for just a little bit longer to make sure it sticks really well.
Then peel back the carrier sheet! Your instructions should say whether or not you should peel it back while it’s warm or cool. If you’re having trouble getting your HTV to stick properly, check out my post Tips to Get HTV Stick and Last Longer.
Then I’ll take my other two letters and repeat the process. If you also have HTV that is not covered by the plastic, grab a piece of cotton or parchment paper to protect that HTV from your press.

Now flip it over and do the back. Let’s start with the word December. Lay out both December and your numbers so you can make sure everything looks good before pressing. Press according to your manufacturer’s instructions.

Then repeat and press the 25 onto the shirt.

And that’s it! This is such a cute varsity-style hoodie! I cannot wait to wear it. If you want to make this hoodie, definitely check out BELLA+CANVAS. They make such a wide variety of garments perfect for all your holiday projects!


Comments & Reviews
Flappy dunk says
With flappy dunk, Love this tutorial! The varsity Christmas hoodie looks so fun and festive, can’t wait to try making one myselft!
Katy Perry says
The varsity hoodie Cricut project is thoroughly outlined and simple to follow. I appreciate your techniques for Among Us big figures that exceed the mat’s size, making it usable for a wide range of hoodie designs. The way you present the material is very user-friendly and not at all misleading.