
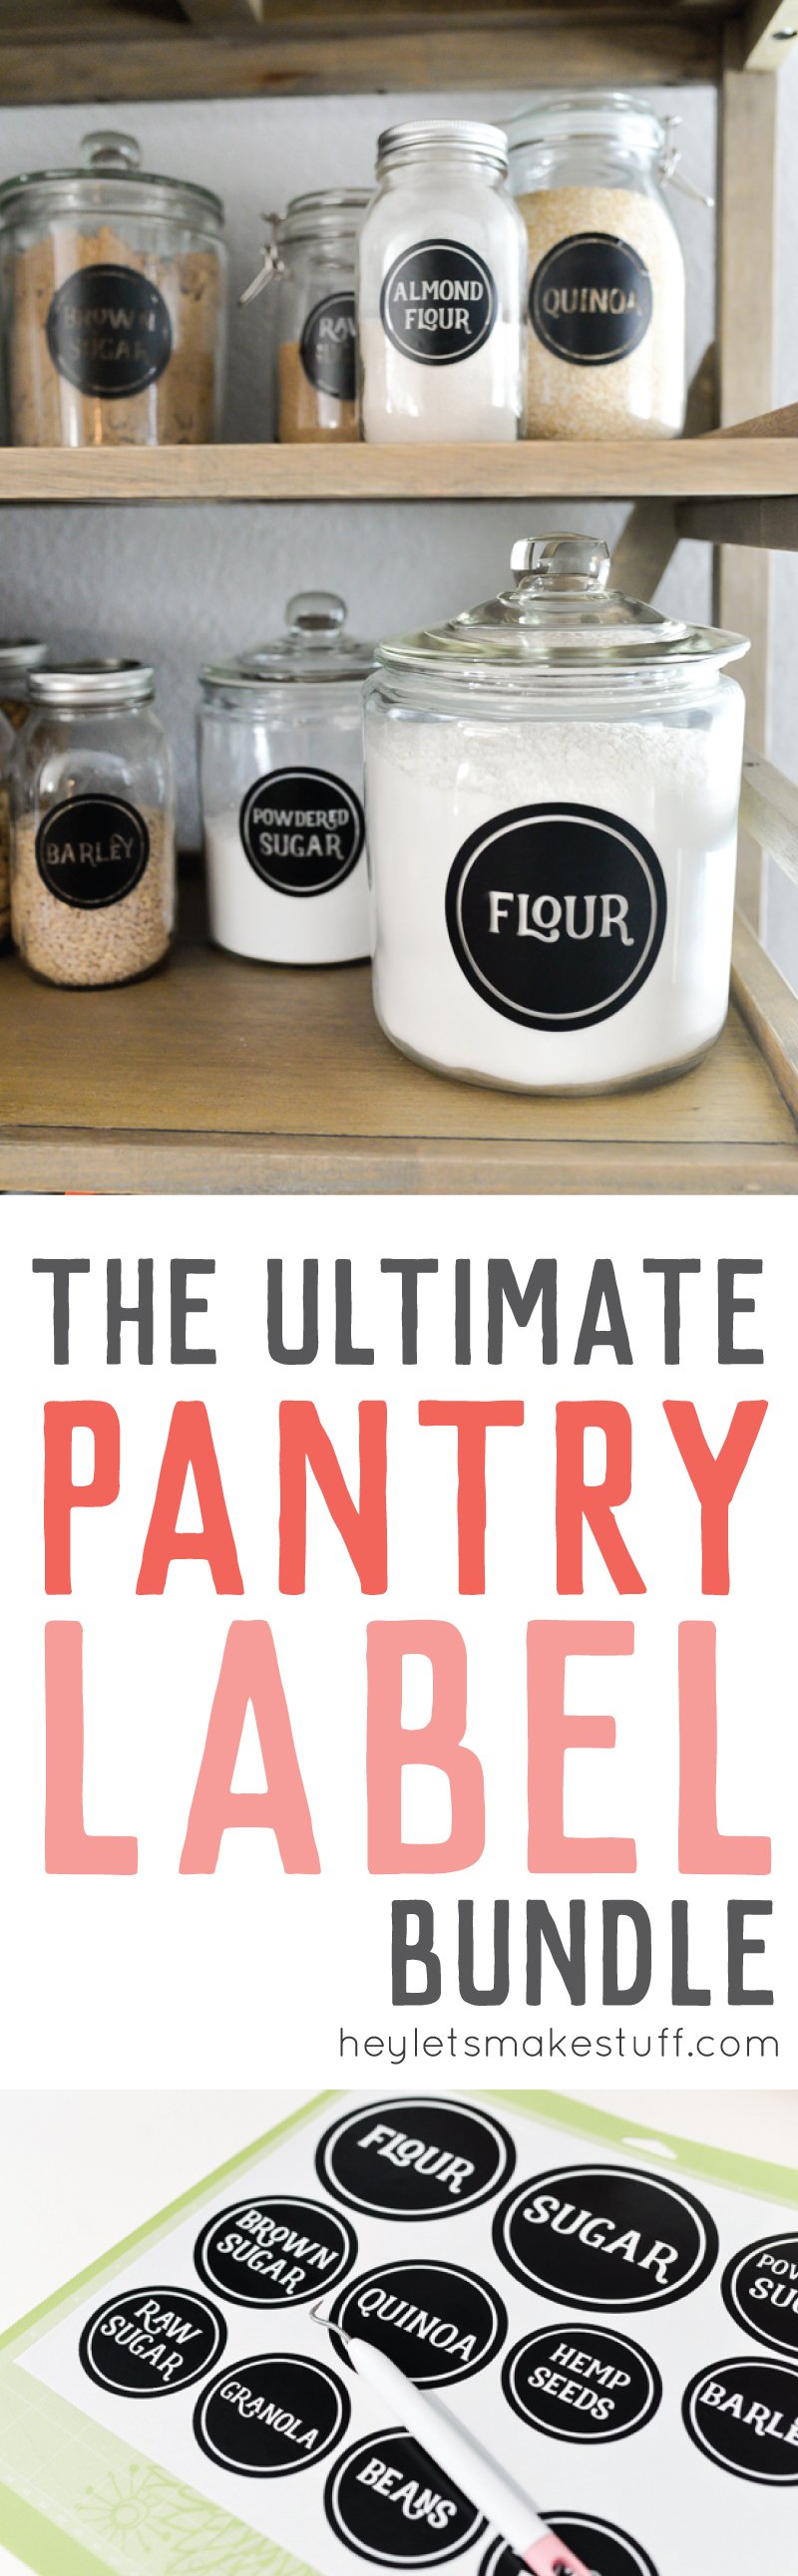
Organize your pantry with these vinyl pantry labels! Get 137 SVG labels and cut them out on your Cricut or other electronic cutting machine! Includes a tutorial for applying the vinyl labels to your jars or canisters.
I originally posted these labels back in 2015, almost ten years ago! My style has evolved quite a bit, Cricut Design Space doesn’t look a thing like it did in 2015, and I’ve gotten a lot of requests for additional labels, so I decided it was time for a refresh.
To begin, you can download these 9 labels for free to get started!
The original bundle had 56 labels, and now there are 137 that you can grab for just $5! You’ll be able to organize everything in your pantry (and I mean everything!).
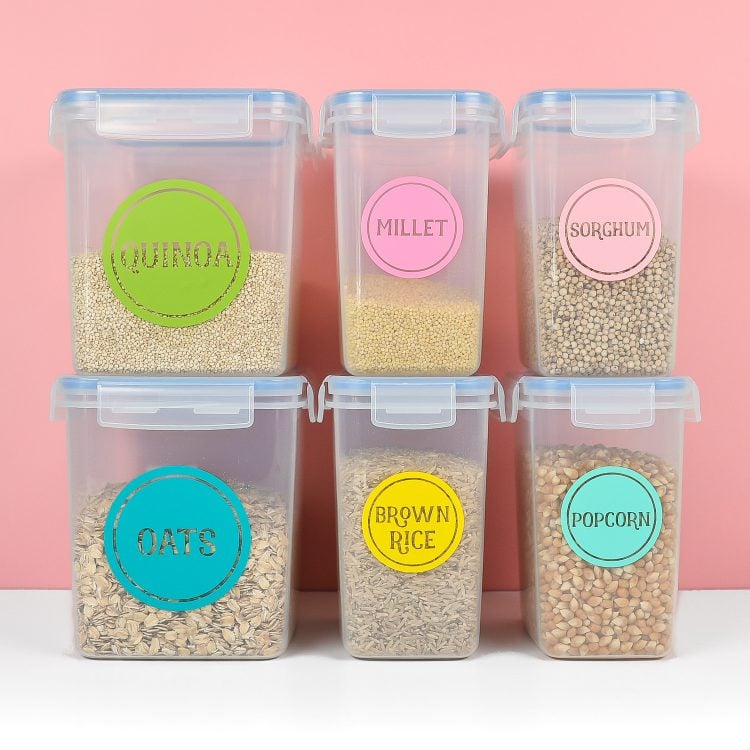
These labels are really versatile—the modern colorful look above is so fun, and then see the original modern farmhouse mason jar look later in this post.
You’ll also want to check out my Spice Jar Label set!
If you have a person on your list this year who loves organization, why not gift them a Cricut Explore or Cricut Maker and a selection of glass jars or plastic canisters so they can organize their pantry!
Using Adhesive Vinyl on Glass
The original tutorial in this post is for glass jars. See how you can use adhesive vinyl on plastic.
Vinyl Pantry Label Supplies
Glass Jars
Adhesive Vinyl
Transfer Tape
Cricut or other cutting machine
SVG Files (download by clicking on image below!)
Cricut Design Space Instructions
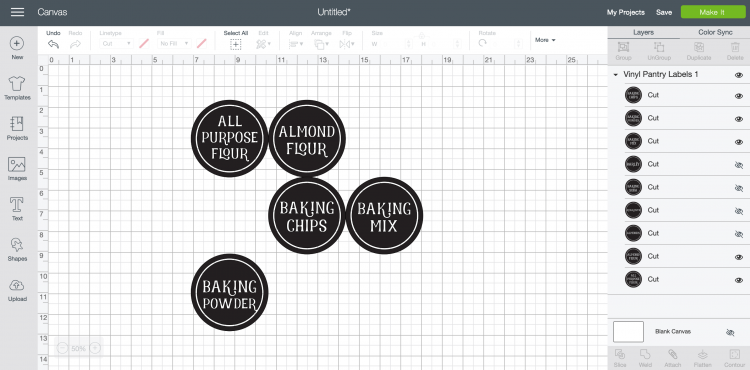
Download the pantry label SVG files I created by clicking on the image above. There are actually fourteen separate sheets, making it easier to deal with them in your software. Import your files using this tutorial for uploading SVG files.
In Design Space, you can use the “eye” in the Layers Panel Your labels will appear in the Design Space (see note #2 above). Using the “eye” icons in the Layers Panel, hide the labels you do not need.
Once you have only the labels you need visible, click “Ungroup” at the top of the Layers Panel
Using the size tool in the top Edit Toolbar, change the size of your labels to fit on your jars. Because my jars were a variety of sizes, I made the labels between 2.5″ and 4″.

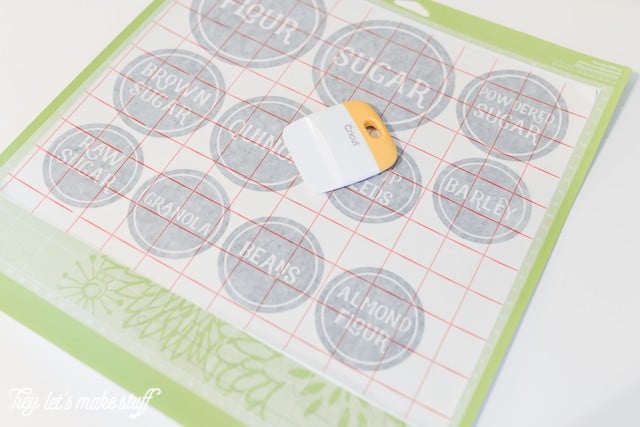
Cut the files on your Cricut, making sure to select “Vinyl” as your material type.
Adhering Labels to Glass Using Transfer Tape
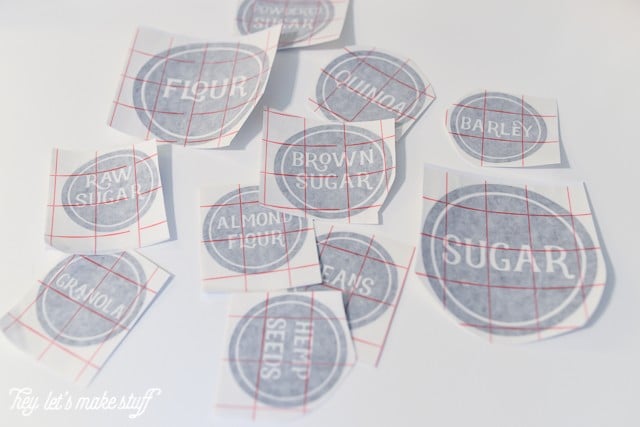
Once the files are cut, weed out everything but the labels—the letters and the white circle. Make sure you check out all of my best weeding adhesive vinyl tips.

Cut a piece of transfer tape the size of your sheet of labels. Peel back the backing paper and place it, sticky side down, on the top of the labels. Press down thoroughly.
Peel the vinyl sheet off the cutting mat. Then cut around each individual label so you can apply them to the jars.
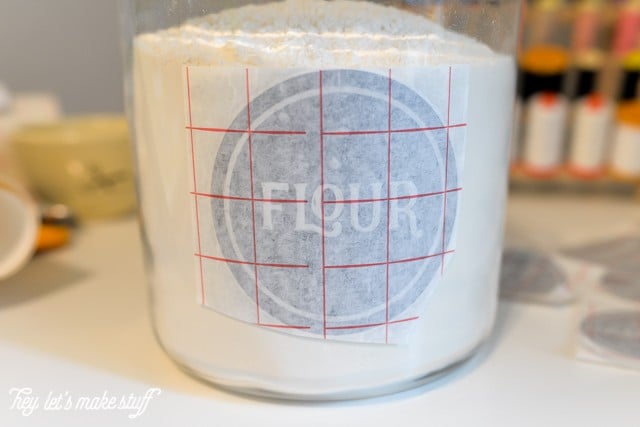
Peel off the vinyl backing, exposing the adhesive side of the vinyl. Line up your label so it’s not crooked, and press hard. Try to get any bubbles out.
Peel off the transfer tape. Push out any remaining bubbles.
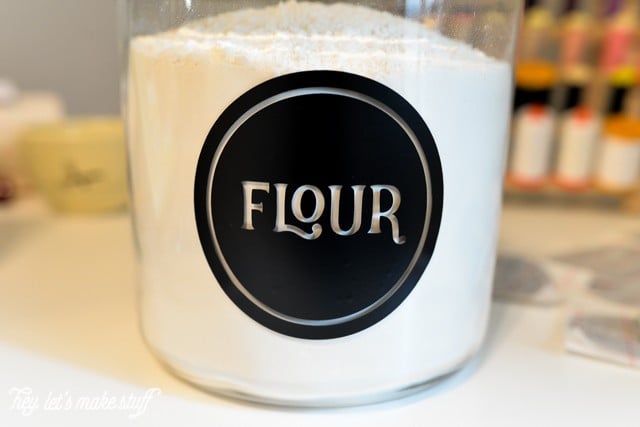
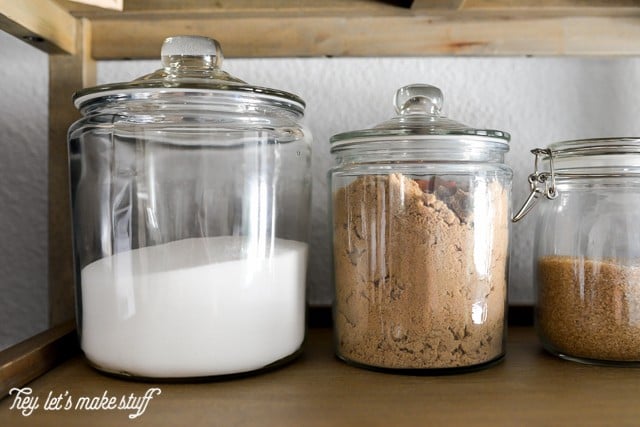
And that’s all! I love how the labeled jars look on my shelf — they are both practical and beautiful!

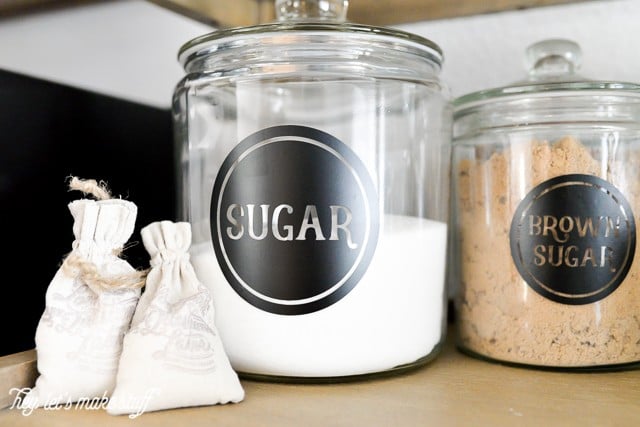
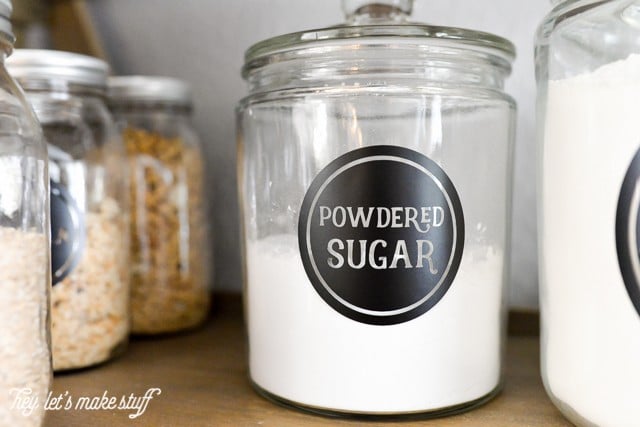
I found that my labels worked the best on flat surfaces—the large glass jars and the mason jars. The clamp-lid jars have a bit of a curve at the top and the vinyl puckered a bit.
How do you store pantry staples in your house?


Comments & Reviews
Paula says
What font was used for your labels?
Cori George says
I used the font Realist: https://heyletsmakestuff.com/recommends/realist-font-creative-market/
Hope Johnson says
I bought this bundle and there is a label for a custom label. How do I use that if I don’t have the font? I really love these and can’t wait to put them on my containers and jars!