Sublimation time, temperature, and pressure can make or break your sublimation project. If you don’t know where to start, here’s an overview of these three variables and how to get them right!
If you’re new to sublimation, you might be overwhelmed trying to get your projects to turn out like you’ve envisioned.
There are a lot of variables when it comes to sublimation. They can include the blank you are using, your sublimation printer, your sublimation paper, the type and brand of press you are using, and even the humidity in the room. Combine that with different time, temperature, and pressure settings for just about every blank, and it means there is a lot that can go wrong.
So in this post, we’re going to dive a bit deeper on the time, temperature, and pressure variables. We’re going to talk about how they work together to give you the perfect sublimation press, and how to troubleshoot if the manufacturer’s instructions aren’t working for you.
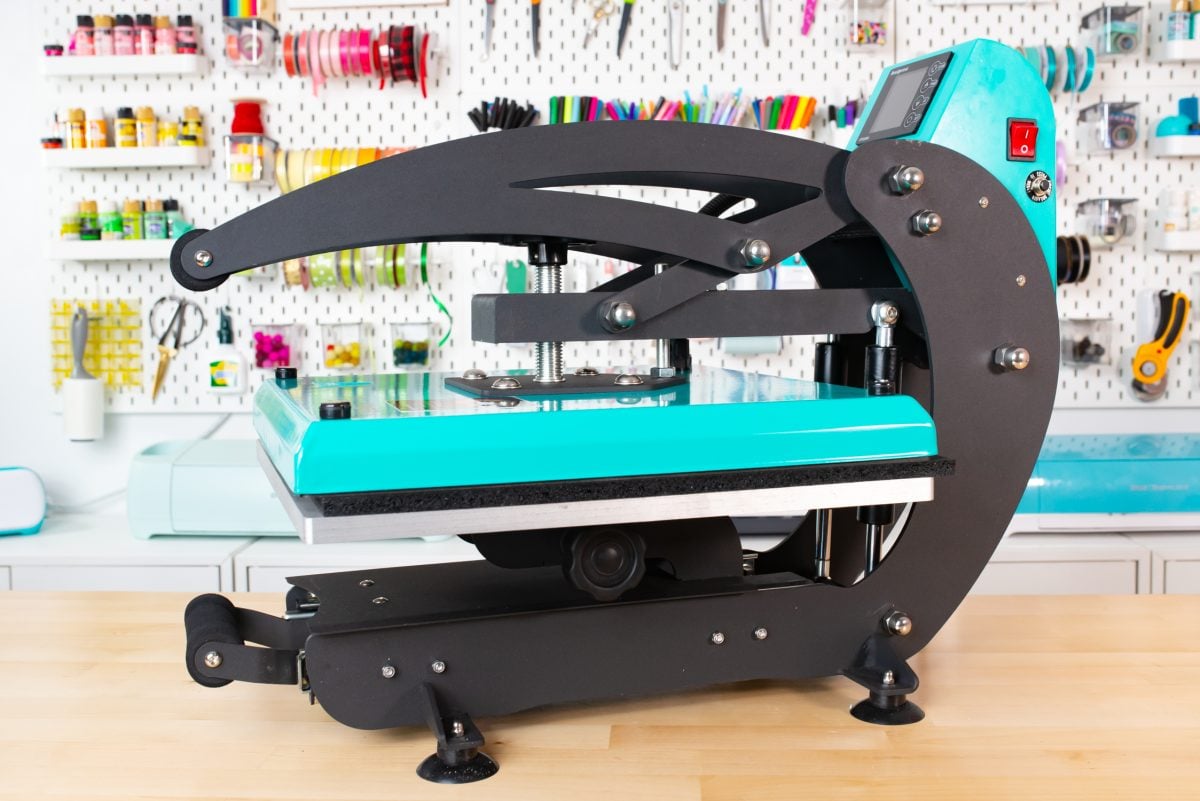
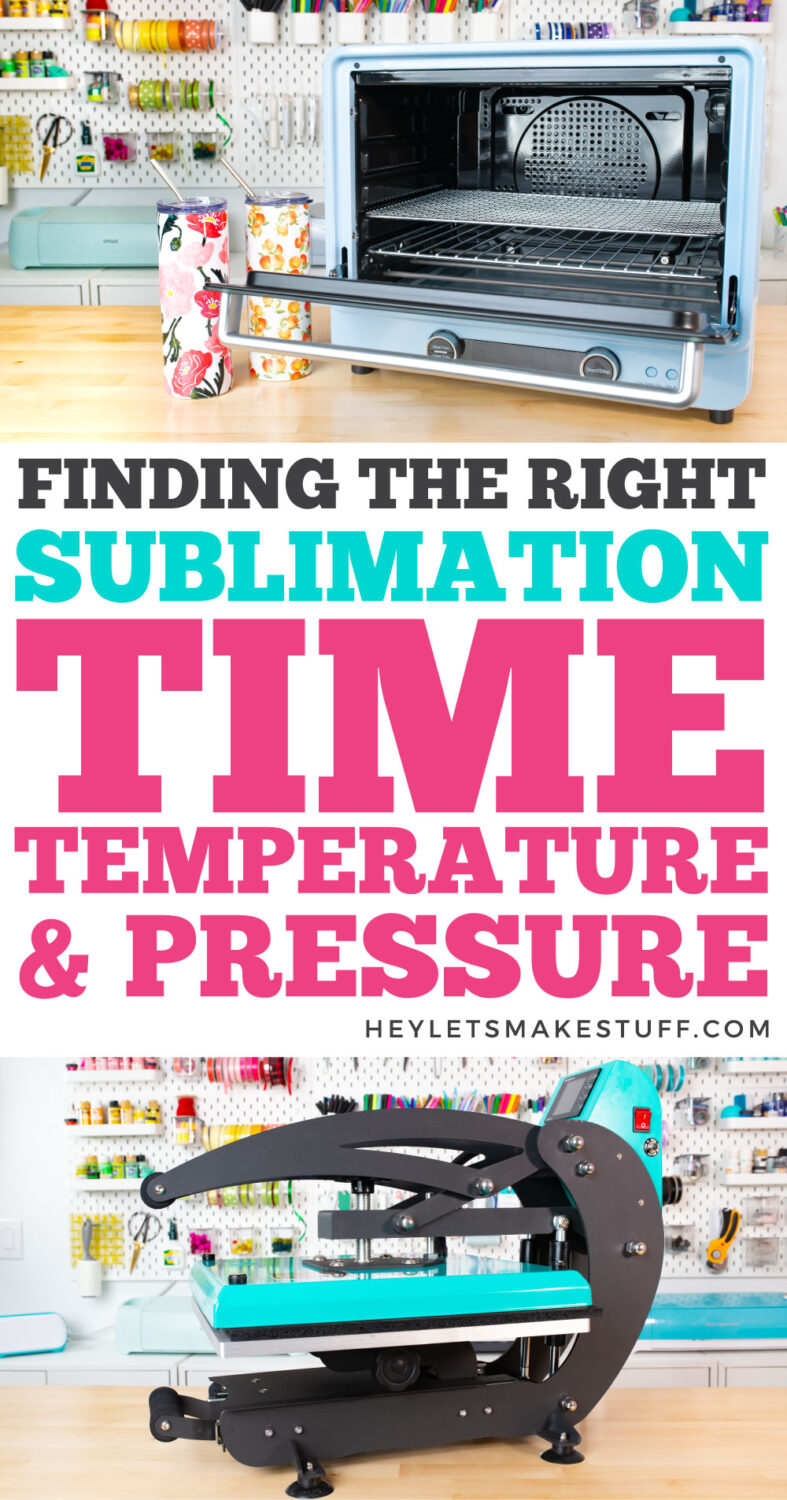
For this post, I’m using my WALApress from Heat Transfer Warehouse, but these instructions should work for any press you have, including tumbler and mug presses.
Watch the Video
Watch my in-depth video about time, temperature, and pressure by hitting play below! Or keep reading for a written overview of these sublimation variables.
Get My Sublimation Cheat Sheets
The most popular product in my entire digital shop are is my sublimation cheat sheets! These sublimation cheat sheets take the guesswork out of pressing common substrates!
Heat Press Elements: Time, Temperature, and Pressure
Time, temperature, and pressure are the three elements your heat press needs uses to make the magic happen, and they all work in tandem with each other.
Time, temperature, and pressure are based on your blank substrate. If you’re used to working with something like HTV, you may be used to those variables being based on the material itself. The time, for example, might be longer when pressing glitter HTV vs. a regular HTV.
But with sublimation, it’s all based on your blank. Therefore, pressing a polyester shirt is different than pressing a sublimation slate, which is different than pressing a metal water bottle.
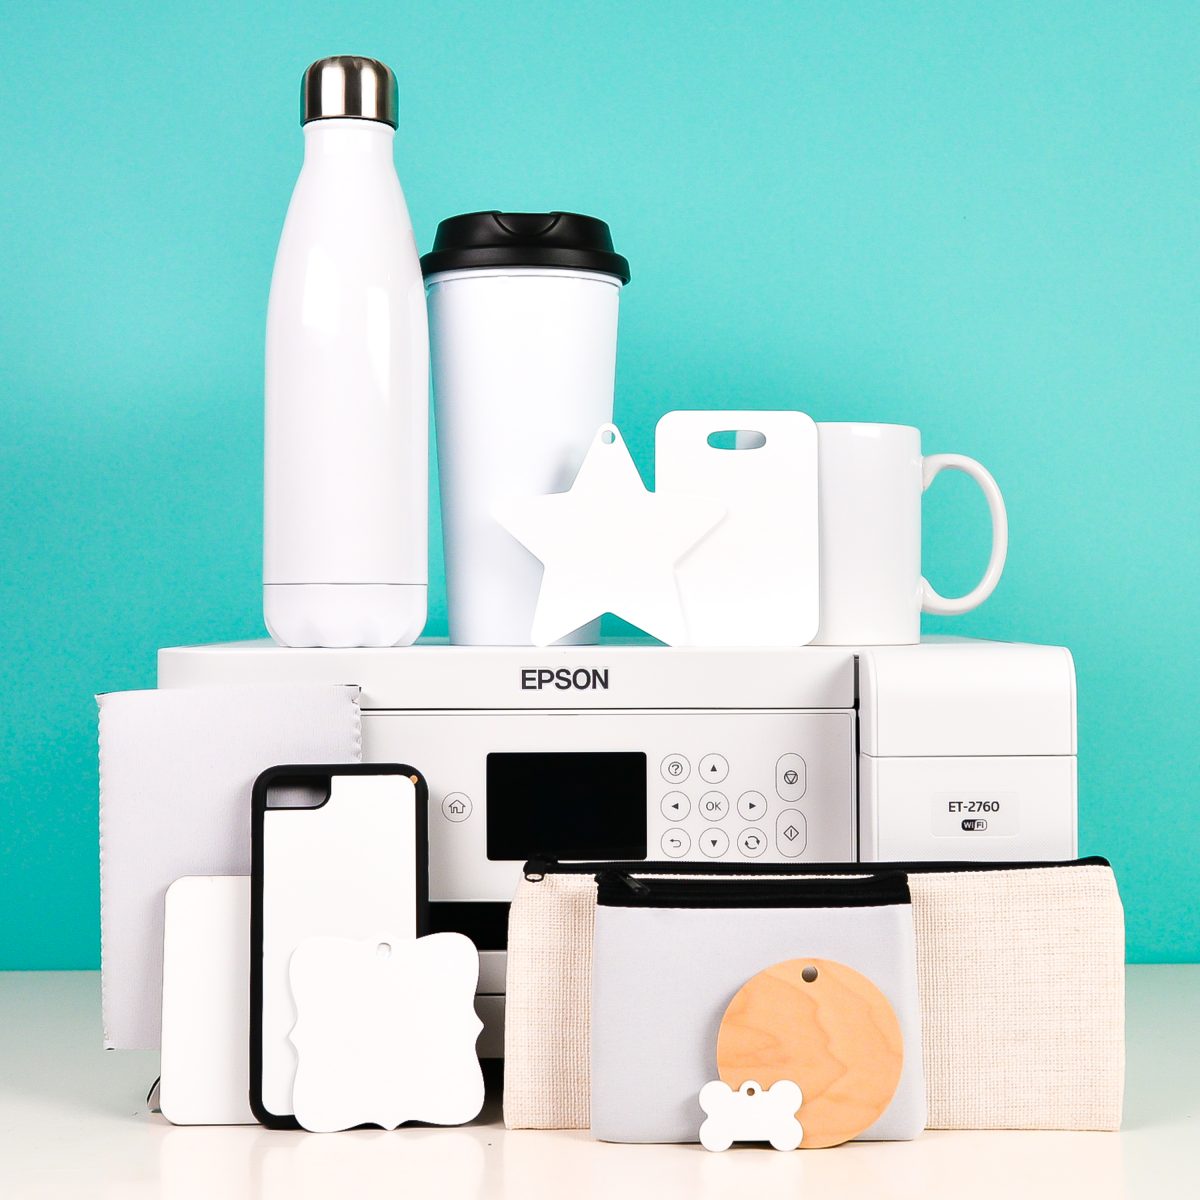
Generally you will want to start with the manufacturer’s recommended settings. If you buy from a reputable distributor (like Heat Transfer Warehouse or Craft Express, for example), they should have those settings for you in the description of the product you purchased.
If you buy from a random retailer on Amazon, however, they may not give you the time, temperature, and pressure recommendations. This can be very annoying! Sometimes nice customers will put their successful settings in the comments, so always check there. But if you can’t find them for a particular blank or the recommended settings aren’t working, keep reading.
Time
The press time, also called the dwell time, is the amount of time your heat press plate is actually touching the surface of your sublimation blank. This can range from as little as 30 seconds to more than 10 minutes, depending on the type of blank.
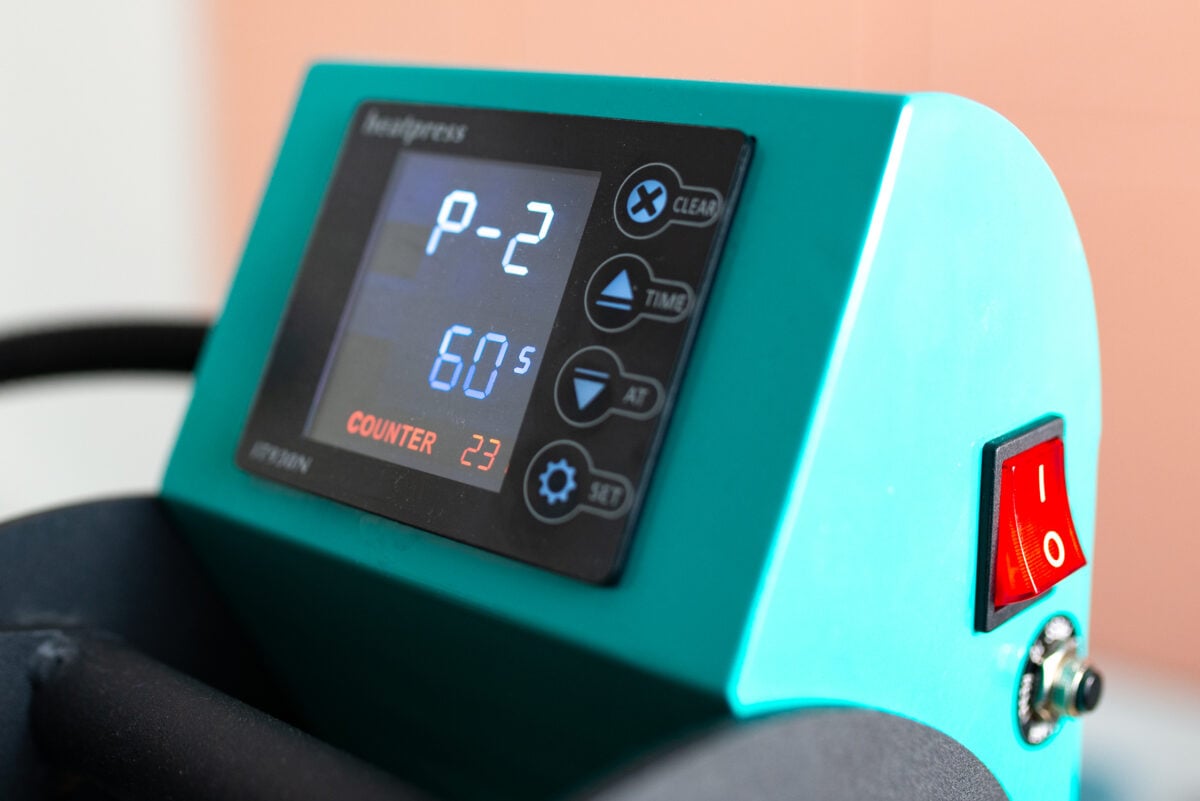
Always use the countdown feature on your heat press. The last thing you want is to have no idea how much time has passed, or worse, forget your item in your press!
Temperature
The baseline temperature for sublimation is 356° to 400° and this varies for each blank. You want to make sure you are letting your heat press or oven come completely to temperature before pressing your blank.
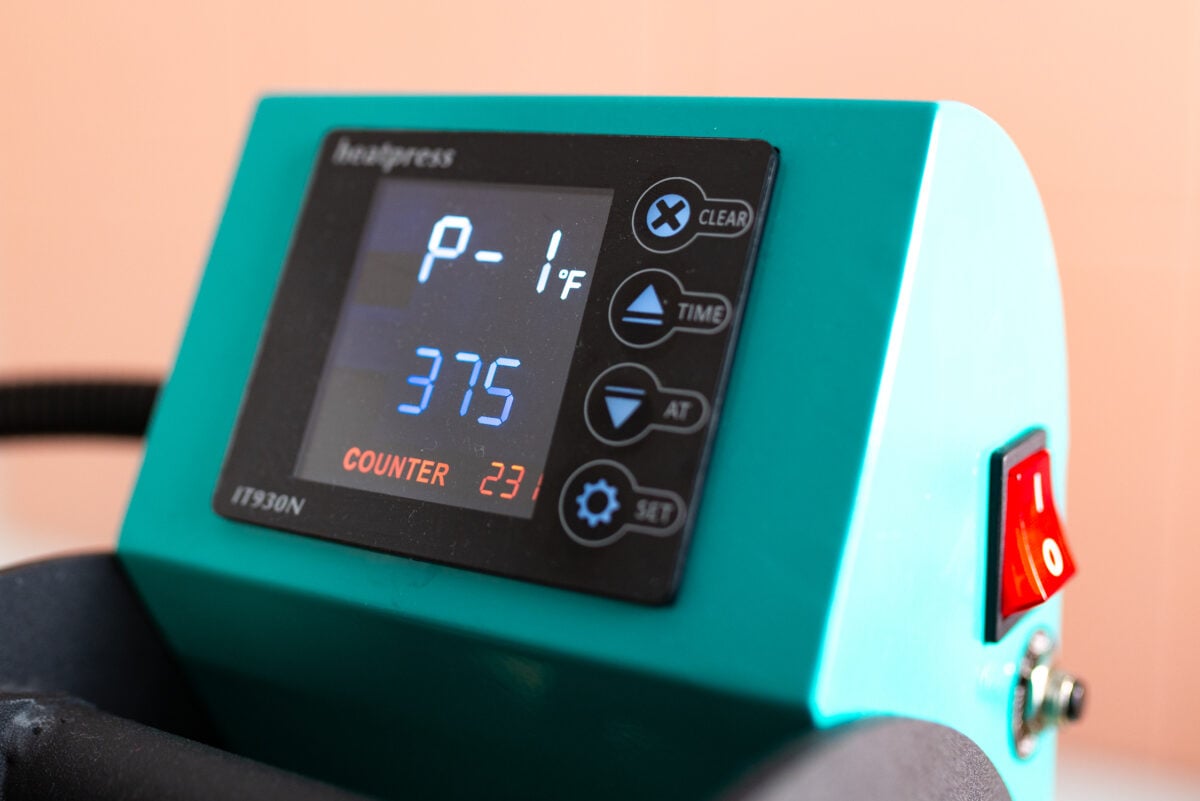
You may notice that your heat press loses some of its temperature while it’s pressing, when the hot plate hits the cooler surface below it. I notice this most with the handheld presses (like the Cricut EasyPress). So sometimes I will bump up my temperature 5° to 10° to compensate for the loss of the heat when pressing.
Pressure
The pressure refers to the amount of force your press is putting on the blank. Most items use medium pressure, but some may require heavy or light pressure.
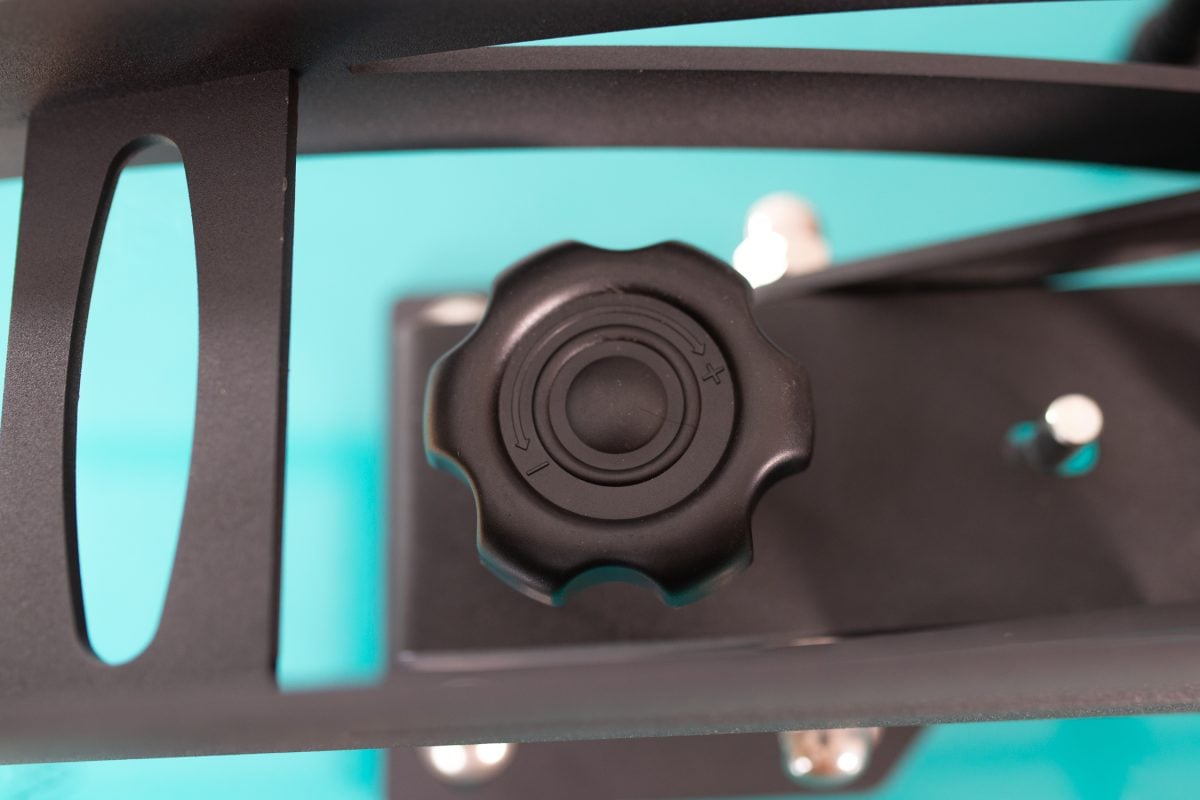
On many presses, turning the knob (or knobs) on your heat press will increase or decrease the pressure.
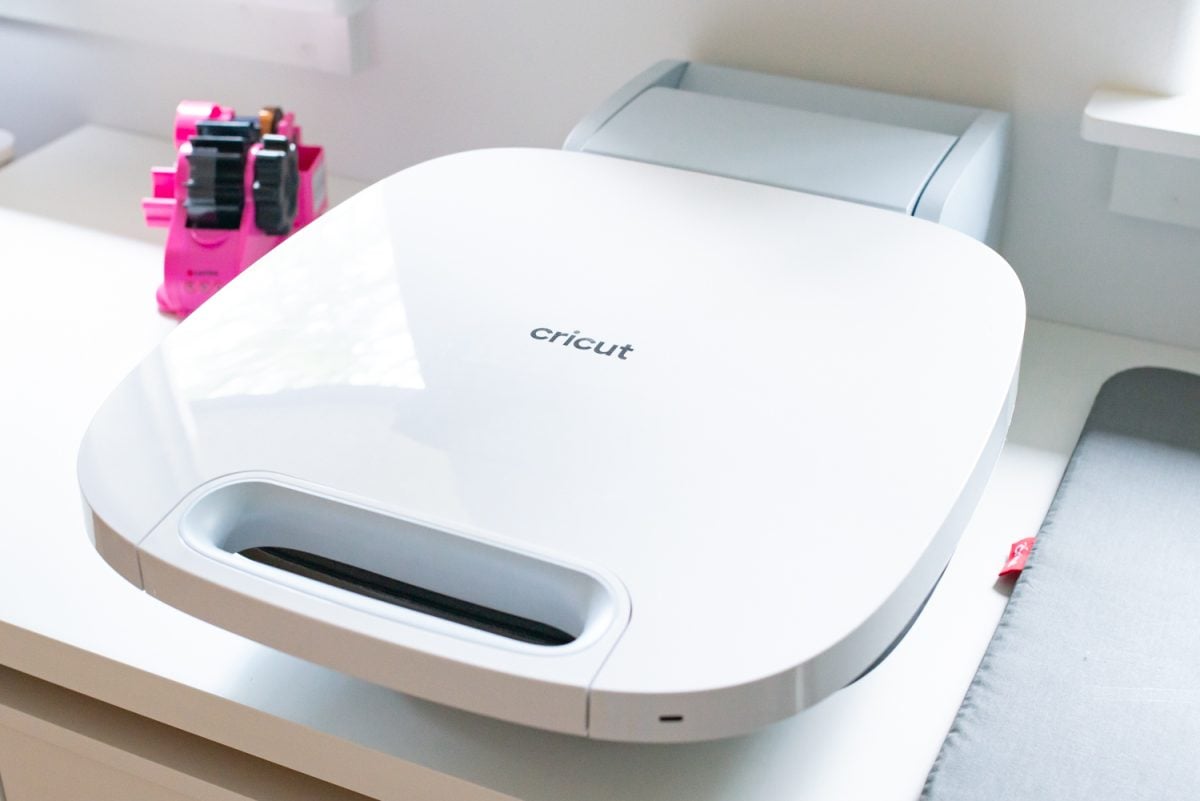
If you are using an autopress (like the Cricut AutoPress, the Vevor Auto Heat Press or the HTVront Auto Heat Press), you won’t have the variable of pressure. This makes projects that require heavy pressure more difficult to do. You can see some of my workarounds in my post How to Sublimate on Slate with an Auto Press.
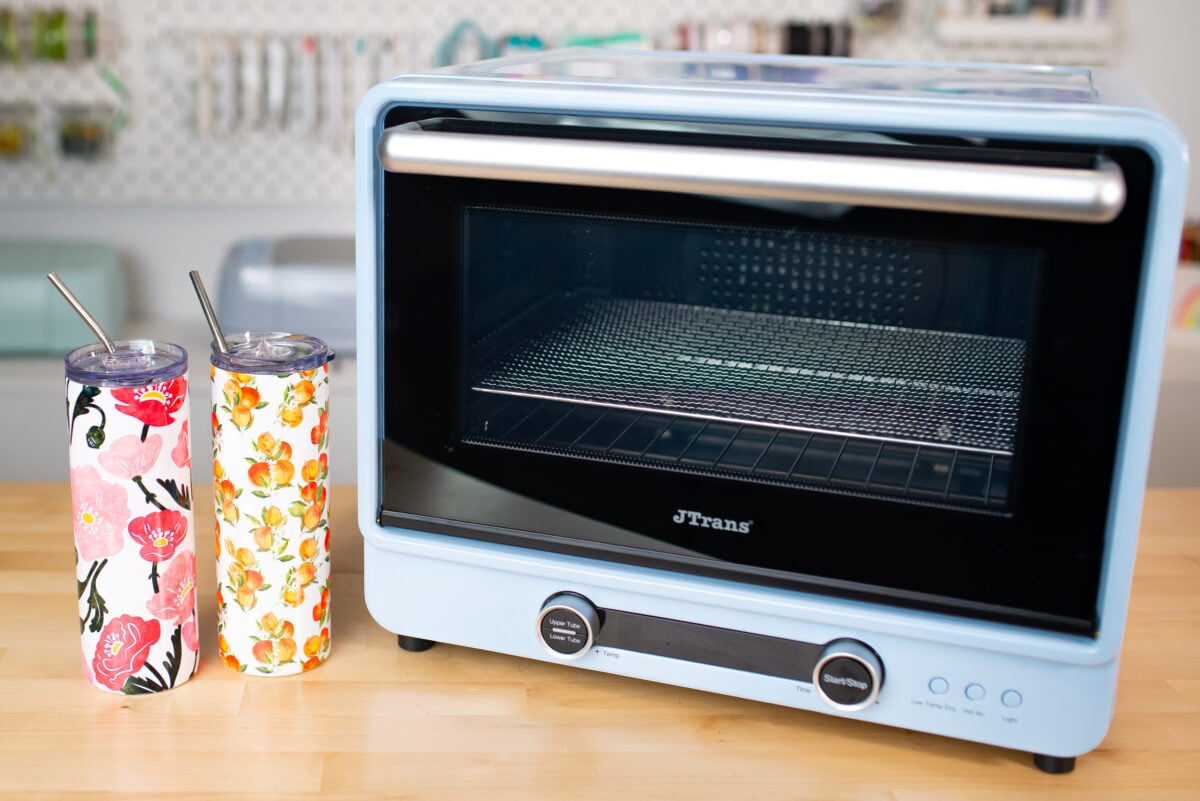
If you are using a sublimation oven, you’ll need another way to give your projects pressure. There are two primary ways of doing this—shrink wrap and silicone sleeves. Silicone sleeves have never been much of a success for me, so I prefer shrink wrap, which you can learn to use in my post How to Sublimate a Tumbler Using Shrink Wrap & a Convection Oven.
Light Pressure
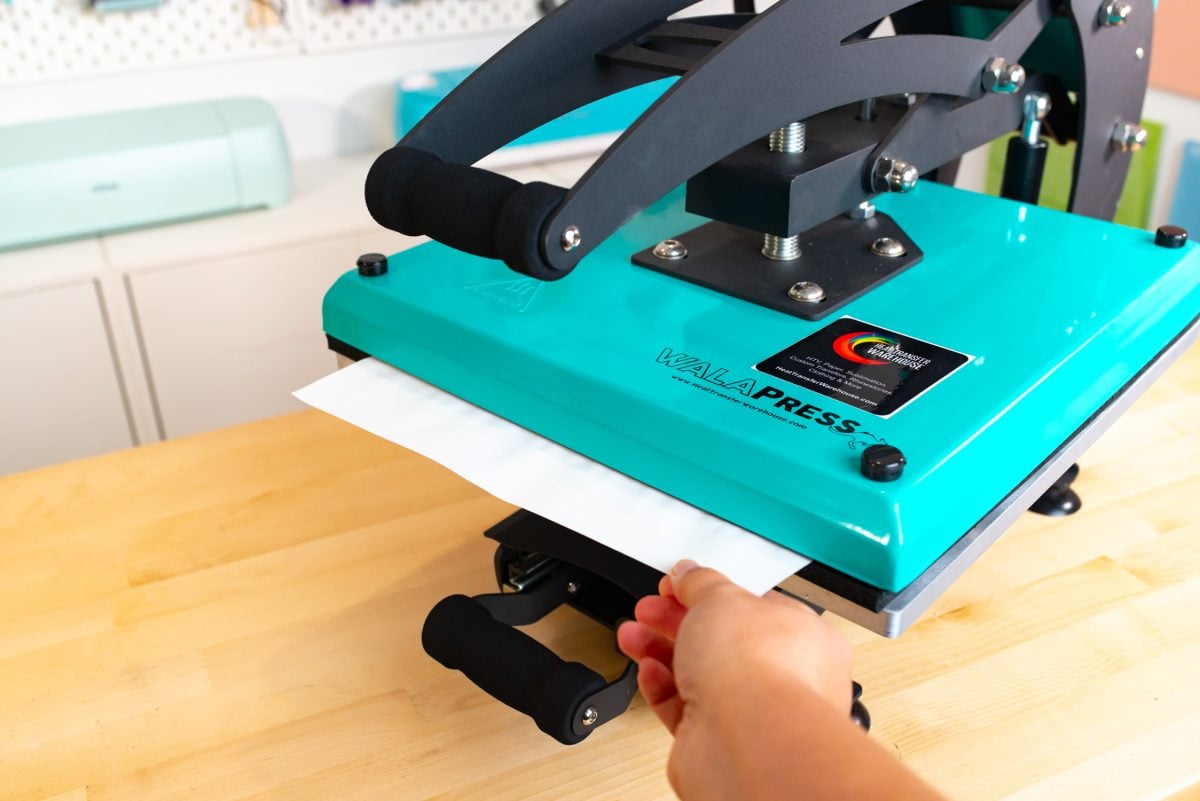
Back to the regular heat press! To find light pressure, put a piece of copy paper between the two plates of your heat press. Turn the crank until you can just pull the paper out. It should take a bit of a tug, but it should release without issue. Then get a feel for how light pressure feels when you close it. That’s what you’re looking for, but you may need to adjust it to account for the thickness of your blank.
Medium Pressure
Medium pressure takes a bit more force to close, but not so much that you’re really putting that elbow grease into it. You should not be able to pull a sheet of paper out without tearing it.
Heavy Pressure
Heavy pressure requires even more force to close. It’s just on the other side of not being able to close it. Sometimes I’ll get to the point where I can’t close it, and then I’ll back off a few rotations of the knob to find heavy pressure.
Troubleshooting Time, Temperature, and Pressure
If you can’t find the settings for a blank you are using, your best bet is to find instructions for something similar. This is a great starting point! A lot of times settings for similar blanks will work perfectly.
But if your transfers are coming out faded, your best bet is to start increasing the time. Increasing the temperature may lead to your images looking a bit burned (yellowy) but often adding time will help.
For example, I increased the time for sublimating slate coasters from 240 seconds to 480 seconds when pressing them in my Cricut AutoPress. I got a much better result. If you are pressing something with a shorter press time overall, you can increase your time in 30 second increments.
Other Problems
There may be other issues at play if your sublimation projects aren’t turning out well. Make sure to check out my post Troubleshooting Sublimation Printing for more solutions!
I hope you found this post helpful in understanding sublimation time, temperature, and pressure a bit more! If you have questions or need help, just drop me a comment!


Leave A Reply!