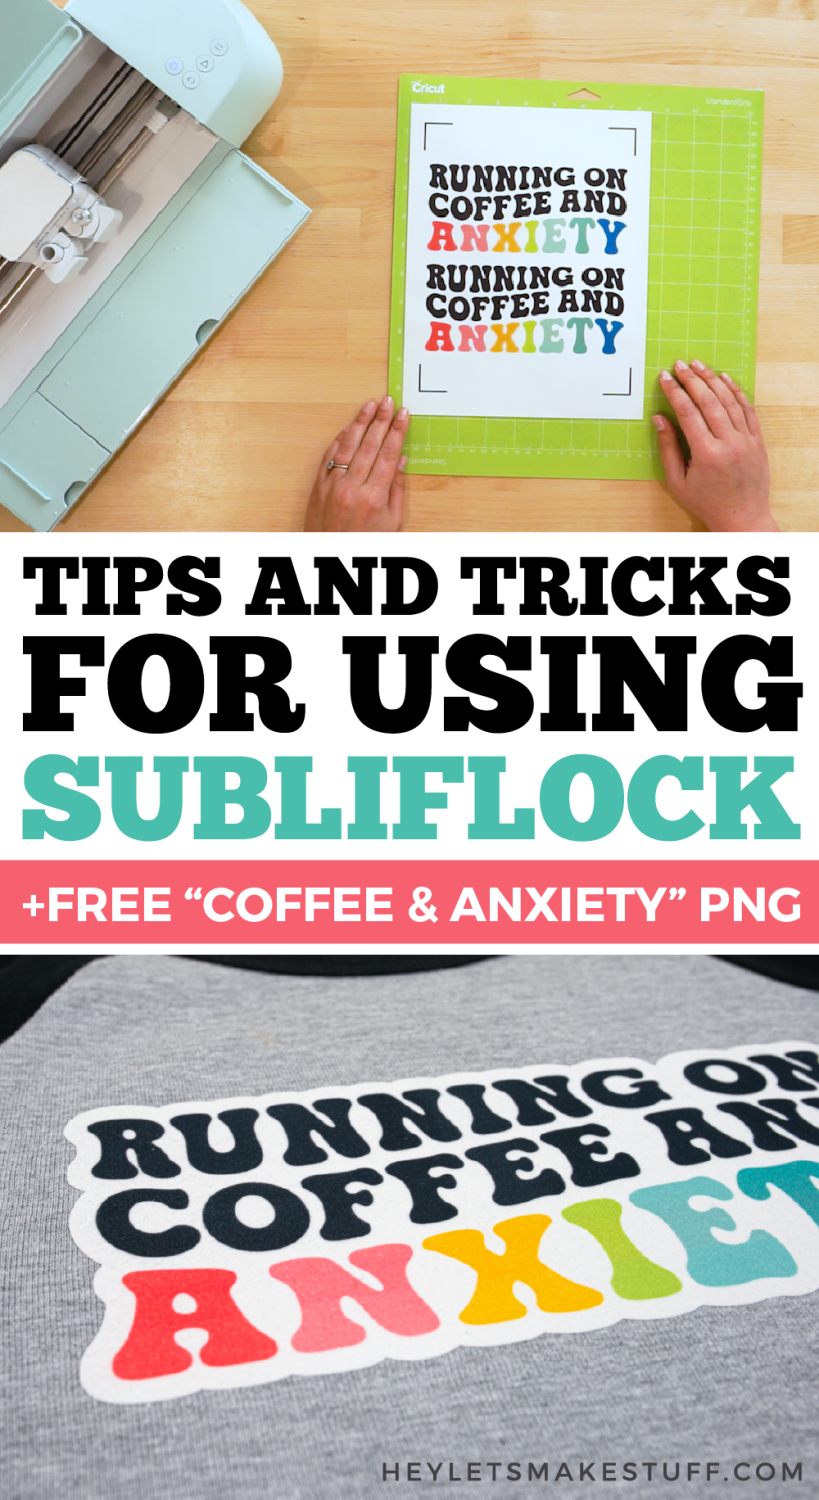
SubliFlock is a fun sublimation product that allows you to create vibrant images on all sorts of fabrics, including cotton and dark colors! Here’s how to use this material, plus learn from my mistakes to get it right the first time!

The number of sublimation products on the market continues to grow! Today I’m sharing a fun product called SubliFlock—which is, as the name suggests, flocking you can sublimate on! With its velvety texture plus vibrant sublimation colors, SubliFlock allows you to create eye-catching, textured designs on all sorts of garments and other soft blanks—including cotton and darker fabrics!
If you’ve done any sublimation, you’ll know that the sublimation process needs two things. First, it needs a primarily polyester material for the ink to bond with the fabric. And second, it needs a light colored fabric because the ink itself is transparent. If you put transparent ink on, say, a dark blue shirt, you won’t be able to see it at all.
But who wants all of their clothes to be white polyester? No thank you—I want a nice, high-quality cotton shirt that feels good to wear and is soft against my skin.
So to be able to sublimate or cotton or colored fabrics, you’ll need a workaround, and SubliFlock is one of those! Also check out my posts on sublimating on EasySubli and glitter HTV for more options.
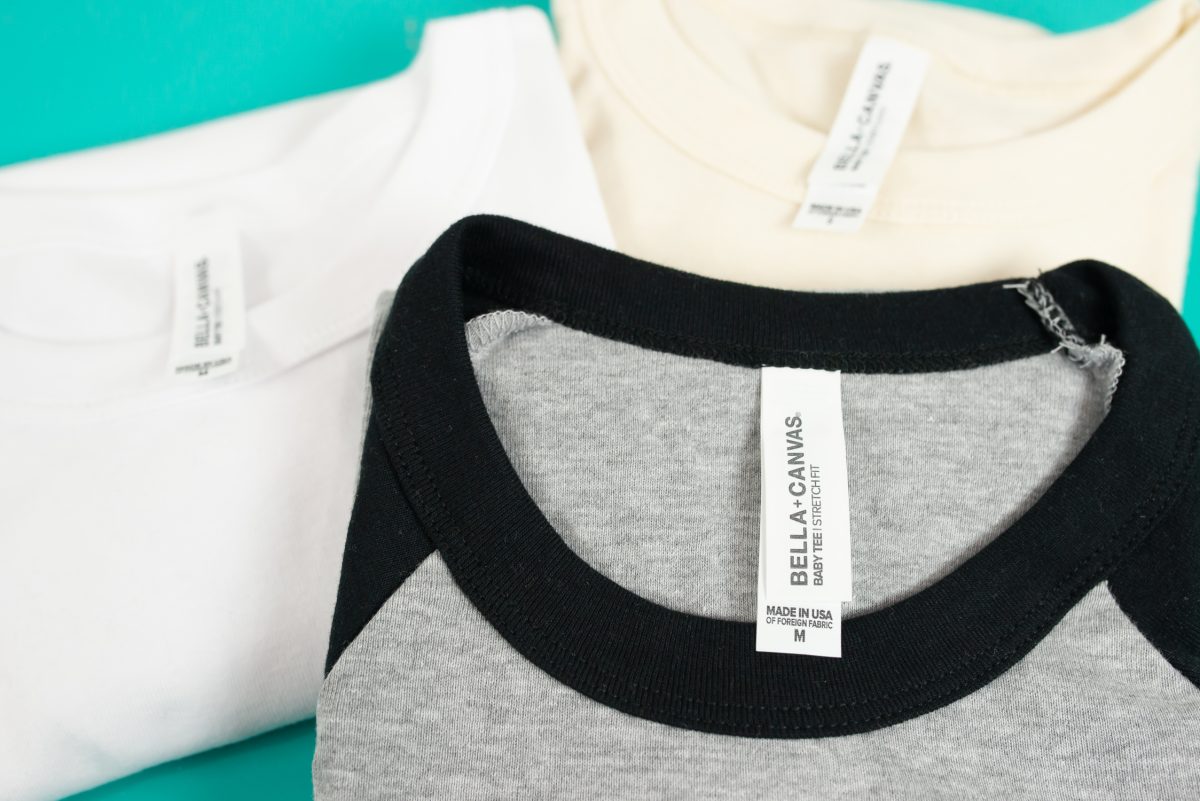
With any of these methods, you can sublimate on my favorite brand of t-shirts: BELLA+CANVAS! I love BELLA+CANVAS shirts for all sorts of crafting. They are soft, they hold up well when washed, they use eco-friendly dying and manufacturing techniques, and they have more than 300 color choices across their wide variety of styles. They are just more comfortable overall than any polyester tee, which is why I often turn to one of these workarounds for sublimation. For this post, I’m using one of their long-sleeved baby tees, which are super trendy right now!
Did you know you can buy BELLA+CANVAS garments at wholesale pricing without a reseller license? Get a BELLA+CANVAS Maker’s Account! This account allows you access to the wholesale side of their business without the need for any permits or licenses. Even better? It’s free! Learn more in my post Buying Wholesale Blanks without a Resale License!
Frequently Asked Questions about SubliFlock
What is Flocking?
Flocking is a process of adding small fiber particles to a surface to create a texture (think of flocked Christmas trees!). In crafting, this often means we’re looking at a material with a texture sort of similar to velvet, velveteen, or velour, depending on the type of flocking.
Is SubliFlock Permanent?
Like any sublimation workaround, SubliFlock is not as permanent as traditional sublimation directly on polyester. You’re trading off durability for the ability to sublimate on non-polyester or dark fabrics. SubliFlock, when applied and cared for correctly, will wash and wear similarly to other heat-transfer vinyl products.
What Garments Work Best for SubliFlock?
SubliFlock works best on cotton garments. It does not work well on nylon, full polyester, or other slippery (for lack of a better word) fabrics. This is why I love using it with BELLA+CANVAS tees, which are made of 100% Airlume cotton.
What Images Work Best for SubliFlock?
Simple images work best for SubliFlock. You want one large piece to weed as a single image, without a lot of cutouts or thin pieces. As I mention later in this post, I found SubliFlock to be a bit difficult to remove from the carrier sheet, so you may want to do a test to see how easy or difficult it is for you and then choose your image accordingly.
Can I Print Directly on SubliFlock?
Yes, technically you can with a Sawgrass printer (the ink may not dry if you use a converted Epson sublimation printer). I did some tests, however, and I found that it worked much better to print on regular sublimation paper and transfer the design to the SubliFlock before putting it on my garment. I found my ink smudged easily when printing directly on the SubliFlock and the colors weren’t as vibrant.
Do I Need to Mask SubliFlock?
No. You need to pick an image, however, that is fairly simple so you can peel it up in one piece and apply it to your garment by hand. I tried a few masks and none of them stuck to the soft surface of the SubliFlock.
What are the Heat Press Settings for SubliFlock?
There are two pressing steps for SubliFlock:
- Pressing your image to the SubliFlock: 375° for 45 seconds.
- Pressing the SubliFlock to your garment: 320° for 20 seconds.
Do I need a Cutting Machine?
You can use SubliFlock without a cutting machine if your design is relatively simple and you want to cut it by hand, but most designs will need a cutting machine like a Cricut or Silhouette. I’m using my Cricut Explore 3 for this project, but any machine with print-then-cut capabilities will work.
Okay, let’s make a t-shirt!
Supplies Needed for Using SubliFlock on a T-Shirt
- T-Shirt (I’m using a BELLA+CANVAS baby tee)
- Sublimation printer
- Sublimation paper
- SubliFlock sheet
- Heat-resistant tape
- Cricut or other cutting machine
- Heat press
- Butcher paper
- Sublimation Design (see below or use your own)
Get the Free File
Want access to this free file? Join my FREE craft library! All you need is the password to get in, which you can get by filling out the form below. The file number is: S14.
How to Use SubliFlock on a T-Shirt
Note: a lot of trial and error went into getting this tutorial correct (yes, even those of us who do this all the time have craft fails!), so make sure you read all of the instructions carefully, particularly the steps about mirroring, so you don’t waste your SubliFlock!
1. Upload Your Design to Cricut Design Space
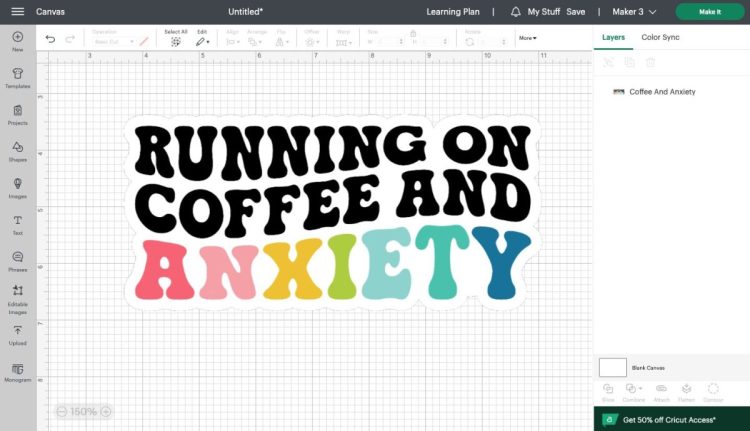
Upload your design to Cricut Design Space (or other print then cut software if you’re using a different machine). Resize the to fit your garment. For this particular image on this shirt, I resized my image to be 7.4″ wide.
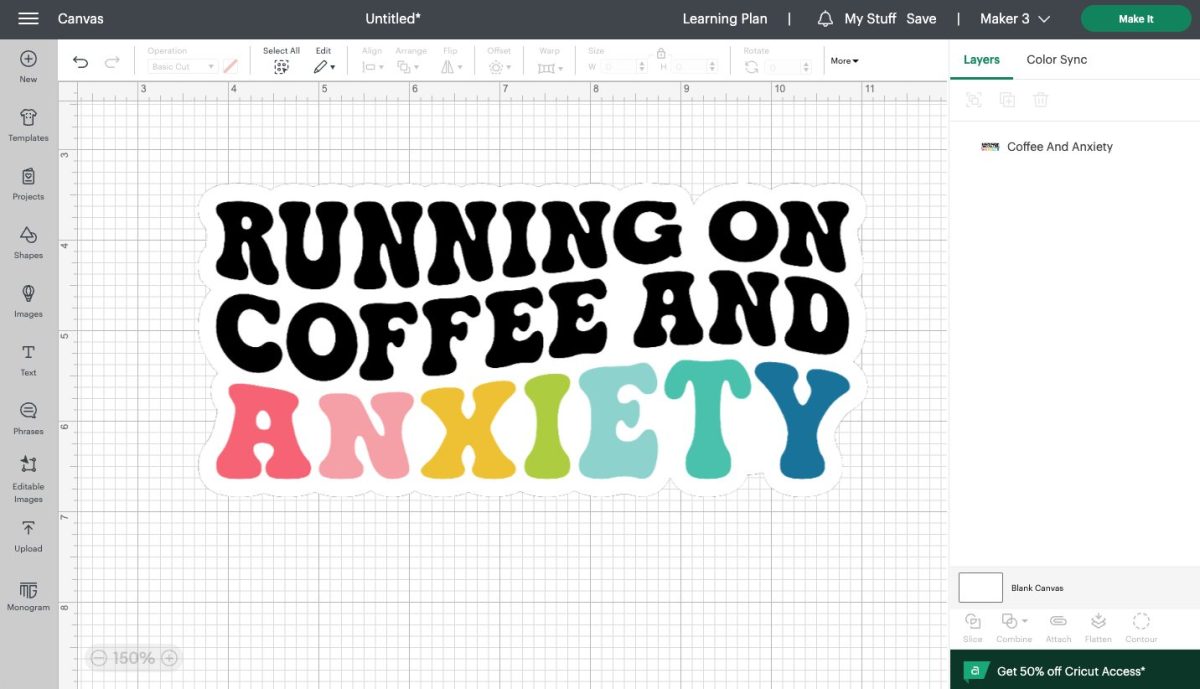
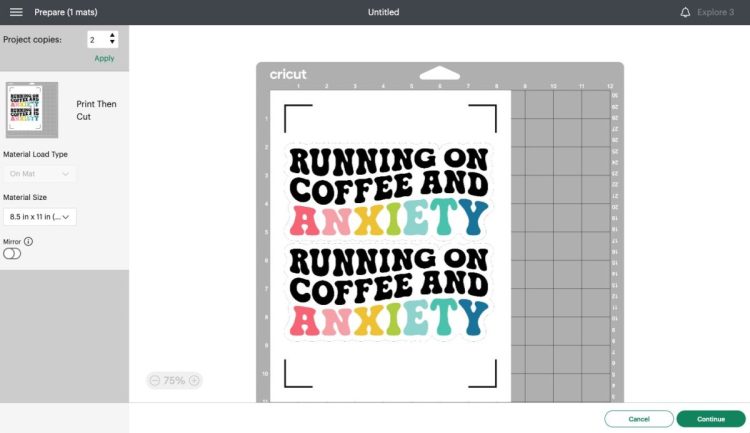
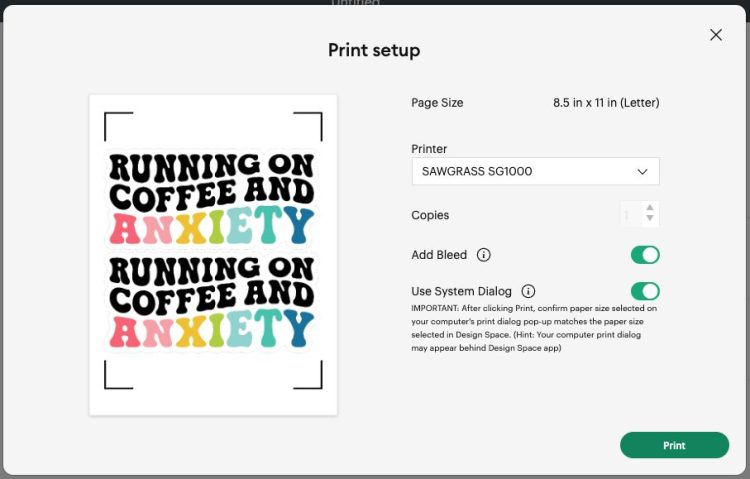
Click Make It in the upper right. In the Prepare screen, do not mirror your image. If you mirror your image here, it will not mirror the registration marks. So when you go to cut your image, your Cricut may not be able to find the registration marks and cut around the image properly (this is an even bigger issues with smaller images). So we’ll mirror differently here in a minute.
I also added a second copy of my image at the top left, so I could make the best use of this piece of SubliFlock.
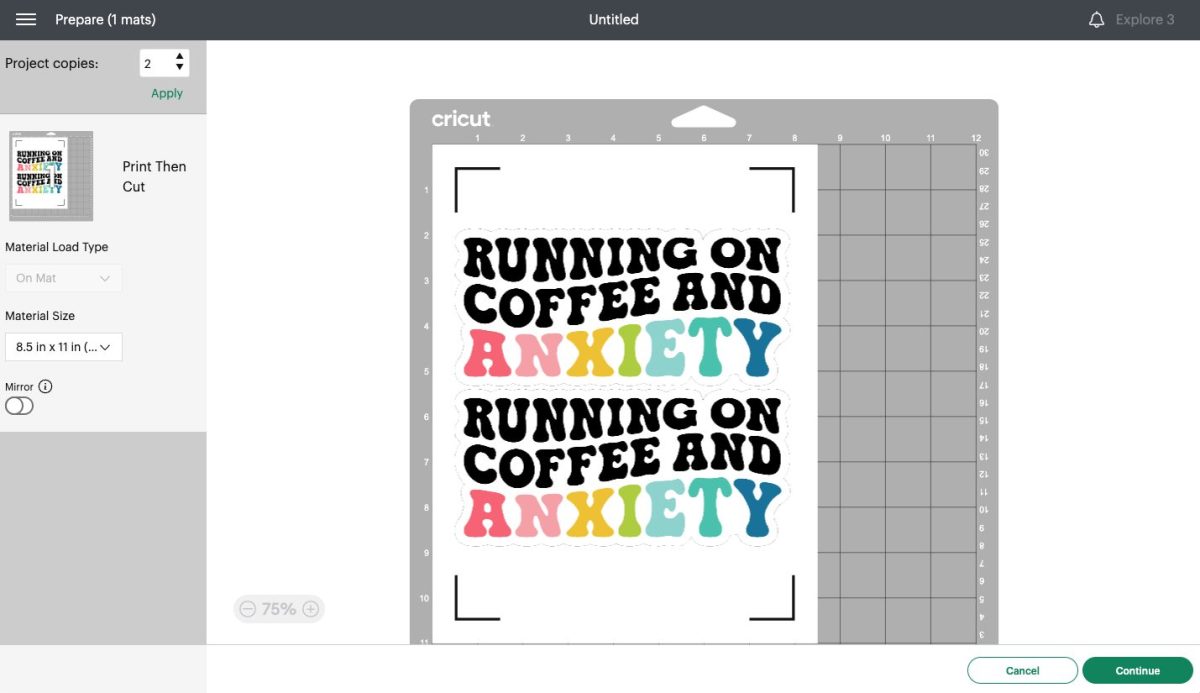
Click Continue. In the Make screen, Cricut Design Space will connect to your Cricut and you’ll be prompted to print your design. Choose your sublimation printer and check the box that says “Use System Dialog” and click Print.
Note: If you have a Sawgrass, you can also print to Sawgrass Print Manager and reverse your image there. For some reason, Cricut Design Space and Print Manager don’t like to play nicely on my computer, so I’m not able to make that work most of the time. But it’s an option if it’s working for you!
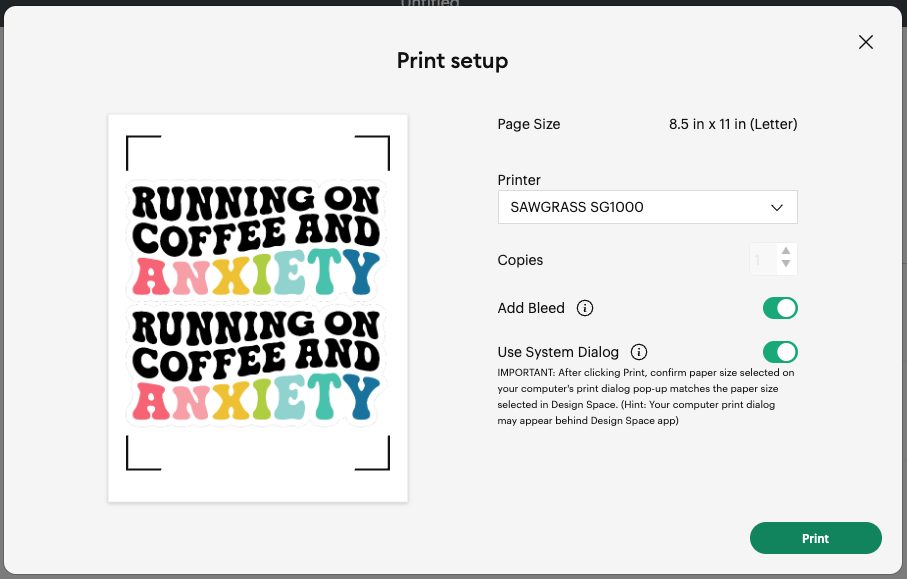
Note that this box will open behind your Cricut Design Space window, so you may need to move the window out of the way to see it.
In the System Dialog Box, mirror your image again. On a Mac it’s “Flip horizontally” and on a PC I believe it’s “Mirror Print.” This is how we mirror an image AND the registration marks, so when we transfer our image to the SubliFlock, everything is in the right place.
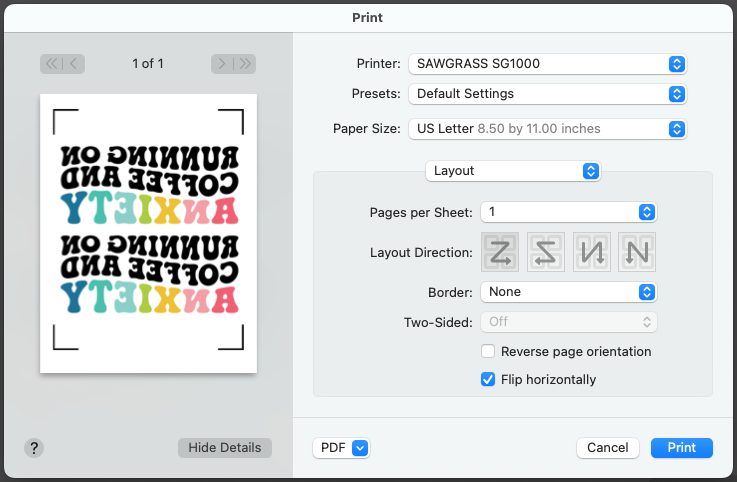
Print your image on your sublimation printer.
2. Transfer Your Image to the SubliFlock
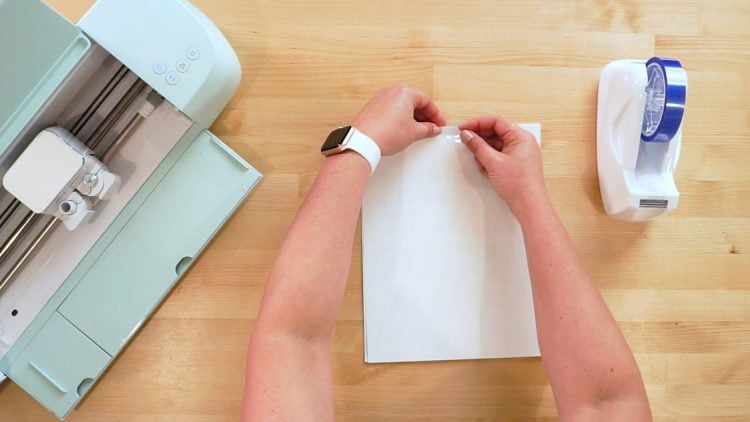
Tape your image face down on your SubliFlock’s flocked surface. I just use a piece of tape on the top and bottom to make sure it doesn’t shift in the press (made that mistake so you don’t have to!). Remember, your image should be mirrored at this point.
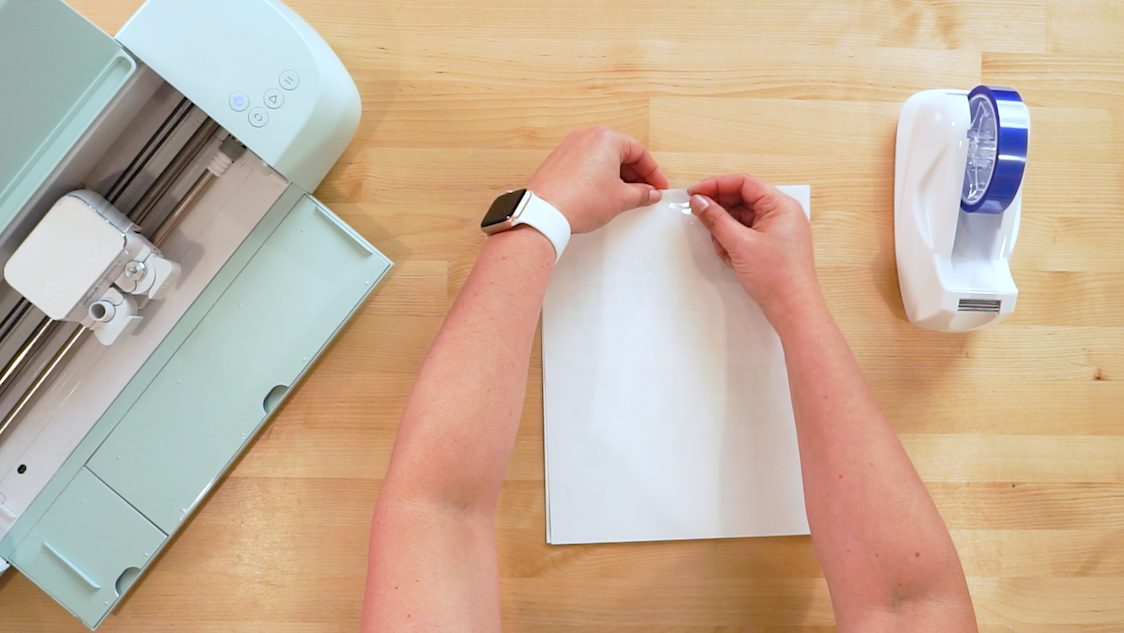
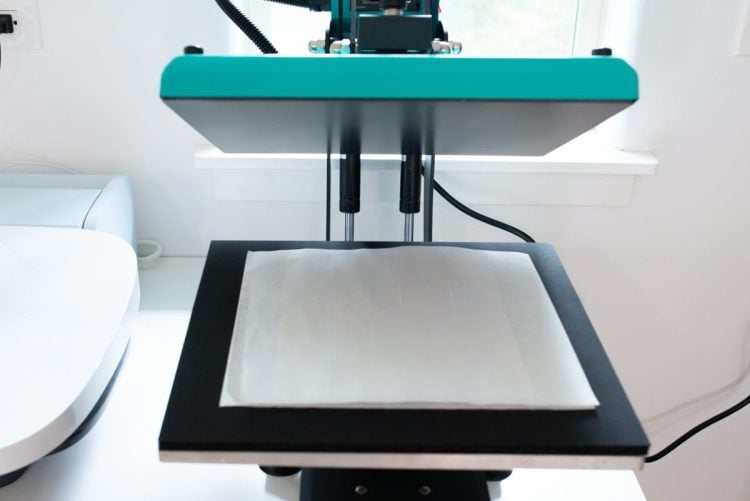
Set your heat press to 375° for 45 seconds. Place a piece of butcher paper below your project and on top of your project and press.
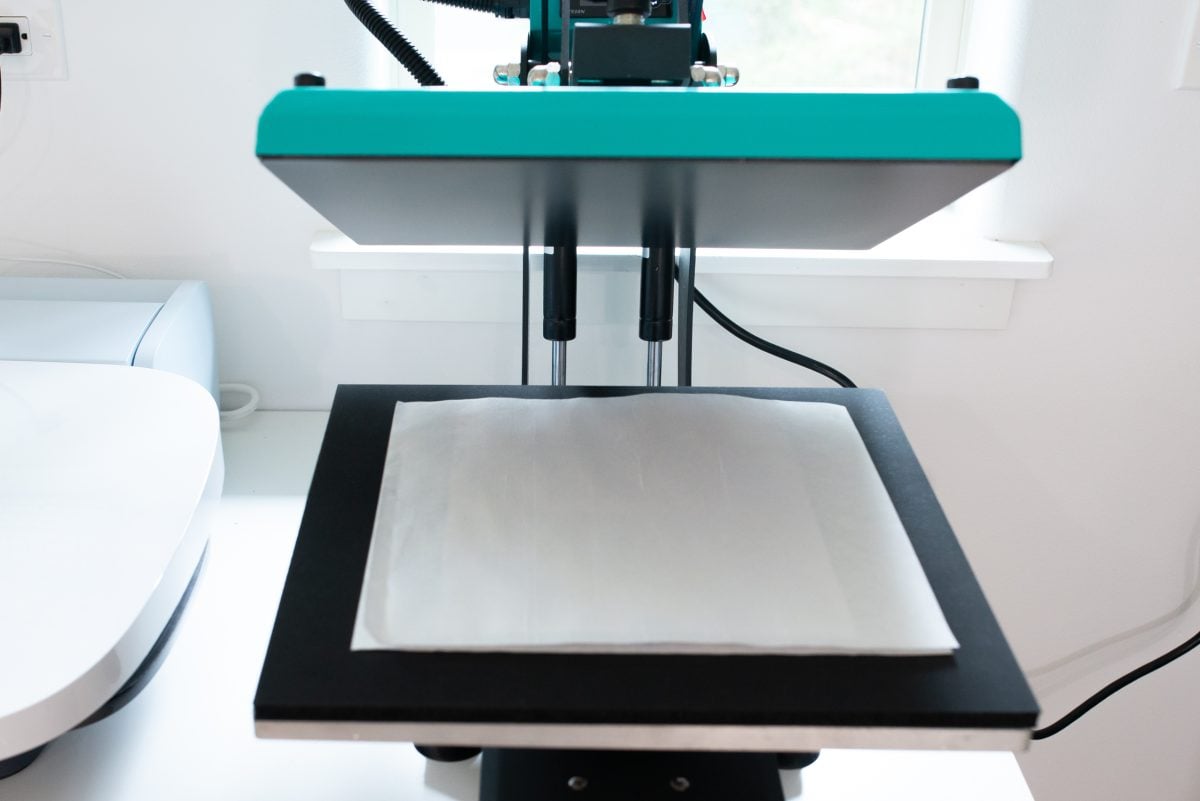
Let your image cool for a minute before removing the paper to see your image transferred on the SubliFlock. Your image should be “right reading” on top of the flocked surface.
3. Cut Your Image
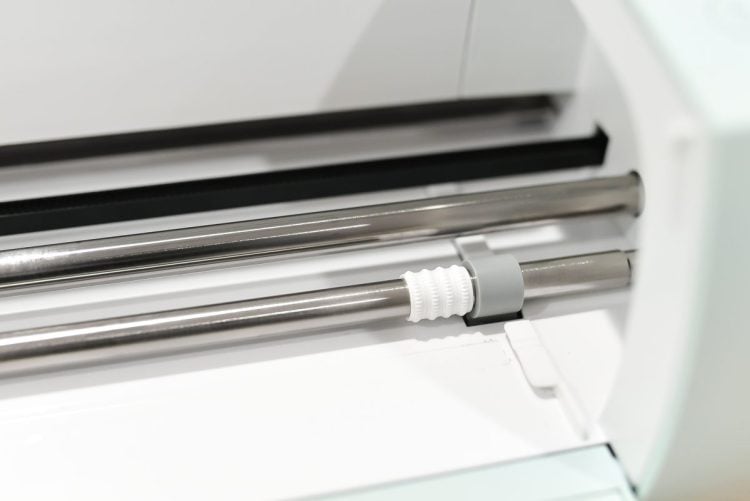
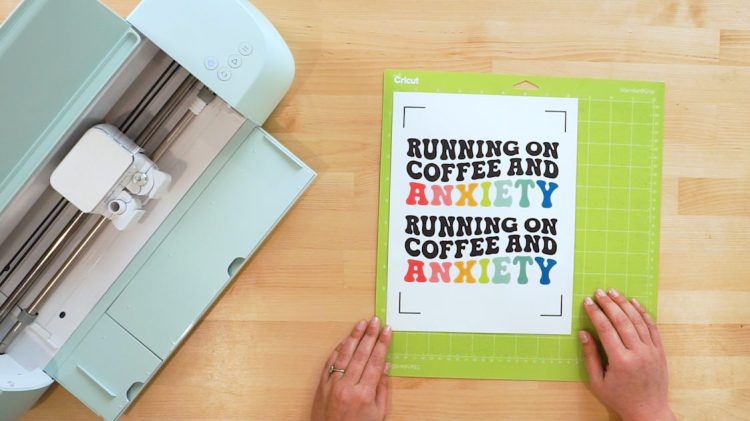
Now it’s time to head to your Cricut to cut your image. Move the star wheels of your machine to the right so they don’t imprint on your flocking.
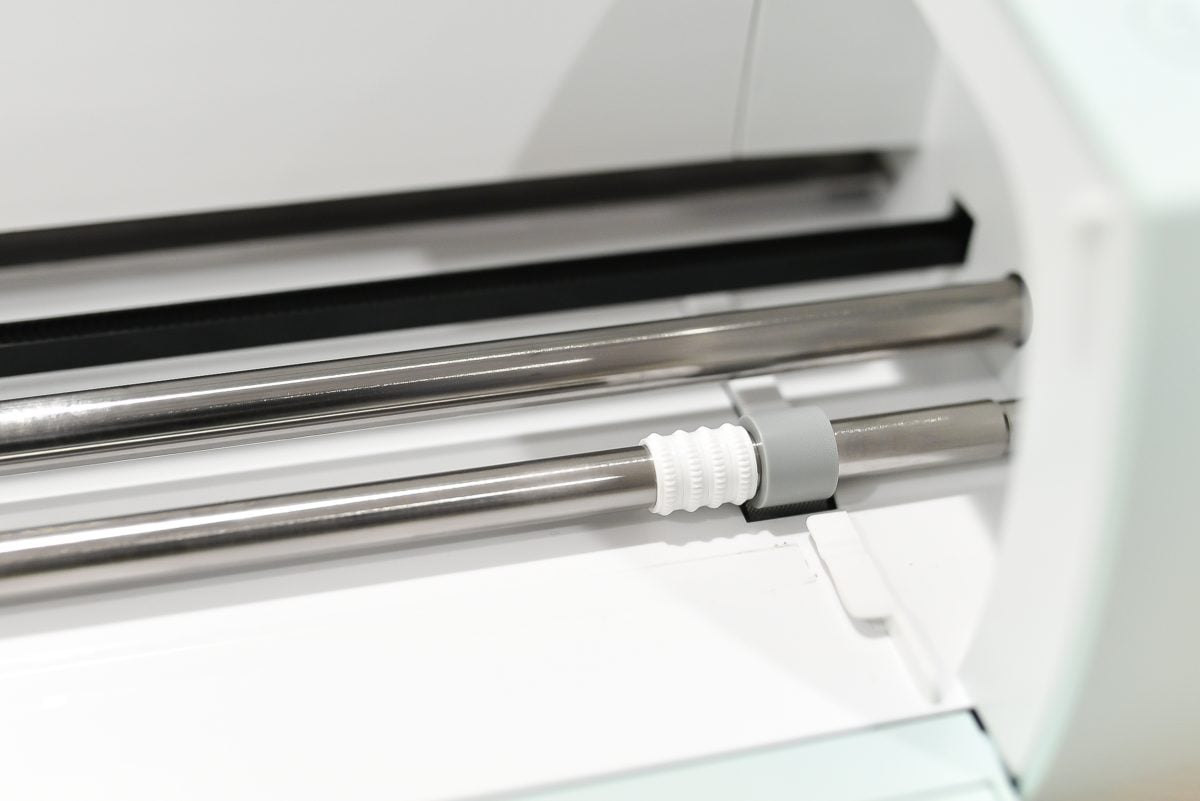
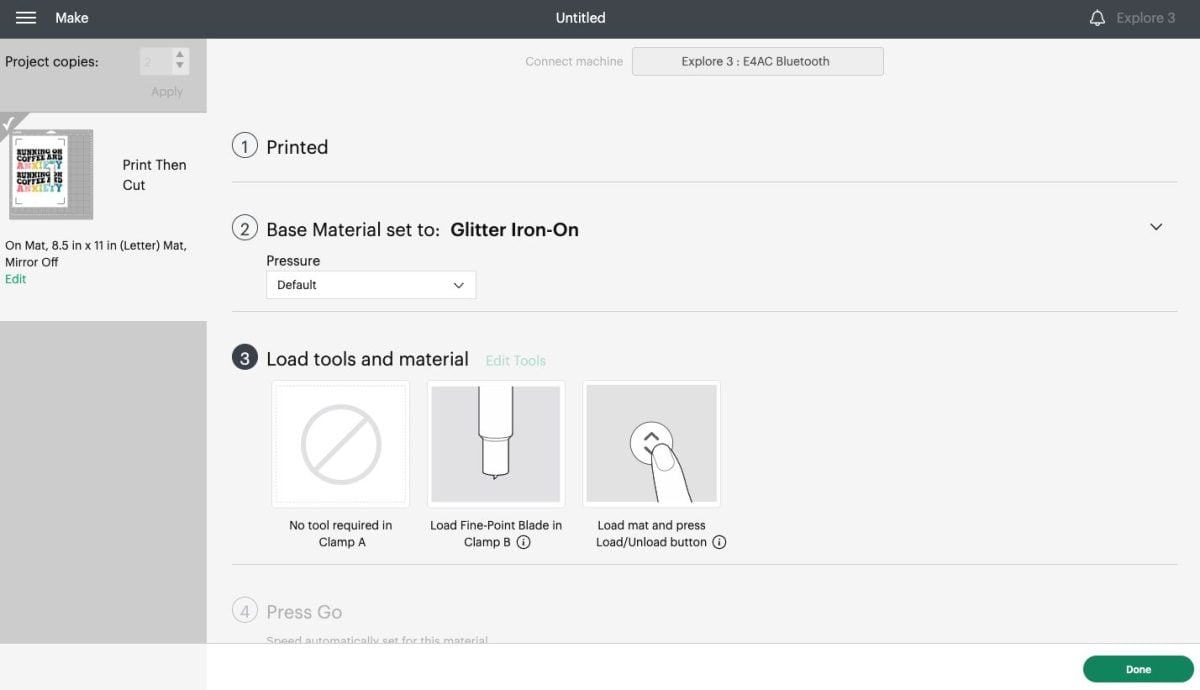
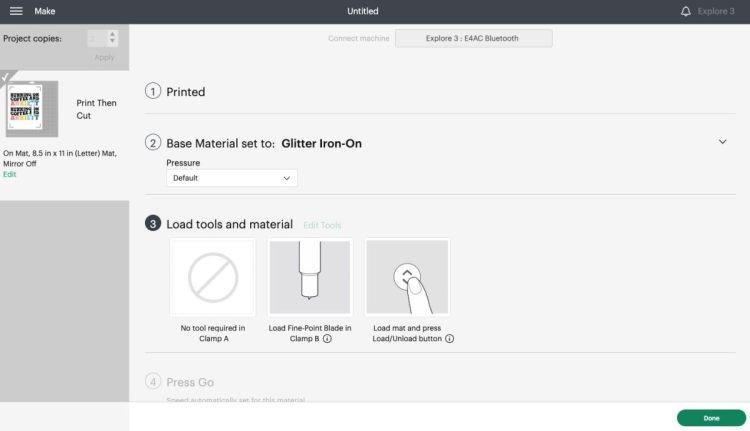
Set your material to Flock Iron-or OR Glitter Iron-On. I was able to select Flock Iron-On using my Maker 3, but for some reason it didn’t appear as an option with my Explore 3. So I opted for Glitter Iron On and it worked fine. Flock Iron-On worked in my tests on my Maker 3, so you can choose either, depending on what shows up in the material list on your particular machine.
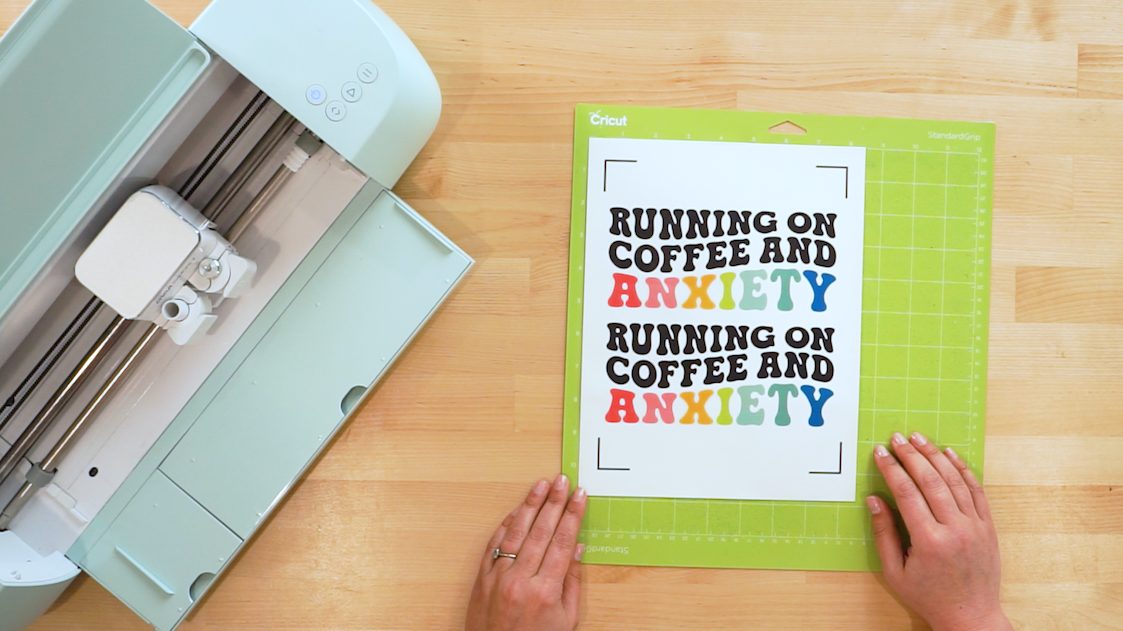
Place your image on a green Cricut cutting mat in the upper right corner. Note, if have a smaller image and you reversed it in Cricut Design Space and not in the Print Dialog Box, your image will be over on the right side of your paper rather than the left, making it difficult for your Cricut to locate the registration marks and cut it properly.
Insert your mat into your machine and cut your project.
4. Weed the Design
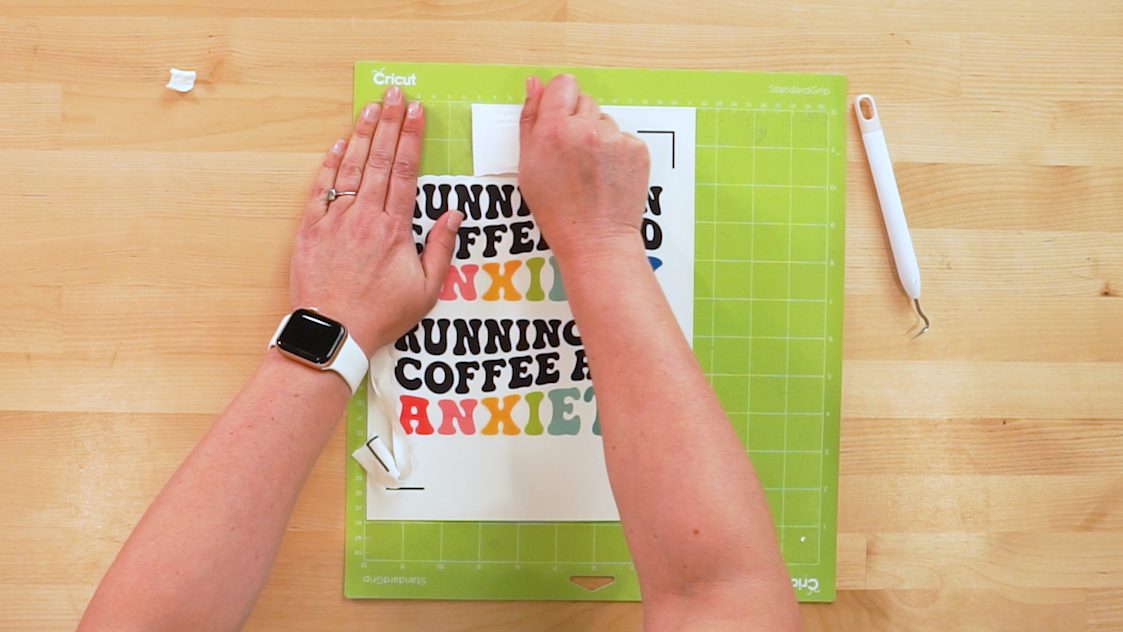
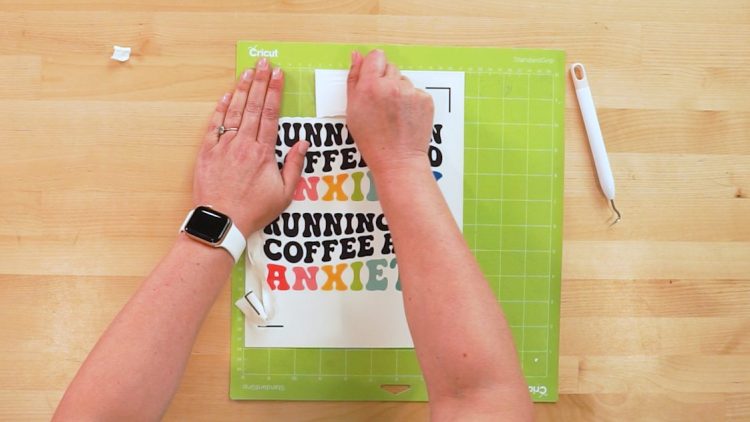
Remove the excess SubliFlock from around your design. Many tutorials say it’s easy to weed SubliFlock, but I didn’t find this to be the case for me. Hopefully it’s easier for you, but if it’s difficult, know you’re not alone!
(I tested pressing the image to the SubliFlock for a shorter amount of time (30 seconds) to see if that would help it release from the carrier sheet more easily. It didn’t and the image was faded, so don’t worry about testing that for yourself!)
Use a weeding tool to pull up the corner of the excess material, and peel it back. Be careful not to rip your actual design as you are weeding.
5. Peel up the Design from the Carrier Sheet
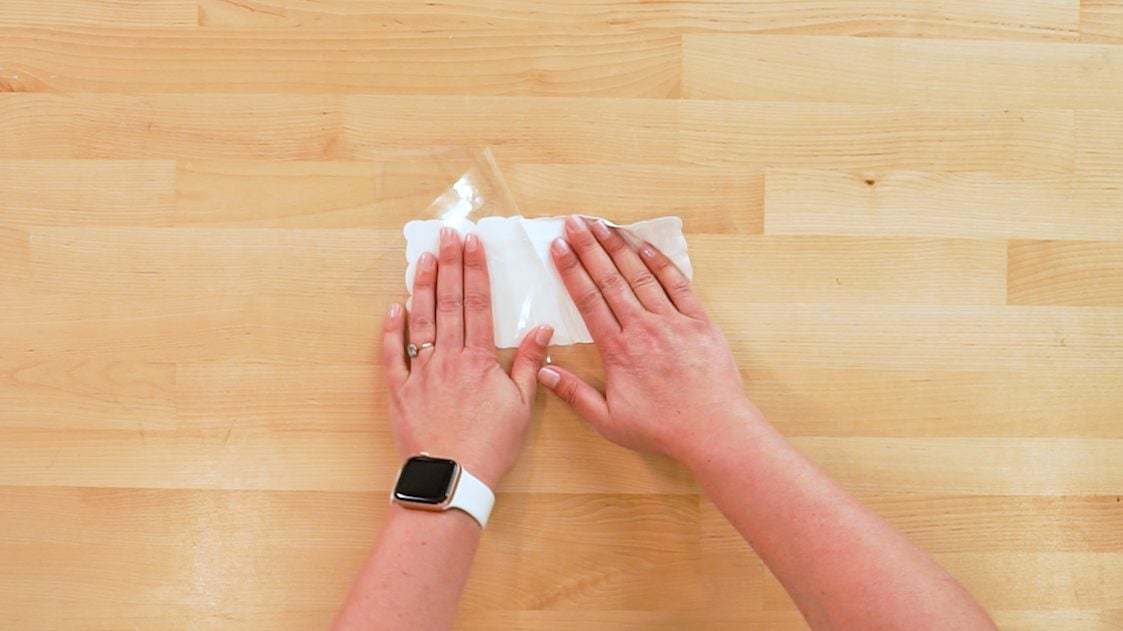
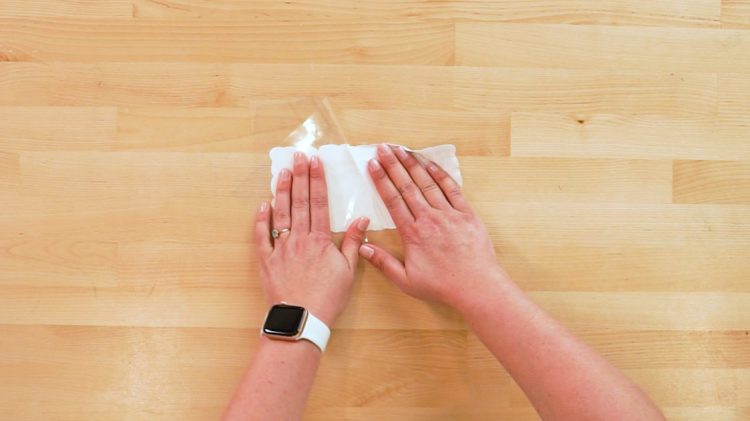
Now carefully peel up the design from the carrier sheet. It can be very difficult not to rip or stretch your image so go really slowly. I found flipping the image over and peeling back the carrier sheet worked best, but make sure you’re holding your hand close to where you’re peeling so it doesn’t stretch. You can fix a bit of stretching when it presses, but rips do show on your final image, so take your time.
6. Press
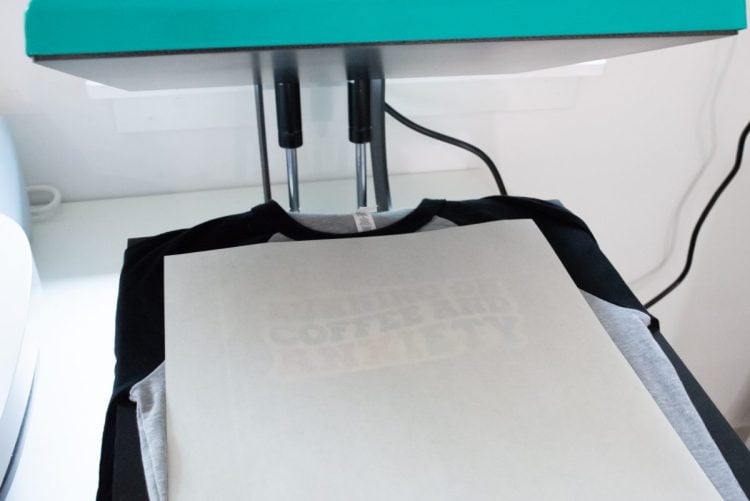
Set your press to 320° for 20 seconds. Place a piece of butcher paper on the bottom of your press. Then place your SubliFlock image on your t-shirt or other garment, making sure it’s centered and straight. Then place a sheet of butcher paper on top to protect it from the pressing plate.
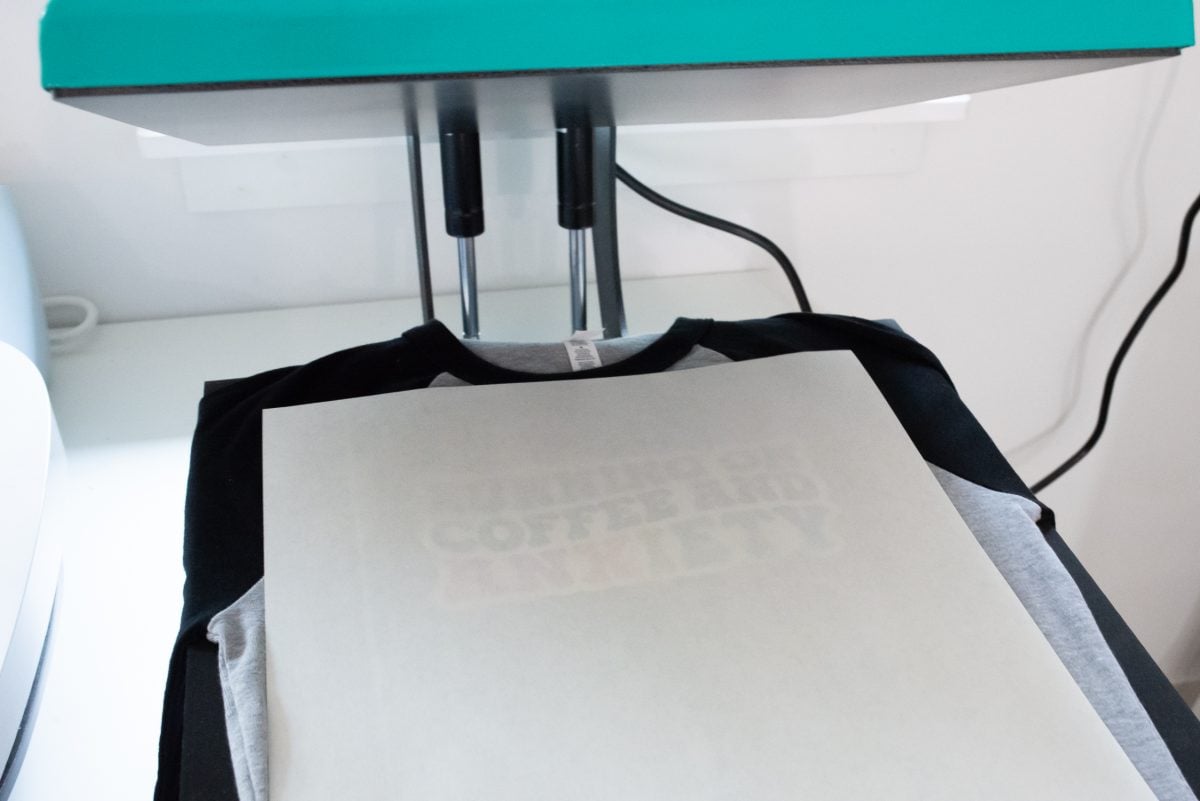
Finally, press your shirt! Remove the butcher paper to see your final design. Allow the t-shirt to cool completely before handling it. You can see the soft velvety feel when I zoom in on the image.

To care for your SubliFlock shirt, wait 48 hours before wearing and washing. Wash in cold water and tumble dry low or hang dry. You can iron on a low setting, but make sure it’s not hot enough to re-sublimate the ink.

Love this project? Grab a BELLA+CANVAS tee to make your own!

HOW TO USE SubliFlock ON A T-SHIRT
Equipment
- Cricut or other cutting machine
Supplies
- T-Shirt for this project a BELLA+CANVAS baby tee was used
- Sublimation paper
- SubliFlock sheet
- Free Running on Coffee and Anxiety File #S14
Instructions
- Note: a lot of trial and error went into getting this tutorial correct (yes, even those of us who do this all the time have craft fails!), so make sure you read all of the instructions carefully, particularly the steps about mirroring, so you don't waste your SubliFlock!1. Upload Your Design to Cricut Design SpaceUpload your design to Cricut Design Space (or other print then cut software if you're using a different machine). Resize the to fit your garment. For this particular image on this shirt, the image was resized to be 7.4" wide.

- Click Make It in the upper right. In the Prepare screen, do not mirror your image. If you mirror your image here, it will not mirror the registration marks. So when you go to cut your image, your Cricut may not be able to find the registration marks and cut around the image properly (this is an even bigger issues with smaller images). So we'll mirror differently here in a minute.A second copy of my image was also added at the top left, in order to make the best use of this piece of SubliFlock.

- Click Continue. In the Make screen, Cricut Design Space will connect to your Cricut and you'll be prompted to print your design. Choose your sublimation printer and check the box that says "Use System Dialog" and click Print.Note: If you have a Sawgrass, you can also print to Sawgrass Print Manager and reverse your image there. For some reason, Cricut Design Space and Print Manager don't like to play nicely on the computer used for this project, so was not able to make that work most of the time. But it's an option if it's working for you!

- Note that this box will open behind your Cricut Design Space window, so you may need to move the window out of the way to see it.In the System Dialog Box, mirror your image again. On a Mac it's "Flip horizontally" and on a PC it's "Mirror Print." This is how we mirror an image AND the registration marks, so when we transfer our image to the SubliFlock, everything is in the right place.Print your image on your sublimation printer.

- 2. Transfer Your Image to the SubliFlockTape your image face down on your SubliFlock's flocked surface. Use a piece of tape on the top and bottom to make sure it doesn't shift in the press (made that mistake so you don't have to!). Remember, your image should be mirrored at this point.

- Set your heat press to 375° for 45 seconds. Place a piece of butcher paper below your project and on top of your project and press.Let your image cool for a minute before removing the paper to see your image transferred on the SubliFlock. Your image should be "right reading" on top of the flocked surface.

- 3. Cut Your ImageNow it's time to head to your Cricut to cut your image. Move the star wheels of your machine to the right so they don't imprint on your flocking.

- Set your material to Flock Iron-or OR Glitter Iron-On. Select Flock Iron-On if you are using a Maker 3, and Glitter Iron On for an Explore 3.

- Place your image on a green Cricut cutting mat in the upper right corner. Note, if have a smaller image and you reversed it in Cricut Design Space and not in the Print Dialog Box, your image will be over on the right side of your paper rather than the left, making it difficult for your Cricut to locate the registration marks and cut it properly.Insert your mat into your machine and cut your project.

- 4. Weed the DesignRemove the excess SubliFlock from around your design. Many tutorials say it's easy to weed SubliFlock, but this was not the case for this project. Hopefully it's easier for you, but if it's difficult, know you're not alone!Use a weeding tool to pull up the corner of the excess material, and peel it back. Be careful not to rip your actual design as you are weeding.

- 5. Peel up the Design from the Carrier SheetNow carefully peel up the design from the carrier sheet. It can be very difficult not to rip or stretch your image so go really slowly. Found that flipping the image over and peeling back the carrier sheet worked best, but make sure you're holding your hand close to where you're peeling so it doesn't stretch. You can fix a bit of stretching when it presses, but rips do show on your final image, so take your time.

- 6. PressingSet your press to 320° for 20 seconds. Place a piece of butcher paper on the bottom of your press. Then place your SubliFlock image on your t-shirt or other garment, making sure it's centered and straight. Then place a sheet of butcher paper on top to protect it from the pressing plate.

- Finally, press your shirt! Remove the butcher paper to see your final design. Allow the t-shirt to cool completely before handling it. You can see the soft velvety feel when I zoom in on the image.

- To care for your SubliFlock shirt, wait 48 hours before wearing and washing. Wash in cold water and tumble dry low or hang dry. You can iron on a low setting, but make sure it's not hot enough to re-sublimate the ink.





Comments & Reviews
Wesley Donaldson says
The gameplay of the game space waves is easy to grasp yet challenging to perfect. You can alter the course of your spaceship with a signle touch or keystroke.