
HOW TO USE SubliFlock ON A T-SHIRT
SubliFlock is a fun sublimation product that allows you to create vibrant images on all sorts of fabrics, including cotton and dark colors!
Equipment
- Cricut or other cutting machine
Ingredients
- T-Shirt for this project a BELLA+CANVAS baby tee was used
- Sublimation paper
- SubliFlock sheet
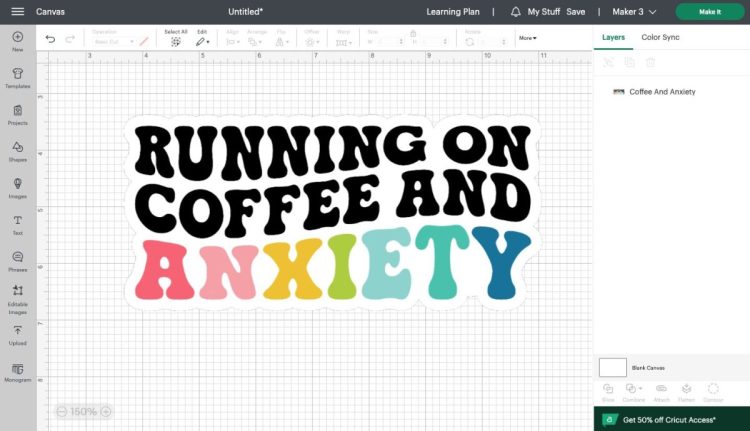
- Free Running on Coffee and Anxiety File #S14
Instructions
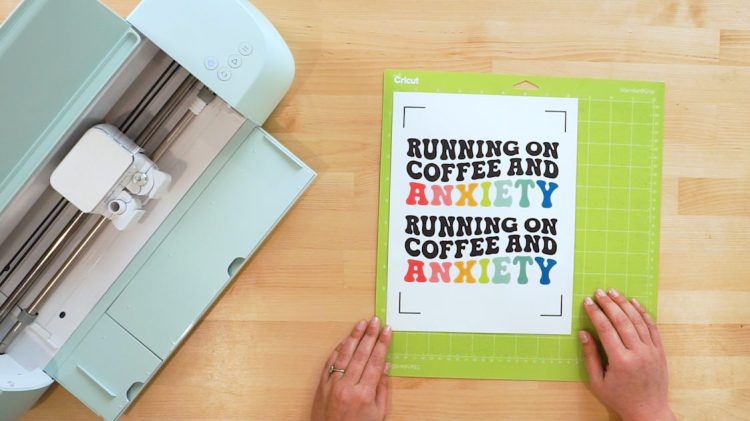
- Note: a lot of trial and error went into getting this tutorial correct (yes, even those of us who do this all the time have craft fails!), so make sure you read all of the instructions carefully, particularly the steps about mirroring, so you don't waste your SubliFlock!1. Upload Your Design to Cricut Design SpaceUpload your design to Cricut Design Space (or other print then cut software if you're using a different machine). Resize the to fit your garment. For this particular image on this shirt, the image was resized to be 7.4" wide.
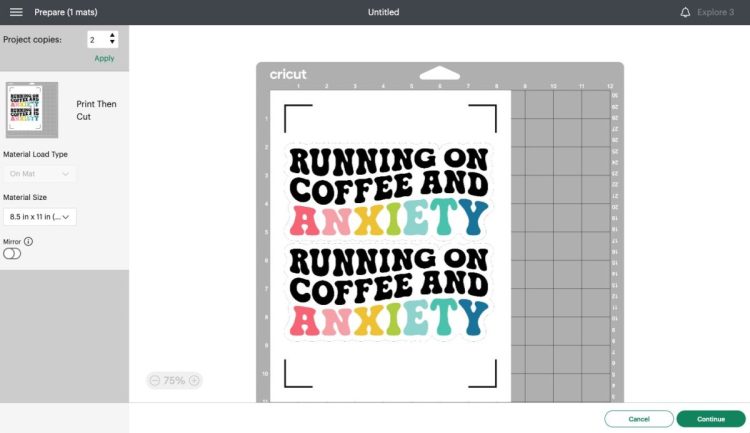
- Click Make It in the upper right. In the Prepare screen, do not mirror your image. If you mirror your image here, it will not mirror the registration marks. So when you go to cut your image, your Cricut may not be able to find the registration marks and cut around the image properly (this is an even bigger issues with smaller images). So we'll mirror differently here in a minute.A second copy of my image was also added at the top left, in order to make the best use of this piece of SubliFlock.
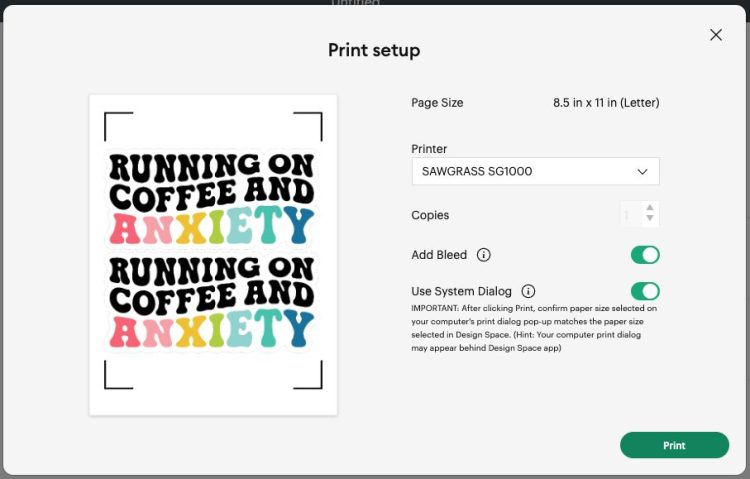
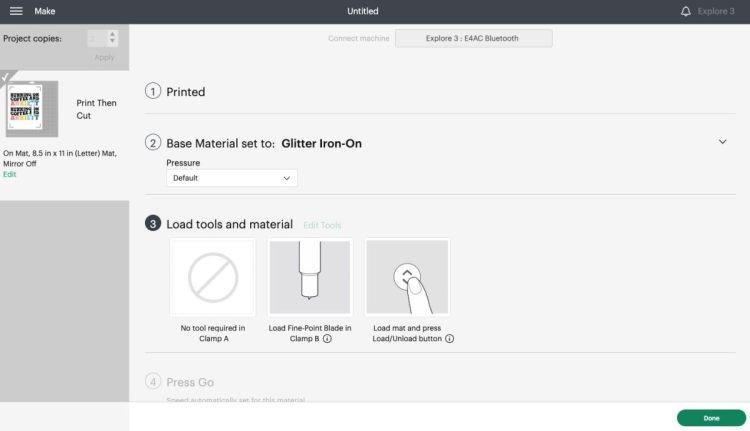
- Click Continue. In the Make screen, Cricut Design Space will connect to your Cricut and you'll be prompted to print your design. Choose your sublimation printer and check the box that says "Use System Dialog" and click Print.Note: If you have a Sawgrass, you can also print to Sawgrass Print Manager and reverse your image there. For some reason, Cricut Design Space and Print Manager don't like to play nicely on the computer used for this project, so was not able to make that work most of the time. But it's an option if it's working for you!
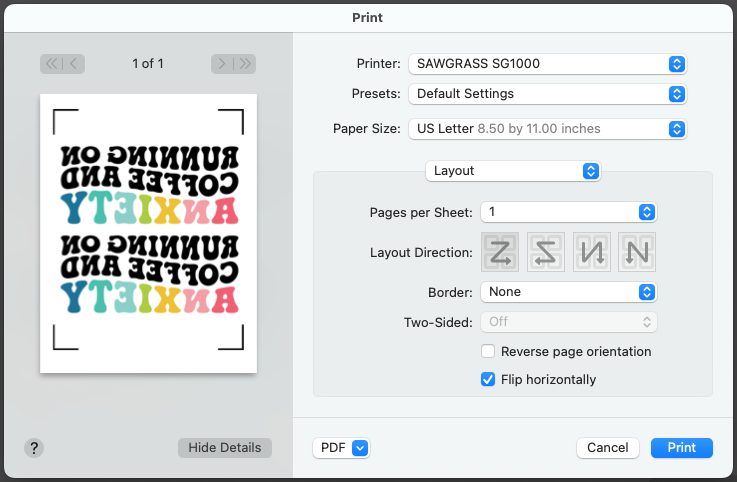
- Note that this box will open behind your Cricut Design Space window, so you may need to move the window out of the way to see it.In the System Dialog Box, mirror your image again. On a Mac it's "Flip horizontally" and on a PC it's "Mirror Print." This is how we mirror an image AND the registration marks, so when we transfer our image to the SubliFlock, everything is in the right place.Print your image on your sublimation printer.
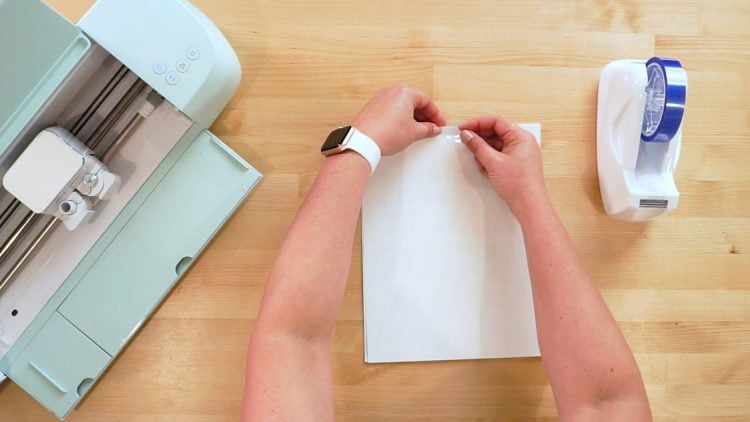
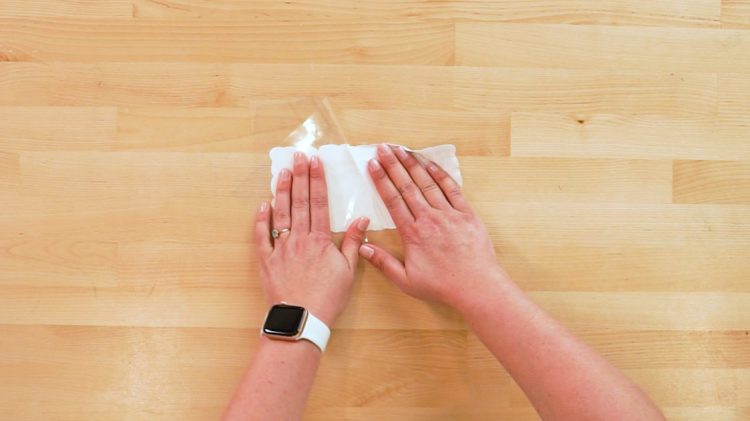
- 2. Transfer Your Image to the SubliFlockTape your image face down on your SubliFlock's flocked surface. Use a piece of tape on the top and bottom to make sure it doesn't shift in the press (made that mistake so you don't have to!). Remember, your image should be mirrored at this point.
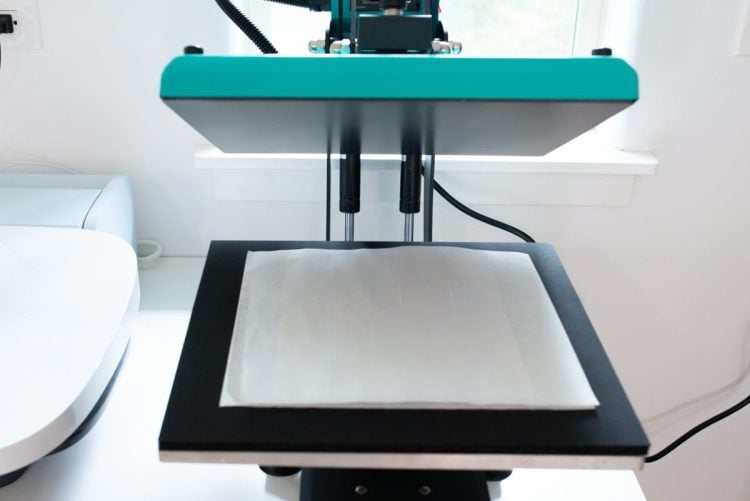
- Set your heat press to 375° for 45 seconds. Place a piece of butcher paper below your project and on top of your project and press.Let your image cool for a minute before removing the paper to see your image transferred on the SubliFlock. Your image should be "right reading" on top of the flocked surface.
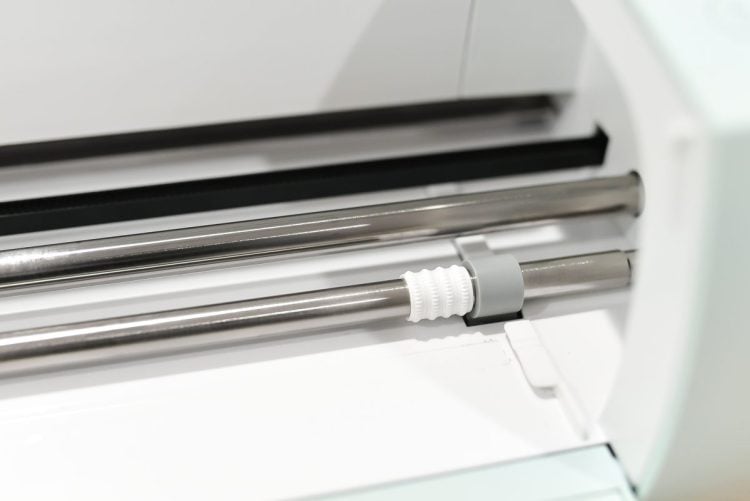
- 3. Cut Your ImageNow it's time to head to your Cricut to cut your image. Move the star wheels of your machine to the right so they don't imprint on your flocking.
- Set your material to Flock Iron-or OR Glitter Iron-On. Select Flock Iron-On if you are using a Maker 3, and Glitter Iron On for an Explore 3.
- Place your image on a green Cricut cutting mat in the upper right corner. Note, if have a smaller image and you reversed it in Cricut Design Space and not in the Print Dialog Box, your image will be over on the right side of your paper rather than the left, making it difficult for your Cricut to locate the registration marks and cut it properly.Insert your mat into your machine and cut your project.
- 4. Weed the DesignRemove the excess SubliFlock from around your design. Many tutorials say it's easy to weed SubliFlock, but this was not the case for this project. Hopefully it's easier for you, but if it's difficult, know you're not alone!Use a weeding tool to pull up the corner of the excess material, and peel it back. Be careful not to rip your actual design as you are weeding.
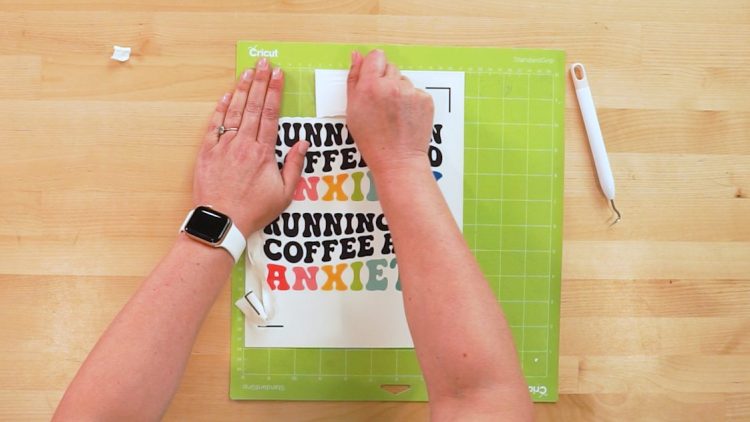
- 5. Peel up the Design from the Carrier SheetNow carefully peel up the design from the carrier sheet. It can be very difficult not to rip or stretch your image so go really slowly. Found that flipping the image over and peeling back the carrier sheet worked best, but make sure you're holding your hand close to where you're peeling so it doesn't stretch. You can fix a bit of stretching when it presses, but rips do show on your final image, so take your time.
- 6. PressingSet your press to 320° for 20 seconds. Place a piece of butcher paper on the bottom of your press. Then place your SubliFlock image on your t-shirt or other garment, making sure it's centered and straight. Then place a sheet of butcher paper on top to protect it from the pressing plate.
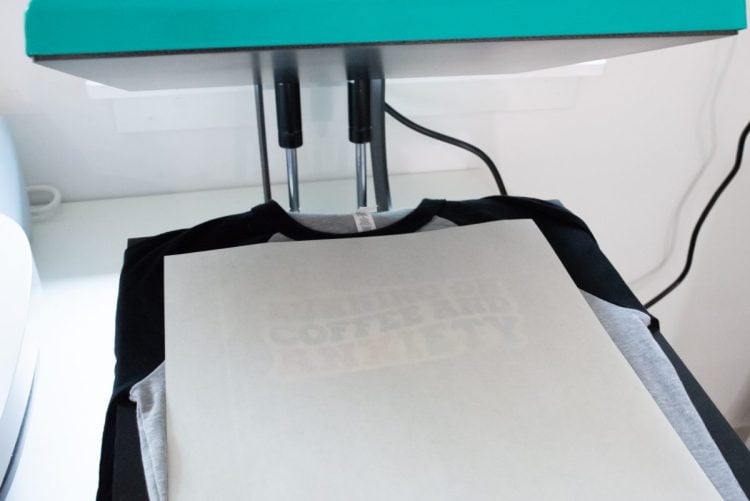
- Finally, press your shirt! Remove the butcher paper to see your final design. Allow the t-shirt to cool completely before handling it. You can see the soft velvety feel when I zoom in on the image.

- To care for your SubliFlock shirt, wait 48 hours before wearing and washing. Wash in cold water and tumble dry low or hang dry. You can iron on a low setting, but make sure it's not hot enough to re-sublimate the ink.