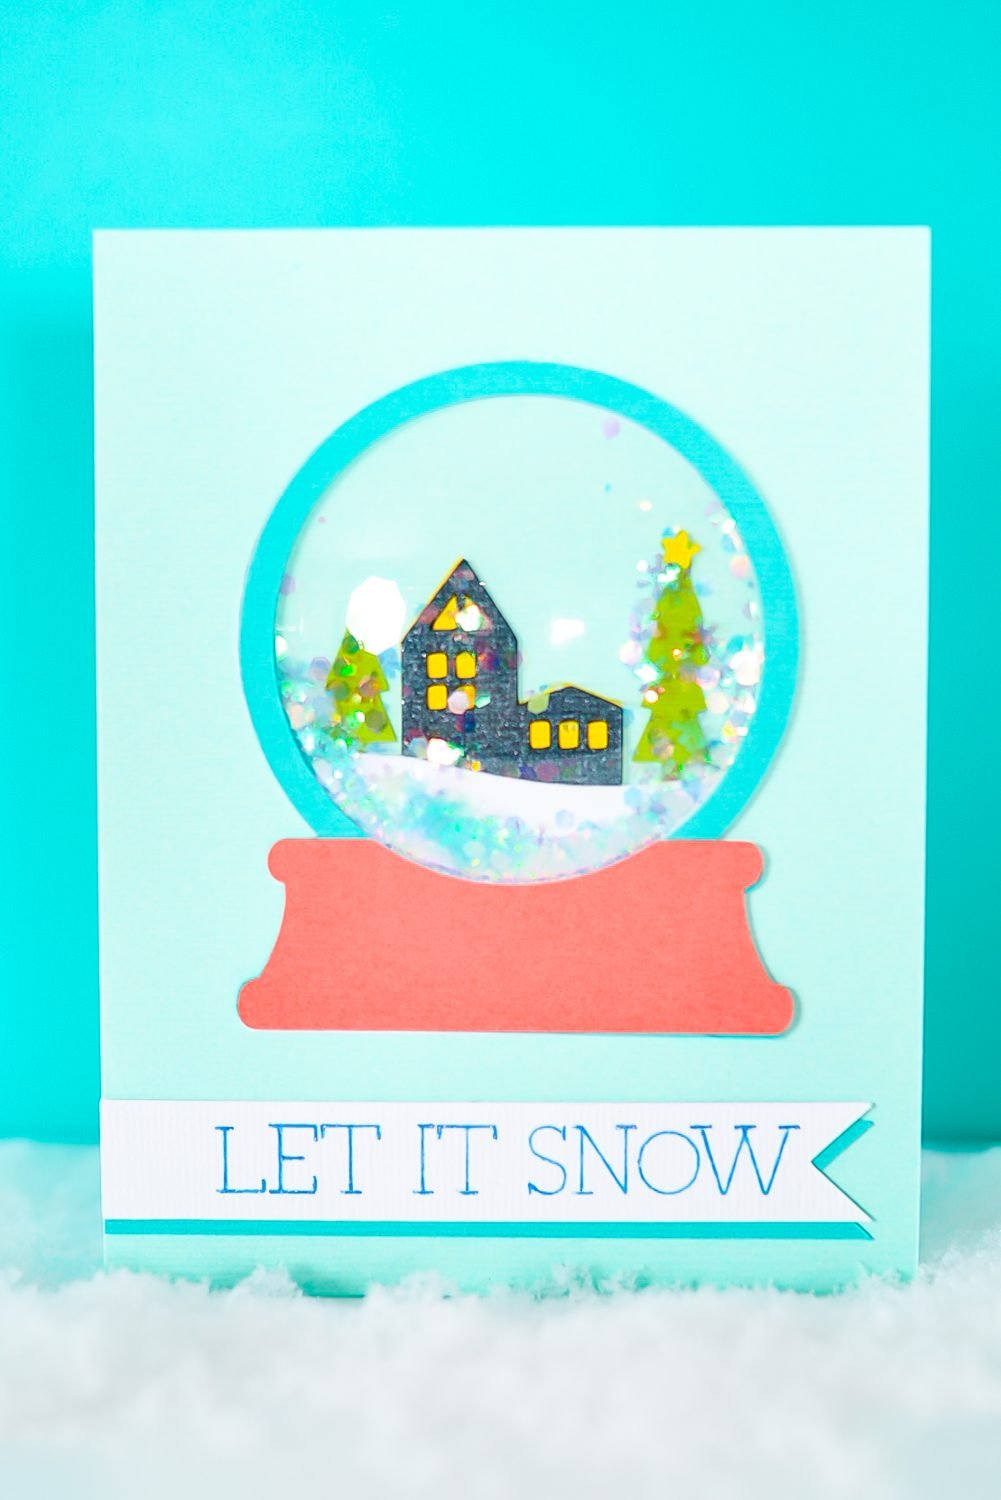
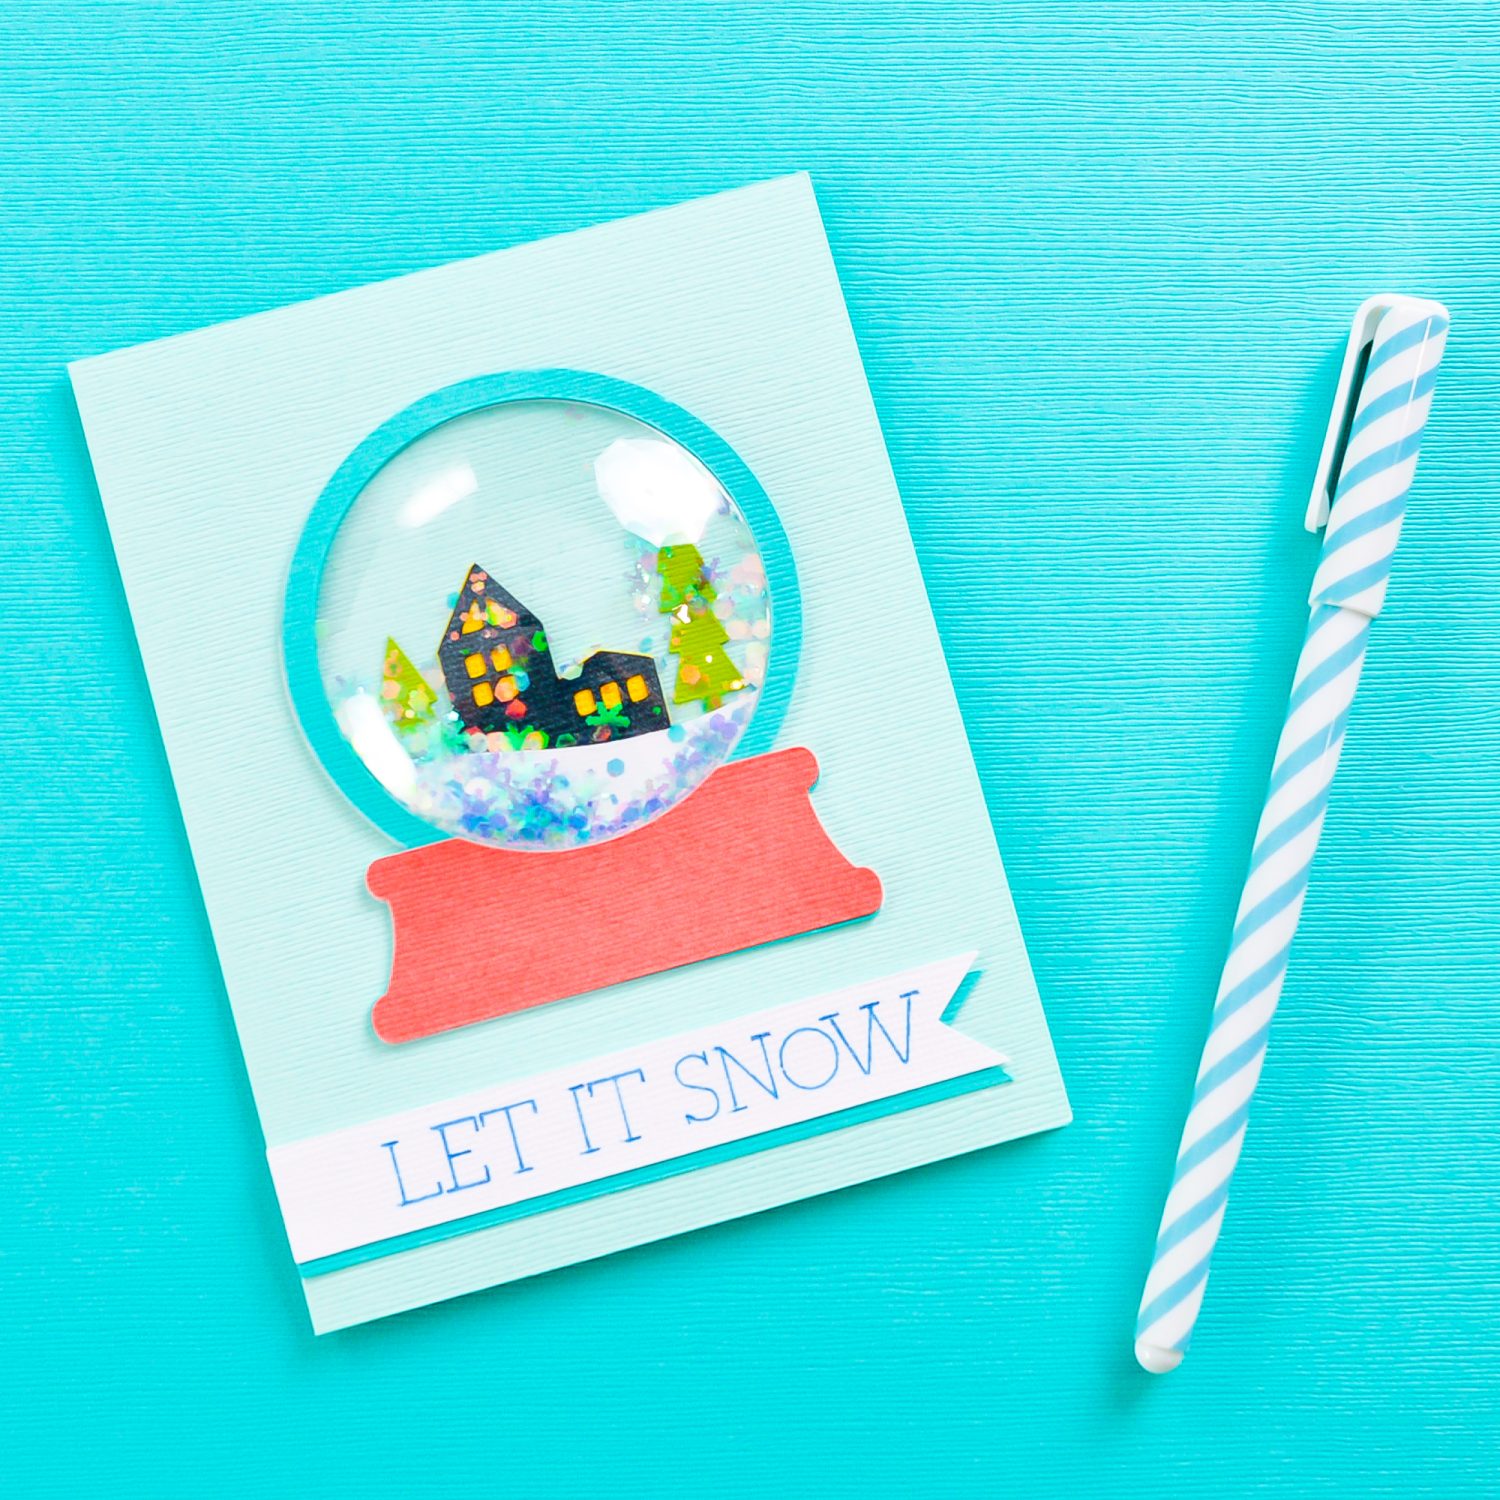
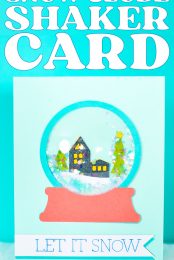
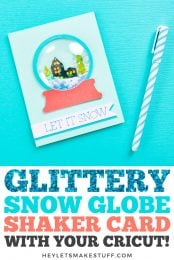
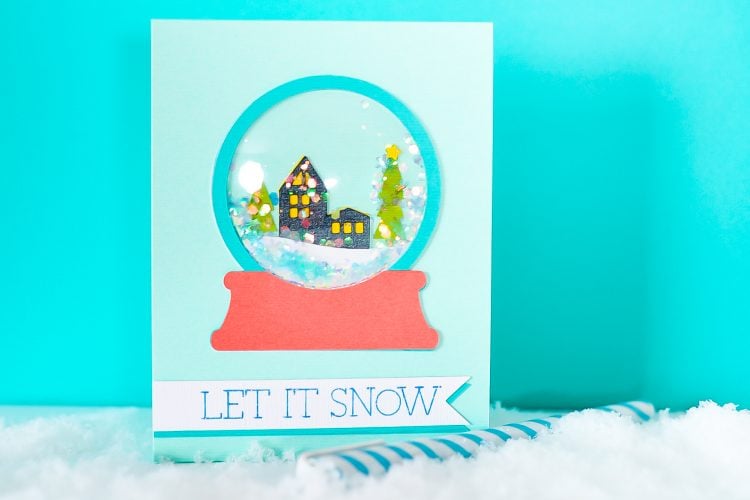
This handmade Christmas card features a snow globe with glitter snow! Learn how to make this snow globe shaker card using your Cricut Explore or Cricut Maker!
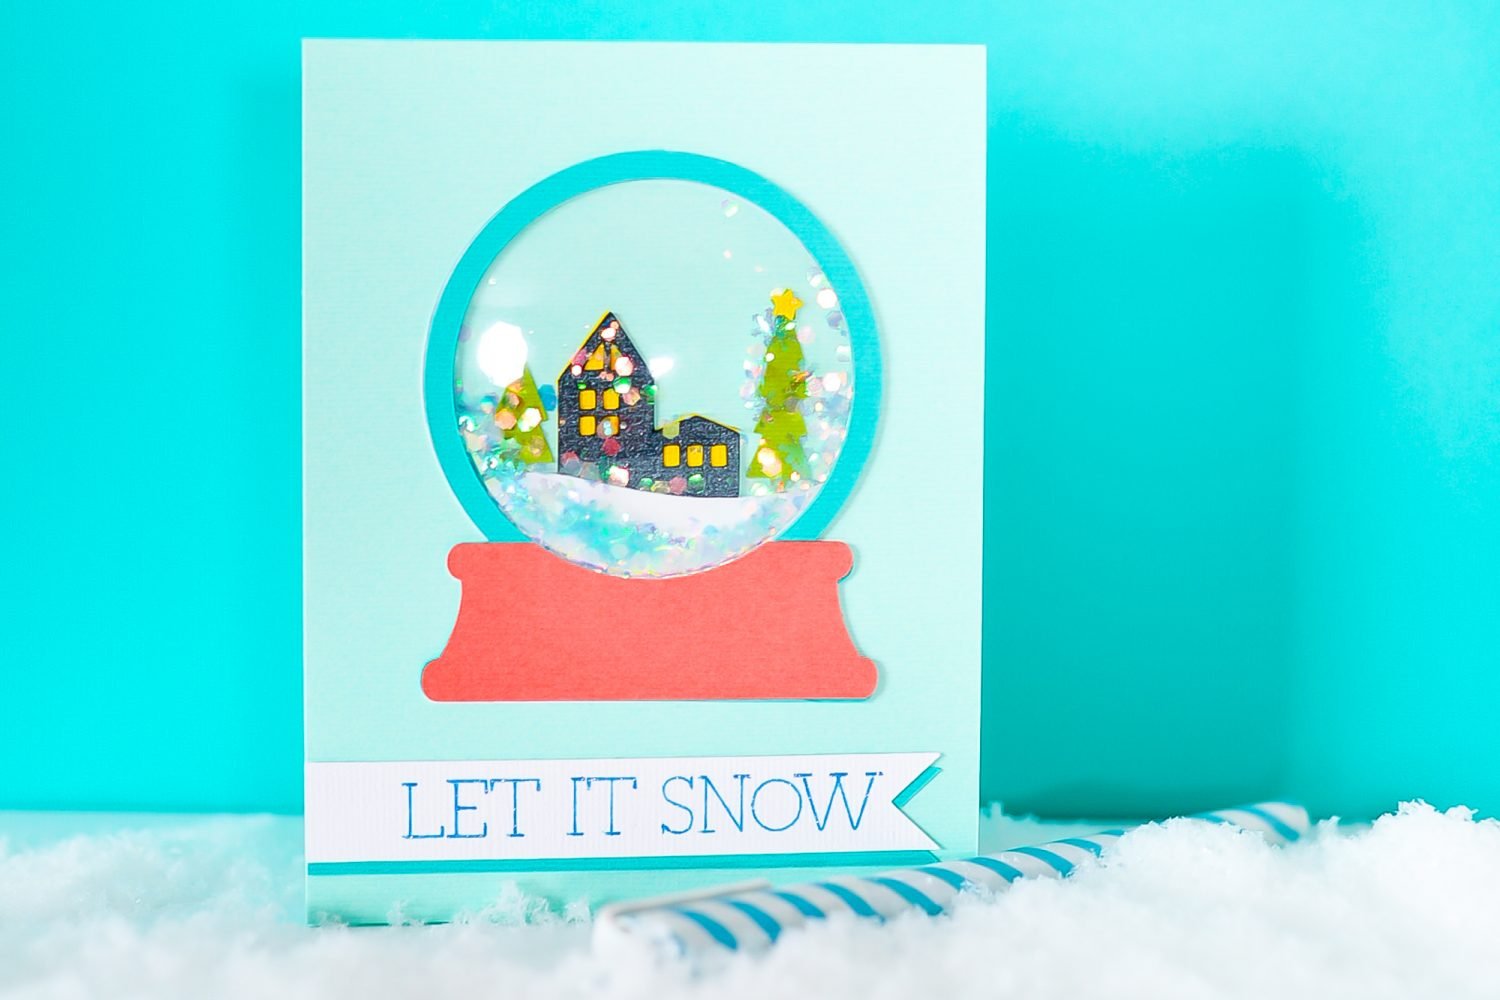
Welcome back to the 25 Days of Cricut Christmas! It’s Day 2 and we’re making Christmas cards! Cards are a huge favorite for many Cricut crafters and make the perfect accompaniment to other handmade gifts. This snow globe shaker card has a 3D plastic dome that allows “snow” to shake around inside the globe!
If you’d like to get this series in an ebook format PLUS all of the SVGs needed to make all 25 projects check out the 25 Days of Cricut Christmas eBook Bundle!
You can rework this card in lots of ways. Make it in a more traditional palette of red, green, and gold. Swap out the entire background for a photo of your kids in the snow. Replace the house with a polar bear or a snowman from the Cricut Image Library. Lots of ways to make it your own!
If you’re looking for glitter, I LOVE the Glitter Guy. So many choices, all super high quality. Lots of fun blends and interesting mixes. I don’t do a lot with glitter, but they’re my go-to source!
Snow Globe Shaker Card Supplies
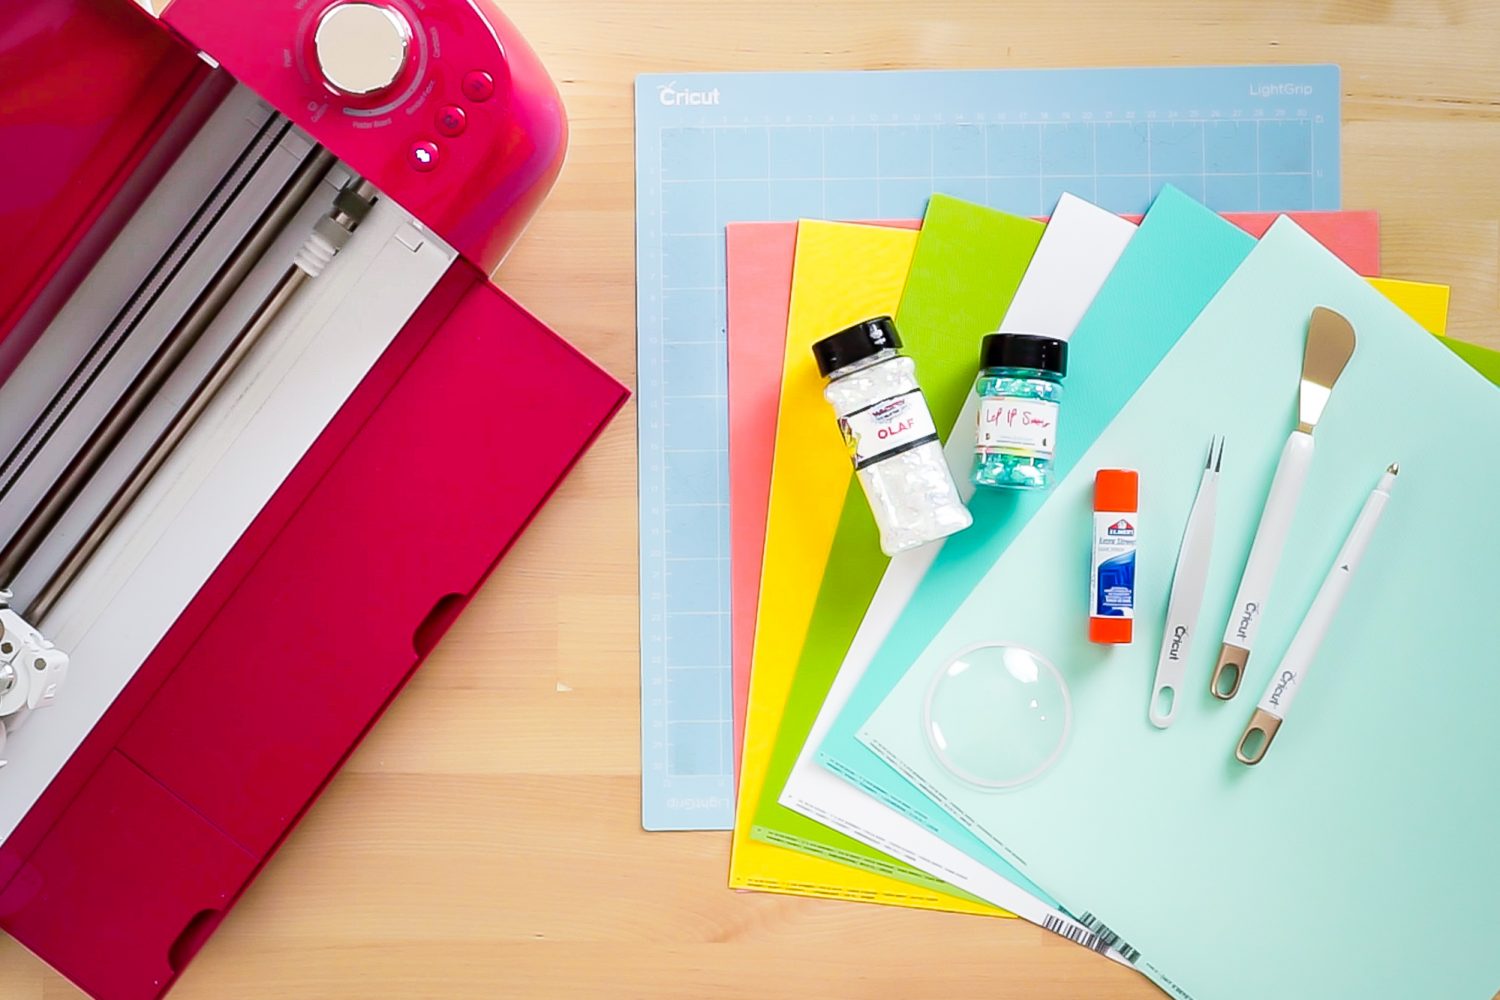
- Cricut Explore or Cricut Maker
- Blue LightGrip or Green StrongGrip mat
- Shaker dome
- Assorted cardstock
- White or snow-themed glitter (I used Olaf and Let It Snow)
- Glue stick
- Cricut Scoring Stylus (Explore or Maker) or Single Scoring Wheel (Maker)
- Spatula (optional)
- Tweezers (optional)
- Snow Globe SVG file (see below)
Grab the SVG for this Project
Snow Globe Shaker Card Instructions
Upload the Snow Globe File Cricut Design Space
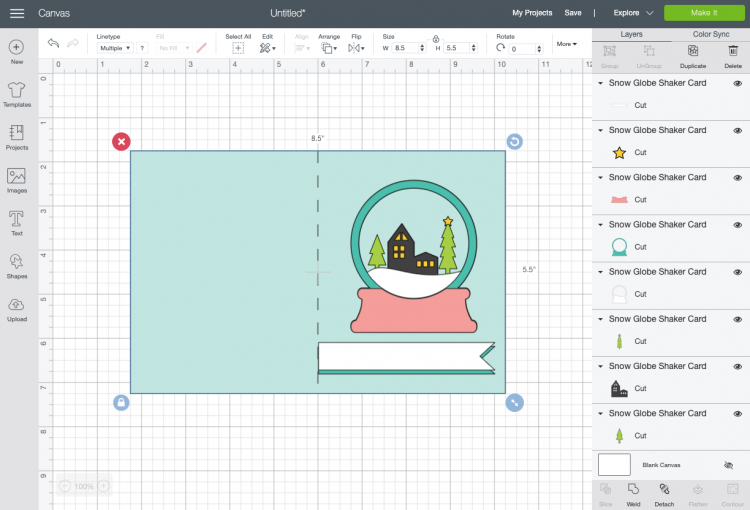
We will start by uploading the Snow Globe Shaker Card file to Cricut Design Space (see Uploading SVG Files to Cricut Design Space if you need help).
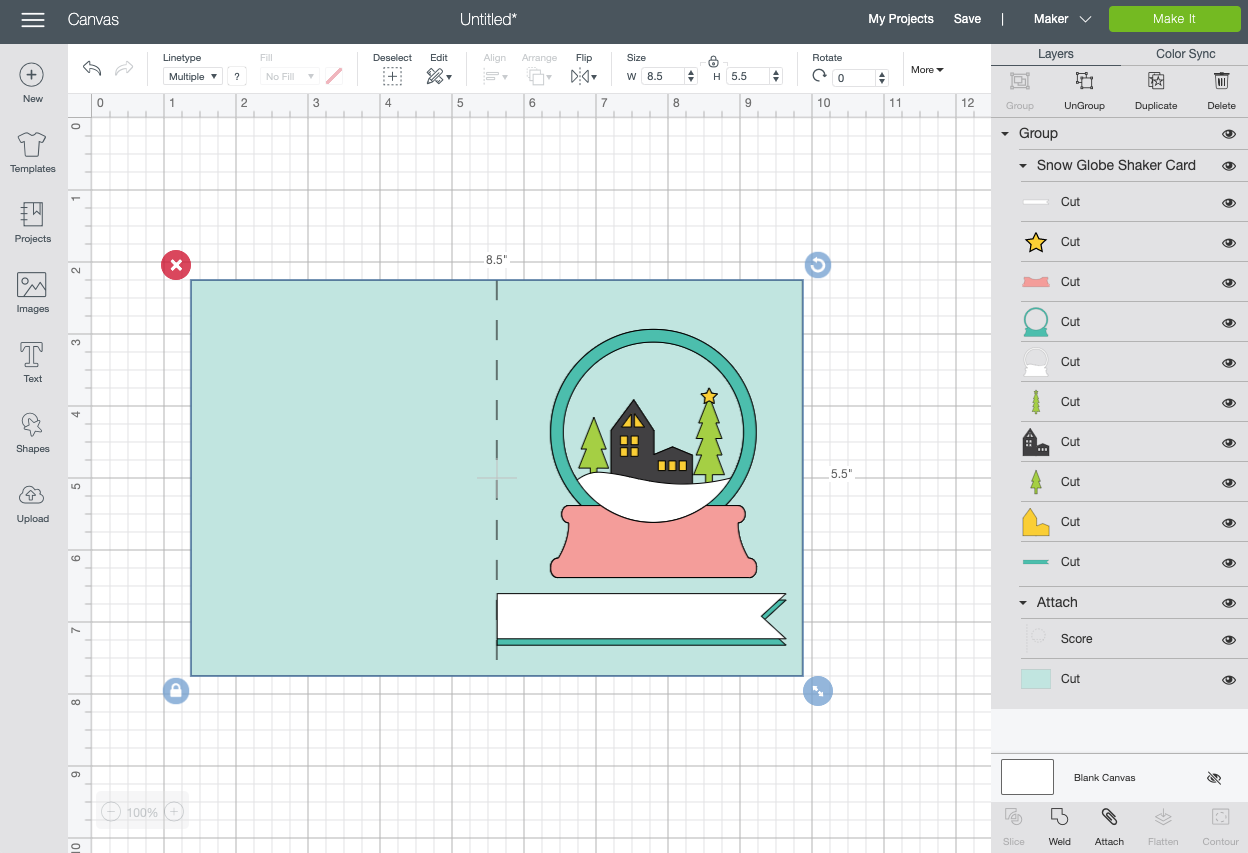
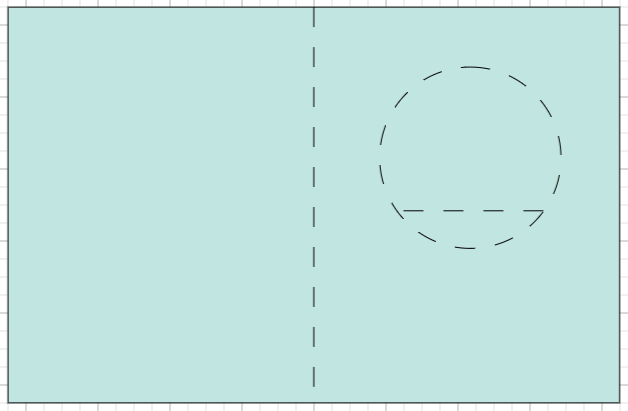
I’ve designed this file with some helpful scoring lines. There is the score line to fold the card, but there are also score lines underneath the globe itself to help you line up the project.
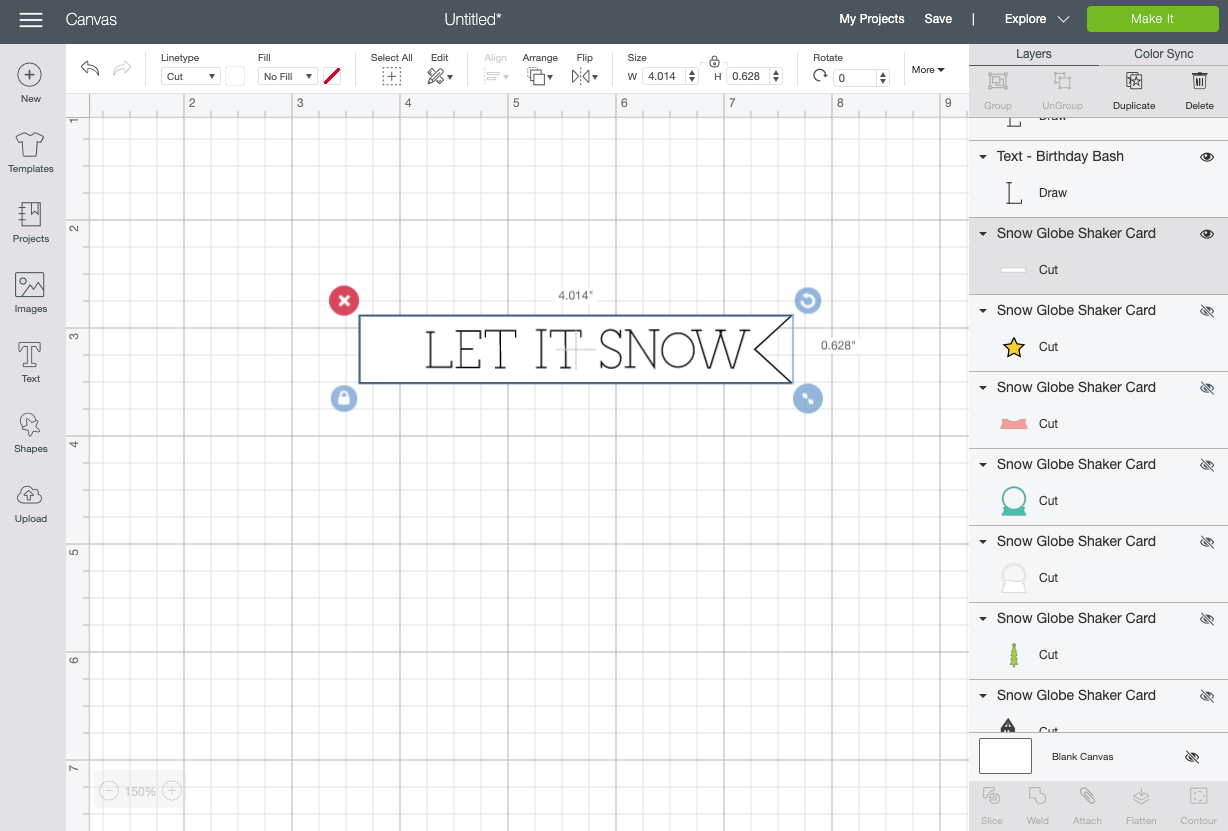
If you’d like, type a sentiment to the white flag at the bottom using the Text Tool on the left. Select the writing and the flag and click Attach at the bottom of the Layers Panel, so the Cricut will write your sentiment on the correct mat.
Your card is ready to cut. Click Make It in the upper right to be taken to the Prepare Screen. Here you’ll see all of the colors in your project laid out on the different mats.
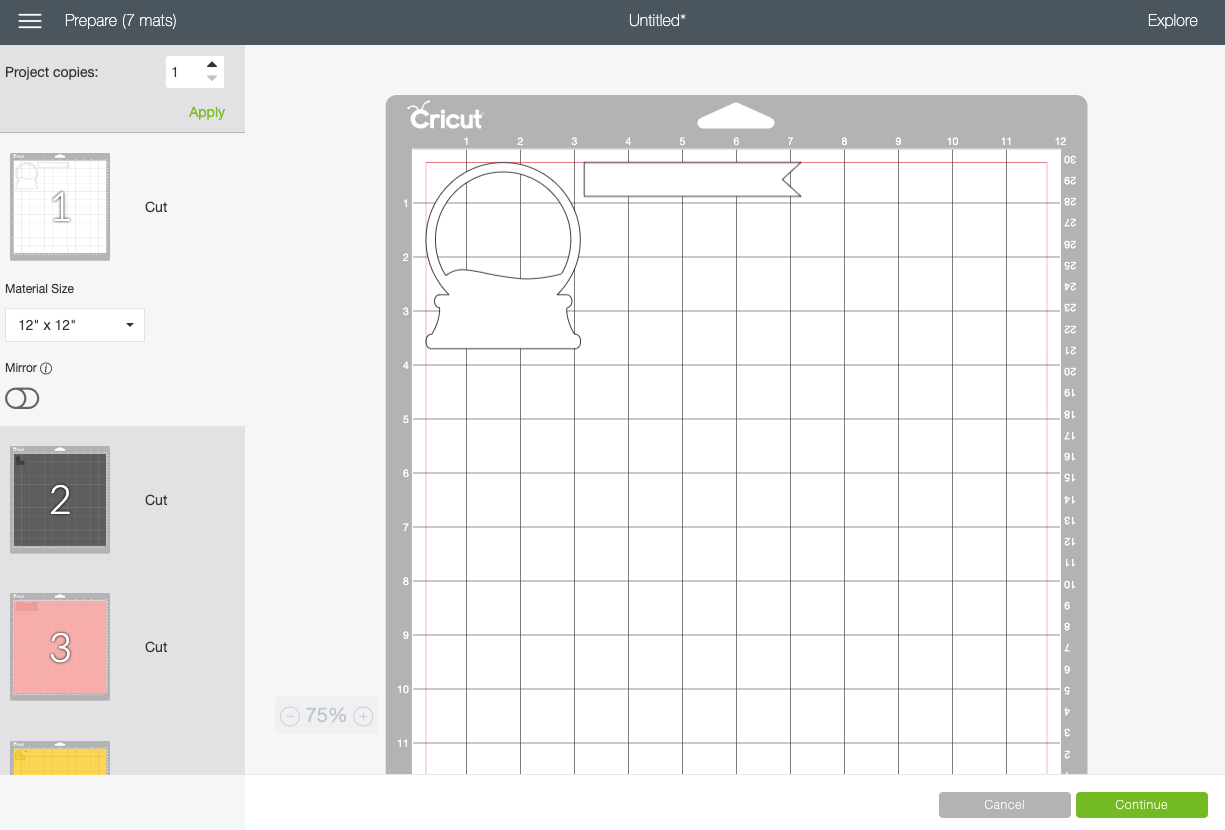
Click Continue and you’re ready to cut!
Cut Your Cardstock for Your Snow Globe Shaker Card
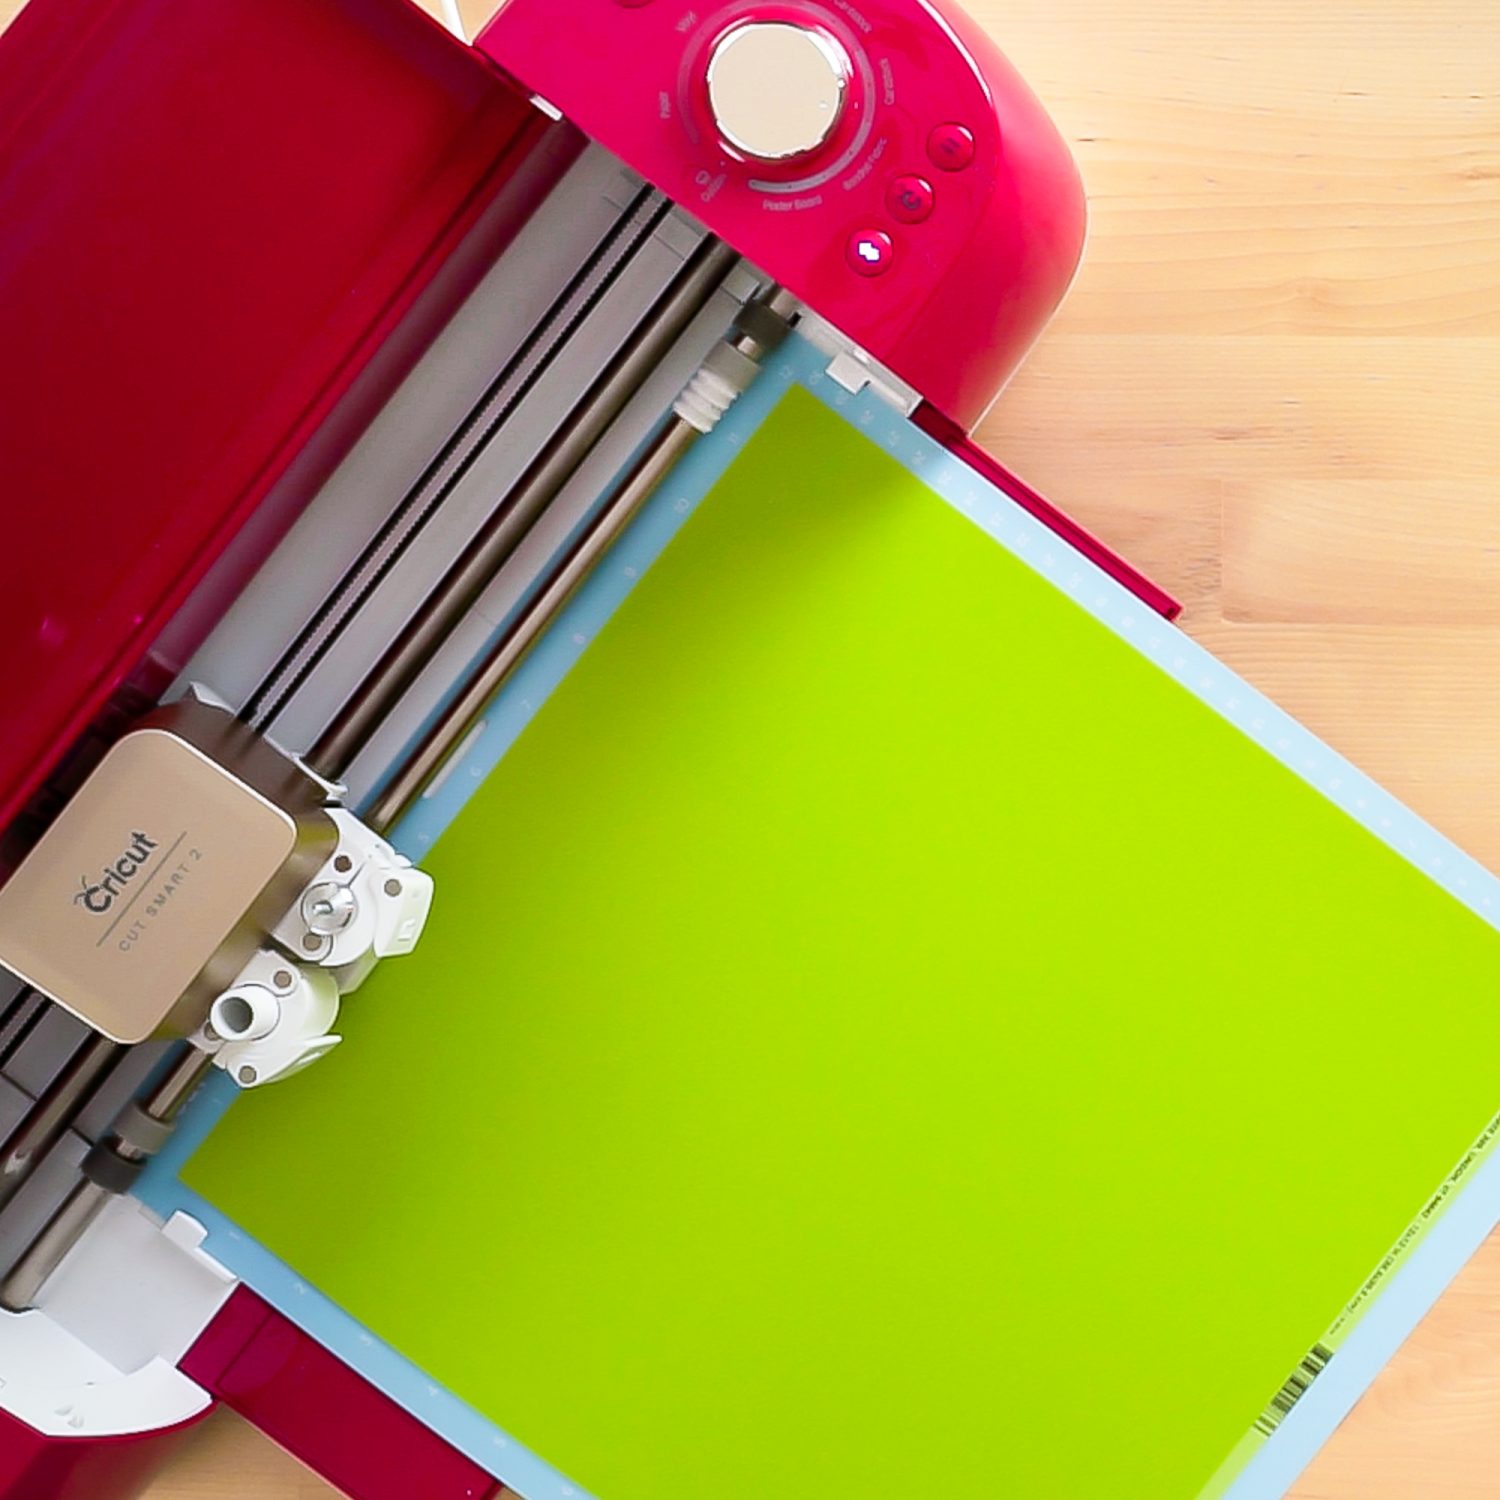
On the Make Screen, you’ll set your material to cardstock. I’ve used full sheets, but this is also a great scrapbuster, since a lot of the pieces are really small. Cut all the layers of the project.
If you added a sentiment, make sure to put the pen in Clamp A for that mat. And for the card mat, make sure you’ve inserted the Scoring Stylus or Scoring Wheel.
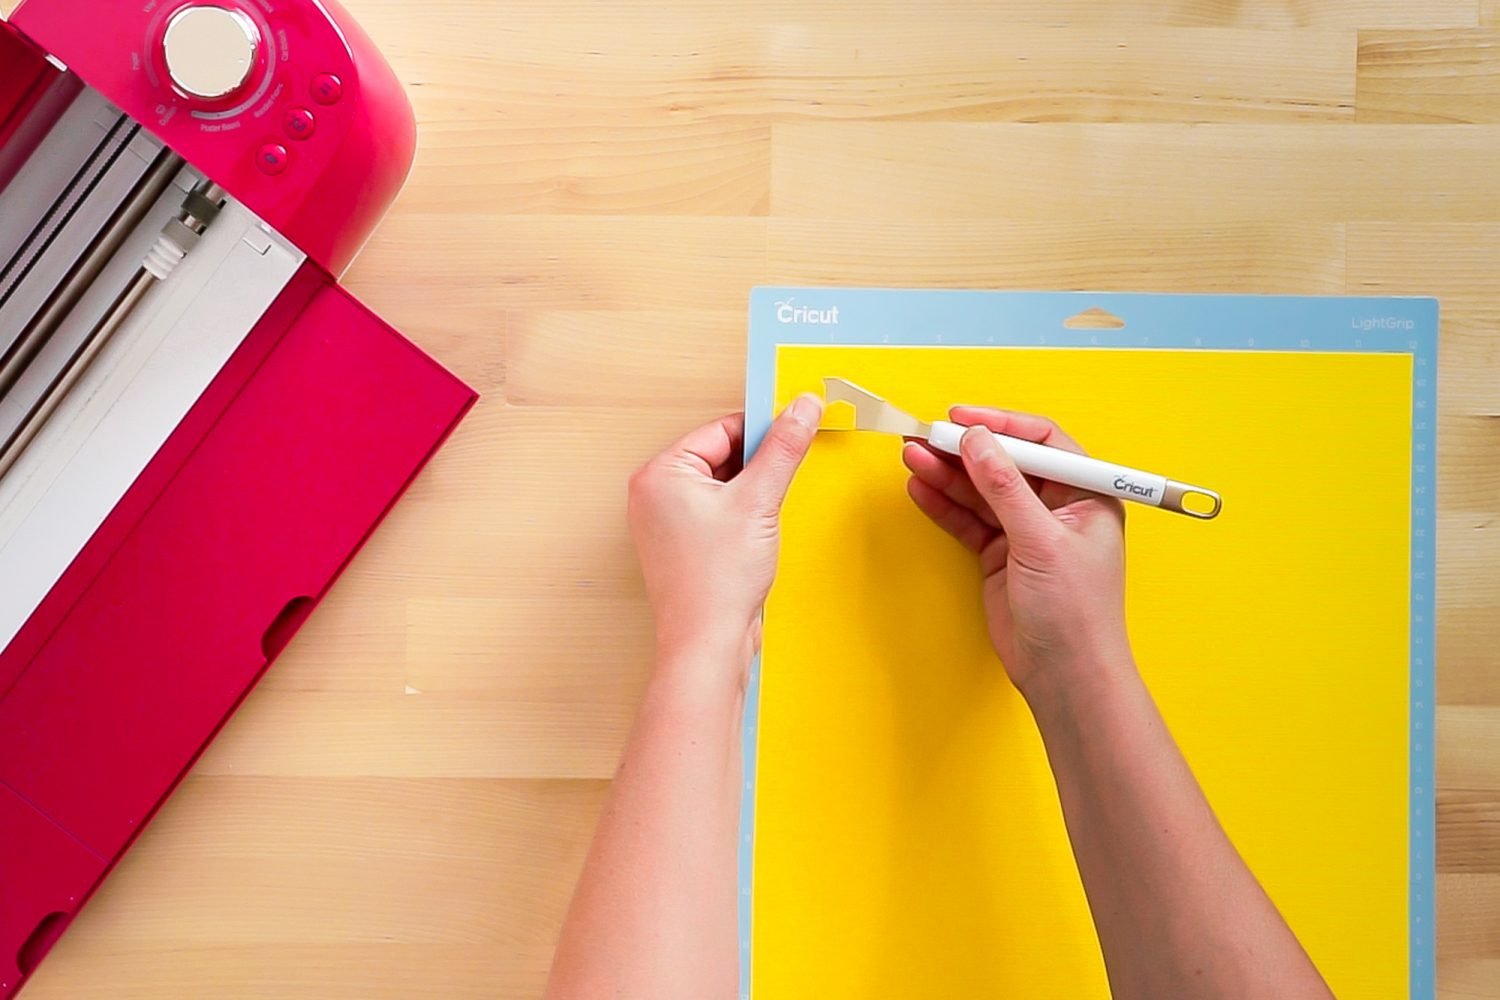
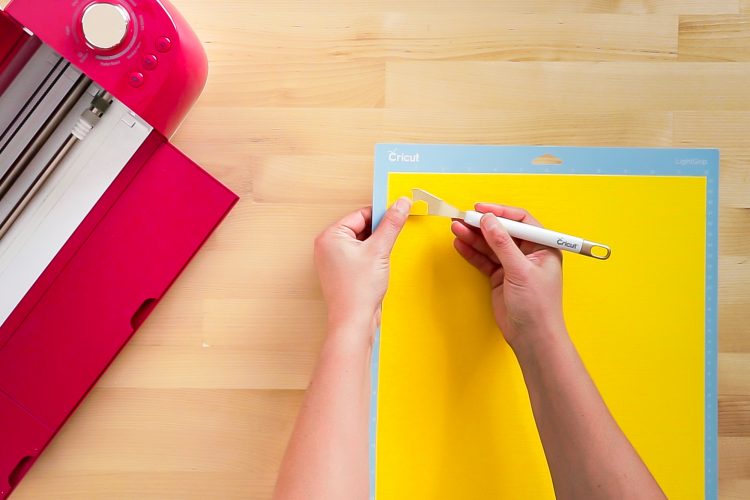
The spatula and tweezers are helpful for removing the smallest pieces from your mat.
Assemble Your Snow Globe Shaker Card
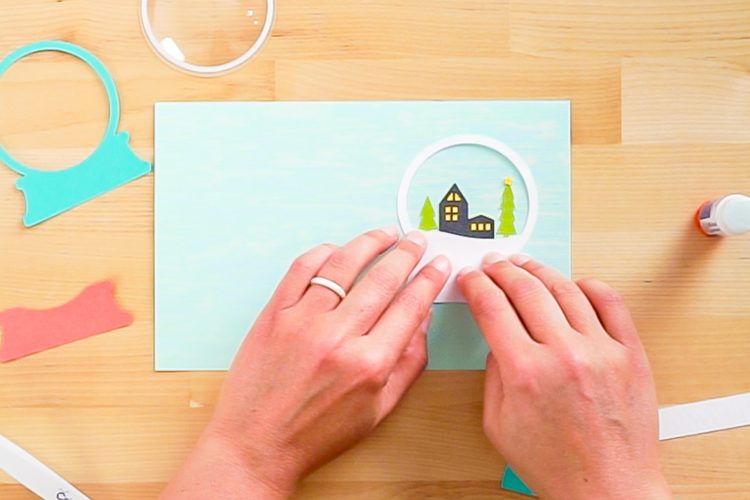
Once all your pieces are cut, you’re ready to assemble the card. Start by gluing the black house piece on top of the yellow house piece, and the yellow star on top of the tree.
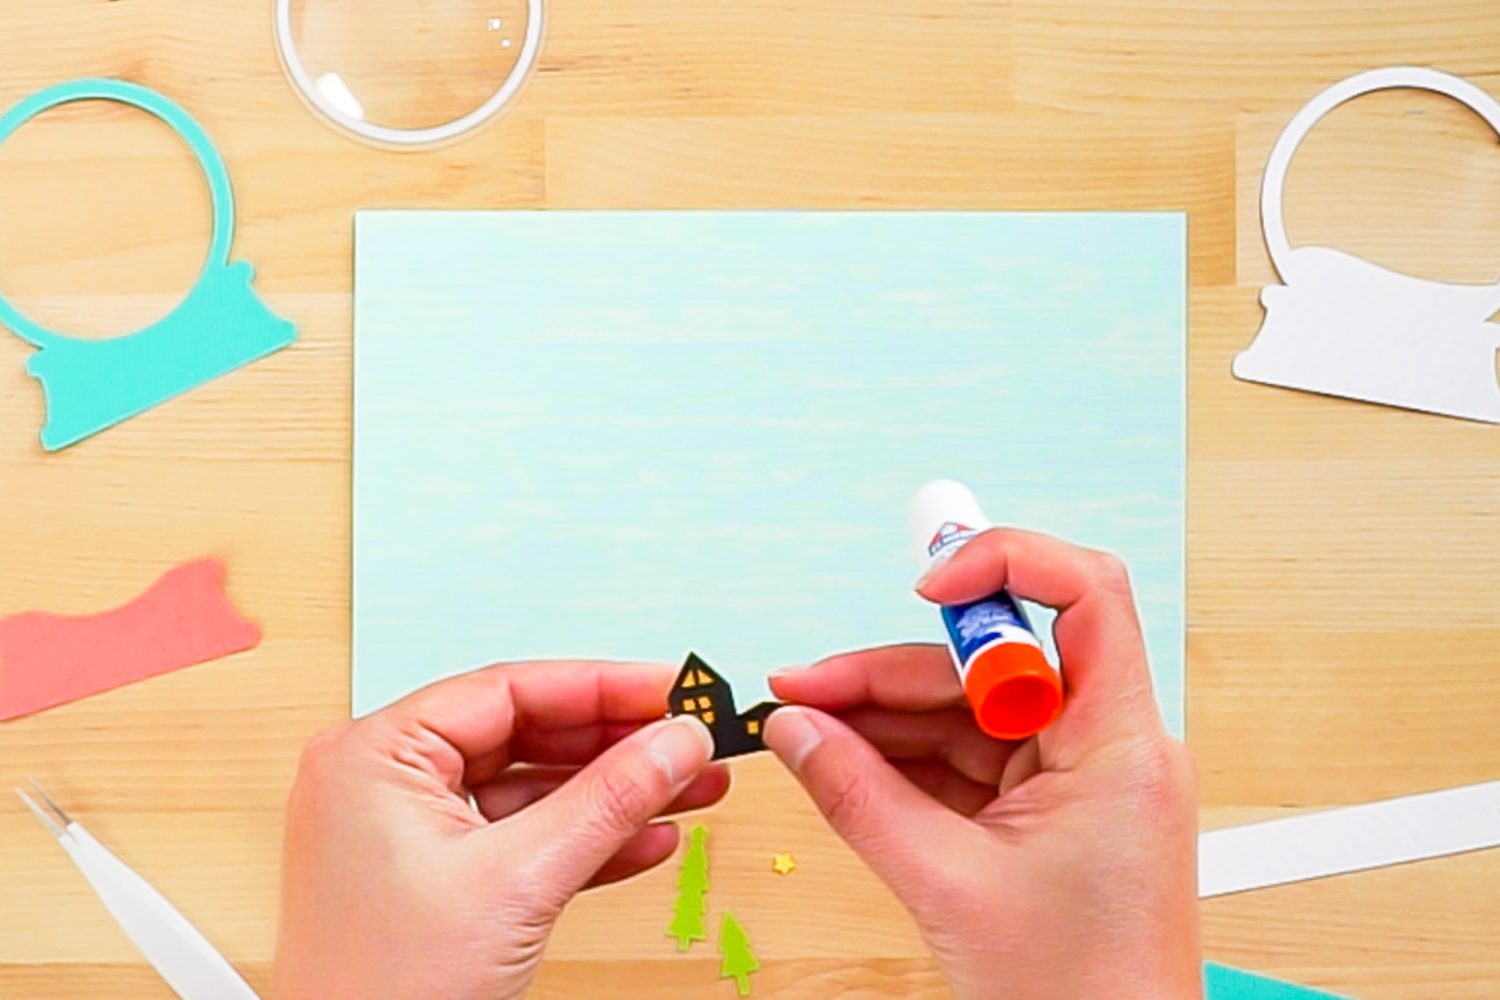
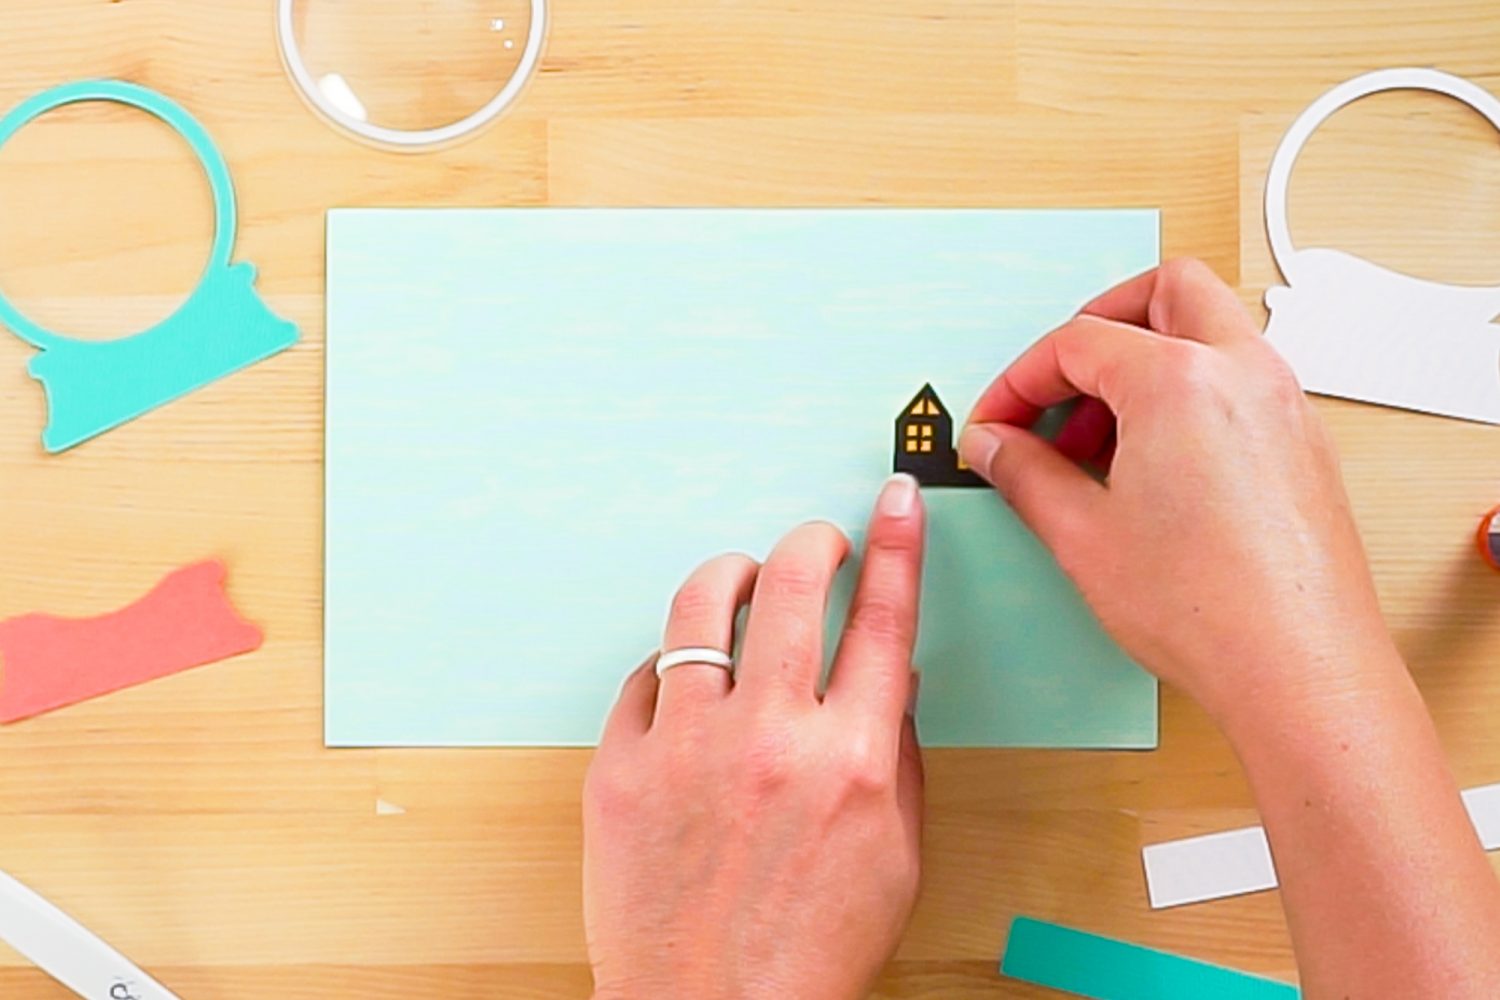
You’re going to use that horizontal score line that is in the center of the circle to line up the bottom of your house and the trees along that line. Glue the house and trees to the card.
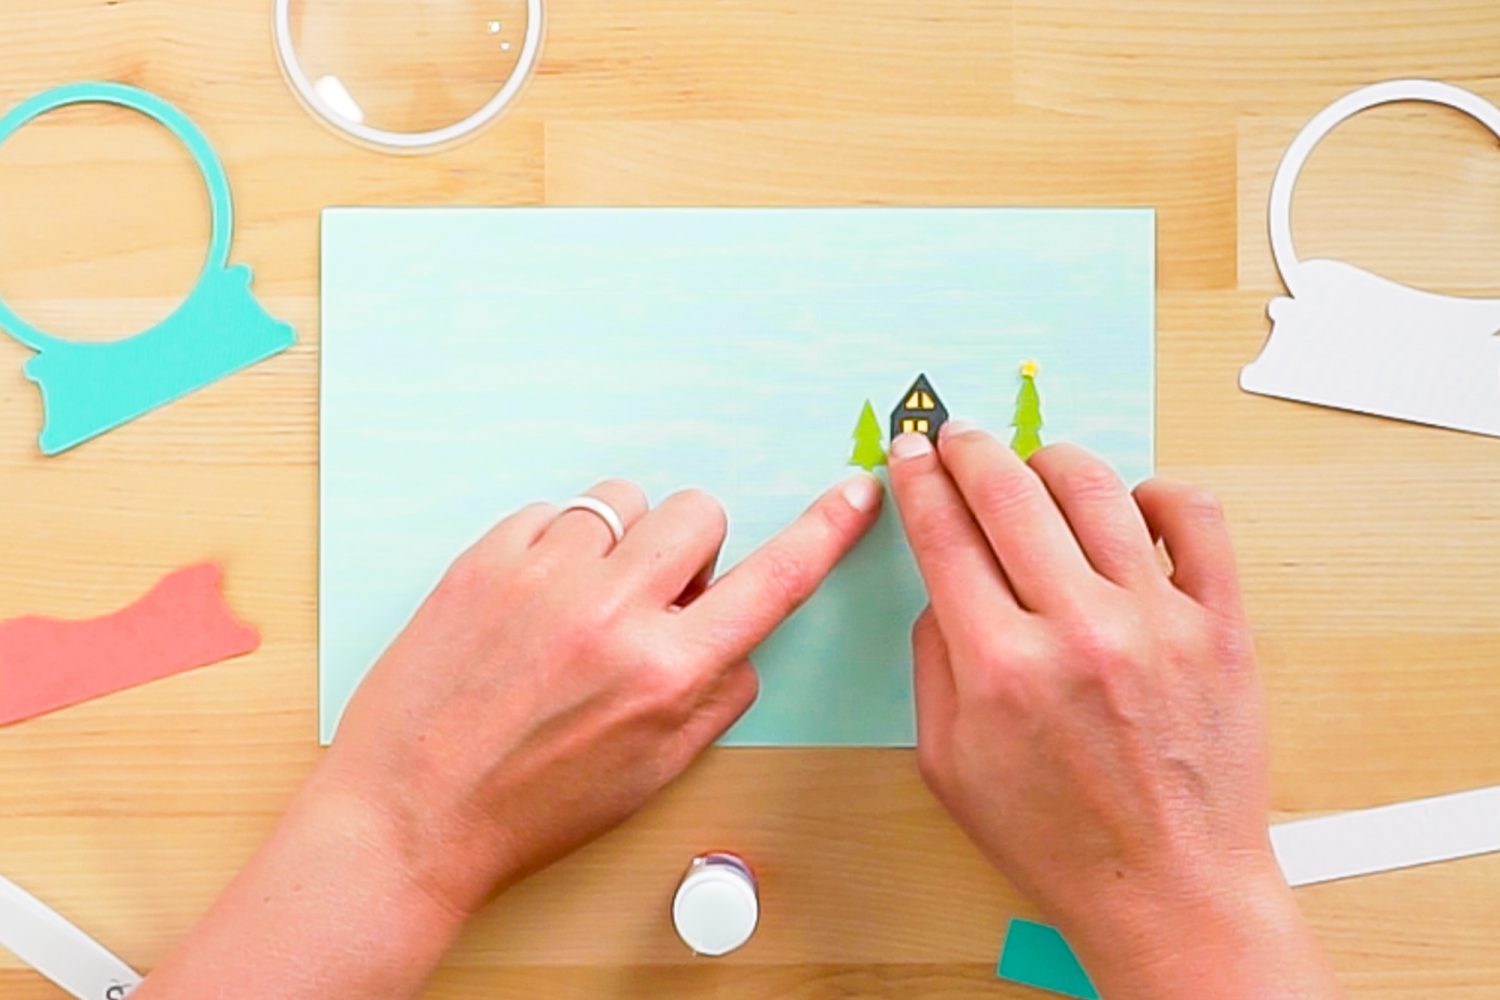
Next, add the white “snow” layer, using the round score line on the card to center it properly.
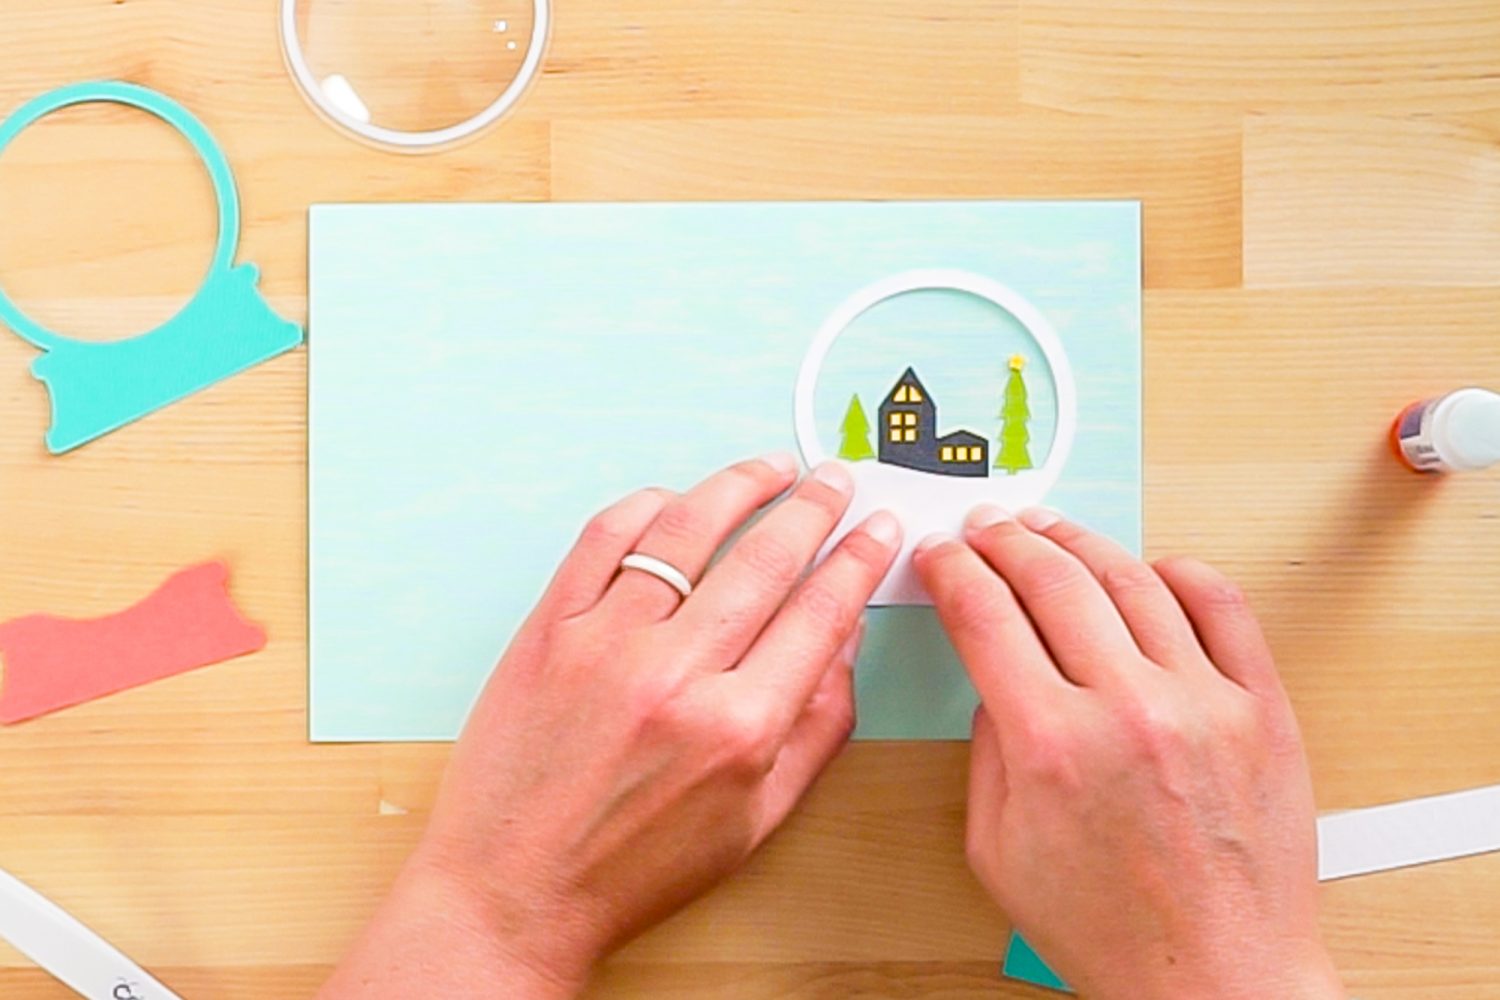
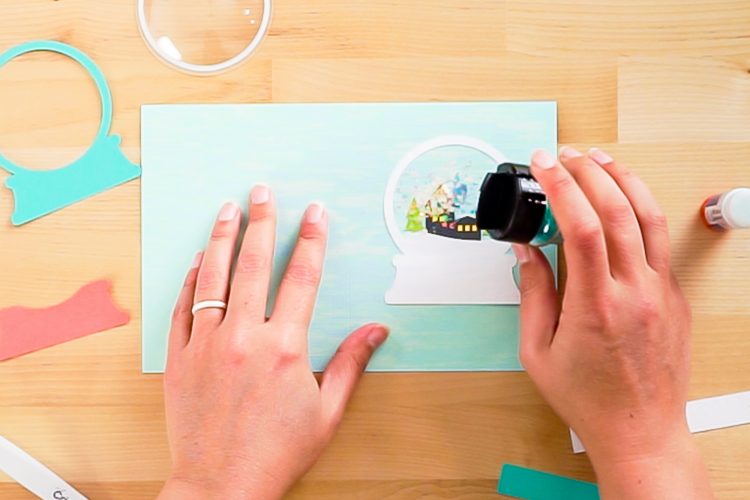
Now it’s time for glitter! Pour a small amount of glitter in the center of your snow globe.
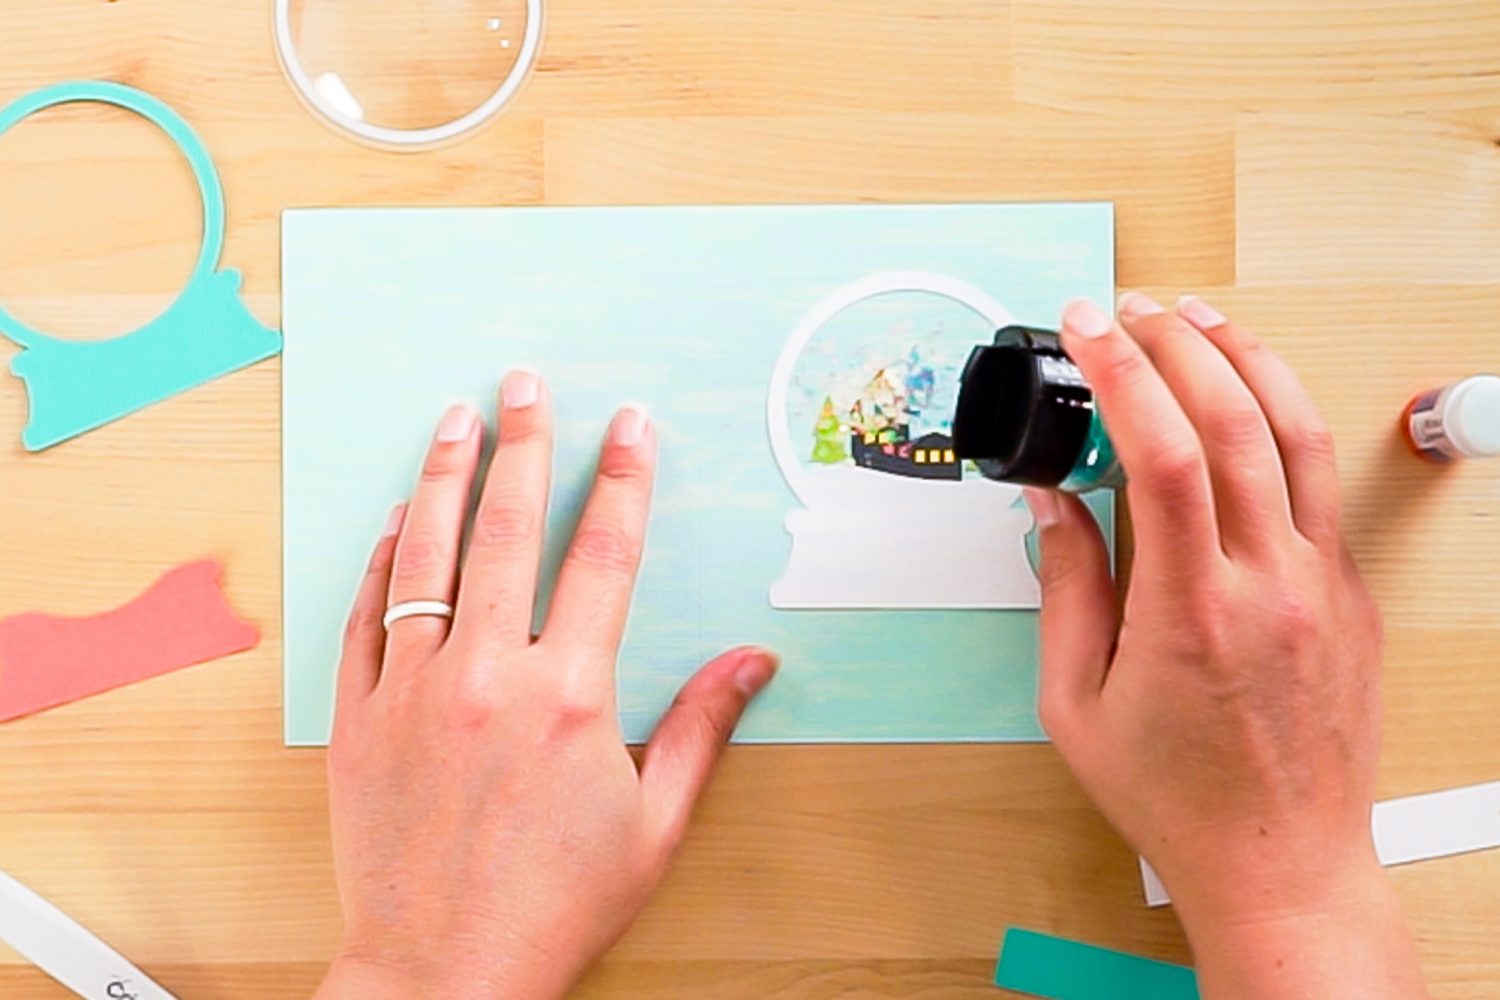
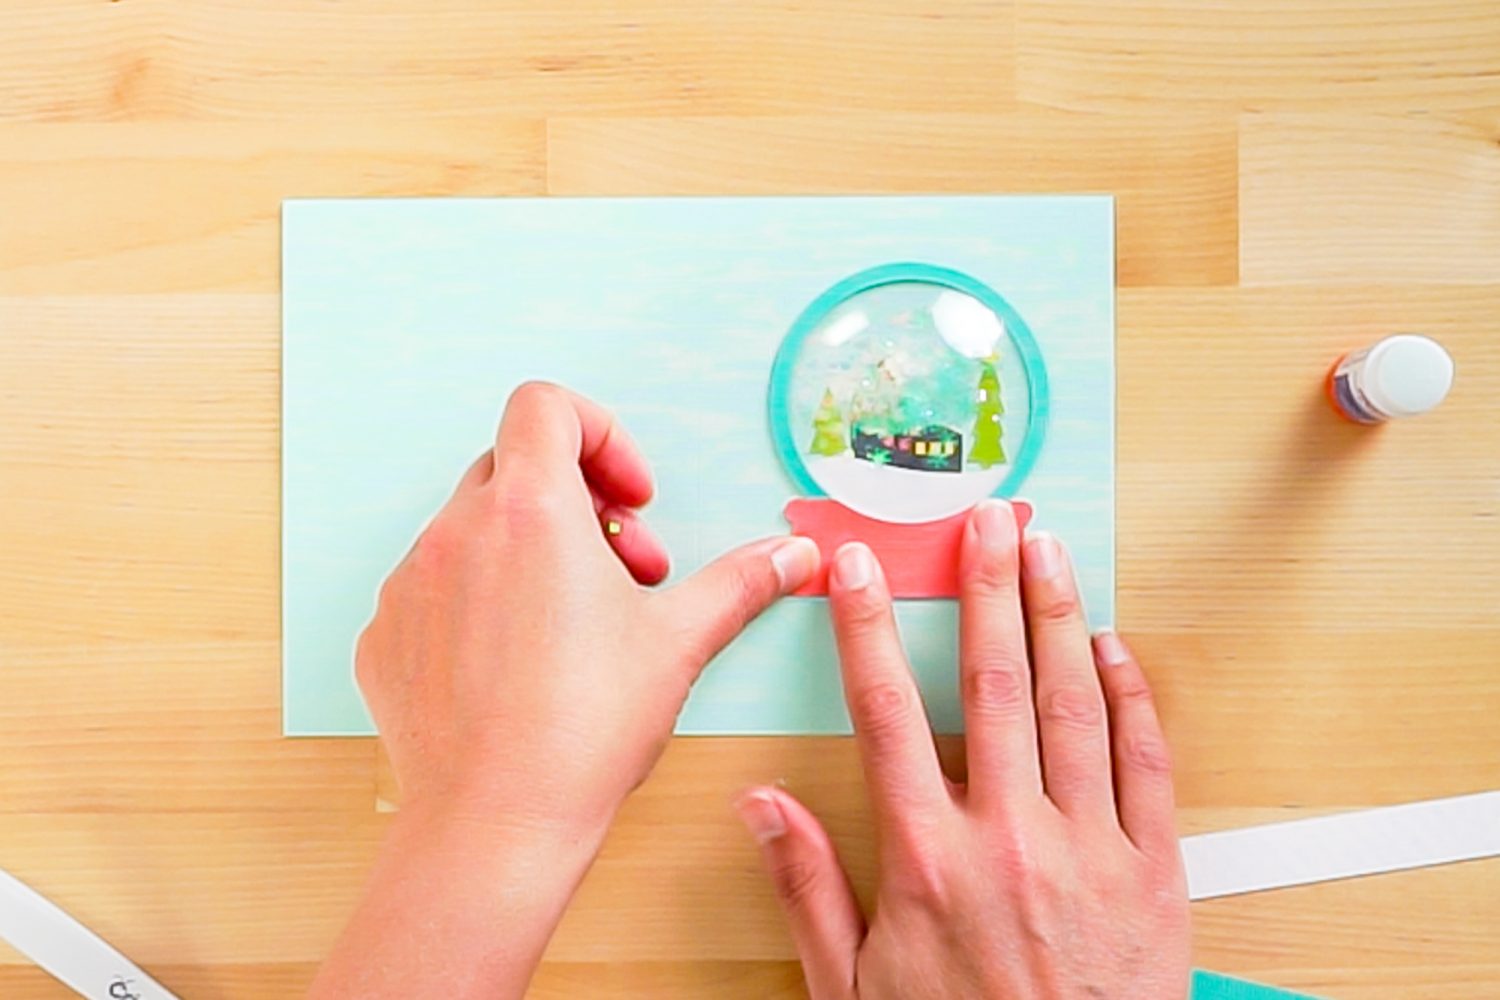
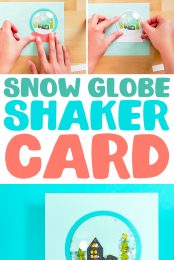
Then peel off the white sticker on the plastic dome to reveal the sticky circle. Carefully line this up over the white snow globe piece and press down to adhere.
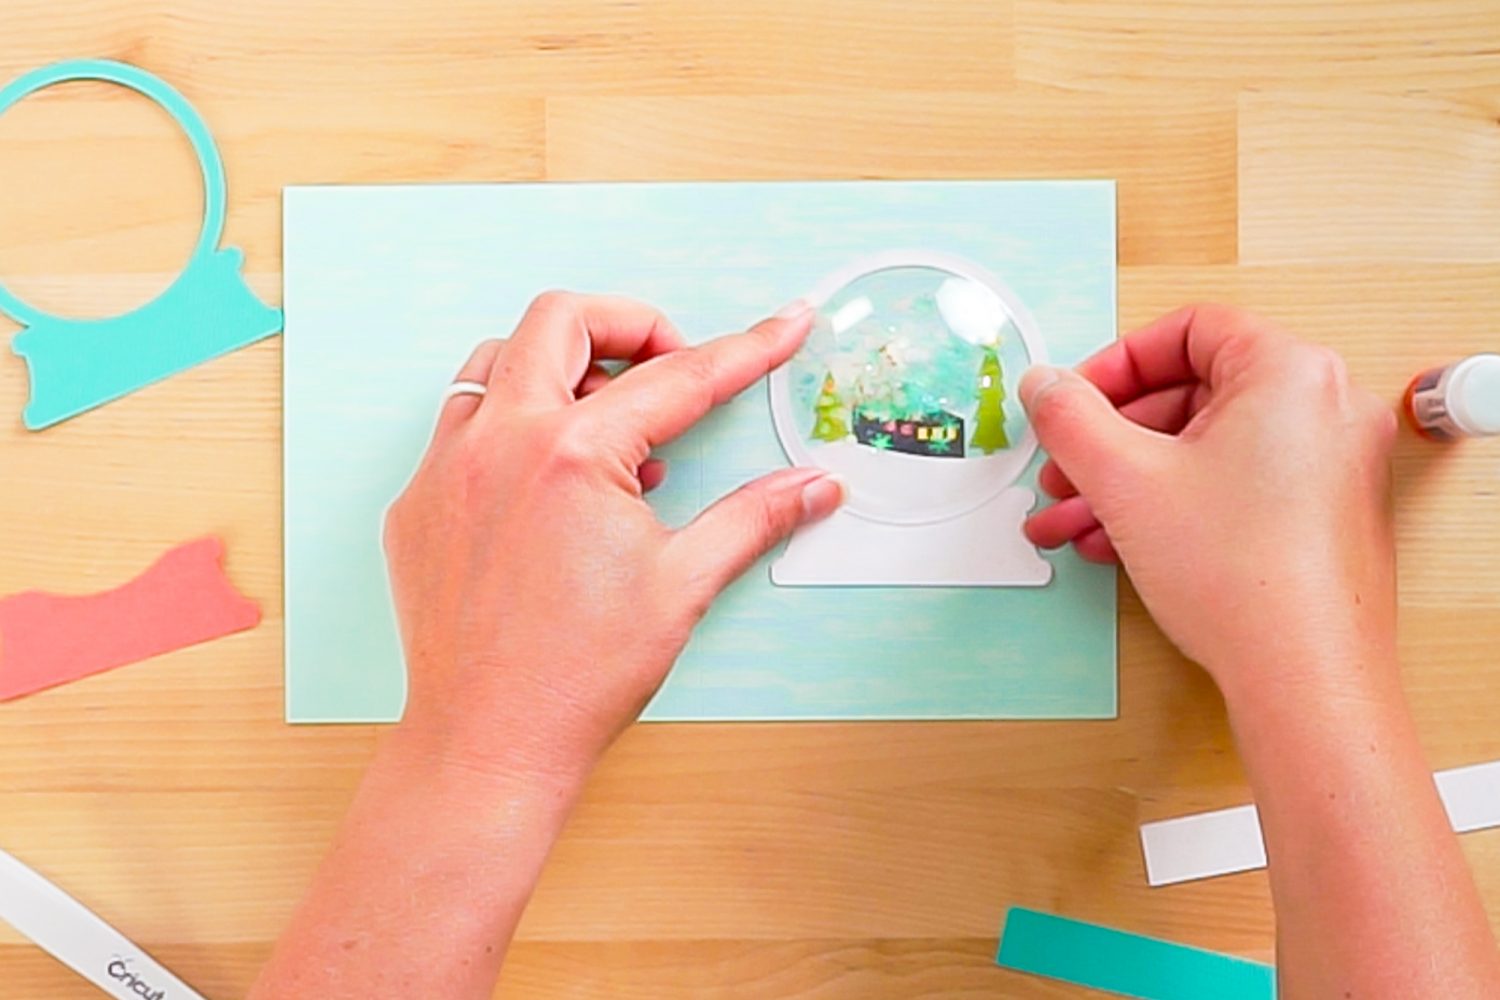
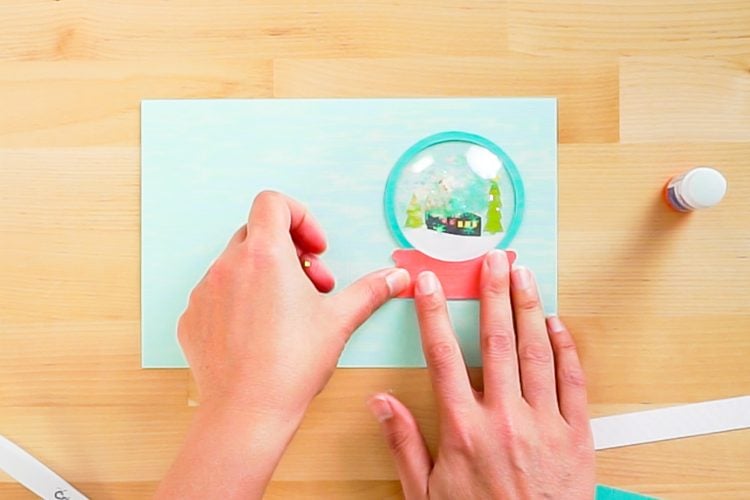
Add the blue snow globe piece on top of the dome to secure it.
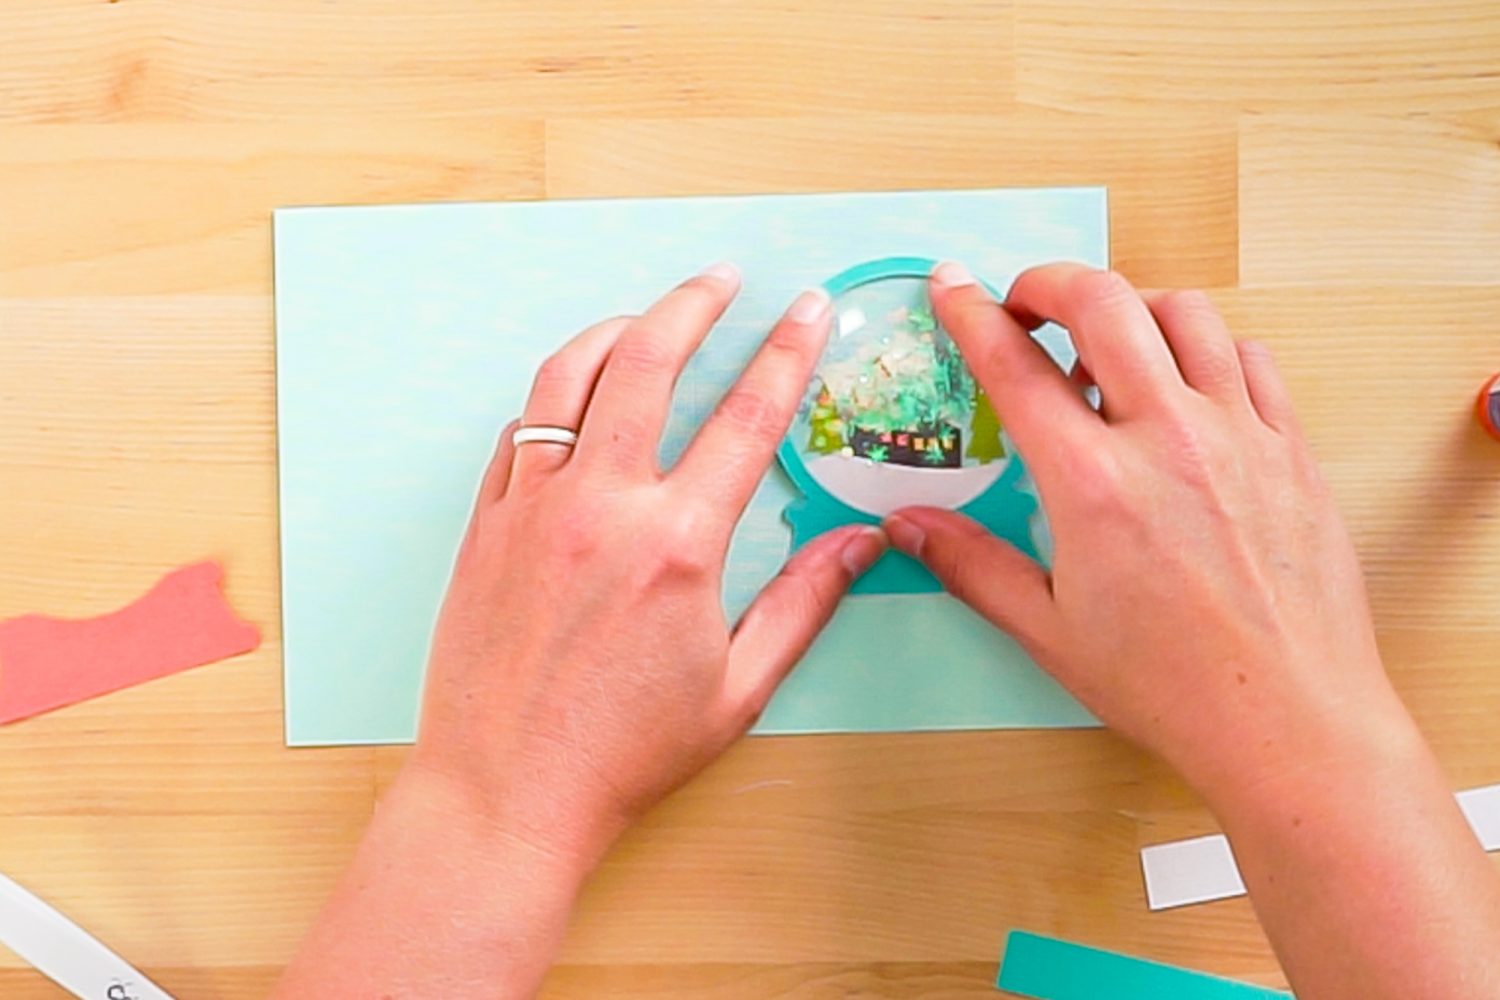
Then glue down the snow globe base piece and the flags—you’re done with your card!
SNOW GLOBE SHAKER CARD
Equipment
- Spatula (optional)
- Tweezers (optional)
- Cricut Pen (optional)
Supplies
- Colored cardstock 7 colors
- Glitter white
- 2.5" Shaker Dome
Instructions
- Set up the card in Cricut Design Space.

- Cut the pieces from cardstock.

- Assemble the first few layers of the card.

- Add glitter.

- Finish assembling the card.

- Add a written sentiment and your card is finished!

Notes
Make All the 25 Days of Cricut Christmas Projects!
We’ll be adding links as each day goes live! Grab the full bundle with all of the projects and SVGs in our 25 Days of Cricut Christmas eBook!
- Day 1: DIY Christmas Countdown Calendar
- Day 2: Snow Globe Shaker Card
- Day 3: Happy Holly Days Christmas Banner
- Day 4: Felt Gnome Pillow
- Day 5: Cookies for Santa Tray
- Day 6: Snowflake Coasters
- Day 7: Customized Christmas Banner
- Day 8: Etched Holiday Baking Dish
- Day 9: DIY Gift Card Holder
- Day 10: Christmas Apron
- Day 11: Christmas Quilt Block Artwork
- Day 12: Constellation Glitter Ornaments
- Day 13: DIY Christmas Card Holder
- Day 14: Papercut Christmas Village
- Day 15: Funny Christmas Socks
- Day 16: Veneer Pinecone Earrings
- Day 17: How to Make Felt Bows
- Day 18: Personalized Santa Sacks
- Day 19: Newborn Footprint Ornaments
- Day 20: Layered Christmas Mandala
- Day 21: Customized Pot Holders
- Day 22: Sleigh Rides Christmas Sign
- Day 23: Hot Cocoa Mug Gift
- Day 24: Print then Cut Gift Tags
- Day 25: Matching Christmas Pajamas


Comments & Reviews
Torah says
Hi I was really excited to make this and I bought the domes you have linked and I cut the pieces out exactly from the file but the dome is smaller than the pieces so it doesn’t fit the way it’s pictured. I am just wondering if there’s something I did wrong? Thanks so much.
Alicia Key says
Cute card! Finally found a 2.5″ dome on amazon that will be here Thursday. Can’t wait to try the card! BTW, my “make it” button is in the upper right, not left. Maybe my software’s different?
Cori George says
Whoops! It’s more that I’ve typed “on the left” and “on the right” so many times in tutorials that sometimes I make mistakes 😂
Thanks for the heads up and I’ll get that fixed—enjoy making you card!!!