Siser EasyColor DTV is a new type of printable vinyl that is thin, washable, and easy to use! This product can be transferred to all sorts of apparel and other soft blanks, and you don’t need a specialized sublimation printer to use it.

I recently went to an event at Heat Transfer Warehouse in Fargo, ND where I got my first look at Siser’s newest product—Siser EasyColor DTV. This is a new type of printable heat transfer vinyl (sometimes called printable iron on vinyl) that is much thinner than the other printable vinyl on the market and I think you’re going to love it.
Siser sent me the product for this post, but all opinions here are my own.
What is Siser EasyColor DTV?
Siser EasyColor DTV is a printable heat transfer vinyl you can use on a garment or other blank. While that may sound similar to other printable heat transfer vinyl on the market, I promise you it’s different! It’s very thin and flexible, which allows you to create designs that sit more naturally on a garment (vs. feeling thick and heavy) and have a bit of stretch to them.
The material itself looks like a sheet of white printer paper, but it has a bit of a rubbery feel. It’s white on the printable side, and light gray on the backing side. Take care when loading the DTV into your printer to be sure it prints on the white side.
The product itself is white, so note that if you have any of it showing on your project (for example, you have an outline around your image), it will look white on your final project. This is particularly important if you have a darker colored garment.
What Type of Printer Do You Need?
One of the great things about Siser EasyColor DTV is that it just uses a regular ink jet printer. You don’t need any sort of specialized printer, like a sublimation or eco-solvent printer. I used my HP Envy (set on “Best” print quality and “presentation matte” paper) and it worked great.
What Types of Blanks Can You Use?
Siser EasyColor DTV is designed to be used with soft blanks, like garments, tote bags, pillow cases, and more. It can be used with cotton, polyester, a blend of those two, and tri-blend fabrics. The one fabric that doesn’t seem to work is Nylon. You can always test to see if it works on your particular blank!
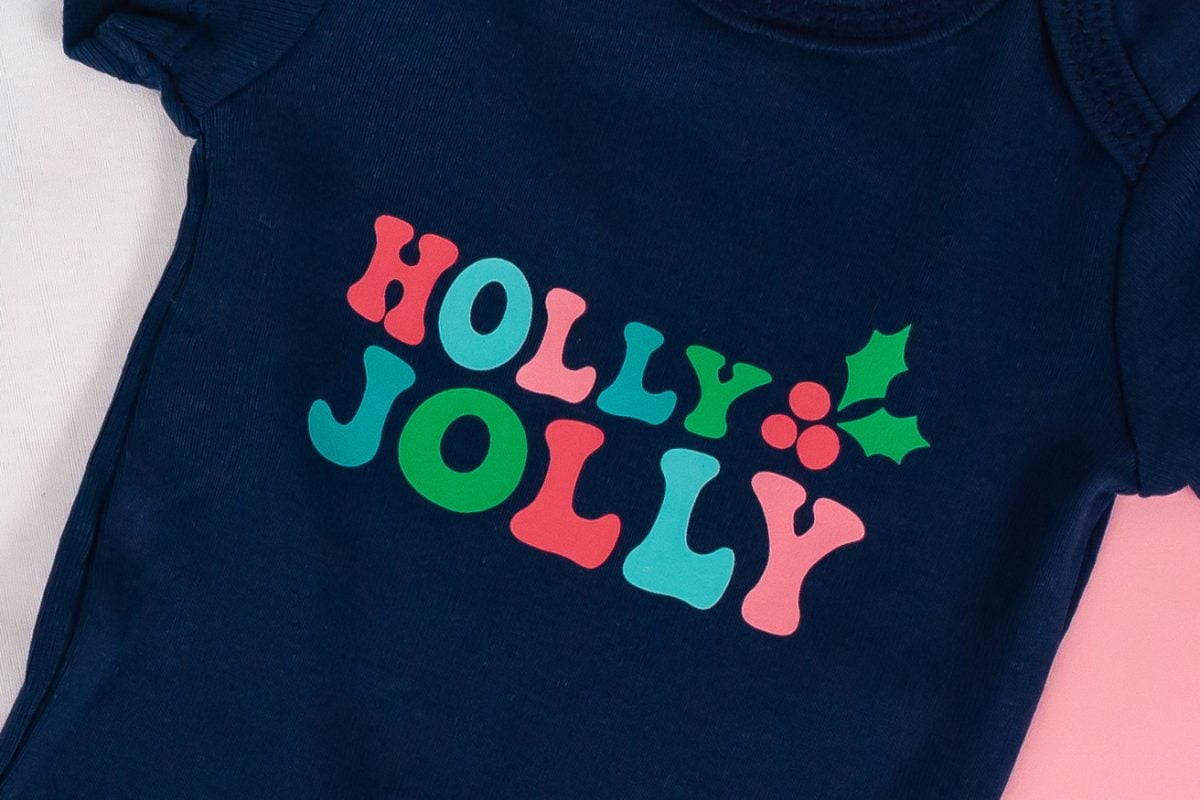
You can use it on light and dark fabrics as well. I’m particularly impressed with how it looks on darker fabrics, especially considering this was just my regular inkjet printer!
How Long Does Siser EasyColor DTV Last?
Siser has qualified this material to last 20 to 25 washes. In some cases (if you do not dry your garment, for instance), you may get up to 50 washes out of it.
I’m currently in the middle of washing these onesies over and over so I’ll be able to share the results of that test with you soon!
Do You Need a Cutting Machine?
You can print and cut out your design by hand. I recommend this if you have a very simple shape like a photo or a round logo or something similar. Remember, you’ll see any white border around your image if you’re putting it on anything but a white garment. I’ll have a tutorial for this coming soon.
If your design is complex or has multiple pieces, I recommend using your Cricut or other cutting machine. Then you’ll use a mask to transfer your cut out DTV to your garment.
In my tutorial below, you’ll see that I’m cutting each individual letter out for my project—transferring them by hand would be pretty much impossible.
Video Tutorial for using Siser EasyColor DTV
Watch here for a complete tutorial for creating onesies with Siser EasyColor DTV, or read on for written instructions!
Siser EasyColor DTV Tutorial Supplies
- Siser EasyColor DTV
- Siser Easymask (see my notes in the tutorial about this product)
- Cricut Maker or Explore machine (Cricut Joy does not have Print then Cut capabilities)
- InkJet Printer
- Onesie (I used a white and navy. You can use any color you’d like.)
- Cricut EasyPress or traditional heat press
- Green StandardGrip Mat
- Weeding tool
- Scraper
- SVG (see below to get it for free!)Cricut StandardGrip Mat – Cricut.com
Get the Free File
Want access to this free file? Join my FREE craft library! All you need is the password to get in, which you can get by filling out the form below. The file number is: C450.
Siser EasyColor DTV Tutorial Instructions
Setting Up the File in Cricut Design Space
Before you get started, you’ll want to measure your onesie (or other apparel blank) to see just how large you need to print your design. I used a measuring tape to determine that I need to create a design about 4 inches wide.
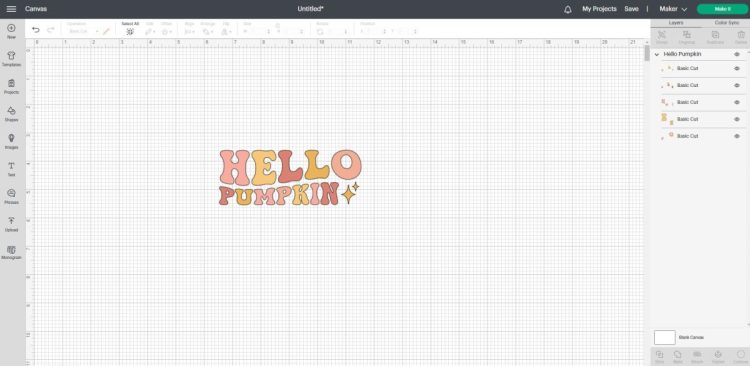
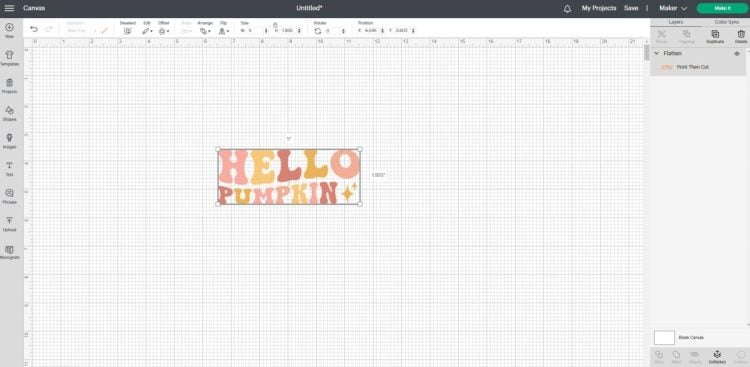
Start by uploading the SVG to Cricut Design Space (see my post Uploading SVG files to Cricut Design Space if you need help). Resize your image to fit your blank.

Since we’re printing this image, we need to make sure the Cricut recognizes it as a print file, rather than cut file. To do this, select the image and choose Flatten in the bottom of the Layers panel.

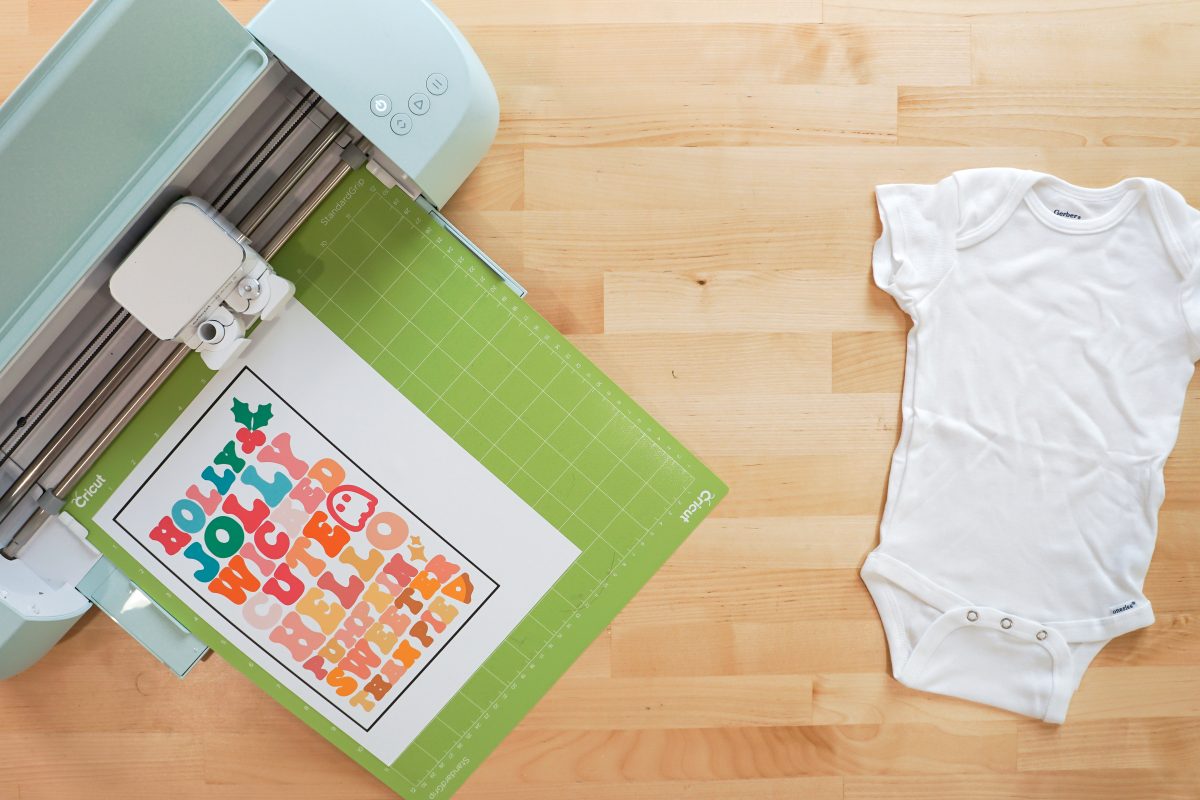
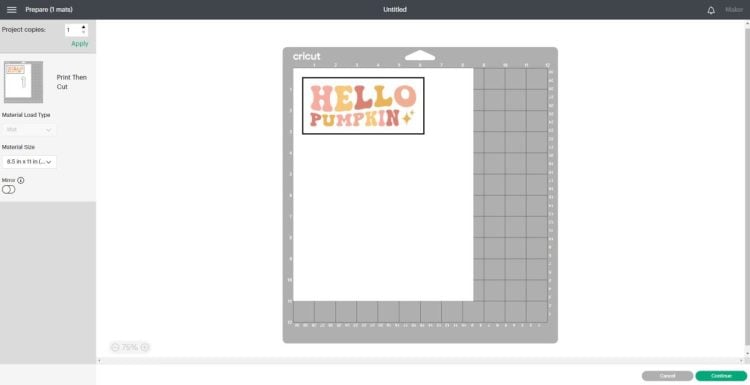
Click Make It and you’ll see your image displayed on a Cricut mat with a black box around it. The black box is the registration box that your Cricut will use for the Print then Cut feature. Click Continue.

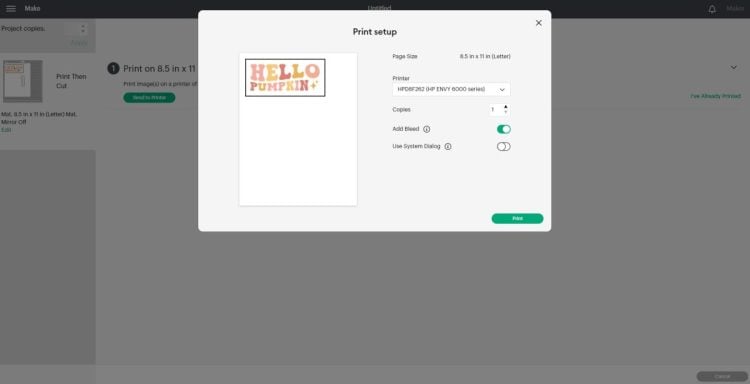
In the next screen you can send your image to the printer. Keep the “Add Bleed” box checked, and also click “Use System Dialog Box.” This will allow you to refine your printing preferences. In the System Dialog Box, choose Best for the quality, and change your paper to specialty matte (or something similar, depending on your printer).

Load your Siser EasyColor DTV into your printer so that it prints on the white side, and print your project.
Cutting the Siser EasyColor DTV
To cut your project, set the material to Premium Vinyl-Permanent Glossy and select More from the Pressure dropdown.
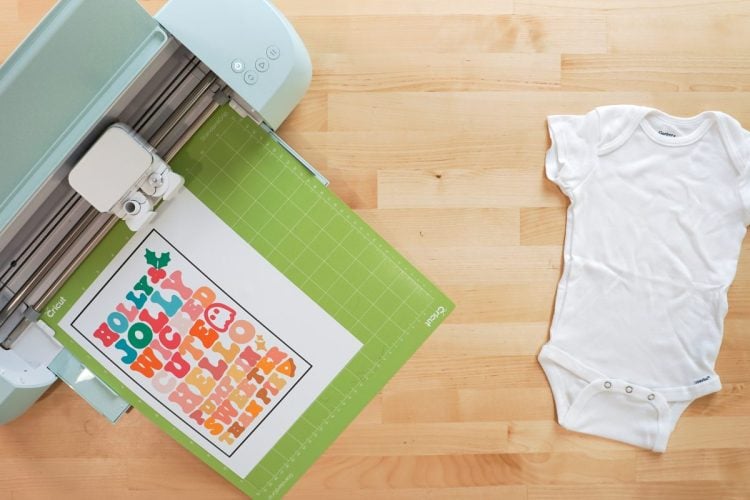
Place your material in the top left corner of the mat (note: I ended up cutting more than the single image so I wouldn’t waste the DTV), using a brayer to smooth it down if needed. Insert your mat and press the blinking Play button on your machine to cut your image.

To remove the sheet from your mat, flip the mat over and peel your mat away from the DTV. Don’t peel the DTV up from the mat.
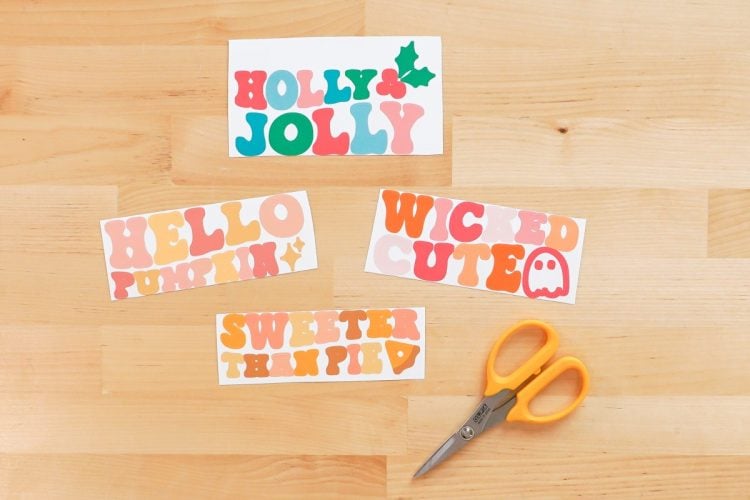
If needed, cut out your design using scissors to make it easier to weed.
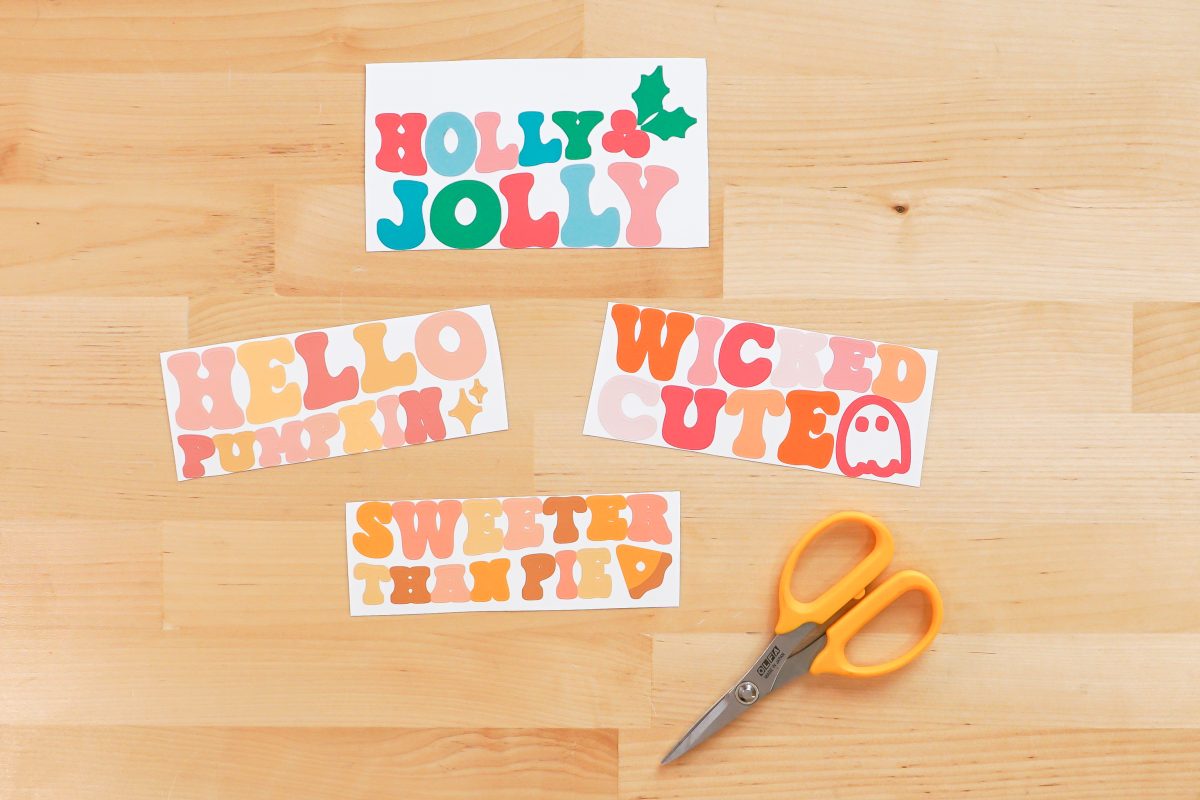
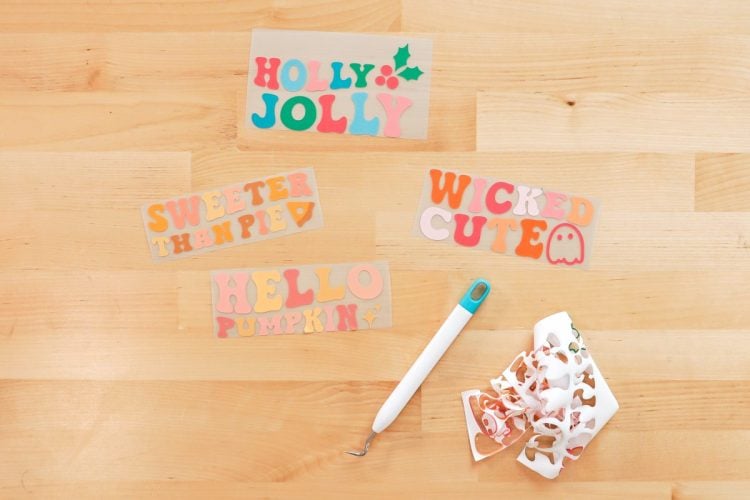
Use your weeding hook to weed away the excess vinyl around your images. Remove the vinyl carefully since it’s a bit soft and can rip easily. Don’t forget those small details!
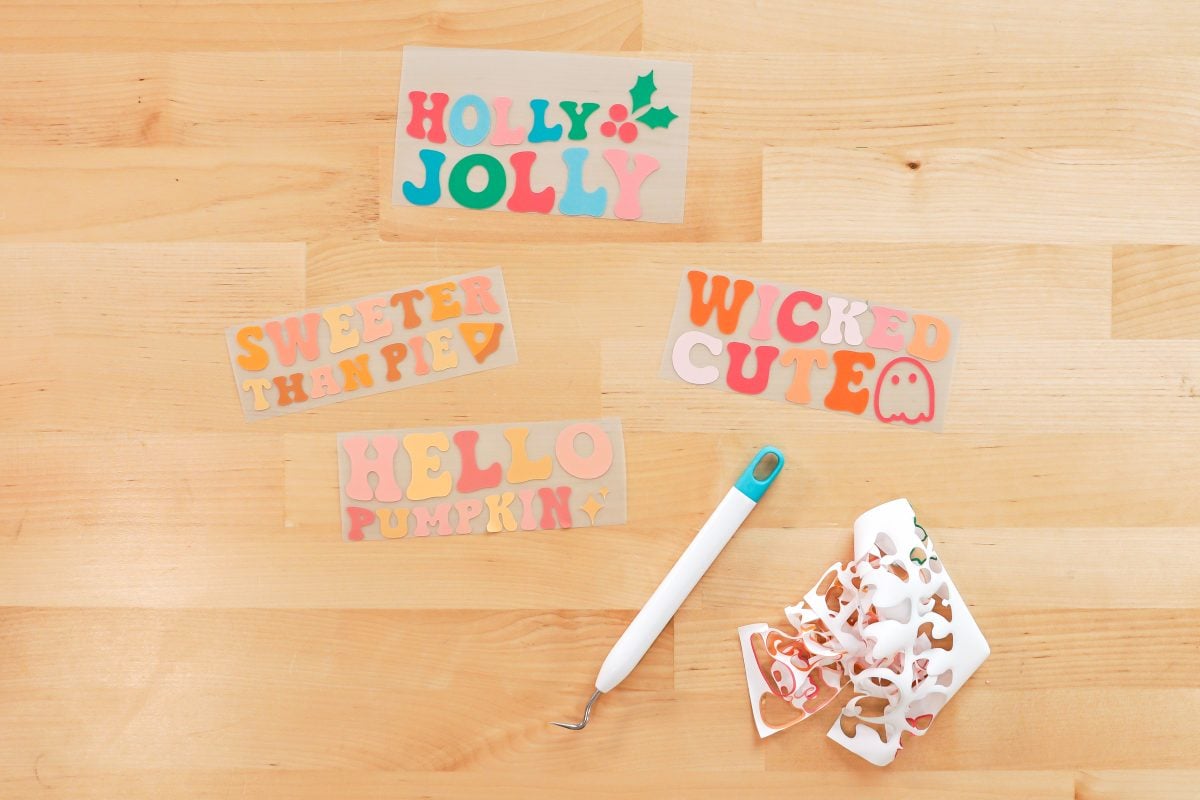
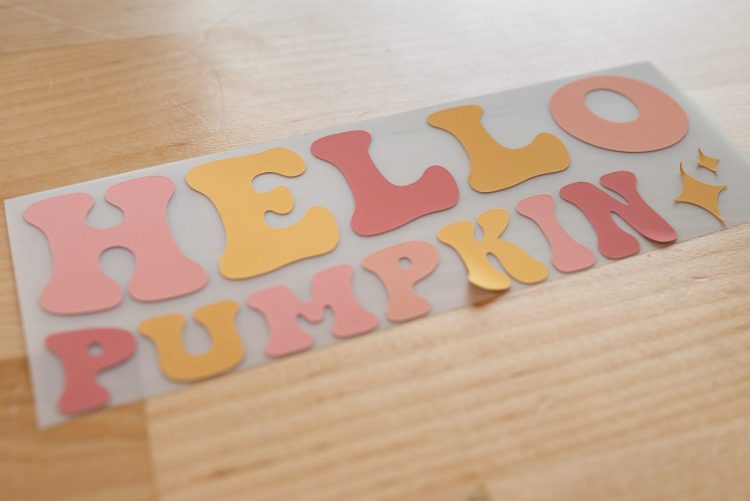
Note that the DTV is very delicate and can pull away from the backing sheet. And once it’s off…It won’t stick back down. Just be aware. It should be OK…you’ll put a mask on it next.
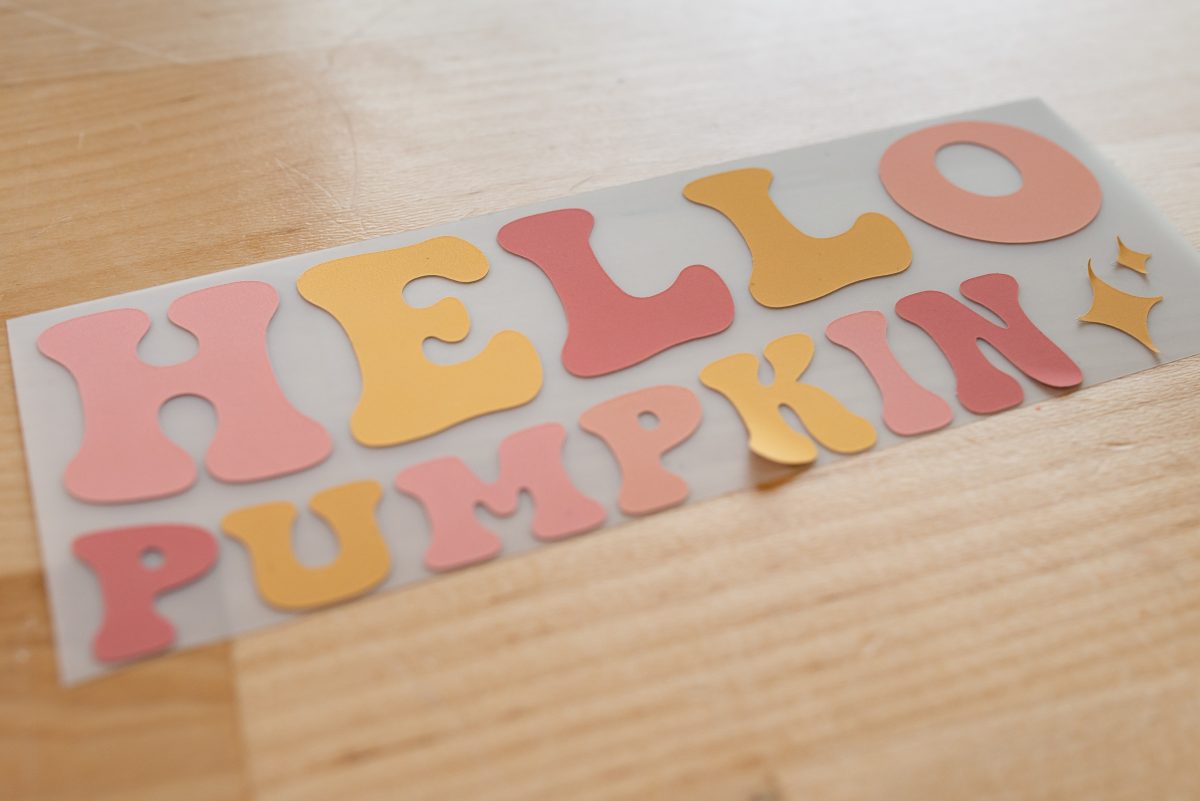
Apply the Mask to Your Image
For the mask transfer, I used Siser EasyMask. But I’ll be honest—I *really* struggled with it. I know plenty of crafters who use it without issue, but it was tricky for me. I plan to test out more mask options and will share them here! I also learned a few tips and tricks for working with Siser DTV and EasyMask, which you can read about at the end of this post.
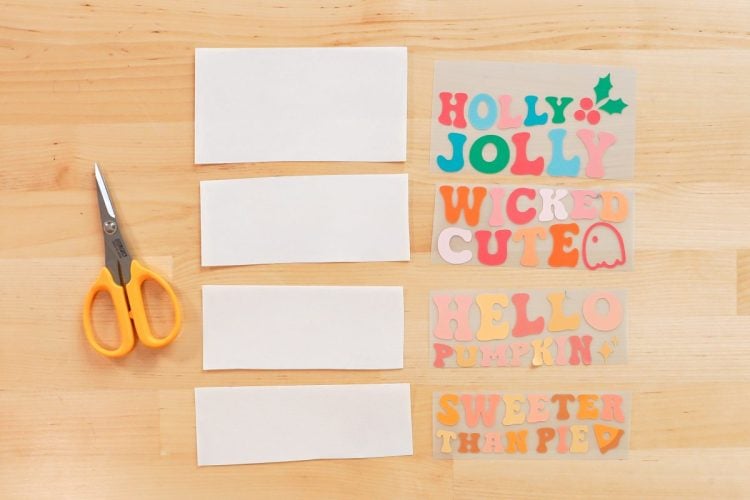
Cut the mask the same size as your image.
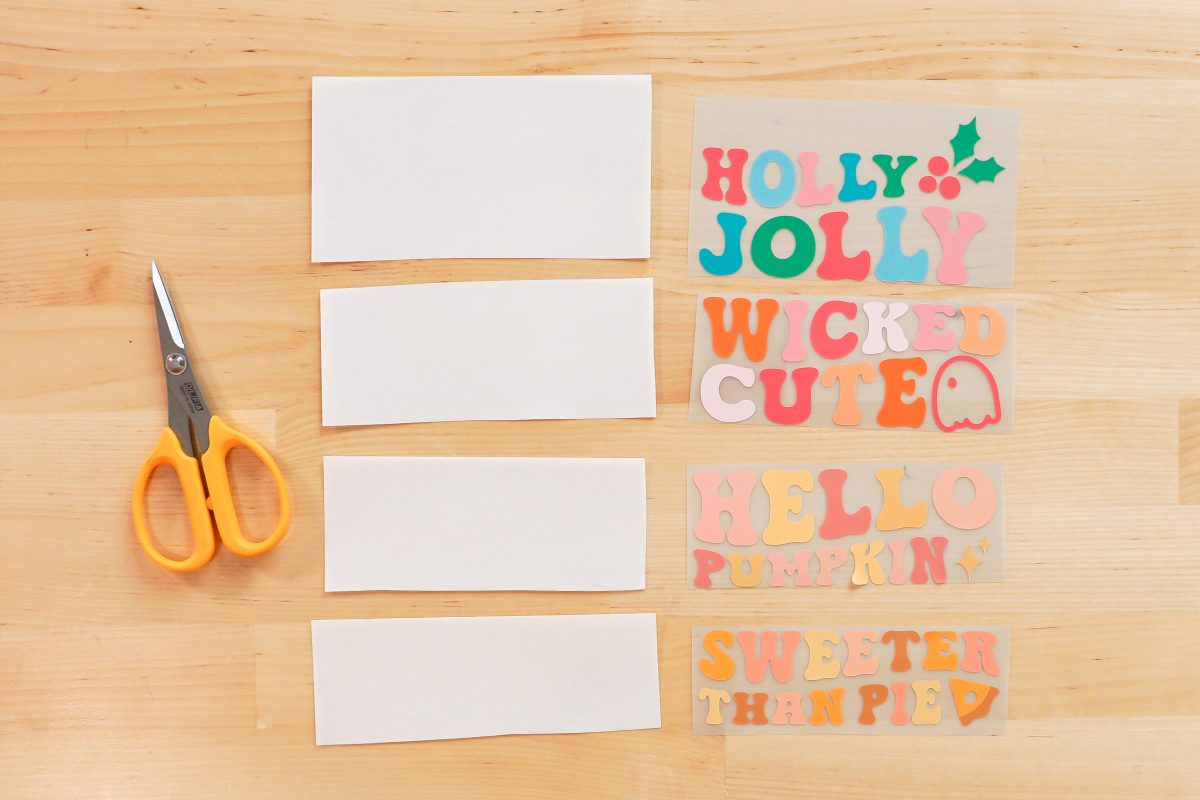
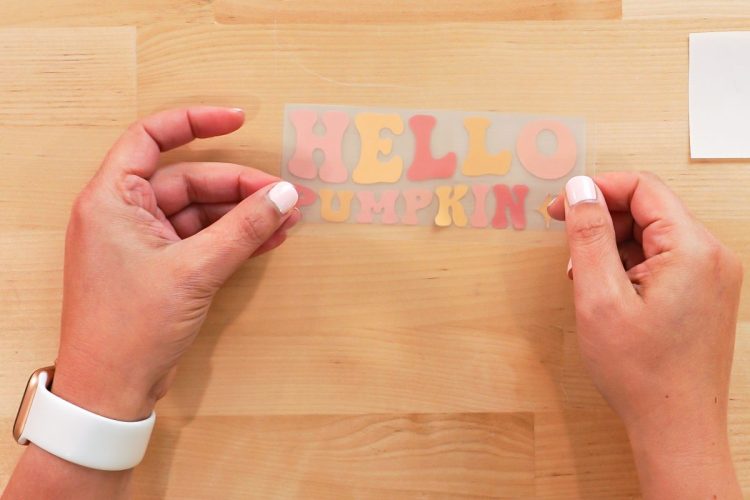
Peel the clear film from the white backing and apply the clear layer to your DTV design. Be careful because any “loose” DTV tends to want to fold in on itself. Be sure it’s completely flat when you add the mask to the top.
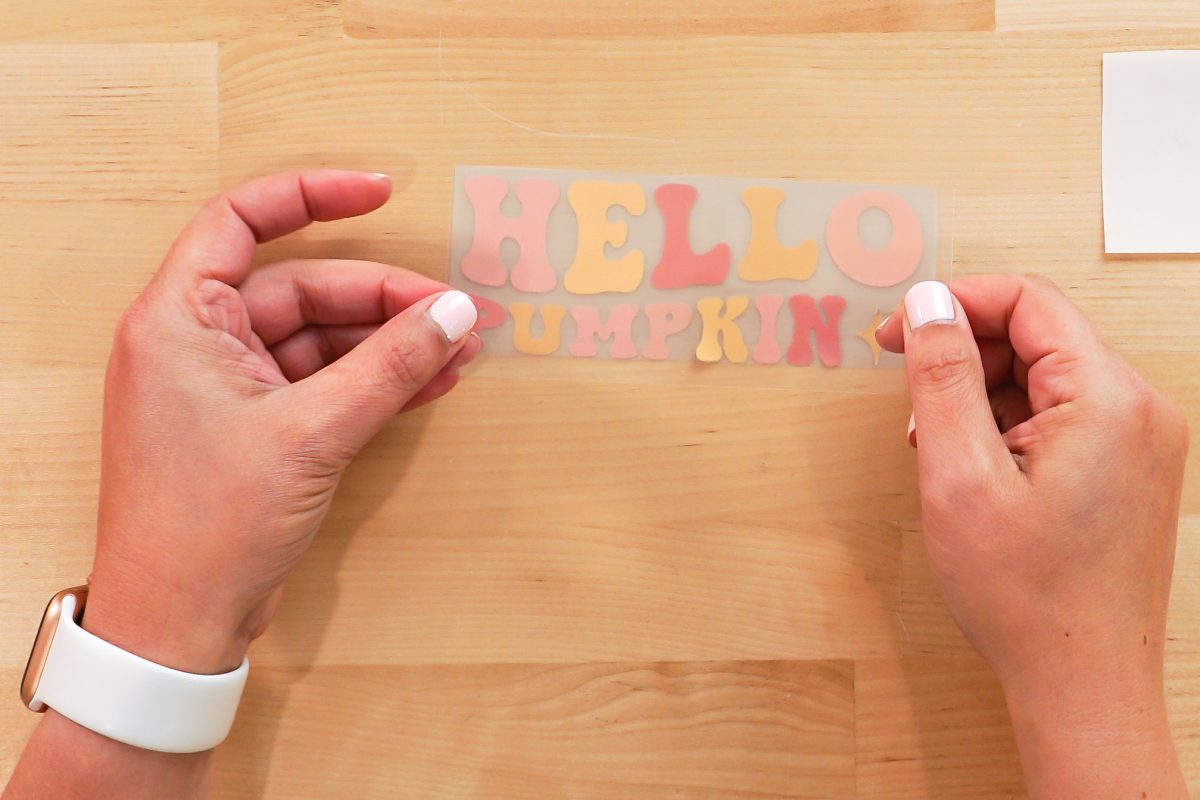
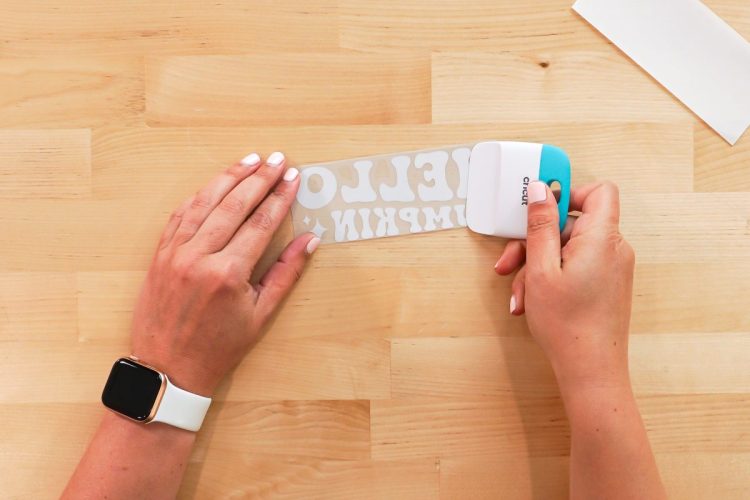
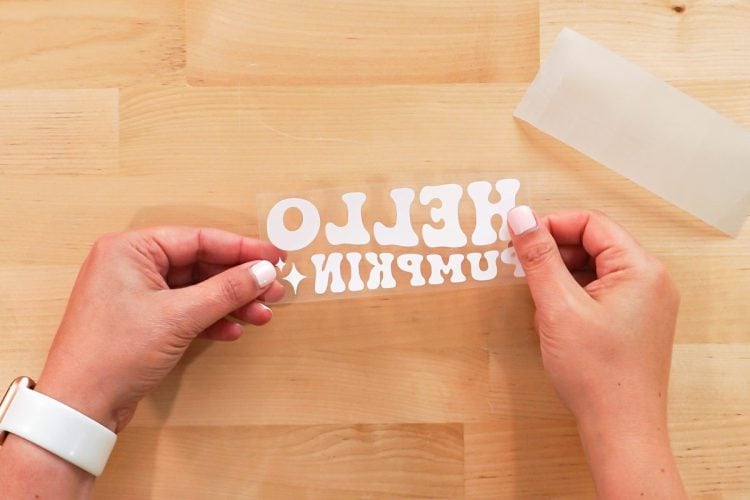
Use your scraper to burnish the mask to the DTV on both sides and then peel away the mask.
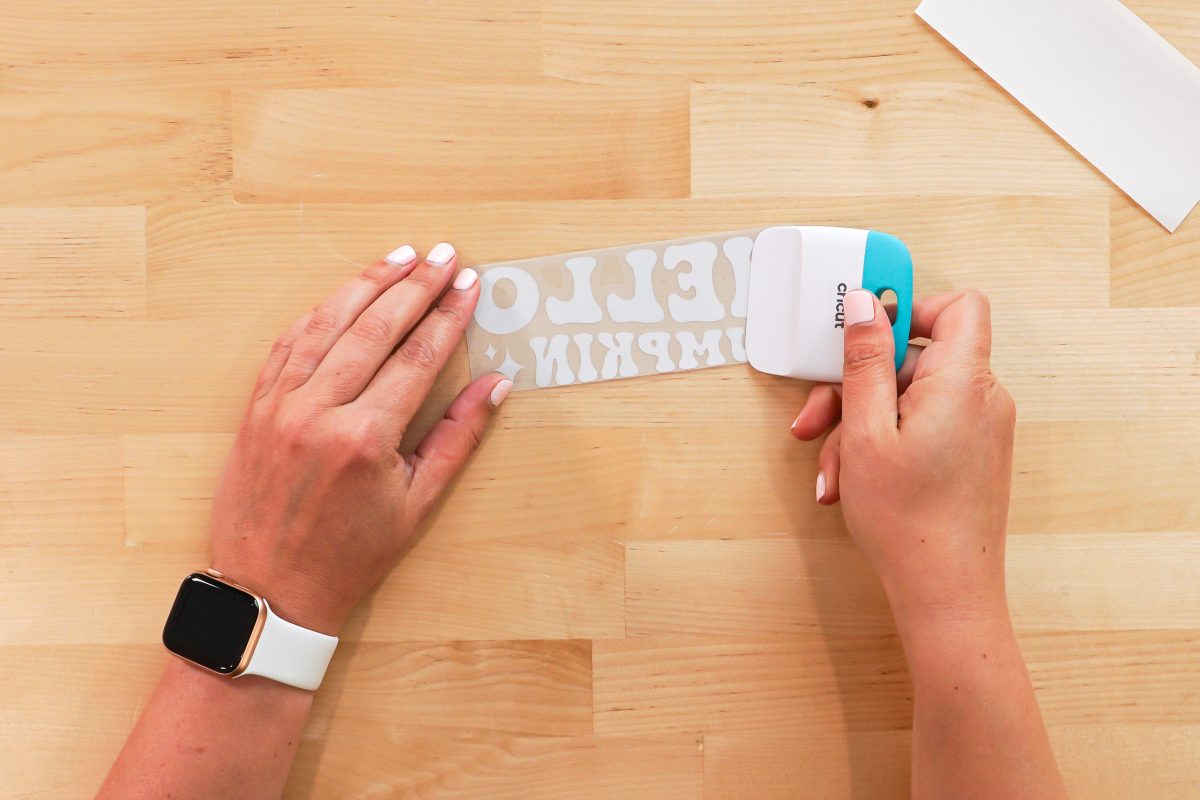
This is where I struggled. The DTV didn’t want to stick all the way to the EasyMask. I found that using my fingernails was helpful in ensuring the design sticks to the mask. It can be tedious, so be patient.
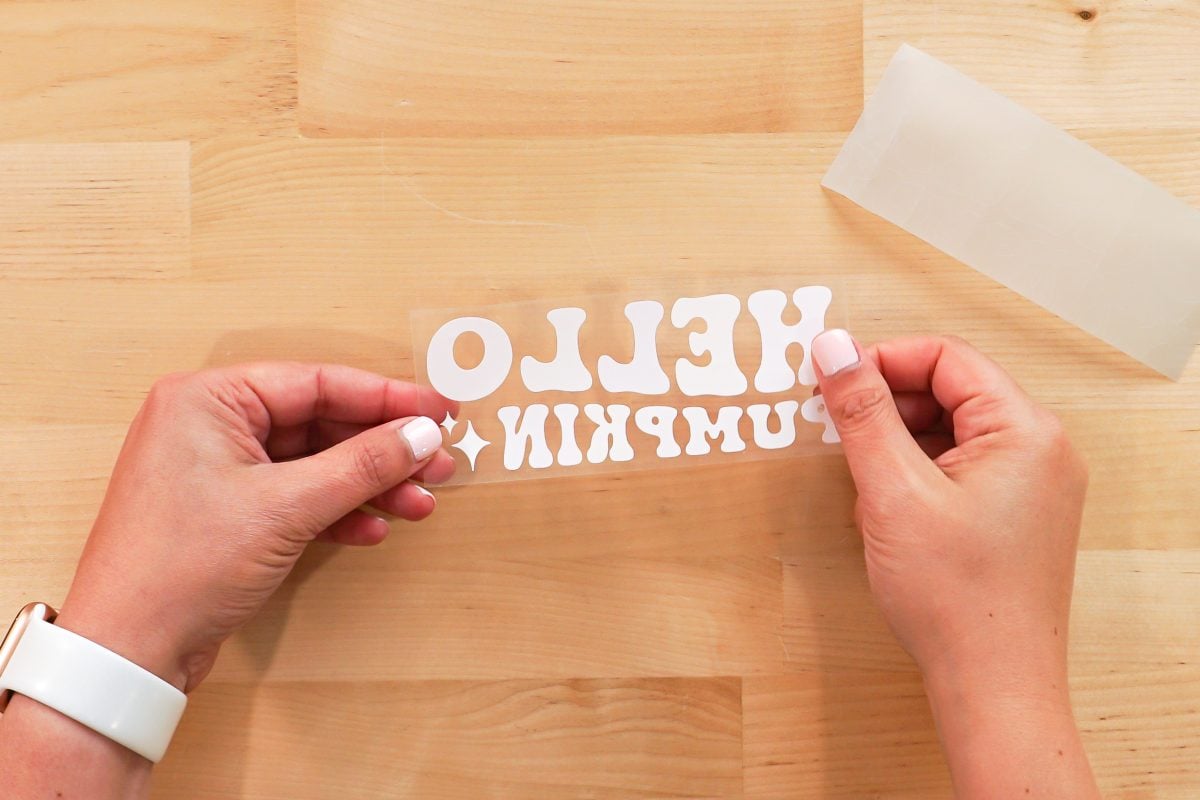
Adhering Siser EasyColor DTV to the Blank
Now that you have your design on the transfer mask, let’s make that onesie!
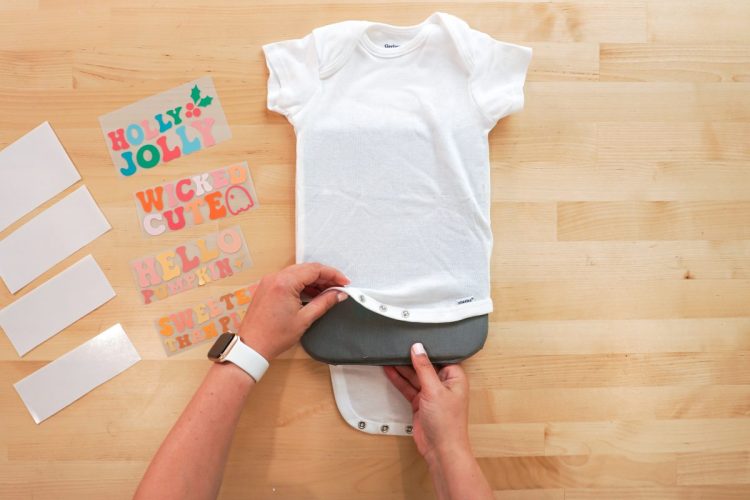
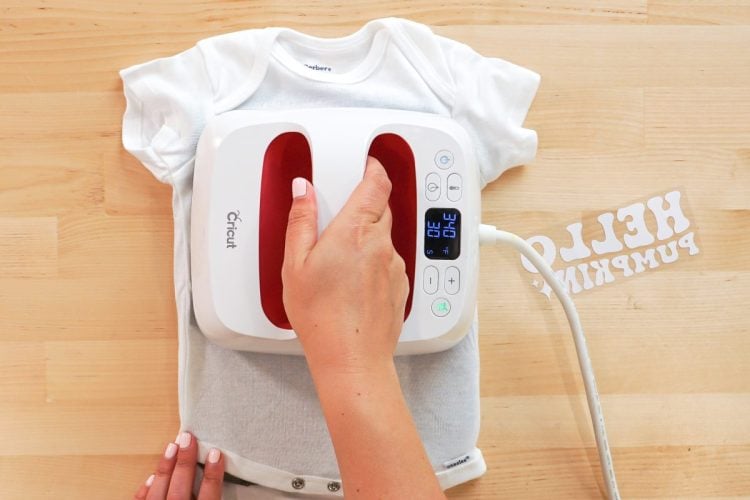
Preheat your EasyPress to 340 degrees Fahrenheit (if using a traditional heat press, lower the temperature to about 310 degrees Fahrenheit). You can place a pressing pillow between the layers of your garment to help reduce pressing issues.
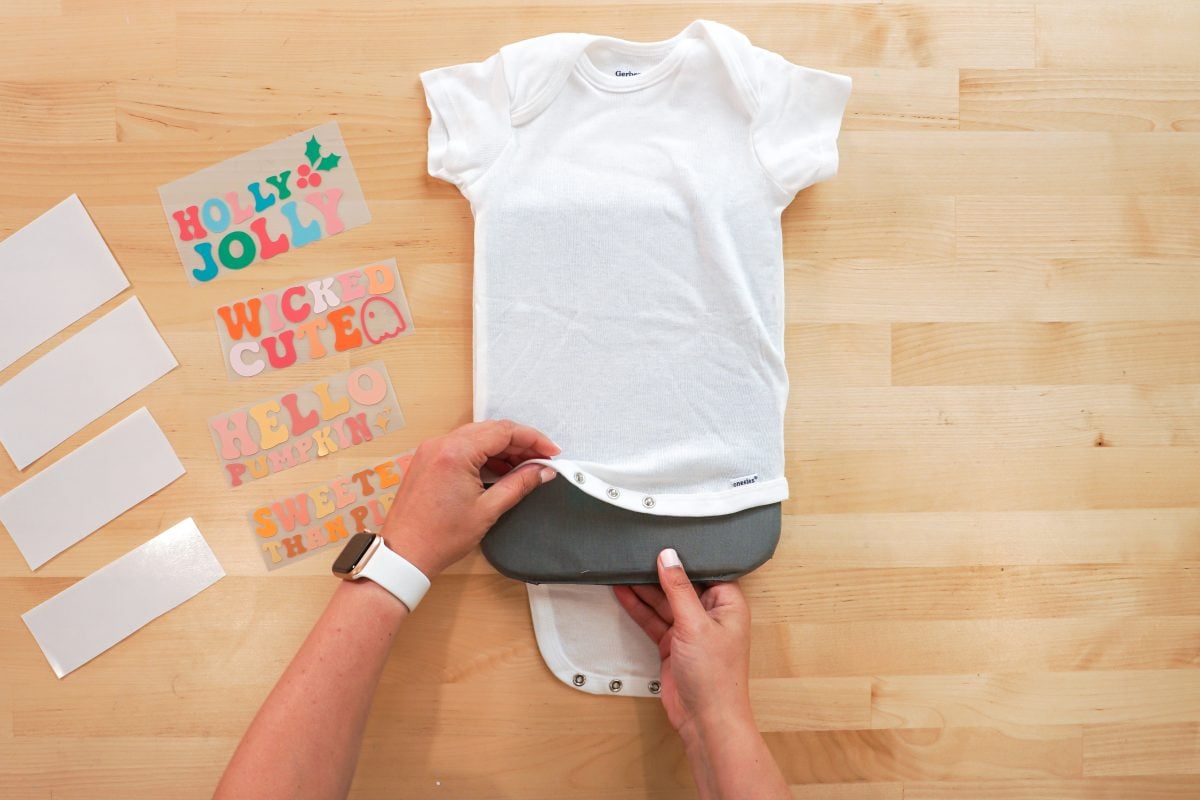
Prepress for 15 seconds before applying the design.
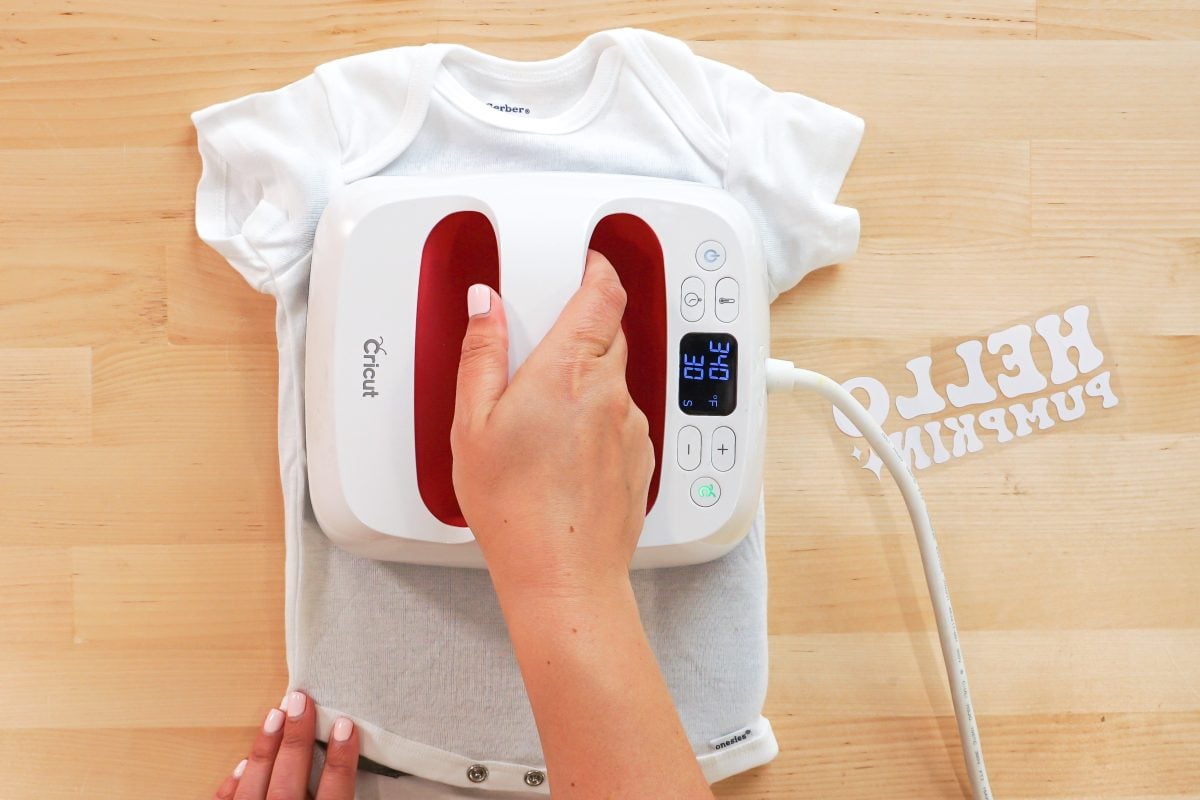
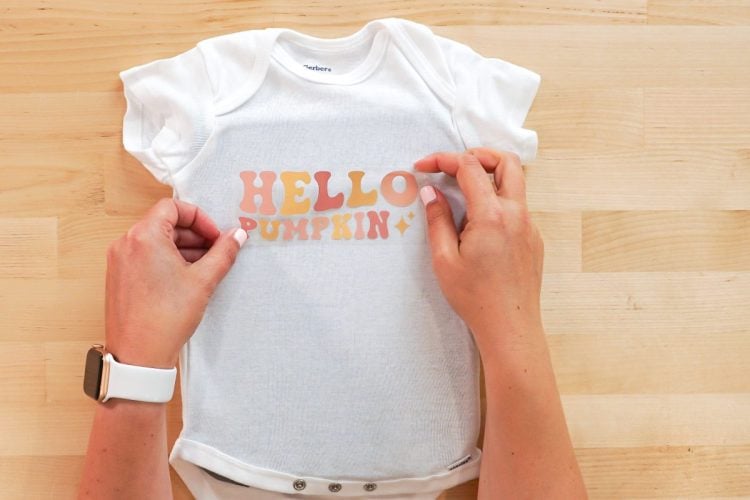
Once you’ve prepressed, add your Siser EasyColor DTV design to the onesie.
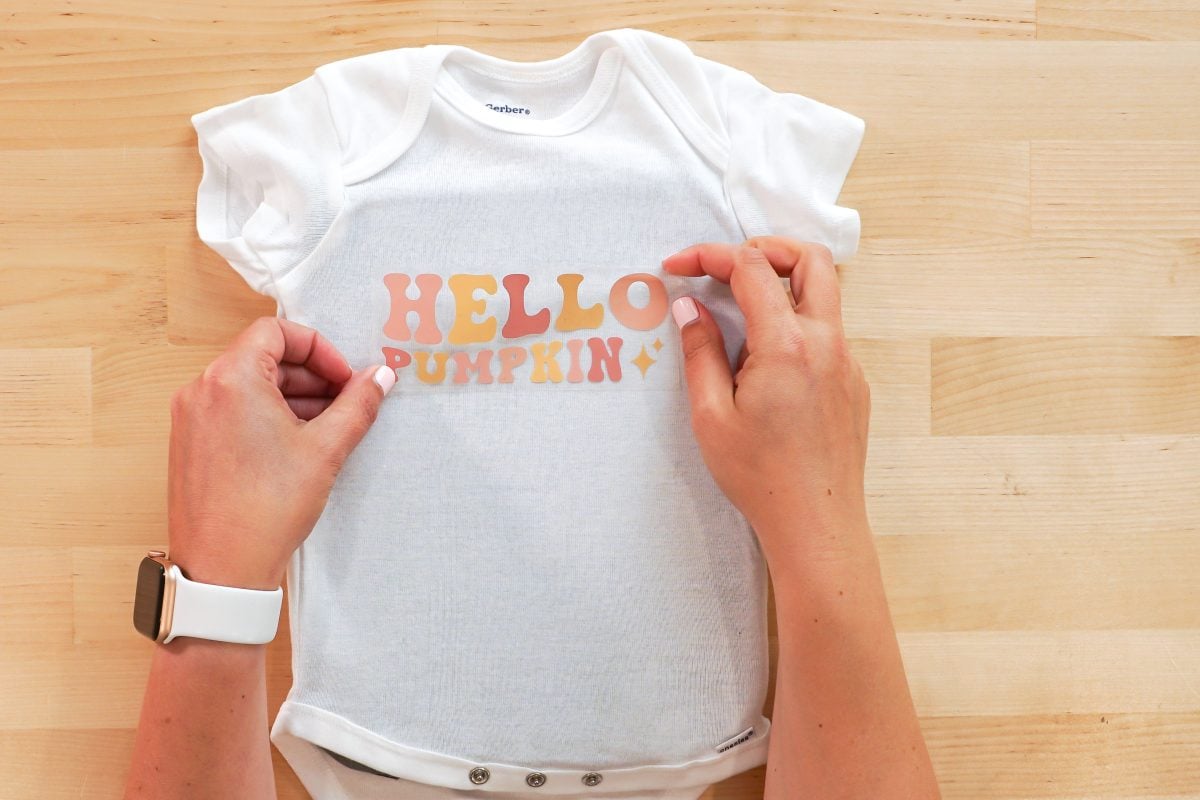
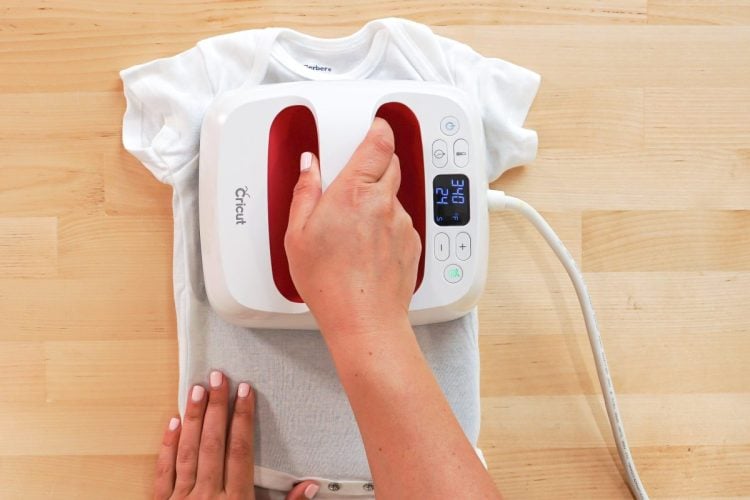
Press for another 30 seconds with medium pressure. You do not need to place a pressing cloth or anything on top of your design…unless you are not using a mask. For example, if you decide to create a round logo and it’s large enough to peel away without the mask, you can do so and then place it directly on your blank. In that case, you’ll want to use parchment paper or a teflon sheet over the top.
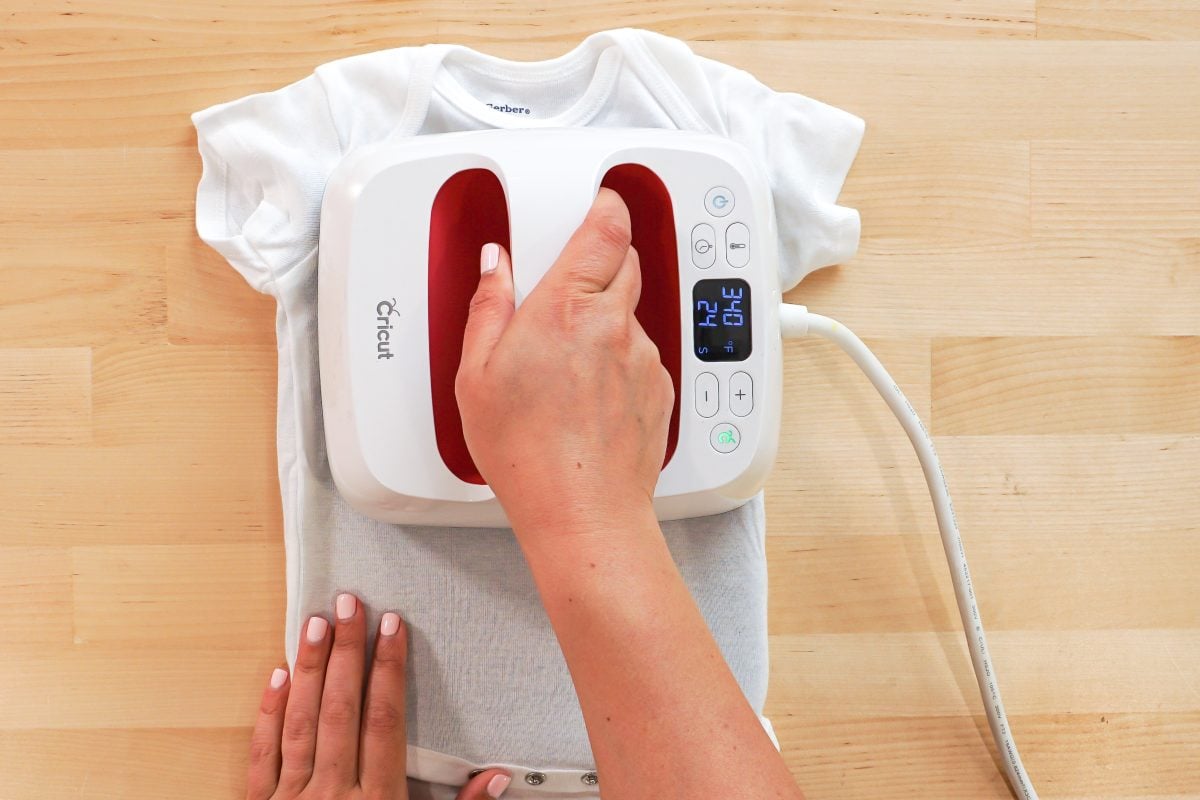
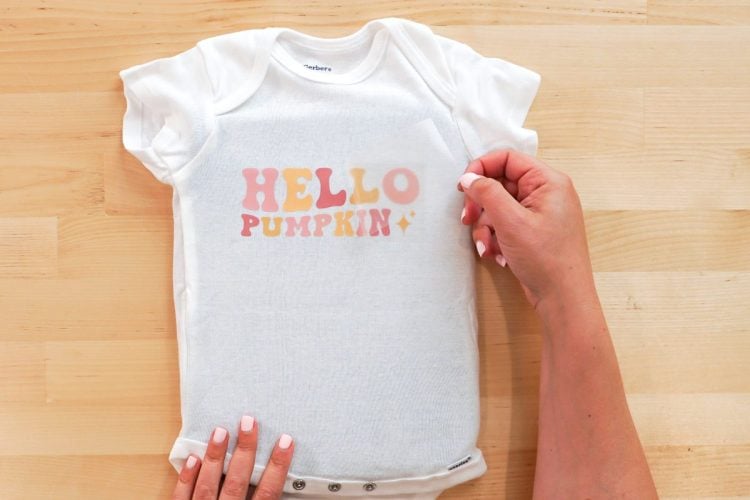
Peel away the plastic mask sheet while the design is still hot. One thing I always like to do is flip the blank over and press again from the back. This helps to really adhere the vinyl!
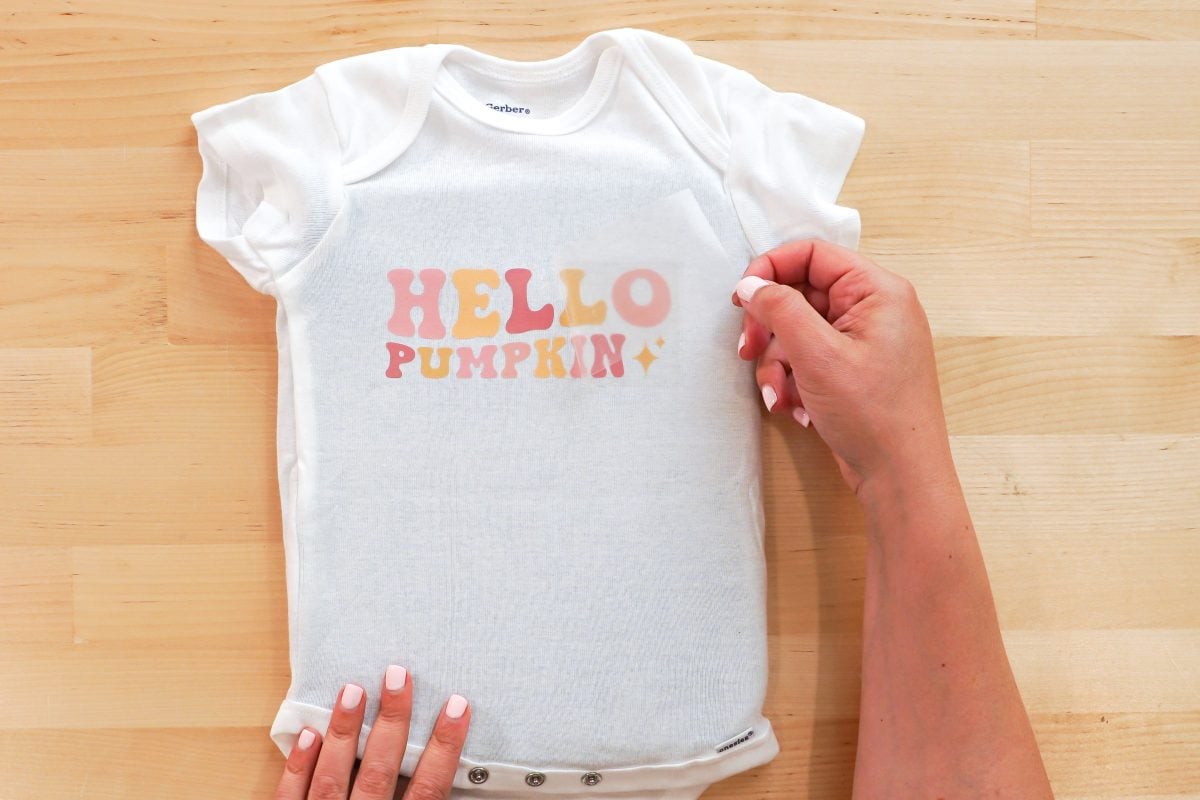
I also applied a design to a navy blue onesie and have to tell you just how impressed I am with the results! Finding a quality product for dark-colored fabrics is often tricky. Siser EasyColor DTV is a great option!

Tips and Tricks for working with Siser EasyColor DTV and EasyMask
Here are some tips and tricks for making the most of this new material!
- Let your print dry overnight before using it with the mask. This will help it adhere and pull away from the backing easier.
- If you need your print to dry quicker, stick the print under your heat press (do not actually press) and let the press dry out your print for about 30 seconds before applying the mask.
- Don’t let your masked EasyColor sit for any length of time. The mask can begin to pull the ink off of the EasyColor.
- Want to change the finish on the material? Press with a parchment paper cover for 10 seconds to get a matte finish, or press with a teflon sheet for 10 seconds for a shinier finish.
Want another idea for sublimating without a specialized printer? Check out my blog on How to Use Hydro Sublimation Transfers—No Printer Needed!

HOW TO USE SISER EasyColor DTV
Equipment
- Cricut Maker or
Instructions
- Setting Up the File in Cricut Design SpaceBefore you get started, you'll want to measure your onesie (or other apparel blank) to see just how large you need to print your design. For this project a measuring tape was used to determine that a design needed to be created that was about 4 inches wide.Start by uploading the SVG to Cricut Design Space (see this post Uploading SVG files to Cricut Design Space if you need help). Resize your image to fit your blank.

- Since you will be printing this image, you need to make sure the Cricut recognizes it as a print file, rather than cut file. To do this, select the image and choose Flatten in the bottom of the Layers panel.

- Click Make It and you'll see your image displayed on a Cricut mat with a black box around it. The black box is the registration box that your Cricut will use for the Print then Cut feature. Click Continue.

- In the next screen you can send your image to the printer. Keep the "Add Bleed" box checked, and also click "Use System Dialog Box." This will allow you to refine your printing preferences. In the System Dialog Box, choose Best for the quality, and change your paper to specialty matte (or something similar, depending on your printer).Load your Siser EasyColor DTV into your printer so that it prints on the white side, and print your project.

- Cutting the Siser EasyColor DTVTo cut your project, set the material to Premium Vinyl-Permanent Glossy and select More from the Pressure dropdown. Place your material in the top left corner of the mat (note: More than a single image was printed so the DTV wouldn't be wasted), using a brayer to smooth it down if needed. Insert your mat and press the blinking Play button on your machine to cut your image.

- To remove the sheet from your mat, flip the mat over and peel your mat away from the DTV. Don't peel the DTV up from the mat.If needed, cut out your design using scissors to make it easier to weed.

- Use your weeding hook to weed away the excess vinyl around your images. Remove the vinyl carefully since it's a bit soft and can rip easily. Don't forget those small details!

- Note that the DTV is very delicate and can pull away from the backing sheet. And once it's off…It won't stick back down. Just be aware. It should be OK…you'll put a mask on it next.

- Apply the Mask to Your ImageFor the mask transfer, Siser EasyMask was used. But to be honest—it *really* was a struggle. Plenty of crafters use it without issue, but it was tricky. Here's some w tips and tricks for working with Siser DTV and EasyMask.Cut the mask the same size as your image.

- Peel the clear film from the white backing and apply the clear layer to your DTV design. Be careful because any "loose" DTV tends to want to fold in on itself. Be sure it's completely flat when you add the mask to the top.

- Use your scraper to burnish the mask to the DTV on both sides and then peel away the mask.

- This was astruggle. The DTV didn't want to stick all the way to the EasyMask. Found that using my fingernails was helpful in ensuring the design sticks to the mask. It can be tedious, so be patient.

- Adhering Siser EasyColor DTV to the BlankNow that you have your design on the transfer mask, let's make that onesie!Preheat your EasyPress to 340 degrees Fahrenheit (if using a traditional heat press, lower the temperature to about 310 degrees Fahrenheit). You can place a pressing pillow between the layers of your garment to help reduce pressing issues.

- Prepress for 15 seconds before applying the design.

- Once you've prepressed, add your Siser EasyColor DTV design to the onesie.

- Press for another 30 seconds with medium pressure. You do not need to place a pressing cloth or anything on top of your design…unless you are not using a mask. For example, if you decide to create a round logo and it's large enough to peel away without the mask, you can do so and then place it directly on your blank. In that case, you'll want to use parchment paper or a teflon sheet over the top.

- Peel away the plastic mask sheet while the design is still hot. It is recommended to flip the blank over and press again from the back. This helps to really adhere the vinyl!

- This design was also applied to a navy blue onesie and the results are very impressive! Finding a quality product for dark-colored fabrics is often tricky. Siser EasyColor DTV is a great option!




Comments & Reviews
PETRA says
What type of ink should I use? Your response is greatly appreciated.
cheryl says
Great video. Tried this product. when I applied my heat press to, it to press it on, the colours disappeared. Any idea why this happened.
Cori says
Hi Cheryl,
Do you remember if you printed on the white side or the gray side?
Kathleen Balfour says
I have a cricut heat press, what temperature and time would you give siser dtv on it. Thanks
Cori says
Hi Kathleen,
You can find detailed instructions for using the Cricut EasyPress with the DTV in the section titled “Adhering Siser EasyColor DTV to the Blank” :)
D. Poore says
Just double checking…no need to mirror the image as when you use HTV?
Cori says
Yes, that is correct. You will not mirror your image or text when using the Siser EasyColor DTV :)
Maddy says
I’m new to all this! Do you need a special ink for this?
Cori says
Hi Maddy!
One of the great things about Siser EasyColor DTV is that it just uses a regular inkjet printer and ink :)
Kimberly Threet says
My design space doesn’t have the “premium permanent vinyl” setting it does however have just a “premium vinyl” setting do u think it will cut the same? I cut it on a different setting yesterday and it didn’t cut all the way through the vinyl and because of the stretch the dtv has i found it made it almost impossible to weed it without stretching, pulling and tearing it.
Cori says
Hi Kimberly,
Please look for a setting for Premium Vinyl-Permanent Glossy and select More from the Pressure dropdown for best results :)
Kathleen Balfour says
Super demonstration.
Can the mask be used more than once.
Cori says
Hi Kathleen,
No, I would not use it more than once. It sort of “cracks” as you use it so it wouldn’t get a strong adhesion (and it’s already a bit difficult to use anyway!) :)