
HOW TO USE SISER EasyColor DTV
Siser EasyColor DTV is a new type of printable vinyl that is thin, washable, and easy to use! This product can be transferred to all sorts of apparel and other soft blanks, and you don't need a specialized sublimation printer to use it.
Equipment
- Cricut Maker or
Instructions
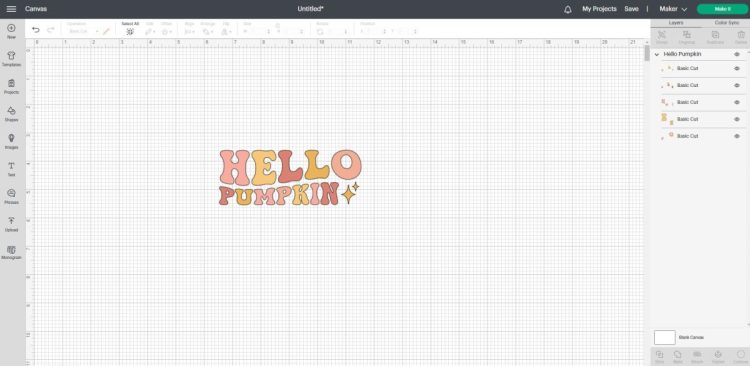
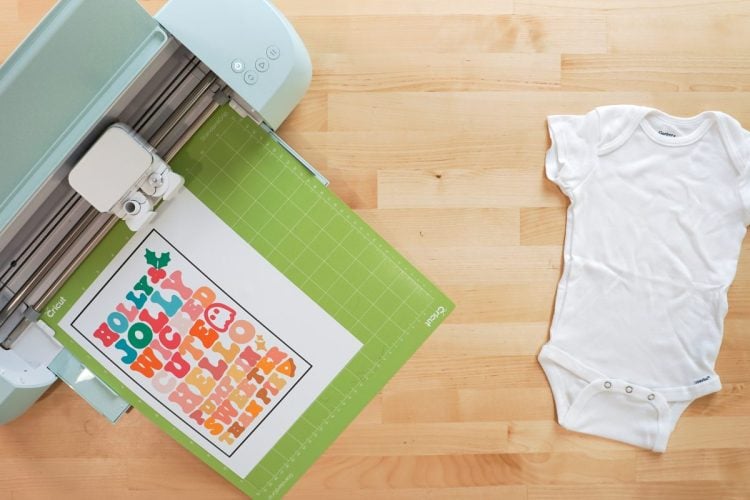
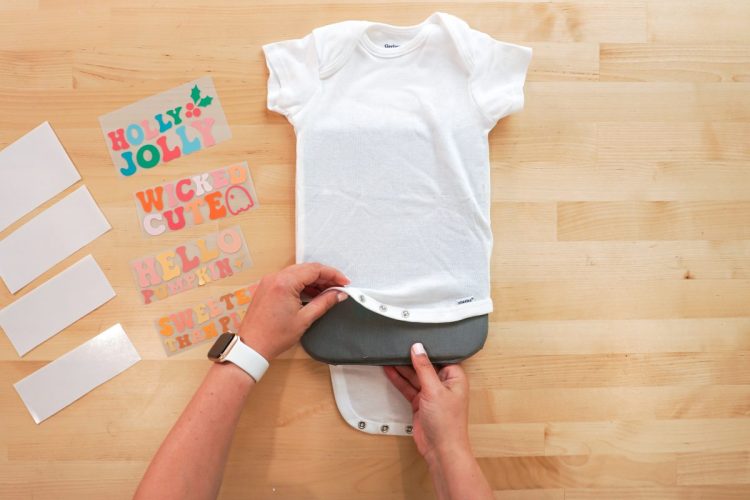
- Setting Up the File in Cricut Design SpaceBefore you get started, you'll want to measure your onesie (or other apparel blank) to see just how large you need to print your design. For this project a measuring tape was used to determine that a design needed to be created that was about 4 inches wide.Start by uploading the SVG to Cricut Design Space (see this post Uploading SVG files to Cricut Design Space if you need help). Resize your image to fit your blank.
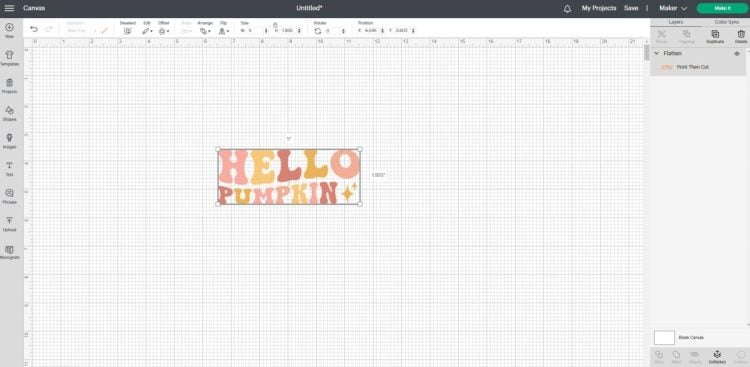
- Since you will be printing this image, you need to make sure the Cricut recognizes it as a print file, rather than cut file. To do this, select the image and choose Flatten in the bottom of the Layers panel.
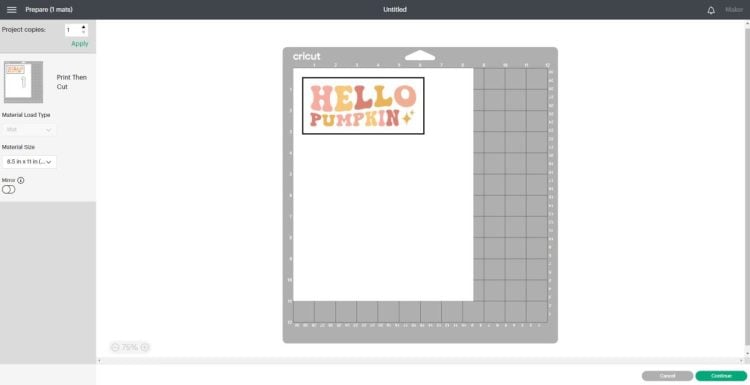
- Click Make It and you'll see your image displayed on a Cricut mat with a black box around it. The black box is the registration box that your Cricut will use for the Print then Cut feature. Click Continue.
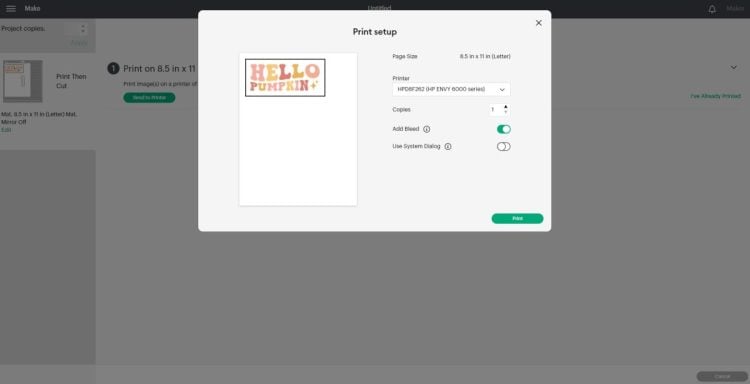
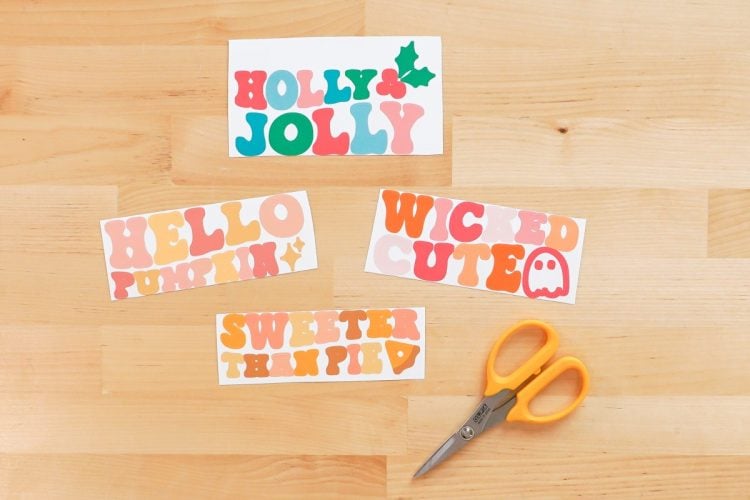
- In the next screen you can send your image to the printer. Keep the "Add Bleed" box checked, and also click "Use System Dialog Box." This will allow you to refine your printing preferences. In the System Dialog Box, choose Best for the quality, and change your paper to specialty matte (or something similar, depending on your printer).Load your Siser EasyColor DTV into your printer so that it prints on the white side, and print your project.
- Cutting the Siser EasyColor DTVTo cut your project, set the material to Premium Vinyl-Permanent Glossy and select More from the Pressure dropdown. Place your material in the top left corner of the mat (note: More than a single image was printed so the DTV wouldn't be wasted), using a brayer to smooth it down if needed. Insert your mat and press the blinking Play button on your machine to cut your image.
- To remove the sheet from your mat, flip the mat over and peel your mat away from the DTV. Don't peel the DTV up from the mat.If needed, cut out your design using scissors to make it easier to weed.
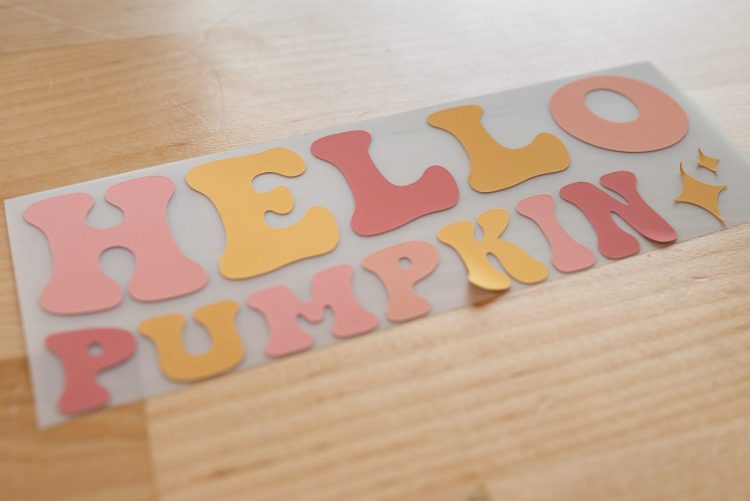
- Use your weeding hook to weed away the excess vinyl around your images. Remove the vinyl carefully since it's a bit soft and can rip easily. Don't forget those small details!
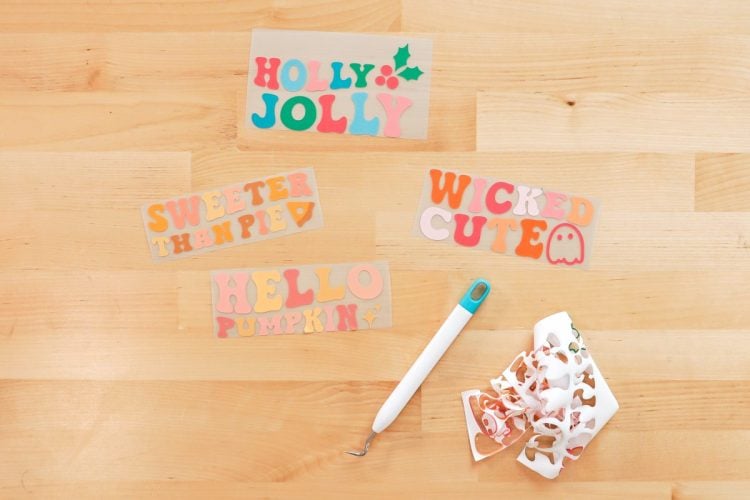
- Note that the DTV is very delicate and can pull away from the backing sheet. And once it's off...It won't stick back down. Just be aware. It should be OK...you'll put a mask on it next.
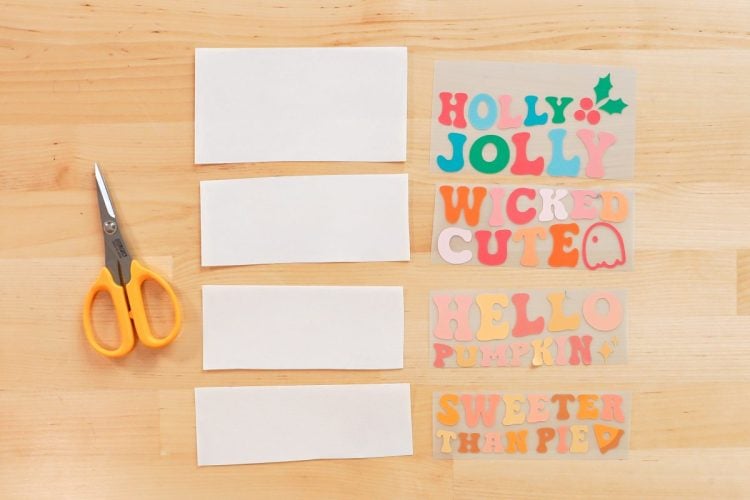
- Apply the Mask to Your ImageFor the mask transfer, Siser EasyMask was used. But to be honest—it *really* was a struggle. Plenty of crafters use it without issue, but it was tricky. Here's some w tips and tricks for working with Siser DTV and EasyMask.Cut the mask the same size as your image.
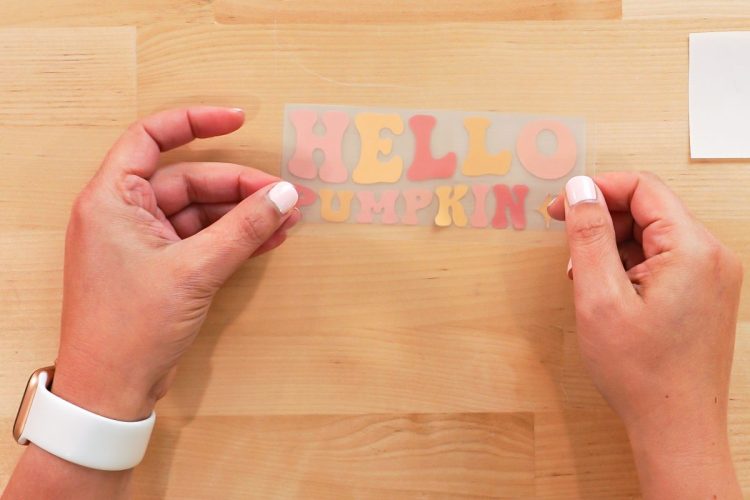
- Peel the clear film from the white backing and apply the clear layer to your DTV design. Be careful because any "loose" DTV tends to want to fold in on itself. Be sure it's completely flat when you add the mask to the top.
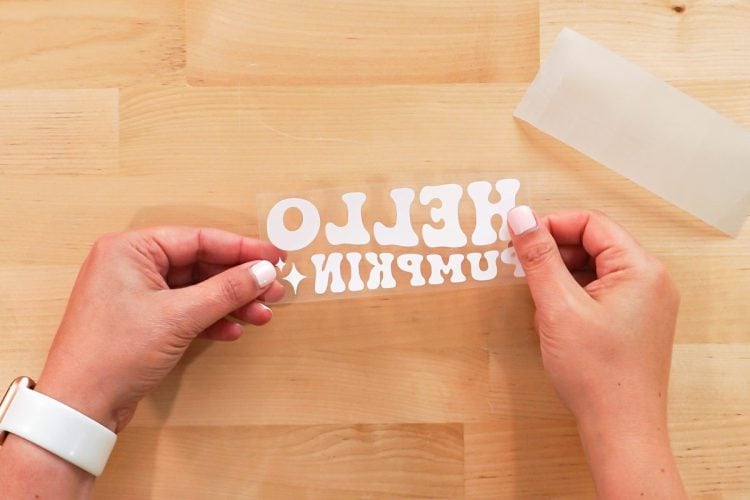
- Use your scraper to burnish the mask to the DTV on both sides and then peel away the mask.
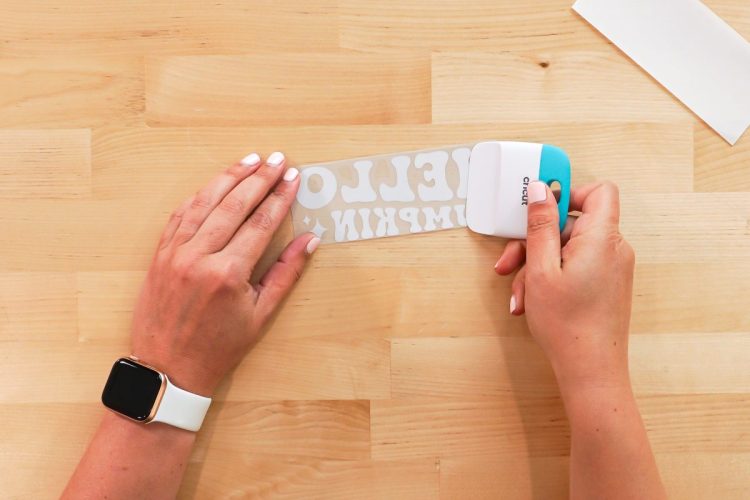
- This was astruggle. The DTV didn't want to stick all the way to the EasyMask. Found that using my fingernails was helpful in ensuring the design sticks to the mask. It can be tedious, so be patient.
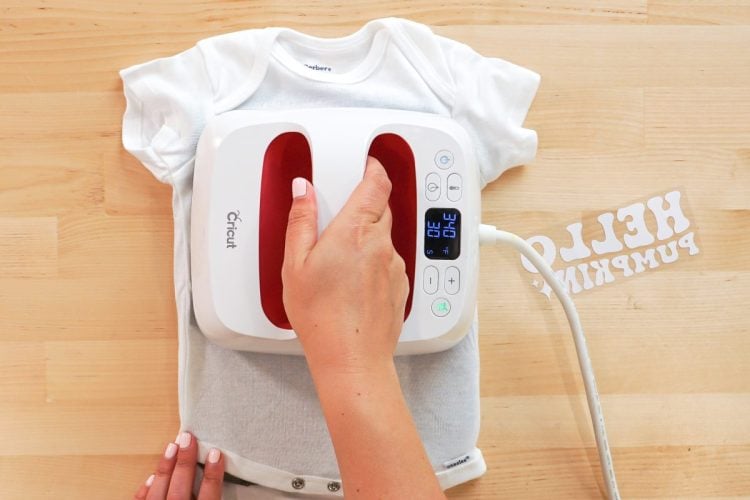
- Adhering Siser EasyColor DTV to the BlankNow that you have your design on the transfer mask, let's make that onesie!Preheat your EasyPress to 340 degrees Fahrenheit (if using a traditional heat press, lower the temperature to about 310 degrees Fahrenheit). You can place a pressing pillow between the layers of your garment to help reduce pressing issues.
- Prepress for 15 seconds before applying the design.
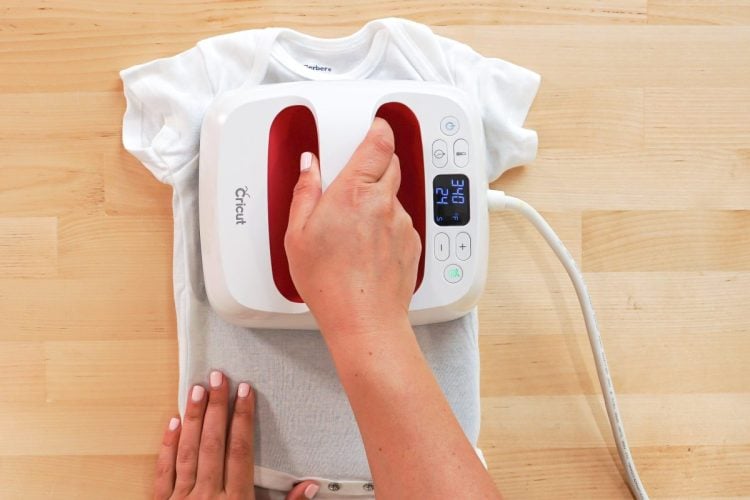
- Once you've prepressed, add your Siser EasyColor DTV design to the onesie.

- Press for another 30 seconds with medium pressure. You do not need to place a pressing cloth or anything on top of your design...unless you are not using a mask. For example, if you decide to create a round logo and it's large enough to peel away without the mask, you can do so and then place it directly on your blank. In that case, you'll want to use parchment paper or a teflon sheet over the top.
- Peel away the plastic mask sheet while the design is still hot. It is recommended to flip the blank over and press again from the back. This helps to really adhere the vinyl!

- This design was also applied to a navy blue onesie and the results are very impressive! Finding a quality product for dark-colored fabrics is often tricky. Siser EasyColor DTV is a great option!