To use Cricut’s Print then Cut feature, you’ll need to calibrate your machine. Here’s a tutorial for how to calibrate both Cricut Maker and Cricut Explore so the Print then Cut feature works perfectly.
Cricut Print then Cut just got a big overhaul, and that means its time to recalibrate your Cricut Explore or Cricut Maker. Whether it’s your first time using Cricut Print then Cut or you just need to recalibrate it to use the new bigger sizes, this post will walk you through the instructions for this simple process.
If you’re unfamiliar, Cricut Print then Cut allows you to print a full-color image on your home laser or inkjet printer, and then have your Cricut cut around the edges of that printed image. You can make stickers, labels, photo artwork, sublimation prints, and more. You can learn more in my Ultimate Guide to Cricut Print then Cut.
Visit my Amazon shopping list for everything you need to get started using your Cricut!
Which Cricut Machines Use Print then Cut
Print then Cut is only available on Cricut Explore (including the original Explore, Explore One, Explore Air, Explore Air 2, and Explore 3 machines) and Cricut Maker (Cricut Maker and Cricut Maker 3) machines. Cricut Joy and older machines do not support Print then Cut because they do not have the sensors needed to read where to cut.
How to Know When to Calibrate
There are two instances when you might need to do Print then Cut calibration.
- You are using Print then Cut for the first time and you’ve never calibrated Print then Cut before.
- Cricut makes an update to Print then Cut and you are forced to do a recalibration.
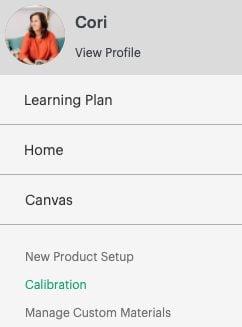
In the first instance, you’ll go to the hamburger menu in the upper left of the Cricut Design Space canvas and choose Calibration.
In the second instance, Cricut will “force” a recalibration and you may be prompted to calibrate in the middle of a project.
Print then Cut Calibration
Depending on the machine you are using, the Machine Calibration window may have more options here. The Maker, for example, also has calibration for the Knife Blade and Rotary Blade. But my Explore 3 just has the Print then Cut calibration option.
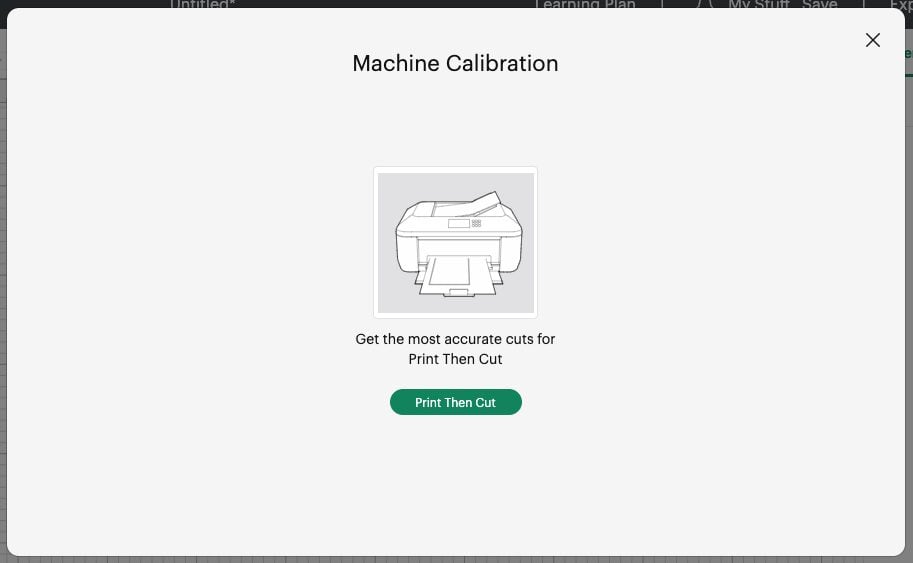
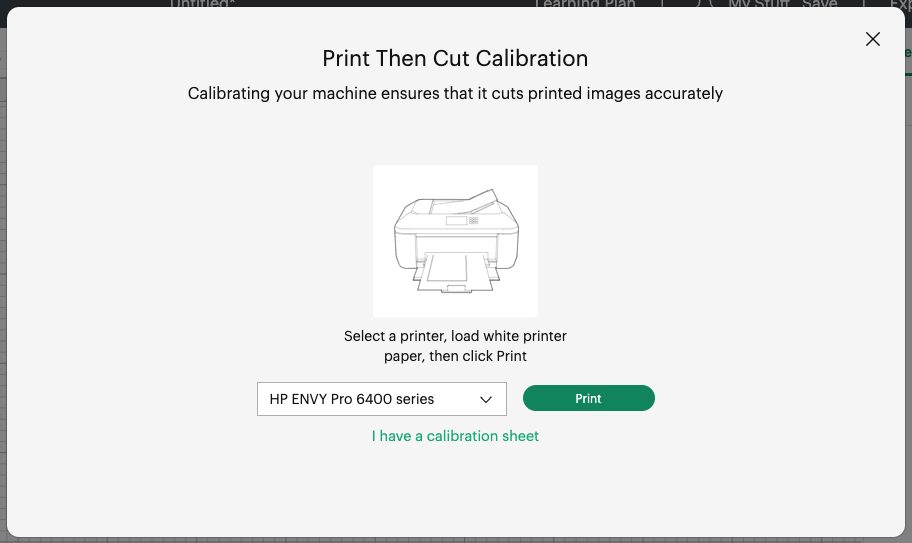
Click the Print then Cut button, and you’ll be prompted to choose your printer and print a calibration page on a sheet of paper.
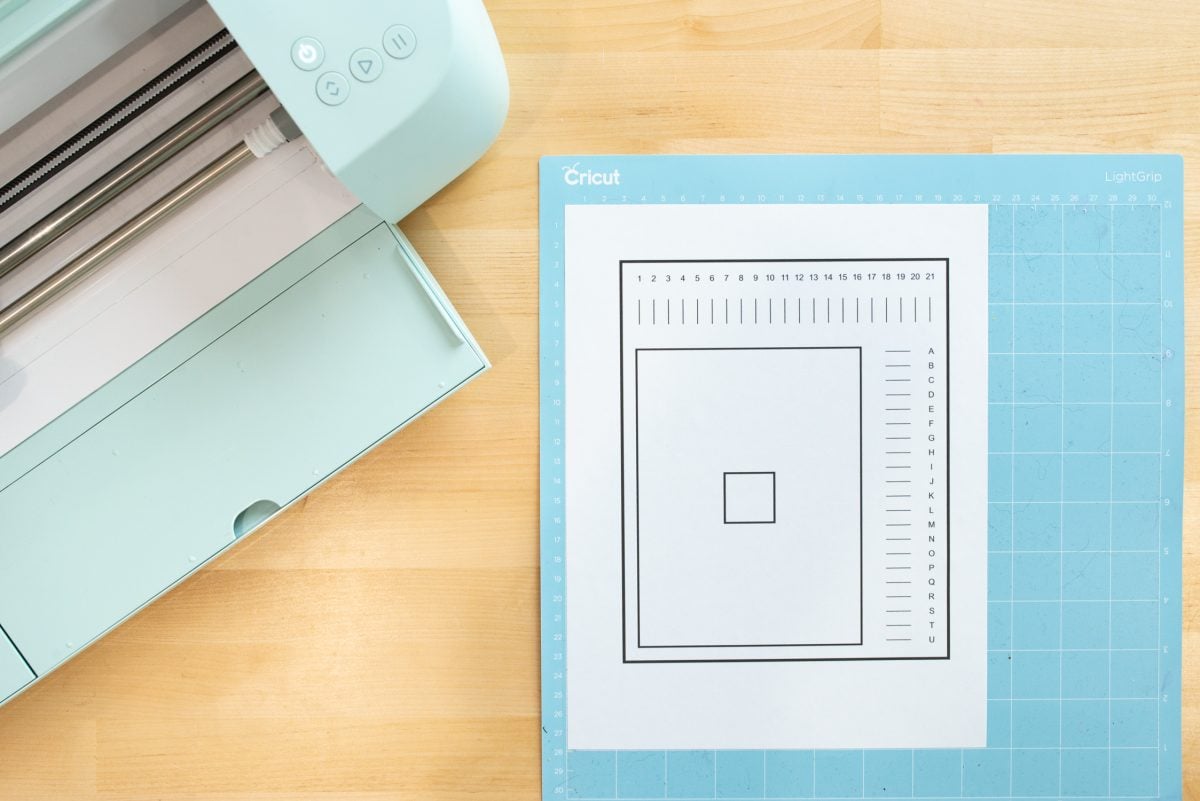
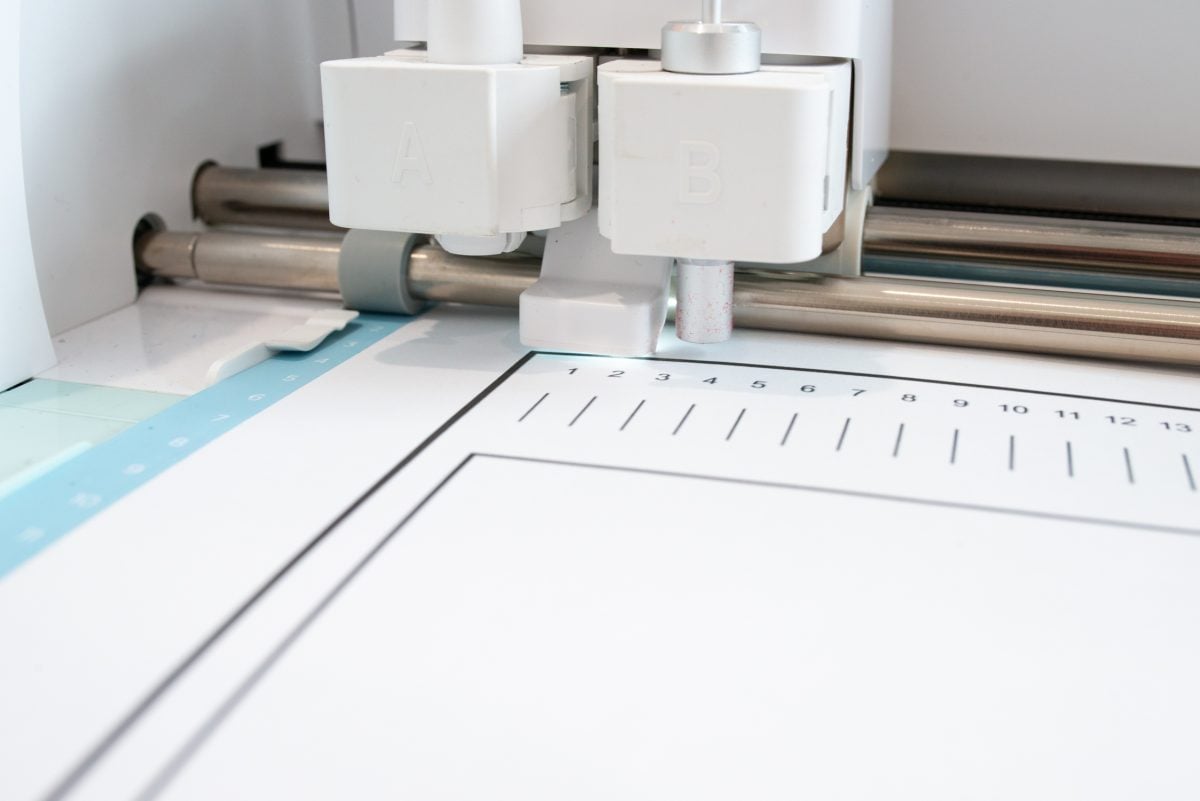
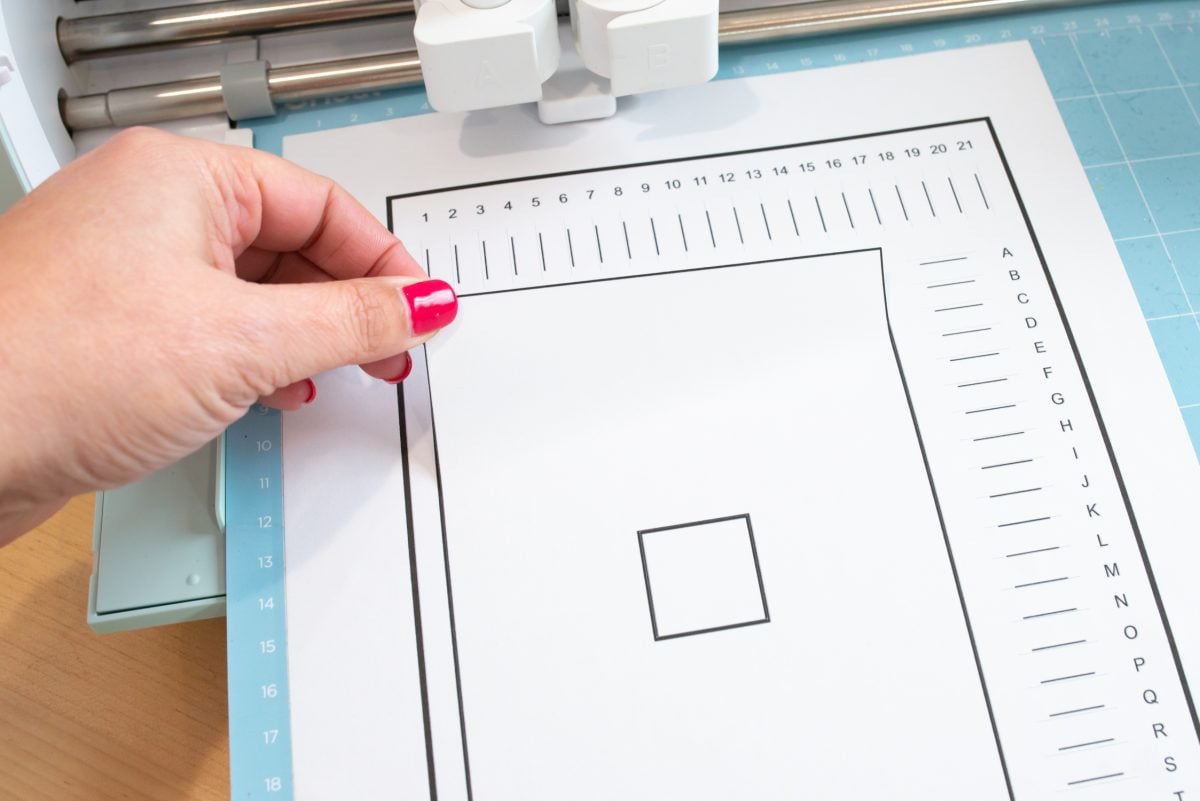
Once you have the calibration page printed, put it in the top left corner of a Cricut cutting mat.
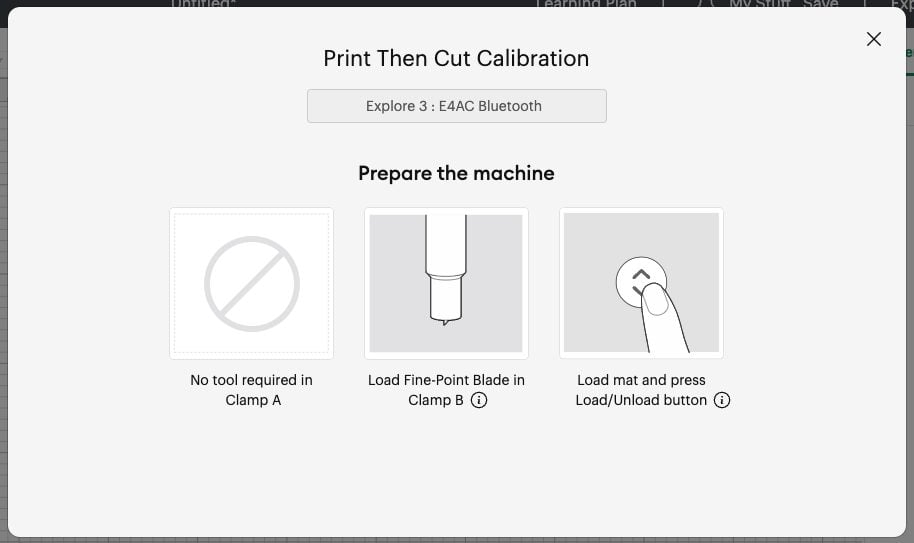
Click Continue in Cricut Design Space. Select your Cricut to connect to and then Cricut Design Space will prompt you to prepare your machine. It should have the fine point blade with nothing in the other tool clamp.
Then insert your mat with the calibration page on it into your Cricut. Once loaded, press the flashing Go button.
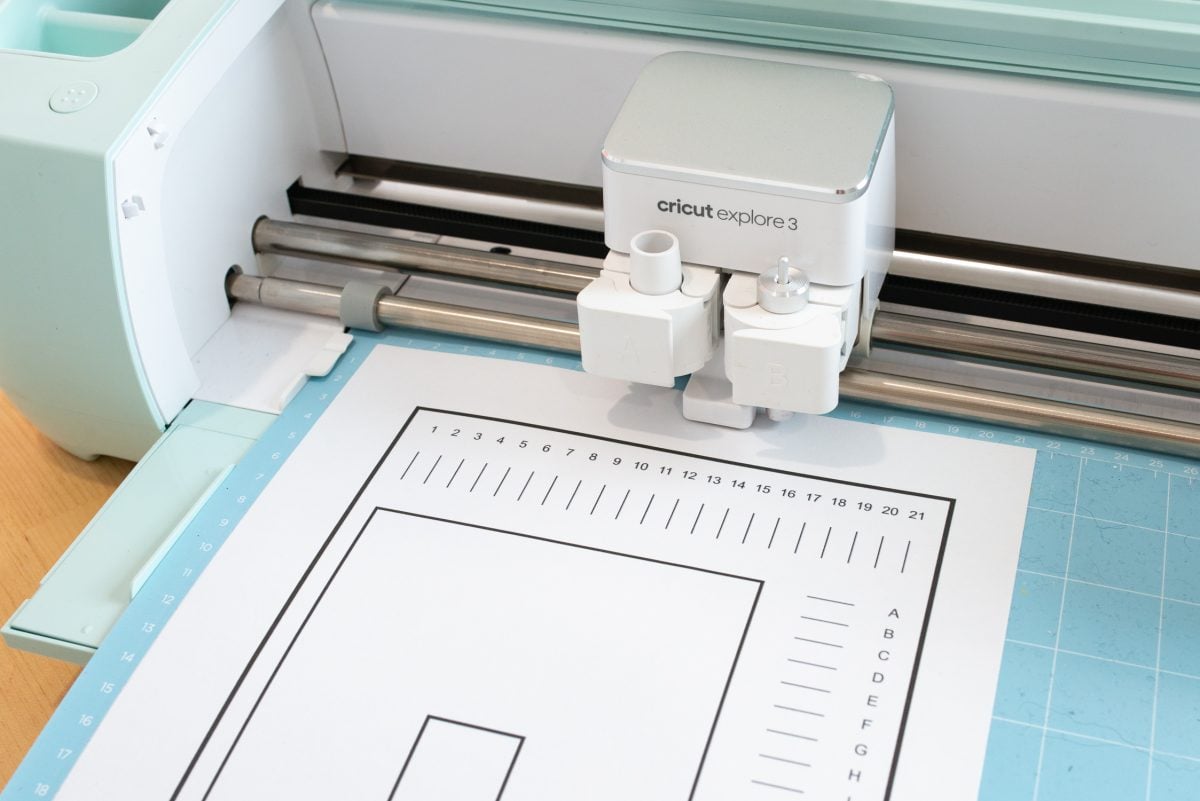
From there, your Cricut will turn on a light in its sensors and read the black marks on the page.
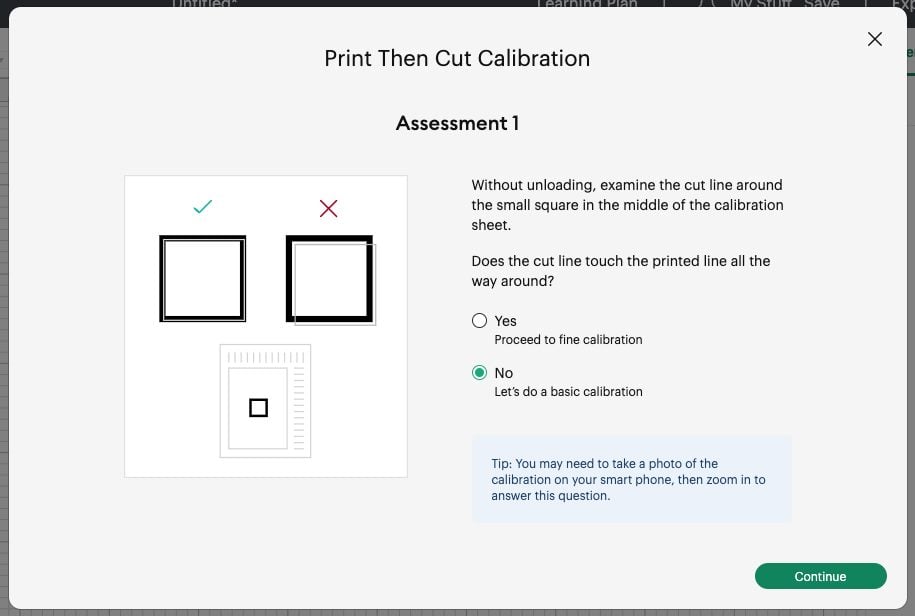
After that, it will make a cut around the square in the center of the page. WITHOUT unloading the page, see how close your Cricut got to cutting on top of the black line.
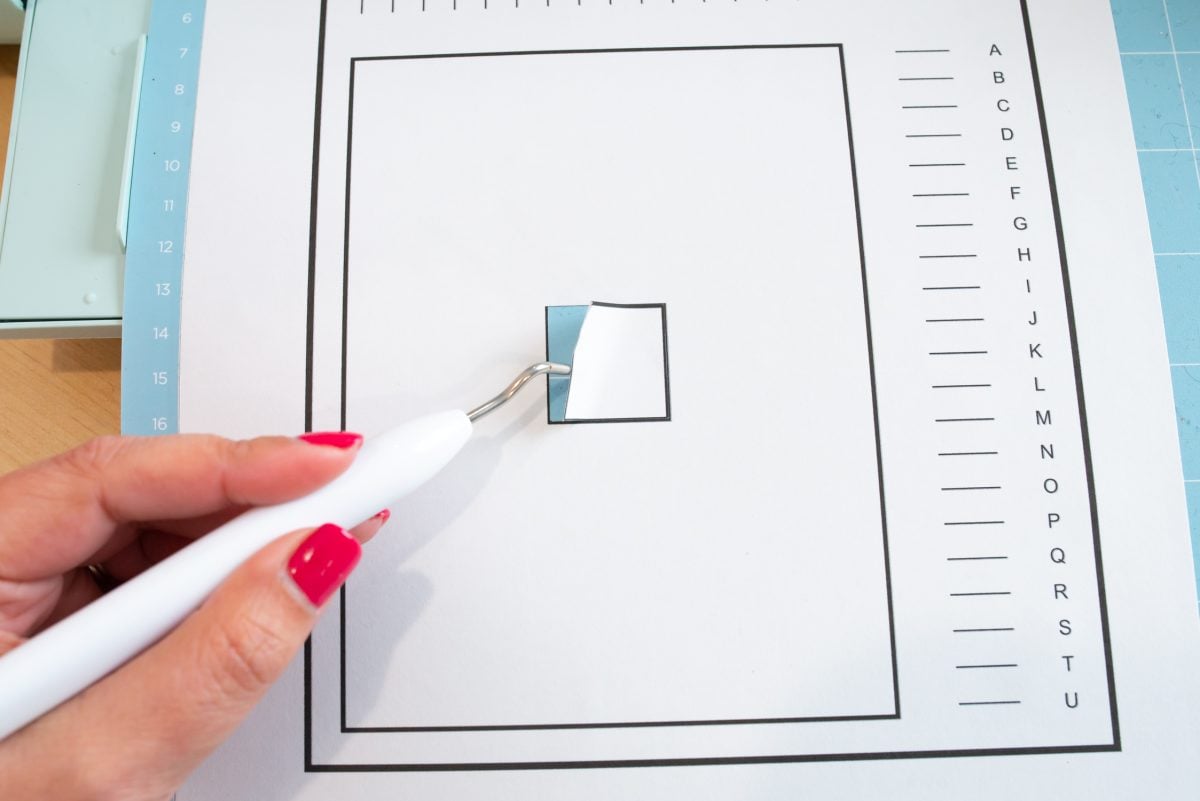
Mine is actually pretty close, but to demonstrate what a full calibration is I’m going to choose NO, the cut did not touch the black line all the way around. This will lead to a “basic” calibration. If your cut did touch the line all the way around, you can choose YES and it will skip the basic and do a “fine” calibration.
Your Cricut will do a series of cuts along the top and right edge of your paper.
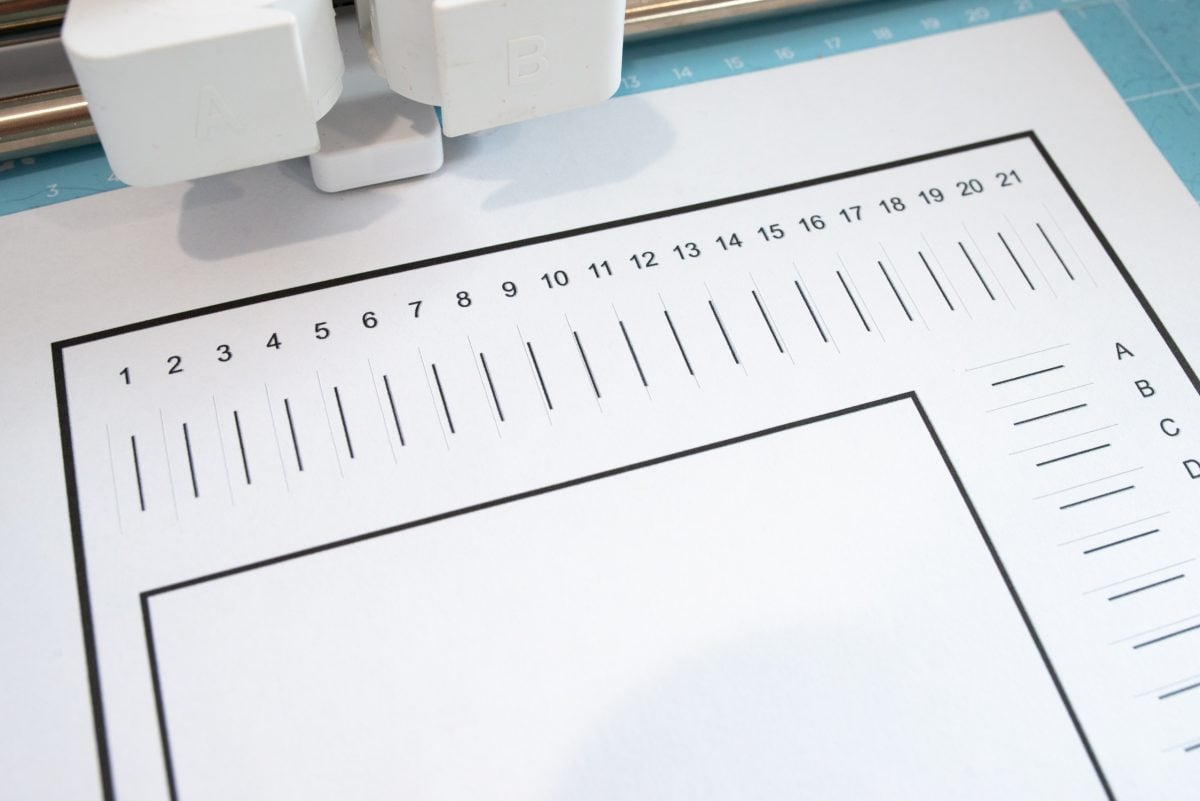
WITHOUT unloading, Cricut Design Space will ask you to examine the cut lines and see which two are the closest vertically and horizontally. Mine were 11 on the top and K on the right. Yours might be different. Put those values into Cricut Design Space and click Continue.

That’s your “basic calibration.” Now we’ll do a “fine” calibration to get it even closer. You will be prompted to remove your mat and print another calibration sheet. You’ll follow the same steps to prepare your machine and place the calibration sheet in the top left corner of the mat. Insert your mat into the machine and press that flashing Go button one more time.
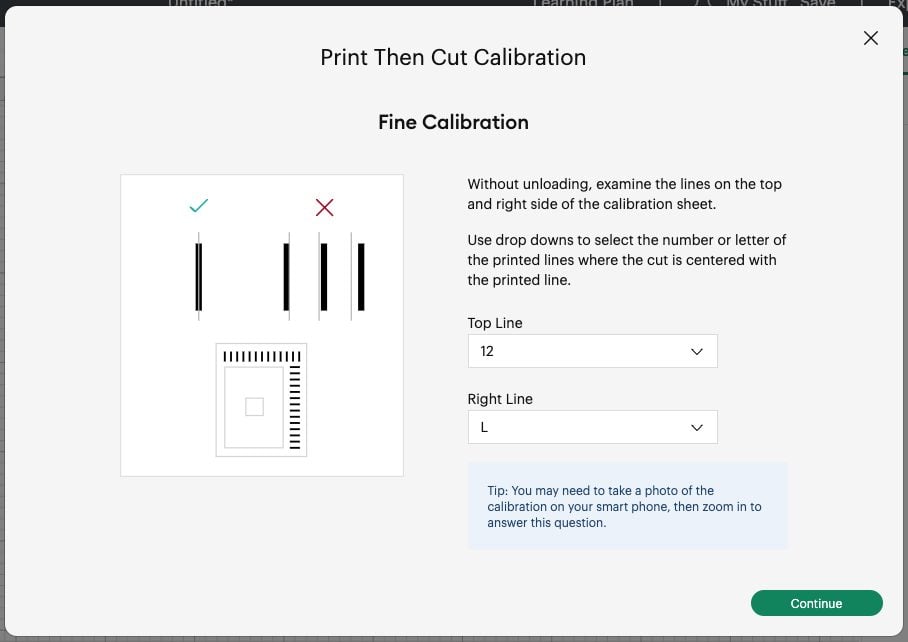
Your Cricut will read the black lines and do more test cuts in the same way that it did before. If your cut is now entirely in the black square, click YES and it will proceed with the “fine” calibration. Choose the two values that are closest to the center of the line—in this case it was 12 and L for me.
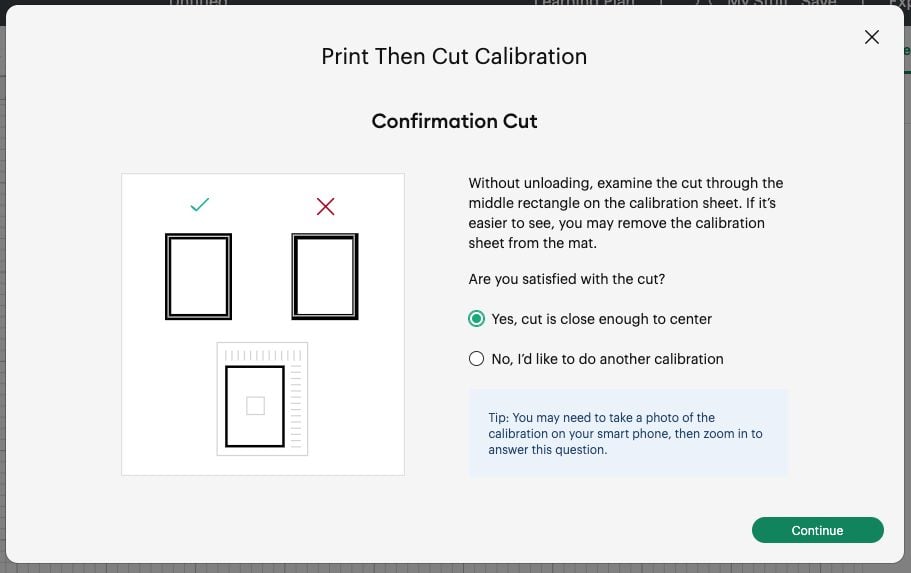
Finally, your Cricut will cut the larger rectangle and it should cut on top of the black line all the way around.
In Design Space, choose YES and the calibration is complete! If not, choose NO and it will run through the same process again.
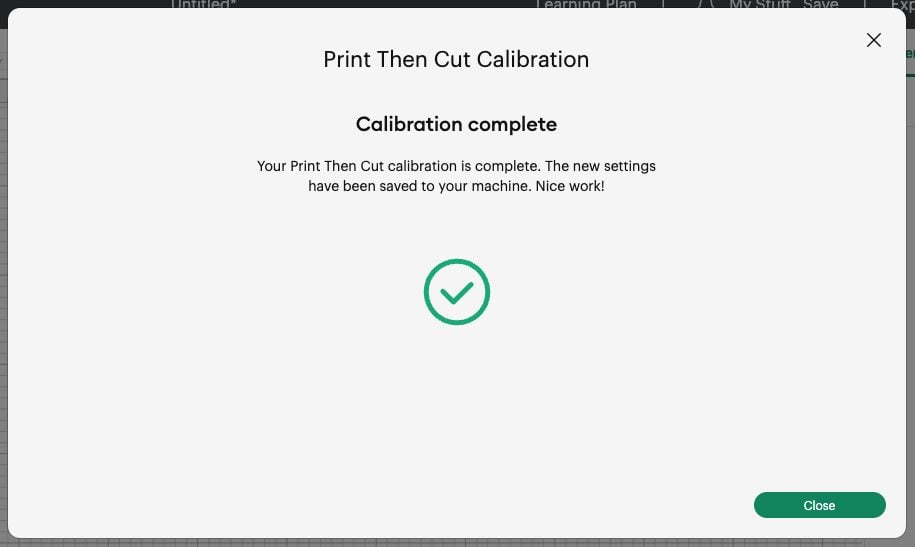
Once you’ve got it to cut all the way around the center of your black line, you’re done!
Have questions about Cricut Print then Cut calibrations or need help troubleshooting? Let me know in the comments!
Stop pulling your hair out and start creating confidently with your Cricut! Finally understand how to use your Cricut with my Learn Your Cricut eBooks!


Comments & Reviews
Kim LaHait says
I’ve used Print to Cut a number of times with no issues. Last night I printed 1 of 2 pages with no problems. Page 2 is giving me serious issues. It prints the black box but is not printing the actual image i need to cut. Suggestions?
Amy Motroni says
Hi Kim,
Can you upload the pages separately? Print then cut has been soooo glitchy lately!
Hope that helps!
Amy, HLMS Support
Brenda Jalomos says
Completed calibration everything went ok. But when I send project to print, my printer does not recognize the project at all. Please help.
Amy Motroni says
There have been a lot of problems with Print then Cut this week—that’s one of them. It’s a glitch. I’m hoping they get it resolved too!
Amy, HLMS Support
Isabella says
Thank you sooooo much for this!
I have struggled for so long trying everything So that it would cut properly and nothing I did worked! I was never actually asked to perform a calibration cut when I first got my cricut, so this has been a breakthrough for me! Thank you again you wonderful human! 🥰
melissa smith says
Hello, when I use print you to cut . It’s printing out the image but not black box I even sent it to a different printer and got the same thing.
Pamela Snow says
thank you for your post. It is helpful. I just got a new explore 2. I have calibrated it but of the 3 pages that were print then cut, it will only cut 2. I get an error message on the 3rd that says it cannot read the cut sensor lines. I have NO clue why and have reprinted several times. I’m very familiar with print then cut so this is so frustrating :-( any ideas from anyone??? :-) thanks
HANNAH KESSEL says
Ever have the problem with the printed image when you go to cut it, the cricut only cuts across the very top of the paper and that’s it?
Kathy says
I’ve done a print and cut and it cut fine, but then for some reason, it’s now way off the marks. I’ve recalibrated the machine and everything worked fine. For the life of me, I can’t figure out what’s wrong!
Amy Motroni says
Hi Kathy,
That is so frustrating!
I would call Cricut support for that one. I’ve had the same issue lately and I think it’s a software glitch!
Hopefully they can help!
Amy, HLMS Reader Support
Kathy says
I think I figured out the issue! Apparently, clear coat can throw off your sensors. If you cover up the registration lines with painters tape or paper when you spray it with clear coat, it senses the proper cut lines. I’ve had no issues with cutting since doing this!
Pamela says
hi i uploaded an image to print and cut on my Cricut/Explore Air 2 and when i send it to my printer, the color of the image comes out black and white, i’ve tried everything that i could think of, but i just can’t seem to figure out what the problem is, Can you help me when this please?
Autumn says
I had to uninstall all instances of my printer in my computer and then re-install my printer to fix this color issue.
Brother Printer Offline says
nice post. thanks for sharing.
anu zlato says
Great website and your work is great. i like it a lot. there are lots of information on your website,we are providing information on how to fix HP Printer not printing on the left side of the page .To know more visit our website.