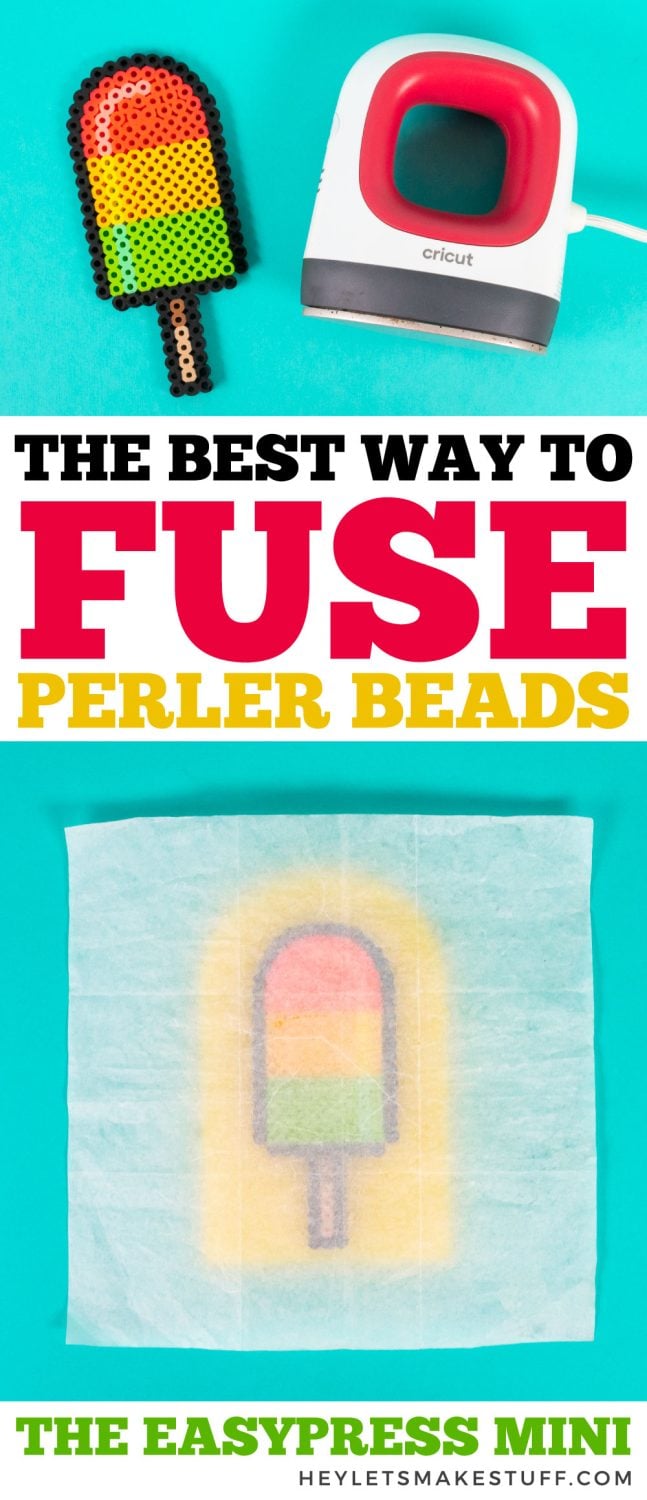
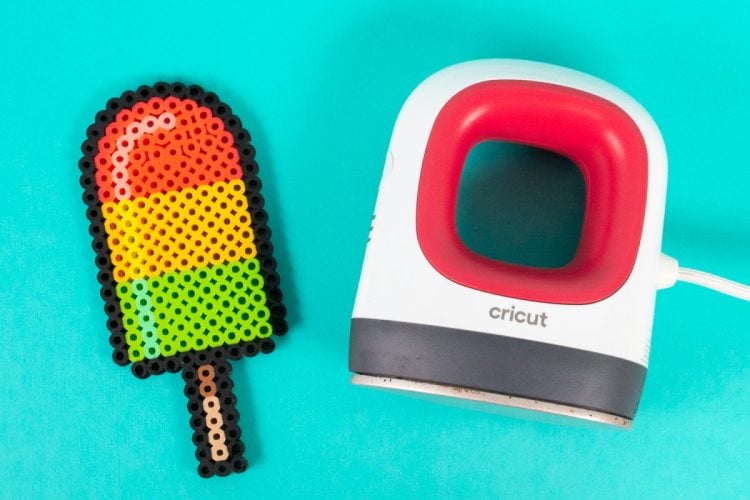
The EasyPress mini is the best way to fuse Perler beads! Use the EasyPress Mini instead of an iron to melt Perler beads—it’s quick and the small footprint makes it easy to see what you’re doing.
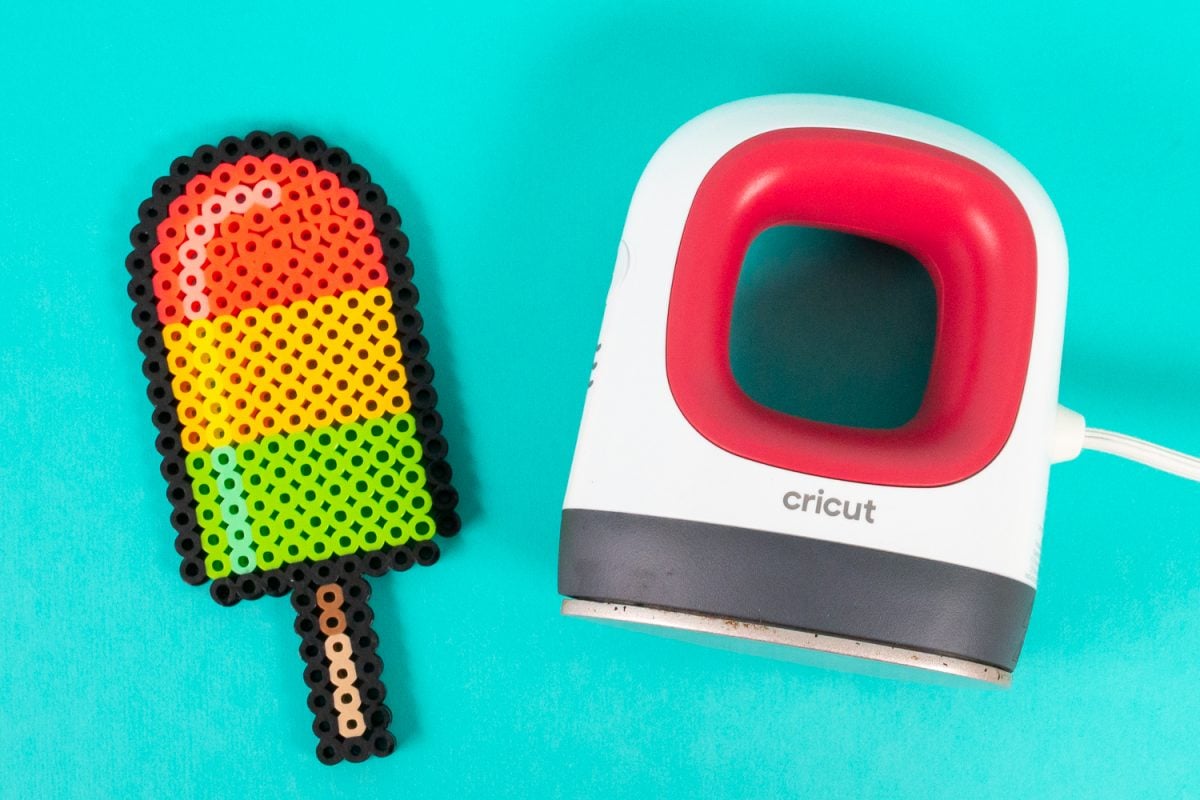
My boys are HUGE into Perler beads (other brands include Hama beads and Nabbi beads). I actually ran across a Facebook post from the very beginning of the pandemic when I said one of my boys had assembled their first Perler bead project on their own, without mom or dad’s help.

Ahh, corona-humor. It was a TIME.
Since then, they’ve made hundreds of Perler bead projects. We’re on our third giant bucket of Perler beads. It’s a Perler bead creation station around here!
When they learned they didn’t have to stick to the shape of the Perler pegboard, their creativity went wild. We have tiny vehicles and buildings and animals all over our house. Once they even made little 2×2 perler bead saltine crackers for their perler bead beaver who, apparently, loves saltine crackers. Kids are great.
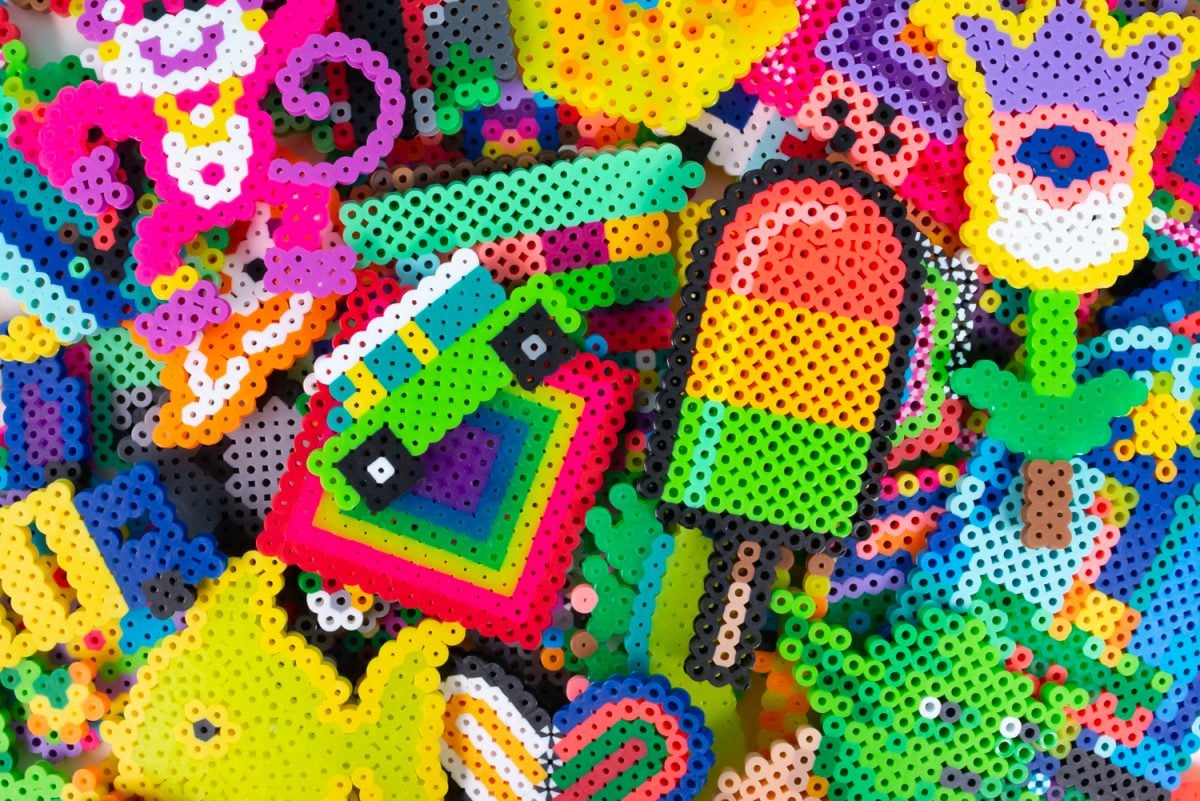
All of this means that I am in a near-constant state of ironing perler beads.
Early on, I put away my old household iron and broke out my EasyPress Mini. GAME. CHANGER. Using my EasyPress Mini to fuse Perler beads was a stroke of genius. If you aren’t familiar with the EasyPress mini, check out my post What is the Cricut EasyPress Mini?.
What is the Best Way to Fuse Perler Beads?
I’ve tried several ways to fuse Perler beads. A regular household electric iron, the larger EasyPress, and the EasyPress Mini. The EasyPress Mini, is, hands down, the best of the three options.
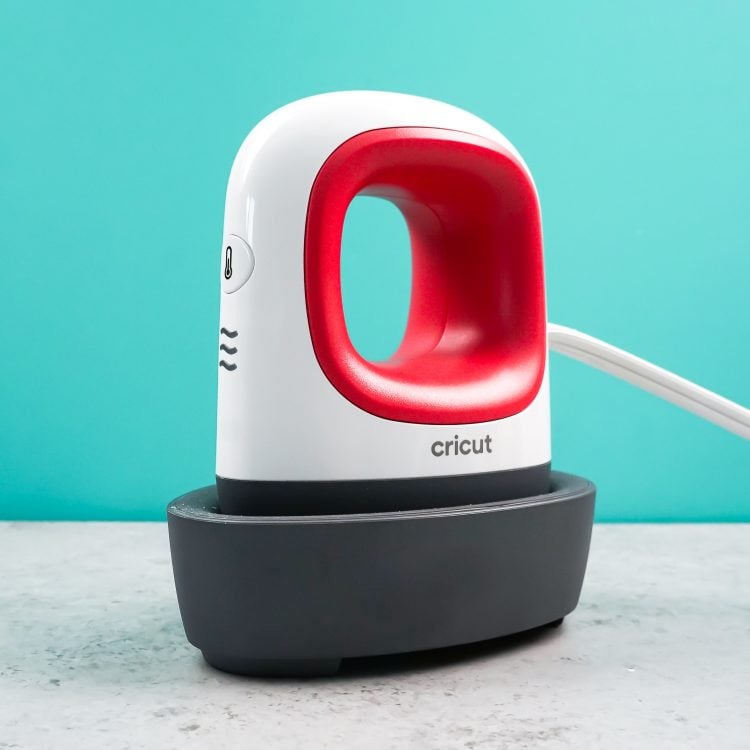
Here are a few reasons why I love the EasyPress Mini for Perler beads:
- The heating on the EasyPress Mini plate is even, and it’s much harder to “over-melt” the Perler beads. My iron is significantly hotter in the center of the plate than around the edges, and I found it hard to get an even press.
- The large EasyPress was actually the worst of the three options. You would think you could just set it down on the project and then pick it right back up, but no matter how carefully I tried it, it always ended up fusing one side more than the other. Just the slightest tilt in the press causes a lot of pressing issues.
- The EasyPress Mini is small, which means you can easily see what you are doing as you iron. There aren’t big parts of your project covered by the plate while you’re ironing.
- It’s easy to store—I actually just tuck it behind a house plant on our counter when I’m not using it. Much easier to hide than my iron or EasyPress. There just wasn’t enough space for my iron!
Tips for Melting Perler Beads
Here are a few of my own tips for fusing Perler beads with an EasyPress Mini. There’s a whole world of advanced Perler bead projects out there, but these are my best tips from a mom who has fused more Perler bead trays than she can count!
(I use the standard fusing method of parchment paper, though there are other options out there, like the masking tape method. The masking tape method is better for larger projects—minimizes the chance of beads coming unseated in the tray.)
Preheat your EasyPress Mini to the second medium heat setting—it’s about 350°. The low setting also works, it just takes longer. The hot setting is way too hot, unless you like to completely melt and flatten your beads.
Place your peg board and beads on a solid heat-resistant surface. I use my granite kitchen countertop. I tried using a pressing mat (like the EasyPress mat) but it wasn’t sturdy enough. I’m using my old studio worktop here.
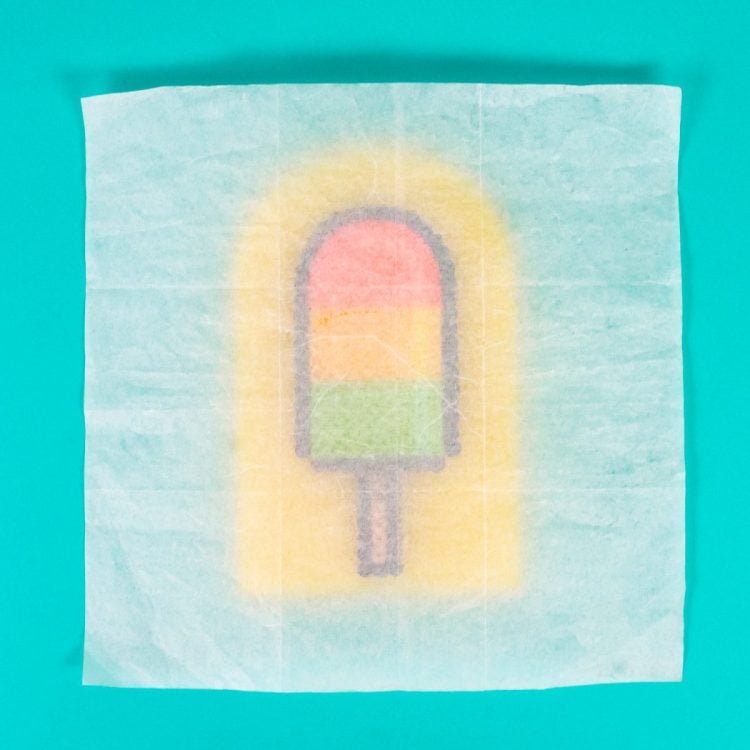
Place parchment paper carefully on top of the project. Do not use wax paper—the wax will melt under the iron. If your ironing paper has fold lines or seams, you may want to pre-iron it. Sometimes those seams will show up in the section of the design where you pressed.
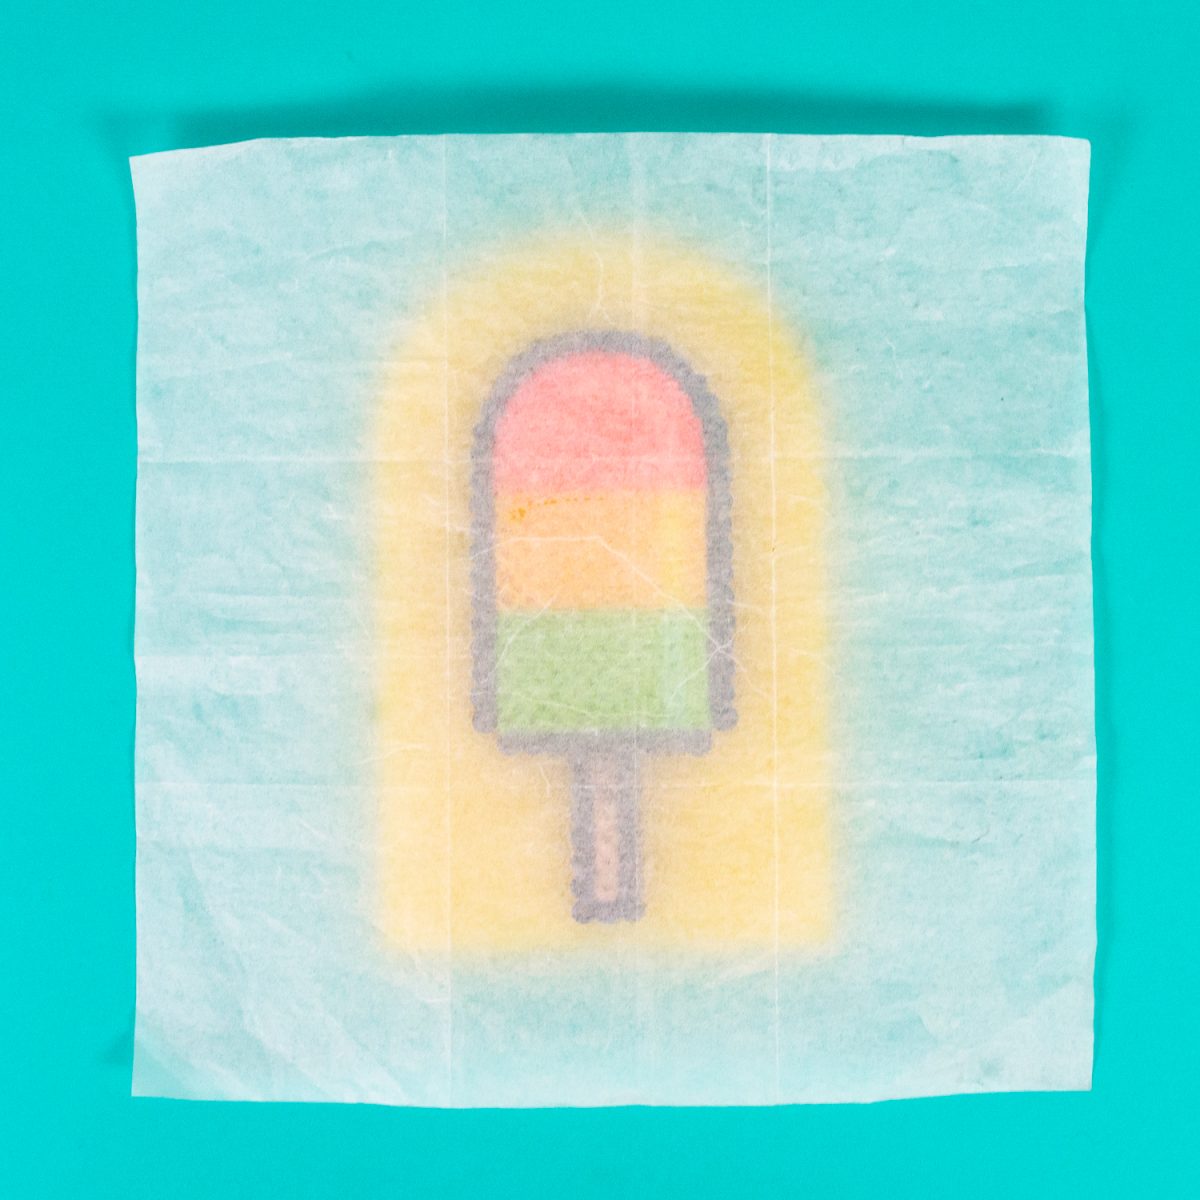
If you’d like, you can wear oven mitts or heat-resistant gloves.
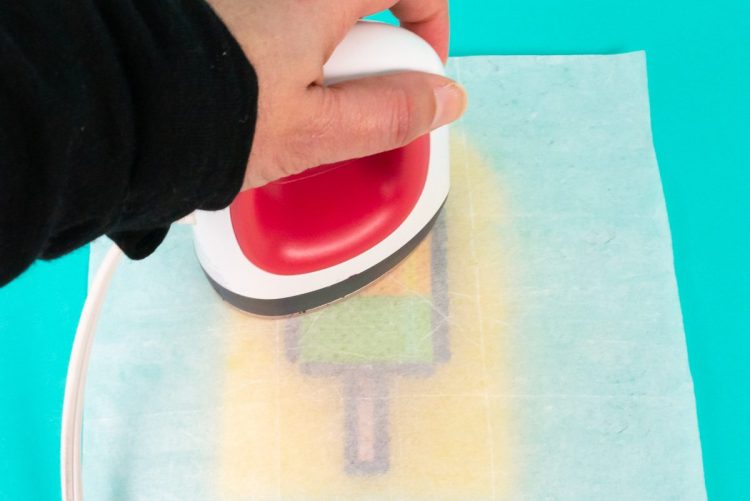
Using a circular motion, use the EasyPress Mini to start fusing your beads. I start out with lighter pressure, but once things start fusing I press just a bit harder.
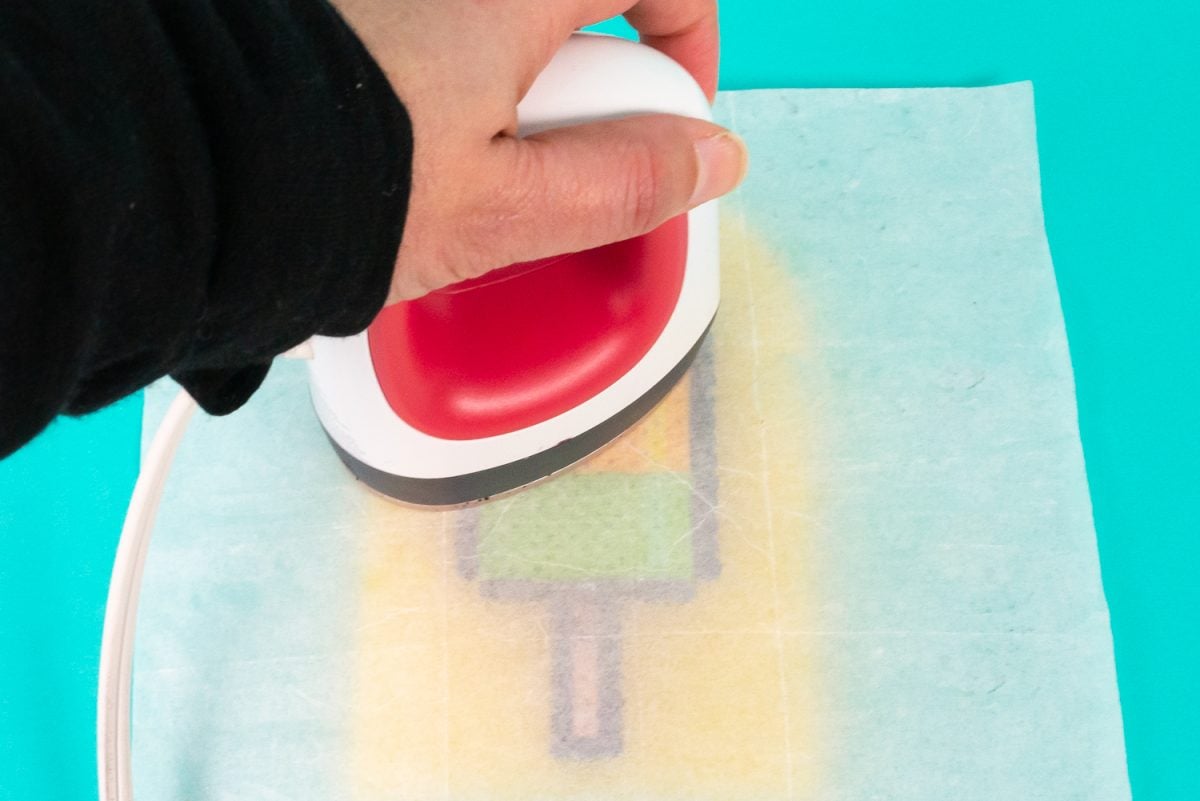
Once you think you’ve fused the beads properly, peel back the parchment paper to see if you’ve hit all the beads. You may need possible additional heating time. Once all the beads are fused, then flip it over and do the same from the back, making sure to use your piece of ironing paper on the back as well.
I like to stick the perler bead project under something heavy before it cools—this keeps it from bending while cooling.

This really is the best way to fuse Perler beads. Hope you found this post helpful if you’ve got a kiddo (or if you yourself!) who loves to craft using them!
Get Perler Beads!
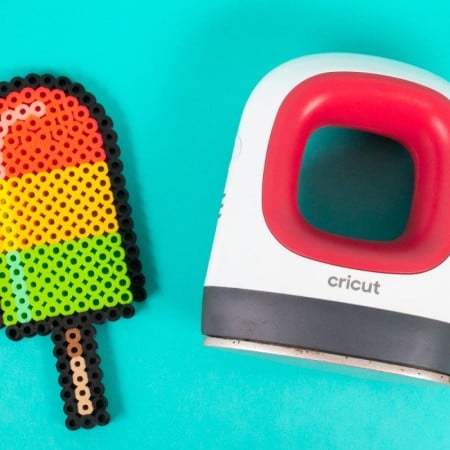
THE BEST WASY TO FUSE PERLER BEADS
Equipment
Instructions
- Preheat your EasyPress Mini to the second medium heat setting—it's about 350°. The low setting also works, it just takes longer. The hot setting is way too hot, unless you like to completely melt and flatten your beads.
- Place your peg board and beads on a solid heat-resistant surface.
- Place parchment paper carefully on top of the project. Do not use wax paper—the wax will melt under the iron. If your ironing paper has fold lines or seams, you may want to pre-iron it. Sometimes those seams will show up in the section of the design where you pressed.

- If you'd like, you can wear oven mitts or heat-resistant gloves.Using a circular motion, use the EasyPress Mini to start fusing your beads. Start out with lighter pressure, but once things start fusing press just a bit harder.

- Once you think you've fused the beads properly, peel back the parchment paper to see if you've hit all the beads. You may need possible additional heating time. Once all the beads are fused, then flip it over and do the same from the back, making sure to use your piece of ironing paper on the back as well.Stick the perler bead project under something heavy before it cools—this keeps it from bending while cooling.



Comments & Reviews
MICHAEL DOYLE says
I love my fuse bead hobby. I am going to a 9 begboard project. I have tried several times to iron my project. As soon as I start moving the iron,I get beads that move and flip. It’s like a stop block just appeared. I don’t know what to do.??? Can anyone help? I would like to continue this hobby. At 70 years old it keeps my mind sharp and me busy. 1,2 and even 4 pegboard are no longer a challenge.
Debra Zeigler says
My Granddaughter just started making perler bead projects. Is there any way to print this article so I can have it always handy?
Cori says
Hi Debra,
To keep this information handy for your projects, you can copy and paste the instructions into a document or take screenshots, so you have the images as well as the instructions and then print them out :)
Brian Jensen says
Thank you for your VERY helpful article. We have been stressing here over Perler Beads that don’t seem to melt correctly, ready to pitch it all in the trash, and your article nailed the problem. Ran out and purchased a Cricut EasyPress Mini and as you indicated, problem solved! Thank you again! :)
Cori says
You are so welcome! Happy to help :)