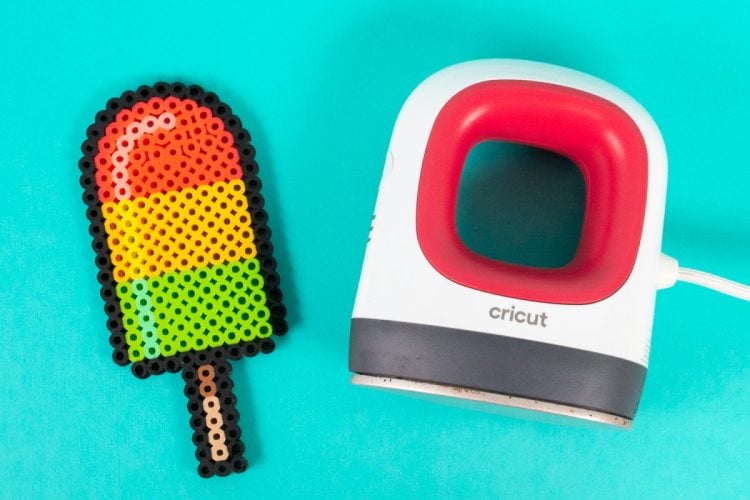
THE BEST WASY TO FUSE PERLER BEADS
The EasyPress mini is the best way to fuse Perler beads! Use the EasyPress Mini instead of an iron to melt Perler beads—it's quick and the small footprint makes it easy to see what you're doing.
Equipment
Instructions
- Preheat your EasyPress Mini to the second medium heat setting—it's about 350°. The low setting also works, it just takes longer. The hot setting is way too hot, unless you like to completely melt and flatten your beads.
- Place your peg board and beads on a solid heat-resistant surface.
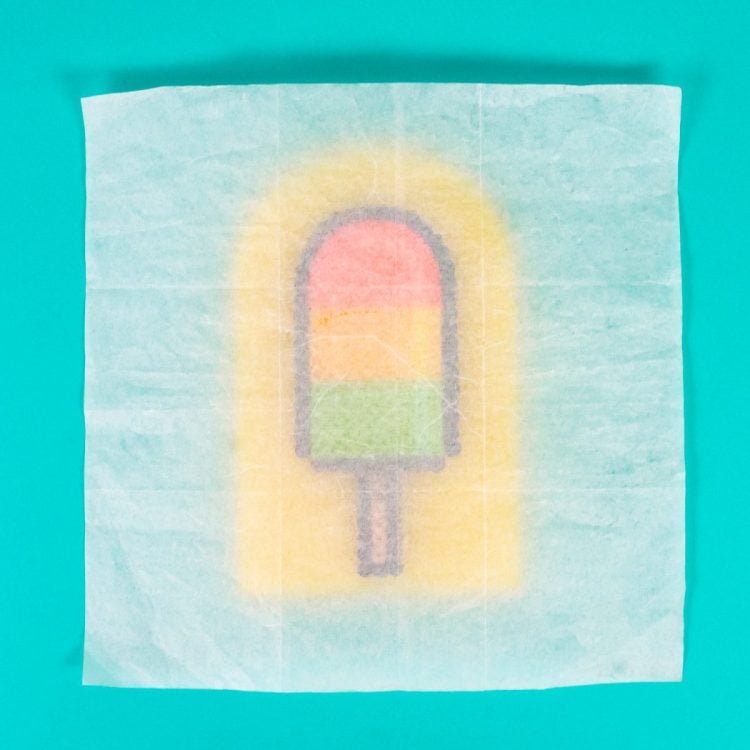
- Place parchment paper carefully on top of the project. Do not use wax paper—the wax will melt under the iron. If your ironing paper has fold lines or seams, you may want to pre-iron it. Sometimes those seams will show up in the section of the design where you pressed.
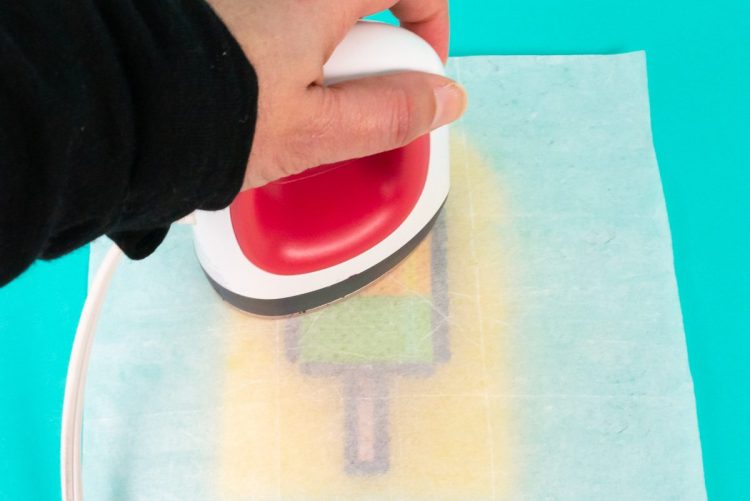
- If you'd like, you can wear oven mitts or heat-resistant gloves.Using a circular motion, use the EasyPress Mini to start fusing your beads. Start out with lighter pressure, but once things start fusing press just a bit harder.
- Once you think you've fused the beads properly, peel back the parchment paper to see if you've hit all the beads. You may need possible additional heating time. Once all the beads are fused, then flip it over and do the same from the back, making sure to use your piece of ironing paper on the back as well.Stick the perler bead project under something heavy before it cools—this keeps it from bending while cooling.